
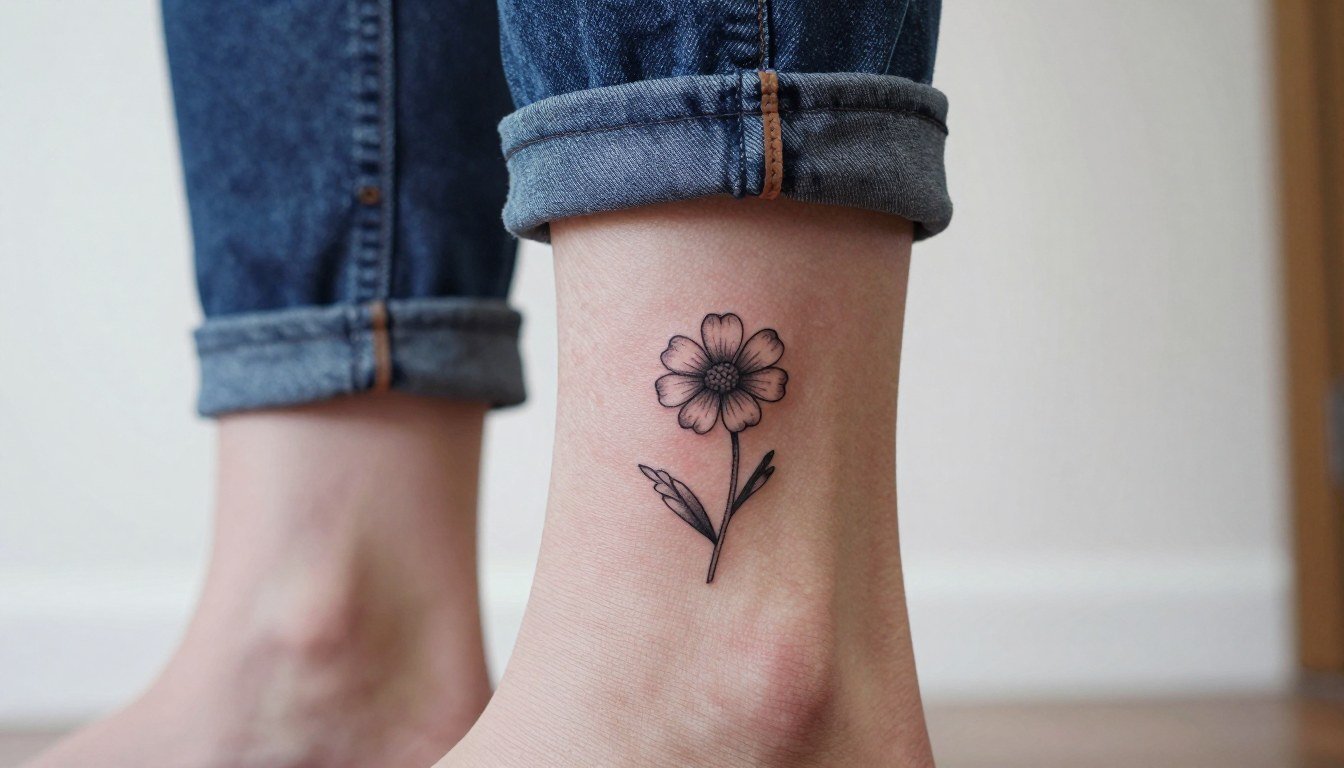
A quick detail before you sign the stencil will save a lot of future regret. Small friendship marks can read loud or they can blur into a smudge if you go too thin, pick the wrong placement, or combine colors without enough contrast. These picks lean toward matching-but-not-identical designs you can still love solo, with specific notes on how each one heals, what to tell the artist about line weight and spacing, and what to wear to the session so the area is easy to access.
1. Tiny Lightning Bolt on Inner Forearm
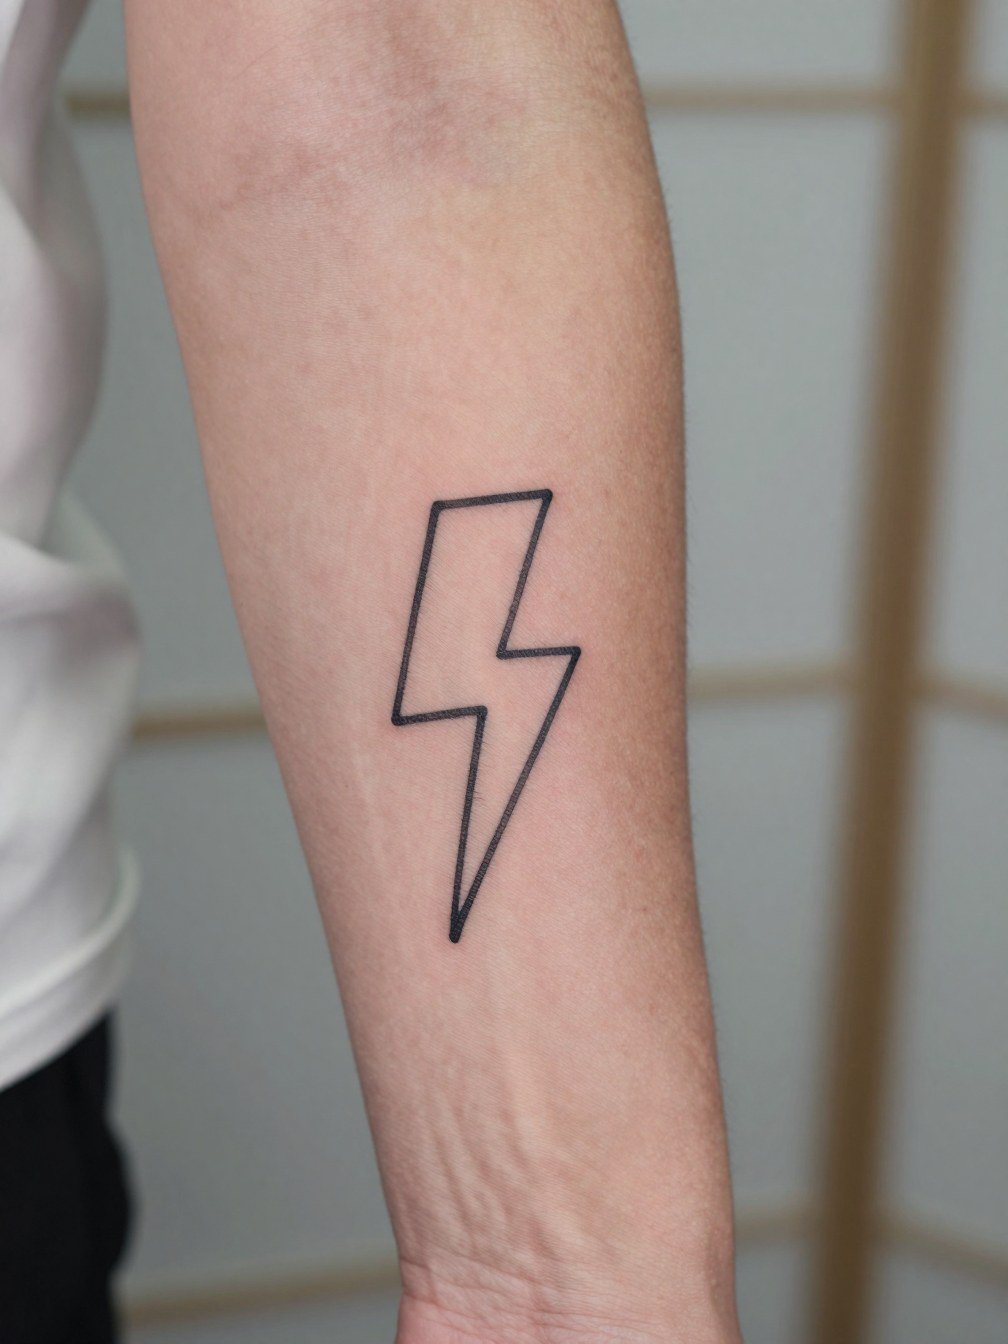
A lightning bolt reads instantly and survives small sizes when the line weight is dialed up slightly. I recommend a hair heavier contour than the Pinterest reference, because the palm-up forearm eats single-needle detail by year two. A common mistake is asking for "as thin as possible" without specifying spacing between strokes, which forces the artist to compact lines and invites early blur. At six months the bolt will look crisp and the edges will soften a little by year two. For the session wear a short-sleeve top so the artist can roll the sleeve with no tugging and see the full palm-up surface. If you want a subtle match across friends, vary the bolt angle or add a tiny color dot in each person's favorite shade to keep individuality while still feeling paired.
2. Matching Flame Accent on Wrist
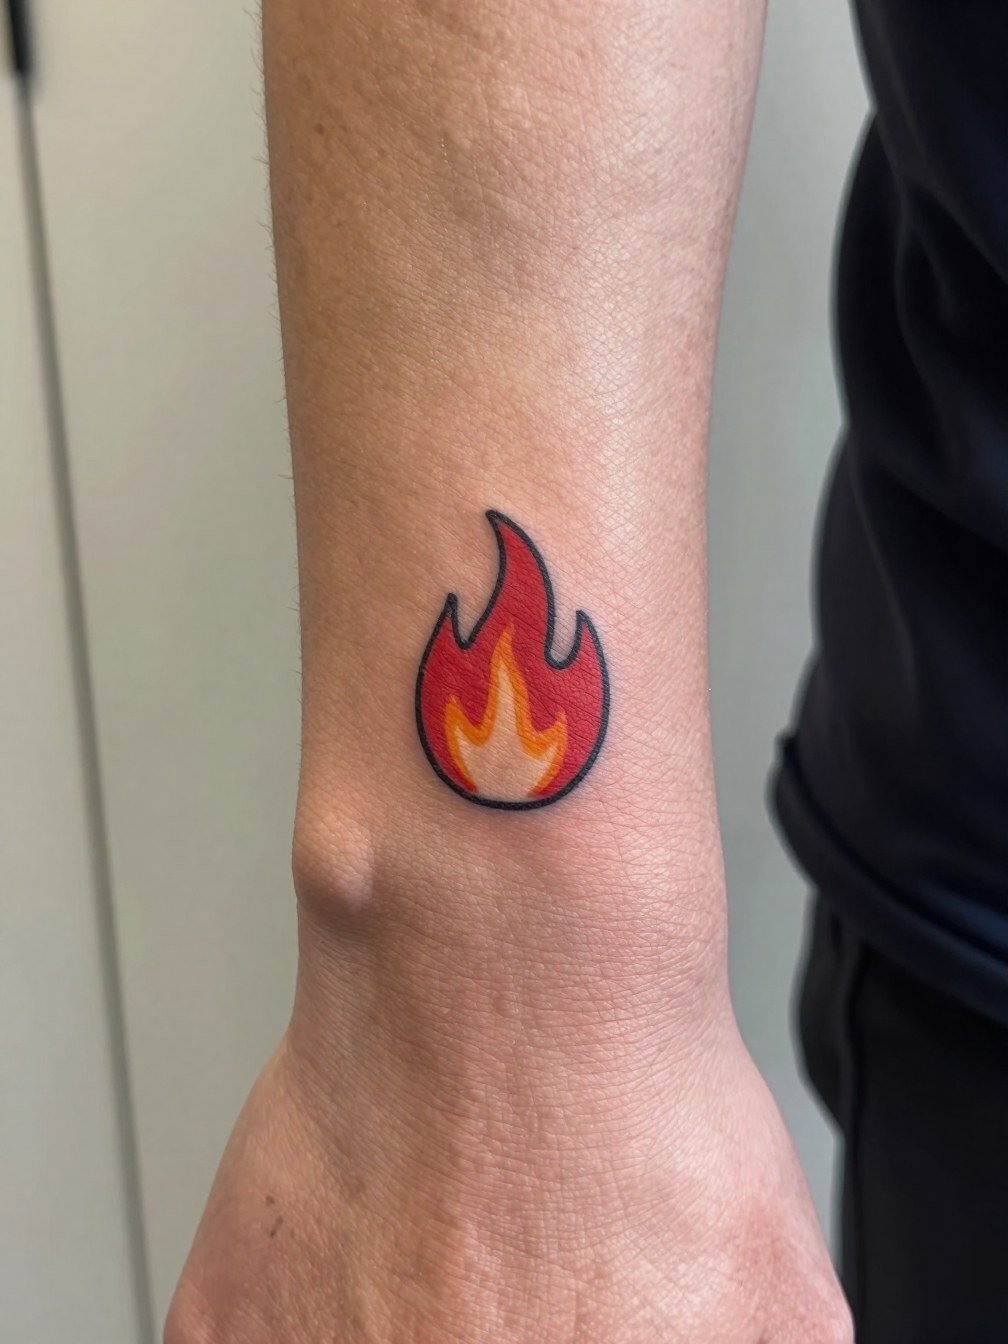
Flames are playful and graphic, and a small red fill gives the design presence without overpowering the wrist. Because wrist skin sees constant motion and washing, ask for slightly thicker outlines than a typical fine-line piece so the shape holds up. The session is quick, often under 30 minutes, but expect the wrist to sting more than the forearm. For show-off styling, pair it with a thin bracelet on the opposite wrist so the tattoo gets visual breathing room, or slip on a thin bracelet set after it heals to frame the piece. Avoid getting the flame too small or the red saturates unevenly and looks patchy in the first year.
3. Trio of Tiny Hearts for a Three-Way Bond
Three hearts are an elegant way to represent a trio while keeping each person distinct. I suggest slightly staggered sizes or a tiny color accent for each friend so the set reads as an intentional group rather than identical flash. A mistake is over-compressing the hearts into the wrist crease where movement and friction accelerate blur. Talk with the artist about spacing and exact heart diameter; aim for room around each heart so the edges do not touch after healing. Expect a light touch-up after 12 to 18 months if the fills soften. For sessions, wear a sleeveless top or a short-sleeve shirt to ensure the artist can work on the palm-up wrist surface easily.
4. Complementary Sword and Shield on Outer Forearm
This pair is a classic example of complementary design that reads as linked without being identical. Artists and friends split on matching exactly. One camp says identical pieces are the point because they visually lock in the bond and make the tattoos feel shared. The other camp prefers complementary imagery because it stays personal, avoids cliché, and still works if the friendship evolves. If you choose this route, specify the exact silhouette size and shading scale to the artist so the sword and shield balance across the two arms. Outer forearm tolerates more detail than the wrist, but avoid tiny filigree on the shield edge or it will blur inside two years. For show-off clothing pick an oversized tee with rolled sleeves to reveal the outer forearm without crowding the design, and consider a rolled sleeve shirt for session day ease.
5. Fine-Lined Butterfly Pair on Inner Wrist
Butterflies communicate growth and change and are an easy way to keep a delicate aesthetic. Fine-line butterflies heal well on inner wrists when line weight is slightly bolder than single-needle flash. A common error is insisting on ultra-thin veins inside the wings, which vanish with natural skin movement. Plan for a subtle touch-up around year two to freshen the details. If you want the tattoo visible without being loud, wear thin bracelets on the opposite wrist and leave the tattooed side bare, or reach for a minimalist watch that keeps the design unobstructed during daily wear. For the appointment pick a sleeveless top so the artist can access both wrists without fabric fuss.
6. Single-Word Script on Inner Forearm
A script word can be subtle and meaningful, but plan the exact word, font, and letter spacing with your artist. The inner forearm stretches and the letters will compact if you go too small. Bring reference images at multiple sizes so the artist can show how the word reads at three and five inches. A common mistake is copying a trendy single-needle script without accounting for spacing, which leads to merged letters over time. The session often takes 30 to 45 minutes and the skin is moderate on the pain scale. For session day wear a loose button-down you can roll up, or a linen overshirt that gives the artist clean access while staying comfortable.
Pre-Session Essentials
The wrist and forearm pieces above heal differently from larger work, so a few items smooth the session and the first week.
-
Stencil transfer paper kit. Lets you preview the linework on skin before committing, which is especially helpful for the tiny bolt and script pieces above.
-
Cooling gel numbing cream. Applied per product directions about 45 minutes before can reduce wrist sensitivity without affecting the artist's ability to see line depth.
-
Thin protective film roll. Handy for finger or wrist placements during the first week of heavy hand washing and friction.
-
Fragrance-free gentle body wash. Cleanses the healing area during showers without irritating the linework.
-
Aquaphor healing ointment. A thin layer for the first few days keeps fine line work hydrated without clogging needle channels.
7. Wishbone Minimalist on Ankle
Wishbones are low-key and translate well to ankle placement if the line terminuses are rounded to avoid sharp points that can fragment. The ankle sees shoe friction and sock rubbing, so ask for slightly heavier terminations and allow the artist to place the design out of the direct waistband or sock crease. People often pick the very smallest size and then lose the crisp silhouette after a year. The session is brief and mildly painful because of thin skin over bone. Style it with cropped trousers or sandals to show the mark, and try a pair of cropped pants for summer looks.
8. Wine Glass Heart on Outer Forearm
This playful icon reads well at moderate scale and benefits from a tiny color accent inside the heart. The outer forearm tolerates the small glass detail better than the wrist. If the lines are too thin around the stem, the glass will lose crispness; plan for a slightly thicker stem and a small negative-space highlight that keeps the shape readable. The session will feel like a quick stinging pass and likely finish in under an hour. For outfit pairings choose an oversized tee with rolled sleeves to show the art, or add a lightweight oversized t shirt to keep the arm visible without crowding the eye.
9. Two Intertwined Trees on Upper Arm
Intertwined trees offer symbolic depth without being literal, and the upper arm is forgiving for medium detailing. One mistake is shrinking the root network too much, which makes the motif look like a blob after healing. Ask for root spacing and stipple shading in the plan so the artist can scale lines appropriately. Upper-arm pieces are lower on the pain scale and usually finish in a single session. For showing off the piece in warm weather pick tank tops or open overshirts that let the outer arm read clearly, and bring a tank top to the session for easy access.
10. Split Geometric Square That Completes Together
Split designs are built to come together and usually survive because each half is a complete graphic on its own. There is debate about matching vs complementary work. One camp favors exact matching because it visually locks in the bond and creates a shared object. The other camp argues that complementary halves are more personal and sustainable if relationships change. For split squares tell the artist the exact negative-space thickness so both halves align cleanly when placed side by side. Geometric edges need breathing room, so plan a final mockup at the intended size rather than scaling from a thumbnail. For session comfort wear a loose short sleeve or loose tee that the artist can roll without tugging.
11. Pinky Promise Outline on Finger
Fingers age differently and the skin there is thin, so outline-only pinky promise pieces should have slightly bolder strokes than a palm-line note. Expect faster fading and plan for touch-ups around the one-year mark. A frequent mistake is putting the design too close to the joint where motion forces the ink to fragment. Ask for placement slightly away from the crease and confirm exact joint alignment with the artist before the needle. The session is short but sharp. For after-healing style, rings and thin band sets look great paired with a finger mark, but do not keep rings on during the session.
12. Micro-Realism Soot Sprite Trio on Calf
Niche trio characters work when each person gets a different accent color so the set reads like a group without being identical. For micro-realism make sure the artist shows healed examples at the same scale on similar skin tones because color vibrancy differs by pigment and tone. Calf skin handles small illustrative dots well but choose spacing that prevents the trio from running together when muscles flex. Expect a moderate session with low pain and one session finish. For casual show-off pair with straight-leg shorts or midi skirts that reveal the outer calf, and consider cuffed jeans or cuffed jeans for cooler days.
13. Floral Trio, Each a Different Bloom on Upper Arm
A trio of distinct blooms lets each friend pick a flower that reflects them while keeping a shared composition language. One common mistake is forcing too much tiny detail into each bloom, which the eye loses as the tattoo ages. Ask the artist to prioritize silhouette and primary petal shapes over micro veins so the flowers age gracefully. The outer upper arm is forgiving, so plan medium scale and expect a single session. For styling choose tank tops, muscle tees, or open shirts that let the blooms live on the visible outer arm. Bring an open shirt layer for the session that you can remove and replace easily.
14. Heart and Infinity Fine Line on Wrist
A heart-infinty combo is classic but needs careful spacing so the loop does not collapse into an indistinct knot. Ask for the loop to be tested at the intended size during stencil placement so you can see the negative space. Wrists require slightly stronger linework than a delicate mockup, or the detail will feather. Expect the session to sting and plan for a small touch-up around the one-year mark when motion has softened the loop. As a show-off look wear sleeveless tops or a minimalist watch on the opposite wrist to keep the design visible. For session convenience bring a sleeveless top you can change into easily.
15. Tiny Compass Half on Ankle, Half on Opposite Calf
Split compasses are clever for friends who want halves that complete together. The ankle and calf differ in skin movement and friction, so plan slightly different line weights for each placement while keeping the overall graphic consistent. A common error is matching the halves perfectly for a single person and not accounting for how the pieces will look on two different bodies. Confirm scale on each body and ask the artist to mock up both halves at the intended sizes. Ankle skin often needs a touch-up sooner because of abrasion from footwear. For daytime display choose cropped trousers or sandals to show the ankle half, and straight-leg shorts for calf visibility.
16. Minimalist Wave and Sun Duo on Ribcage and Side Torso
Rib and side torso placements are intimate and require an artist comfortable with those curves. Fine-line waves on ribs need slightly wider spacing because the skin there stretches and moves with breathing. Some artists will warn that ribs are high on the pain scale and that fine-line work there can blur; other artists will say proper depth and slight spacing makes rib pieces settle well. If you choose this area, request a mockup on the body in the same breathing position you plan to hold during the session. Wear a fitted cropped top so the artist can access the rib and side torso without constant fabric shifting, and bring a fitted cropped tee to the appointment for convenience.
17. Tiny North Star on the Collarbone
Collarbones show well and can read as a subtle shared symbol. The challenge is the thin skin and bone edge, which makes linework trickier. One frequent error is placing the star too close to the clavicle where movement from shoulder straps and necklaces causes irritation. Ask for the star to sit on the flat chest plane just below the bone and request slightly shorter stroke lengths so each point does not sit on a curvature. Sessions are short but sharp. For showing off, scoop-neck tops and open-back dresses pair well, and a simple open-back midi dress can highlight the area for evenings out.
18. Tiny Mountain Range on Outer Forearm
Mountain silhouettes hold up well because they rely on bold silhouettes rather than tight interior detail. A typical mistake is adding small stipple textures that do not scale at the chosen size. Tell the artist you prefer silhouette clarity and ask them to show how the piece reads at arm distance. Outer forearm is comfortable and often finishes quickly. For everyday styling, an oversized tee with rolled sleeves keeps the mountain readable, or wear a loose tee during the session for easy access.
19. Tiny Constellation Linework on Back of Shoulder
Posterior shoulder is forgiving for small dotted constellations because the area moves less than the ribcage or forearm. Common mistakes include asking for dots so small they fade into faint freckles after healing. Ask for a dot diameter and spacing that the artist can reproduce consistently, and plan a touch-up at 12 to 18 months for dot retention. Sessions are low pain and quick. For display wear tank tops or strap dresses, and consider a midi skirt or sleeveless combo for summer evenings so the shoulder gets framed naturally.
20. Minimalist Arrow Pair on Side Wrist and Inner Forearm
Arrows are versatile and can be mirrored or opposing to signal direction and bond. The side wrist area needs slightly bolder shafts because skin there moves a lot and the point of the arrow can blur. A mistake is choosing an extremely fine arrowhead that loses shape after a year. Confirm the head-to-shaft ratio with the artist and request a test mark in the stencil stage so you can check proportion. Wear short sleeves for the session. For accessory pairing think thin bracelets on the non-tattooed wrist to balance the look.
21. Small Geometric Mandala Split for Trio on Calf and Ankle
Trio-split mandalas create a compelling shared motif where each person carries a fragment that makes sense solo. The controversy around literal versus symbolic designs plays out here. One camp favors literal icons for immediacy and clear coordination. The other camp values symbolic, customized fragments that age better and remain personally meaningful. If you choose a mandala fragment, scale up the petal widths slightly from the thumbnail so negative-space lines do not collapse. Calf and ankle placements require different spacing strategies because the ankle endures more abrasion. Plan for staged touch-ups at 12 to 18 months. For showing off these placements, cuffed jeans or strappy sandals work well in warm weather.
Frequently Asked Questions
Q: What if we drift apart after getting matching tattoos?
A: People split on this. One group accepts the tattoo as a strictly shared symbol whose meaning depends on the friendship. The other group prefers designs that still look good as stand-alone tattoos if relationships change. My practical suggestion is to pick imagery that you would wear on your own without explaining the backstory and to choose placement and spacing that lets the piece read as a strong small graphic on its own.
Q: How much should I budget for a small friendship tattoo?
A: Expect a range based on city and artist experience. For tiny wrist or ankle work plan for a base session range that fits most hourly rates, and factor in 15 to 25 percent tipping. Also budget for a possible touch-up after 12 months, which is often shorter and less expensive than the initial session.
Q: Where can I find real healed examples and artists without naming specific people?
A: Search Instagram and TikTok with terms like friendship tattoo, matching tattoo, and complementary tattoo to find portfolios. Filter by location tags and look for healed photos rather than fresh shots. Reddit communities such as r/tattoos and r/TattooDesigns are good for candid healed examples and process notes. For in-person discovery focus on portfolios that show matching or split designs rather than relying on a single saved image.
Q: Which placements hurt more for these friendship styles?
A: Ribs, collarbone, and sternum rank higher on the pain scale. The wrist, ankle, and fingers feel sharper for short bursts. Outer upper arm and calf are generally lower on the pain scale. If you need specifics, plan for a short numbing timeline for wrist work and expect the ribcage to be a longer, more intense session.
Q: How do I prepare the day of the appointment for placement access?
A: Wear clothing that gives the artist clean access without tugging the fabric during the session. For inner forearm and wrist, short sleeves or a loose button-down work best. For ankle and calf wear shorts or pants with a rollable hem. Bring a loose tank for upper-arm or shoulder work so the artist can adjust without discomfort. A practical item to bring is a light layer you can put back on quickly after the session finishes.
