
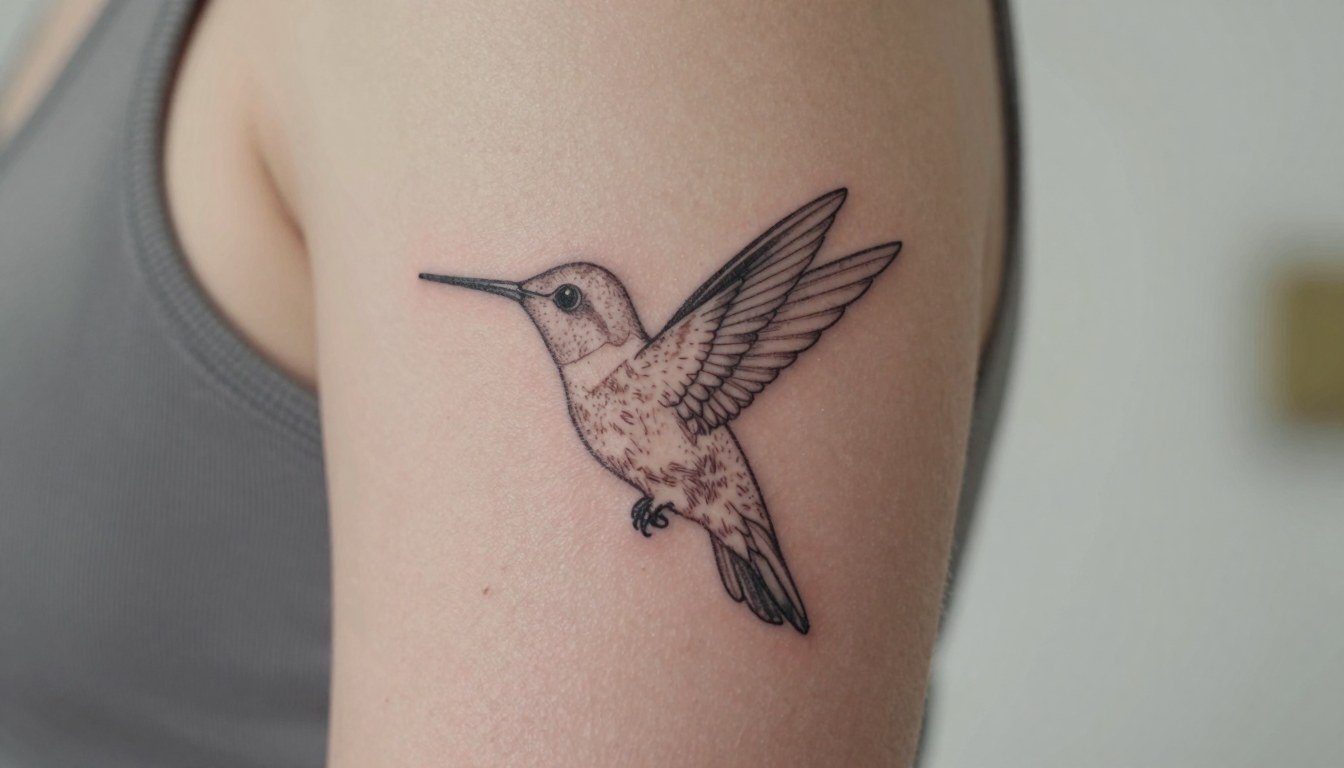
Fine single-needle hummingbirds look like pencil sketches when fresh, but the way that airiness softens is the reality most people miss until the first year. Expect thin lines to blur slightly and edges to feather in places that see sun or constant movement. The good news is you can pick a fine line version that keeps the bird readable and still feels delicate for everyday wear.
1. Black Fine Line Hummingbird on the Wrist
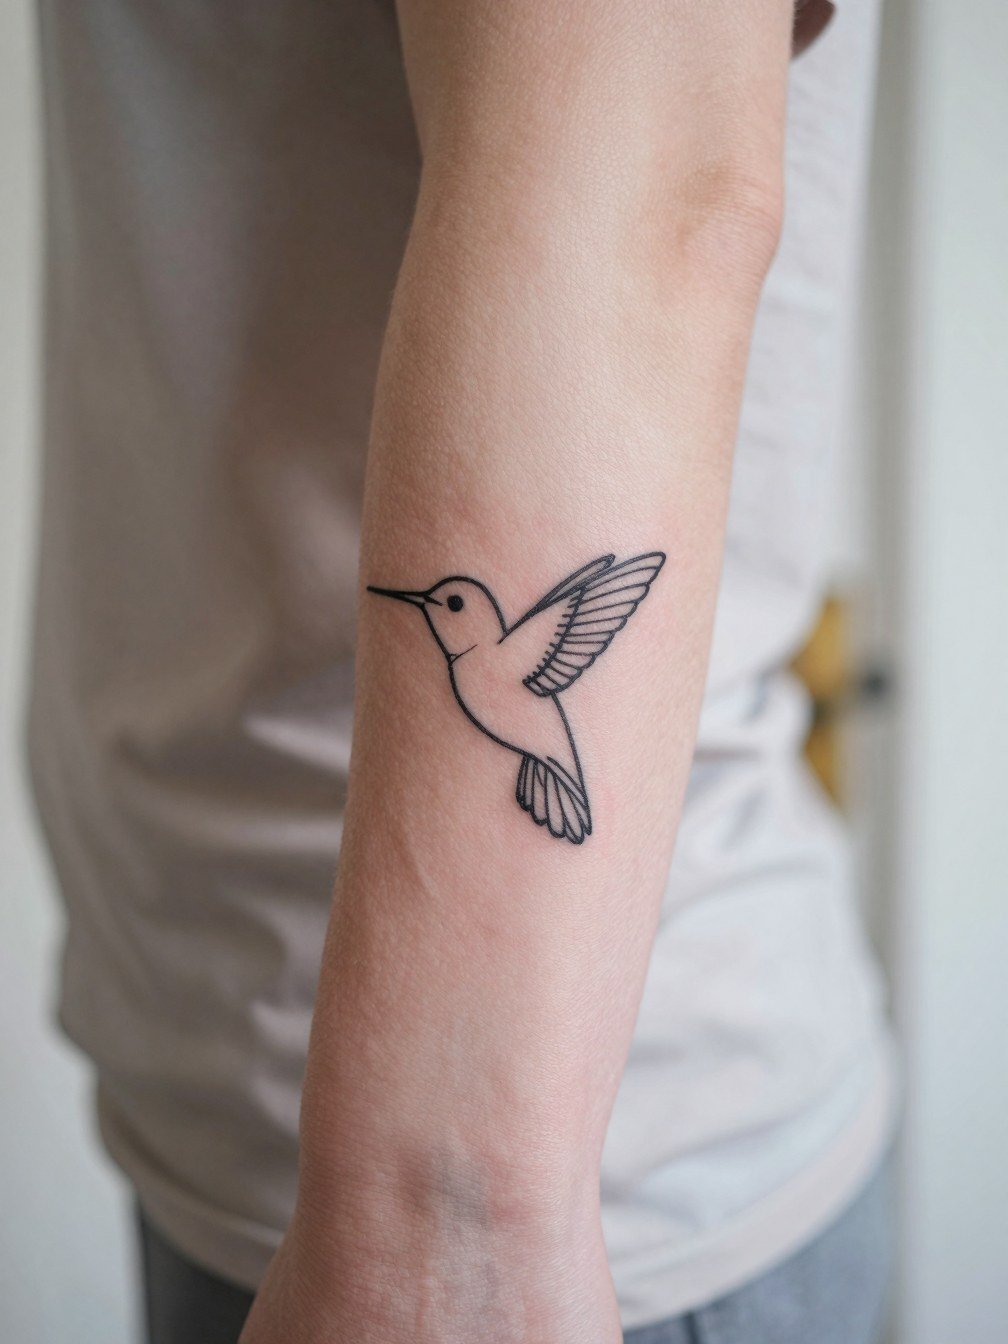
A wrist hummingbird reads delicate and stays personal because the area is compact. I recommend a slightly firmer silhouette around the beak and wing tips so the tiny details do not blur into an unreadable smudge by year two. For the appointment wear a short sleeve neutral top so the artist has clear access and you stay comfortable. Expect light discomfort around the wrist bones, and a single short session usually covers a tiny piece. A common mistake is requesting many feather lines at that scale, which ages poorly. Plan touch-ups at two to three years if you want that original crispness restored.
2. Small Ankle Hummingbird That Hides Well
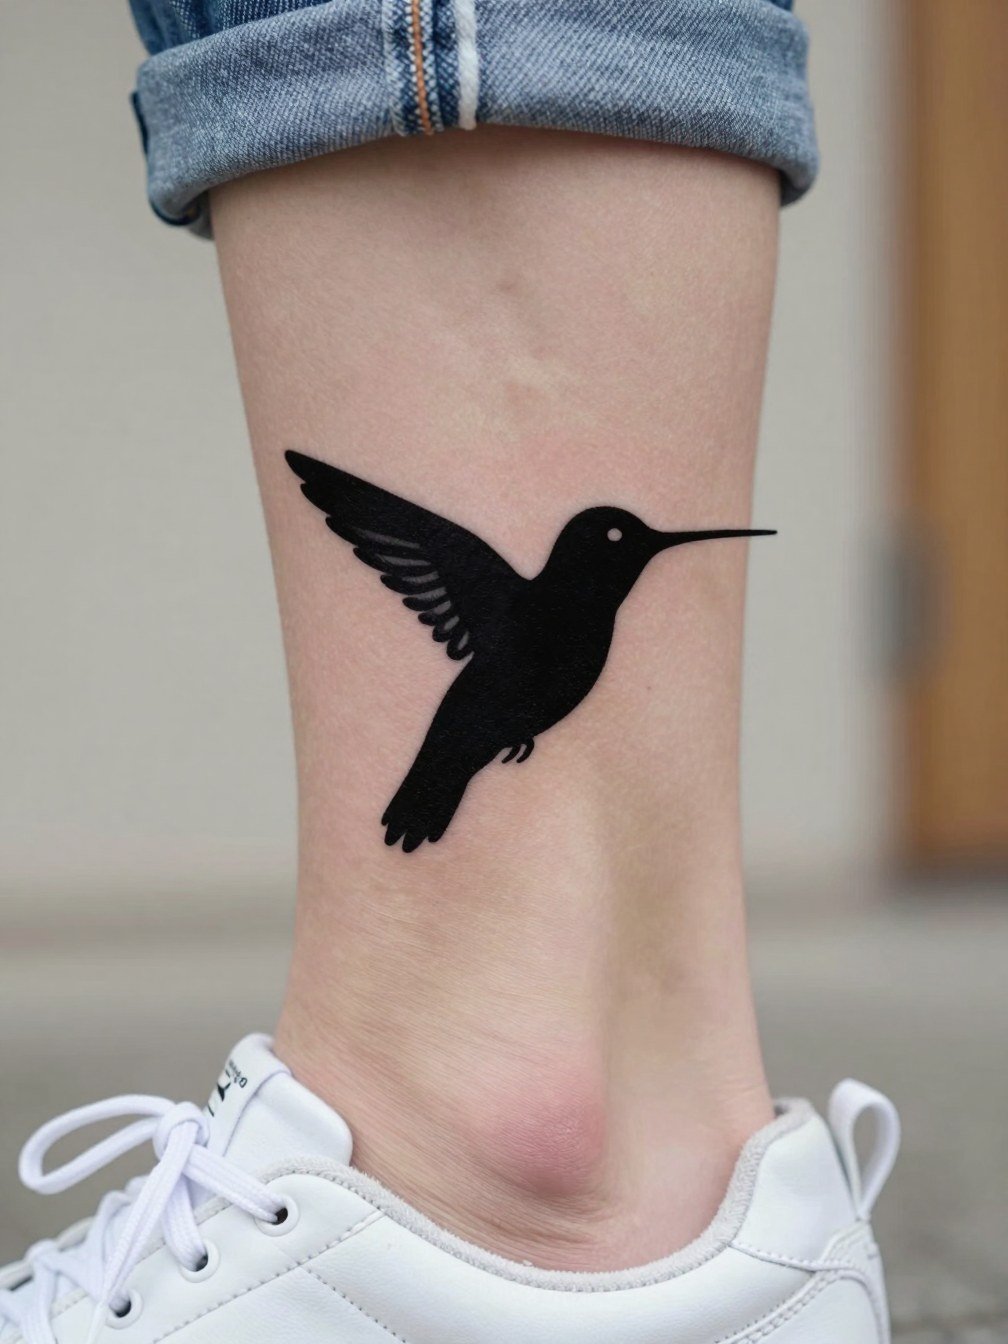
An ankle piece is easy to hide and shows off with sandals or cropped pants. Because socks and shoes add friction, a clean silhouette outperforms tiny filigree here. For the session wear pants you can roll up without pressure and bring an extra pair of low cut socks if you need to keep the area covered afterward. If you want color, keep it limited to one or two small accents so fading does not flatten the bird. Many people are surprised that healed ankle fine line can soften into a softer pencil-look, which some prefer and others choose to avoid with a slightly thicker outline.
3. Inner Upper Arm Hummingbird for Longevity
The inner upper arm is one of the best places for a fine line hummingbird if longevity matters. One camp favors ultra-fine single-needle work for the airy pencil-drawn look that reads delicate when fresh. The other camp recommends a hair heavier outline so the beak and wing tips keep definition after a few years. If you prefer long-term readability, request slightly stronger contouring at the consultation and bring reference photos at two scales. Friction is low here so healed softness tends to look graceful rather than lost. Session time is moderate and pain is usually mild.
4. Hummingbird with Flower Pairing on the Forearm
Pairing a hummingbird with a single bloom adds movement and helps the bird feel custom. In the consultation specify which part of the plant matters most so the artist can scale the flower to the bird without overcrowding. The common mistake is squeezing too many petals into a tiny composition, which makes the bird disappear after healing. For showing off this placement try rolled sleeve linen shirts that frame forearm linework. Expect a one-session piece if kept small and black-and-grey stippling gives depth without heavy saturation.
5. Ultra-Thin Contour Hummingbird, and the Line-Weight Debate
Ultra-thin contouring gives that hand-drawn look that many people chase. One camp insists the ultra-fine approach is essential for the delicate aesthetic and accepts the softer healed result. The opposing camp argues a slightly bolder outline preserves key features like the beak and eye over time, and they point to healed photos showing better readability. Behind the ear is a sensitive site so expect shorter sessions and light discomfort. Ask for simplified details and avoid lots of tiny feathers, because the skin there is thin and lines can blur faster than on fleshy placements.
6. Black-and-Grey Single Session Hummingbird on the Collarbone
Black-and-grey is a safe route if you want the bird to age predictably. It tends to hold tonal contrast longer than saturated color in small work. For collarbone placement the skin sees moderate sun so plan to use sun protection once healed. During the consult specify subtle stipple shading rather than dense fills so the piece keeps depth without heavy saturation. Expect moderate pain over the bone and a session that can usually be completed in one visit for a small bird.
Before You Book
The tiny placements above respond well to a few practical items that smooth the appointment and the first week of healing.
-
Stencil transfer paper kit. Lets you preview how the fine line composition sits on the wrist or ankle before the needle touches skin, which matters for small hummingbird placements.
-
Topical numbing cream. Applied per manufacturer instructions about 30 to 45 minutes before can make short wrist or collarbone sessions much easier.
-
Thin protective film roll. Useful for ankle and wrist pieces that face friction from socks and daily wrist movement in the first 48 hours.
-
Fragrance-free gentle body wash. Cleanses the healing area without irritation and reduces the chance of scabbing that obscures fine linework.
-
Aquaphor Healing Ointment. A thin layer in the first couple of days helps retain moisture for delicate single-needle channels without clogging them.
7. Single-Line Continuous Hummingbird on the Collarbone
A single-line hummingbird reads modern and clean at small sizes. Because the design is a continuous stroke, scale matters more than detail. A common error is shrinking a continuous-line design until the single stroke reads like a blotch. For wearing options choose layered delicate necklaces that sit below the bird and let the collarbone piece breathe, for example a layered necklace set. During the consult bring a one-line reference so the artist can map out the flow and show you the stencil on the skin before inking.
8. Nature-Themed Composition on the Upper Arm
A small nature composition gives the hummingbird context and reduces the risk of a generic flash feeling. Specify the plant type and which bloom faces the bird so the composition reads clearly from the start. A common version that ages poorly packs too many small leaves into a tight space, which blurs; the better option uses negative space around the bird. This placement handles slightly more linework than a wrist or ankle, and a single session usually finishes a compact composition. Expect mild soreness and easy concealment under short sleeves while healing.
9. Tiny Micro Hummingbird Behind the Ear
Micro hummingbirds behind the ear are nearly invisible most days and pop when hair is up. The biggest mistake is asking for tiny internal detail that the mastoid skin cannot hold long term. For the session have hair pulled up and secured so the artist has a clear field. Pain is usually low but the area is sensitive due to thin skin. Because this spot is largely covered by hair afterward, sun exposure is low and the design often keeps its soft pencil finish rather than turning into a blurred line.
10. Tiny First-Tattoo Wrist for New Collectors
First-timers like tiny wrist hummingbirds because the commitment is low and the piece can be tested with a temporary version beforehand. If you worry whether it suits you try a stencil mockup and wear it for a day to check visibility with your regular clothes. The usual advice is to avoid over-detailing at micro scale and ask for fewer feather lines so the bird reads after healing. Sessions are short and pain is tolerable for most people. Expect to keep the area out of the sun during the first months for best retention.
11. Healed, Softened Finish Hummingbird on the Ankle
Some collectors intentionally aim for the softened, pencil-like healed finish because it reads like a drawn sketch after a year. The trick is to accept slight loss of razor-sharp edges and to design the bird with that future softness in mind. For footwear and outfits, cropped trousers or ankle strap sandals frame the area without hiding the piece. If you want to preserve sharper detail instead, specify a marginally stronger outline at the consult. Expect touch-ups later if you prefer the initial crispness.
12. Stronger Outline Hummingbird for Ribs or Sternum
Ribcage and sternum placements test the line-weight debate for fine line hummingbirds. One group says ultra-fine lines on ribs blur quickly because the skin stretches and moves. The counter group maintains that with correct needle depth and slightly wider spacing those fine lines can settle cleanly and show excellent healed photos. If you pick this area expect higher pain, longer sessions, and the need to discuss spacing in detail. Bring references and ask for stencil placement previews so you see how the composition sits relative to the chest curve.
13. Memorial Hummingbird with Restrained Detail on Inner Arm
Memorial hummingbirds work well when the design stays restrained so the piece reads emotionally without literalization. When you book, bring one or two elements you want emphasized so the artist knows which part to keep crisp. For session comfort wear a loose tank top so the inner arm is accessible without tugging fabric. Expect the lines to soften over time and consider a touch-up after the first year if you want to restore original crispness. A frequent error is overloading the tiny memorial piece with text, which can overwhelm the bird.
Frequently Asked Questions
Q: How should I search for artists who post healed fine line hummingbird photos?
A: Use hashtags like #finelinetattoo and #hummingbirdtattoo with your city name on Instagram and TikTok, and check Reddit communities for healed-photo threads that show year-over-year changes. Prioritize portfolios that include healed images rather than only fresh work so you can judge how the single-needle pieces settle.
Q: Will a fine line hummingbird fade faster than a color hummingbird?
A: Color can fade unevenly and flatten small detail in tiny work, while black-and-grey usually ages more predictably for micro pieces. If longevity matters choose a black-and-grey approach or ask for a slightly stronger outline, which keeps key parts readable without losing the delicate look.
Q: What should I wear to my appointment for a wrist or ankle hummingbird?
A: For a wrist piece wear a short sleeve neutral top so the artist has full access. For an ankle piece bring pants you can roll up easily, and slip-on shoes or sandals so you do not press on the fresh area afterward.
Q: How does a fine line hummingbird look at 6 months versus 2 years?
A: At six months the piece usually keeps most of its crispness once healed. By two years fine single-needle work often softens slightly and edges feather, especially on exposed, high-friction areas. Many people treat the softened finish as part of the aesthetic, while others plan for a touch-up around that timeframe.
Q: Are there placements I should avoid if I want the bird to stay sharp?
A: High-friction and high-sun areas like hands, fingers, and the top of the foot tend to blur faster. Protected spots such as the inner upper arm and the rib side typically retain detail longer because they see less daily wear and UV exposure.
Q: How many touch-ups should I expect and when?
A: For a small fine line hummingbird expect at least one possible touch-up within two to three years if you want the original crispness. That timeline varies with placement, sun exposure, and how closely you follow sun protection once healed.
