
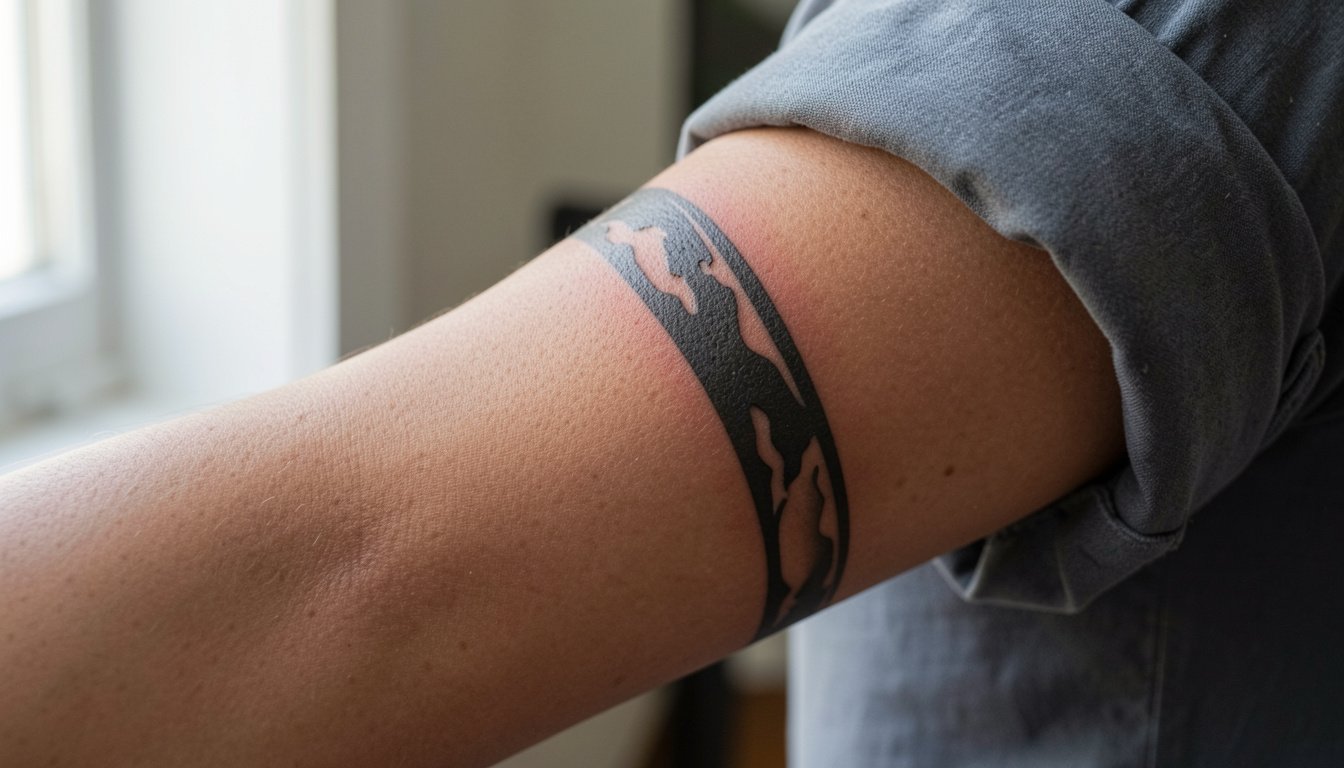
Bold, saturated blackwork often outlives the fine-line versions people post most on social apps. For tribal armbands, stronger silhouettes and intentional negative space stop shapes from blurring together as skin settles. This list hands you 23 band approaches that balance visual weight, placement, and wardrobe so the design still reads at year three and year seven. Start with the band that fits your arm, not the feed.
1. Polynesian-Style Bold Cuff
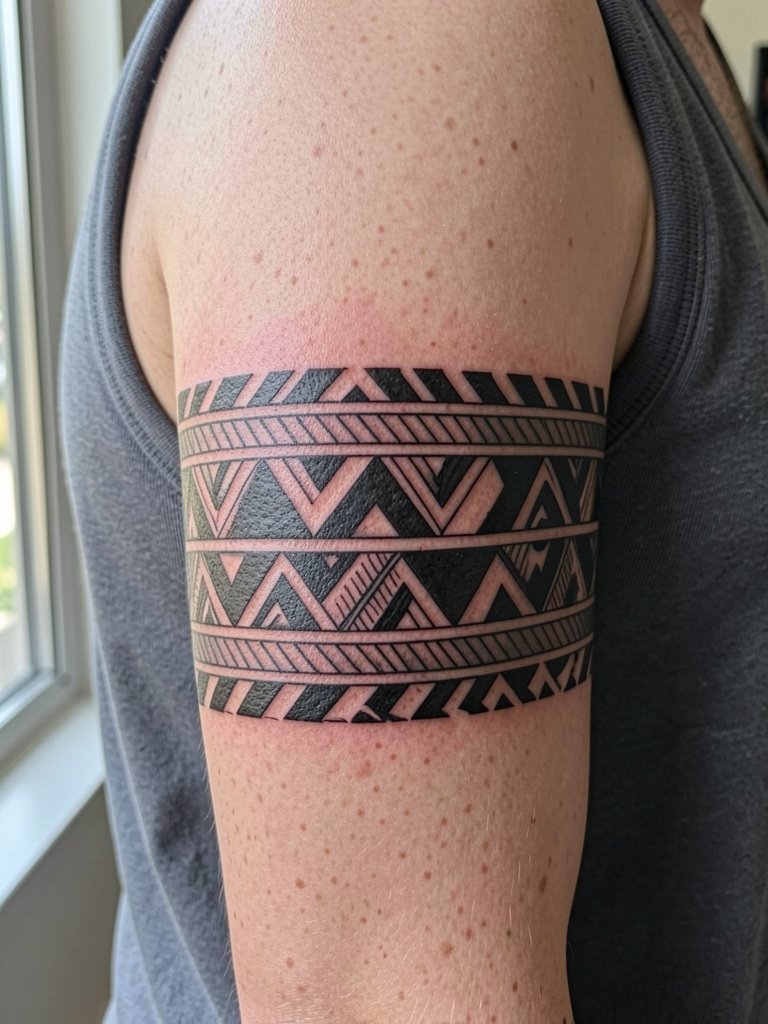
A Polynesian-style cuff reads from a distance, which is why collectors choose it when they want a single-session anchor piece. Ask for bold fills and clear negative breaks during the consultation so the pattern does not collapse with time. The usual mistake is shrinking motifs to fit more symbols, which makes the band muddle at year two. Upper arm placement eats less daily friction, session time is typically two to three hours, and pain sits around moderate. If you later want a sleeve, have the artist leave a margin of uninked skin on one edge so the cuff can integrate smoothly.
2. Minimal Black Band with Carved Breaks
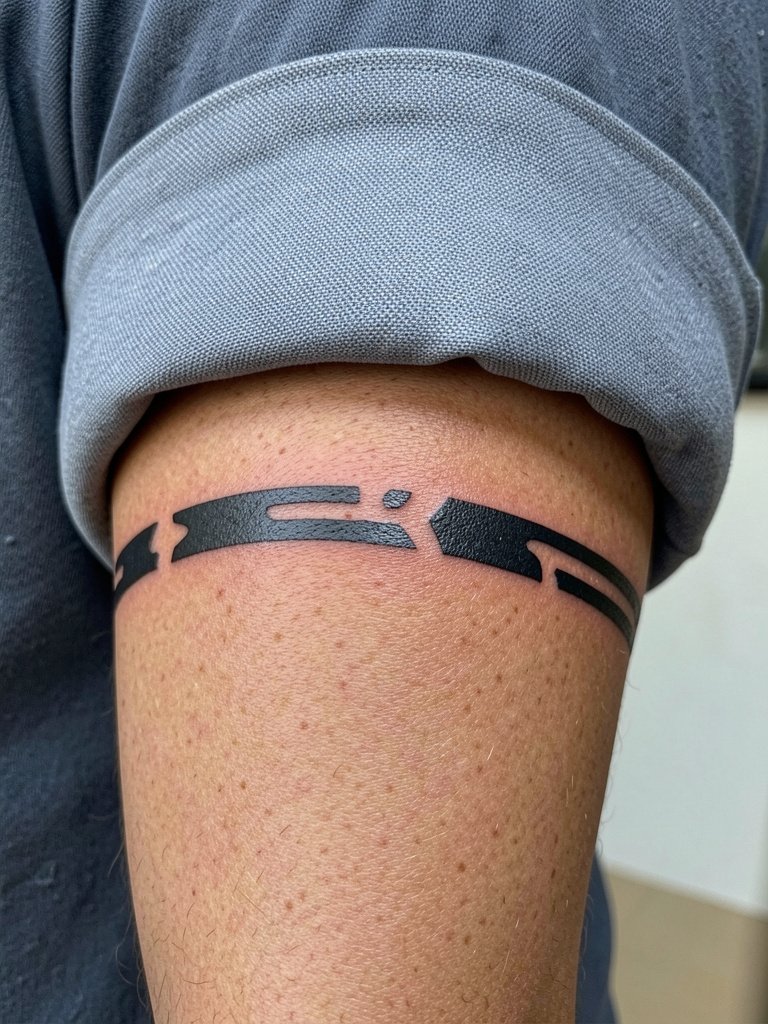
Minimal carved bands are a modern take on tribal cuffs because the negative space gives the arm a lighter feel without losing presence. Bring two reference widths to your consultation so the artist can show how the breaks change the silhouette at three inches versus five inches. Expect a one-hour session for a forearm band. For showing it off, try a linen camp shirt with sleeves rolled once so the band stays visible and the fabric frame looks intentional.
3. Geometric Rhythm Band
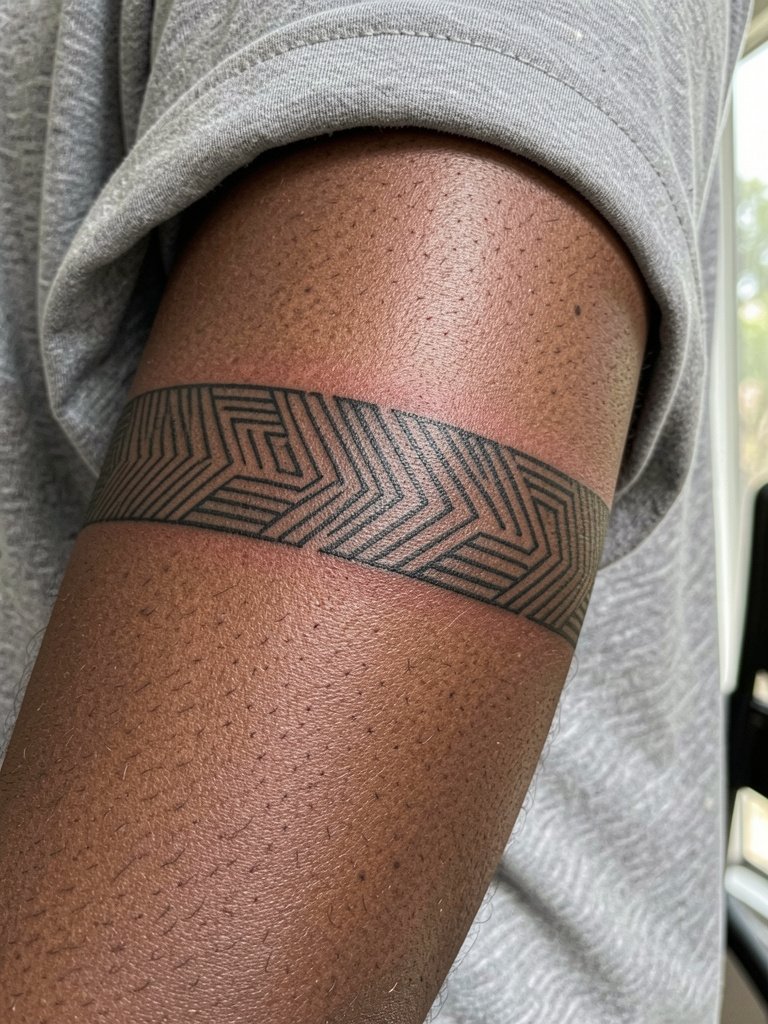
Clean geometry ages well when lines have breathing room. The common error is shrinking the pattern to fit, which causes loss of rhythm as the ink settles. Ask the artist to space the lines slightly wider than the reference to prevent early merging. Forearm placement is visible daily and session time is often 60 to 90 minutes. Pair it with a minimal bracelet when you want to accentuate the band without visual clutter.
4. Nature-Inspired Wave and Leaf Band
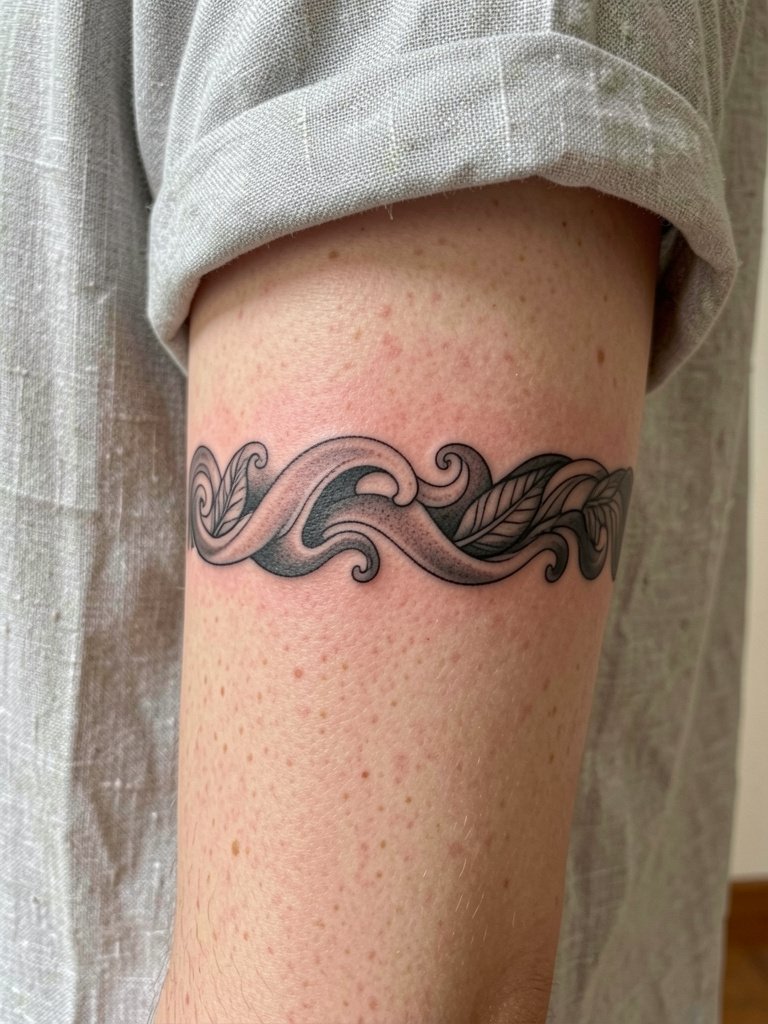
If you want an armband that reads softer than classic tribal, flowing botanical motifs do that without losing structure. During the consult, show leaf scale references so the artist keeps details large enough to survive touch-ups. The inner forearm tends to show line softening faster than the outer forearm, so pick the outer for more longevity. For outfits, a rolled-sleeve oxford highlights the flow of the band while keeping the rest of the look understated.
5. Polynesian-Inspired Symmetry Band
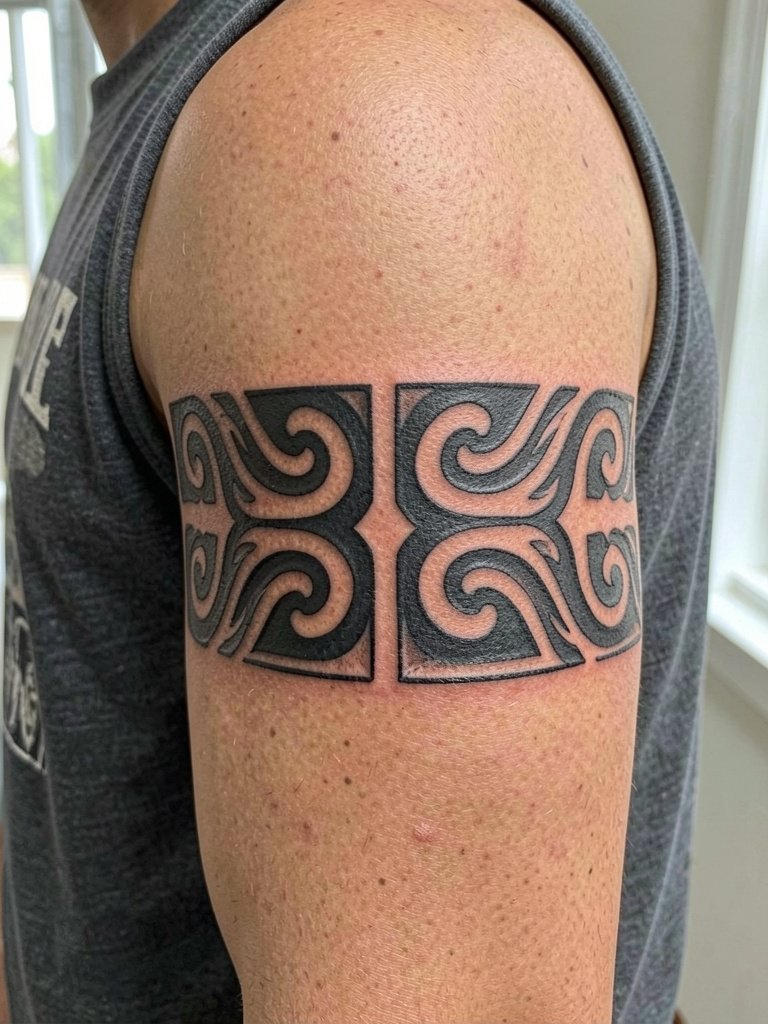
Designs that borrow Polynesian visual language split opinions. One camp argues these bands should stay visually close to the cultural patterns they reference because the power of the motifs comes from heritage and structure. The other camp prefers modern custom bands that borrow the blackwork look without copying sacred motifs and instead tune the band to the wearer. If you are drawing on cultural patterns, be explicit about which motifs you are using and why so the layout respects origin while still fitting your arm.
6. Maori-Inspired Carved Flow
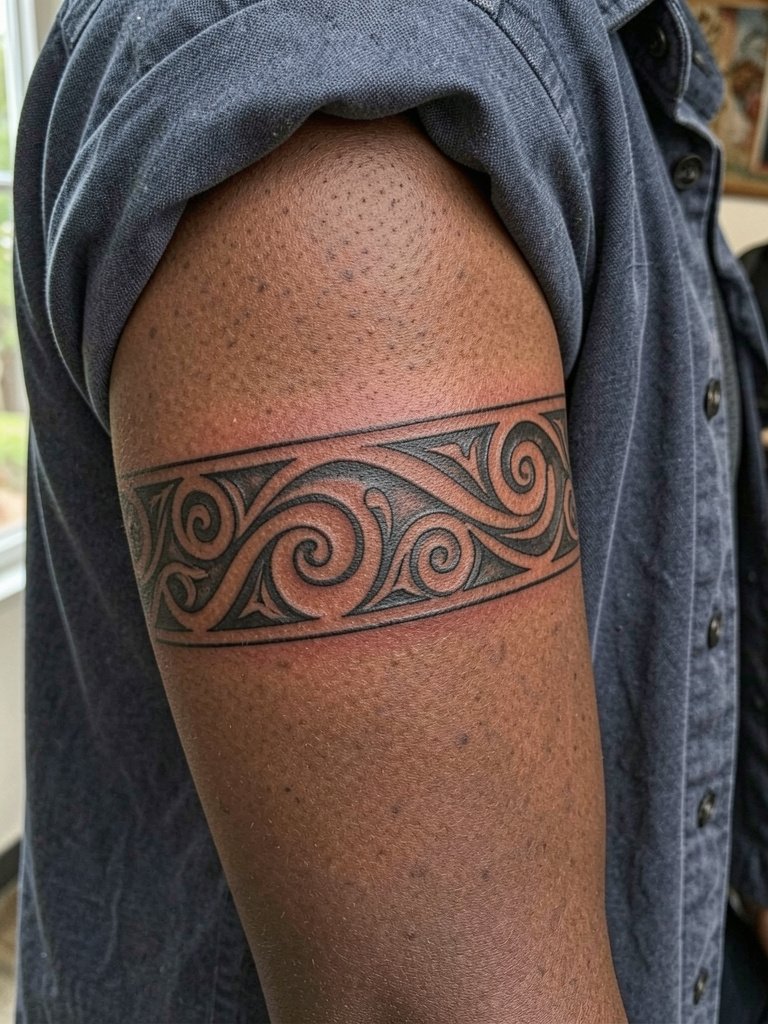
Maori-inspired bands are sculptural because the carving follows muscle shape. For a natural flow, have the artist map the motifs on your arm in a few poses so the pattern sits right when you relax. Touch-up needs are usually moderate and the session can run two hours for a medium cuff. For the appointment, slip on a loose tank top so the artist can easily access the upper arm without fabric pulling.
Pre-Session Essentials
A quick set of small items eases the first week for high-contrast armwork and helps protect fine blackwork while it settles.
-
Stencil transfer paper kit. Lets you preview the band layout on skin before the first pass, which matters for wraparound symmetry and spacing decisions in ideas 1 through 6.
-
Topical numbing cream. Used 35 to 45 minutes before the session it eases forearm and upper arm sensitivity without interfering with linework if applied correctly.
-
Thin protective film roll. Keeps the band clean in the first 48 hours when sleeves and watches might rub the area.
-
Fragrance-free gentle body wash. A mild cleanser helps during daily showers without stripping freshly inked skin.
-
Aquaphor Healing Ointment. A commonly recommended ointment for the initial dressing period that locks moisture in without heavy residue, useful for dense blackwork and thin-line pieces alike.
7. Samoan-Style Dense Black Sections
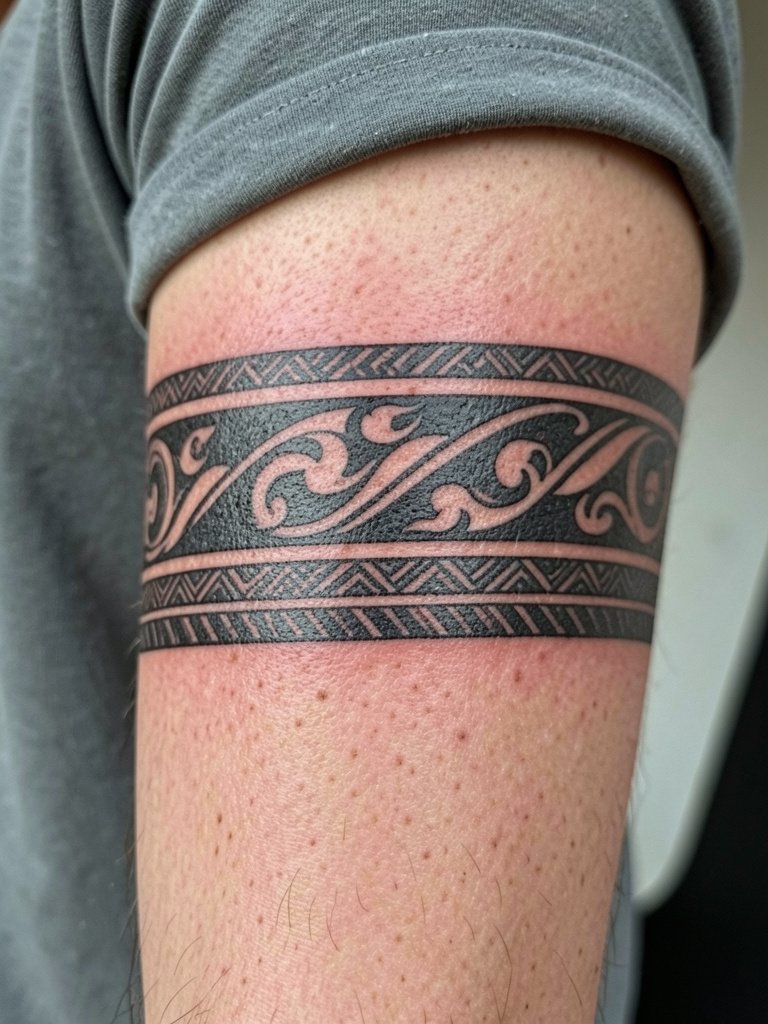
Dense black fills make a statement and hold visually at distance. Artists and fans split on heavy fill versus open spacing. One group says heavier fills give the band authority and clear readability, particularly on muscular arms. Another group favors negative-space breaks because they age more gracefully and reduce the risk of a blocky look as the skin changes. If you choose dense black, plan for a solid touch-up window at six to twelve months.
8. Hawaiian Wave and Botanical Cuff
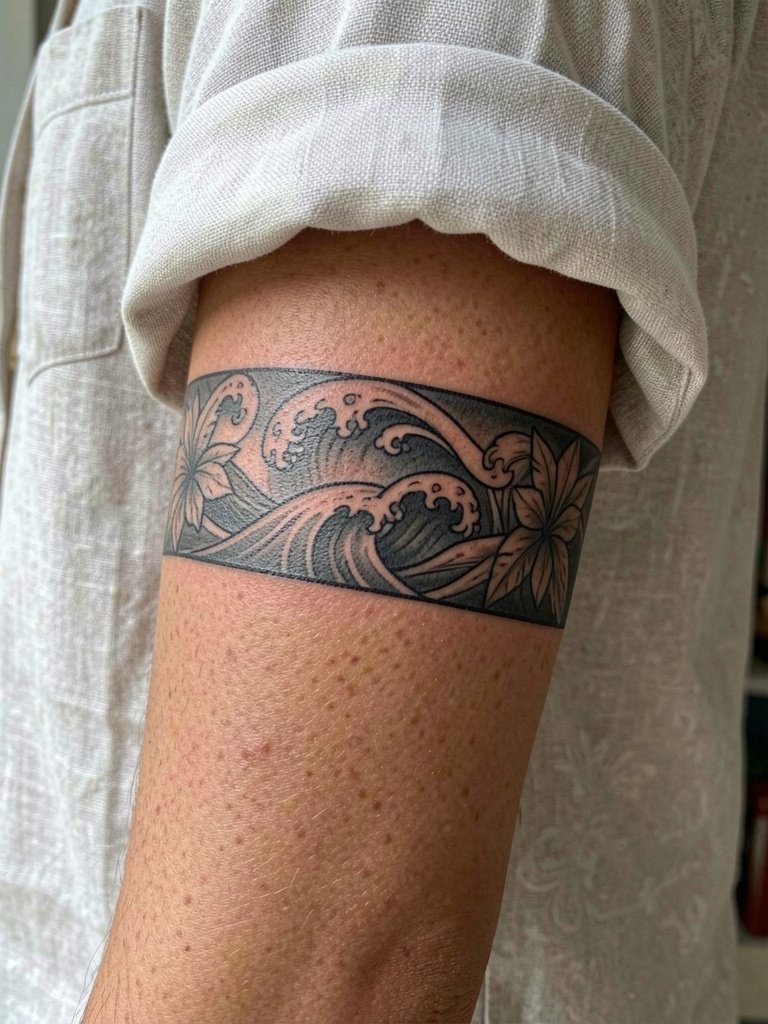
This band reads organic rather than aggressive, and it pairs well with casual summer wardrobes. Ask for slightly larger wave arcs than the reference so the motion keeps looking crisp at the two-year mark. For evening wear, a linen camp shirt with the sleeves rolled once highlights the band without competing with it.
9. Mixed Motif Custom Band
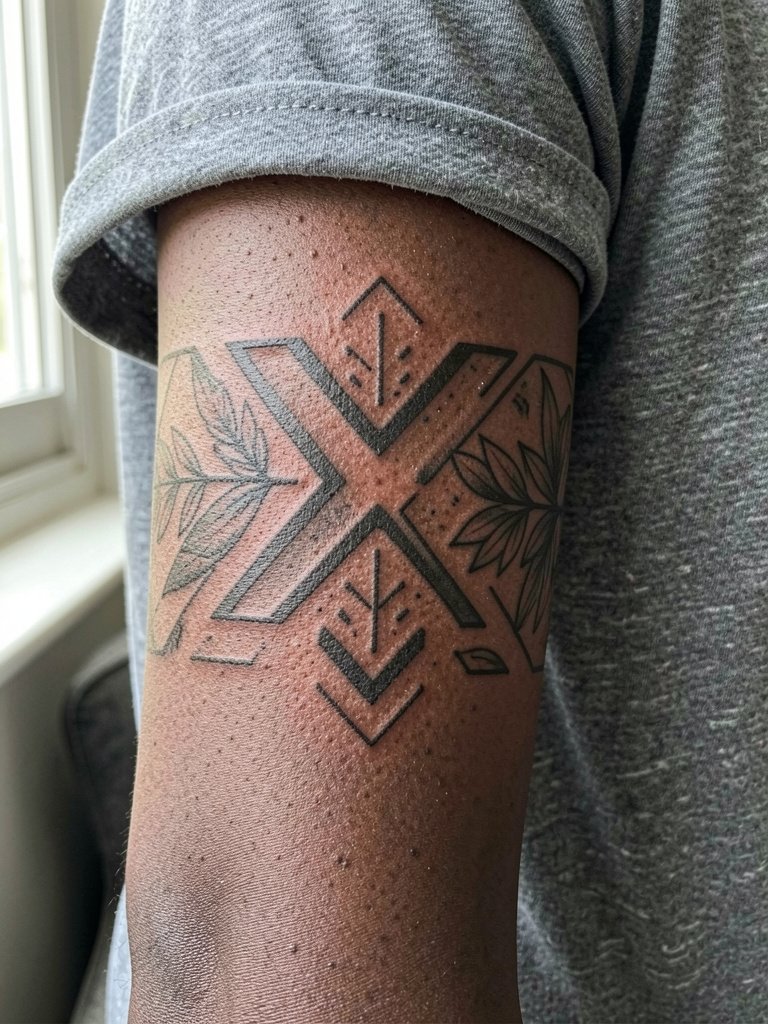
If you want a band that feels bespoke, a mixed-motif approach adapts tribal language to your taste. Bring references that show the exact spacing you like and ask for a mock stencil wrap to preview transitions. The inner forearm option will require slightly bolder linework to offset faster softening. Session time depends on the level of fill, but plan for one to two hours.
10. Sharp-Edged Masculine Band
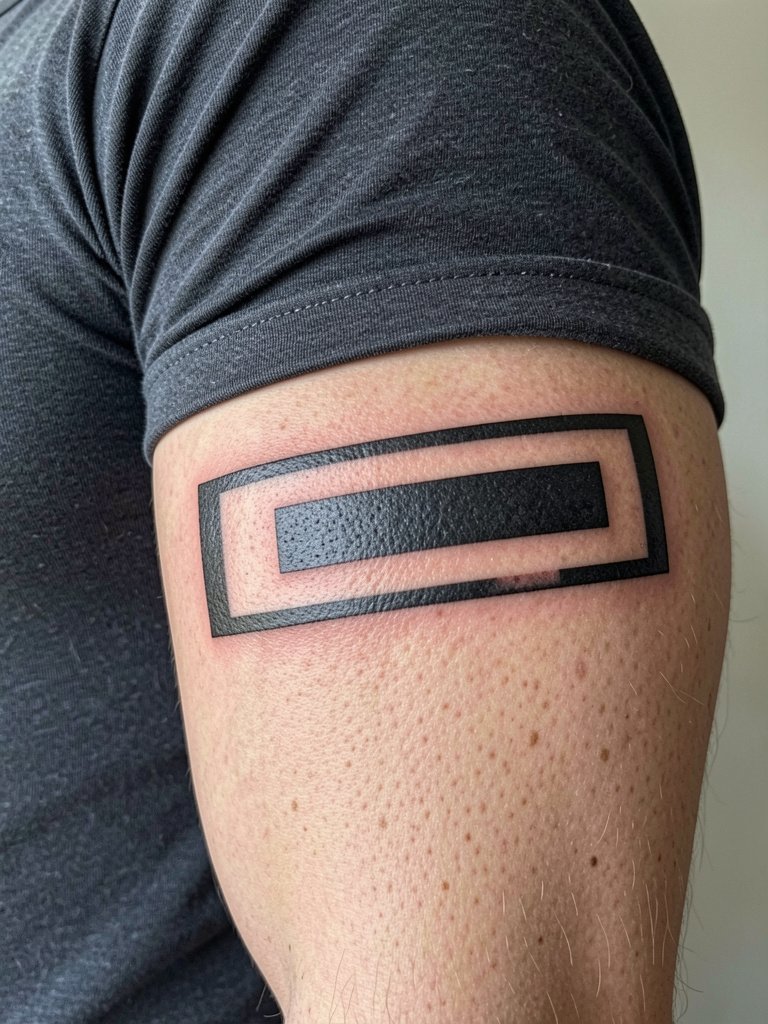
This style reads athletic and frames the arm like a cuff. The biggest mistake is pushing edges too thin, which invites early warping along the outer silhouette. For session day wear, choose a rib tank that exposes the bicep without fabric interference. Expect moderate pain and a compact one-hour session for a medium band.
11. Soft Ornamental Curve Band
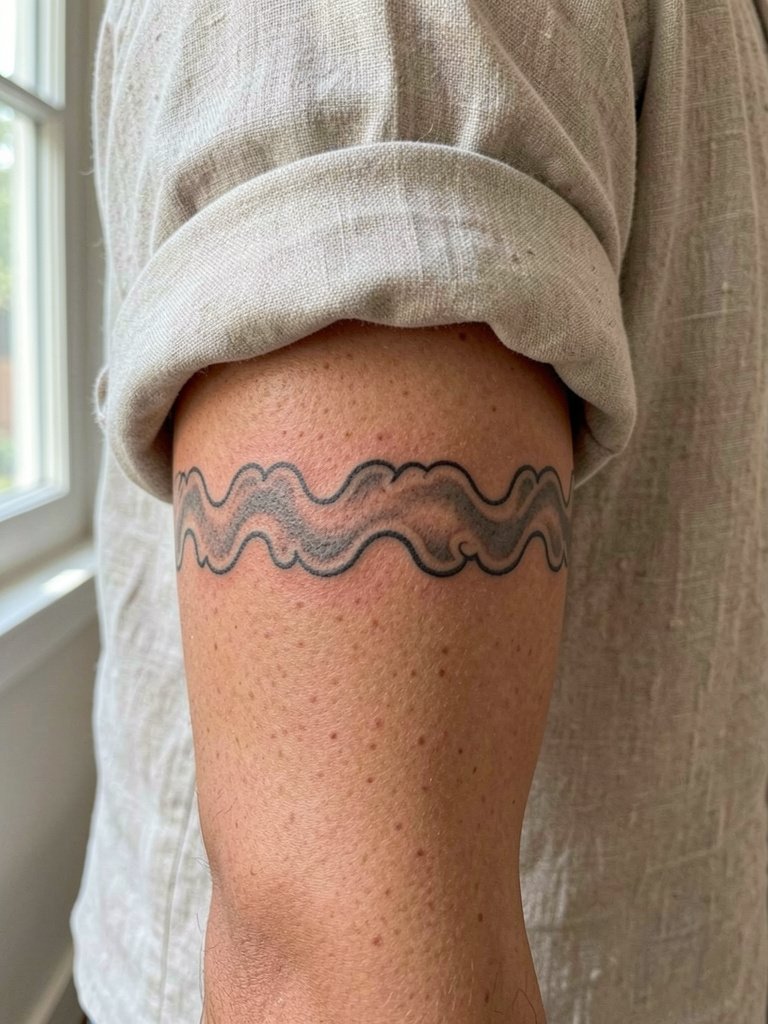
Curved ornamental bands soften the cuff look and pair well with layered bracelets. Avoid tiny scallop details because they blur faster than larger arcs. This placement is good for those who want bracelet-like visuals but not permanent jewelry. Session time is usually 60 to 90 minutes and touch-ups are occasional.
12. Thin Women’s Bracelet Band
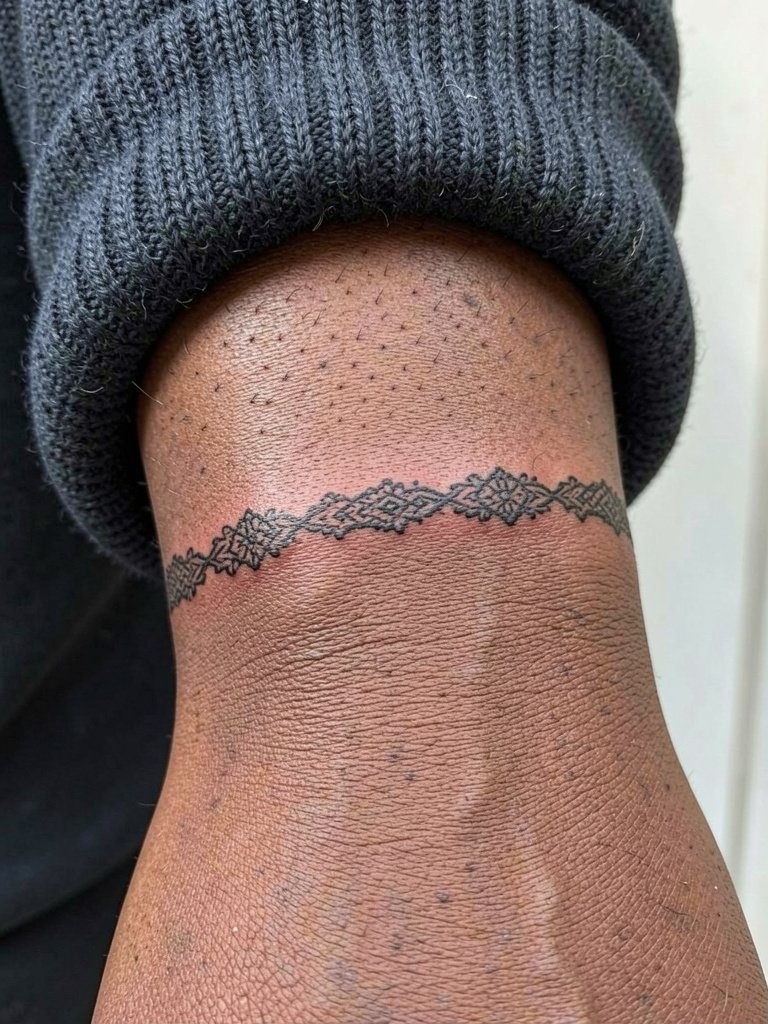
When the arm is slender, a thinner band keeps proportions balanced. The typical error is drawing the design too thin for the wrist, which leads to early softening. Ask for slightly heavier lineweight than the reference to account for skin movement. For session wear, a fitted knit top makes access easy and keeps the area comfortable.
13. Full-Wrap High-Contrast Cuff
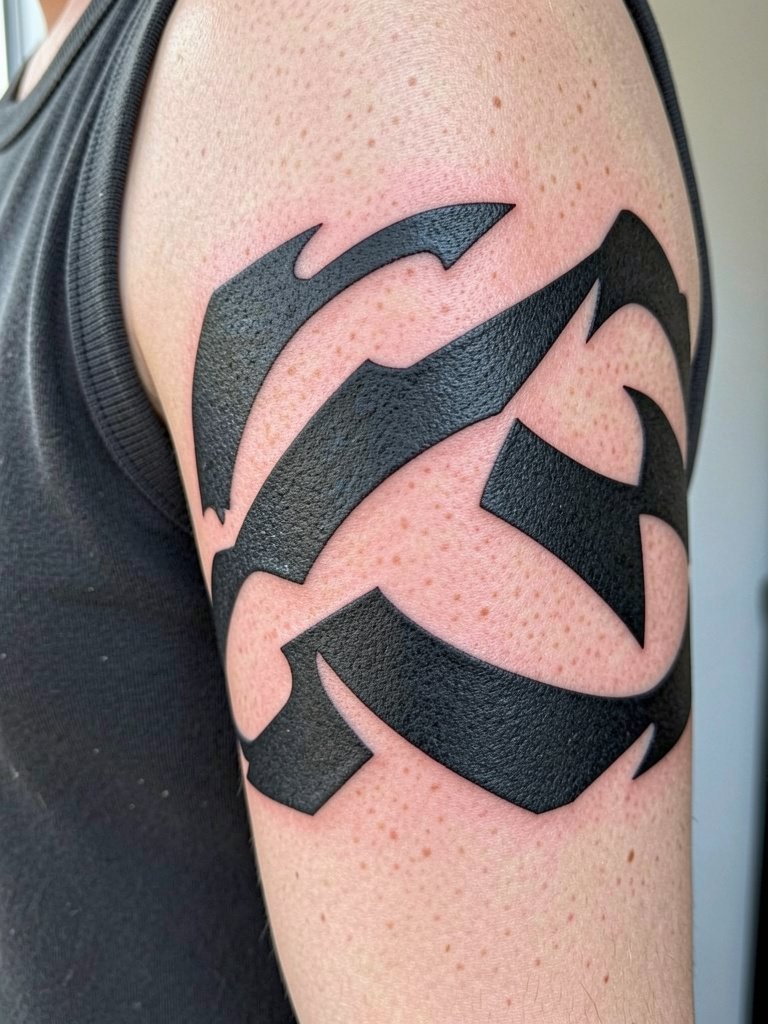
A full-wrap cuff works like permanent jewelry because it reads continuous. Make sure the artist creates a clean seam where the pattern meets so the join does not look like an afterthought. Sessions for a complete wrap can be two to three hours depending on fill. For nights out, pair it with a silver cuff bracelet on the opposite wrist to echo the geometry.
14. Collector’s Ornamental Connector Band
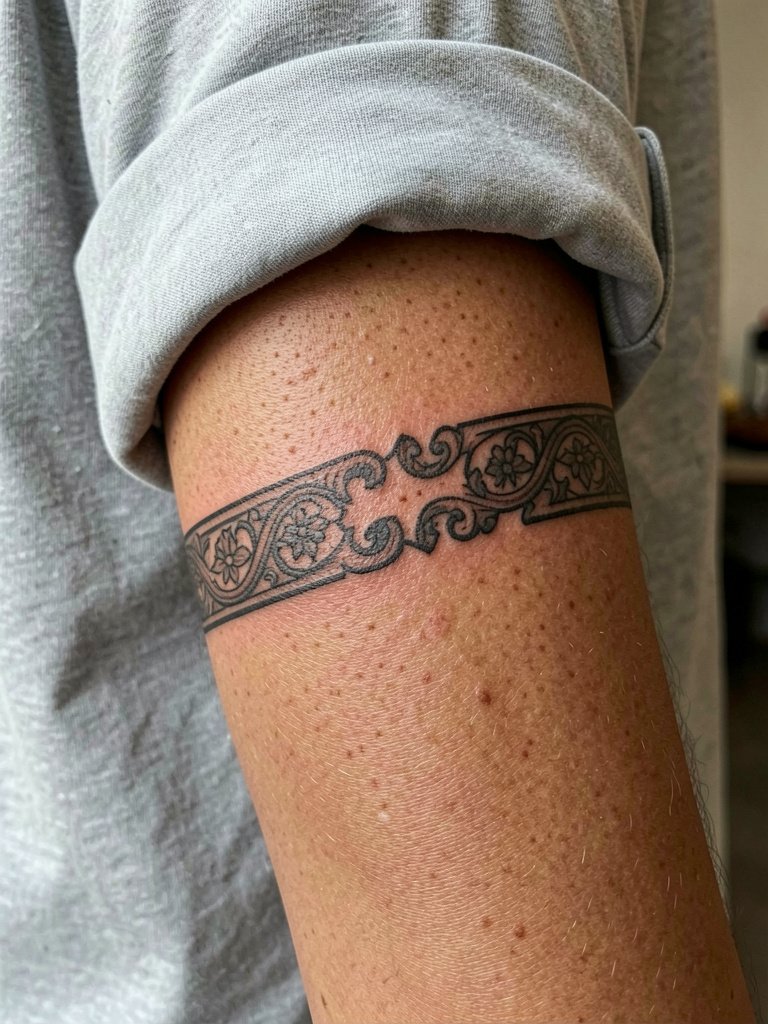
Collectors often want a band that can become a sleeve anchor later. The key is intentional margins and connector motifs that read both as a cuff and as an entry point. During consultation, bring your sleeve ideas so the artist can plan visual bridges. Expect a one to two hour session now and additional sessions later as you expand.
15. Spaced Band for Longevity
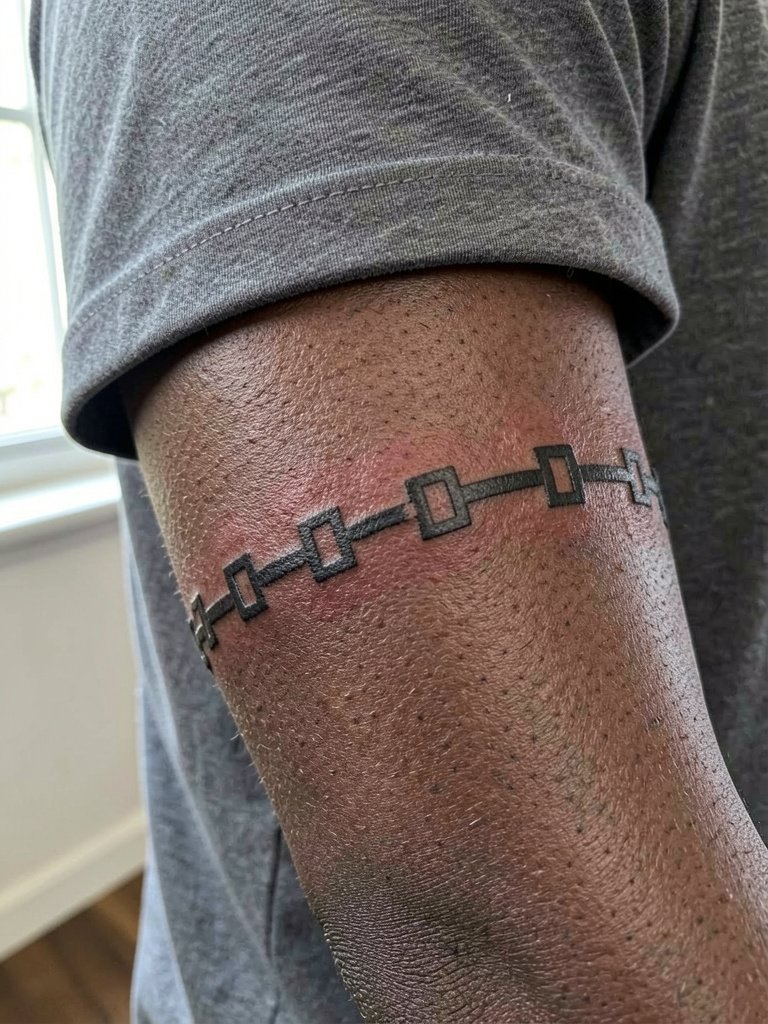
If longevity is a priority, wider spacing beats extra micro-detail. Lines with room age cleaner because there is less chance of adjacent pigment merging. Ask for the artist to show a scaled mockup at three sizes so you can see how spacing changes at a glance. For daily wear, a minimal watch on the opposite wrist keeps attention on the band and balances the look.
16. Thin Inner Upper Arm Band
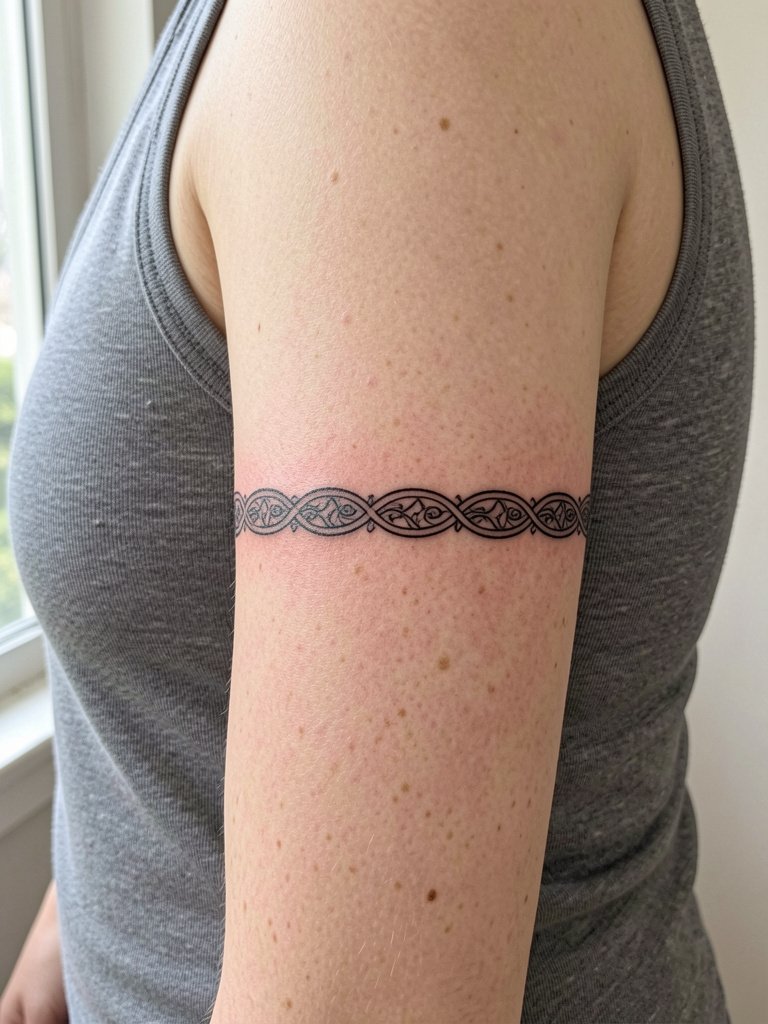
Inner upper arm skin is soft and can blur fine lines if you go too thin. The practical move is to increase line weight slightly and accept that the design will be more intimate than public. Pain is moderate and sessions are short. For the session wear, a muscle tank keeps the area accessible without stretching the skin.
17. Front Upper Thigh Armband
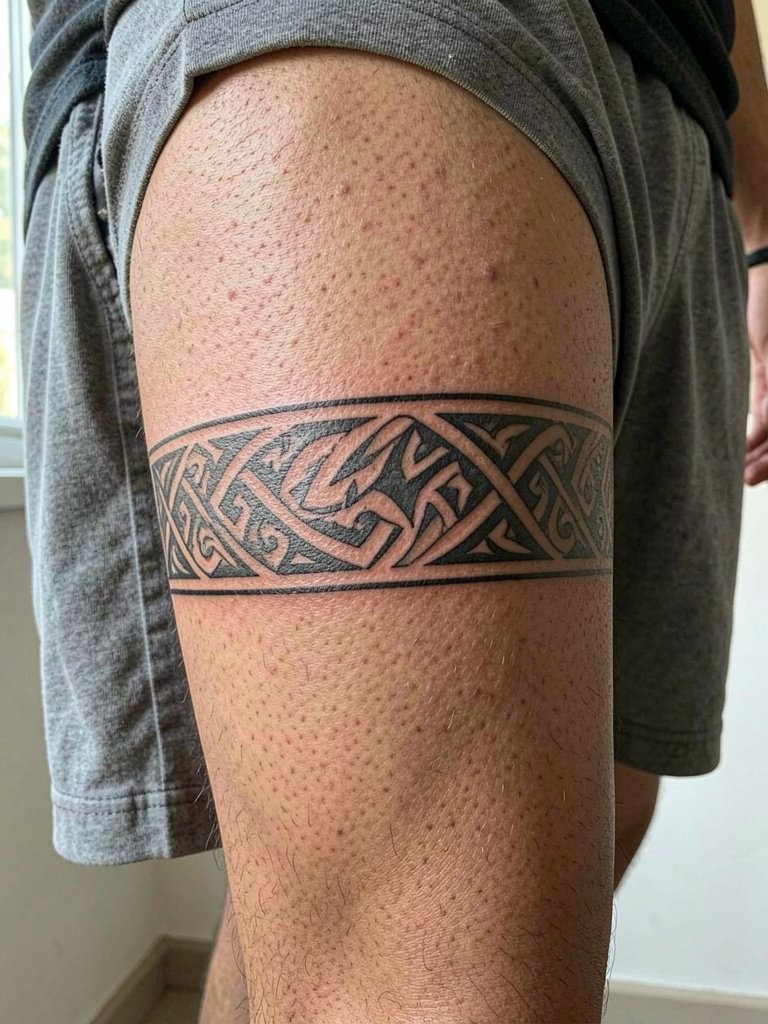
Thigh bands allow larger motifs and a cleaner look because the skin there moves less in daily hand use. If you plan frequent shorts wear, consider the ring of the band higher to avoid waistline friction. Session time is often one to two hours. For summer showcasing, a pair of loose shorts keeps the tattoo visible without rubbing.
18. Ribcage Curved Armband Segment
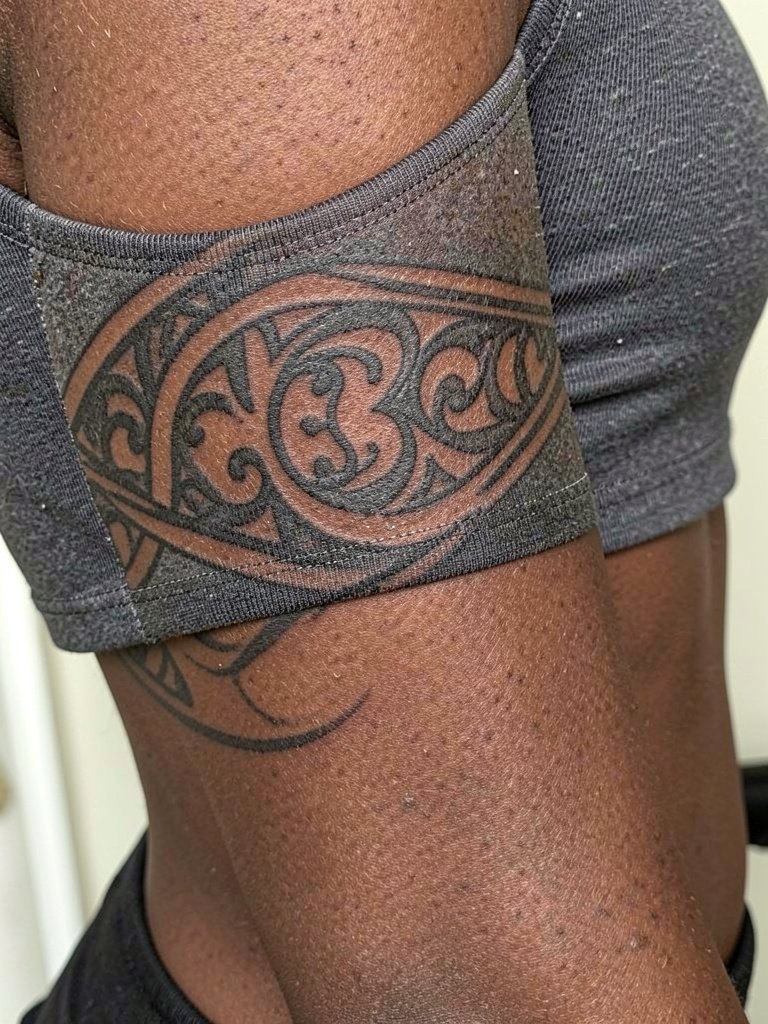
Ribcage work ages differently because skin stretch and movement vary with posture. Artists are split on fine line on ribs. One camp says the area blurs faster and fine details lose clarity within two years. The other camp says that with slightly wider spacing and deliberate needle depth it can settle fine, and they will show healed photos to back that up. If you pick ribs, plan for a bit more spacing and expect higher pain during the session.
19. Inner Forearm Scripted Band Accent
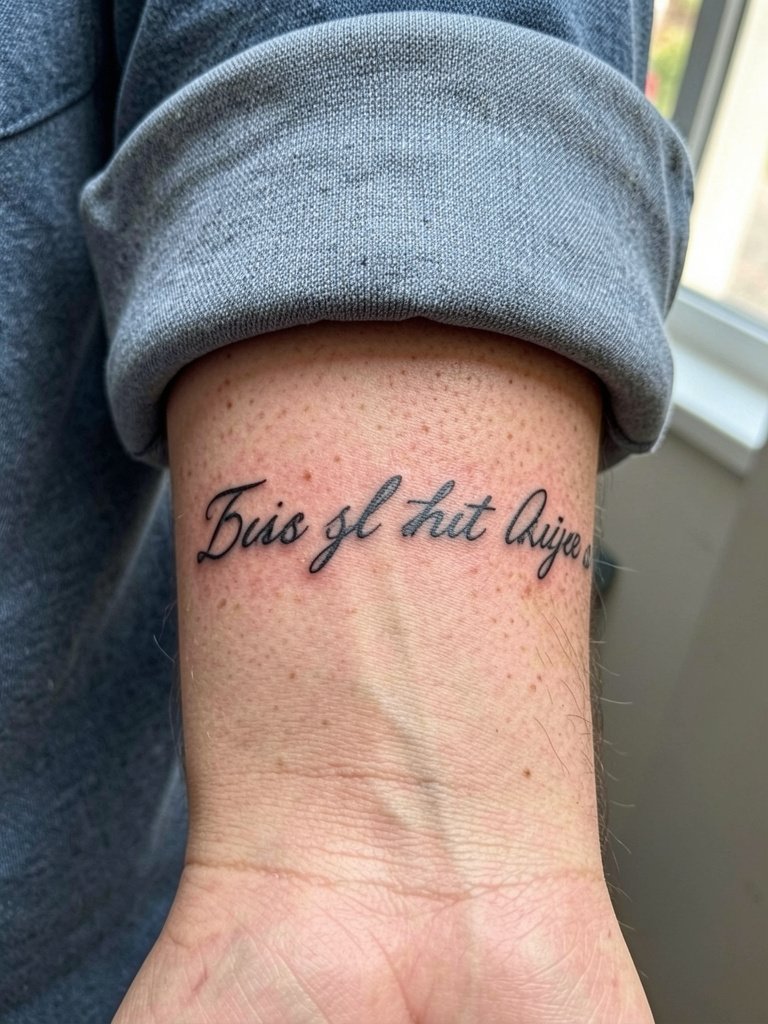
Script inside an armband is delicate and must be planned for scale. The inner forearm can blur fine single-needle script, so the specific fix is to thicken primary strokes and keep loops large. If the script is meaningful, have the artist show the exact word at full size so spacing is clear. For a clean everyday look, cuff your shirt and let the band sit exposed, and bring an extra shirt with a looser sleeve for the session.
20. Wrist Bracelet Band
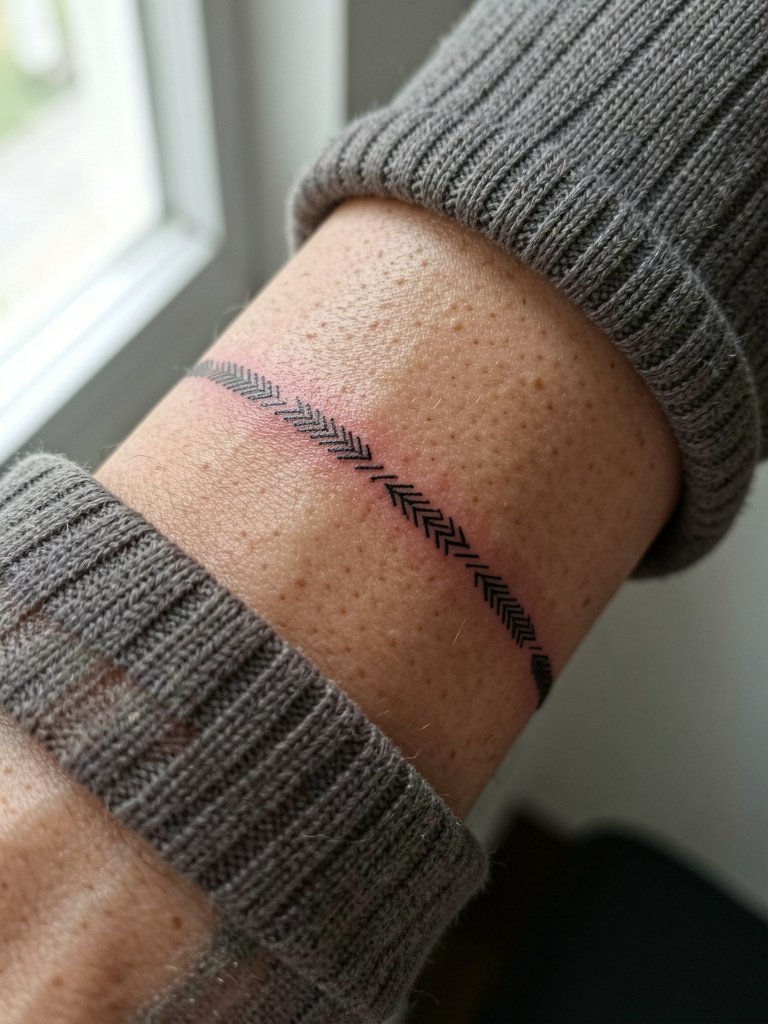
Wrist bands face daily washing and abrasion, so keep the motif bold enough to survive that wear. The common mistake is going too thin and expecting a five-year crisp result. Session time is short but plan on earlier touch-ups for wrist work. For styling, stack with a thin chain bracelet on the opposite wrist.
21. Outer Bicep Ornament Band
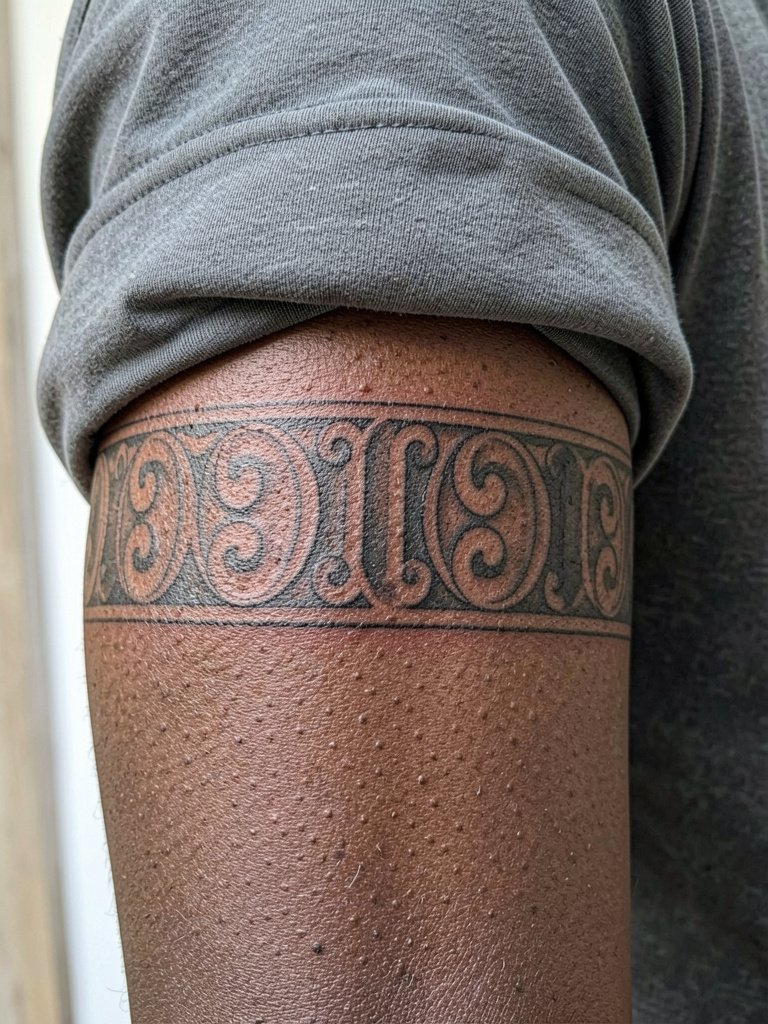
Outer bicep bands sit where the arm naturally shows in short sleeves, so you can favor more decorative lines without sacrificing clarity. The typical session is moderate in time and low in pain. For showing it off, wear a fitted overshirt worn open so the band becomes a framed detail rather than the whole look.
22. Fractured Negative Space Band
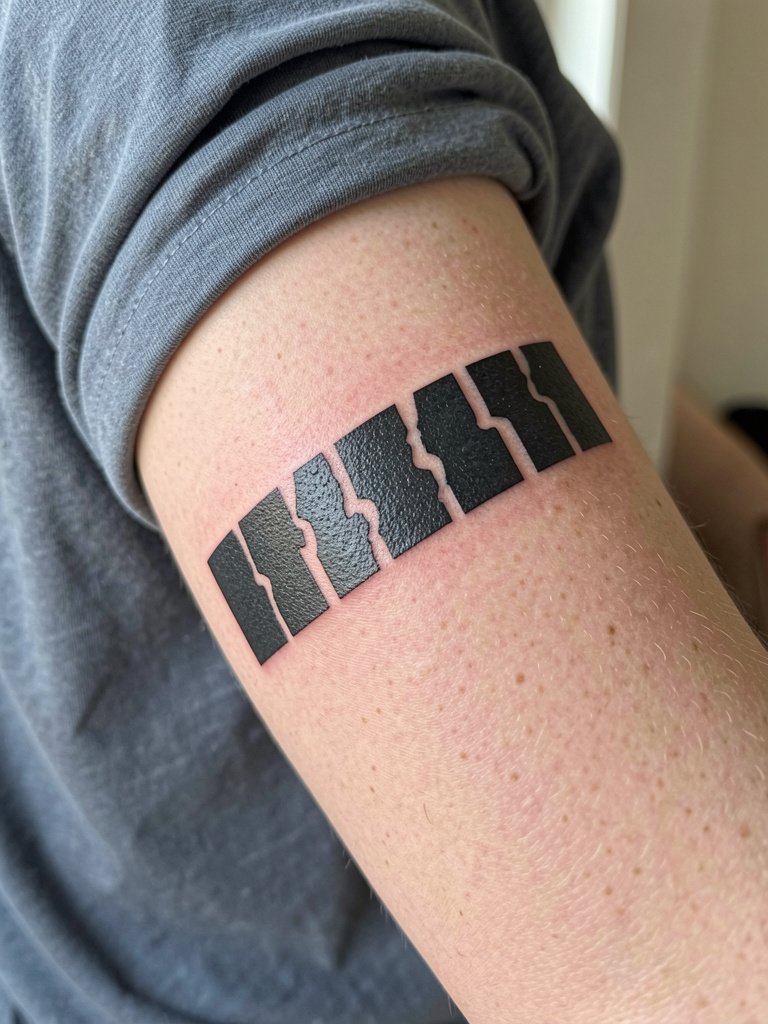
Fractured bands use gaps as a design element to break up solid black and make aging less aggressive. A common mistake is irregular gap sizing that creates a noisy silhouette. When you preview the stencil, ask for even gap rhythm so the cuff reads as intentional chaos instead of a botched fill. Forearm placement gives you a daily view of how the gaps interact with muscle motion.
23. Braided Motif Armband
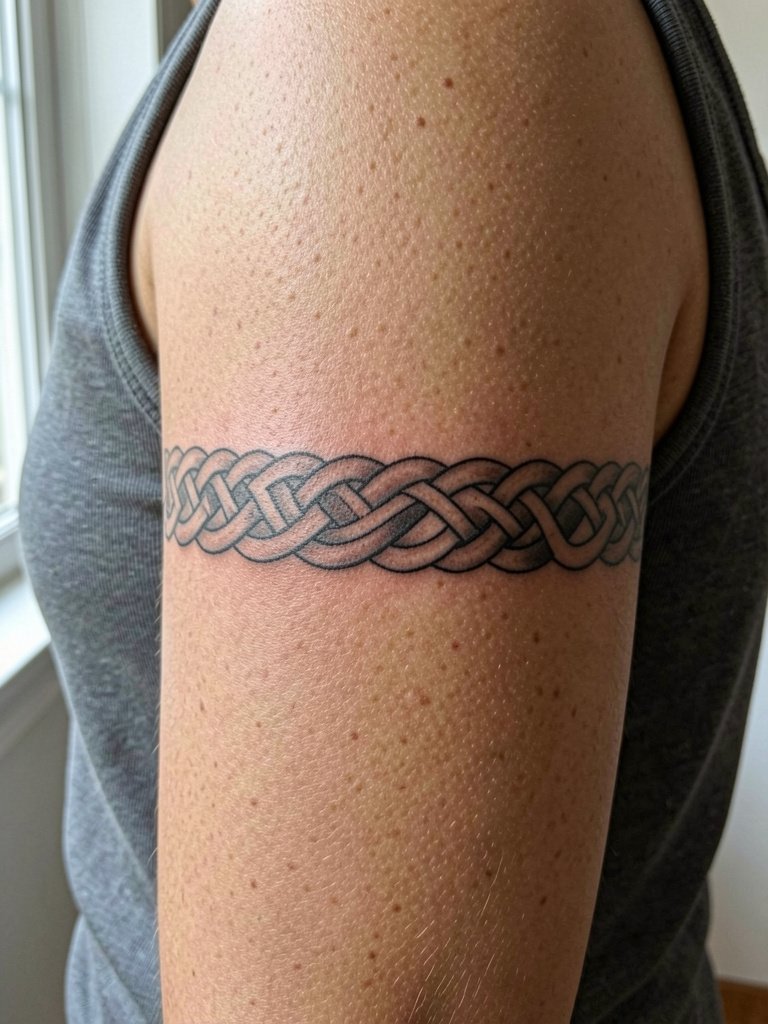
Braided bands create the effect of texture without extra shading, which helps them read well over time. The trick is keeping the braid scale large enough so the intersections do not merge. Session time is usually one to two hours and pain is moderate. For a finished outfit, try a sleeveless rib tank that showcases the braided detail while keeping the silhouette clean.
Frequently Asked Questions
Q: How do I choose forearm versus upper arm for a tribal armband?
A: Think visibility and daily friction. Forearm placements are public and great if you want to see the work every day. Upper arm placements sit more privately under short sleeves and face less abrasion, which often means less frequent touch-ups. If you plan future sleeve work, ask the artist to map connector margins so the band can be integrated later.
Q: Will dense blackwork look better than negative space over time?
A: Artists and wearers split into two camps. One camp favors dense blackwork because strong fills read clearly and keep their shape on muscular arms. The other camp prefers negative-space bands because those breathe and age into readable forms as skin texture changes. The best choice depends on your arm shape and how often you want to touch up the piece.
Q: How should I dress for my armband session to make it easy for the artist?
A: Wear clothing that exposes the exact placement naturally. For upper arm work choose a sleeveless top. For forearm work wear a short sleeve or rolled sleeve shirt. A loose tank or muscle tee gives clear access and prevents fabric from rubbing the area before it heals.
Q: Where can I find reliable portfolios and healed examples near me?
A: Search image-first platforms with location filters and the right tags. Try hashtags like #tribalarmbandtattoo and #blackworktattoo, then filter results by location. Look for portfolios showing healed shots rather than only fresh stencils because healed photos reveal how spacing and saturation settled across skin tones.
Q: Do tribal armbands require special aftercare compared with other blackwork?
A: The basics are similar but cuffs that wrap will rub against clothing and watches, so protect the area the first week. Avoid tight cuffs and heavy jewelry until the skin has sealed. If your band sits near the wrist or waistline, expect more frequent gentle cleansing and a possible touch-up at the six to twelve month mark.
Q: Can a tribal armband be expanded into a sleeve later on?
A: Yes, but plan for it from day one. Ask for uninked margins and transitional motifs that can extend, and request a stencil mockup that shows the band with potential sleeve elements. That planning step prevents awkward seams and makes future sessions more efficient.
