
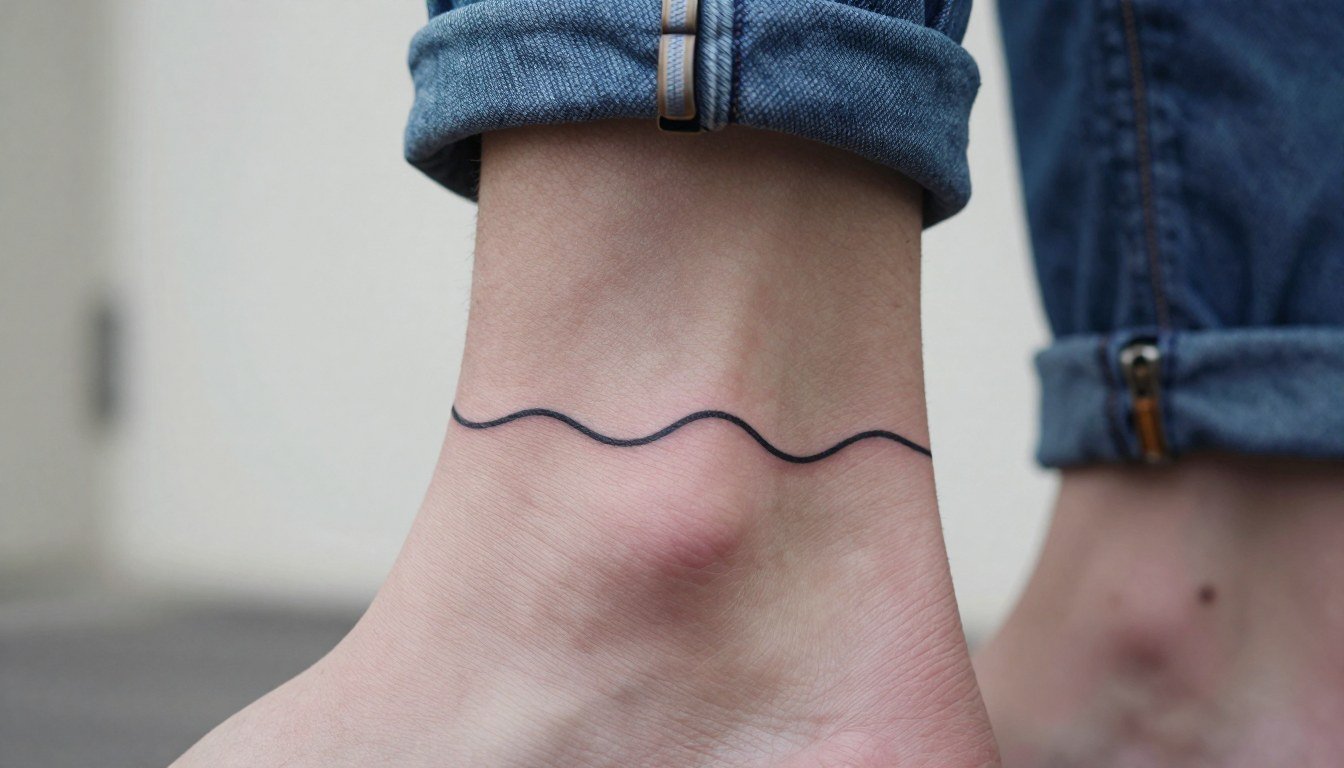
Small matching tattoos look effortless at first glance, but tiny scale hides a few hard truths. Lines that read elegant in a flash photo can turn into indistinct blur if they are too thin or too close together. Expect to plan for readable silhouettes, think about where each piece will age, and pick symbols that still mean something to you when they are seen on their own in five years.
1. Tiny Outline Hearts on the Inner Wrist
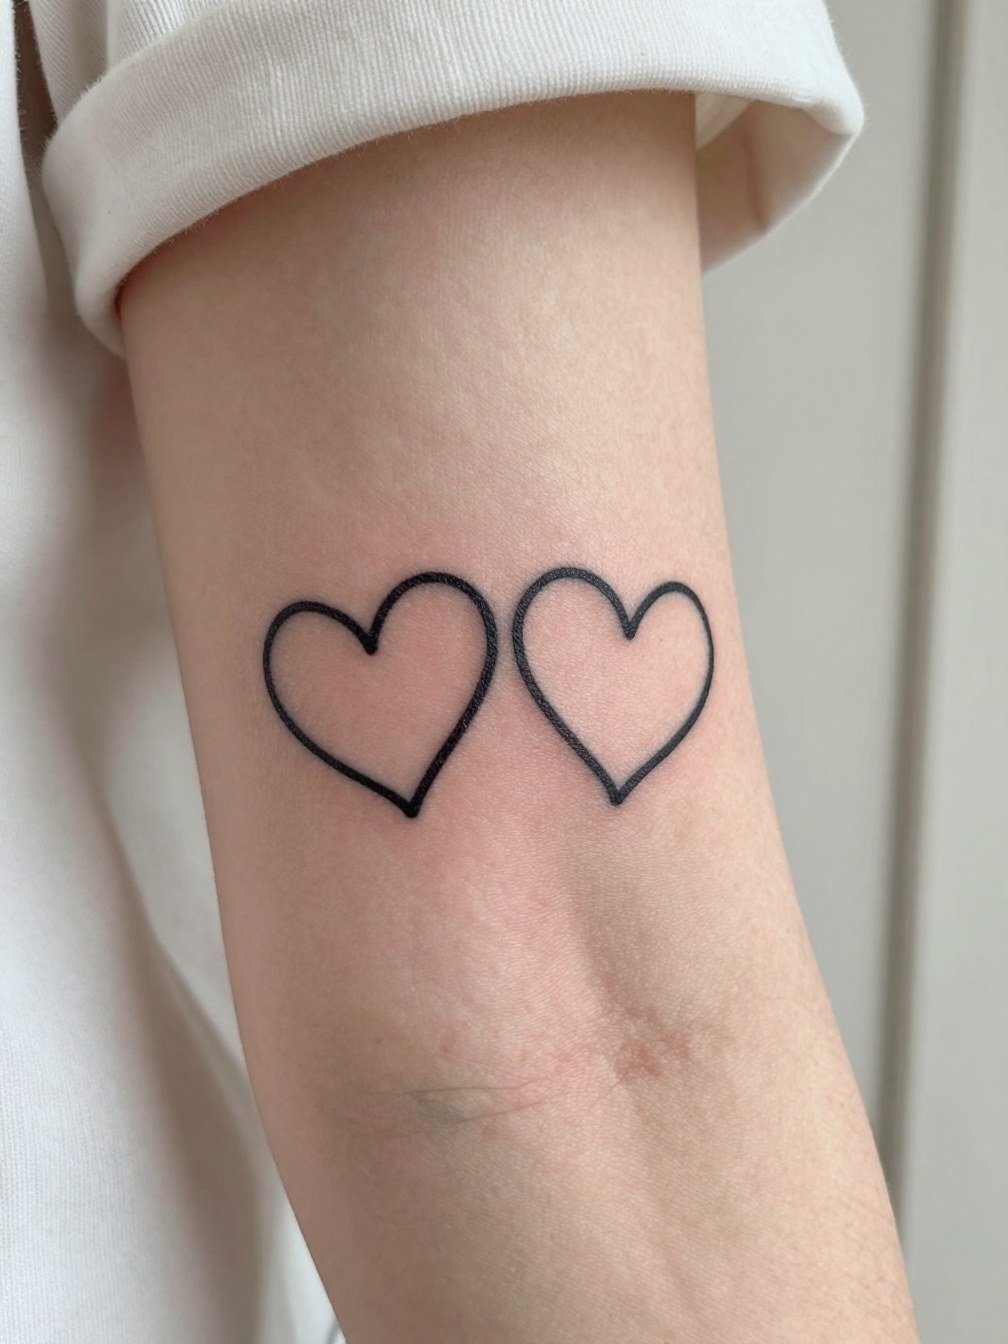
Tiny wrist hearts are the archetype of subtle matching tattoos because they read instantly when you put both wrists side by side. One camp favors ultra-thin single-needle outlines for that delicate look. The other camp argues for a hair heavier line so the heart retains its shape after one to three years of wear. If you want them to last visually, pick a clean silhouette rather than interior filigree, and ask for linework slightly bolder than the reference image so the heart keeps its contour as it heals. For session comfort wear a sleeveless top and avoid bracelets on the tattooed wrist. This placement photographs well with thin chain bracelet sets on the opposite arm.
2. Sun and Moon Pair on the Outer Wrist
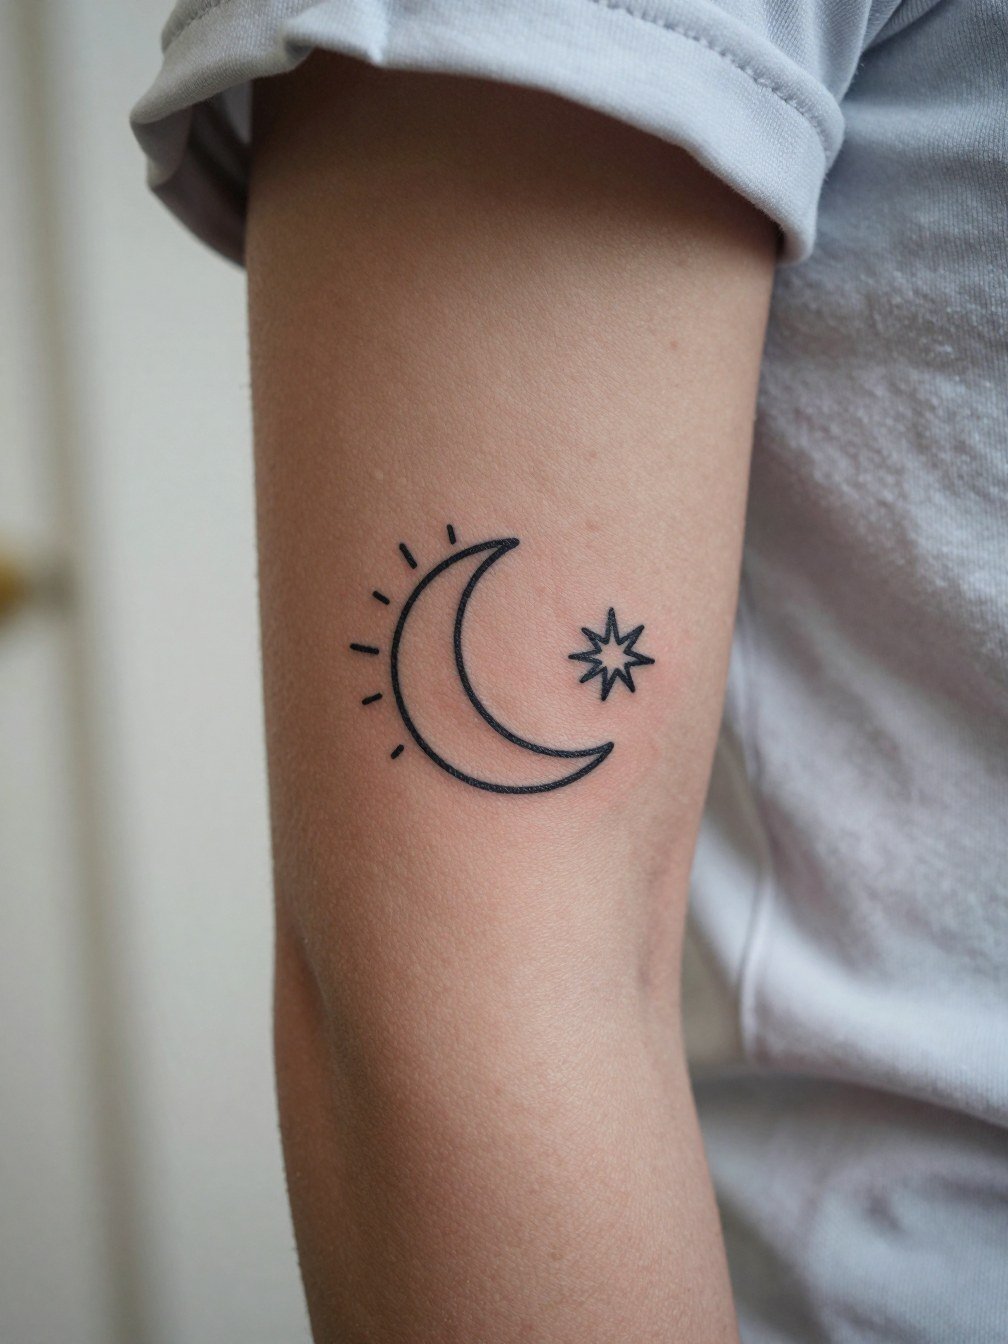
Sun and moon pairs show coordination without being identical, which helps each person keep a standalone symbol. If you want contrast, choose one piece with extra dot shading and the other with a crisp outline. A common mistake is cramming tiny interior rays or tiny moons that merge when healed. Instead, prioritize negative space around those tiny rays. For the session wear a short-sleeved tee so the artist can work freely. These look great with a clean watch on the opposite wrist, try pairing with a minimalist watch for photos.
3. Mirrored Fine-Line Arrows on the Inner Forearm
Mirrored arrows are a simple way to create a directional relationship cue without exact duplication. They read clearly in photos when the forearm faces palm-up. The session usually takes under 30 minutes and feels like light buzzing with occasional sharper twinges near the wrist. A frequent error is going too thin on the shaft, which can fade into a faint gray line after a few years. Ask for slightly heavier shaft line weight and keep decorative fletching minimal. For a ready-to-wear photo try a rolled sleeve linen shirt and a dainty chain bracelet on the opposite wrist.
4. Matching Coordinates on the Inner Wrist
Coordinates are private and clean, but tiny text is vulnerable to blur. The design that ages best uses monospaced figures in clear spacing rather than script or extremely small serif numerals. A common mistake is asking for extremely small type that looks crisp on day one and unreadable by year two. Request a slightly larger font size and consistent spacing so the numbers remain legible. For the appointment wear a sleeveless cotton top so the artist can reach the area easily. These pair nicely when photographed with a slim bangle on the other wrist, consider thin chain bracelet sets as a neutral complement.
5. Tiny Key and Lock Pair on the Ankle
Key and lock pairs photograph well and hold up because the shapes read even when tiny. The ankle gets more friction from socks and shoes, so designs with thin interior detail are at risk of softening. Ask for bolder outer contours and minimal inner decoration. The session feels modestly irritating if the ankle bone is involved, but it is short. For showing off the pair, cropped denim and strappy sandals work well. Try pairing with strappy sandals for warm-weather photos.
6. Mini Wave Line on the Outer Wrist
Mini waves are perfect for people who want a neutral symbol that still photographs together. A frequent mistake is requesting a tightly detailed wave knot with extra microlines that disappear after six months. Instead choose a single clean curve or a double-line wave so the silhouette stays legible. For the session wear a loose short sleeve or sleeveless top so the artist has clear access. Style-wise, cropped denim or sandals let the ankle and wrist pieces show in photos, and a sleeveless cotton top works well on the day.
Session Day Picks
The wrist, ankle, and finger pieces above heal differently than larger work. A few small items make the appointment and the first week easier, especially for fine-line matching pieces in these spots.
-
Stencil transfer paper kit. Lets you preview exact placement and line weight on skin before the needles start, which is vital for tiny text and silhouettes.
-
Topical numbing cream. Applied per product instructions before short sessions eases the sharp twinges at bony wrist or ankle locations.
-
Thin protective film roll. Keeps finger and wrist tattoos cleaner during the first week of frequent hand washing and friction.
-
Fragrance-free body wash. Gentle cleansers prevent irritation on fresh fine-line work without stripping moisture.
-
Healing ointment. A thin layer in the first days helps manage scabbing and preserves crisp linework on tiny pieces.
7. Matching Initials on the Lateral Finger
Finger initials read as very private and look great in close photos, but fingers wear more and need touch-ups sooner. One group of artists still champions ultra-thin script for the dainty look. Another group recommends firmer single-line strokes because fingers blur fast. If you choose the finger, plan for at least one touch-up in the first two years and accept that heavy jewelry will compete visually. A common mistake is pairing tiny script with chunky rings. For show-off styling go with thin stacking rings and a neat neutral manicure. During the session remove all rings from that hand.
8. Small Stars Behind the Ear
Behind-the-ear stars are discreet and intimate. They look lovely when shown in photos with hair tucked back, but that spot fades faster than the forearm. The debate is clear. One camp says behind-the-ear placements are ideal for subtle matching tattoos because they are easy to hide. The other camp warns they need more maintenance and can look rougher over time. If you pick this spot, expect touch-ups and plan your hairstyle accordingly. For session wear, bring hair ties or clips so the artist has unobstructed access. Small hoop earrings pair well for reveal shots.
9. Mini Butterflies on the Ankle
Butterfly outlines carry a decorative feel without overcomplication, and the ankle lets them sit near footwear for photos. Avoid overly detailed wing veins at this size because they can blur. Prefer open wing silhouettes and light stipple shading to keep the design readable. The ankle gets sock friction, so heavier outlines help. For showing the pair try cropped denim and low-profile sandals. A simple option is cropped linen pants for warm-weather photos.
10. Small Flames on the Inner Wrist
Tiny flame tattoos read as energetic and pair easily for friends or couples. A mistake is over-detailing the interior of the flame on a very small scale, which removes contrast as the ink spreads slightly. Choose distinct outer contours and a single small color accent if you want pop. For the session avoid bracelets that interfere with the wrist. These look smart against bare wrists or with a clean minimalist watch on the other arm.
11. Tiny Planet Icons on the Forearm
Small planetary motifs are playful and age well because their simple silhouette is readable at tiny scale. A common error is adding rings with internal hatching that disappears. Keep the ring single-line and ask the artist to space it slightly from the planet disc. The forearm tolerates fine line better than fingers, so the piece will likely need fewer touch-ups. Style the forearm with rolled sleeves or a linen button down for casual photos.
12. Tiny Semicolon Near the Hairline
Semicolons work because they are instantly recognizable and require no interior detail. They are discreet and suit behind-the-ear placements, but expect higher fade potential than on the forearm. A typical mistake is asking for a stylized flourish that blurs; a plain, bold semicolon holds up best. Plan for occasional touch-ups and bring clips to hold your hair out of the way during the session. Small hoop earrings help frame the reveal.
13. Split-Heart Halves on Opposite Forearms
Split-heart designs read strongly in paired photos and let each person keep a half that still looks finished alone. There is a broader debate about identical versus coordinating tattoos. One camp prefers identical pieces because they present clearly as matching in photos. The other camp favors coordinating or complementary halves so each person has an independent piece if paths diverge. For longevity, avoid tiny interior shading where the halves meet. The forearm placement photographs well with rolled sleeves and a dainty chain bracelet on the opposite arm.
14. Tiny Crown and Keyhole Pair on Fingers
Crowns and keyholes are playful and compact, but fingers again need maintenance. The biggest mistake is requesting too many tiny ornamental details. Instead keep strong outlines and space between elements so the tiny shapes do not merge. Finger sessions feel sharp and short. For show-off looks choose thin stacking rings and neutral nail polish, like neutral nail polish shades to avoid visual clutter.
15. Mini Floral Outlines on the Inner Forearm
Botanical outlines scale down well because their silhouette reads even without interior shading. A frequent error is adding tiny stipple that clumps. Choose a clean stem-and-bloom silhouette and consider a slightly bolder stem to keep the piece legible at two years healed. The inner forearm tolerates fine line, so touch-ups are less likely than with fingers. For photos, a rolled sleeve or linen button-down pairs well and a rolled sleeve shirt keeps the look relaxed.
16. Micro Geometric Dot Cluster on the Collarbone
Micro geometric clusters work well near the collarbone because the skin is relatively stable and the small shapes read as a pattern rather than a single fragile line. Avoid making dots so tiny that they vanish together. Instead pick a simple arrangement with slightly larger dots and deliberate spacing. For the session wear a scoop-neck top so the artist can reach the area easily. A bare neckline or small hoop earrings help frame the shot.
17. Complementary Morse Code on the Inner Wrist
Morse code is quietly personal and reads well at a tiny scale because the pattern is binary. The common mistake is compressing dots and dashes too tightly. Allow spacing between elements so the sequence stays legible as the skin ages. For appointment-day wear choose a sleeveless top so the artist can access the forearm easily. The minimal aesthetic pairs well with a minimalist watch on the opposite wrist.
18. Tiny Mountain Silhouettes on the Upper Arm
Tiny mountains hold as strong silhouettes because they are read by outline rather than interior detail. A common error is requesting tiny ridge lines that vanish with time. Keep the caps and ridges simple and let the outer contour do the work. The session is low to moderate discomfort and short. This placement pairs well with sleeveless tops or rolled sleeves for photos, and an oversized tee with cuffed arm gives a relaxed look.
19. Matching Paw Prints on the Ankle or Foot
Paw prints are affectionate and read well at very small sizes. The biggest mistake is adding tiny fur detail that blends into a single smudge. Solid silhouette pads and clear spacing prevent that. Ankle and foot placements see friction from footwear, so heavier black fills help preserve contrast. For photos try cropped denim and sandals, or low-profile sneakers for cooler weather. Consider ankle socks low cut if you want the ankle visible without sandals.
20. Tiny Matching Lightning Bolts on the Wrist
Lightning bolts are high-contrast and photograph well. Small bolts need clear, bold contours to avoid losing their jagged edges over time. The session is brief but the wrist can be sensitive. Avoid interior cross-hatching in this tiny scale. For reveal photos, a clean wrist with a minimalist watch on the opposite arm keeps the focus on the bolt.
21. Coordinated Three-Piece Design for a Group
Designs for three or more people shift the dynamic away from one-to-one matching and toward a shared motif. The common mistake is forcing tiny connecting lines that only read when all arms are aligned. Instead, choose three distinct silhouettes that suggest completion when photographed together. Discuss spacing so the pieces read separately as well. For the session wear shirts with cuffed sleeves so everyone can position comfortably. Coordinated cropped outfits or rolled sleeves photograph the group nicely, and a linen button down makes a cohesive visual in group shots.
Frequently Asked Questions
Q: How much should I expect to pay for a small matching tattoo?
A: Prices vary by shop and city, but tiny pieces commonly fall within shop minimums. Expect to cover the minimum even if the work is quick, and be prepared to pay more if the design requires higher precision or color. Plan your budget for potential touch-ups within the first two years for fingers or behind-the-ear placements.
Q: Will a tiny matching tattoo blur into an indistinct mark over time?
A: It depends on the design and placement. Fine single-needle detail on fingers and near joints tends to soften faster. Choosing clean silhouettes, slightly stronger line weight, and placements with less friction increases the chance the piece will remain legible at two to five years healed. Expect a touch-up more often on fingers and behind the ear than on forearms or upper arms.
Q: Where can I find local portfolios and healed examples without naming artists directly?
A: Search hashtags like #matchingtattoo, #bestfriendtattoo, and #smalltattooideas on Instagram and TikTok and filter by your city. Use tattoo booking platforms and directory searches for terms like "fine line" or "minimalist matching" to surface studios with portfolios. Reddit threads are useful for seeing healed examples and hearing real user experiences on longevity.
Q: Are matching tattoos a good idea for couples who may separate later?
A: Opinions split. One viewpoint sees shared tattoos as meaningful rituals that mark a milestone and can be a positive shared memory. The other viewpoint warns about regret and suggests choosing symbols that can stand alone if circumstances change. If you are cautious, pick imagery that has independent meaning for each person.
Q: What should I wear to the appointment for different placements?
A: For wrists and forearms choose short sleeves or rolled cuffs. For ankles wear loose joggers or shorts you can lift above the ankle. For behind-the-ear pieces bring hair ties or clips. These simple choices make the session easier for the artist and reduce fabric interference with the stencil.
Q: How do I plan for touch-ups and aftercare for tiny matching pieces?
A: Expect that fingers and behind-the-ear placements will need touch-ups sooner than forearms or upper arms. Follow the shop's healing window instructions closely and keep an eye on contrast as the piece heals. If you value a long-term crisp look, budget for at least one touch-up within the first two years for high-wear sites.
Q: What clothing or accessories photograph best with small wrist or ankle tattoos?
A: Slim bangles, thin chain bracelet sets, cropped denim, and strappy sandals frame small wrist and ankle pieces nicely. For the forearm, rolled sleeves and linen shirts create a clean backdrop. Consider thin chain bracelet sets for wrist shots and cropped linen pants for ankle reveals.
