

Someone I know spent months panicking about whether a tiny wrist design would still read in a year. They worried about faded lines on darker skin, a shop that canceled twice, and whether a first tattoo would look cheap after healing. I have spent time in five shops across Brooklyn and followed forums enough to know those fears are common. Below are 20 simple linework tattoo ideas that solve for placement, aging, and touch-up realities for beginners.
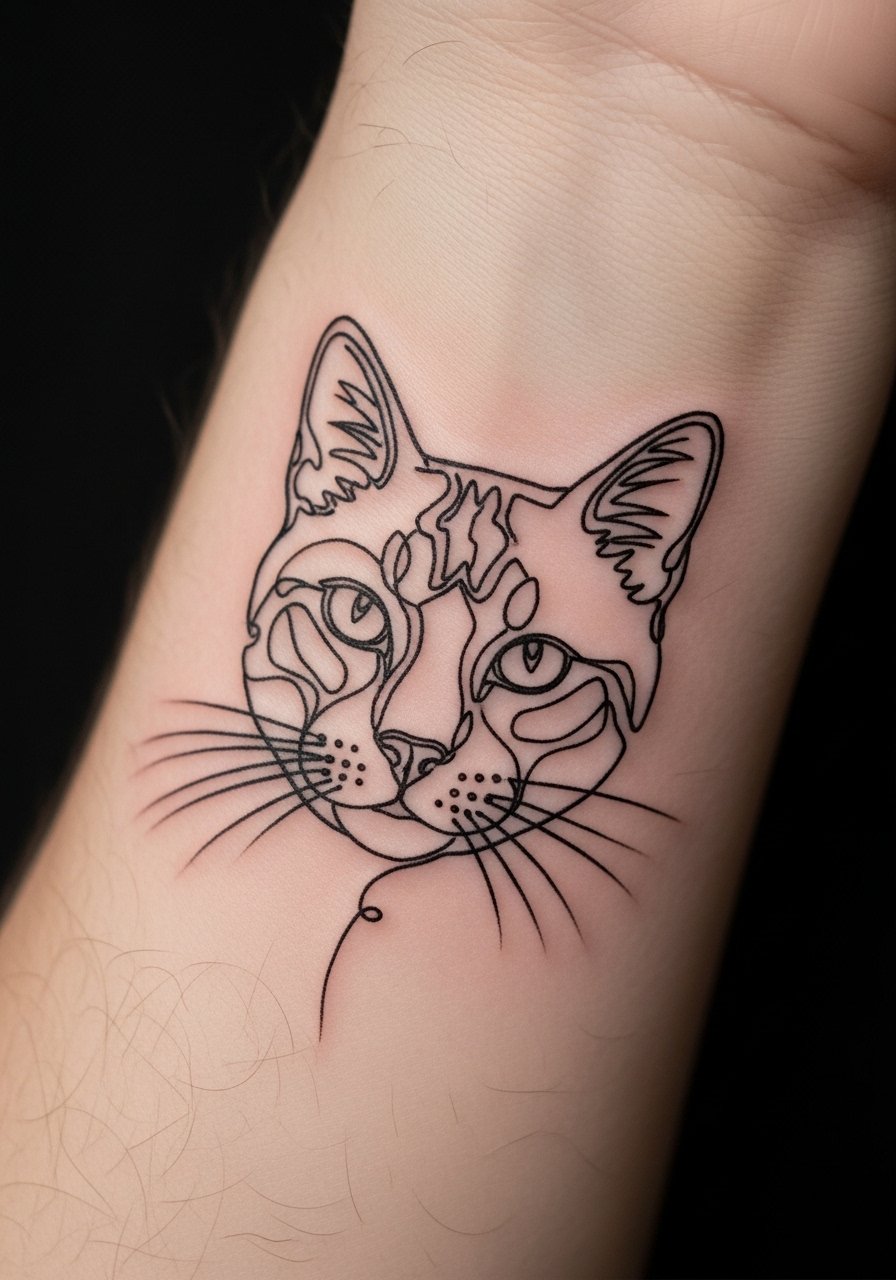
1. Single-line Cat Portrait on the Wrist
Someone I know first saw a one-stroke cat on a friend and booked the same size for their wrist. Tell your artist you want a continuous stroke that leaves negative space for the eye shapes. The wrist is low on pain but sees a lot of sun and friction, so expect a touch-up at six months if lines thin. A common mistake is asking for the portrait too tiny. Size it so the single line can breathe. For longevity, prefer slightly bolder single-needle spacing and ask to see healed wrist photos on a range of skin tones via hashtags like #SingleLineArt.
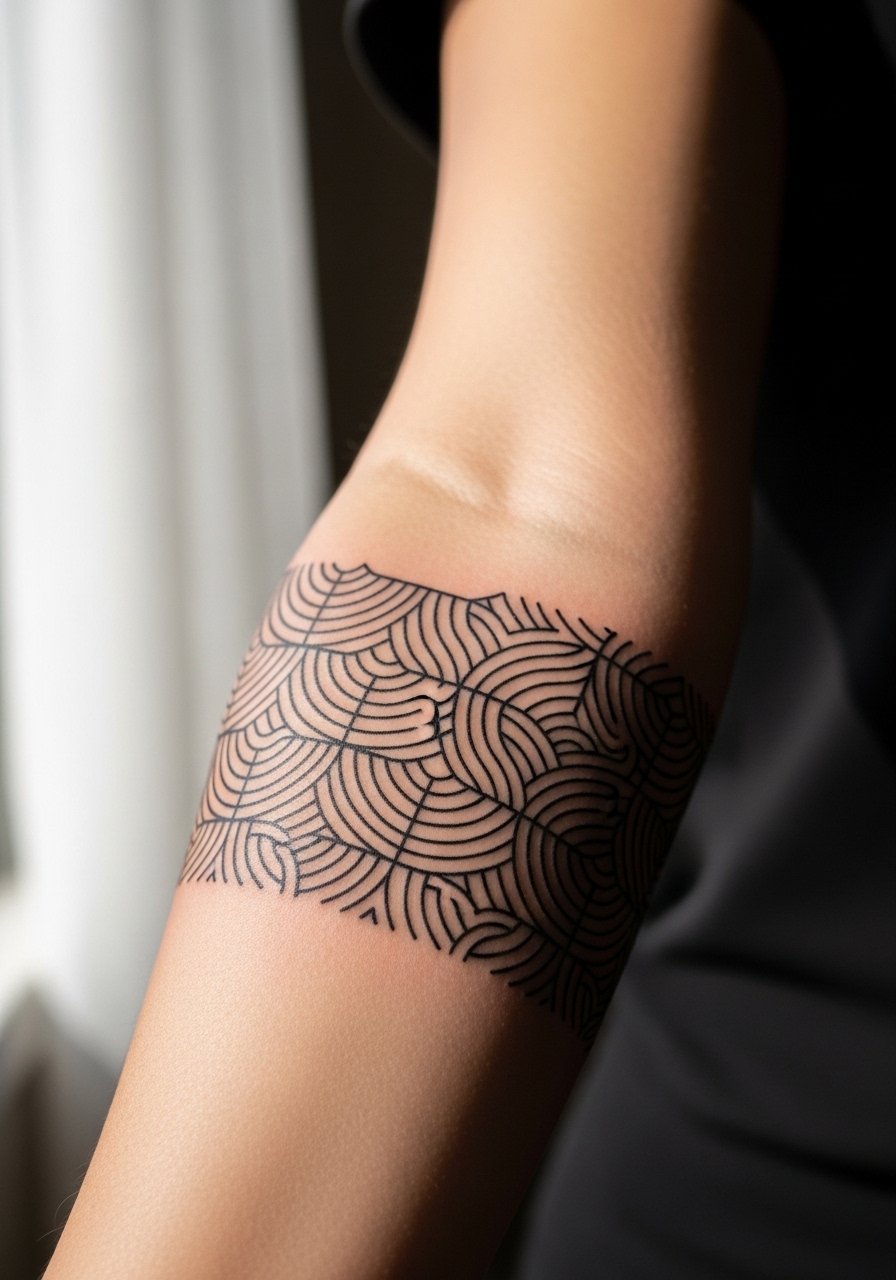
2. Geometric Wave Band on the Forearm
Fair warning, the forearm can look different when healed because the skin stretches with muscle movement. When you consult, bring a forearm placement photo that matches your anatomy. This style reads well from a distance so it works slightly larger. The session usually lasts under two hours but expect the artist to re-check alignment as you shift. One version that ages poorly is a too-tight repeating pattern that blurs; spacing those waves and increasing line weight by a hair helps them stay crisp for years. Search location-tagged TikTok for guest spots if you want a deal.
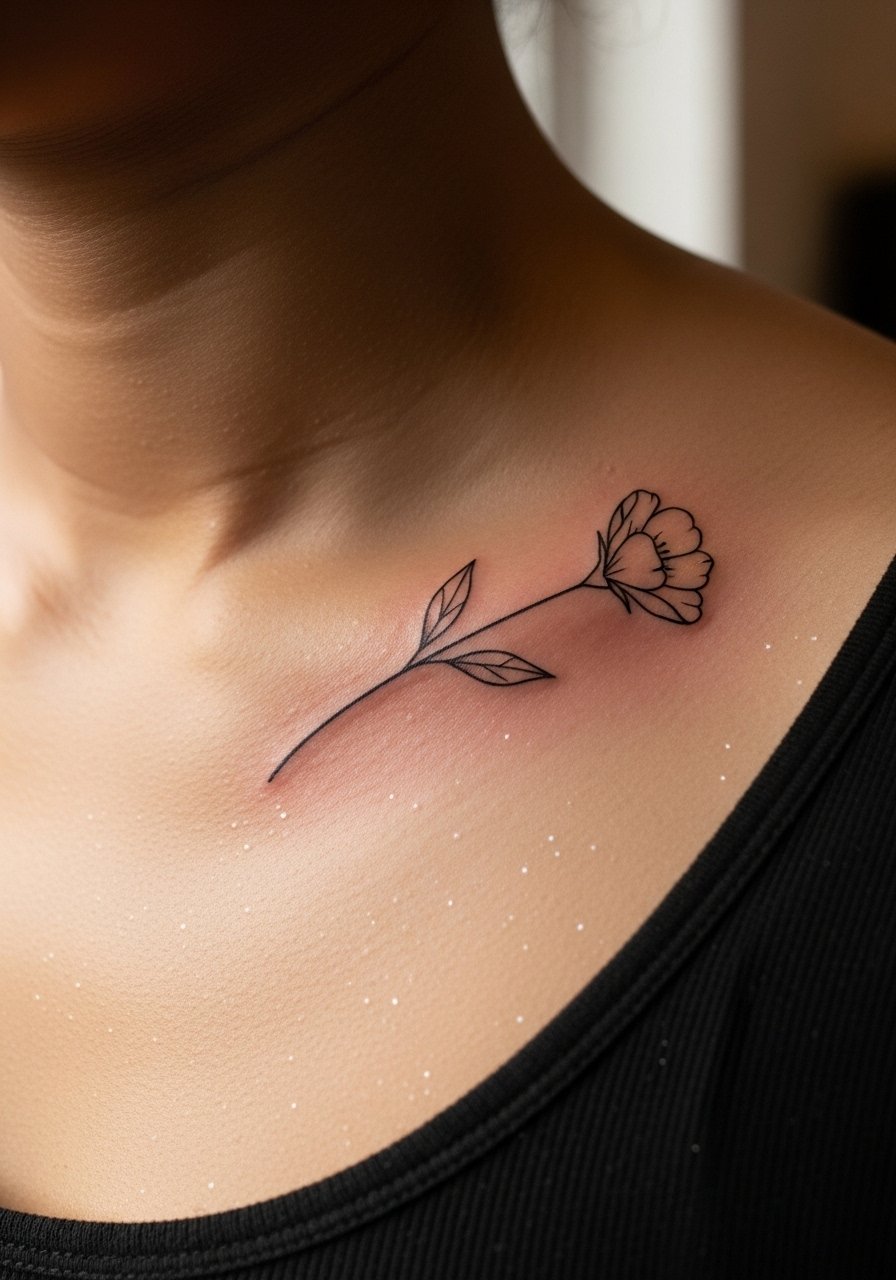
3. Minimalist Flower Outline on the Collarbone
When you sit down with your artist for a collarbone flower, describe the exact petal count and how open you want the center to be. Collarbones are a flattering placement that catches light but can sting a bit more than the forearm. The floral outline looks great fresh and at six months it softens nicely. Expect the thinest parts to need a touch-up within a year if you pick hairline strokes. Avoid asking for extra tiny root details that will blur. If you have darker skin, ask for slightly heavier line weight so the petals keep shape.
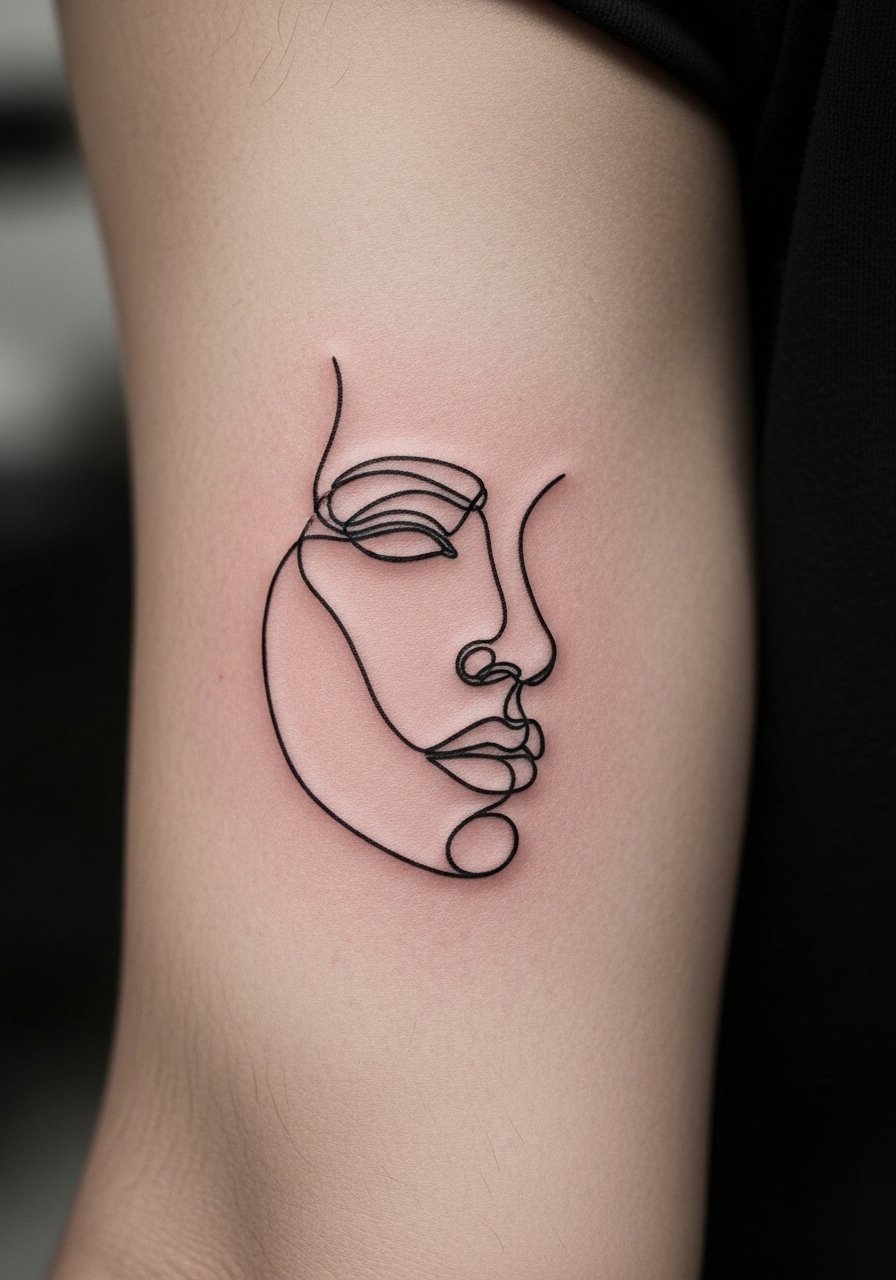
4. One-Line Face Silhouette on the Inner Bicep
When artists debate one-line faces on curved biceps, they split into two camps. One camp says the curve and muscle movement cause lines to shift within a couple of years. The other camp argues that proper needle depth and spacing keep the portrait intact. Ask your artist where they stand and request healed inner-bicep photos. The inner bicep is fleshier so pain is moderate and touch-ups at six to twelve months are common. Bring reference images showing the exact single-stroke style you want to nail the emotional silhouette.
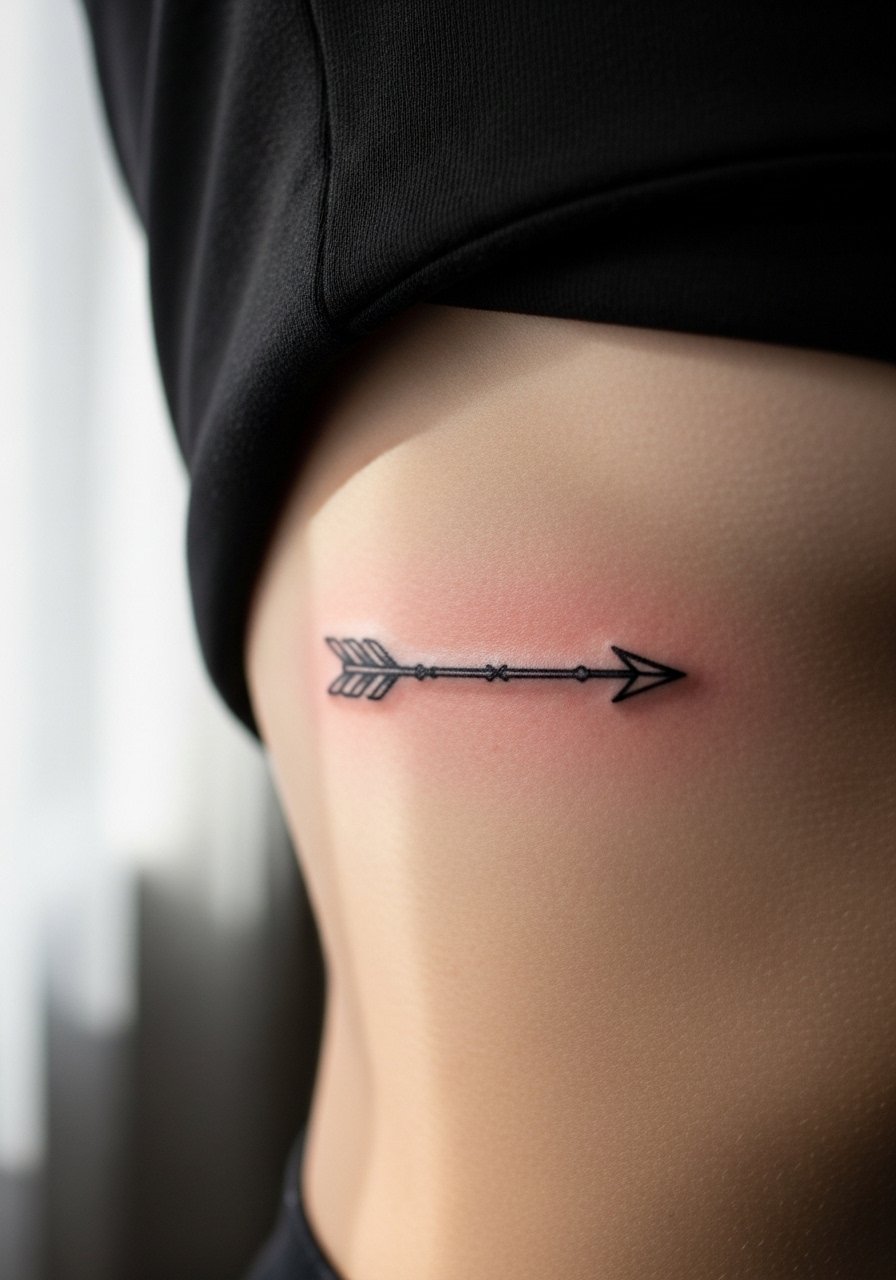
5. Simple Arrow Motif on the Ribcage
Fair warning: the ribcage is a high-pain placement. People pick arrows here because they lay flat with the body contours. Artists argue over whether fine line holds up on ribs. One group says motion and movement blur fine work quickly. The other group says with enough spacing and correct depth, lines settle fine. If you want an arrow here, tell your artist you prefer a slightly thicker shaft and clear negative space at the fletching so touch-ups are easier. Also plan for longer session time and a careful aftercare routine to avoid scabbing on that spot.
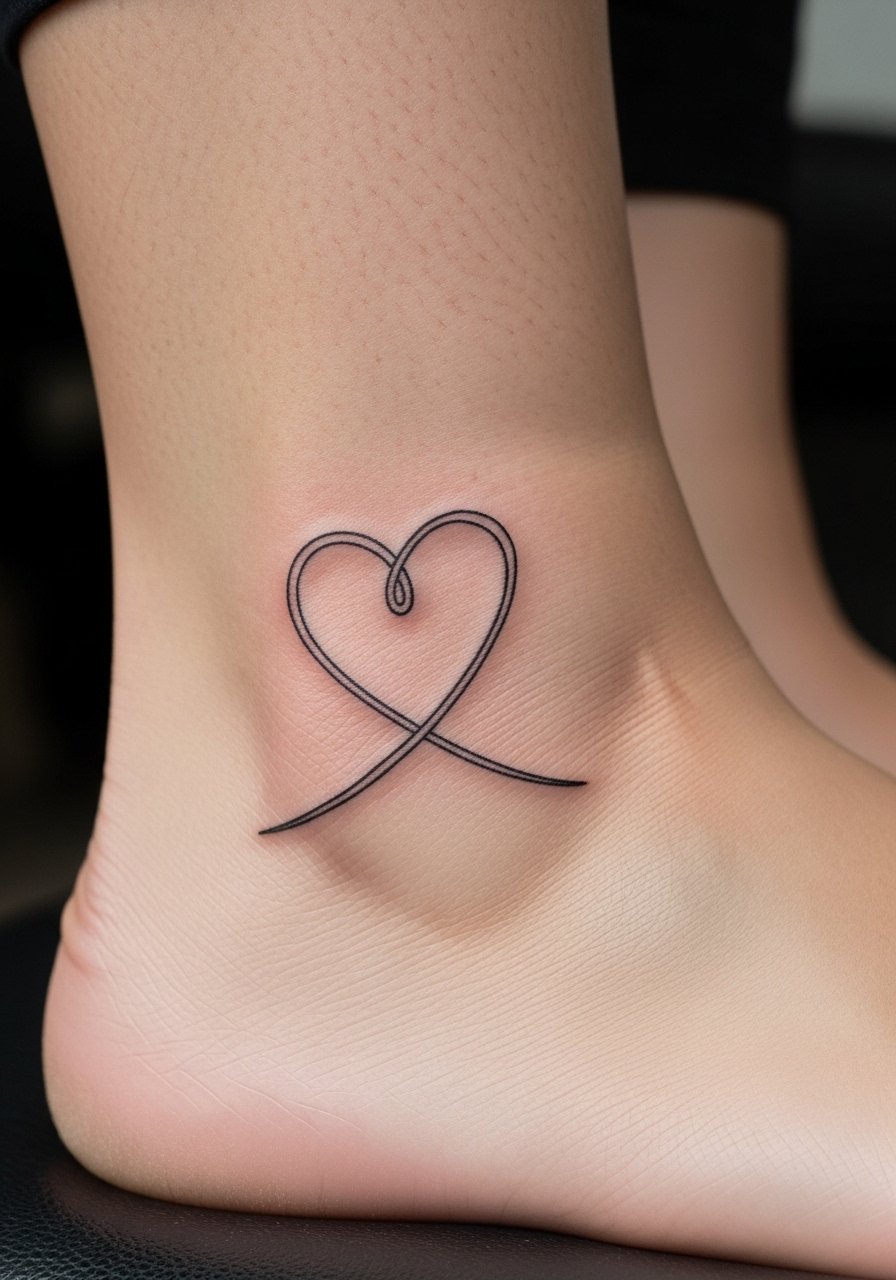
6. Continuous Line Heart with Internal Detail on the Ankle
When people pick ankle small hearts, they like that the design can hide under a sock or show when they want. The ankle sees lots of friction so the lowest part of the heart is the first to fade. Ask for a continuous stroke that leaves a tiny internal loop for depth. Sessions are quick and pain is manageable. Common mistakes are asking for too many internal curls which blur. Expect a touch-up around the year mark if you wear ankle straps or sandals often. For darker tones, request a slightly heavier outline for contrast.
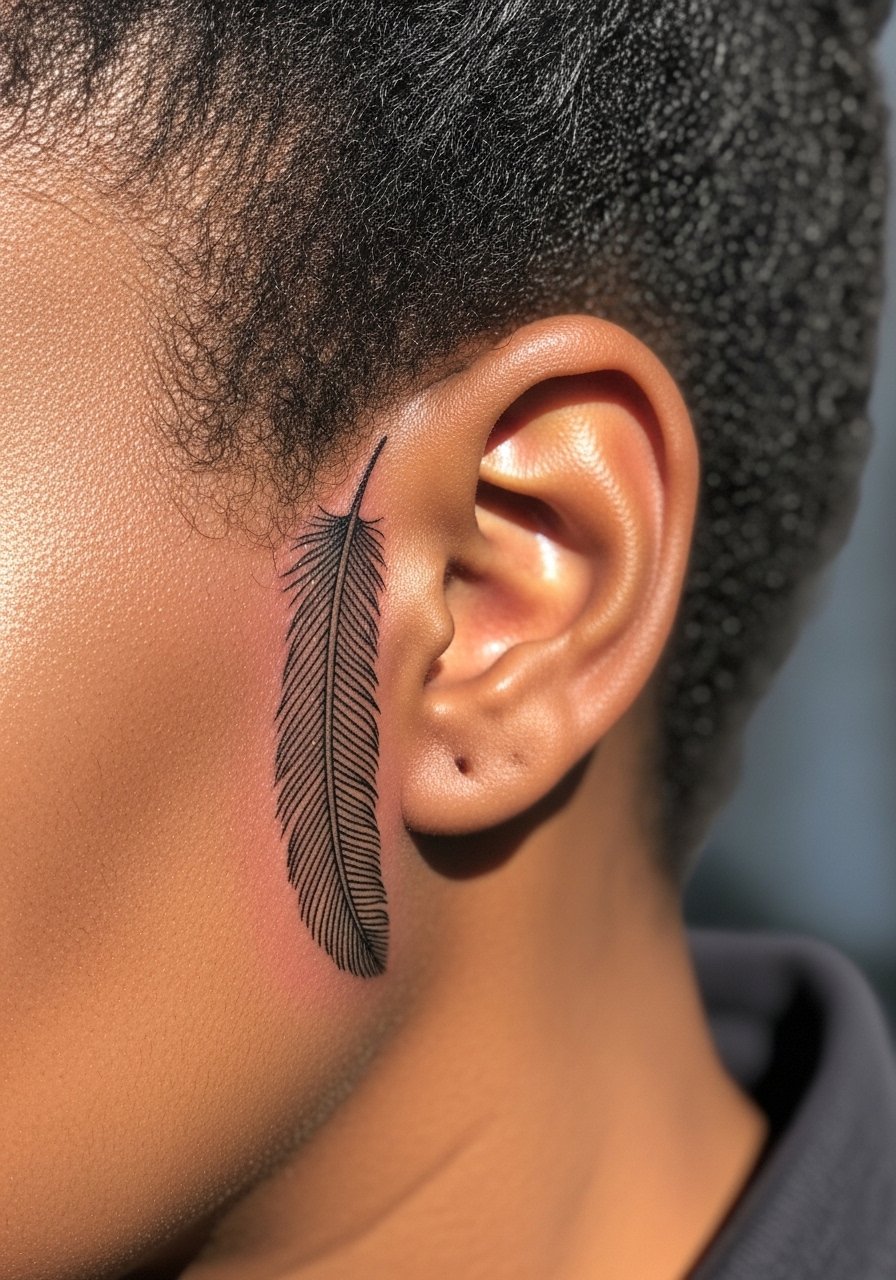
7. Micro Line Feather Behind the Ear
The behind-ear feather is a go-to for first-timers who want a low-visibility spot. Pain is brief and sharp but short in duration. Tell your artist you want the quill to show a fine taper and a few spaced barbs rather than dense strokes. Micro feathers on fingers fade fast because of washing. Behind the ear avoids that but hair products can smudge early healing. Book a touch-up at six weeks if any tips look lost. If you work in a conservative field, remember even small placements can be seen in certain styles.
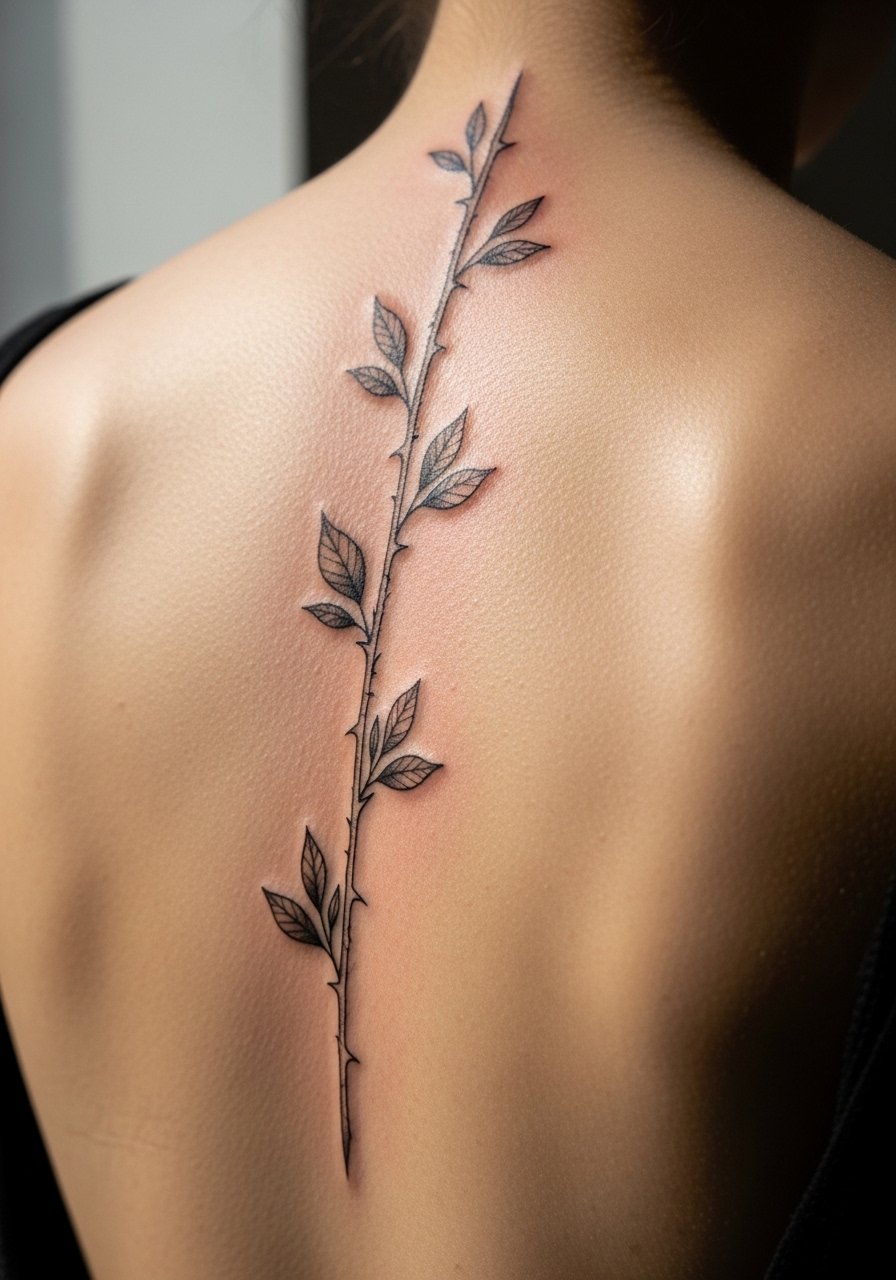
8. Single-Needle Botanical Stem on the Spine
When you book a stem along the spine, the elongation reads beautifully with body movement. The spine is a moderate pain zone and requires steady positioning. One smart move is to ask for slightly increased spacing between leaf nodes so the stem keeps definition at two years. A mistake is squeezing an ornate stem into too narrow a vertical space. For stretch concerns, the spine holds up better than joints. Expect a one to two hour session and a follow-up for touch-up if lines thin near the lower back.
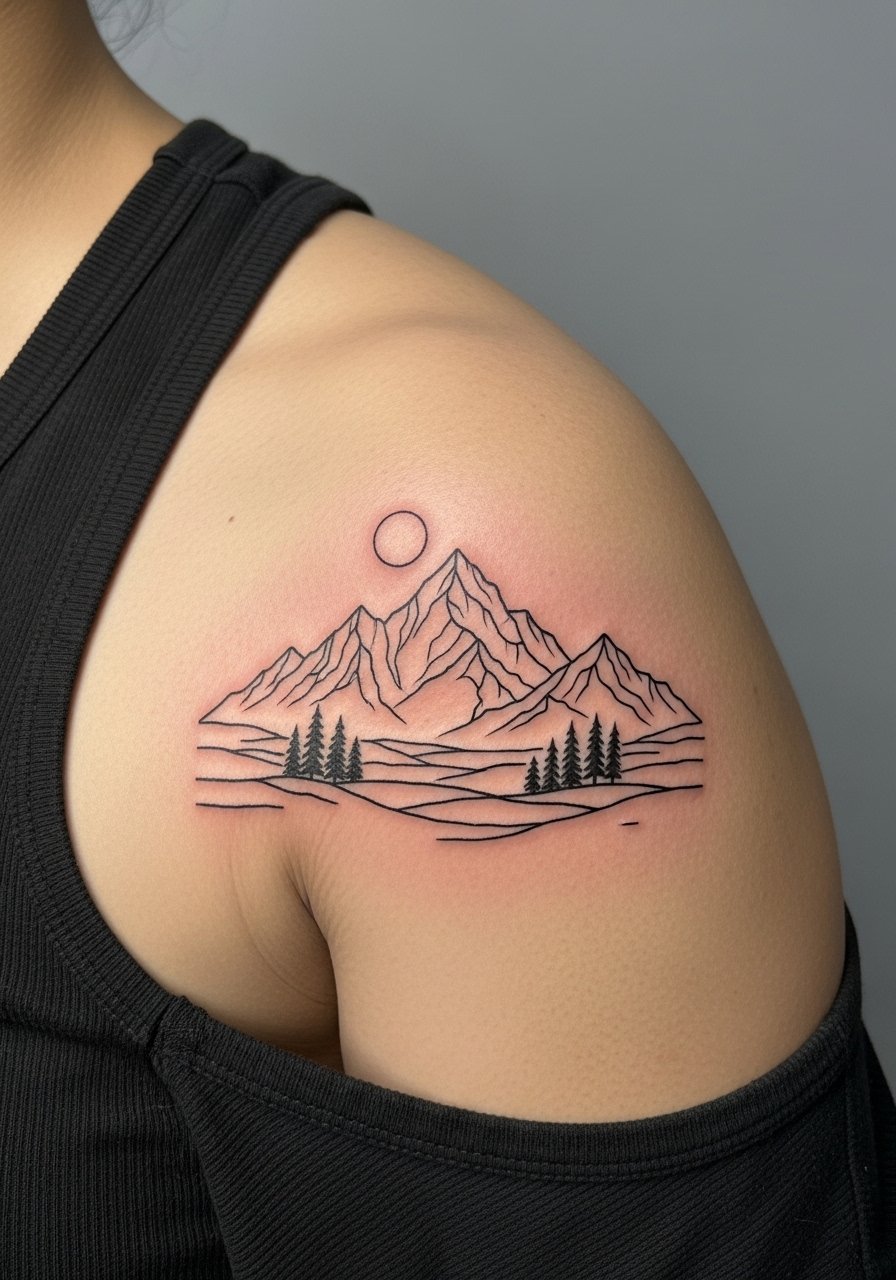
9. Outline Mountain Landscape on the Shoulder
There is a reason shoulder mountains are popular for first tattoos. The shoulder gives room for three inches of composition and the skin is forgiving. Tell the artist you want negative-space valleys to read as distance. One error is compacting peaks into a tiny badge which blurs after healing. Shoulders see sun exposure so sunscreen matters for retention. Sessions are usually under two hours and blowout risk is low on this fleshy area. If you travel to find an artist, use Tattoodo filters and location-tagged TikTok clips to scout linework guests.
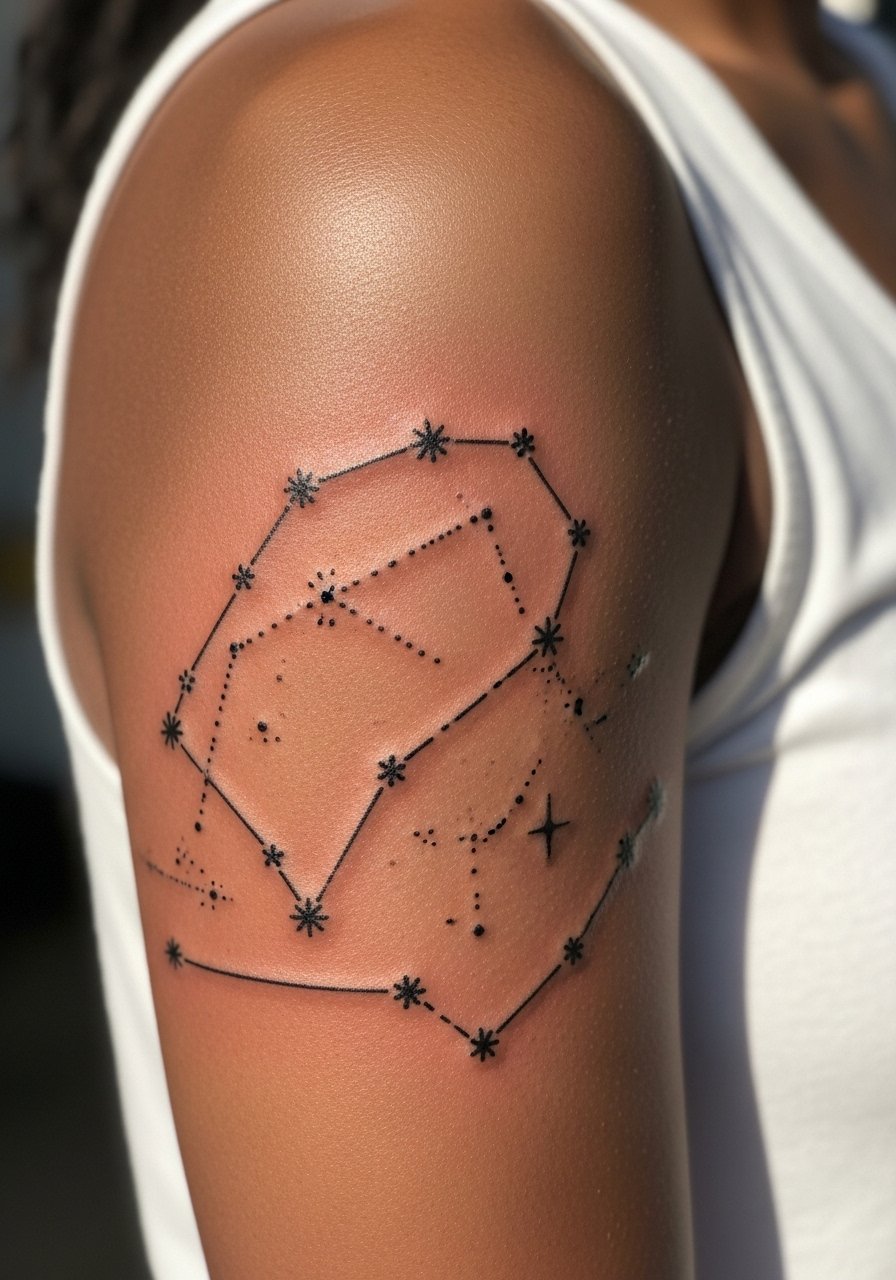
10. Fine Line Constellation Map on the Upper Arm
When people choose constellations they often want coordinates or birth stars added. Specify exact points and the dot spacing so the map reads after healing. Upper arms are forgiving on pain and keep dots stable if spaced. A common mistake is crowding tiny dots and tiny connecting lines. Expect a one to two hour session and a likely touch-up for faint star dots after a year. If you have darker skin, ask your artist to slightly enlarge star dots for visibility without losing subtlety.
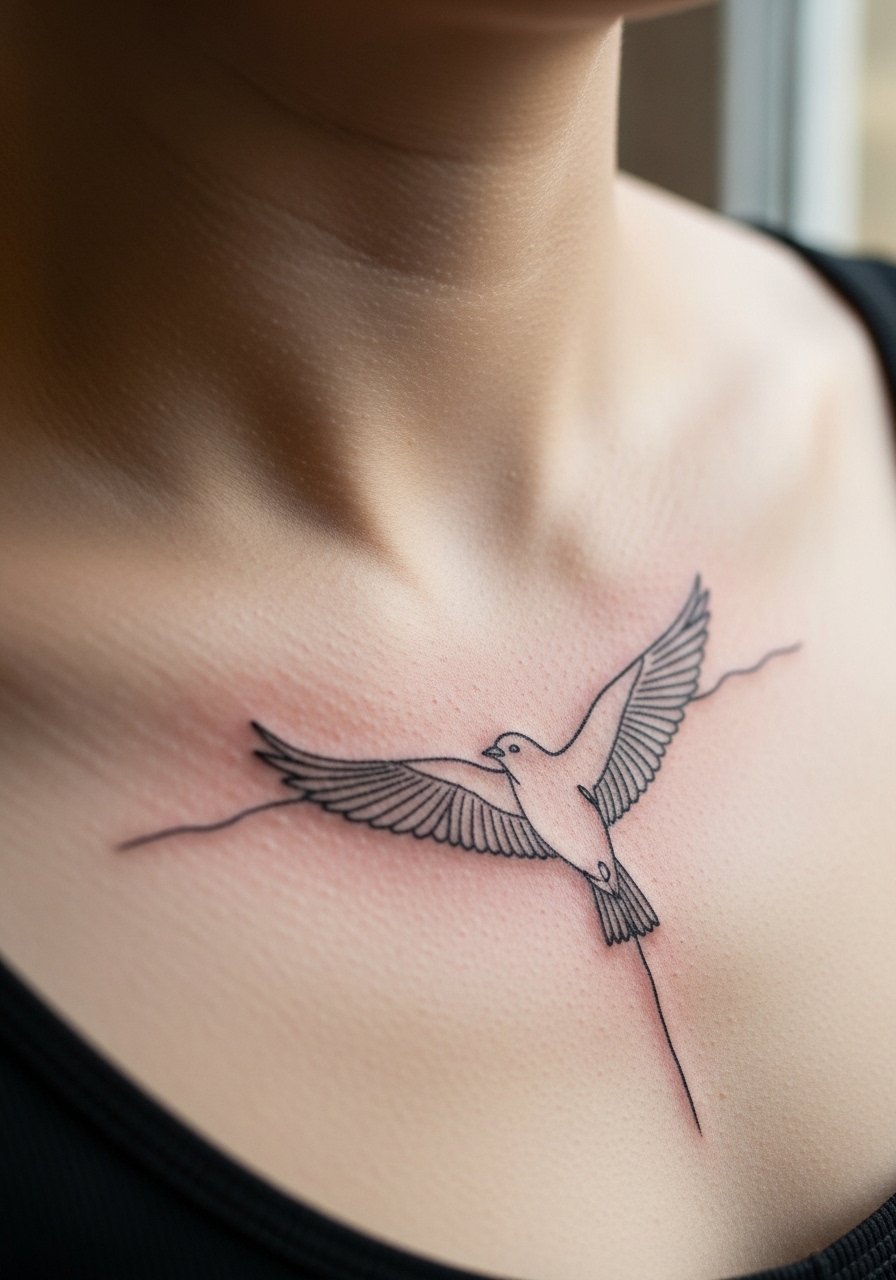
11. One-Stroke Bird in Flight on the Collarbone
There is a lightness to a single-stroke bird that reads well on the collarbone. Ask for a longer wing sweep and a single break at the tail so the motion reads in photos. Collarbones move when you gesture so check healed pictures of the exact sweep on similar anatomy. Pain is moderate and you can finish this in under an hour. A common mistake is adding tiny feather shading which blurs; stick to clean stroke edges for longevity. This design hides easily under clothing when needed.
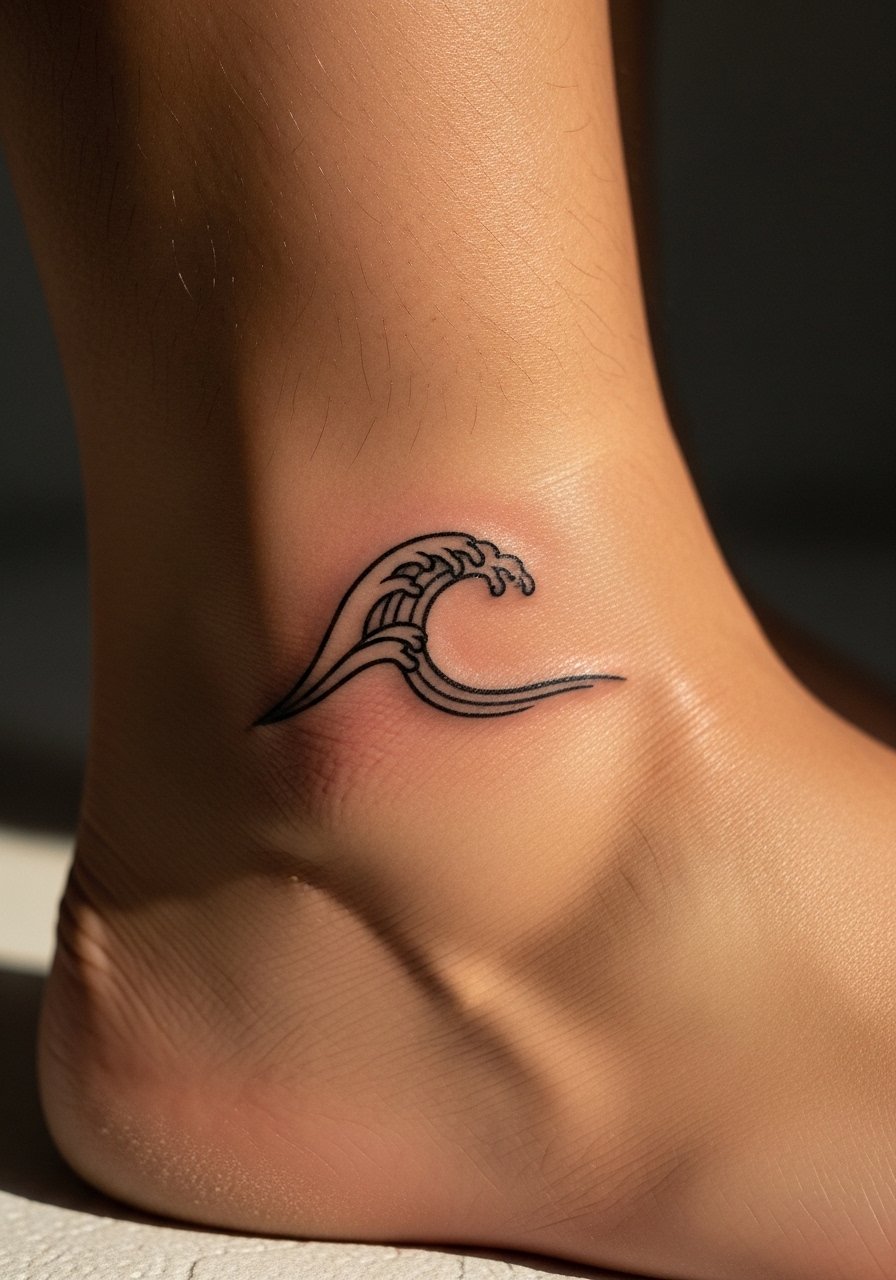
12. Minimalist Wave Crest on the Ankle
My observation is that ankle waves are festival favorites because they feel playful and small. Keep the crest open with a flowing tail so water motion survives a year of shoes and socks. The ankle endures friction, so pick slightly thicker curves near the bottom. Sessions are quick and pain is brief. A typical mistake is asking for micro repeats that merge after healing. If you surf or sweat a lot in summer, plan on re-evaluating the ink at six months. For dark skin, increase line weight marginally for contrast.
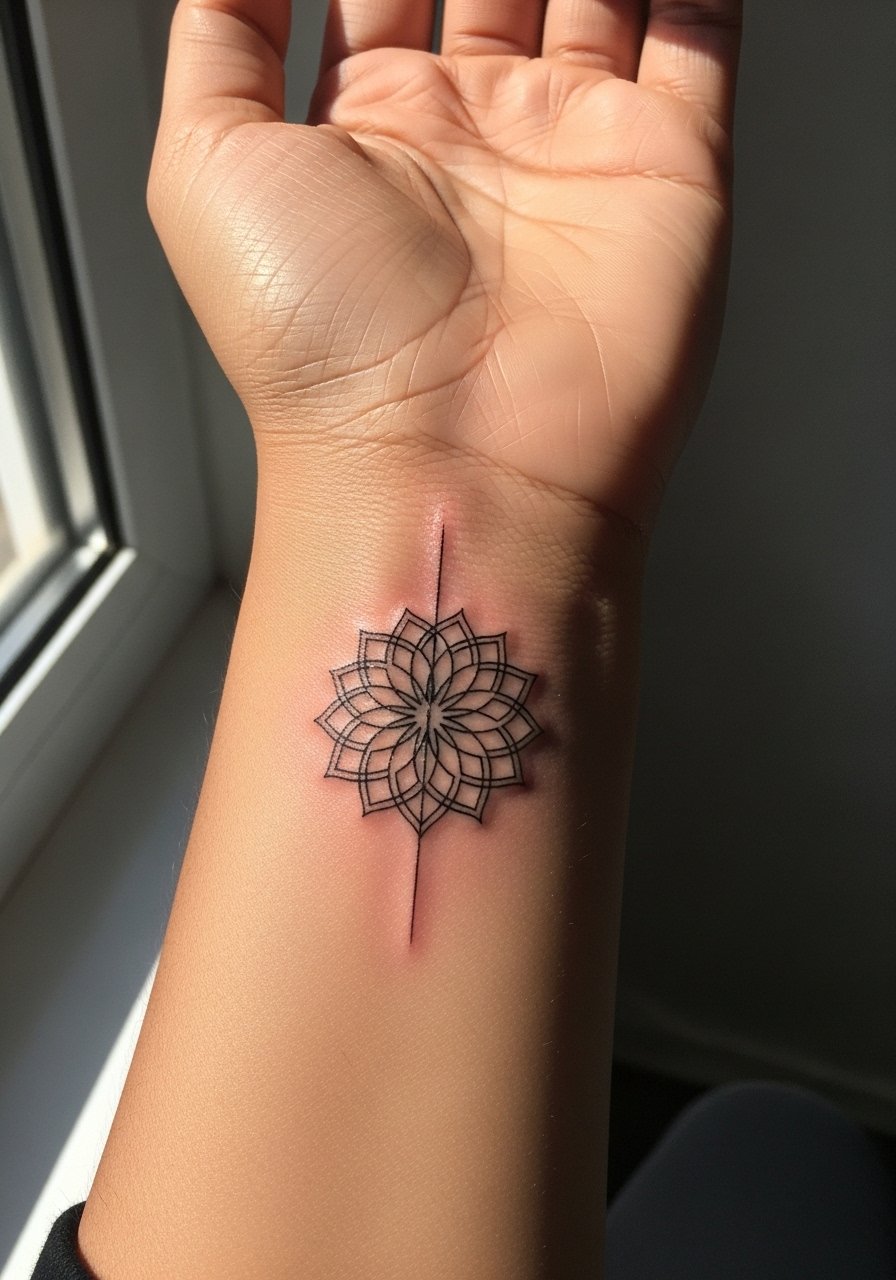
13. Single Line Mandala Core on the Wrist
When you want a tiny mandala, say you want a clear central core and three concentric rings with spacing. Wrists see constant motion and small mandalas can merge if too tight. A common misstep is cramming too many petals into a two-inch circle. Expect low to moderate pain and a session under two hours. Plan for a six-week touch-up if outer petals thin. Note that mandala patterns trace to meditative art traditions, so many people choose slight variations rather than exact replicas out of respect.
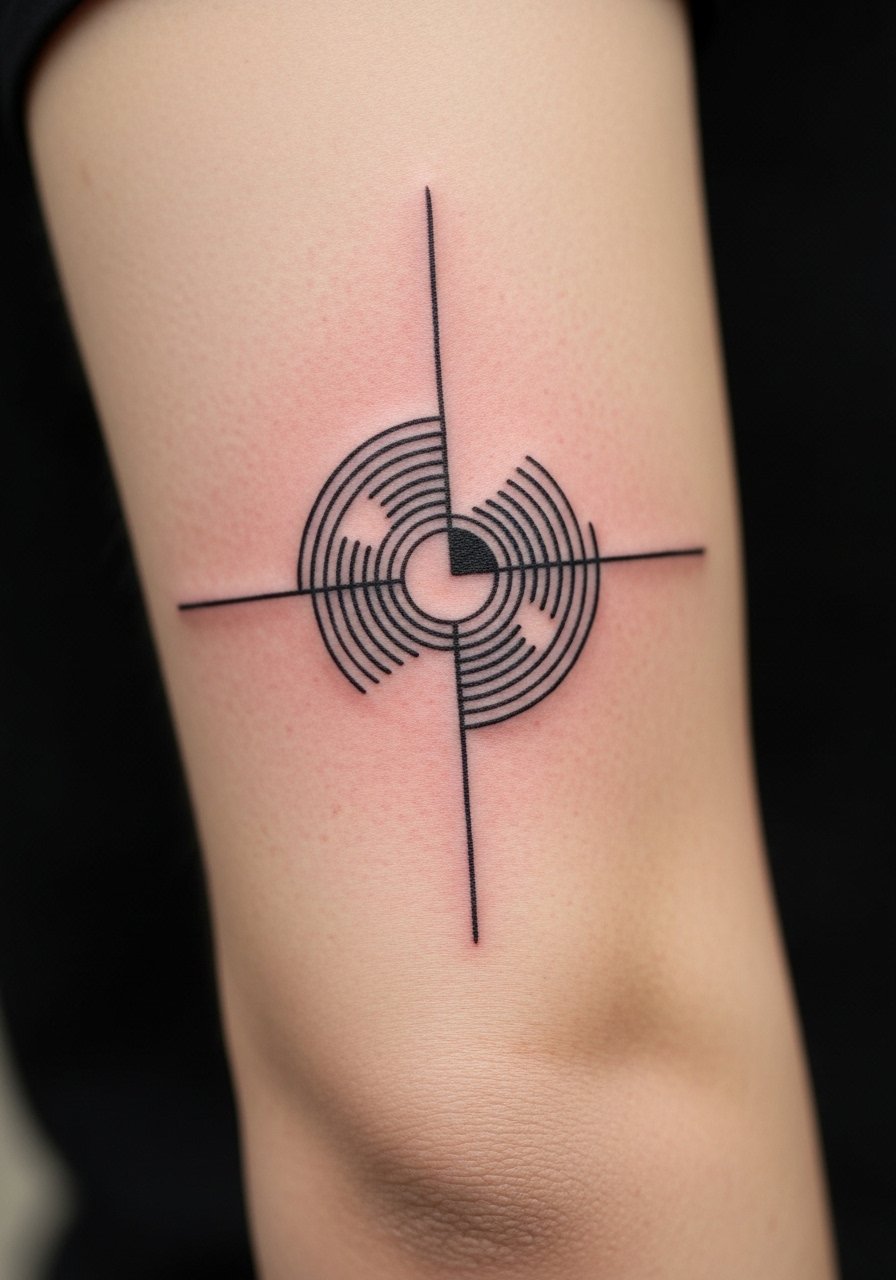
14. Optical Illusion Linework on the Elbow Curve
Most people do not think of the elbow as a design canvas but optical line illusions here look dynamic in motion. Practice caution because the skin bends a lot and some designs warp when you straighten the arm. One under-covered idea is planning the illusion so it purposely distorts with movement. The elbow hurts more and sessions can be patchy because of skin texture. Ask for placement mockups drawn on you in position so you can see how the lines bend. Expect a touch-up after the initial healing phase.
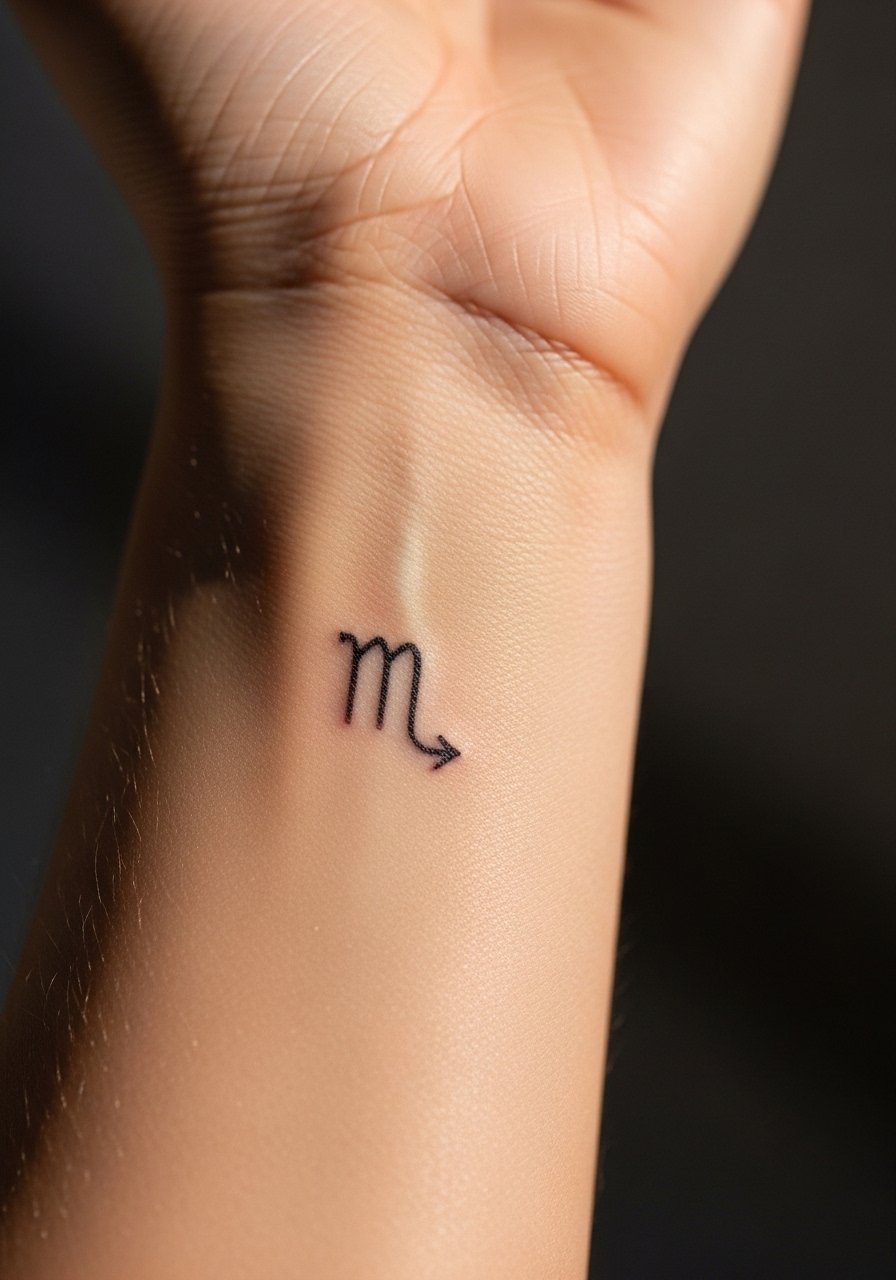
15. Tiny Zodiac Glyph on the Ankle or Wrist
When you want a tiny glyph, request the exact symbol you want and specify font-like weight. For visible longevity, choose wrist or ankle but note wrists rub against watches and bracelets. Sessions are very brief and pain is low. The mistake I see is choosing an overly ornate font that looks like smudges after a year. Keep the glyph simple and slightly larger than you think. If you want coordinates too, provide exact numbers during consultation so the artist can place them cleanly.
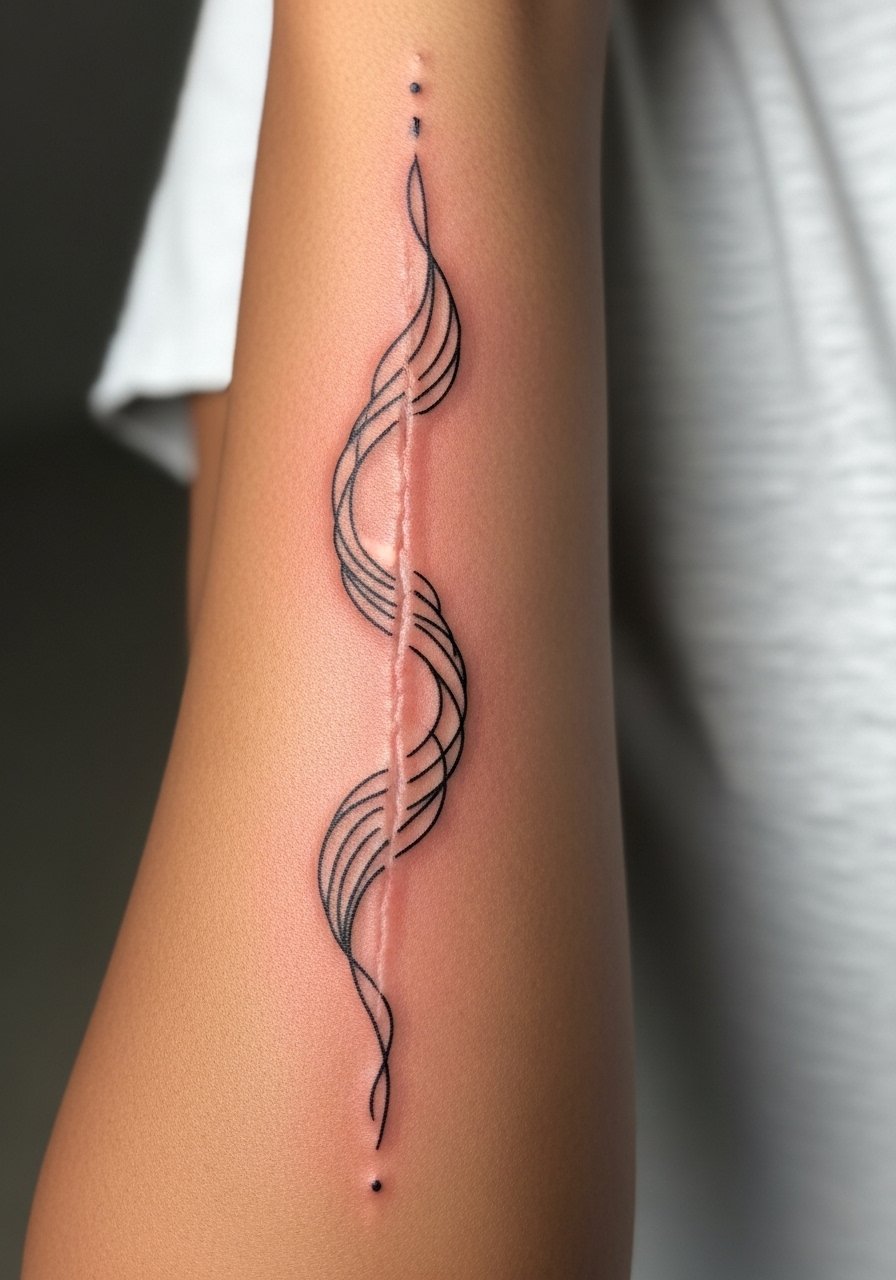
16. Scar-Blend Linework for Old Marks on the Forearm
One under-covered use of linework is softening the look of scars by routing a simple line pattern over and around them. When discussing this, be upfront about skin texture and ask to see healed examples on scar tissue. The forearm is low pain and heals predictably but scar tissue takes ink differently and might need touch-ups. A common mistake is expecting perfect coverage; the goal is visual blending rather than hiding completely. Work with an artist who posts healed photos on diverse skin tones via #scarcoverup portfolios on Instagram.
17. Glow-Reactive Night Line on the Ankle
This seasonal idea uses UV-reactive ink for night events. Note that UV lines are less visible in daylight and they age differently. Ask your studio about UV safety and whether they test on skin types like yours. The ankle keeps UV designs discrete. Expect a slightly longer consult because the inks have caveats. A common mistake is expecting UV to replace black ink for daily visibility. Plan black line anchors with UV accents if you want day and night effect.
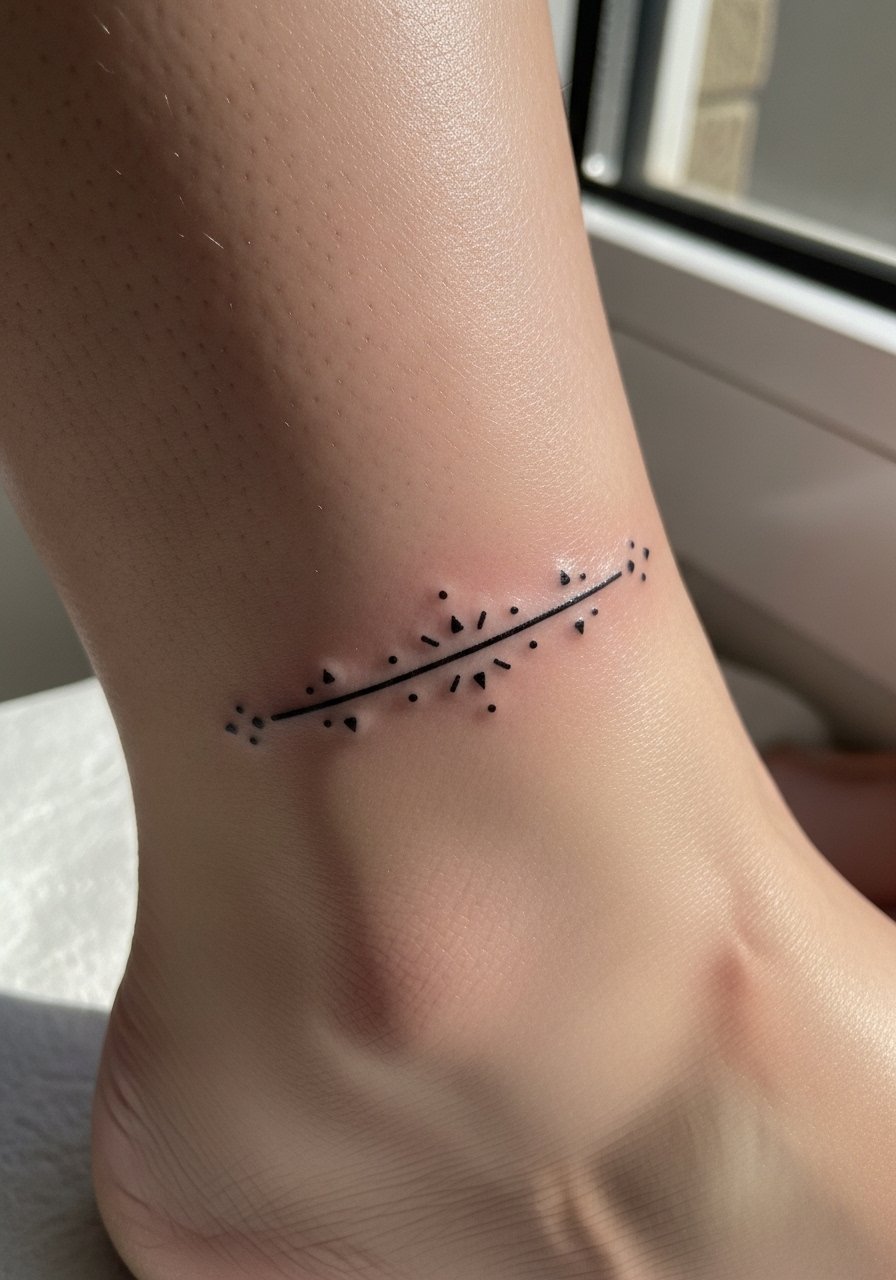
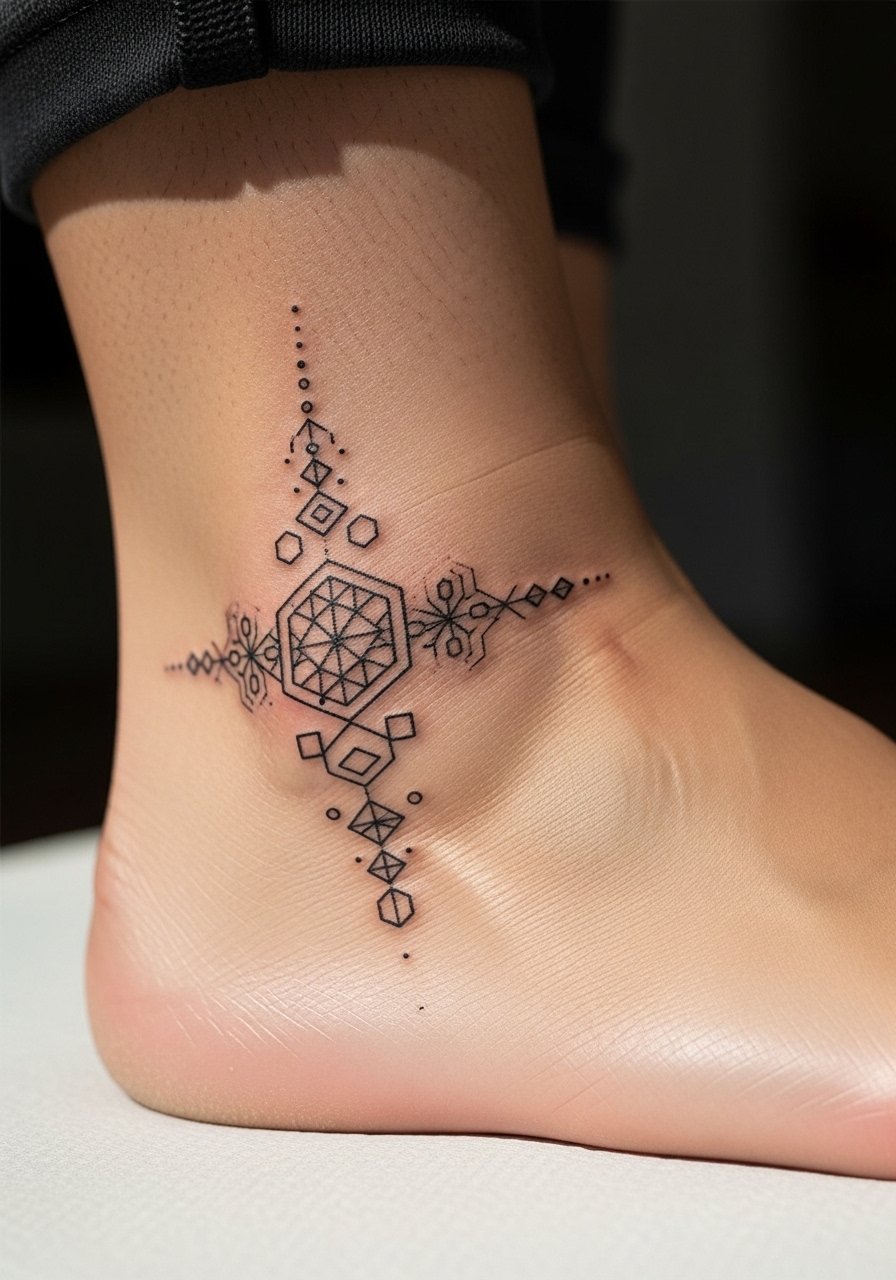
18. Festival Ankle Geometric Cluster
There is a festival trend of small geometric clusters around the ankle because they pair well with bracelets. When booking, say you want spacing between shapes so each form reads after healing. Ankles take friction and sweat during summer events, which can speed fading. Sessions are short and pain is manageable. Avoid tiny repeated triangles that will blur into a blob. For a bargain, look for convention flash days where artists do walk-ins at reduced rates and plan for a future touch-up.
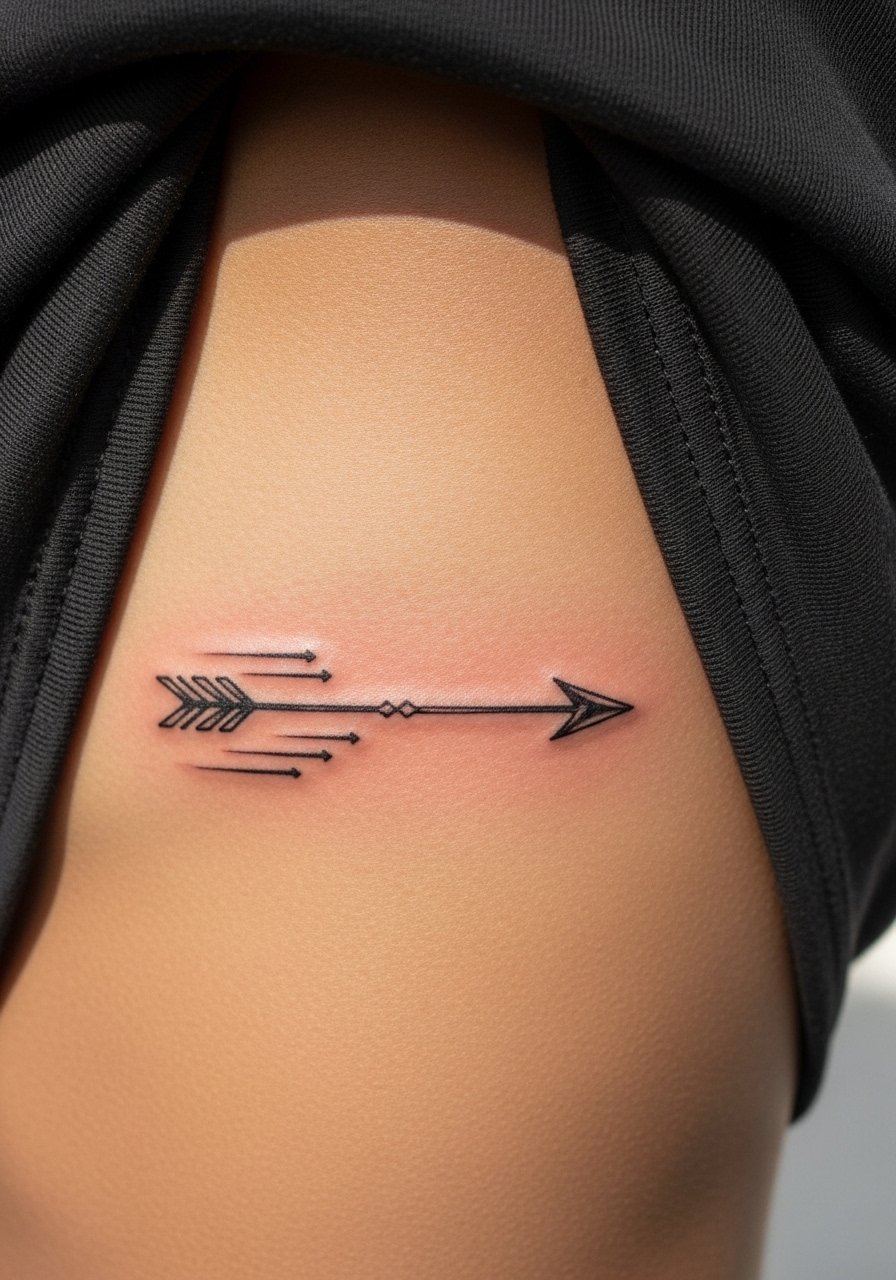
19. Tiny Rib Arrow with Motion Lines
Small arrows on ribs read like a discreet badge and can curve with breathing. The rib area is higher pain and requires patience. When you ask for motion lines, request they be spaced to avoid merging during healing. Artists disagree on long-term stability of rib fine line but both camps agree that spacing and depth matter. Expect a longer session and plan for dedicated aftercare because clothing can rub the area. If you have career concerns, remember rib placement can be hidden easily but will show in beachwear.
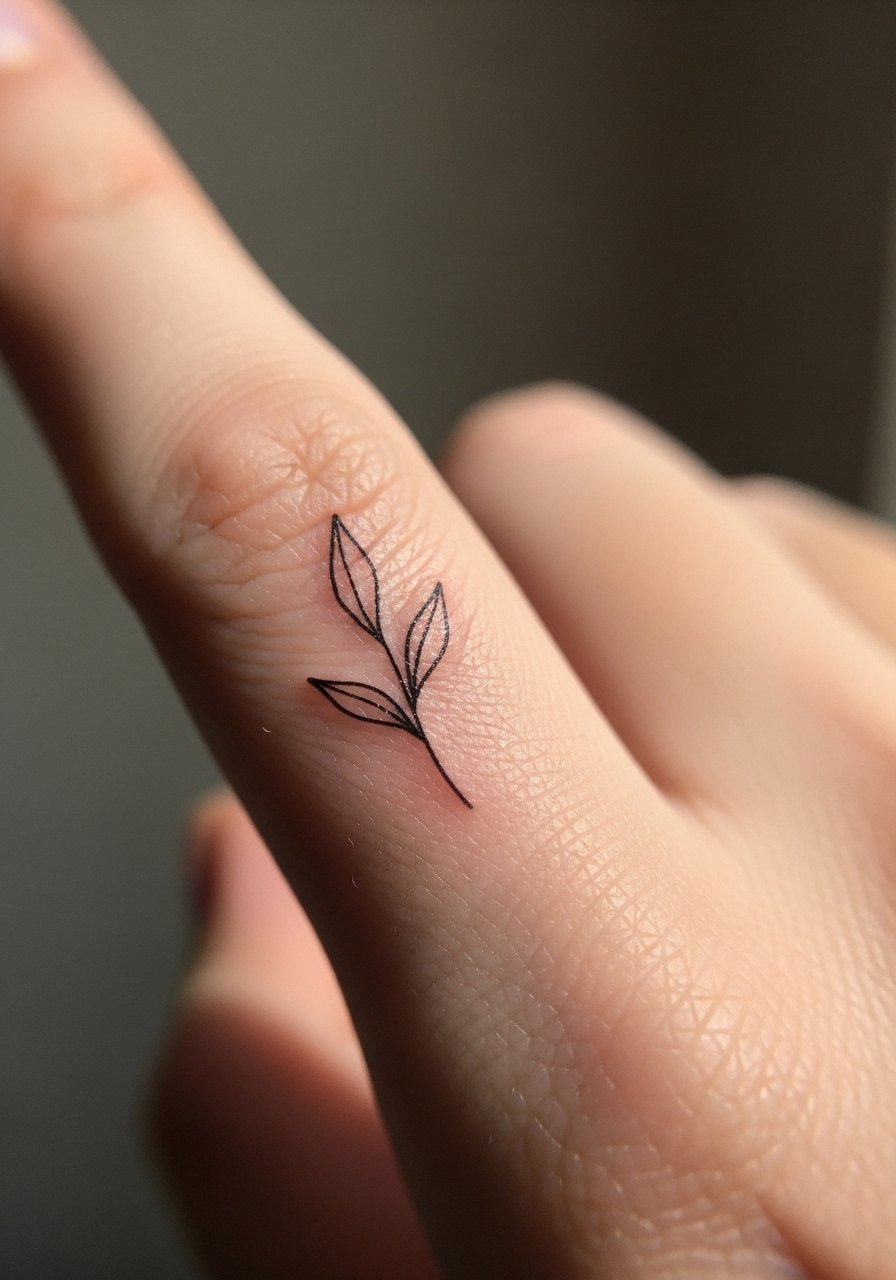
20. Behind-Finger Miniature Leaf Accent
Micro leaf tattoos on the side of the finger look delicate but they face one reality. Micro linework on fingers fades fastest due to washing and skin turnover. If you still want one, request a slightly heavier stem and accept a realistic touch-up cycle within six to twelve months. The session is quick and pain is sharp. A common mistake is expecting a finger micro to last like an upper arm piece. If longevity matters, choose the same motif on the hand or wrist instead.
Tattoo Prep and Aftercare Essentials
Lightweight fragrance-free balm for fragile linework. Use this after the initial scab phase when you need moisture without greasiness. Keeps tiny lines from smearing under clothing.
Lush Charity Pot balm. Forum users like this for non-greasy line healing on oily skin. Apply thin layers to avoid buildup.
InkSafe spray for dry climates. Dries matte and can cut down on early scabbing in arid conditions.
UK Biotouch aftercare gel. Not for very sensitive skin. Some artists report faster epithelialization on single-needle pieces.
Hada Labo lightweight lotion. Hydrates without a greasy film which helps micro linework keep edges.
Medical-grade occlusive bandage, second-skin style. Use for the first day on joints or high-friction spots to reduce blistering and rubbing.
Gentle fragrance-free foaming cleanser. Clean with this during the first week to remove sweat without stripping ink.
Fragrance-free CeraVe moisturizing lotion. Thinner than an ointment and helps prevent clogged pores on fine line healing without heavy greasiness.
Every tattoo is different. Always follow your artist's specific aftercare instructions. Consult a dermatologist if you have skin concerns or unusual healing issues.
Frequently Asked Questions
Q: Will fine line tattoos blur faster than bolder lines on darker skin tones?
A: From what I have seen, fine line tends to need touch-ups sooner on darker skin if the line is hairline thin. One practical approach is to ask for slightly increased line weight and to request healed photos on skin tones similar to yours. Plan for a six to twelve month check and a touch-up budget.
Q: Are finger and hand micro line tattoos worth it for a first piece?
A: Fingers and hands are tempting because they are visible and quick. They also fade fastest from washing and friction. If you want to try it, treat it like a test piece and accept that touch-ups are the norm. A wrist or forearm placement will give longer-lasting linework for the same design.
Q: How soon should I schedule a touch-up for a single-needle botanical stem?
A: Most artists I talk to suggest checking at six weeks and booking a touch-up if lines have thinned. For single-needle stems you might need another touch-up at one year. It depends on placement and how you care for the area during the first two months.
Q: Is Saniderm better than dry healing for fine line tattoos over joints?
A: The community is split. One camp says occlusive films reduce scabbing and preserve thin lines. Another camp worries films trap bacteria on small detailed work. For joint areas, a short first-day film plus switching to a non-greasy balm often balances protection and breathability. Follow the instructions the studio recommends.
Q: Where can I find reliable fine line artists if my local shops keep canceling?
A: Use hashtags like #SimpleLinework and #SingleLineArt on Instagram to find artists who post healed photos. Tattoodo and TattooCon filters help locate guest spots. Reddit threads in r/tattoos often flag shops with reliable booking and refund practices. Look specifically for portfolio shots that show healed results on a range of skin tones.
