
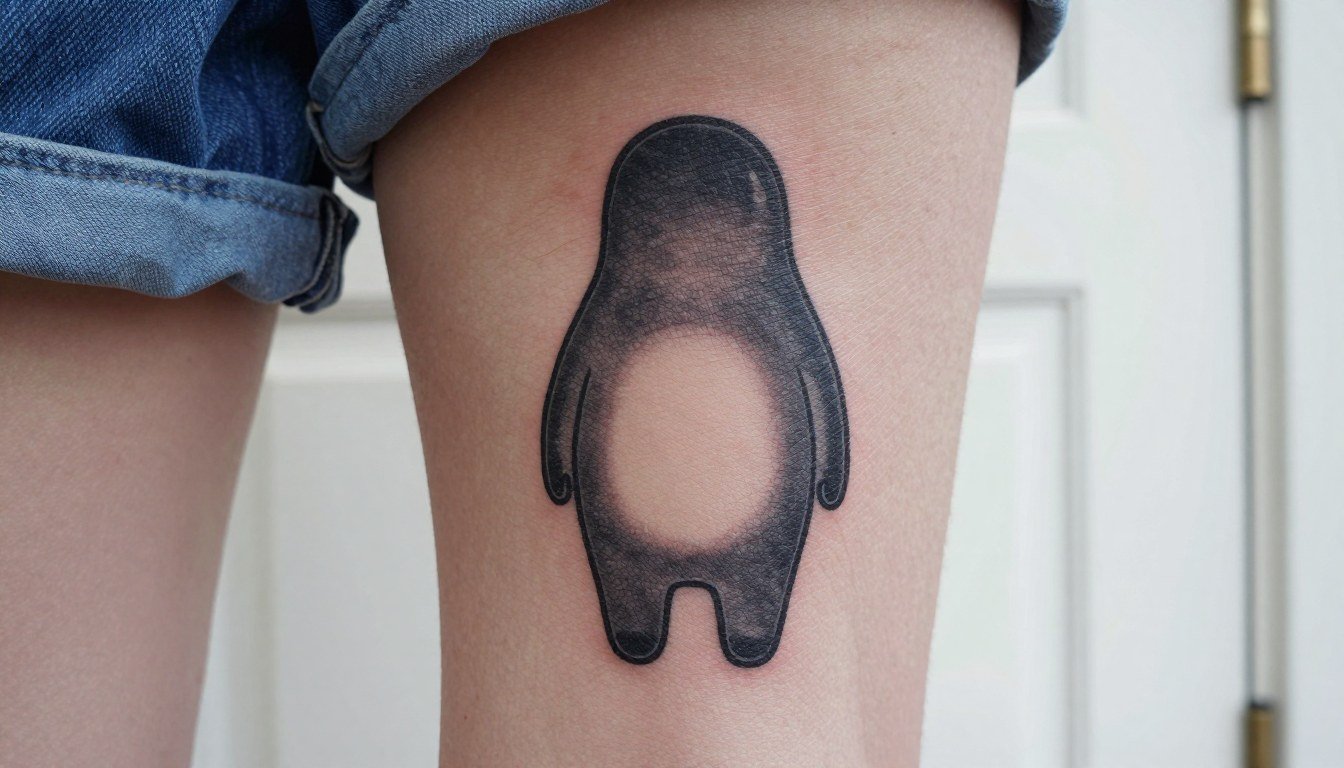
The tiny Pikachu sticker you loved as a kid will not always translate to a tiny tattoo that reads well in five years. Some fans aim for a subtle sprite or Poké Ball so only other fans notice. Others want a full-color portrait so the character is instantly obvious to everyone. Both camps are valid and both have trade offs for aging, visibility, and resale comfort.
1. Pikachu Flash, Bold Outline on the Outer Forearm
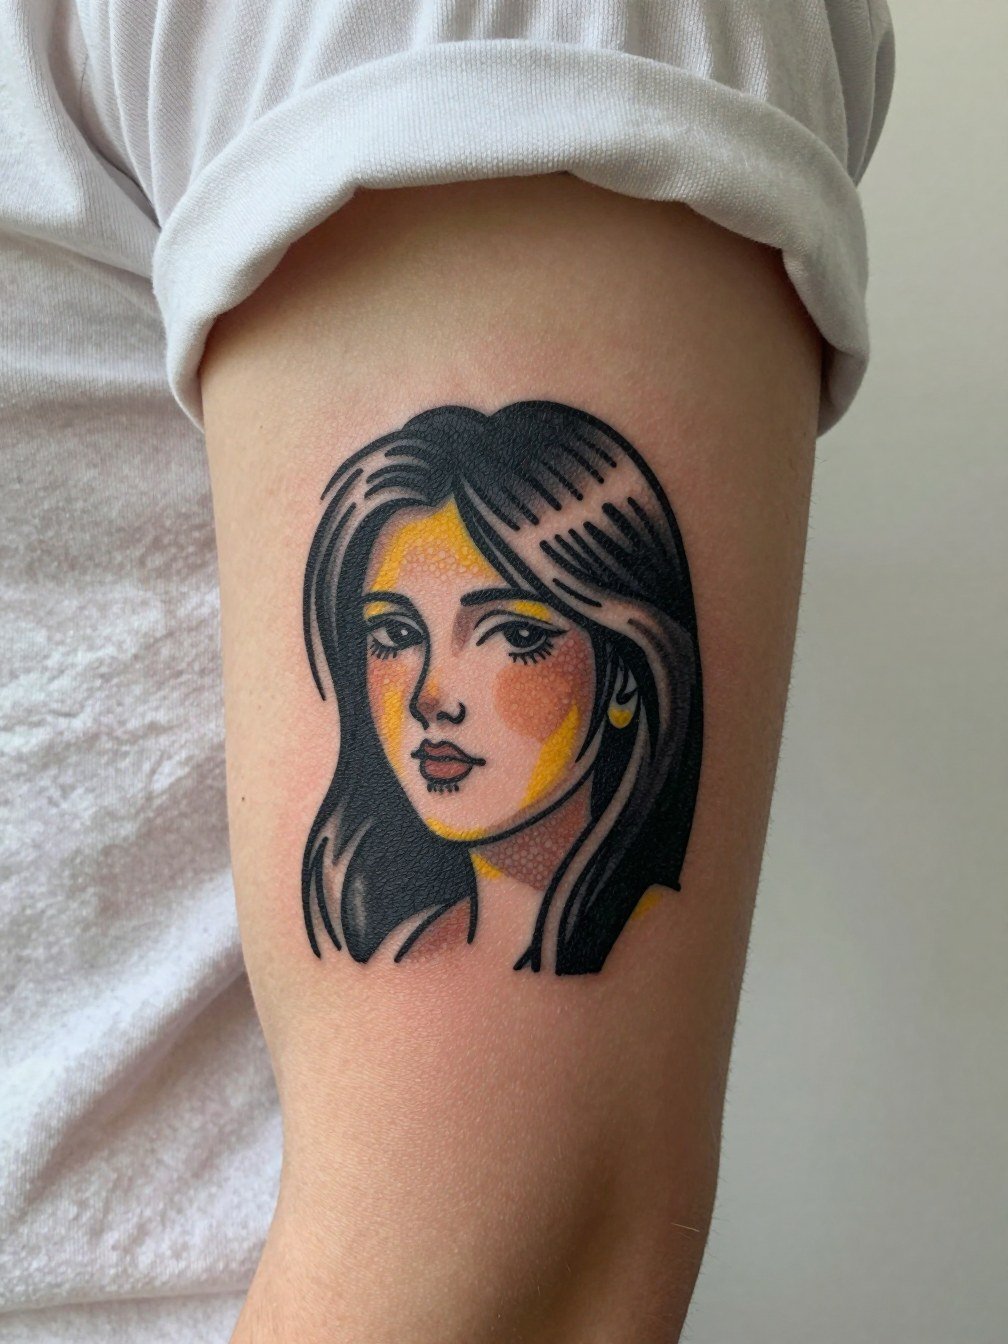
Pick this when you want the cheerful silhouette to read at a glance and hold up over time. Specific consultation note: request slightly heavier linework around facial features than the reference image, and ask for a single solid yellow fill with moderate saturation so touch-ups are simpler later. Common mistake: asking for ultra-fine facial detail at three inches, which blurs as the skin ages. In the chair this placement feels like a 3 out of 10 on most pain charts. For showing off, roll the sleeve and pair with a rolled sleeve t shirt that frames the forearm.
2. Minimal Poké Ball on the Wrist
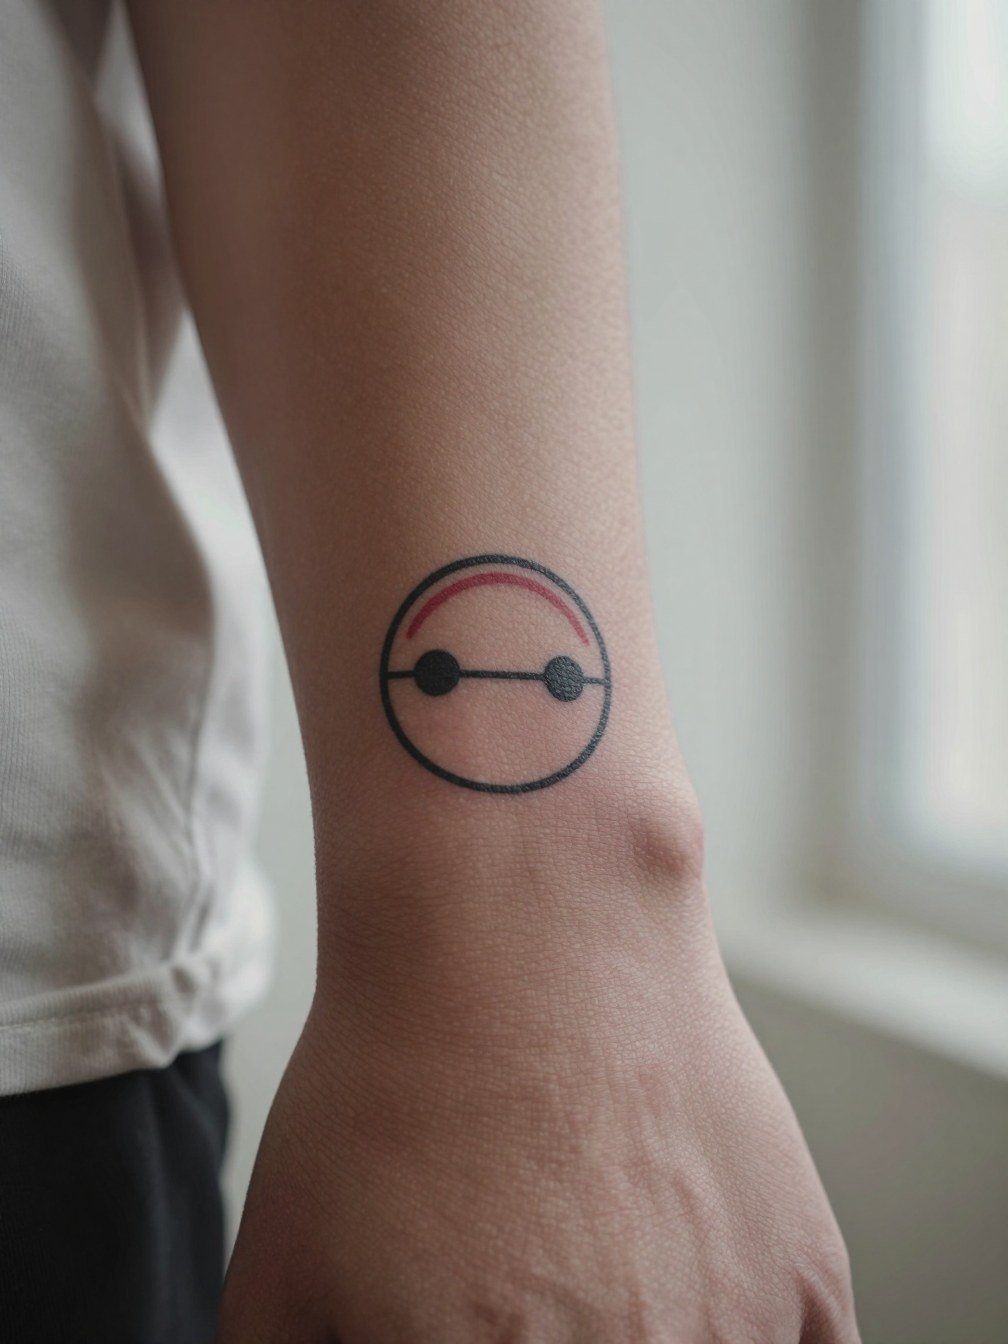
This tiny icon works when you want a compact nod that still reads when viewed closely. Tell your artist to keep the outer ring bold enough so the circle does not fuzz within two years. A common aging issue is using thin half-millimeter lines on the wrist, which often softens into a gray halo. Session note: wrist work can sting, and many people rate it a 4 to 6 on localized pain. Pair with thin bracelets or a thin chain bracelet when you want to keep the area visible and elegant.
3. 8-Bit Poké Ball / Sprite-Inspired Pixel Patch on the Calf
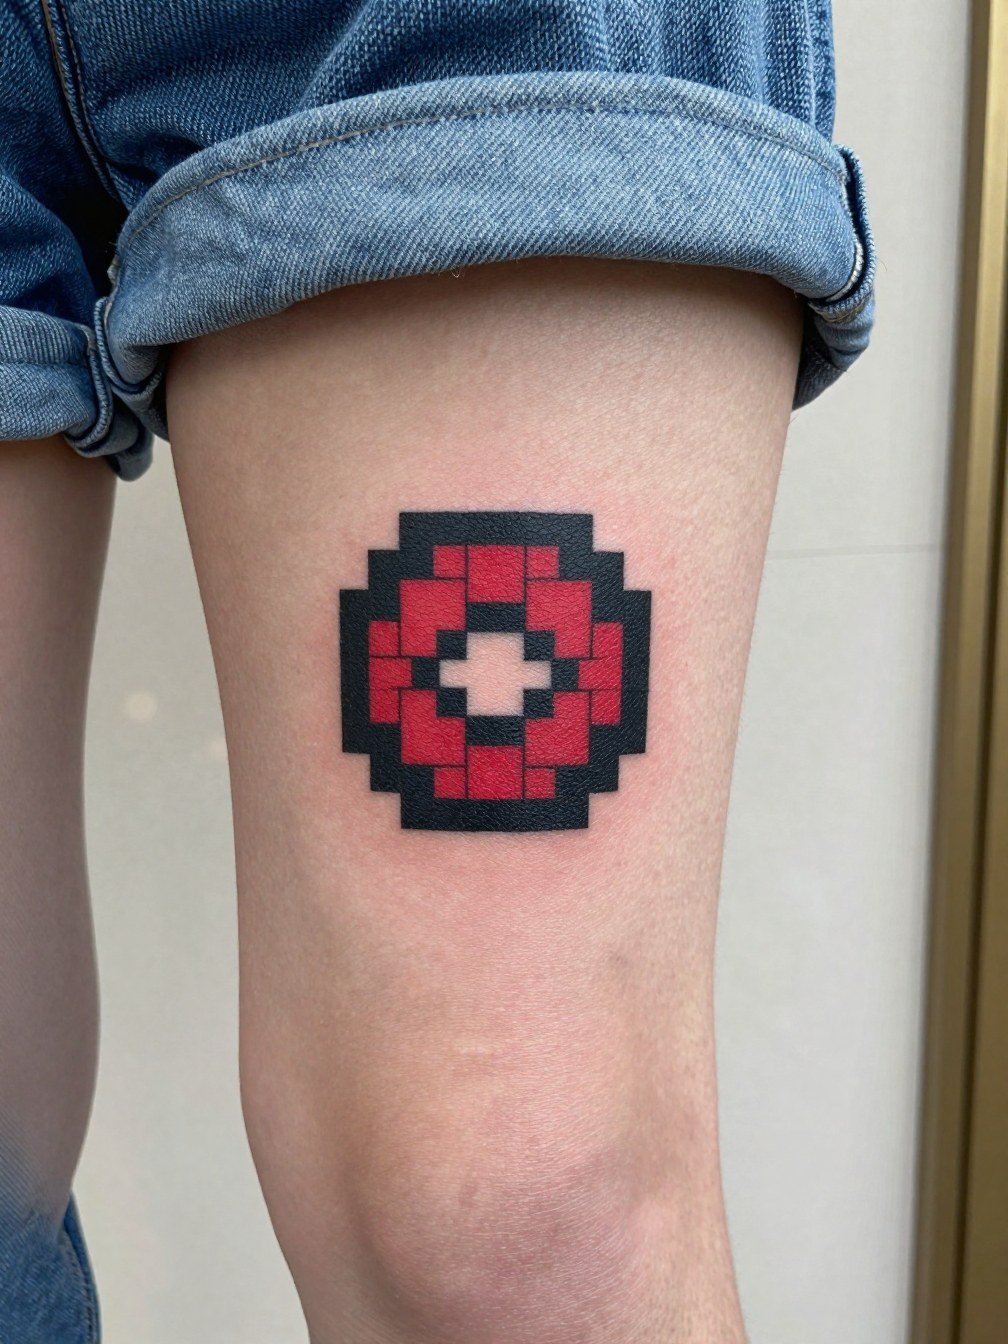
Choose this when nostalgia and gamer aesthetics matter more than realism. Consultation tip: ask for clear square pixel blocks with no soft shading between squares so the retro grid stays readable from distance. A typical problem is artists smoothing pixels into gradients, which defeats the 8-bit vibe and ages unevenly. Calf placement lets the piece be medium size and stay sharp, and it is also easy to hide with long pants. For summer looks, cuffed denim and low sneakers help the patch read, try cuffed denim shorts for warm months.
4. Neo-Traditional Bulbasaur Portrait on the Outer Arm
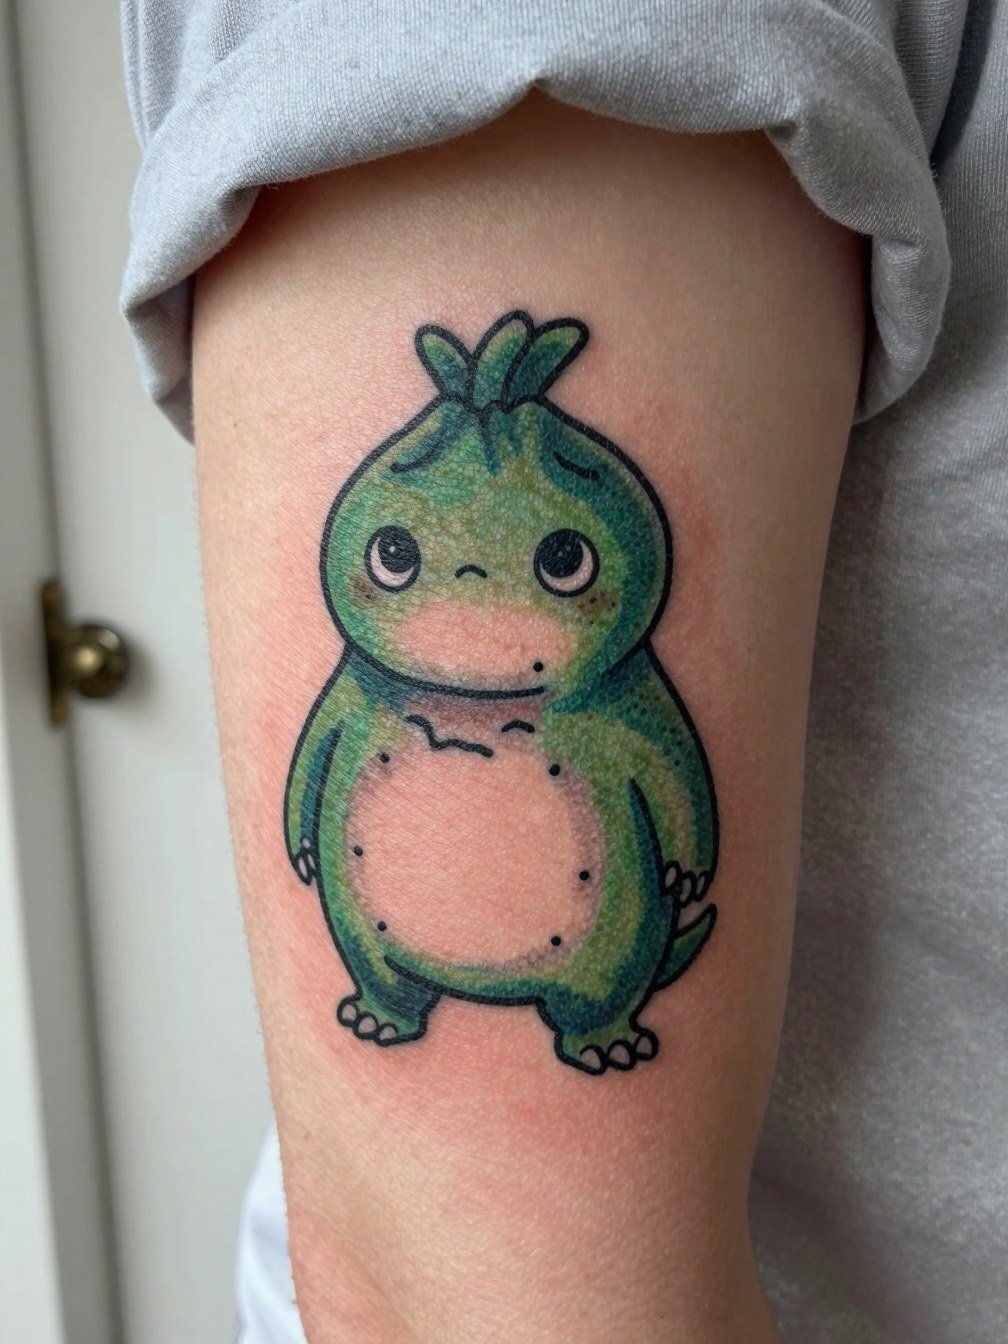
This portrait is the pick for fans who want recognizable starter energy without an overcomplicated sleeve. During consultation be specific about saturation levels for the greens so the bulb keeps contrast without needing constant refreshes. A frequent mistake is asking for tiny leaf veins, which blur faster than a solid fill. Outer arm sessions are moderate in length and usually done in one sitting. For wardrobe, tank tops or short sleeves keep the shape visible; try a boxy tee to frame the piece.
5. Charmander Minimal Portrait on the Shoulder Cap
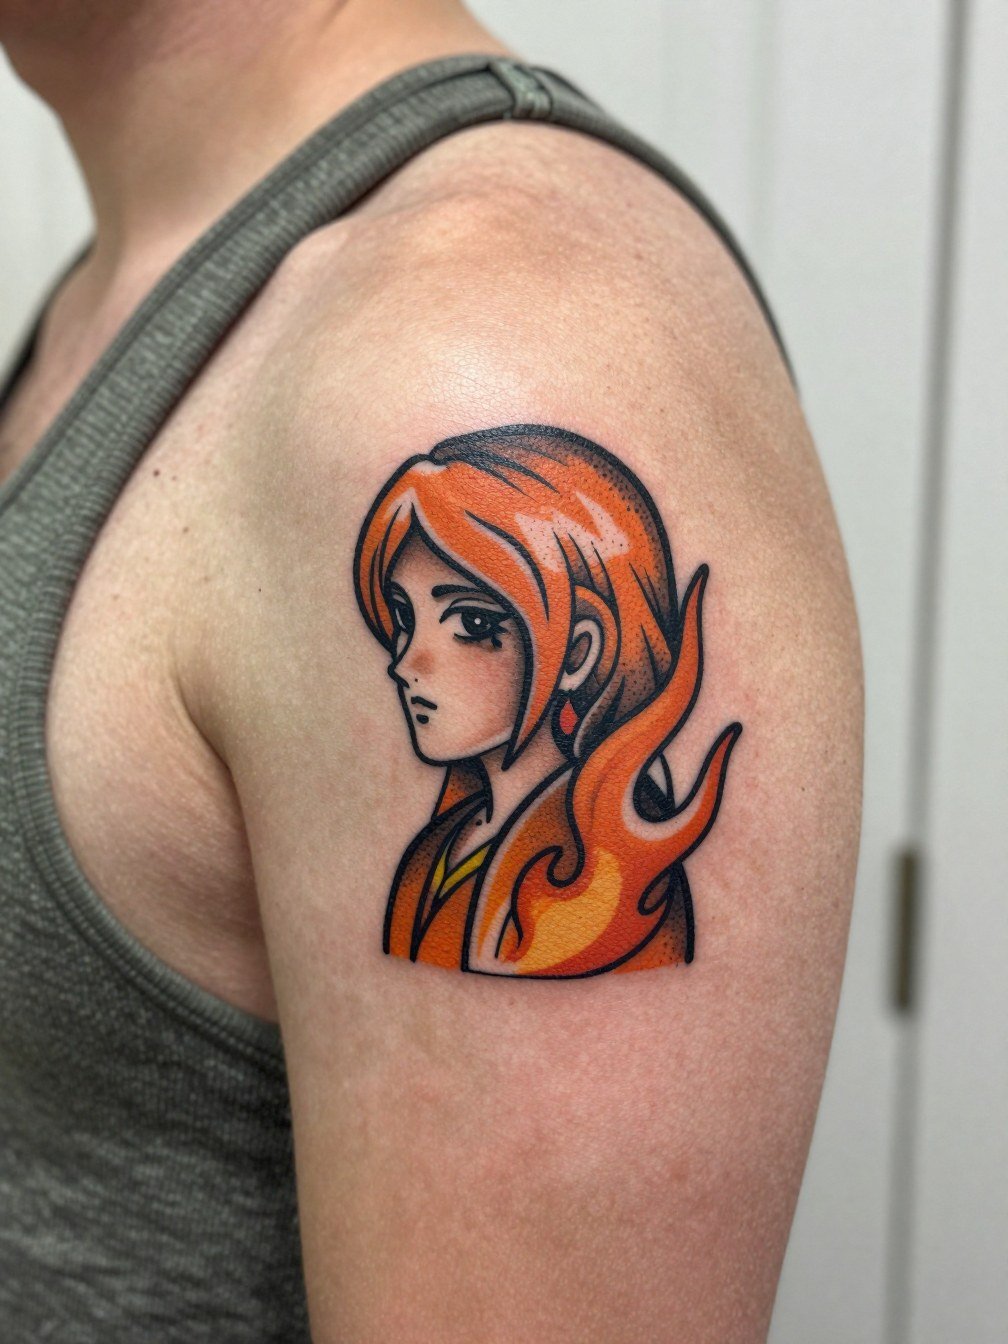
Pick the shoulder cap when you want a piece that scales larger without wrapping into a sleeve. Specific artist direction: request that the flame highlights use small areas of negative space rather than washed gradients for cleaner aging. A common error is crowding the shoulder cap with tiny background details that merge near the arm seam. Shoulder work is lower on pain charts but can require a short repositioning break. To show it off, pair with one-shoulder tops or wide-neck tees and consider a one shoulder top.
6. Evolution Line Trio, Stacked Vertical on the Inner Upper Arm
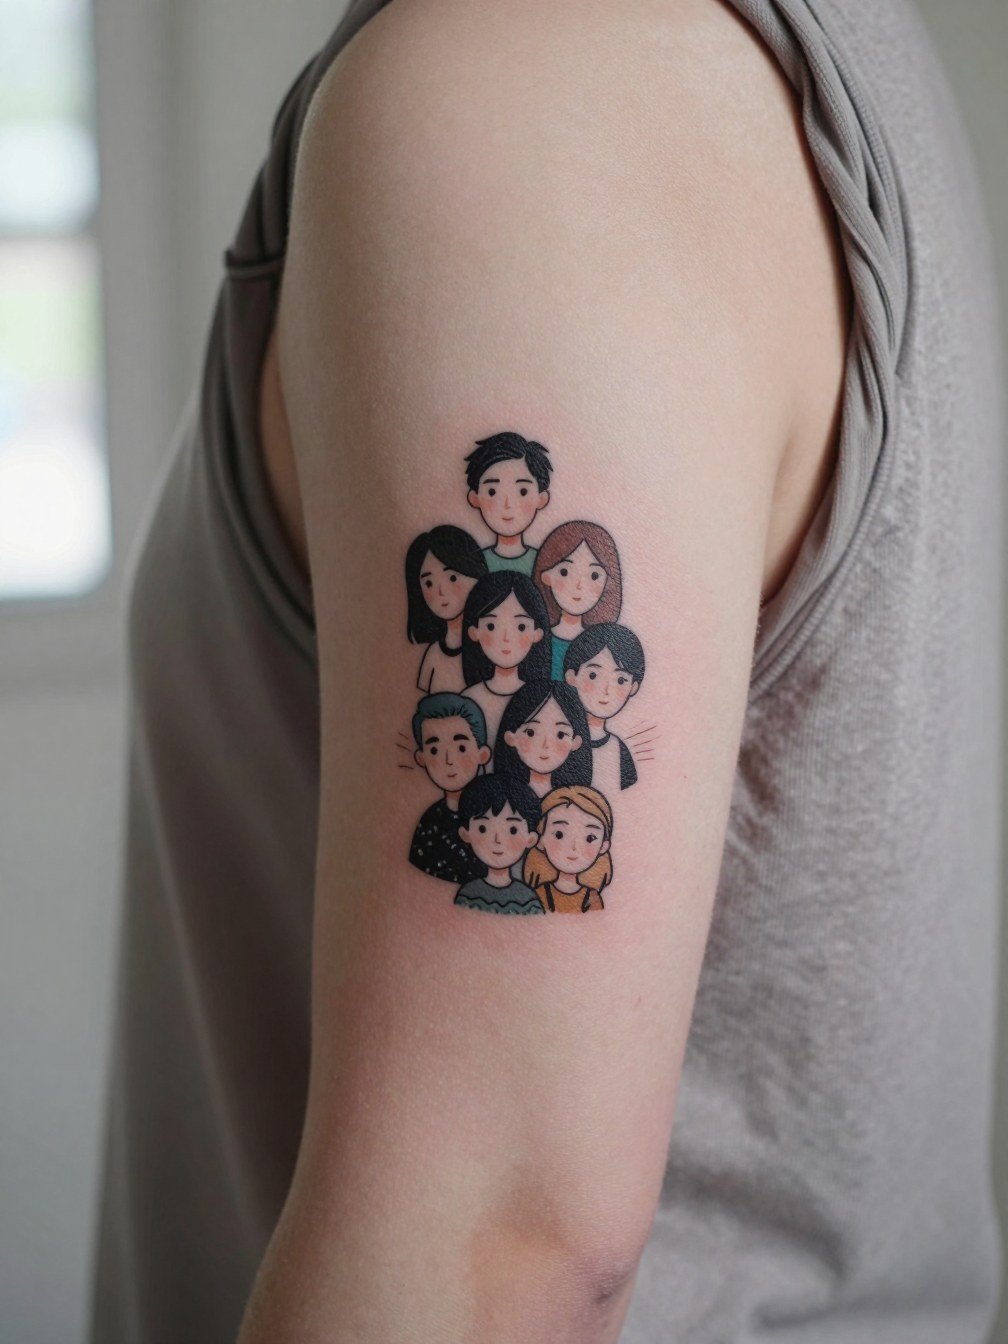
This stacked trio reads like a mini narrative and suits collectors who want growth symbolism. During consult specify spacing between portraits so each form keeps breathing room when scaled to flash size. One camp favors a vertical stack because it follows arm anatomy and reads well visually. The other camp prefers a horizontal evolution strip so each stage is equal in prominence. Inner upper arm skin is softer and can blur very fine detail, so request slightly stronger linework than your reference shows. For the appointment, wear a sleeveless top so the artist can access the area easily.
Pre-Session Picks
The wrist and inner-arm pieces above heal differently from larger shoulder or calf work, so a few small items smooth the session and the first week.
- Fragrance-free ointment. Low-irritant creams help people who find adhesive films too occlusive, especially for small color patches like wrist or ankle work.
- Second-skin bandage alternative. For folks who want a protective film for the first 48 hours but dislike heavy occlusion, these lighter films reduce friction.
- Simple fragrance-free body wash. Gentle cleansers keep healing color from dulling without stripping delicate linework.
- Retouch planning notebook. Use this to log healed photos at six months so you can schedule a realistic touch-up if saturation drops.
- Saniderm-style protective film. Some artists use a branded adhesive film for the initial healing window to reduce scabbing and rubbing, which helps small flash on the wrist or hand.
7. Legendary Trio Composition on the Shoulder Cap

Go big when you want a single cohesive piece that still reads like a flash sheet. Tell the artist you want a composition that reads from a distance, with each figure given clear negative-space borders. Two camps exist here: one argues a trio needs larger canvases to preserve detail, the other suggests tighter, bold compositions can stay compact. If you plan eventual sleeve work, place the trio so it can be integrated later. For showing it off, one-shoulder tops and tank tops make the shape readable; a tank top women works well.
8. Shiny Color Palette Concept on the Outer Forearm

Use a shiny palette if you want an insider signal that other fans will catch. Specific briefing: indicate which hues you want swapped and ask the artist for patch tests of saturation on similar skin tone. Common mistake: picking neon washes that heal into muddy patches without solid anchoring lines. Outer forearm is forgiving for medium color work and usually finishes in one session. For outfits, short sleeves and cropped jackets show off saturation; try a utility jacket cropped.
9. Subtle Fandom Symbol in a Geometric Frame on the Inner Forearm
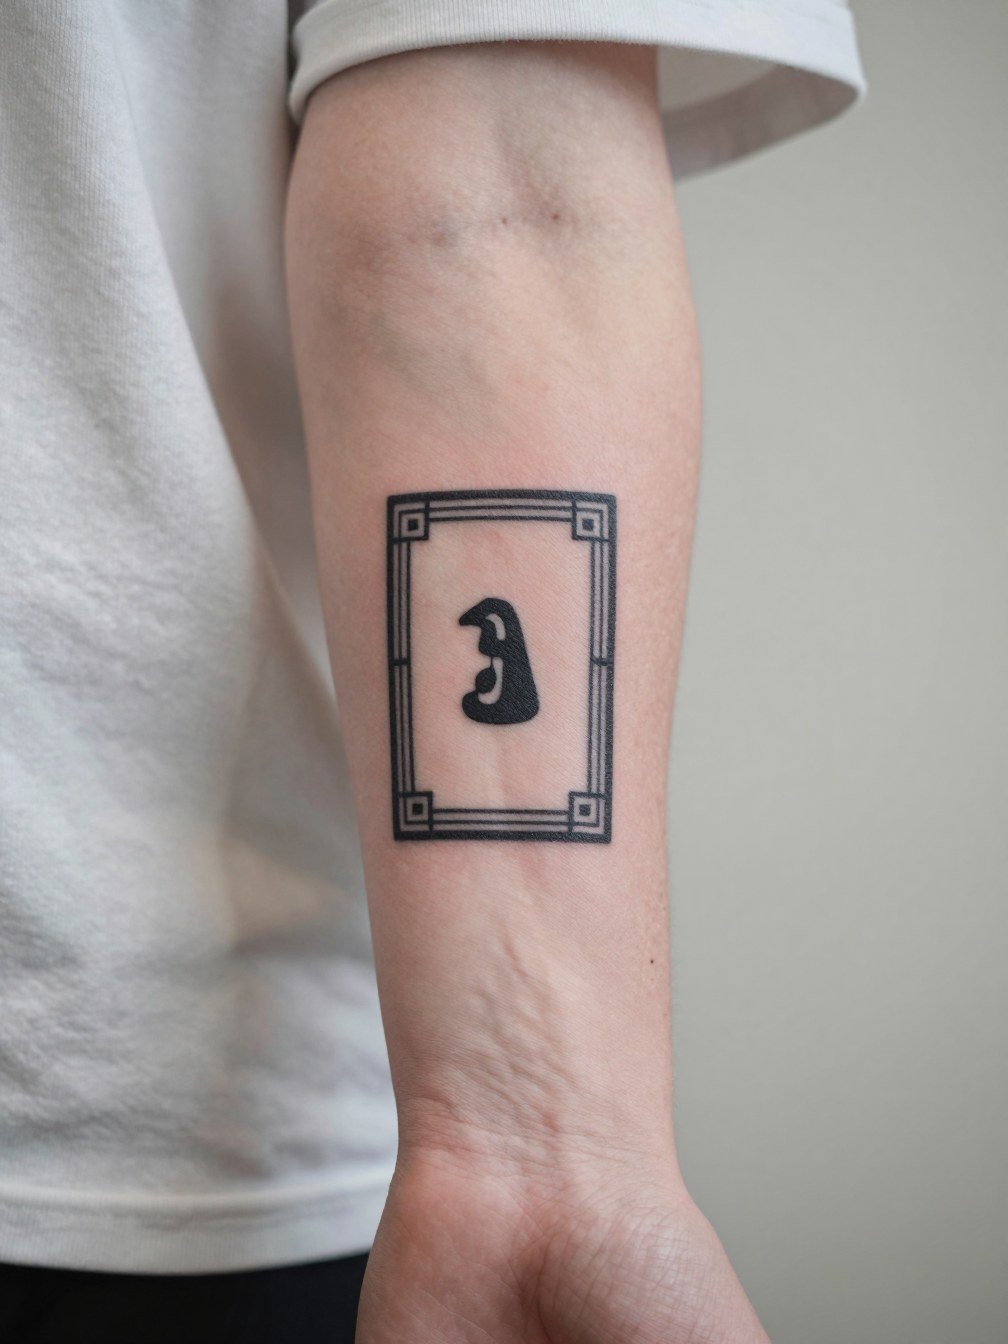
This is the go-to when you want a nod without a portrait. Consultation detail: request slightly thicker outer frame lines and crisp negative space so the center icon does not blur into the frame with time. One camp says subtle symbols age better and avoid obvious fandom labeling. The other camp says portraits are worth the commitment because they are instantly readable to everyone. Inner forearm fine line pieces need spacing increased by about 20 percent from reference to preserve detail. Wear a minimal watch band on the opposite wrist to balance styling.
10. Fusion or Hybrid Gag Tattoo on the Outer Forearm
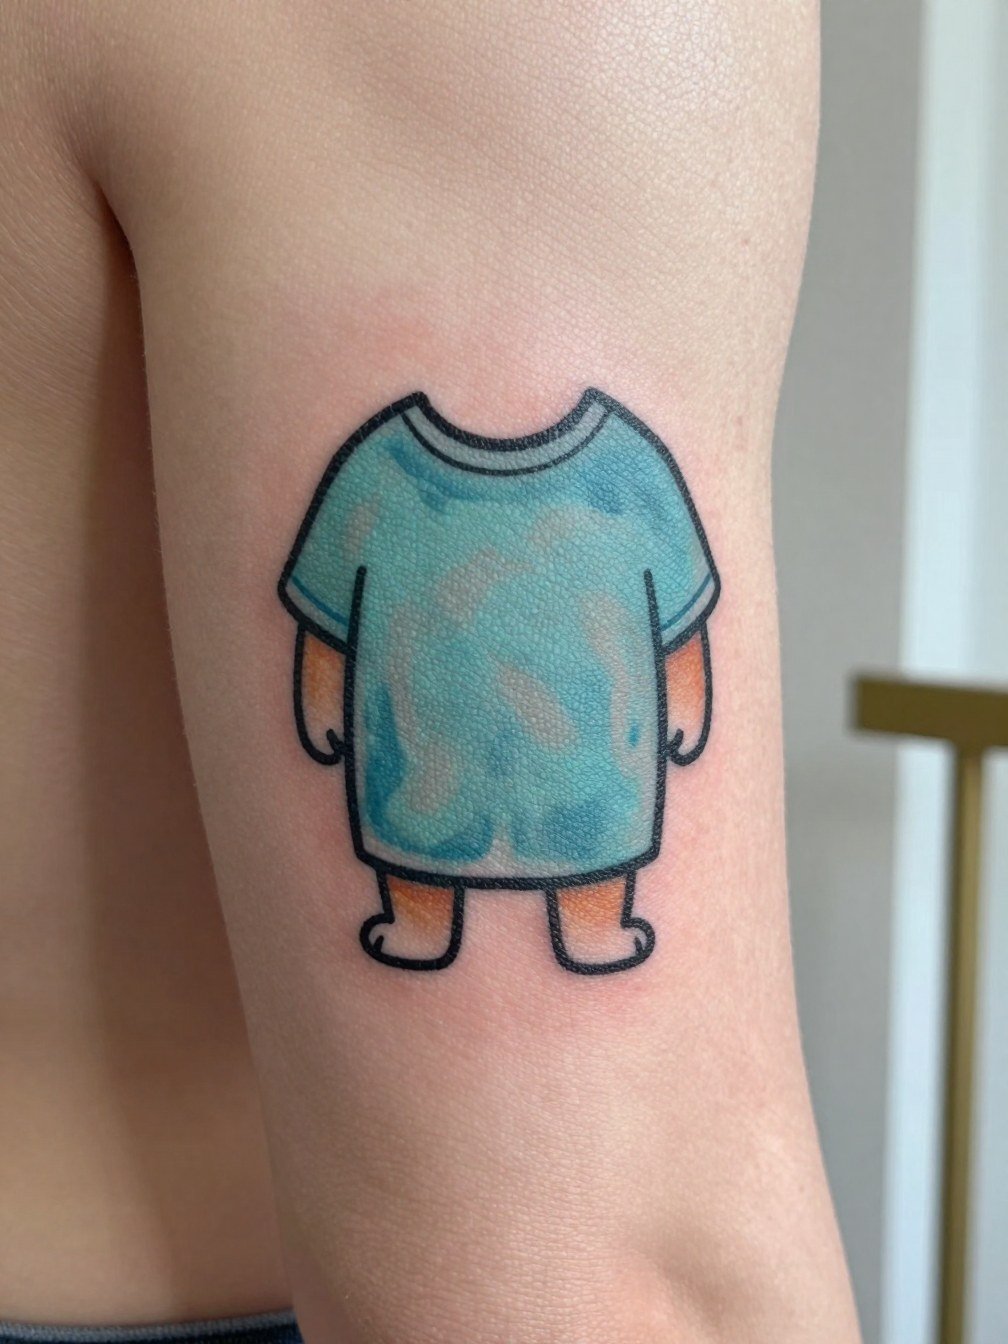
If humor is important, this style lets you personalize with a mashup that feels unique. Be explicit in the brief about which outfit elements you want emphasized and which to omit so the joke reads cleanly at small scale. A common mistake is crowding the gag with too much background, which makes the punchline unreadable once healed. Outer forearm sessions are easy to sit through; bring hydration and a light snack for longer color fills. Pair with short-sleeve boxy tees to keep the piece visible and playful.
11. Full Patchwork Sleeve, Collector Patchwork on the Outer Arm

This is the long-game for collectors who plan multiple sessions over years. During consult prioritize a unifying palette and consistent lineweight so separate sessions knit visually. Mistake to avoid: adding diverse styles without a tying element, which makes a sleeve look patchy. Expect many sessions and plan touch-up windows for heavy color blocks. For reveal outfits, rolled sleeves and cropped jackets are the most flattering. Try a rolled sleeve t shirt that frames the arm work.
12. Trainer-Era Retro Game Boy Panel on the Inner Forearm
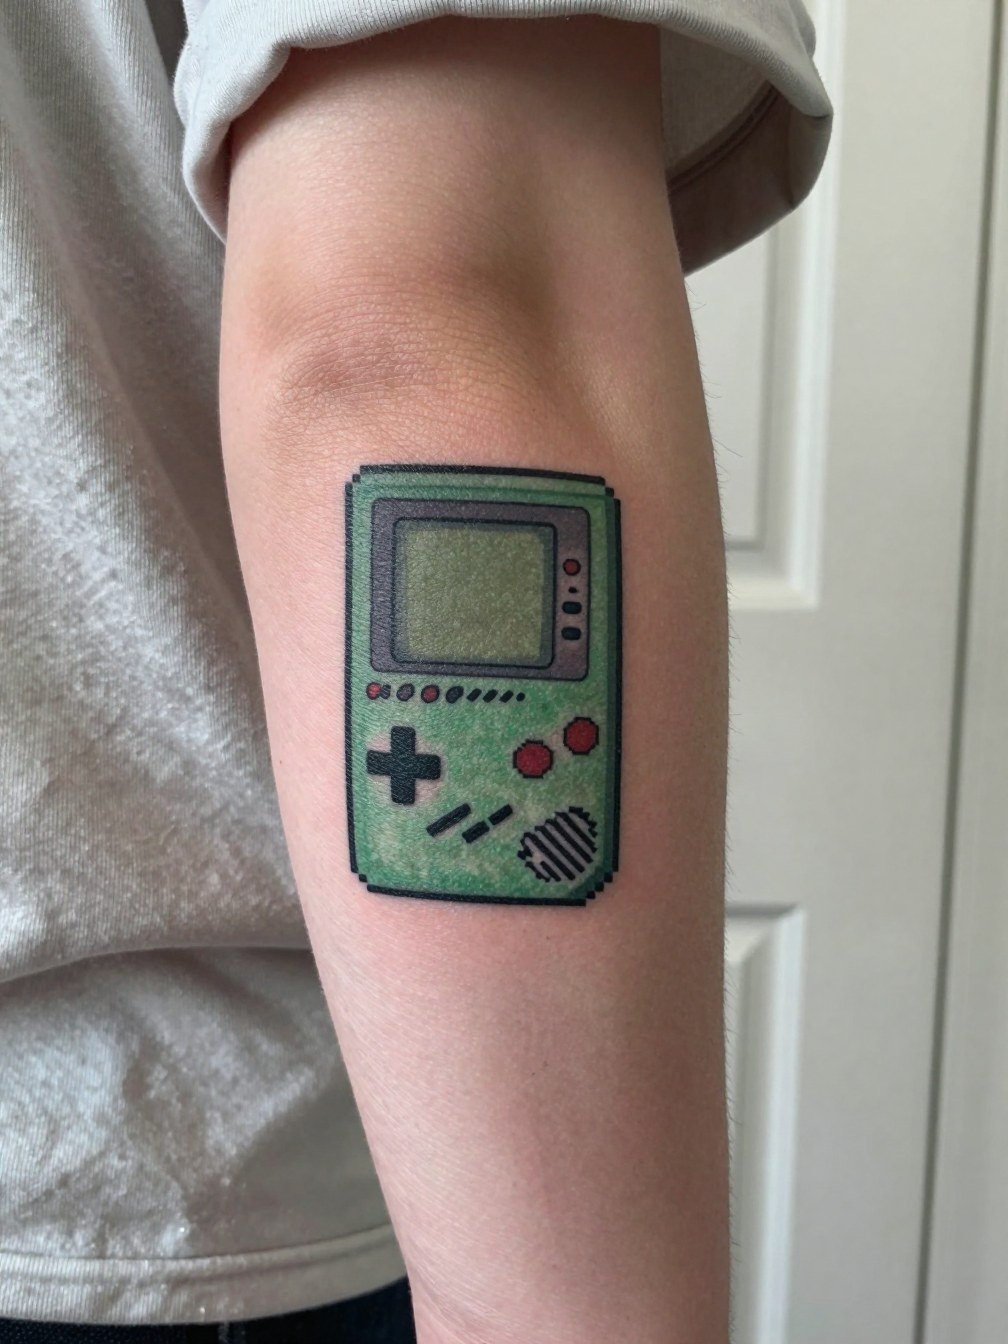
This is for fans who want a clear retro gaming reference rather than a portrait. Tell the artist to lock pixel squares with crisp black borders and no gradient blending to preserve the 8-bit feel. Common aging error: softening the grid into a wash, which ruins the effect. Inner forearm placement reads well when you rotate your wrist and is easy to cover. Style it with slim bracelets on the opposite wrist and a minimal watch band when you want a balanced look.
13. Watercolor-Adjacent Pokémon Flash on the Shoulder
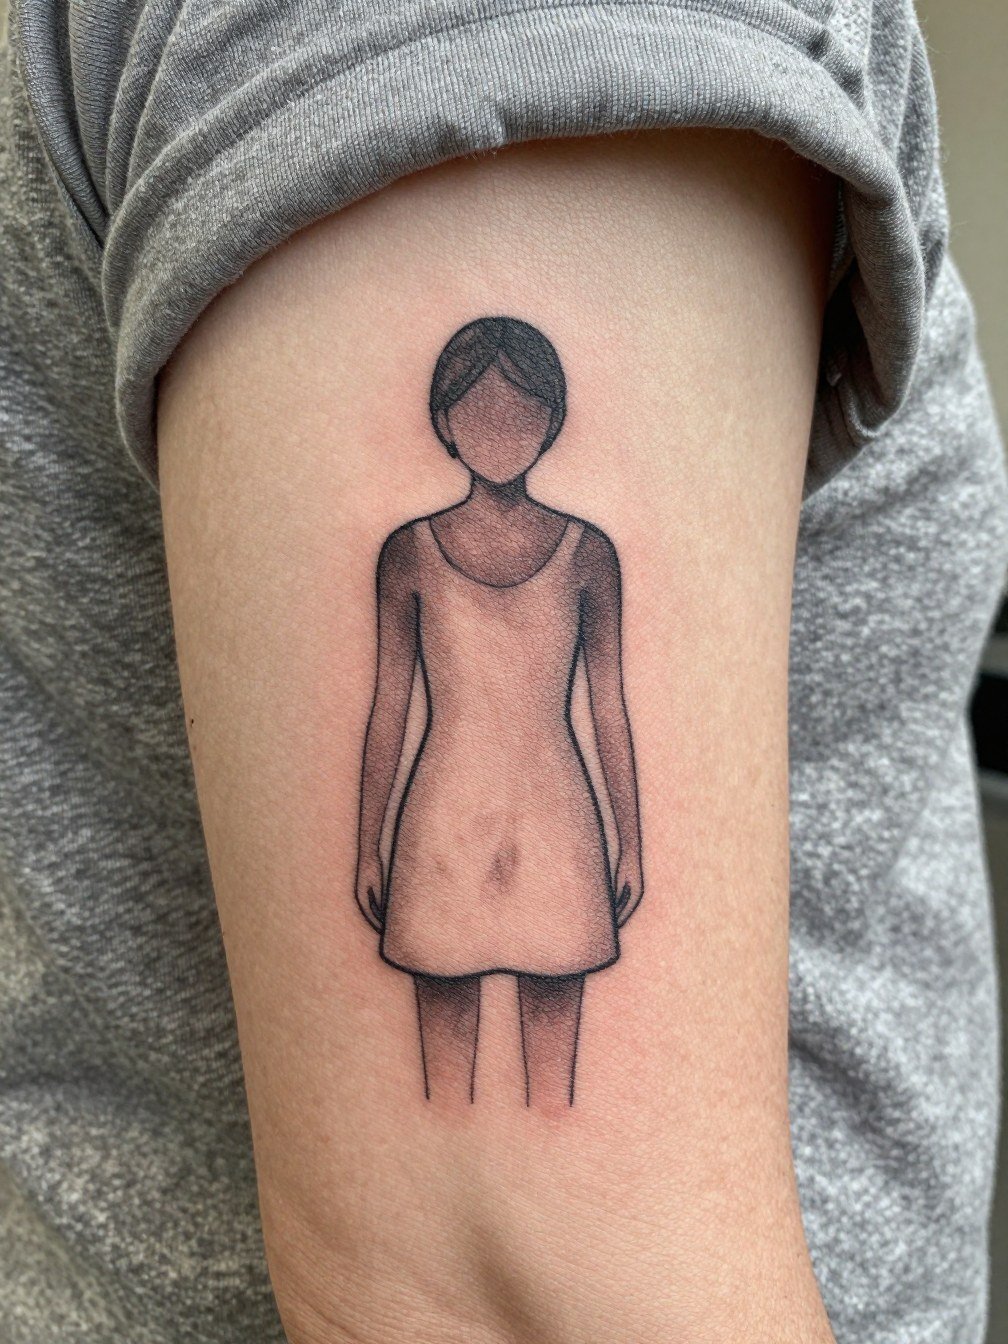
Watercolor-style work looks painterly but requires structure to age well. Specify that the artist anchor the wash with crisp outlines and small pockets of saturated pigment to avoid the "faded bruise" look. The common mistake is relying solely on soft washes with no strong line anchors. Shoulder placements hide well under shirts and are showable with tank tops or open-neck pieces. Try a scoop neck top for clean framing.
14. Black-and-Gray Portrait with Soft Shading on the Calf

This approach is a longevity-minded choice for collectors who want the drama of portraiture without color. Consultation note: discuss contrast points and request mid-tone anchors so the piece does not flatten after a year. One camp wants color because it fits the franchise identity. The other camp favors black-and-gray for predictable aging and easier touch-ups. Calf work is a good canvas for tonal control and usually heals cleanly.
15. Sprite Cluster Around the Ankle
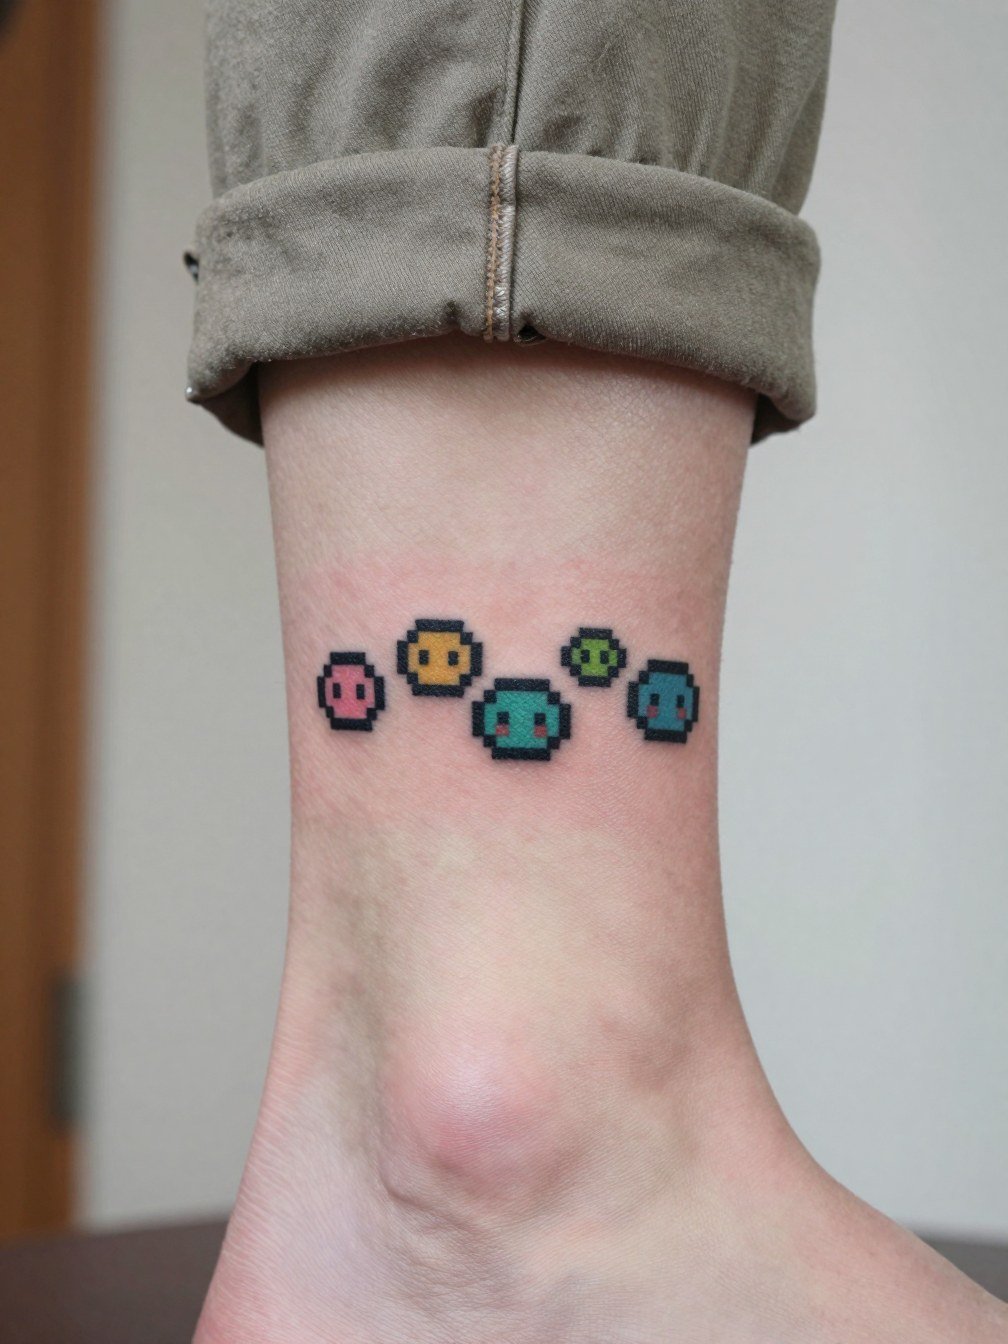
Tiny sprite clusters are excellent for subtle fandom lines along the ankle. Tell the artist to maintain square pixels and avoid softening edges. Mistake to avoid: cramming too many sprites in a tiny band, which becomes unreadable. Ankle tattoos face friction from socks and shoes during healing, so expect some saturation loss and plan for a touch-up window. Show-off pairing: cropped straight-leg pants or ankle-strap sandals and consider cropped straight leg pants to let the area breathe and display.
16. Minimal Pokedex Number in Fine Script on the Collarbone

This tiny identifier is an insider cue for fans who prefer subtlety. Key consultation point: increase letter spacing and request slightly stronger depth so the numbers do not blur into the clavicle's natural texture. Common error: single-needle script placed too close to the collarbone ridge, where contour movement can distort small lettering. Collarbone work can be tender and is rated higher on pain charts; wear a strapless or square-neck top for easy access and clear reference framing. A square neck top frames the area well.
17. Floral-Framed Poké Ball on the Ankle
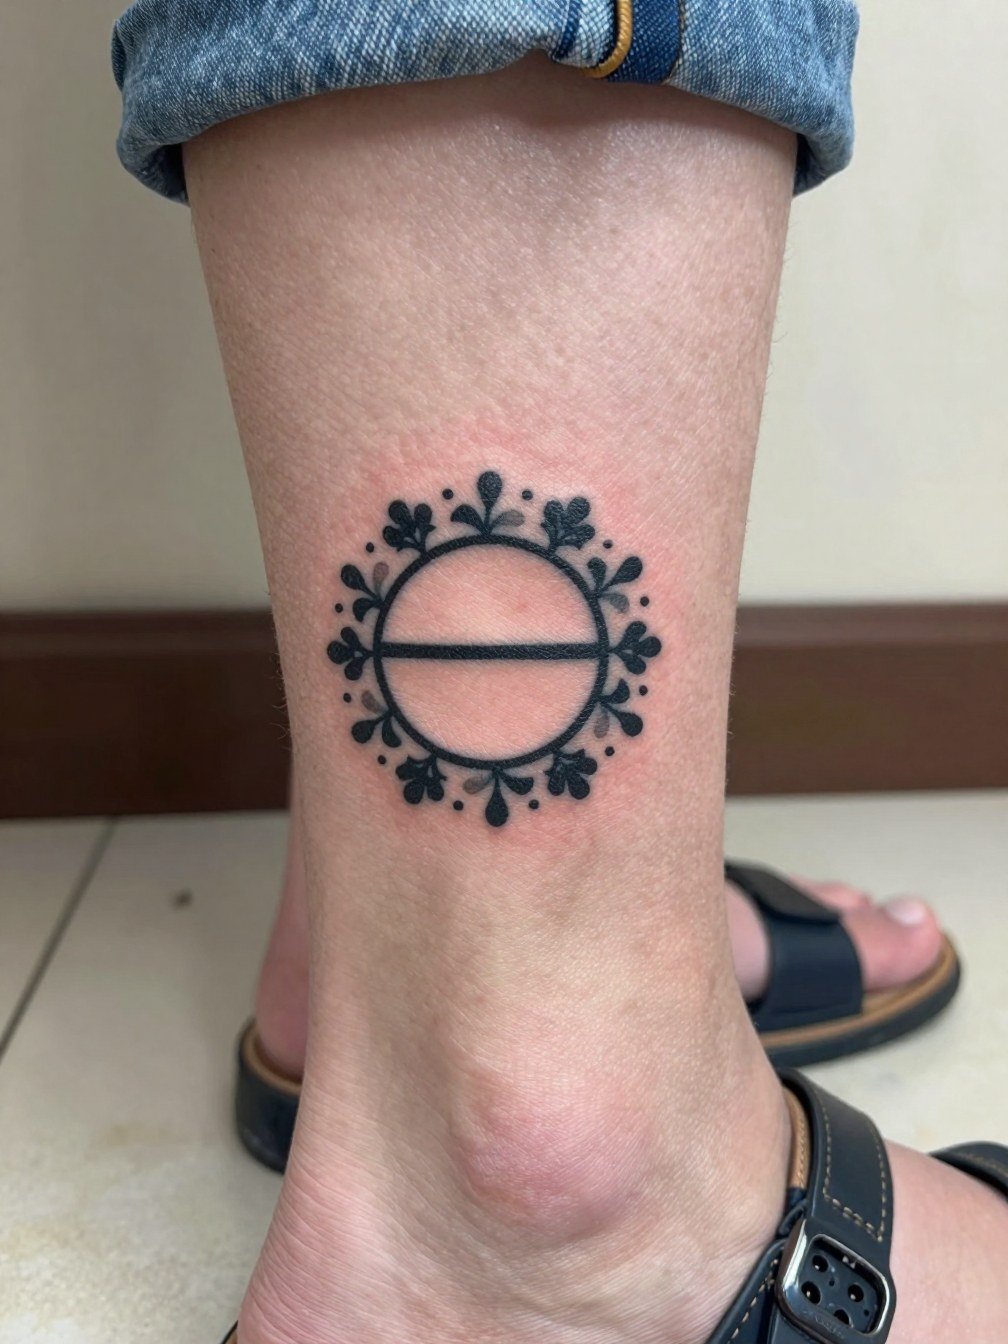
Add a floral frame when you want the symbol to feel ornamental rather than literal. During consult specify scale for the flowers so the petals do not collapse into the central circle. Typical mistake: over-detailing petals at ankle scale. Ankle friction matters here again, so plan a protective shoe strategy while the area seals. For summer reveals, pair with ankle-strap sandals or no-show socks.
18. Eeveelution Micro-Cluster on the Wrist

This cluster is for fans who want multiple nods compressed into one small wrist piece. Tell the artist to prioritize silhouette legibility rather than inner detail so shapes read at tiny scale. Common mistake: packing facial detail that disappears after healing. Wrist pieces show well with thin chain bracelets, so try a thin chain bracelet to accessorize without crowding the art.
19. Starter Trio Stacked on the Smooth Inner Upper Arm

Stacking the starter trio is a clean way to celebrate Gen 1 favorites without sleeve commitment. Consultation detail: lock in consistent head size across the three portraits so they read as a set and avoid one dominating the others. Inner upper arm skin is less exposed to sun, which helps color age; however, it can be softer so spacing is crucial. Pair with sleeveless tops and an oversized button down worn open to reveal the piece.
20. Snorlax Cozy Mashup, Playful Large on the Calf
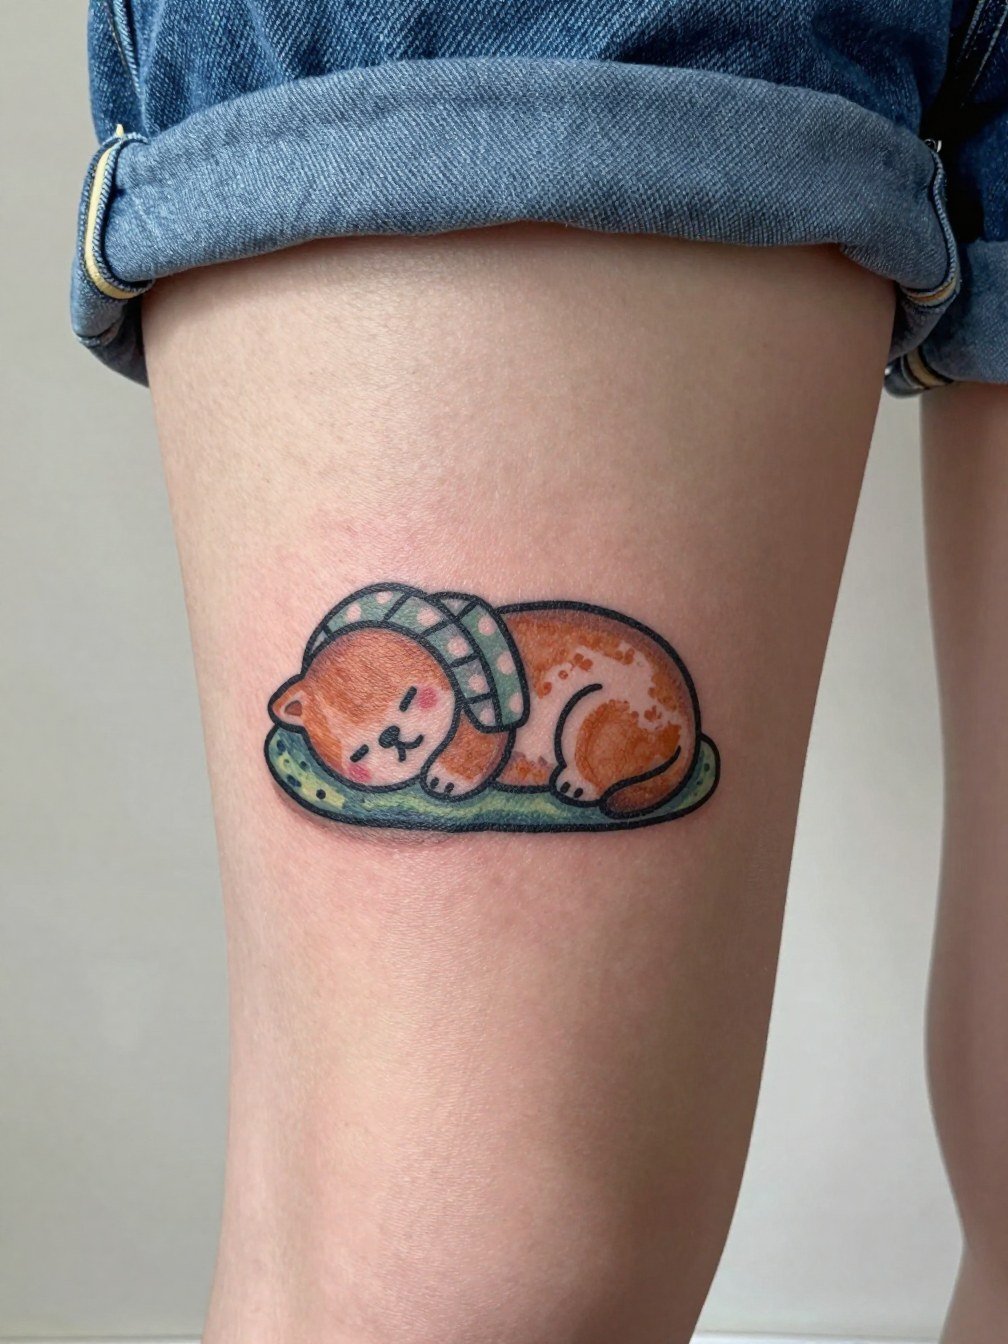
Playful mashups are crowd-pleasers and age like standard neo-traditional pieces if the outlines stay strong. Be explicit about which accessory elements are essential to the gag so the artist can prioritize those at the correct scale. Mistake: asking for micro-patterns on a large curved surface that won't read from a distance. Calf work is comfortable and allows large compositions with good healing prospects.
21. Single Legendary Silhouette Above the Chest
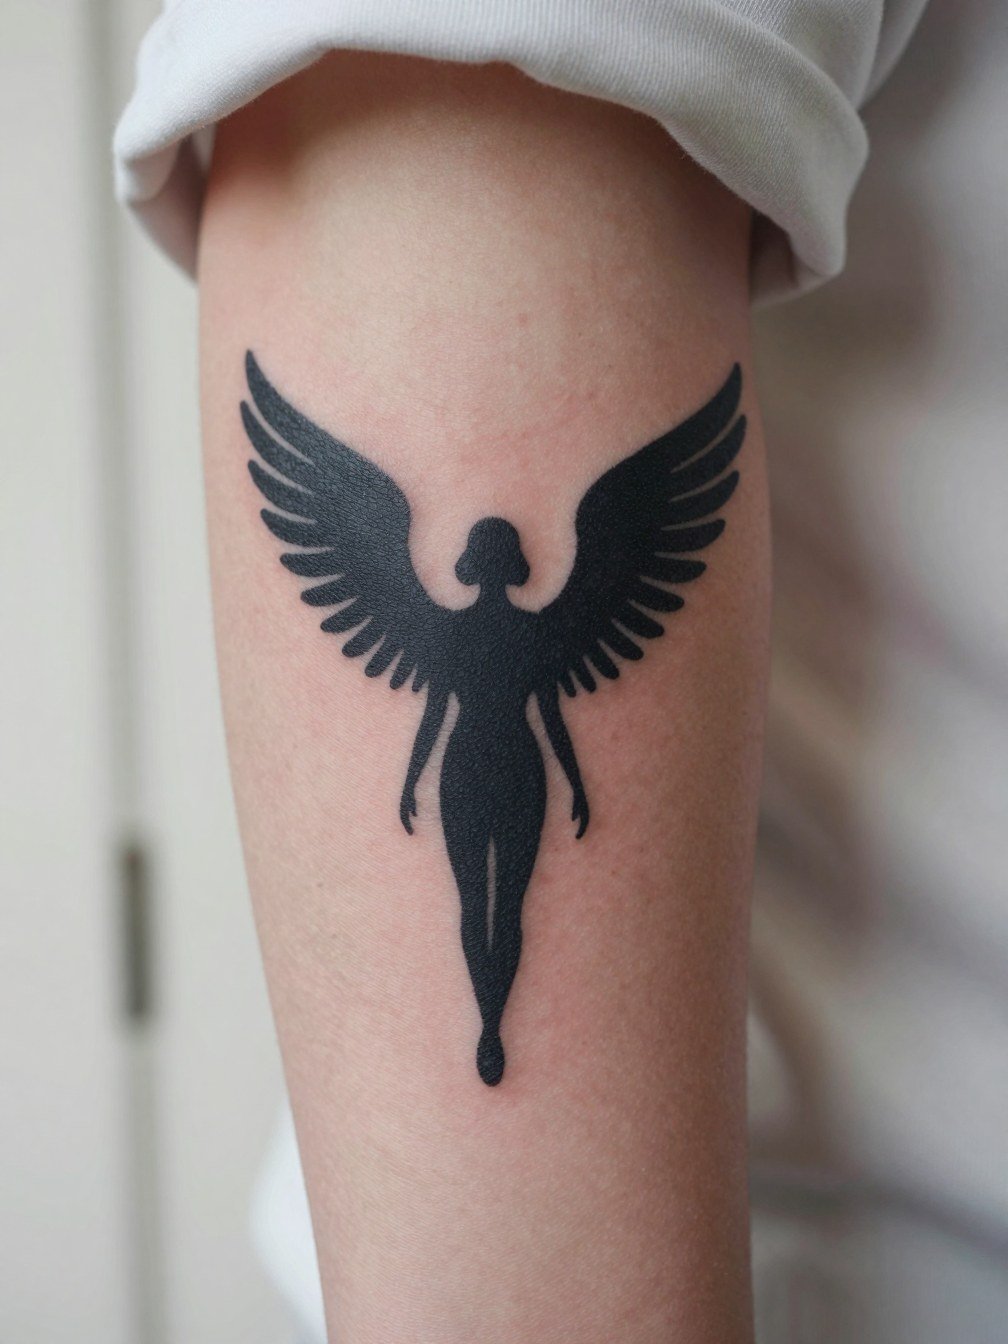
A solitary silhouette can read epic without heavy detail. Specify the silhouette angle and negative-space cut so the image reads as a single form. The main error is over-detailing the silhouette edge, which creates visual noise. Chest placements can be more visible and are moderately painful depending on placement. A layered gold necklace can frame the silhouette tastefully.
22. Poké Ball Badge with Banner on the Outer Forearm
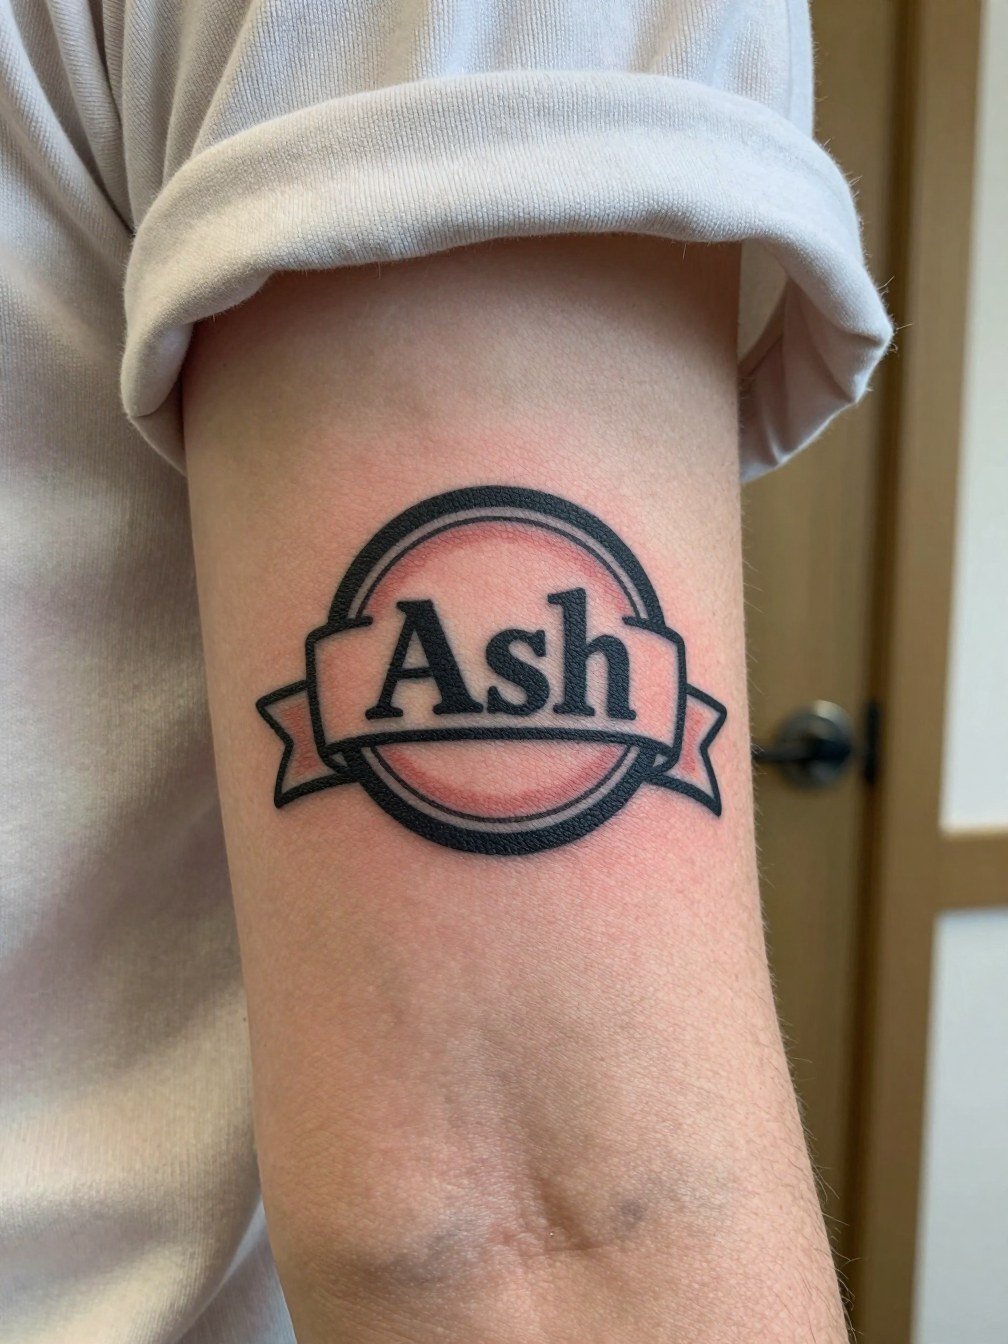
Add a small banner for a year or short word if you want a captioned badge. Exact lettering is important, so state the precise text and font weight when you brief the artist. Common mistake: tight script in a banner that becomes unreadable at small scale. Outer forearm badges age predictably with clean bold outlines.
23. Team Emblem Patch on the Upper Chest
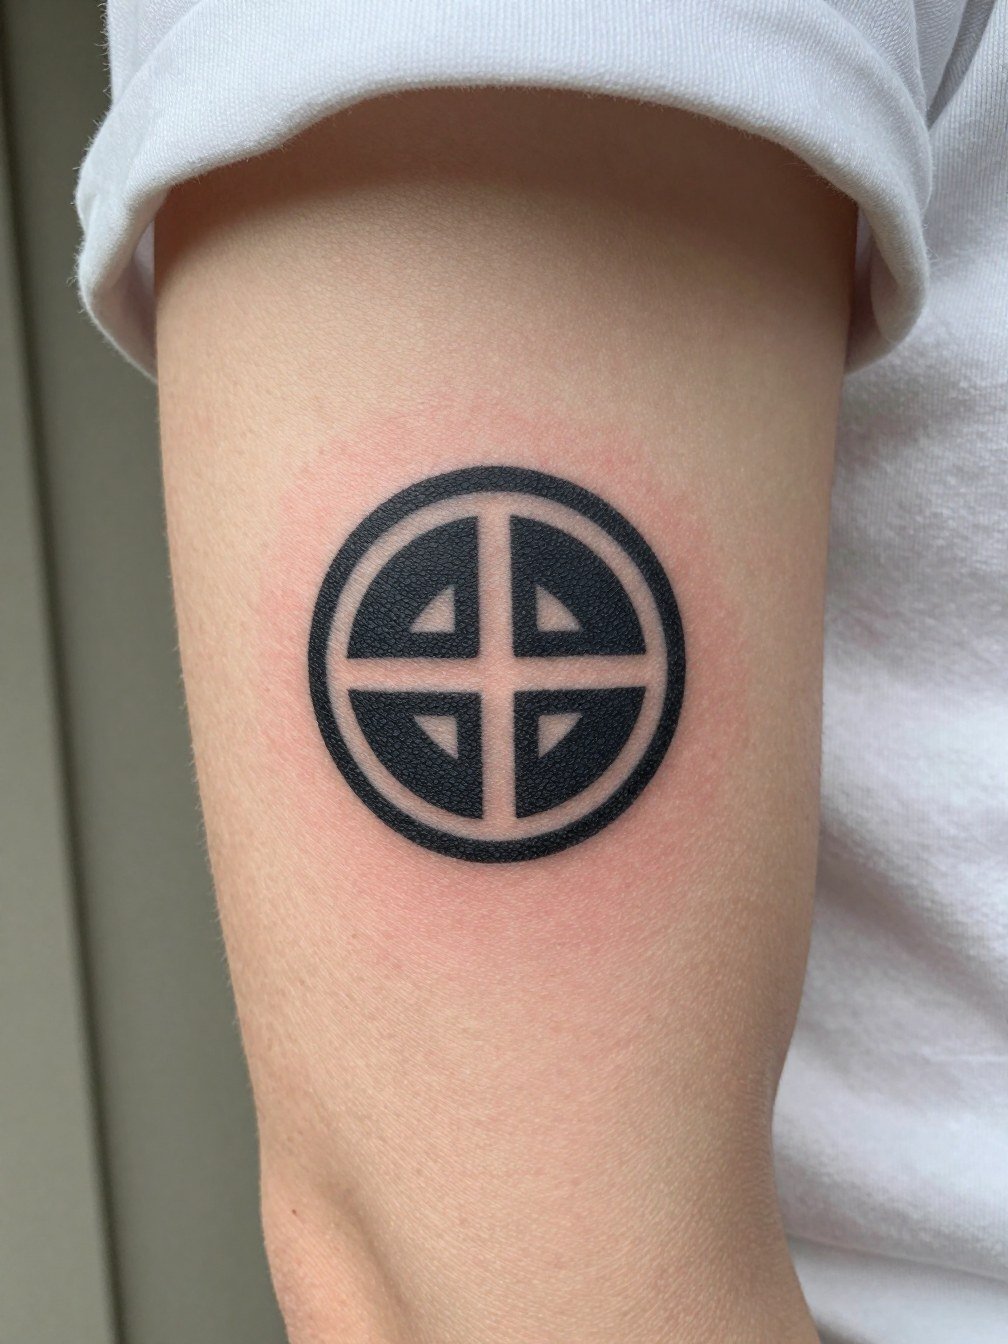
A team emblem is a compact statement piece with room for color loyalty. Be explicit about which palette matches your team identity and ask the artist to test saturation on comparable skin tone. Typical mistake: overcomplicating the emblem with extra shading that competes with the flat color blocks. Upper chest pieces must consider wardrobe choices, so pair with square-neck tops or layered chains to frame the art.
Frequently Asked Questions
Q: I like Pokémon ink but I do not want it to look childish. What are subtle options that still signal fandom?
A: Opt for symbols like a stylized circular badge, sprite pixels, or small silhouette work instead of full character faces. Request geometric framing or an eight-bit grid to keep it design-forward. For the inner forearm or wrist, a minimalist emblem with bold outline reads best. Try pairing the reveal with a minimal watch band to keep the aesthetic grown-up.
Q: How big should a character portrait be so it ages well?
A: Plan for a size where facial features are at least three to four millimeters across when healed. That usually means small portraits should be around two to three inches depending on the body area. If you want micro work, simplify the face into silhouette or single-line features so it does not blur into a smudge. Schedule a touch-up at six to twelve months if the piece is color-forward.
Q: Where can I find portfolios and healed examples without naming specific artists?
A: Search Pokémon-focused hashtags on social platforms and filter by location to find nearby artists who post healed work. Browsing Reddit communities for healed-before-and-after posts helps you see long-term results across skin tones. Use keywords like "Pokémon flash," "sprite tattoo," or "neo-traditional Pokémon" in tattoo directory searches to surface portfolios that already do that lane.
Q: Should I pick color or black-and-gray for a starter portrait?
A: Both sides make valid points. Color keeps the franchise identity vivid and unmistakable. Black-and-gray offers more predictable aging and can still convey silhouette and form. Decide based on how often you plan touch-ups, how exposed the placement is to sun, and whether you want an obvious fandom label or a subtler cue.
Q: What should I wear to the appointment for a shoulder or ribcage piece?
A: For shoulder work bring a tank top or loose button-down that the artist can easily move without tugging. For rib or side-torso pieces wear a fitted cropped athletic top so the area is accessible and the artist can maintain comfortable angles during longer sessions.
Q: Will small wrist or ankle pieces need touch-ups more often than larger pieces?
A: Small friction-prone placements like wrists, fingers, and ankles often need refreshes sooner because daily movement and rubbing speed saturation loss. Expect to monitor the healed result at three to six months and plan a touch-up if lines or color soften.
Q: How do I choose between a tiny icon and a sleeve project?
A: Think about visibility and long-term commitment. A single flash piece is a manageable way to mark fandom without ongoing appointments. A sleeve is for collectors who want many references integrated visually and are open to a multi-year plan. If you are undecided, start with a medium placement that can integrate later, such as the outer forearm.
