
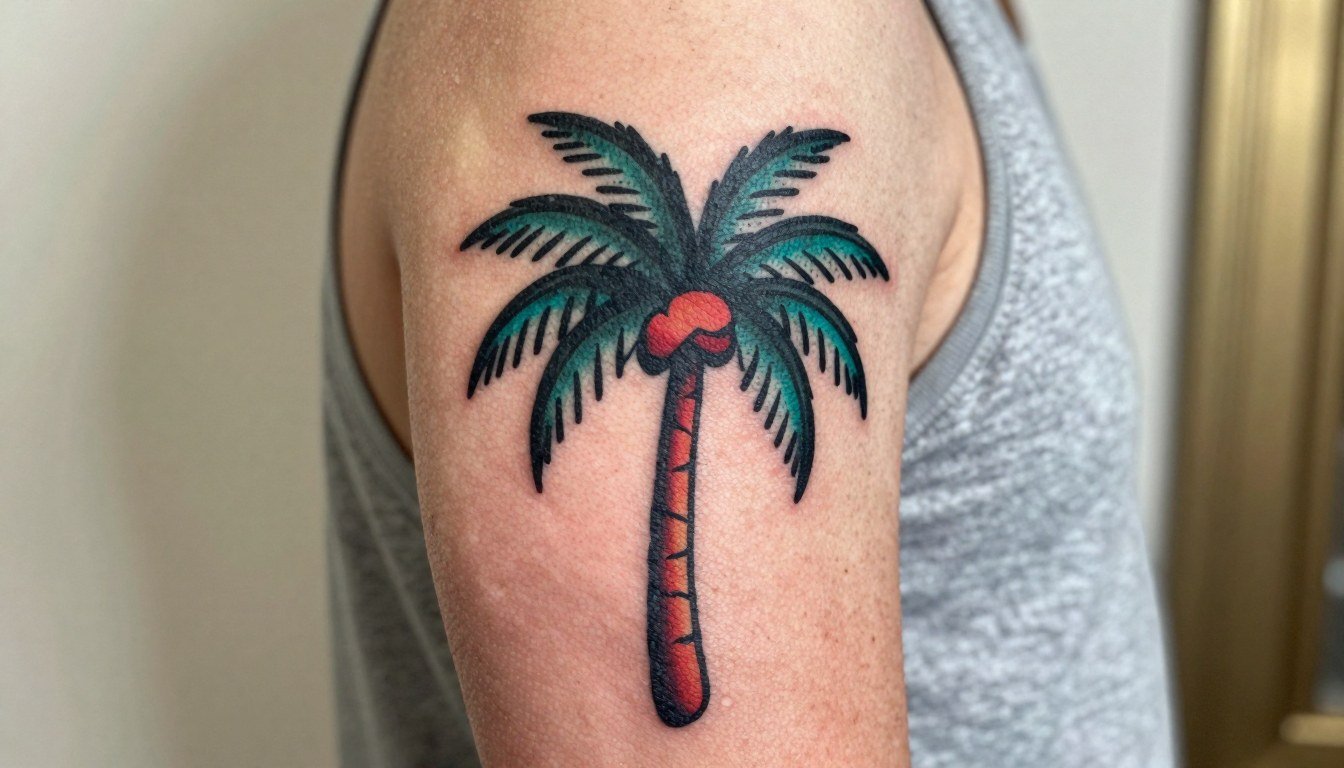
Palm trees read like shorthand for a mood. They can be a tiny nod to a hometown beach, a bold island flash, or a delicate mark you wear like a private talisman. The Instagram-friendly versions are not always the ones that last well. Below the surface are choices that decide whether a palm reads crisp at year five or blurs into a soft grey shape, and the first section shows a palm that actually holds up.
1. Fine Line Mini Palm on Inner Forearm
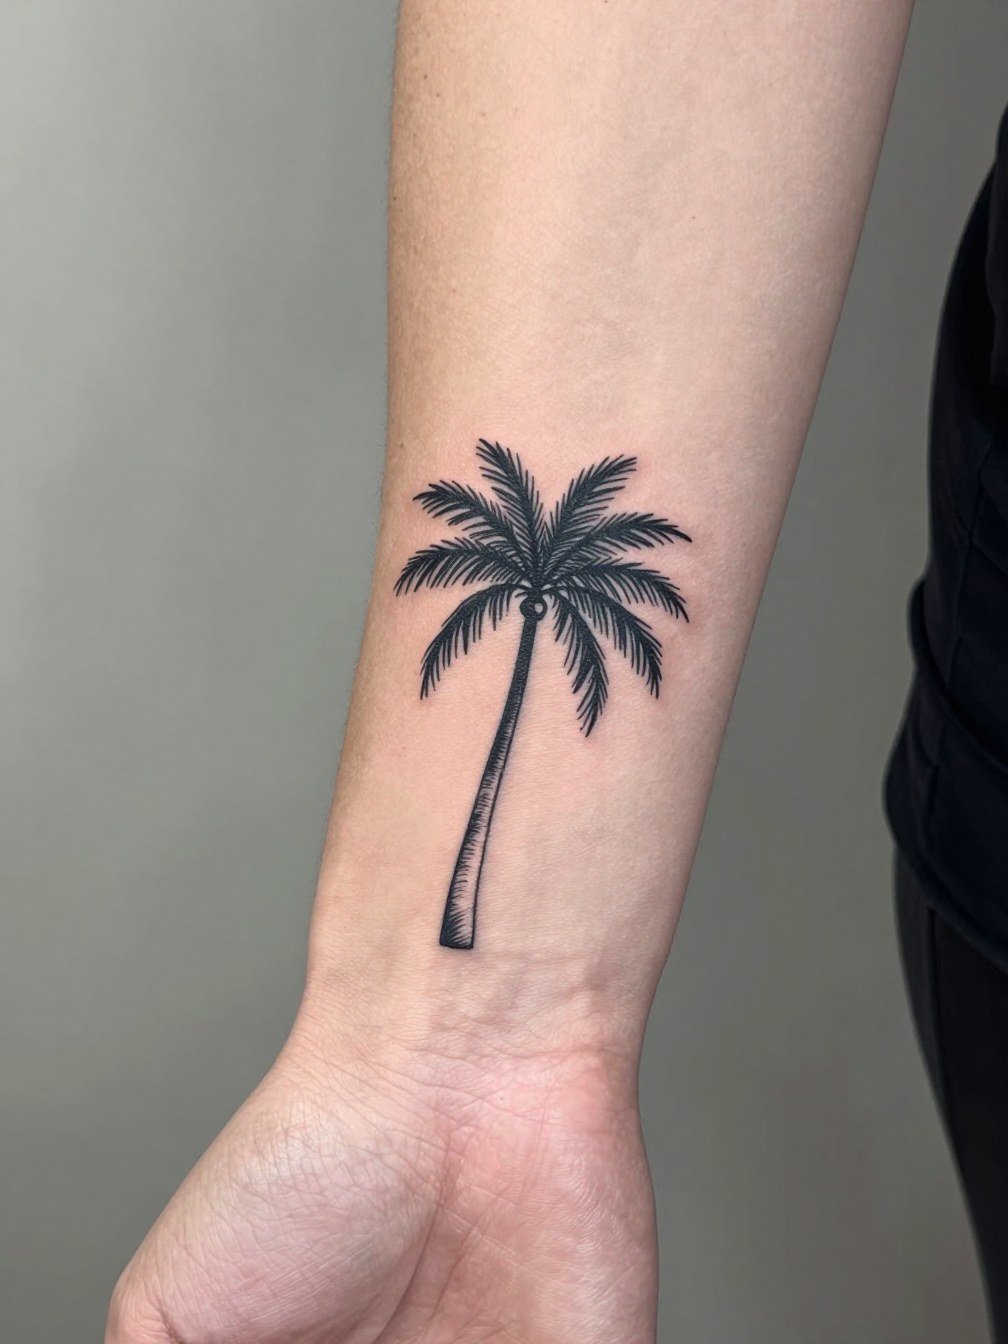
The inner forearm is forgiving and shows tiny detail well, so this is the best place to try a single-needle palm if you want subtlety. Bring two scaled references so the artist can compare how three-inch versus five-inch line spacing reads on your skin. A common mistake is asking for the finest possible line and then placing it too close to wrist bones where skin movement softens the lines. At six months the fronds should look crisp, at two years thin lines will soften and might need a light touch-up, and at five years a slightly heavier initial line weight often reads better. Session time is short, usually under an hour, and pain rates low to moderate.
2. Traditional Flash Palm on Upper Arm
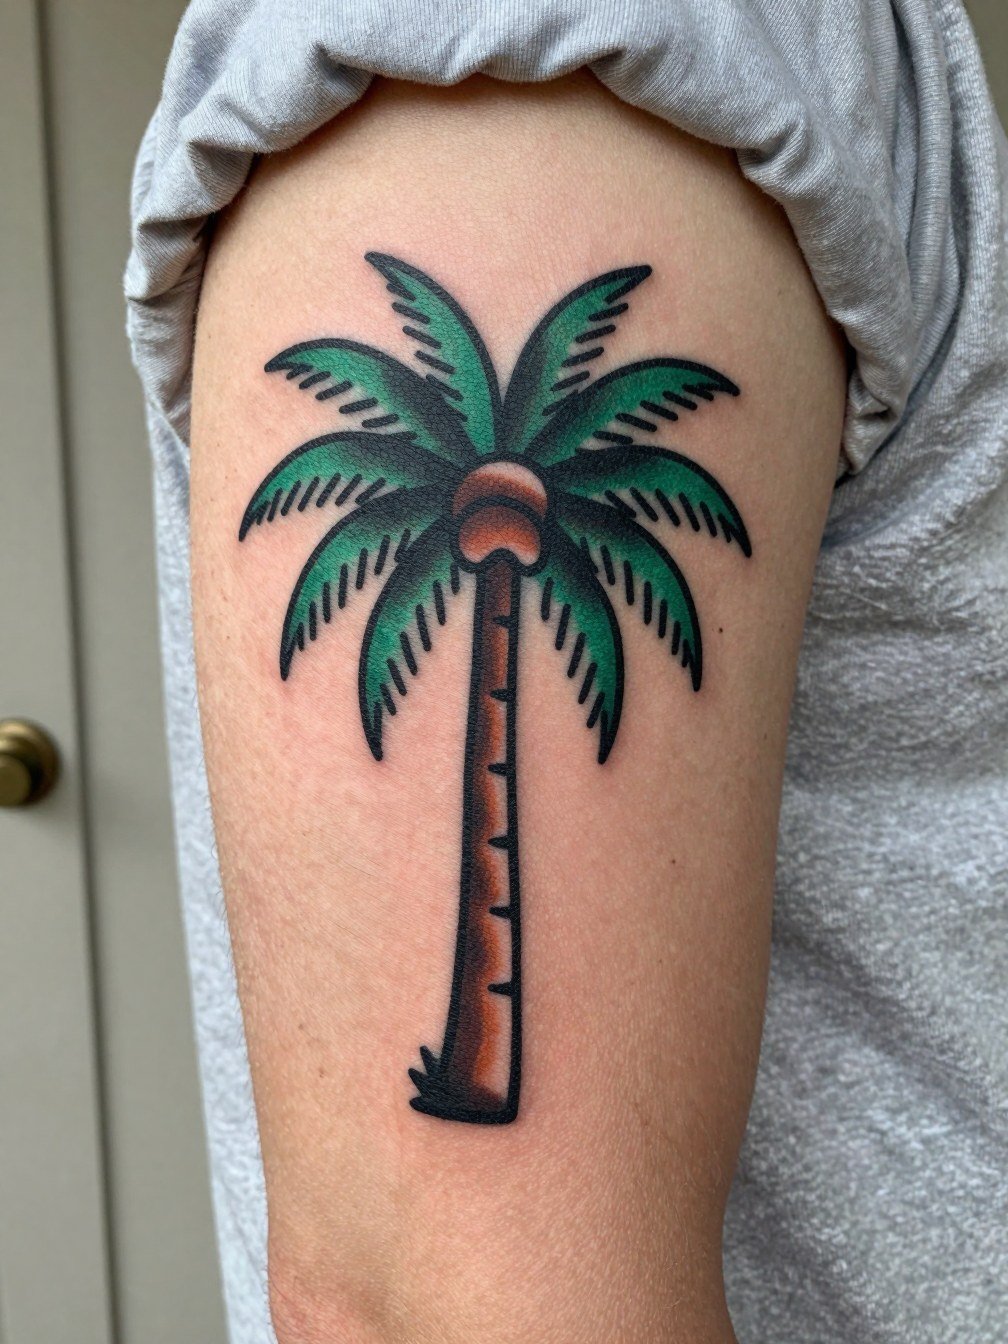
This is the classic route for palm tree motifs and it holds up because of bold outlines and saturation. Choose this if you want a tattoo that reads from across a room and requires less frequent touch-up than fine-line work. Tell the artist you want saturated fills and a crisp outer line so the fronds keep their shape with time. Expect a 60 to 90 minute session with mild to moderate soreness afterward. Pair it with fitted short-sleeve shirts for easy showing, and consider a cotton short-sleeve tee for session comfort so the sleeve pulls up without tugging on fresh ink. The main mistake is shrinking flash into too-small dimensions, which makes the internal detail vanish as it heals.
3. Black-and-Grey Palm Silhouette on the Calf
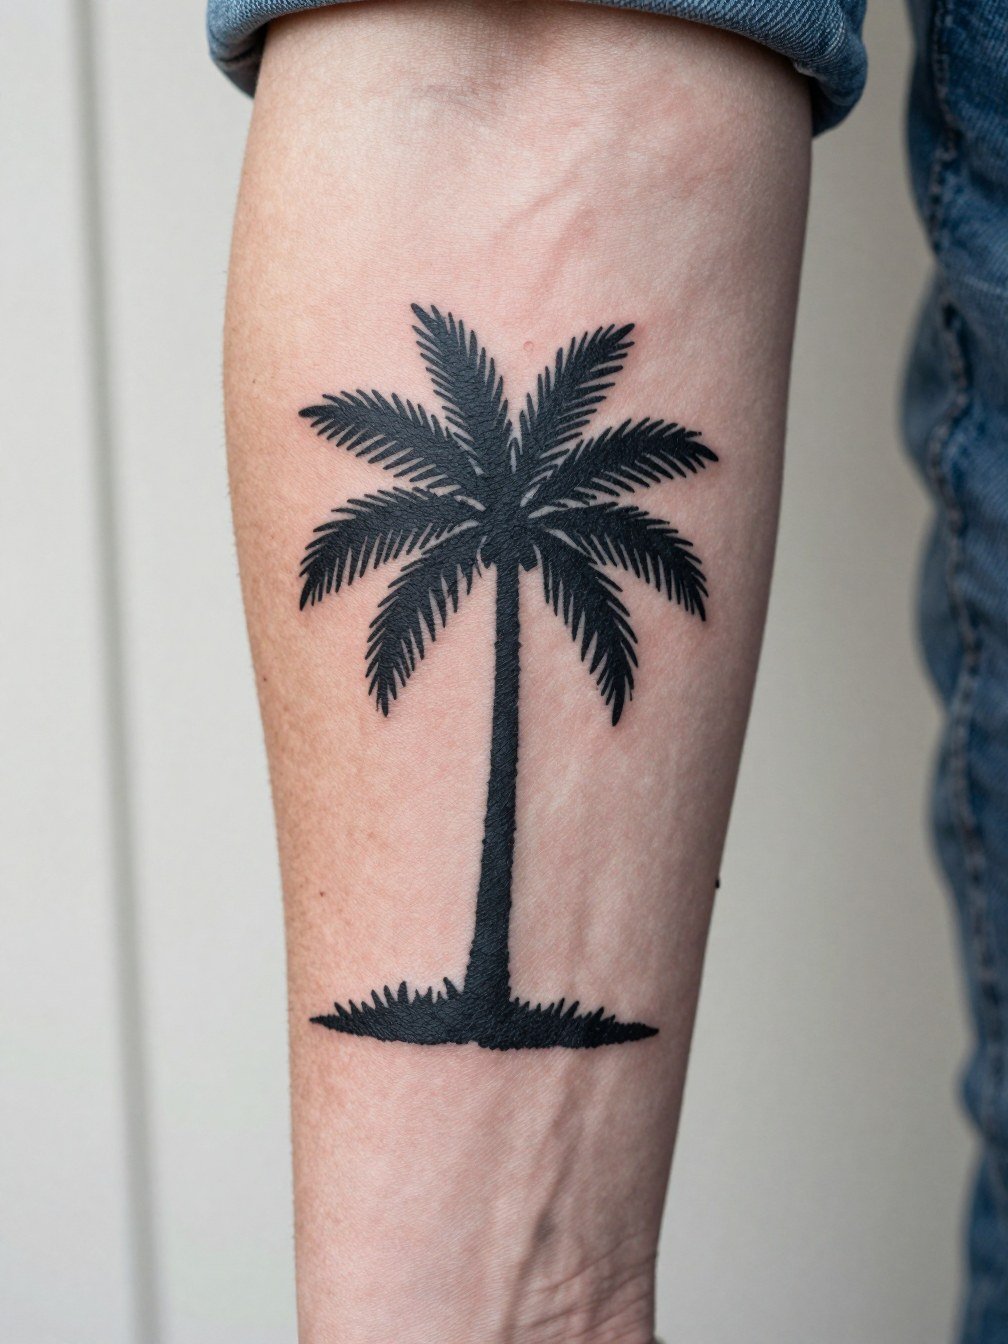
Calf placements let medium-sized silhouettes read well because the skin is low-friction and the canvas is wide. I recommend this when you want a moody, wearable palm without bright color. Discuss spacing and negative-space horizon so the tree keeps separation from background shading. At six months the silhouette will look matte black, at two years the contrast softens but the shape stays recognizable. The session is moderate in length, often ninety minutes, and the calf tends to be less painful than ribs. Blowout risk is low here if lines are given adequate thickness. Wear loose pants or shorts to the session so the artist can expose the area without fabric rubbing.
4. Tiny Ankle Palm with Color Accent
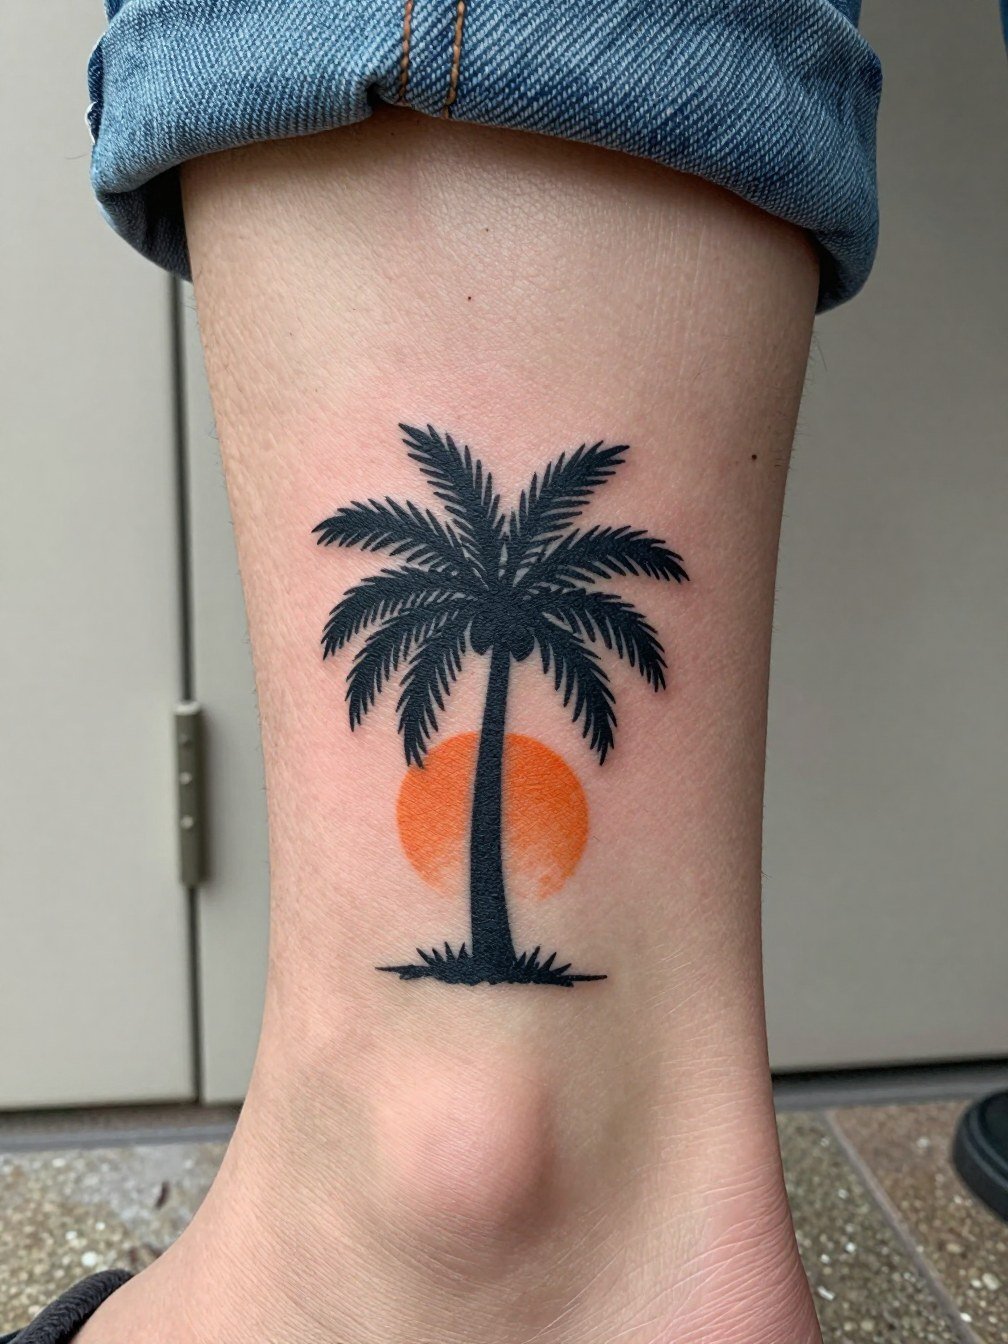
Ankle tattoos get a lot of friction and foot movement, so tiny palms need slightly heavier linework and a bold dot of color to hold visual weight. Ask the artist to thicken the main trunk line a hair and to saturate the color aggressively so the orange retains vibrancy through frequent washing. The session is short, twenty to forty-five minutes, but the ankle will be tender for a couple days. For showing off, pair this placement with ankle-strap sandals or cropped trousers that stop at the ankle. A common mistake is opting for hairline fronds that blur into skin texture after a year.
5. Palm Cluster Across Collarbone with Boho Accents
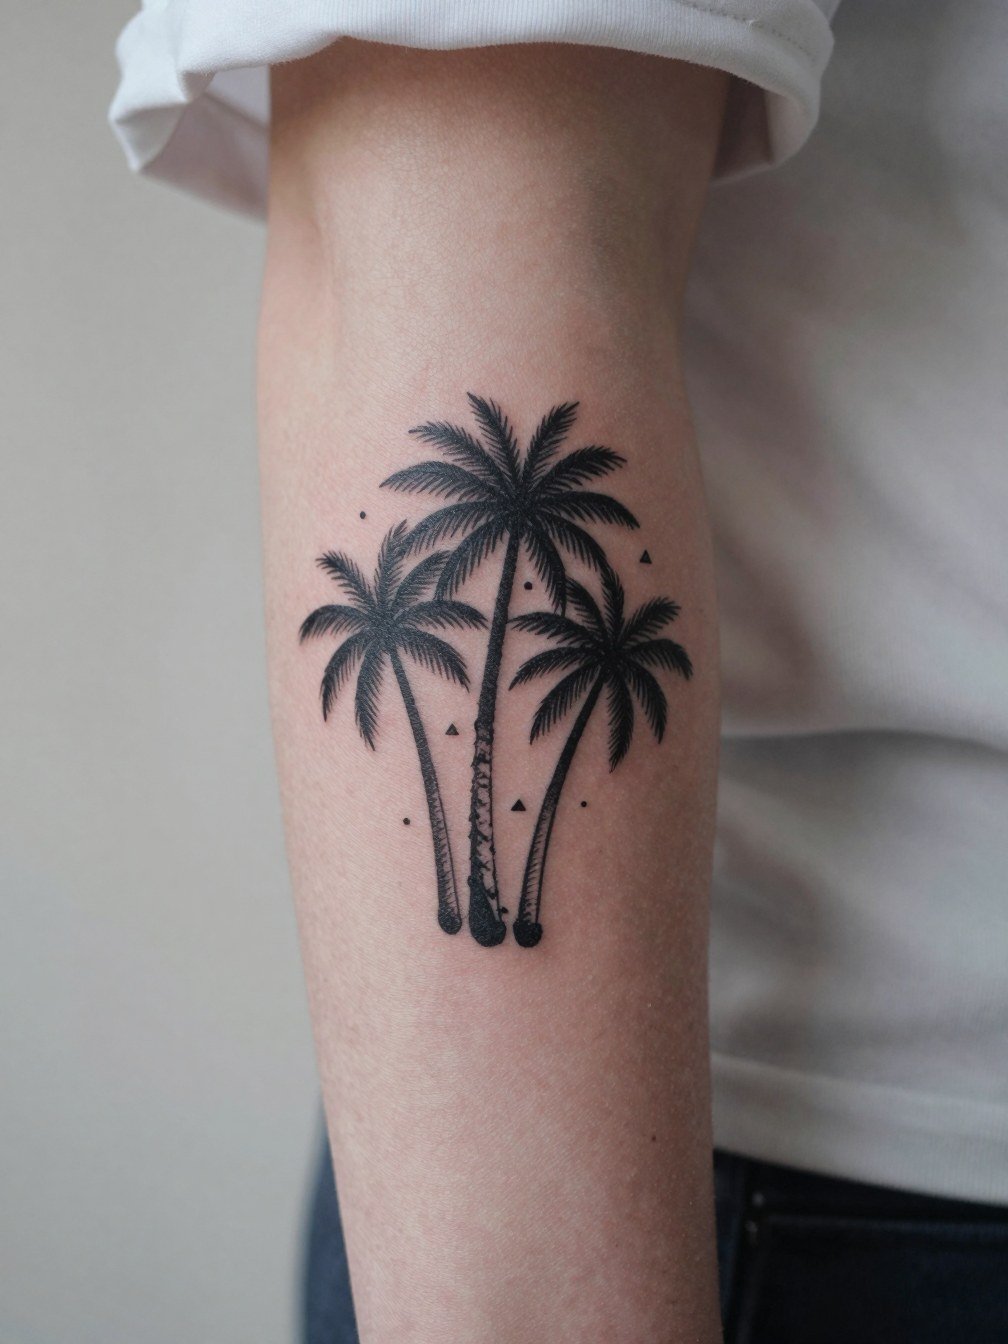
Collarbone pieces are visible and photograph beautifully, but they need careful spacing to avoid the tattoo looking crowded as skin moves. Bring layered reference shots that show how the cluster sits with different necklines so the artist can map negative space. Expect a moderate pain level, especially over bone, and a one to two hour session. For outfits, this placement reads well with open-back midi dresses or scoop-neck tops that frame the linework. The usual error is trying to cram intricate detail right on the clavicle edge where the bone disrupts smooth linework.
6. Palm and Sunset Micro-Realism on the Wrist
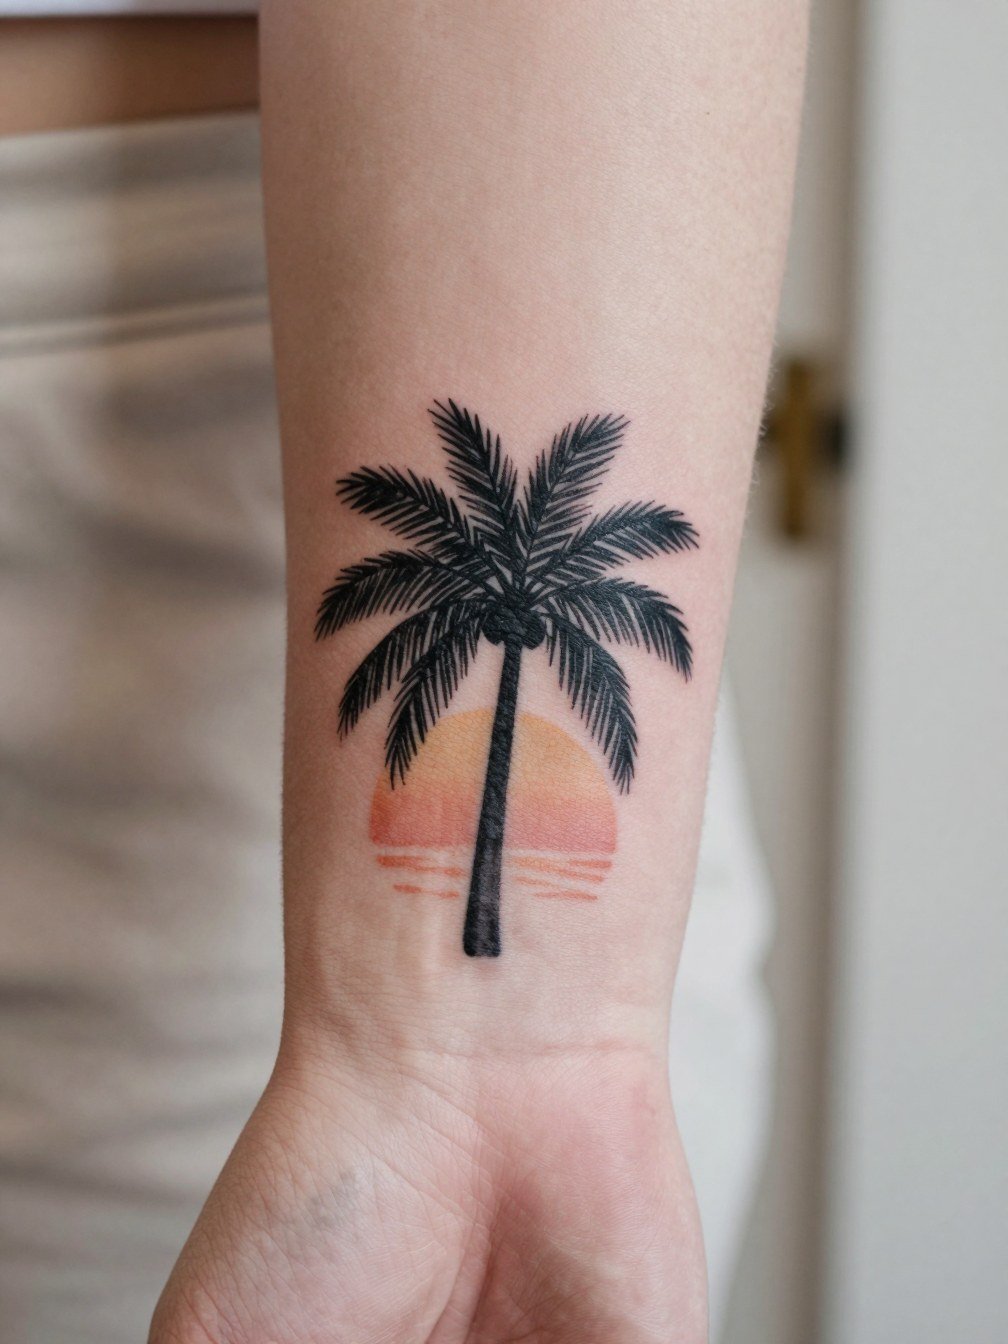
Wrist pieces are highly visible and show subtle art well, but fine-line micro-realism here splits artists on longevity. One camp says ultra-fine single-needle work on the wrist tends to blur within two to three years because of frequent washing and skin movement. The other camp argues that with slightly heavier line weight, tight spacing, and strong saturation it can remain readable for several years, and they point to healed wrist portfolios as evidence. If you favor longevity, ask for a touch-up plan and for the artist to slightly boost contrast. Sessions are short and sensitivity moderate. Pair small wrist work with minimal bracelets or a cuff so the tattoo has room to be seen cleanly, and bring a thin cotton cuff shirt for the appointment to avoid fabric rubbing during healing.
Session Day Picks
The palms above include several small placements where a lighter hand on session prep makes a big difference, so these items smooth the day and the first week.
-
Stencil transfer paper kit. Lets you preview the exact linework on arm and chest placements before the needle, helpful for the inner forearm and wrist ideas above.
-
Topical numbing cream. Applied thirty to forty-five minutes before can ease the rib and sternum sessions without changing how the artist works.
-
Thin protective film roll. Useful for ankle and finger placements that face friction from socks and shoes during the first days.
-
Fragrance-free body wash. Mild cleansers for the first week reduce irritation on sensitive sites like collarbone and ribs.
-
Aquaphor healing ointment. Thin layers in the first few days lock moisture into fine-line work and larger saturated fills alike.
7. Palm Fronds Along the Ribcage
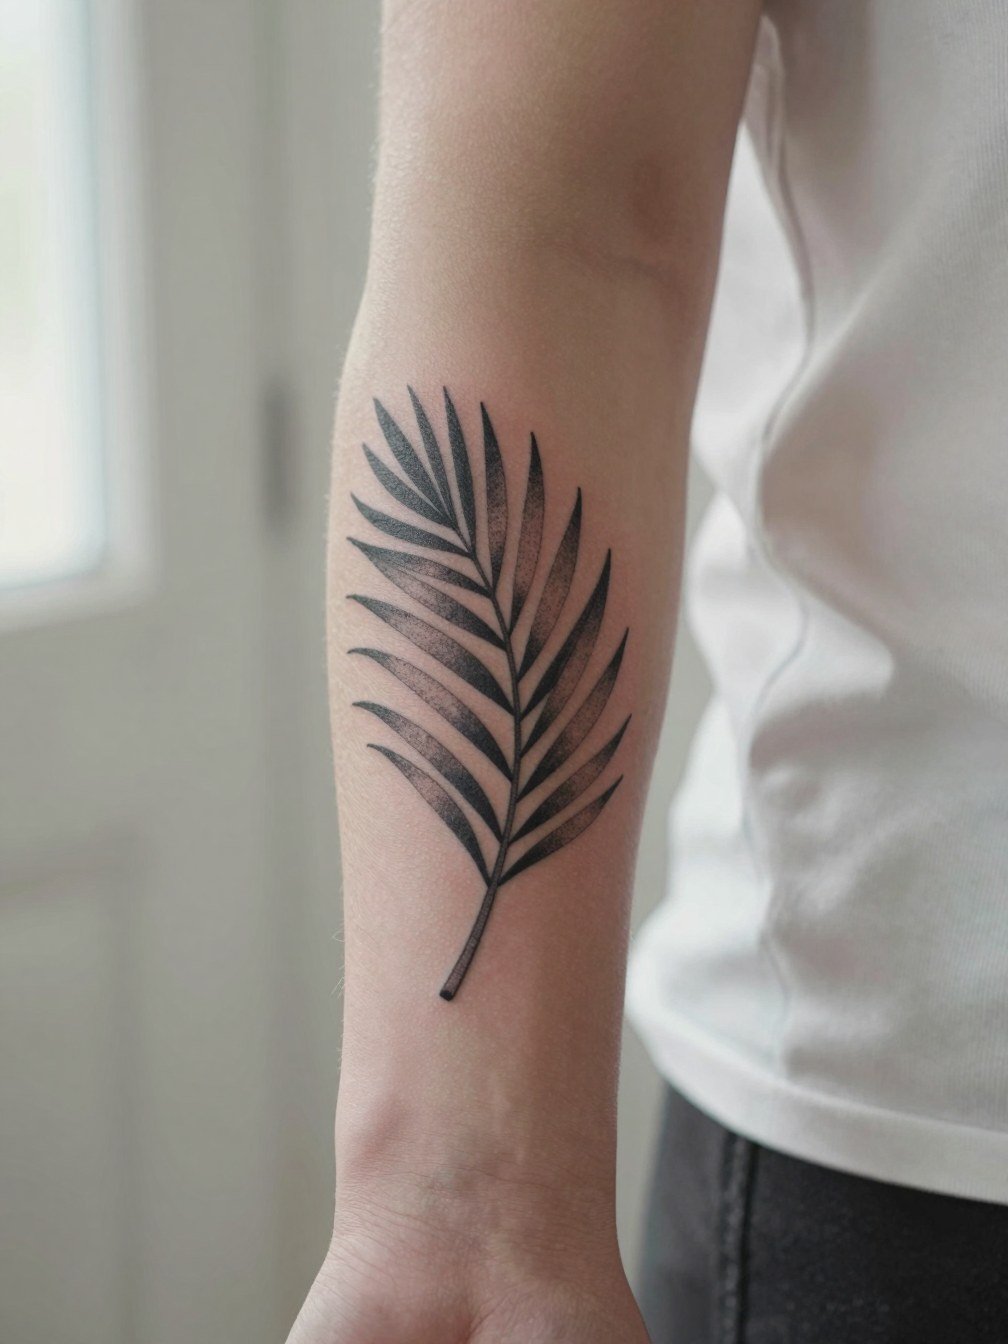
Rib placements produce dramatic sweeps that photograph well but come with a well-known debate among artists. One camp insists fine single-needle fronds on the ribs blur and lose contour within two years because of constant expansion and compression during breathing. The other camp says that if you widen spacing a touch and place lines at a slightly heavier weight, the design settles and holds, and they will show three-year healed examples to support that. Expect a longer session and higher pain for ribs, and plan a touch-up at year one if you want to keep the fronds crisp. The main mistake is making the pattern too tight for the moving skin there.
8. Neo-Traditional Palm and Wave Shoulder Start
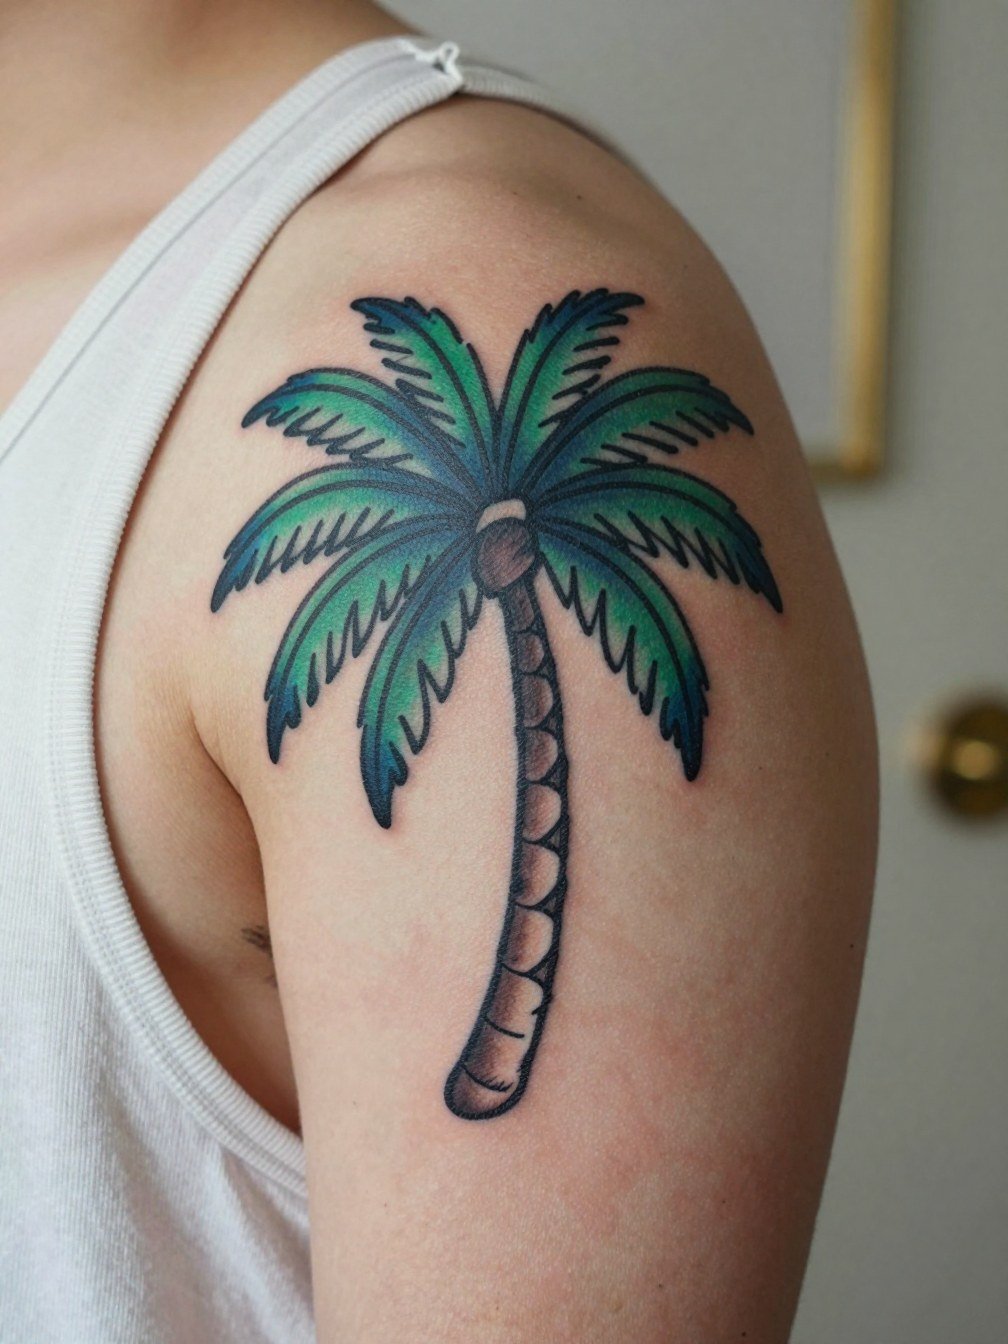
Shoulder starts work great for people who want a piece that can expand into a sleeve later. If you plan future work, bring sleeve-style references so the artist can design transitions. Sessions are comfortable compared with ribs, usually around an hour to two, with low blowout risk if the lines are not pushed too tiny. For showing off at beach season, this reads well with loose tank tops that let the shoulder peek through. Avoid asking for excessive tiny detail right at the shoulder cap where sun exposure will fade small stipple work faster.
9. Palm Outline Behind the Ear
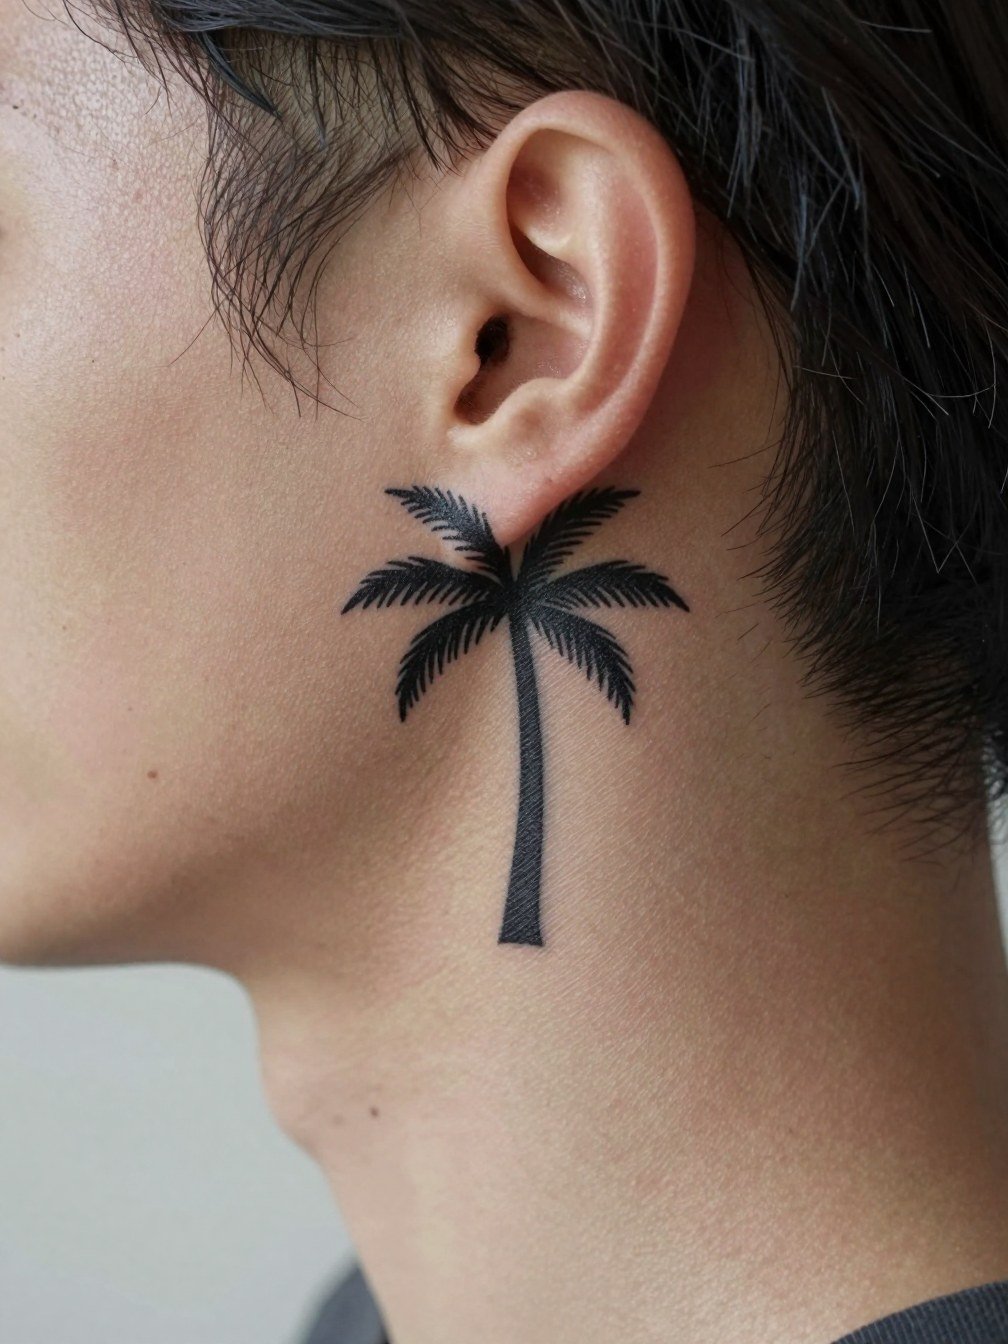
Behind-ear tattoos are micro placements that need an artist experienced with small curves and tricky angles. Note that this spot often requires a specialist who works cleanly around hairlines and uneven contour. The session is short but the surface can be sensitive and healing needs careful aftercare. A common mistake is trying to cram extra detail into an area that is better suited to a single crisp silhouette. If you want it visible, plan hairstyles that hold the hair back for easy showing.
10. Minimalist Palm on the Top of Foot
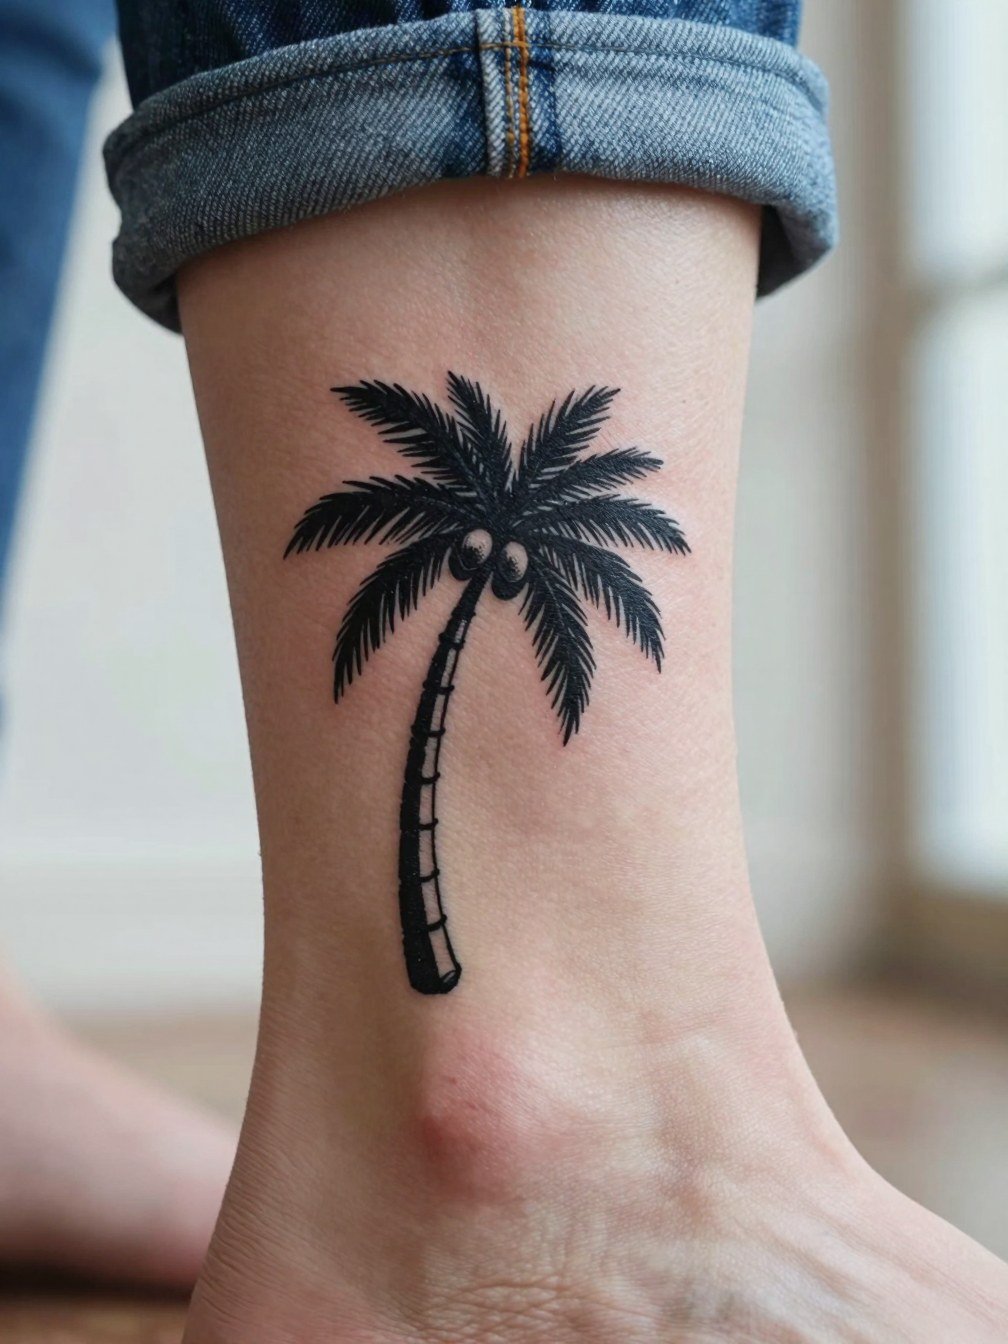
Top-of-foot pieces are vulnerable to shoe friction and frequent contact, so ask for slightly bolder trunk lines while keeping fronds minimal. The session is brief and the pain can be higher because of thin skin over bone. Expect to plan for touch-up at the one-year mark more often than for forearm work. Style this placement with low-profile sandals or cropped hems so the tattoo has breathing room, and wear open shoes to your appointment to avoid pressure on the fresh area during the first walk home.
11. Palm and Script Center Sternum
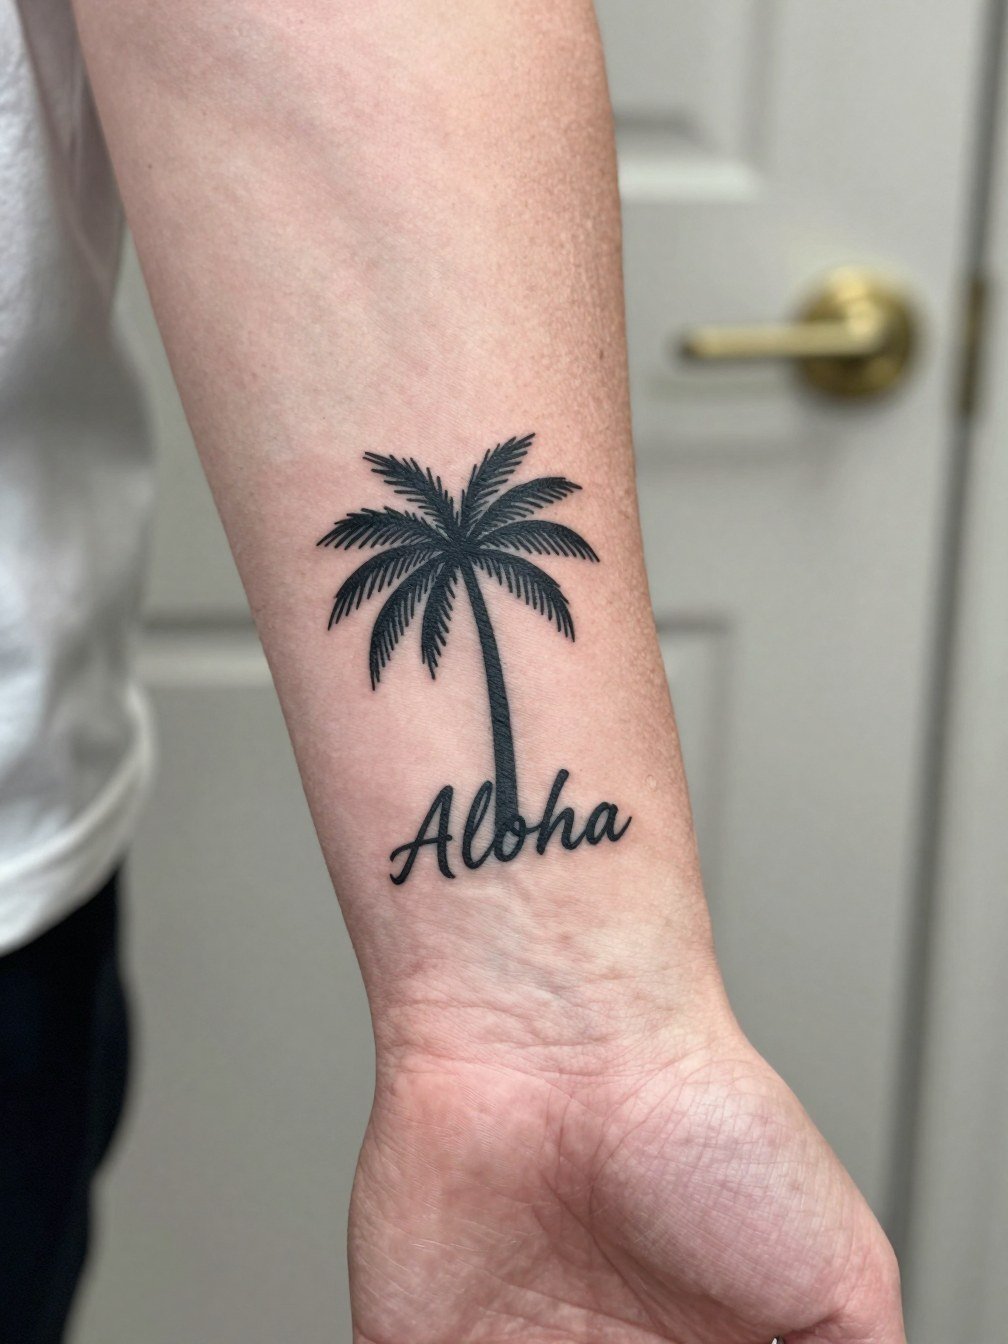
Sternum work reads as intimate and central, so spacing and font weight for any script matter. Expect a higher pain rating and a session that can be broken into two passes if shading is added. The usual mistake is choosing ultra-fine script without spacing, which smudges as the skin stretches. Discuss exact word placement and font size with the artist using printed references so the palm and lettering breathe together. For appointment comfort, wear a fitted sports bra or top that the artist can leave in place while giving access to the sternum. If you plan to expand into full chest work later, bring those design notes now.
12. Geometric Palm with Dotwork on Outer Thigh
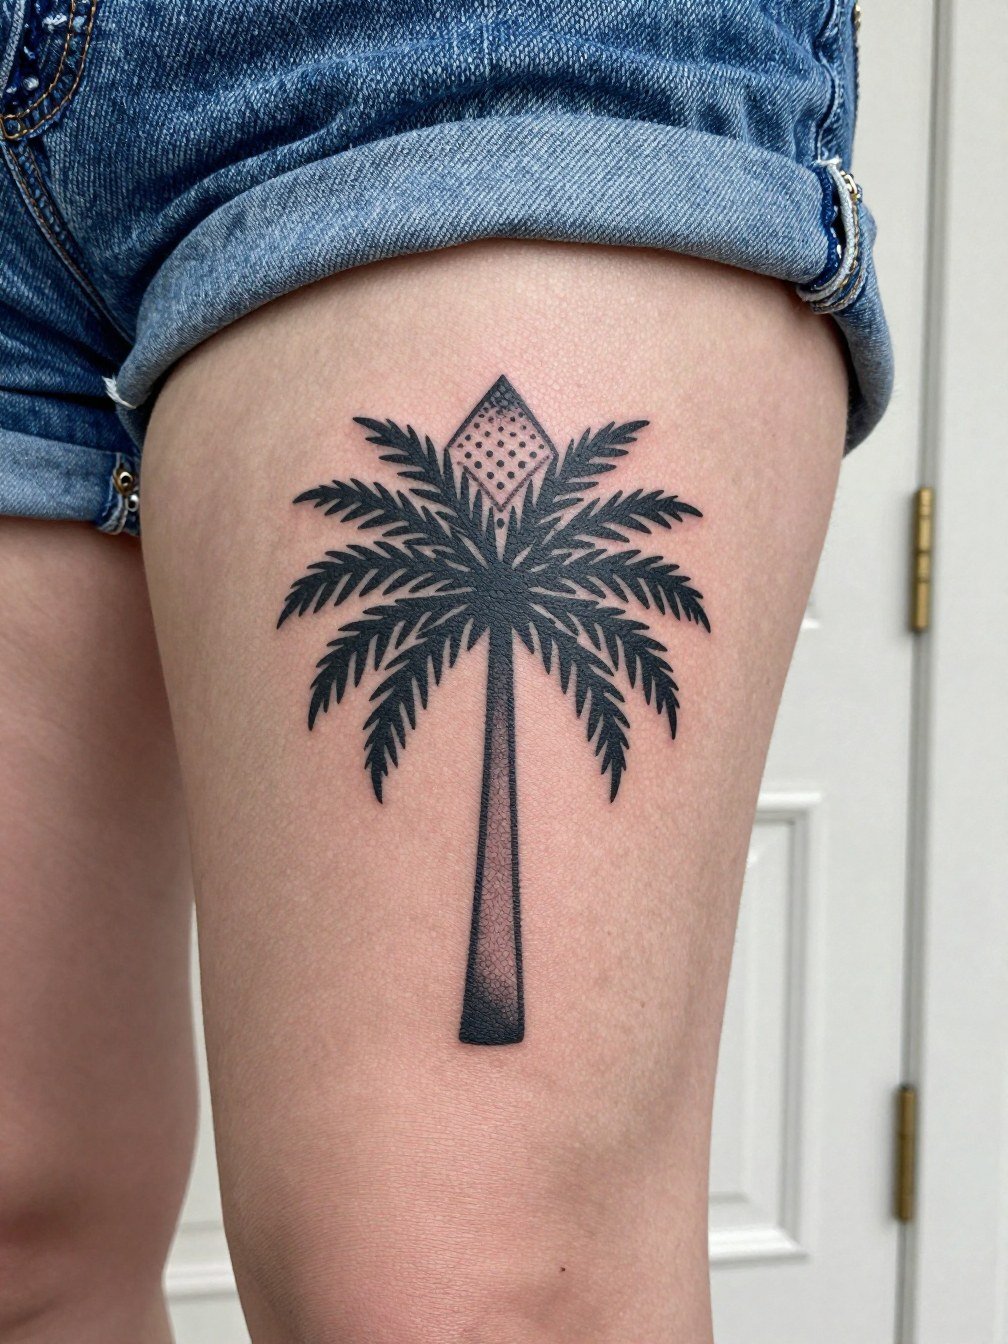
Outer-thigh canvases are forgiving and let you combine geometry with botanical forms. This is ideal if you like symmetry and want a piece that can hide or show depending on clothing. Tell the artist which geometric scale you prefer so dotwork spacing stays clear when healed. Sessions are comfortable and can run from one to three hours depending on scale. For evening wear, this pairs with midi skirts or high-slit dresses that reveal the outer thigh, and for the appointment wear modest shorts so the artist can roll fabric without tugging.
13. Large Back Piece Palm Scene with Horizon
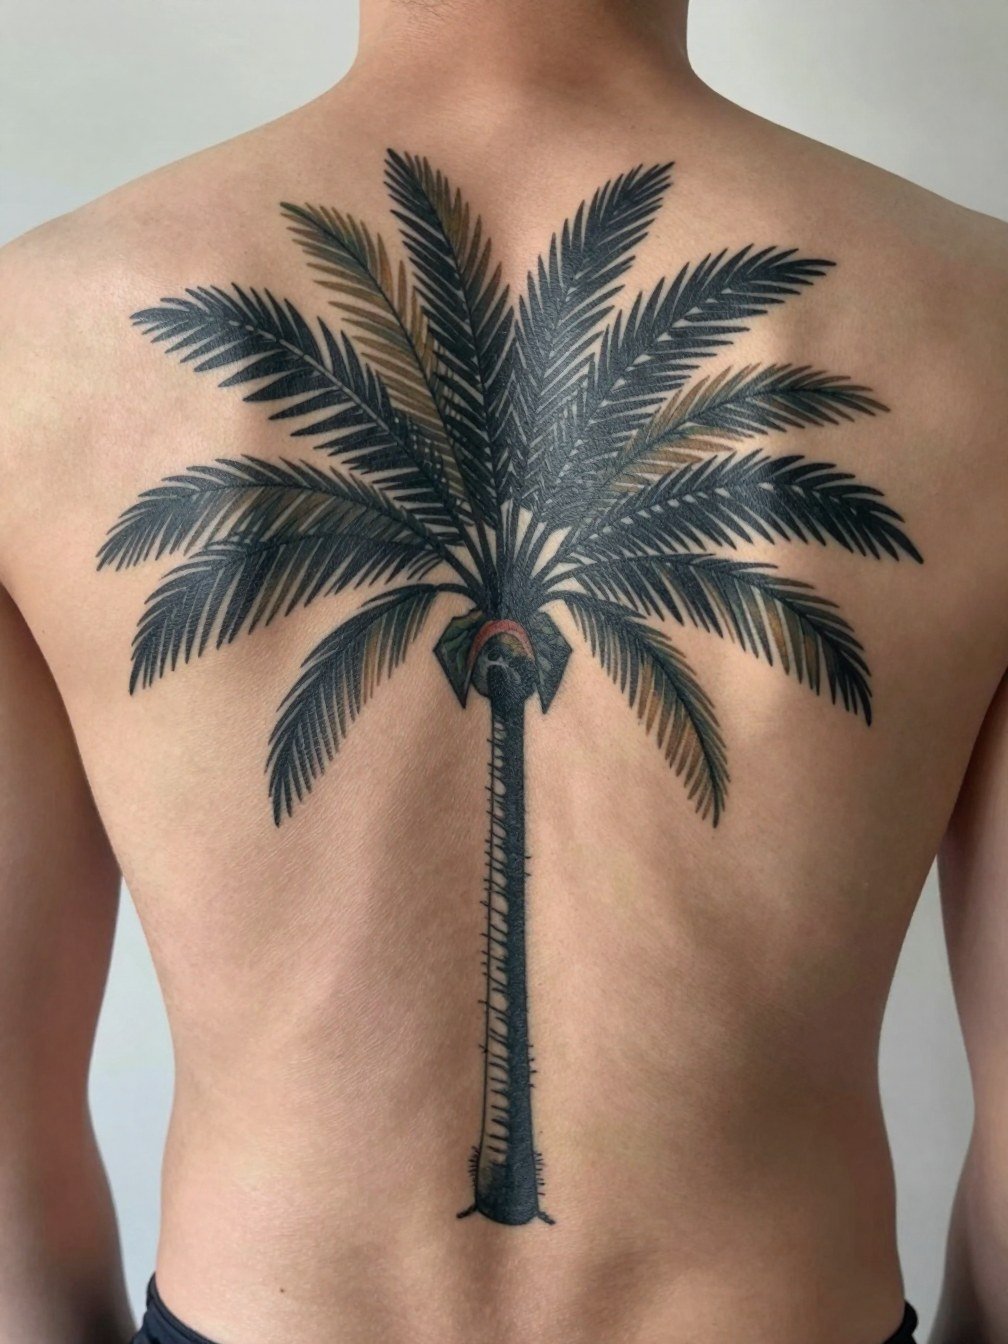
Large back scenes let you stage a full palm environment and control aging with scale and saturation. This is the choice for collectors who want a statement that can travel into panels or continue down the ribs. Discuss session pacing and breaks in advance so long sitting periods are comfortable, and agree on a year-one touch-up plan to refresh horizon gradients. Expect multiple sessions and occasional soreness between sessions. For clothing during sessions, a loose tank or button-down that you can slip on without rubbing fresh ink works best. The biggest mistake is adding too many tiny elements at the edges where future expansion is planned.
Frequently Asked Questions
Q: How do I choose between fine line and traditional work for a palm tree?
A: Think about how visible you want the piece to be and how often it will face friction. Fine line reads as delicate and personal, but it often needs slightly heavier initial spacing to age well. Traditional bold outlines and saturated fills resist blur longer and usually require fewer touch-ups.
Q: How long do palm tattoos usually take to heal and when should I plan a touch-up?
A: Initial surface healing is typically two weeks and the deeper settling takes three to six months. For fine-line micro work expect to plan a touch-up around the one-year mark. Bigger saturated pieces often need less frequent touch-ups, but everyone’s skin heals differently so this depends on placement and daily wear.
Q: Where can I find healed examples and portfolios without naming artists directly?
A: Search hashtags like #palmtreetattoo and #palmtattoohealed, use location filters on social platforms to find nearby healed photos, and browse tattoo portfolio sites with keywords such as "micro palm" or "neo-traditional palm." Reddit threads and community galleries also surface diverse healed shots across skin tones.
Q: Are there placements I should avoid if I want the tattoo to stay crisp for years?
A: High-friction areas like the top of the foot and the ankle need reinforced line weight, and moving skin areas like the ribs and inner wrist require spacing adjustments to hold detail. If longevity is the priority, lean toward bolder outlines or slightly increased line weight from the start.
Q: What should I wear to the appointment for different palm placements?
A: Match clothing to access. For collarbone or sternum pieces wear a scoop or sports bra that stays in place. For the ribcage pick a cropped top. For shoulder and back work a loose tank or button shirt that slips on and off without pulling is best. A simple loose drawstring linen pant is a good session choice if you need leg access and comfort.
