
Minimalist geometric line tattoos read like a quiet wardrobe choice for your skin. They sit small, snap into place under a cuff, and either age into crisp marks or blur into an indistinct smudge depending on spacing and placement. Pick a version that gives the lines room to breathe, plan where friction will hit it, and you can get a small piece that still reads well after a few years.
1. Single-Line Mountain Range on Outer Forearm
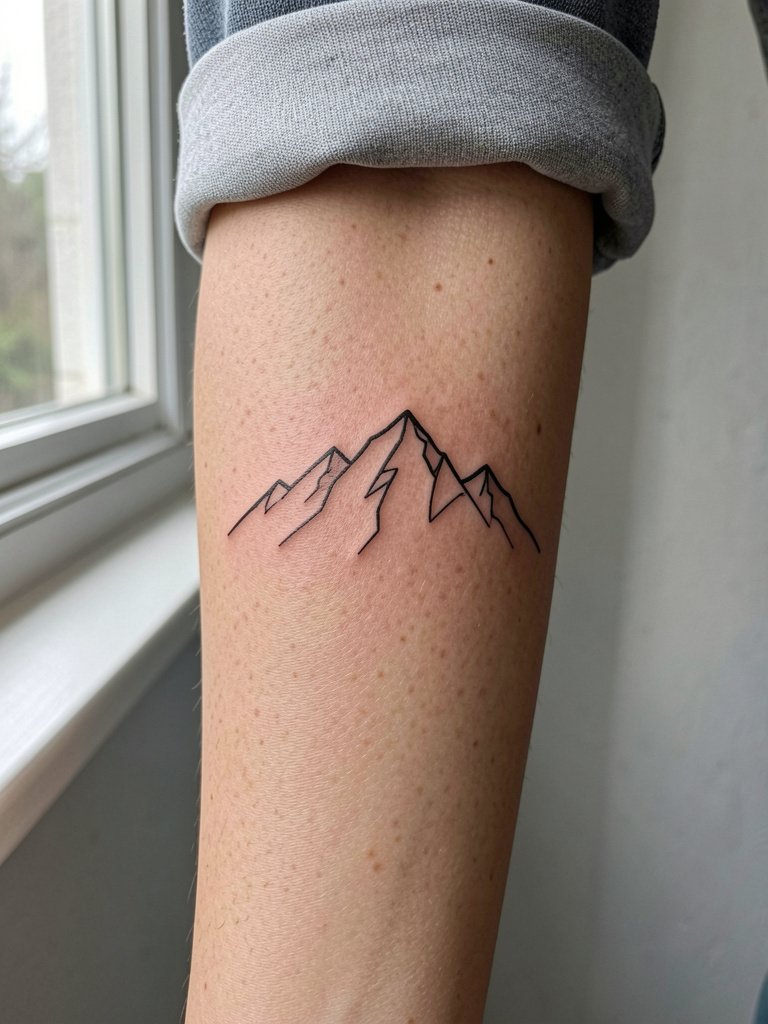
A single-line mountain reads clean because it uses negative space to define peaks instead of packing tiny cross-hatching into a thumb-size area. For this outer forearm placement the session is usually under an hour, and pain is mild. A common mistake is asking for ultra-thin single-needle tracks with tiny peaks; the lines need a hair more weight or the peaks blur by year two. Bring a reference that shows line weight at different scales so the artist can scale the peaks up slightly. Pair this with rolled-cuff shirts on repeat, and try rolled cuff shirts when you want to show it off.
2. Tiny Triangle Symbol on the Wrist
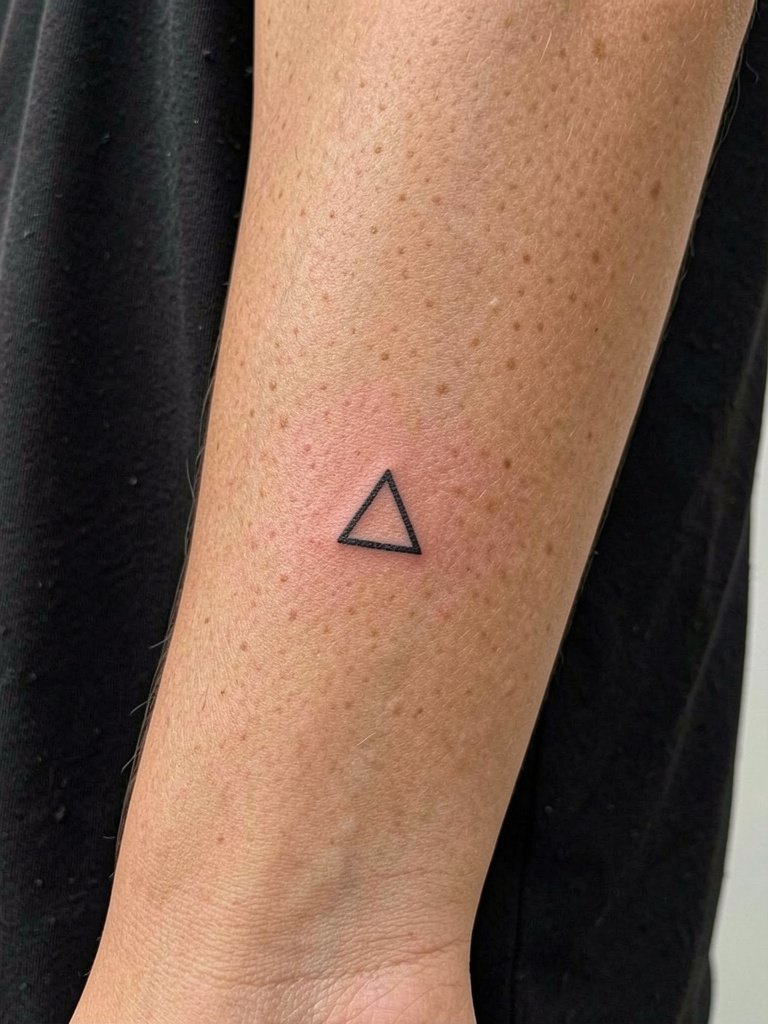
Wrist tattoos are tiny declarations with high visibility and high friction. The session is short, but healing can be fussy because watches and sleeves rub the area. A typical error is placing the triangle too close to the wrist crease. Ask for the stencil to sit an inch above the crease so it avoids constant bending. On the day wear a sleeveless top and avoid bracelets on that side. When you want the piece to look editorial, pair it with a minimalist watch on the opposite wrist so attention stays on the triangle.
3. Constellation Line-and-Dot Cluster on Inner Forearm
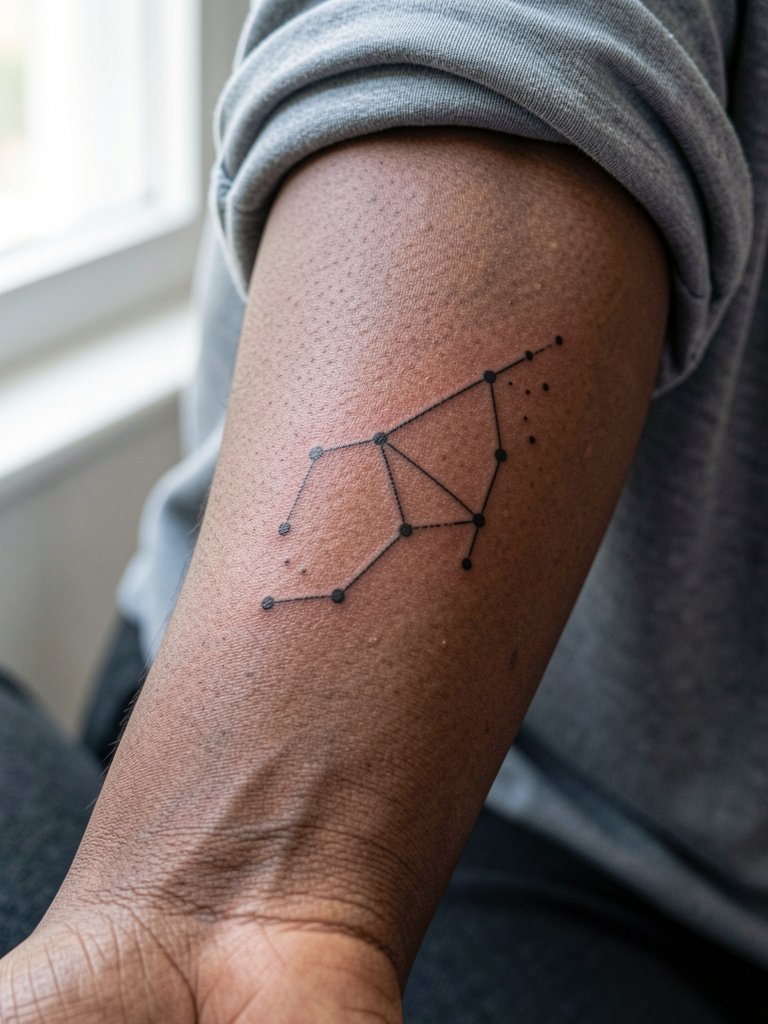
Constellation motifs do well on the palm-up inner forearm because the skin is relatively stable and lines hold. This piece usually takes 45 to 75 minutes depending on dot count. A frequent problem is packing too many dots in a tiny zone, which can look crisp fresh and then soften quickly. During consultation provide two scale references so the artist can map spacing and dot size. This placement shows with shirts whose sleeves are pushed up, and a slim linen button down pairs well for an editorial look.
4. Hexagon Fragment at the Ankle
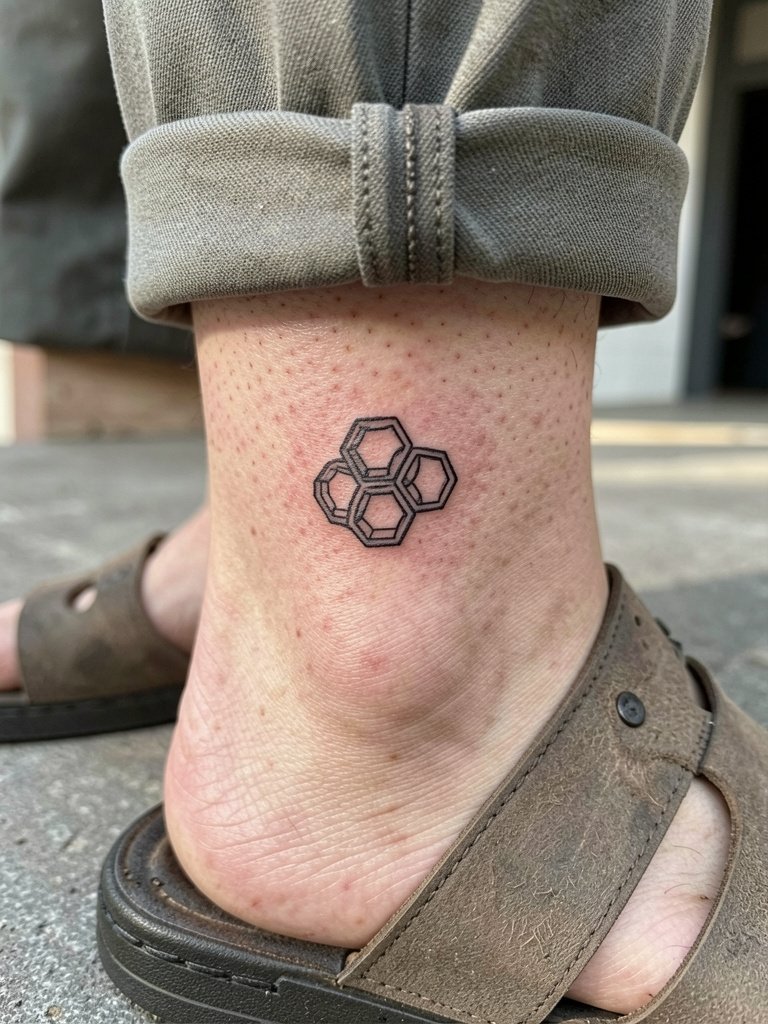
Ankle geometry reads like jewelry and benefits from thin consistent linework, but expect friction from socks and shoes during the first week. The session is brief, but healing demands low-pressure socks and careful footwear. A mistake is choosing the very thinnest lines because the ankle area can blur with movement and rubbing. Ask the artist to slightly thicken the outline and plan touch-up timing at six months if needed. To show it off, try cropped straight-leg jeans or sandals. If you want a quick option for outfits pick cropped straight jeans.
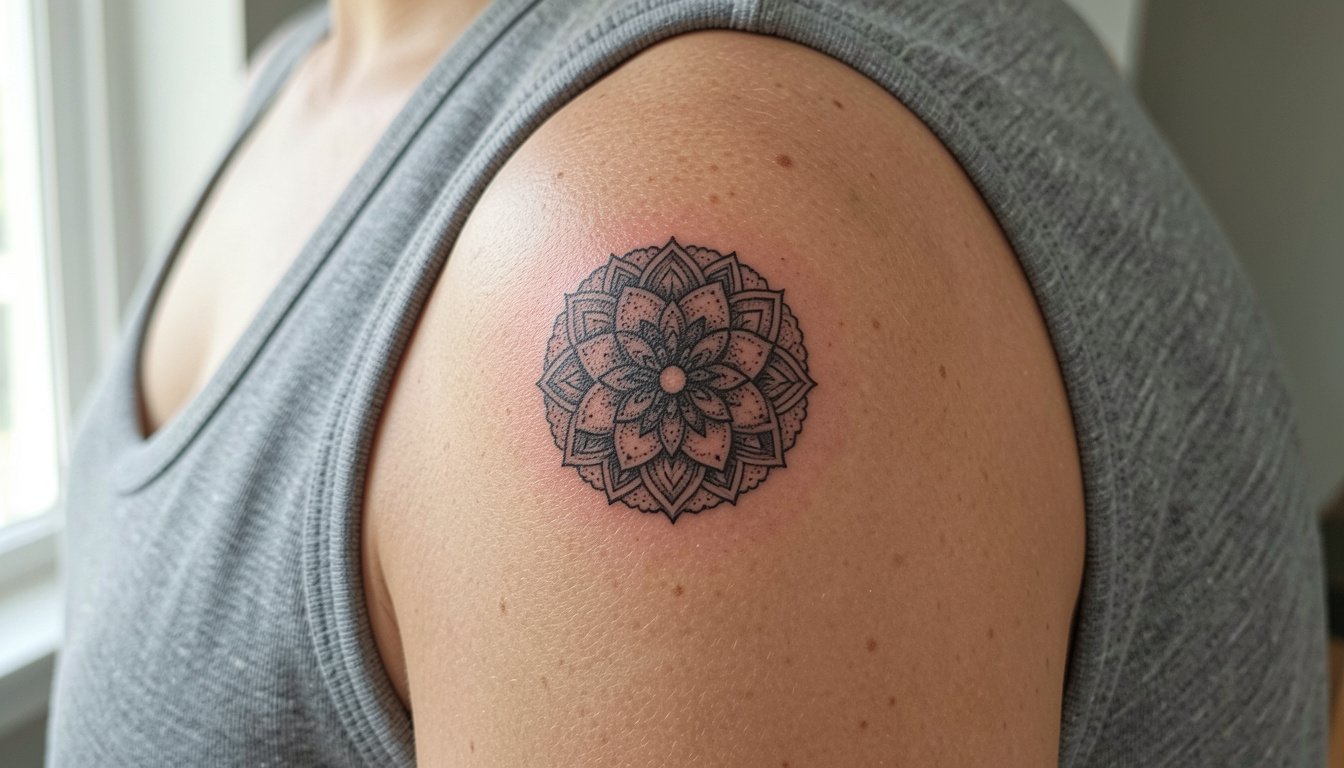
5. Mini Mandala Disk on the Shoulder
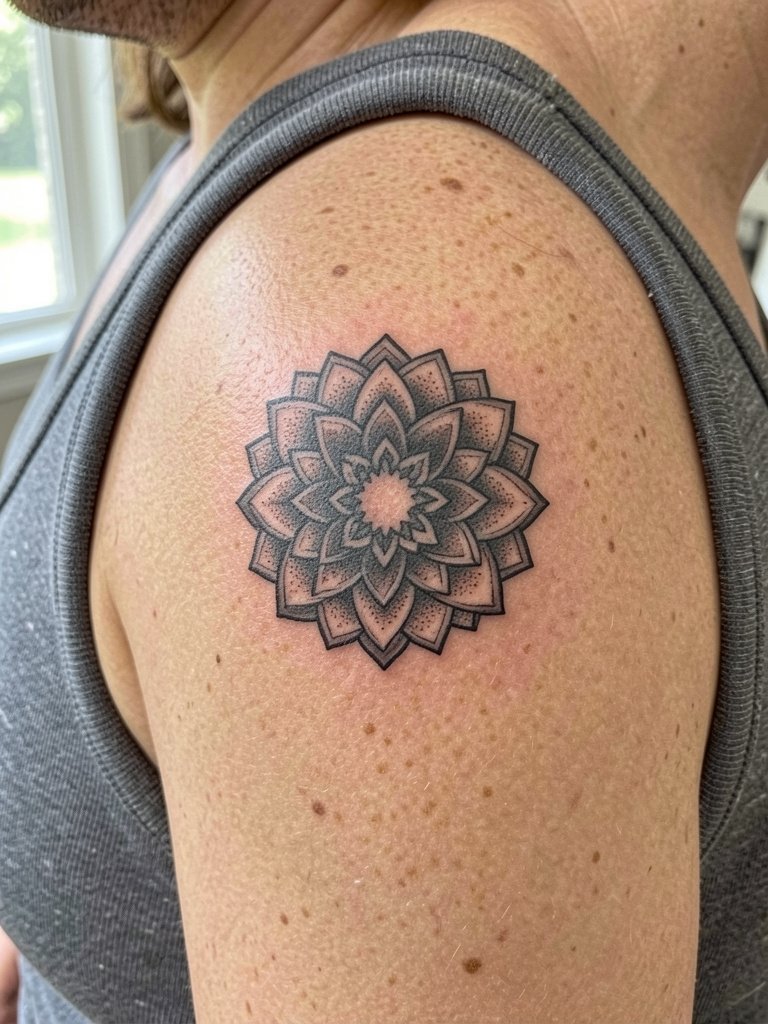
Shoulder mandalas carry a little more surface so artists can include stipple without crowding. Expect a one- to two-hour session and medium pain. The common error is compressing too many tiny details into a coin-size disk, which looks busy healed. Ask for scaled samples of the design at one and two inches so you can see detail clarity. For the session wear a tank top that the artist can reach easily. This placement looks great with racerback tanks and off-shoulder tops, so try a racerback tank top for shows.
6. Geometric Wolf Head on Upper Arm
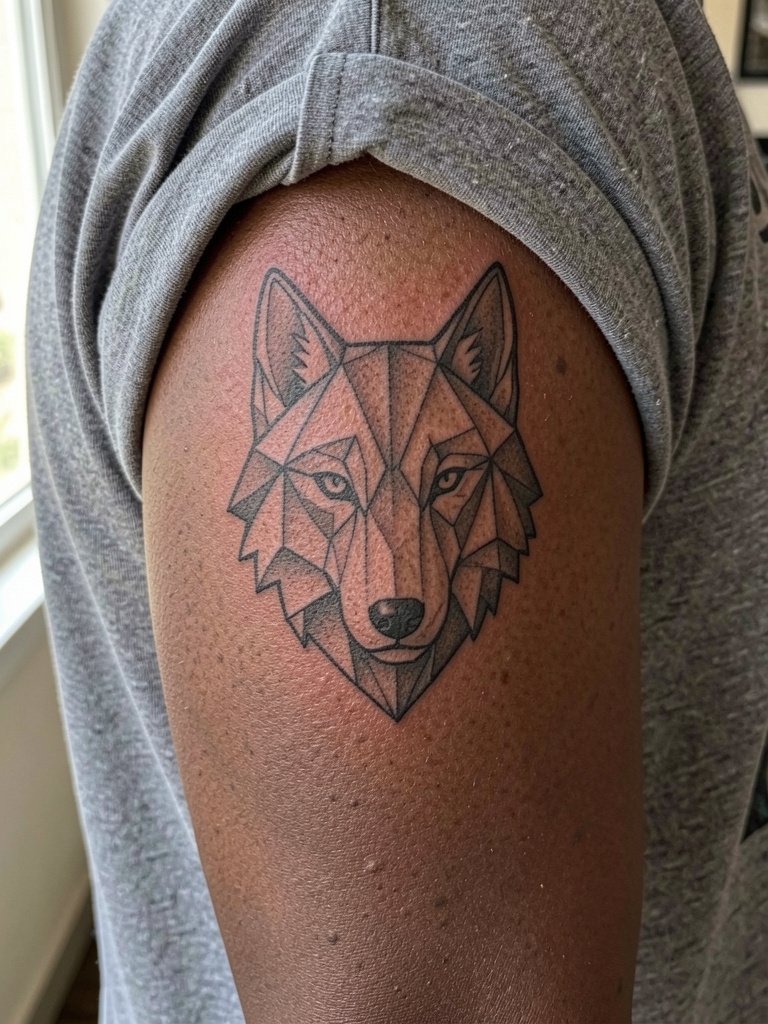
Geometric animal heads need clear planes to read well from a distance. On the upper arm you get enough room for facets without over-compressing detail. Expect a one- to two-hour session with medium pain. A mistake is shrinking a complex wolf into a tiny badge that loses the planes. Bring a single-photo of a faceted illustration at the scale you want so the artist can replicate plane intersections. Upper-arm pieces pair with short sleeves and a simple chain, so consider a simple chain bracelet on the opposite wrist for balance.
Pre-Session Essentials
Small forearm, wrist, and ankle pieces share a few healing needs based on the designs above, so these picks smooth the day-of and first week.
- Fragrance-free, dye-free moisturizer lotion. Lighter lotions often replace greasy ointments for fine line work during the second week when you want moisture without clogging tiny channels.
- Tattoo-specific foam wash formula. Foam cleansers rinse quickly and feel less greasy than ointment, which helps early line clarity for wrist and hand pieces.
- Adhesive-sensitive skin barrier strips. Useful if you plan to try second-skin style coverings but worry about a reaction during the first few days.
- Mineral sunscreen stick. Easy reapplication for healed wrist and ankle tattoos that get daily sun exposure.
- Saniderm second-skin bandage. A mainstream protective film that some people prefer for linework during the initial healing window to reduce friction and contamination.
7. Fine Line Flower in a Triangle on Collarbone
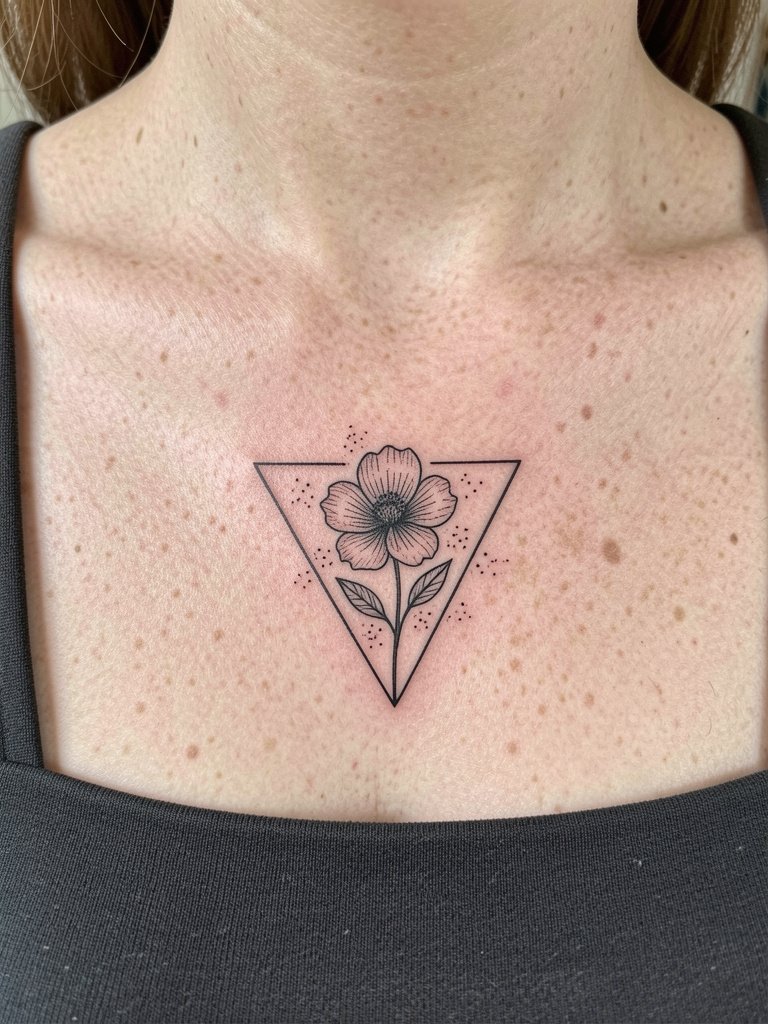
Collarbone triangles look editorial but must respect bony curves. The area is moderately painful and prone to movement, so avoid stuffing micro-detail into the triangle. A common problem is compressing petals too small so they merge over time. Ask the artist to mock the triangle on your clavicle during stencil stage so you can check symmetry. For session wear a strapless or easy neckline garment. This placement frames nicely with delicate layered chains, so try a delicate layered necklace when showing it off.
8. Linework Arrow or Compass Shard on the Wrist
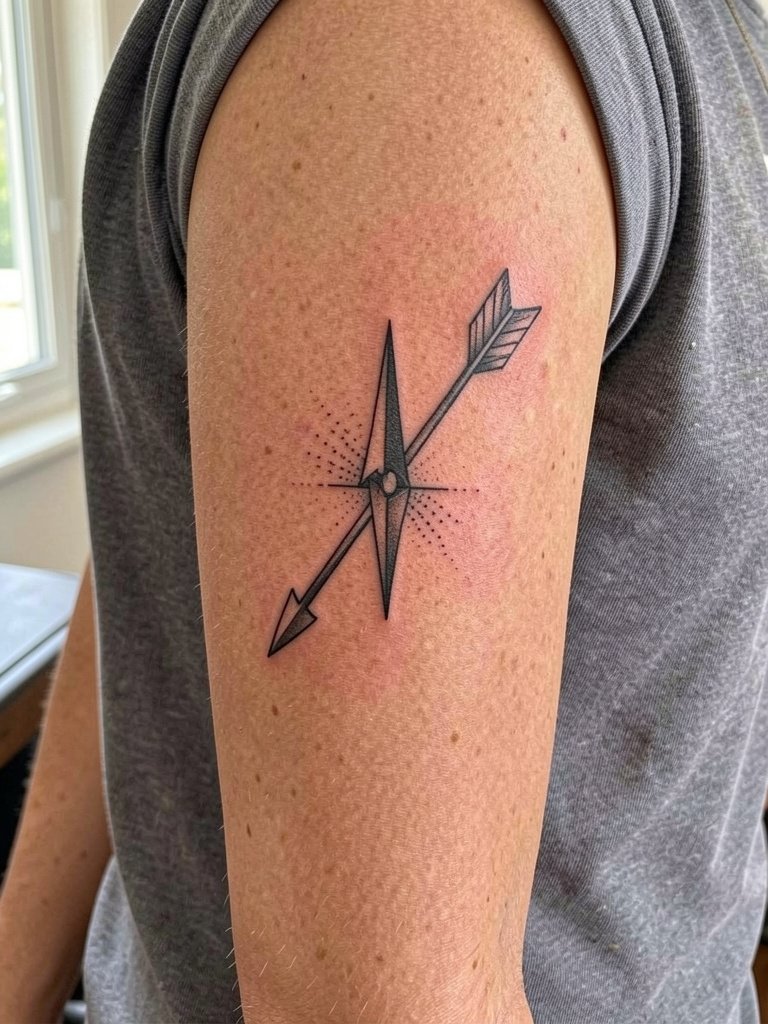
Directional symbols read well because they give a clear silhouette. On the wrist expect a 30 to 45 minute session and a higher chance of needing a touch-up due to constant movement. The mistake is squeezing in filigree at micro scale. Specify in detail that you want a clean silhouette with a small internal dot, not tiny filigree. For the appointment wear a short sleeve and avoid rings on that hand. When you want to style it, opt for a thin bracelet on the other wrist or a thin bracelet stack.
9. Minimal Geometric Lotus on the Calf
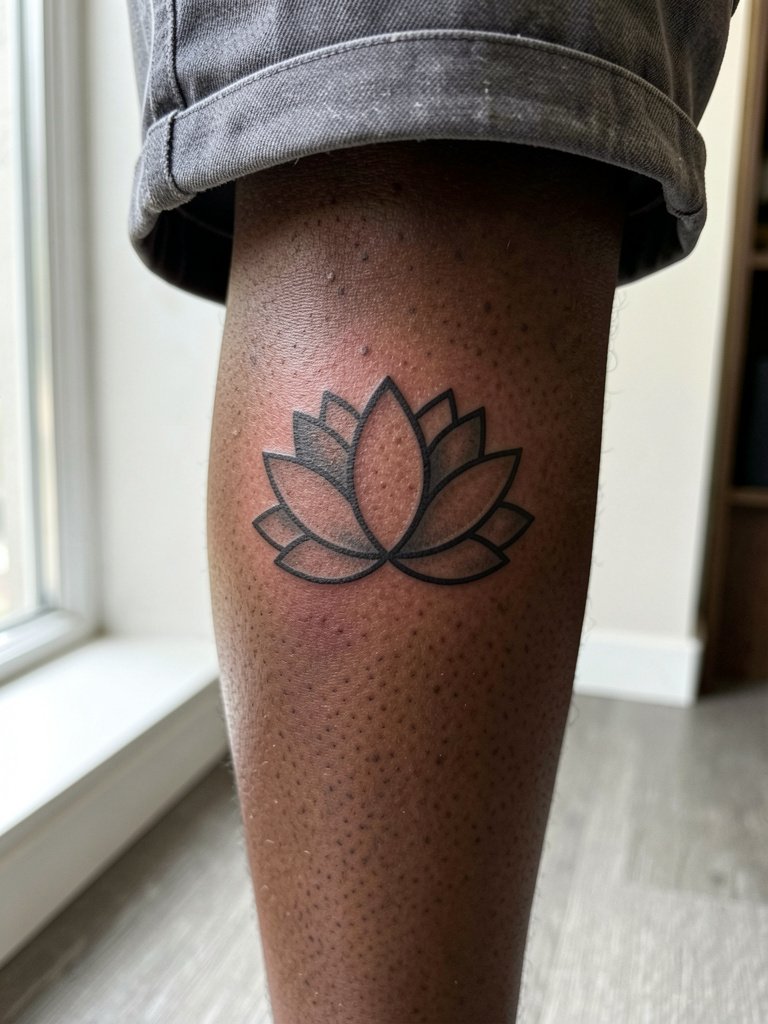
Calf pieces give the lotus room to breathe and let stipple settle without crowding. Sessions are usually one hour and pain is low to moderate. One mistake is reducing the lotus to a coin-size badge and then expecting visible petal definition at a glance. Request mockups at two scales so you can check petal spacing. For casual show-off pair with cropped trousers or crew socks sitting below the tattoo. A good wardrobe pick is cropped pants.
10. Abstract Mountain Line with Dotwork Sun on Outer Forearm
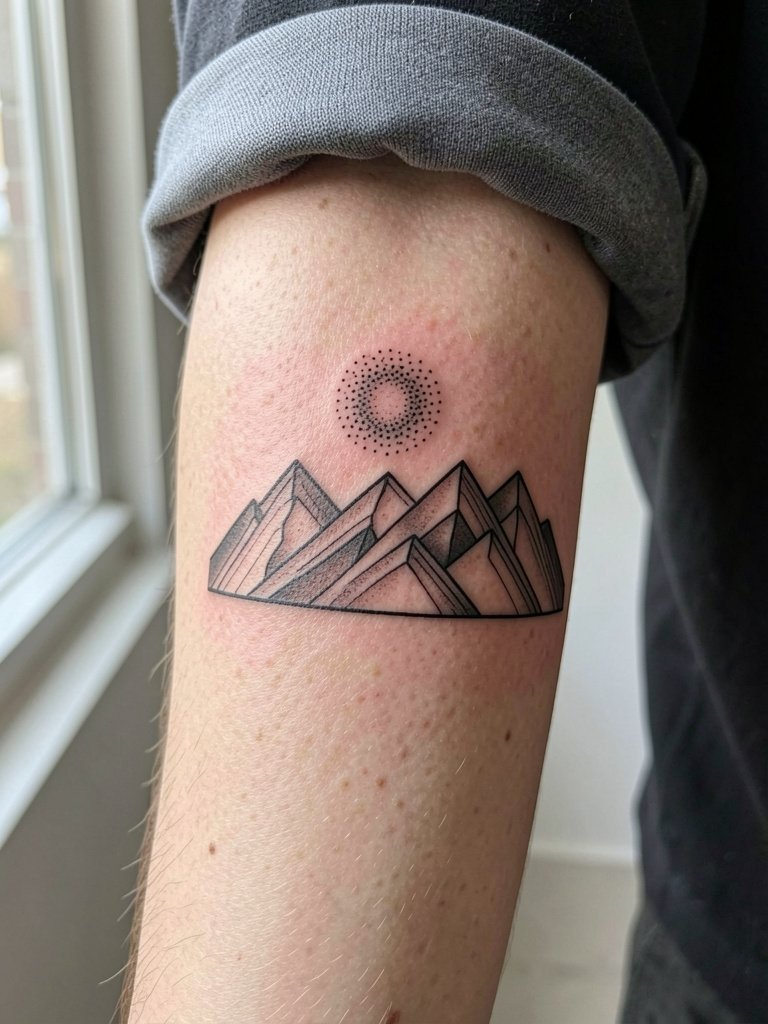
This landscape balances scene and restraint so it does not read like a full sleeve. The design often takes under an hour and holds well on the outer forearm where the skin is stable. A common problem is over-detailing the sun with tiny dots that spread. Specify dot size and spacing so the artist can choose a dot radius that will still read at two years. For the session wear a short sleeve or loose button-down with room to roll. For outfits try a boxy t shirt that frames the forearm.
11. Geometric Rose on Outer Upper Thigh
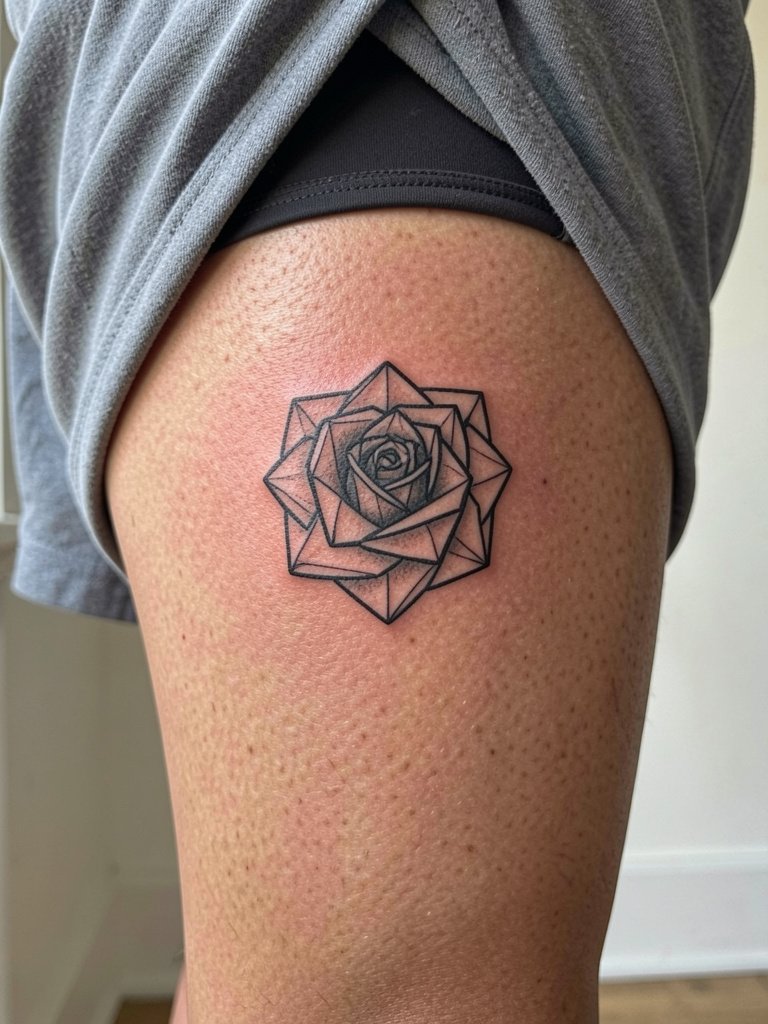
Thigh placements let you move beyond micro scale and still feel subtle under clothing. The session time varies from one to two hours and pain is low to moderate. A mistake is overly intricate geometric fills that become a gray blur when compressed. Request a mid-size mockup so facets stay legible. For session wear loose shorts or a skirt that lifts easily. When you reveal it, try bike shorts under oversized shirts or high-waisted swimwear. Consider bike shorts for comfortable styling.
12. Minimal Geometric Animal Silhouette on Shoulder Blade
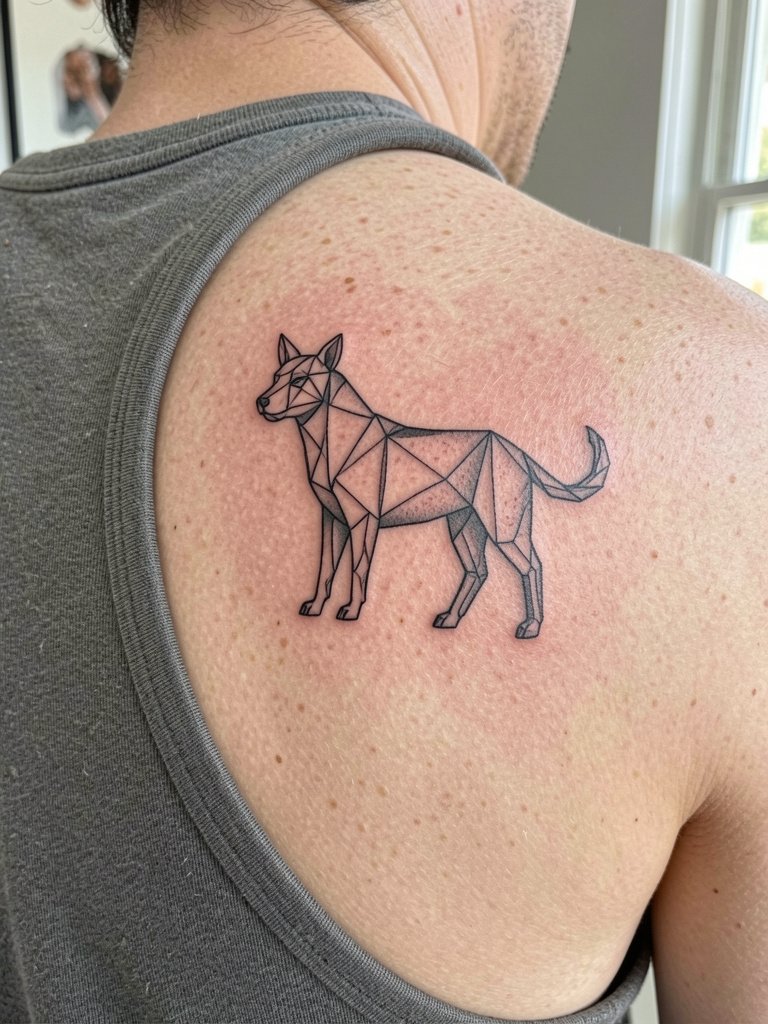
The shoulder blade gives a flat plane for silhouettes to keep their identity even when small. Expect one session and a medium pain level when the stencil sits near the spine. People sometimes shrink a silhouette until it loses identifying planes. Ask to preview the silhouette at life-size and then at the intended tattoo scale so you can compare readability. For the session wear a racerback or tank so the artist has clear access. Off-shoulder sweaters also show this area off well.
13. Wraparound Line Bracelet with Tiny Triangles at Ankle
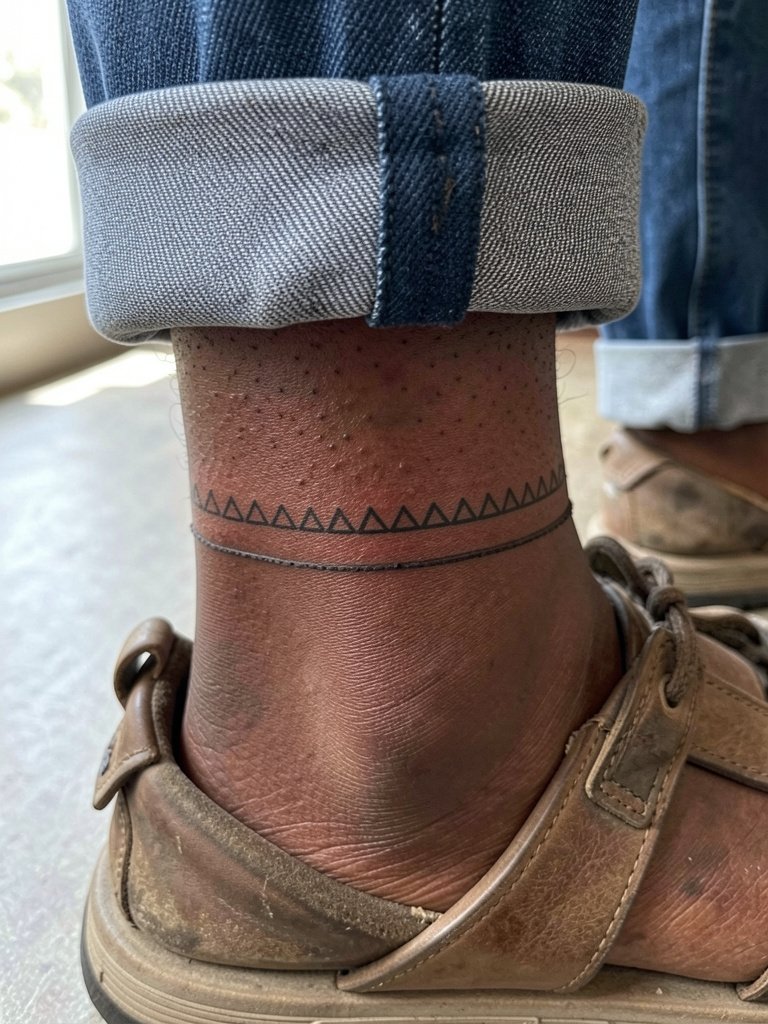
Band tattoos around the ankle behave like jewelry and need consistent spacing. The session is short but the area sees constant abrasion from footwear. A frequent mistake is ultra-thin banding that fades into a gray line. Have the artist map out spacing around your actual ankle with a stencil to avoid gaps. Wear low-profile sneakers or sandals after the appointment and avoid socks that compress the band. Cropped trousers and sandals show this piece best, so try low profile sneakers for casual days.
14. Small Geometric Bouquet on the Hand
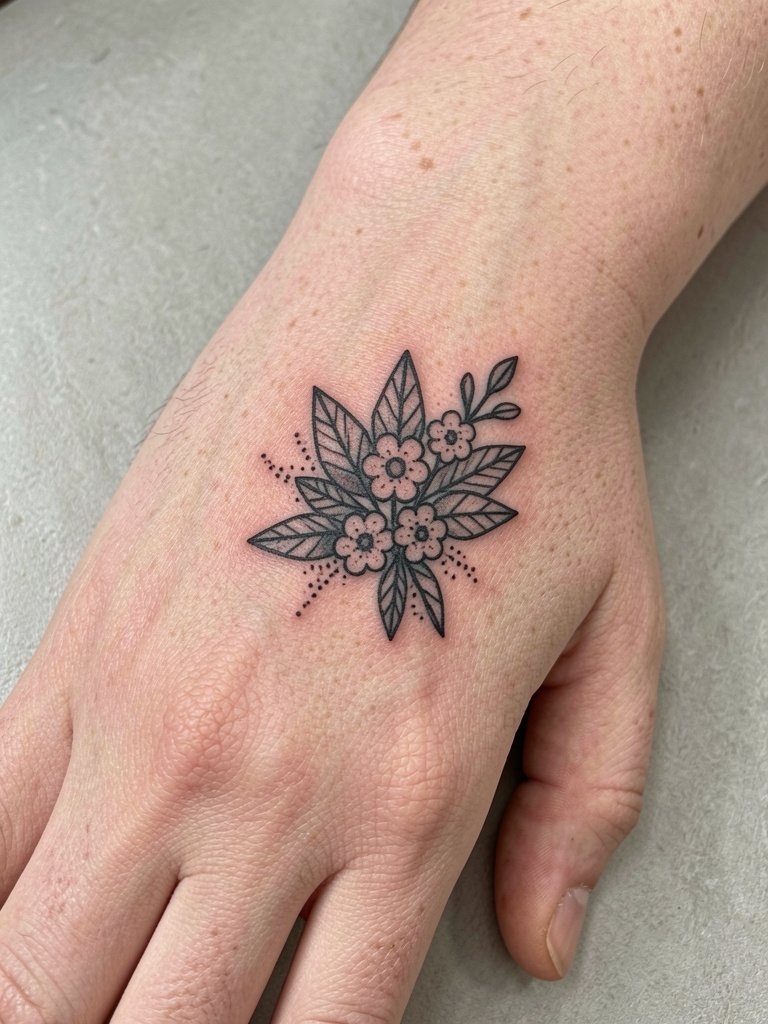
Hand pieces are high-maintenance and often need touch-ups. One camp argues fine line on hands will fade quickly because of constant washing and motion. Another camp says with slightly heavier line weight and planned spacing the design can last well, and they show healed photos to support that. For this placement be explicit about line weight and touch-up expectations. Expect the artist to advise on a touch-up at six to twelve months. Keep the hand free of rings during the session and avoid heavy work in the first two weeks. Pair with a clean manicure and slim rings on adjacent fingers, and consider a slim ring set for styling when healed.
15. Tiny Geometric Bouquet for Fingers
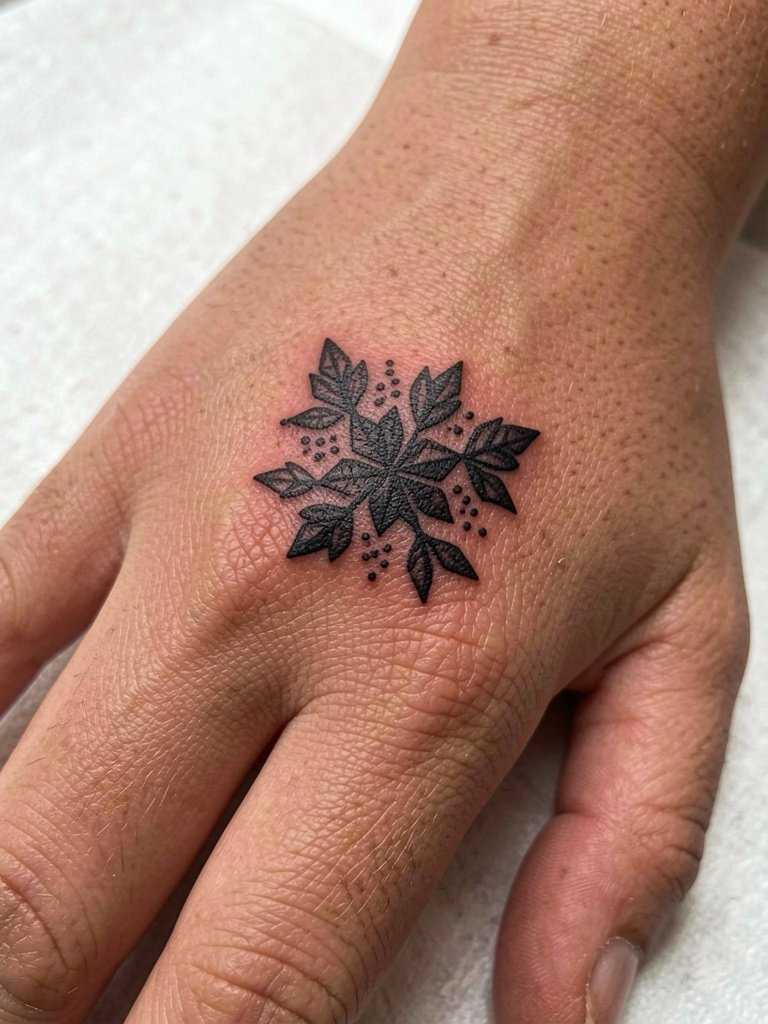
Fingers are one of the least stable places for fine line because of skin thickness and constant use. The mistake is expecting small, single-needle detail to survive long term without touch-ups. Ask for slightly bolder outlines and plan for a refresh at six to twelve months. Session time is short but healing requires caution with soaps and hand work. Keep the tattoo free of rings during healing and use unscented hand cream. For low-key styling, pair with minimal band rings or no jewelry at all.
16. Minimalist Compass Rose on Upper Chest
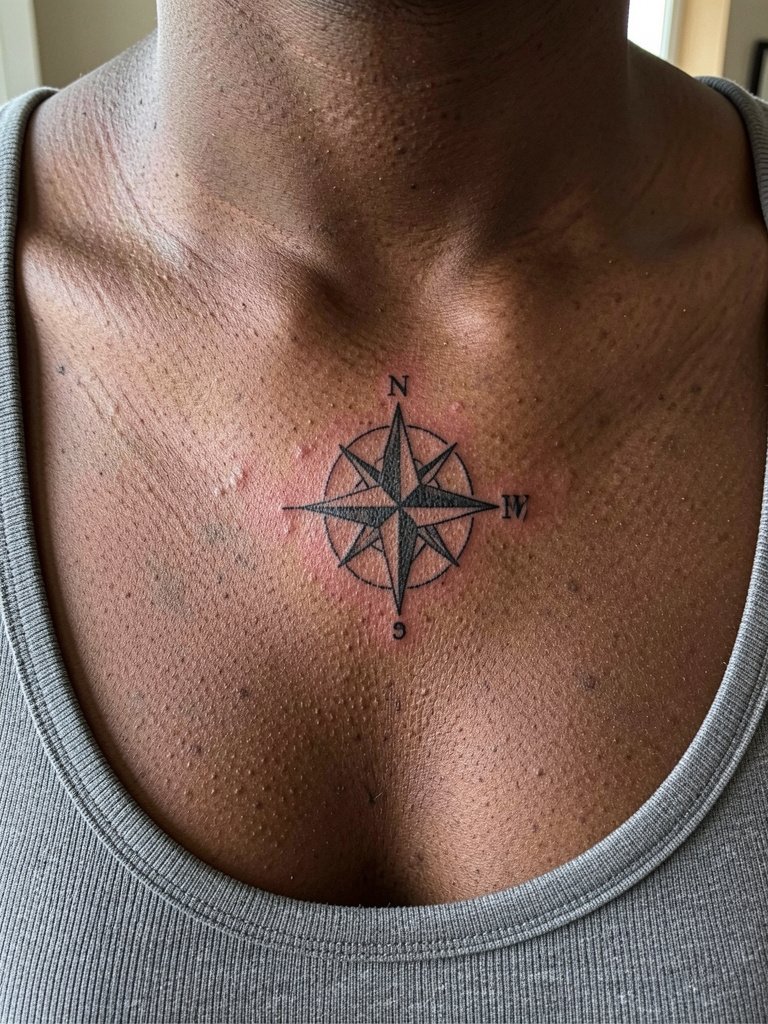
Upper chest pieces near the sternum read well when centered and given breathing room. The skin there moves with breathing so artists will space elements to avoid distortion. A common error is placing the compass too close to the midline where breathing smears detail over time. Discuss spacing and whether you want the piece slightly off-center to avoid creasing. For the session wear a strapless or loose-neck top to give access. Delicate chains and scoop neck tops frame this placement well.
17. Dotwork Sunburst Over the Nape
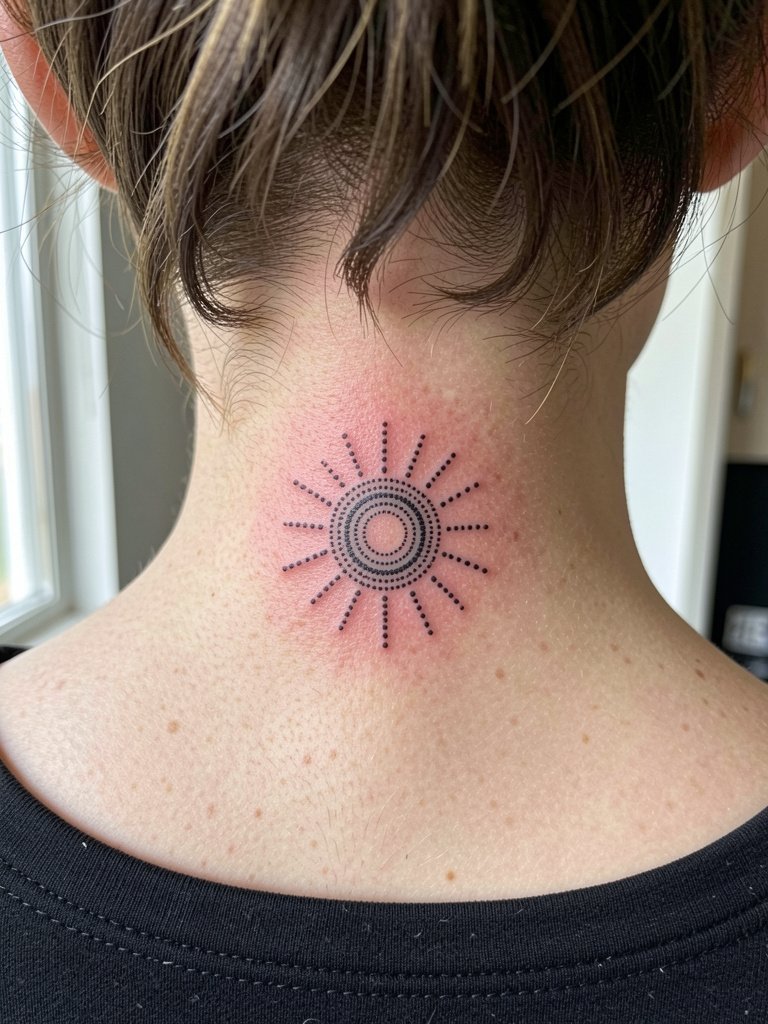
Nape dots can be subtle and very personal, visible when hair is up. Expect a quick session and low to moderate pain. The typical error is overcomplicating the dotwork pattern so it turns muddy on a small nape area. Ask the artist for healed examples on similar skin tones and request a dot size map for longevity. For showing it off tie your hair up or wear wide-neck tops that expose the nape. No affiliate link is needed here.
18. Minimal Geometric Heart on the Sternum
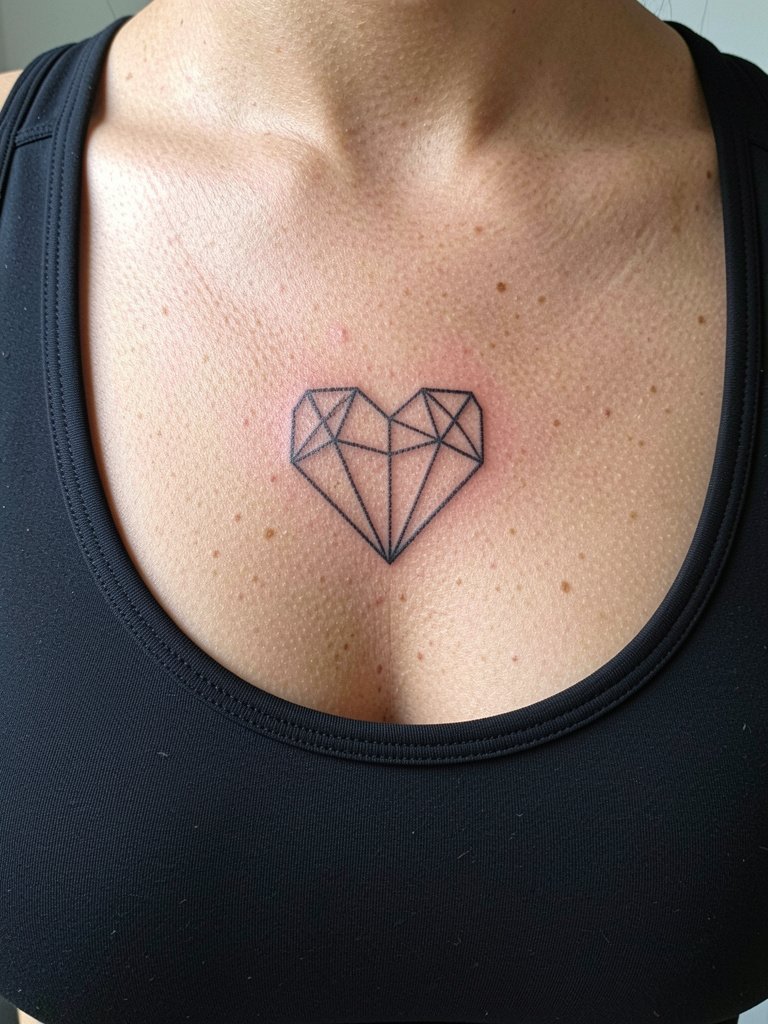
Sternum pieces can be more sensitive and need clear access during the session. One camp warns that sternum and ribcage are high on pain charts and that very fine lines blur with movement. The other camp reports clean results if spacing and needle depth are adjusted for the area and they show healed photos to back that up. Tell the artist you want measured spacing and confirm pain breaks during the stencil stage. Wear a sports bra or bandeau that can stay in place and give access.
19. Geometric Line Grid on the Upper Back
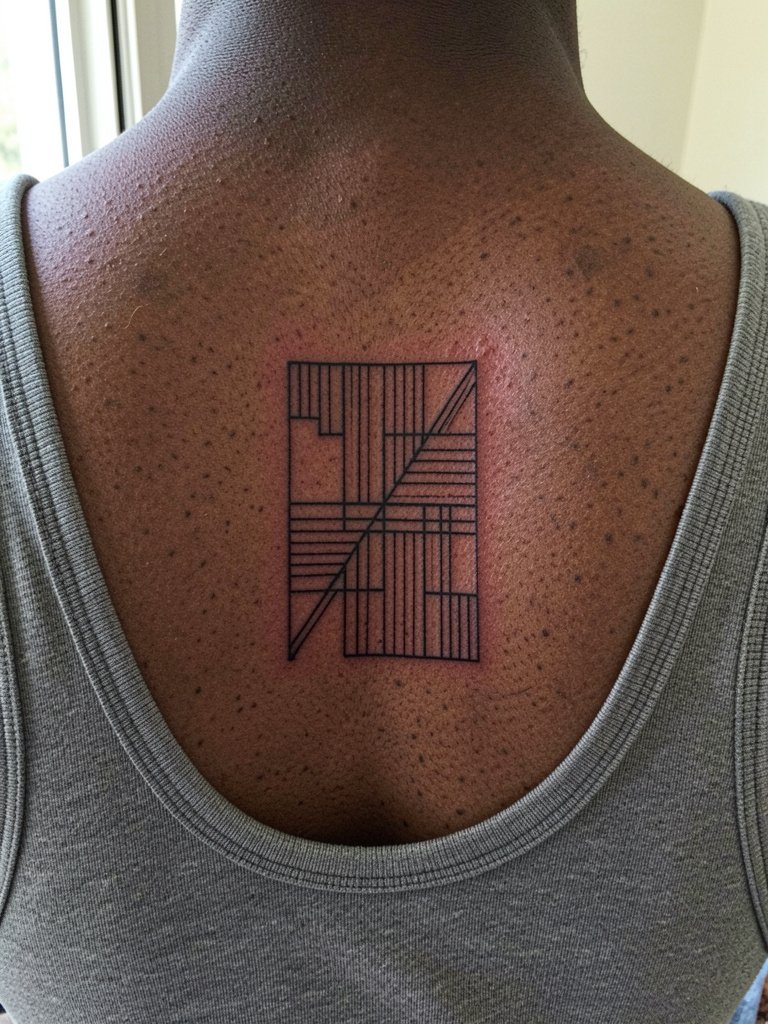
A small grid reads best when lines are slightly bolder than whisper-thin so intersections do not merge. The session is around an hour and pain is moderate depending on proximity to the spine. A common mistake is asking for micro-grid density that becomes gray blur after healing. Ask the artist to show how two adjacent lines look healed at scale so you can pick a spacing that endures. For clothing pick racerback or open-back styles when showing the piece.
20. Geometric Compass Shard on the Ribcage
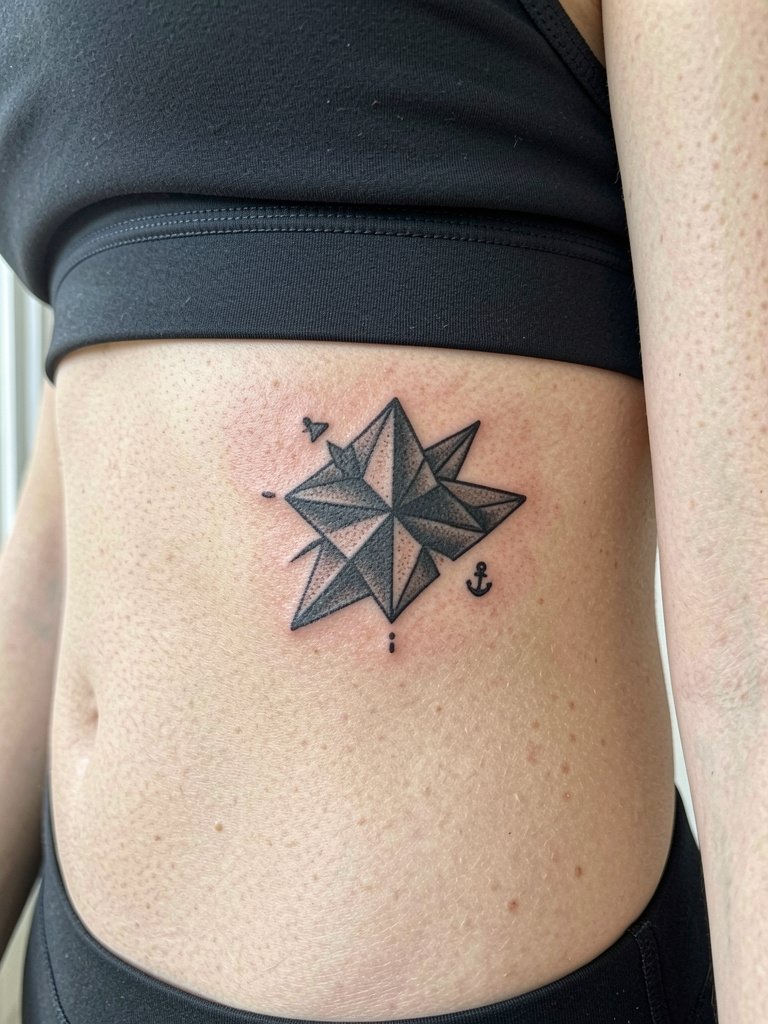
Ribcage placements are sensitive and can demand longer sessions with breaks. One group contends fine line on ribs blurs quickly because the area stretches and moves a lot. The opposing group says with slightly wider spacing and controlled needle depth fine line can hold, and they will point to their healed portfolio. If you choose ribs, ask for a trial-sized stencil and agree on line weight that avoids microfiligree. Wear a fitted cropped top that stays in place during the session.
21. Minimalist Geometric Sun on the Forearm Inner Edge
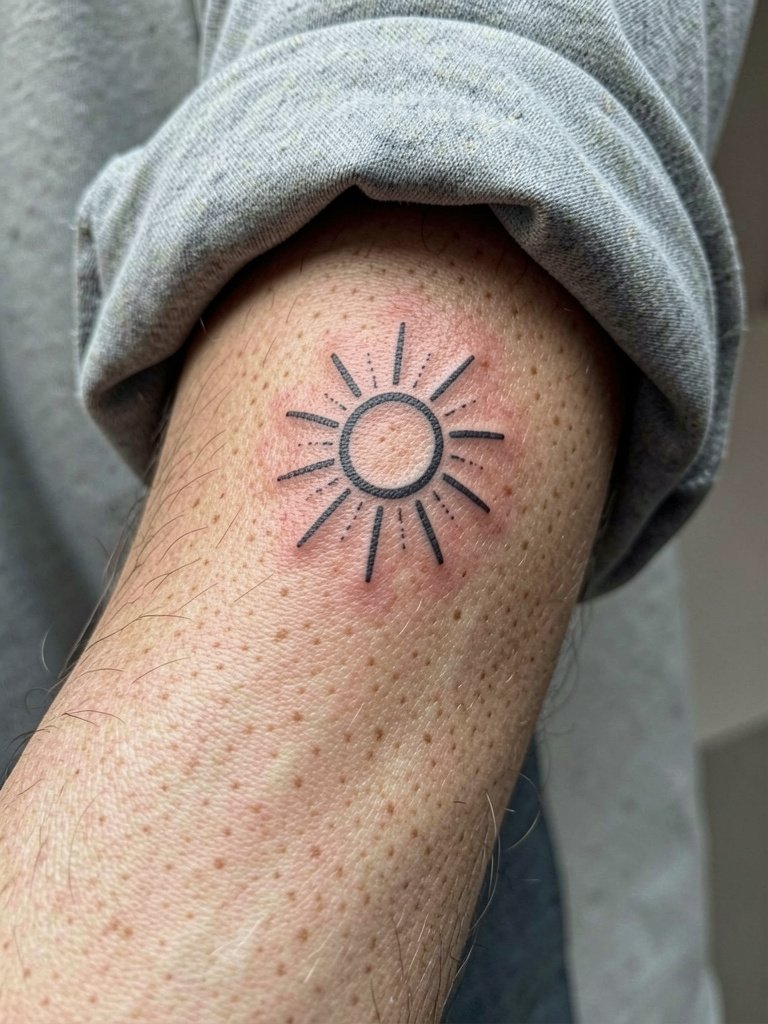
Inner-edge forearm designs sit where people can glance without turning their arm. The session is typically under an hour and pain is mild. A mistake is positioning the sun too close to flex creases, which causes softening at the rays. Ask the artist to mark the forearm in motion so you can see crease lines and place the design off them. For outfit pairing push sleeves up and wear light linen shirts to keep focus on the inner forearm. Try a linen button down for session and style.
22. Tiny Geometric Compass on the Ankle Inside
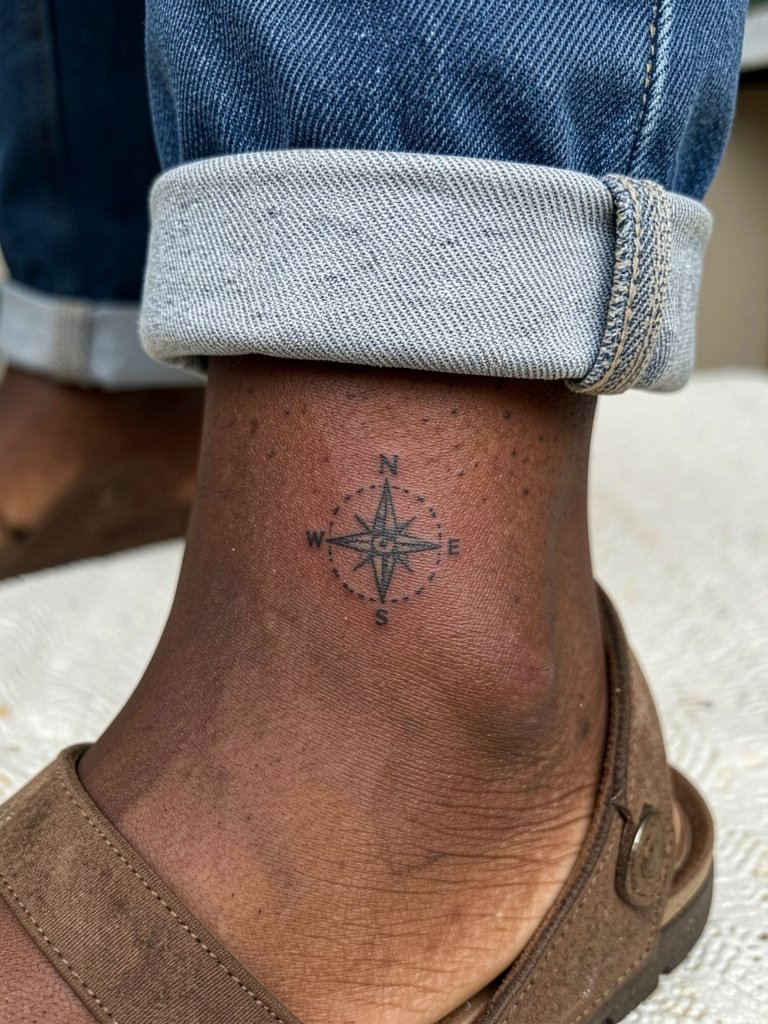
Inner ankle pieces are visible yet discrete. They are sensitive to shoe and sock friction early on. The common error is too-thin north markers that smooth out. Specify a slightly thicker primary axis so direction survives. Keep socks off the area during the initial healing and wear sandals when possible. Cropped trousers and ankle pants frame this placement well, and ankle pants are a good wardrobe match.
23. Minimal Line Landscape on Outer Calf
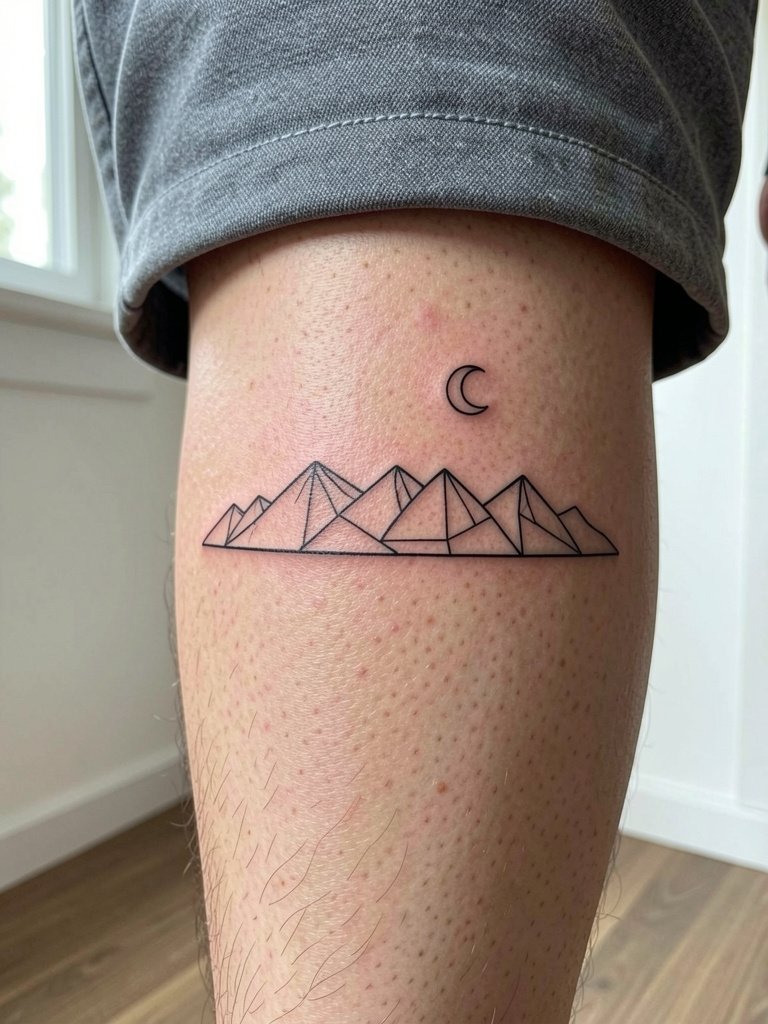
Calf landscapes let you include a tiny scene without committing to large surface work. Sessions are moderate length and pain is usually low. A mistake is trying to compress horizon detail into a small vertical badge. Ask for a mockup that shows the horizon at the exact tattoo height so you can judge readability from a standing distance. Wear shorts or midi skirts to show it off. Cropped trousers and midi skirts both work well.
Frequently Asked Questions
Q: How much should I expect to pay for a small minimalist geometric line tattoo?
A: Small geometric pieces commonly fall under shop minimums so the price you see is often a minimum session fee rather than a size-based estimate. Typical ranges for very small fine-line work start around one hundred to three hundred dollars, while more detailed small-to-medium pieces can run higher. Budget for a possible touch-up session down the line, and plan around the studio deposit and cancellation rules.
Q: How do fine line geometric tattoos hold up on darker skin tones?
A: Black ink generally reads best at small scales on darker skin, and slightly heavier line weight often preserves contrast better than whisper-thin single-needle work. Ask to see healed examples on similar skin tones and bring two scale references so the artist can pick line weight and spacing that show up cleanly over time.
Q: Should I use second-skin bandages or dry healing for fine line tattoos?
A: One camp favors second-skin bandages because they protect fresh linework from friction and accidental touching during the first few days. Another camp prefers a simple wash-and-moisturize routine, noting that adhesives can irritate some people. If you plan to try a film dressing, request a patch test or barrier strip first and let your artist know about any adhesive sensitivities.
Q: Where can I find healed portfolios and local artists without naming anyone directly?
A: Search Instagram and TikTok hashtags like #geometrictattoo and #finelinetattoo and use location filters to find nearby studios. Look for portfolios that explicitly label healed photos, and browse Reddit communities for thread feedback on how different shops handle fine line longevity. Booking platforms and localized style searches also help you narrow down studios that show healed work.
Q: What should I wear to the appointment for common placements like forearm, shoulder, ankle, or collarbone?
A: Dress so the artist has unobstructed access to the area. For forearms and wrists wear short sleeves or a loose button-down you can roll. For shoulders and upper chest wear a tank top or wide-neck tee. For ankles and calves pick loose pants that roll up or shorts. Bringing a second outfit that is easy to change into saves time during the session.
Q: How often will I need touch-ups for tiny geometric pieces like finger, hand, or wrist tattoos?
A: Fingers and hands commonly need a touch-up within six to twelve months because of constant use and washing. Wrists and ankles vary depending on friction and sun exposure. Plan to check the piece at six months and budget for a small refresh if lines have softened. A clear conversation about realistic longevity at the stencil stage prevents surprises.
Q: Are there styling items that pair reliably with minimalist geometric tattoos?
A: Yes. Cropped trousers, rolled cuffs, racerback tanks, and delicate layered jewelry often frame these small placements without competing with the ink. When selecting a piece consider what you wear most. If you plan to highlight a collarbone piece pick square-neck tops, and for ankle bands choose sandals or cropped jeans that keep the area visible.
