

Ladybug tattoos keep popping up in consults because they can be tiny, sweet, and low-commitment, but what looks great on a saved photo does not always age the same on real skin. A small color ladybug that reads clearly at appointment can blur into a red dot over time unless you plan spacing and line weight from the start. Expect most single-session small pieces to cost $100 to $500 depending on size and color.
1. Tiny realistic ladybug on the inner forearm

A tiny realistic ladybug reads as a crisp little symbol up close, and it makes a great first tattoo when you want something low-commitment. For longevity, have the artist plan slightly heavier spots and a defined black outline so the shell stays readable at six months and beyond. Common mistake: asking for microscopic single-needle dots with no outline, which risks the design becoming a red smudge after settling. For the session, wear a loose button-down you can roll up easily, like a linen shirt, so the artist has clear access and you stay comfortable.
2. Traditional ladybug with bold outline and a leaf accent
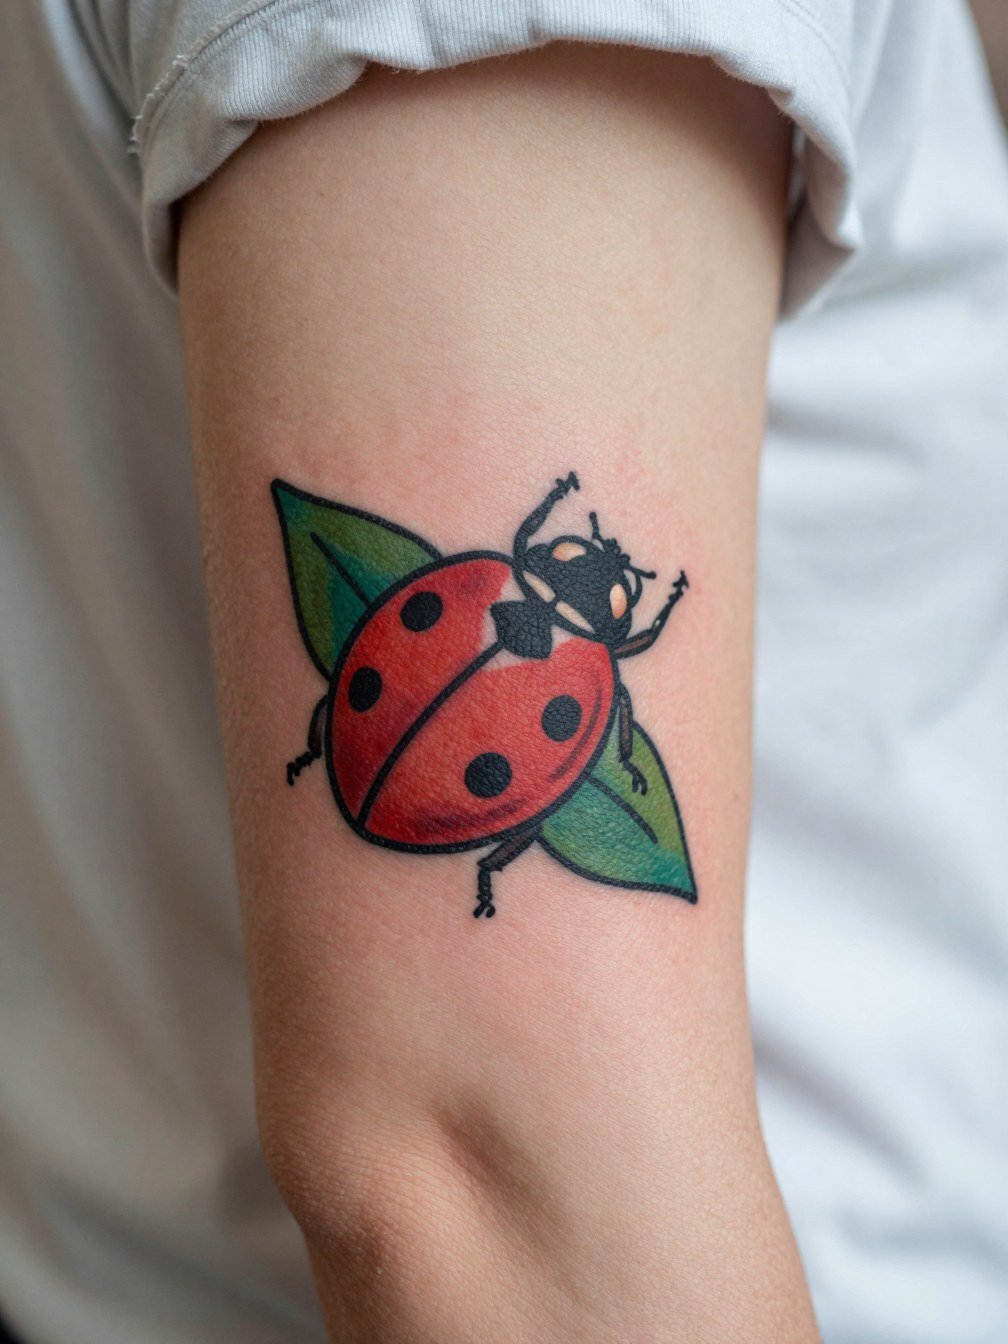
Choose this version when you want the beetle to hold up visually from a distance. The bold outline reduces blowout risk on the outer forearm and gives contrast as the piece heals. A mistake I see often is insisting on too much tiny shading inside the leaf, which can soften into texture over time. Show-off pairing: plain tees or vintage work shirts let the red shell pop, so consider a plain fitted tee for casual reveals. During the session wear short sleeves so the artist can work unimpeded.
3. Fine line ladybug with minimal dot shading, at the wrist
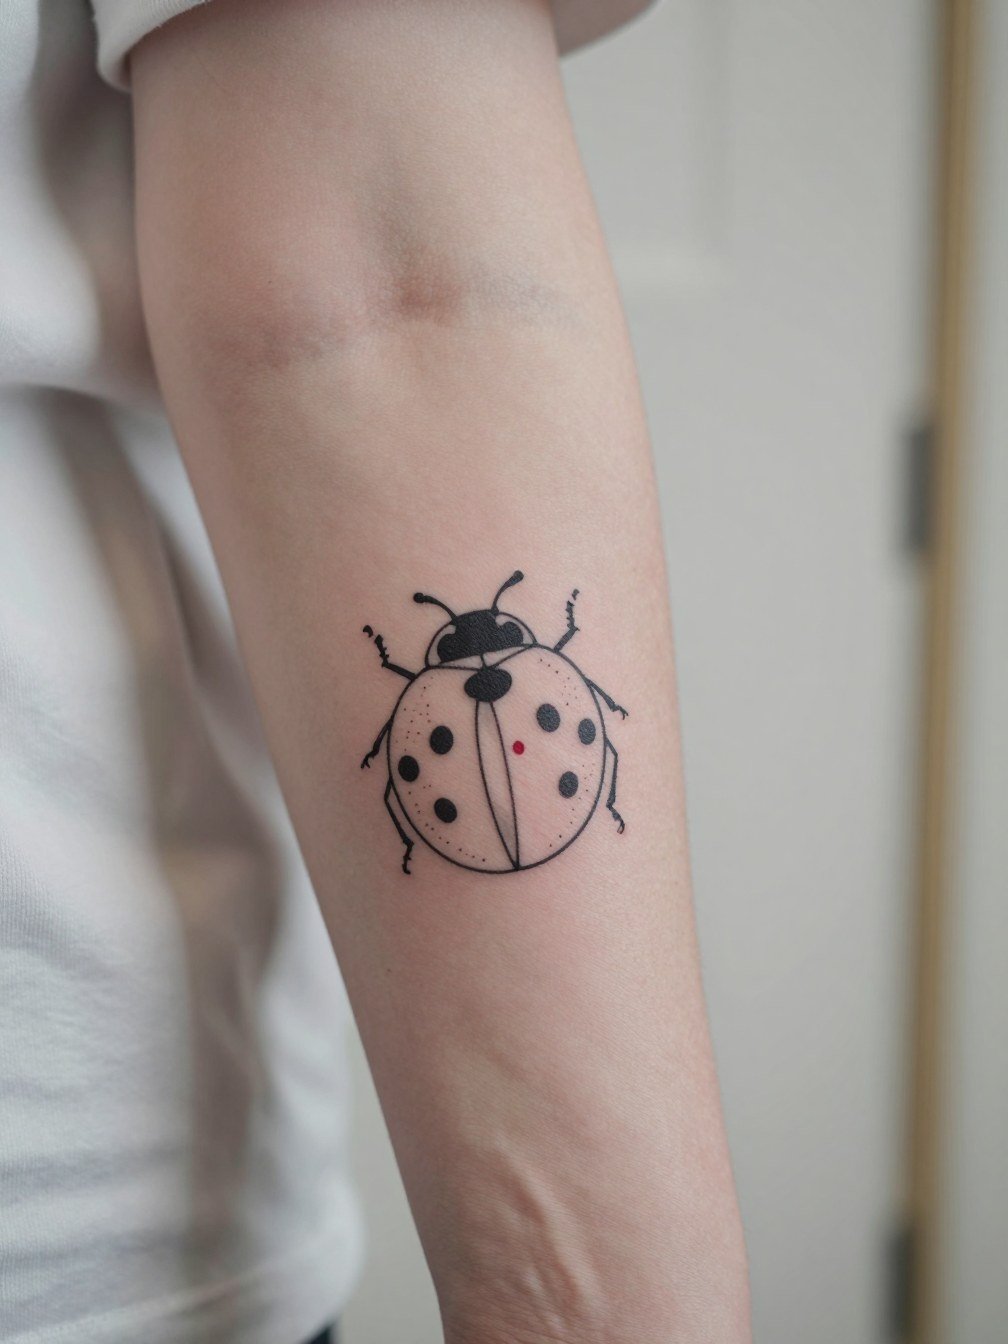
This one reads as refined and subtle for visible wrist placements, but it carries the tiny-versus-readable controversy in full. One camp loves single-needle fine line for wrists because it feels barely there and modern. The other camp warns that the wrist eats ultra-thin detail and that a hair thicker line weight will keep the ladybug recognizable at two years. To bridge that split, ask the artist to demonstrate the exact line weight on the stencil so you can see scale at life size. Session wear tip: avoid watches on the tattooed wrist for the first two weeks.
4. Ladybug perched on a leaf, outer calf placement

Putting the ladybug on a leaf gives the composition context and reduces the "red dot" risk. If you want a small-to-medium piece, the outer calf gives room for subtle veins and dot work that will still read at five years. Common mistake: squeezing too much tiny leaf detail into a micro size. For showing it off try cropped jeans or midi skirts, so the calf is visible without competing patterns, and consider cropped straight jeans for easy reveals. Expect a single session for a neat color piece here.
5. Wabi-sabi ladybug with imperfect linework on the side chest
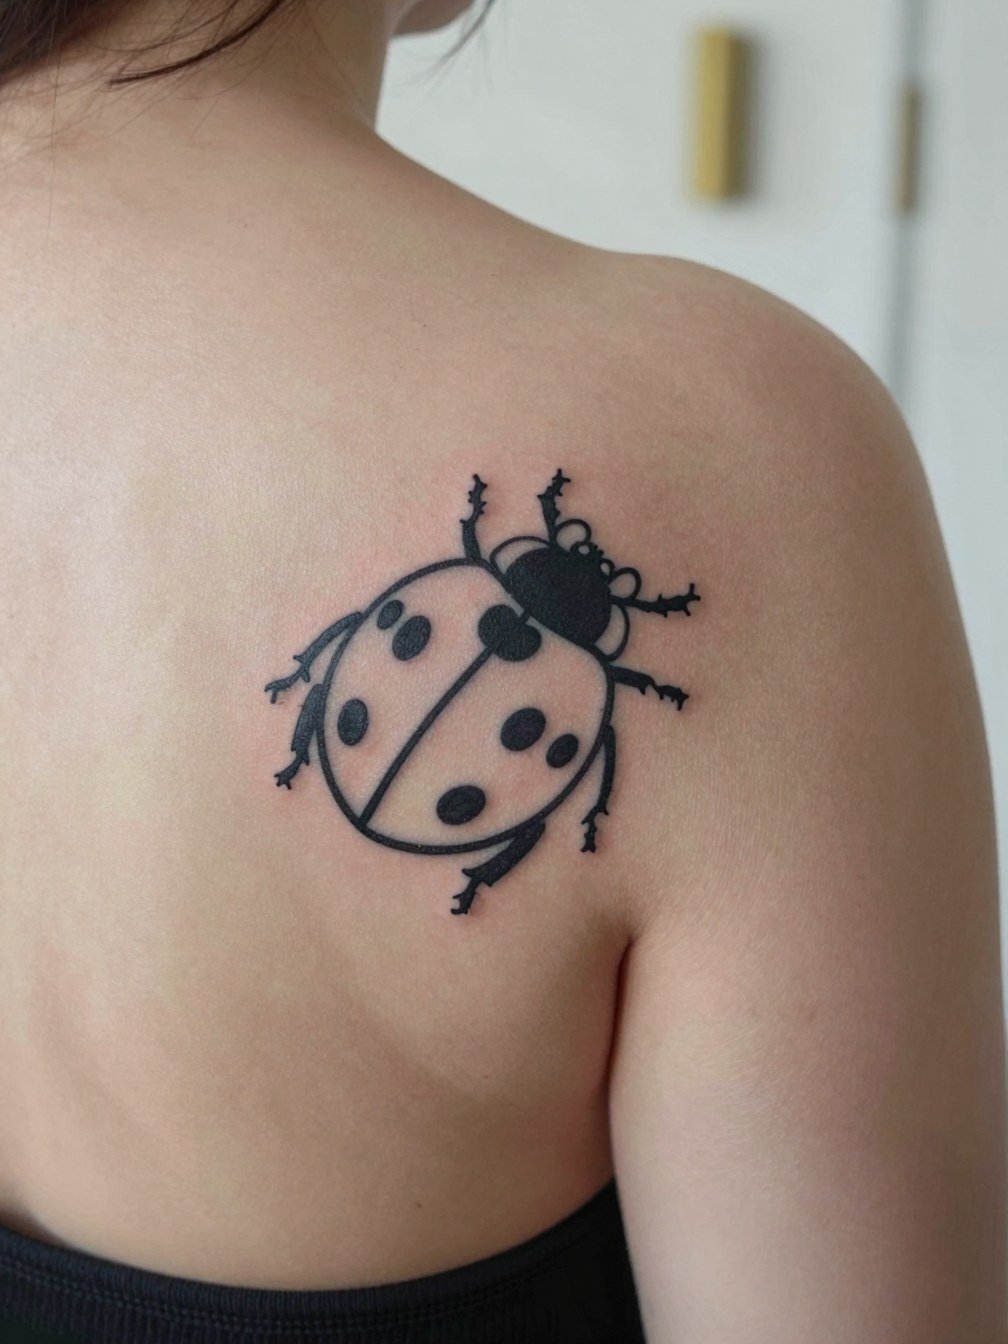
The wabi-sabi approach embraces imperfect lines and a handmade look, which can feel very personal on the lateral chest. Fair warning, that area can be sensitive so the session may feel sharper than an arm piece. The practical win is that loose lines age into the aesthetic rather than trying to hold microscopic precision. For session wear pick a loose bra-free top or sports bra so the artist can access the side chest without tugging clothing. If the design is a tribute, a tiny contextual mark like a one-letter initial beneath the bug avoids clutter.
6. Ornamental ladybug with decorative framing on the shoulder

Ornamental framing turns a tiny insect into a wearable motif that works well on the shoulder. Expect slightly longer session time if the filigree includes two-color saturation. A real mistake is overworking tiny decorative elements too close to the ladybug body, which makes touch-ups trickier later. For session access wear a tank top or loose button-up that exposes the shoulder easily. Showing the piece with off-the-shoulder tops or sleeveless tanks highlights both the framing and the bug.
Before You Book
Those forearm, wrist, and shoulder pieces above heal differently from rib or chest work, so these small session staples smooth the appointment and the first week.
-
Stencil transfer paper kit. Lets you preview how line weight and placement sit on your skin before the needle goes down, which is handy for deciding how big the ladybug needs to be.
-
Topical numbing cream. Applying 30 to 45 minutes before the session takes the edge off sensitive spots like the side chest without changing how the artist works.
-
Thin protective film roll. Useful for small wrist or finger placements that get rubbed by watches and keyboards in the first days.
-
Fragrance-free gentle body wash. Cleans the area during showers without irritating fresh ink or sensitive skin.
-
Aquaphor healing ointment. A thin layer for the initial days helps preserve crisp linework on fine pieces without clogging.
7. Ladybug plus lettering tribute on the upper thigh

A ladybug plus lettering is a tidy way to carry a family tribute without crowding the piece. Keep the script short and scale the lettering to match the insect so both elements breathe. A common error is adding a multi-word line under a micro insect, which makes the script too small to read after healing. Session tip: wear loose shorts or a skirt you can move aside without pressure on the area. If you want the lettering to stay legible, request slightly bolder script stroke than the reference photo.
8. Playful ladybug on the elbow

Elbow placement is playful because the shell follows the joint curve, but it is also one of the trickier spots for a first tattoo. Pain is often higher and the skin can distort when you bend the arm, so plan the design with an experienced illustrator who understands joint flow. People sometimes forget that elbow skin gets friction from sleeves, so consider slightly heavier black to hold up. For showing it off, short sleeves with a slightly oversized cut keep the elbow visible when you bend your arm.
9. Scar-cover ladybug on upper arm
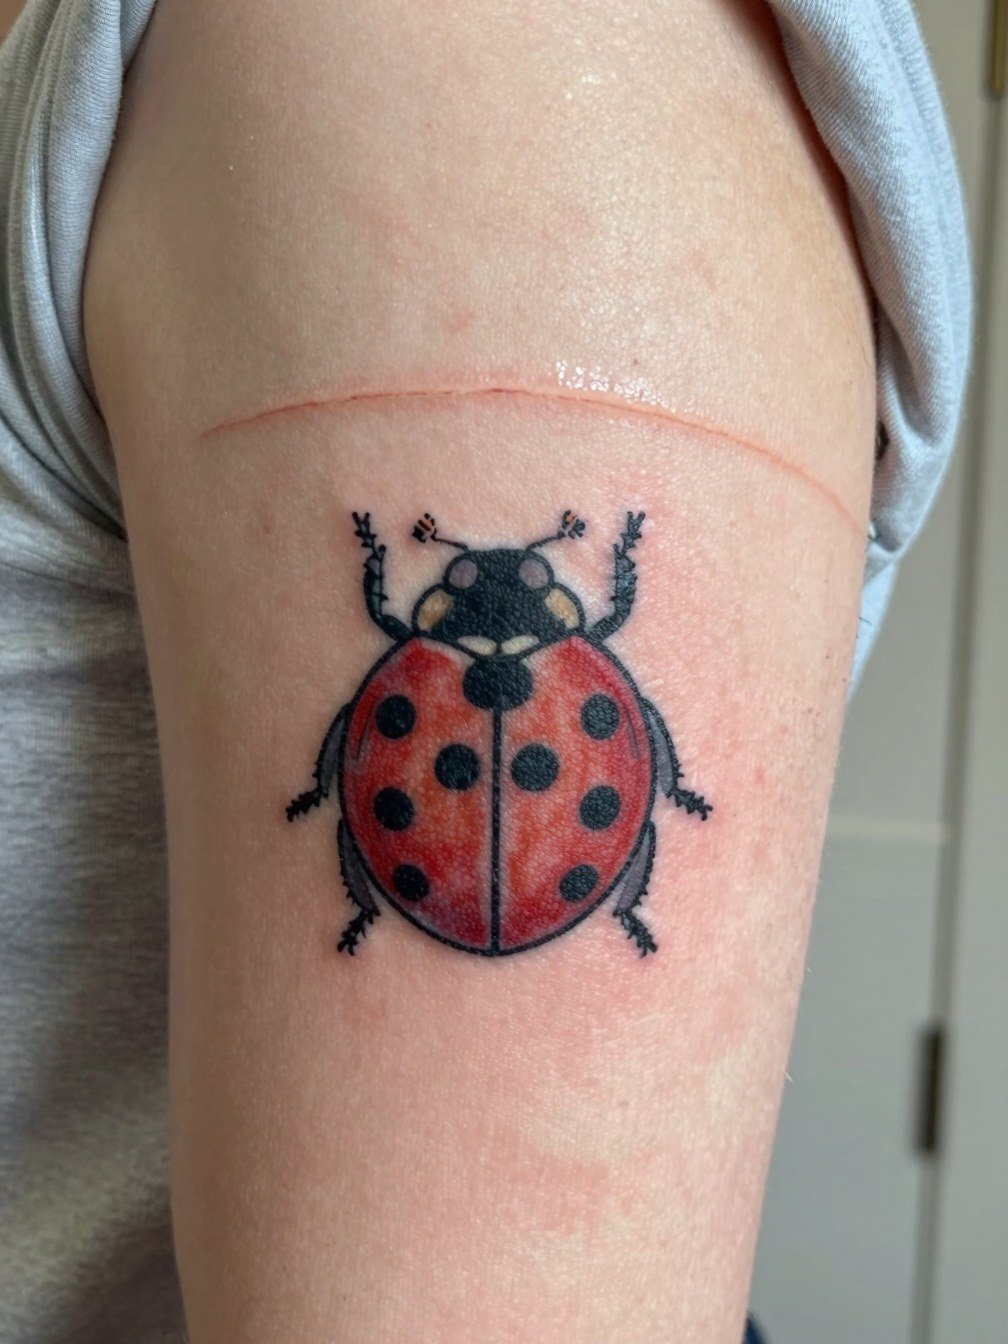
Ladybugs make surprisingly good partial scar covers because the spots and round shell mask texture variation. The important step is a consultation that maps how the scar sits in the final composition so the artist can plan spot placement to blend with scar lines. Avoid asking for a tiny bug over a long raised scar; scale the bug so the pattern reads across the mark. For the session, wear a tee that gives full access to the upper arm and expect possible need for a touch-up depending on scar texture.
10. Tiny ladybug behind the ear
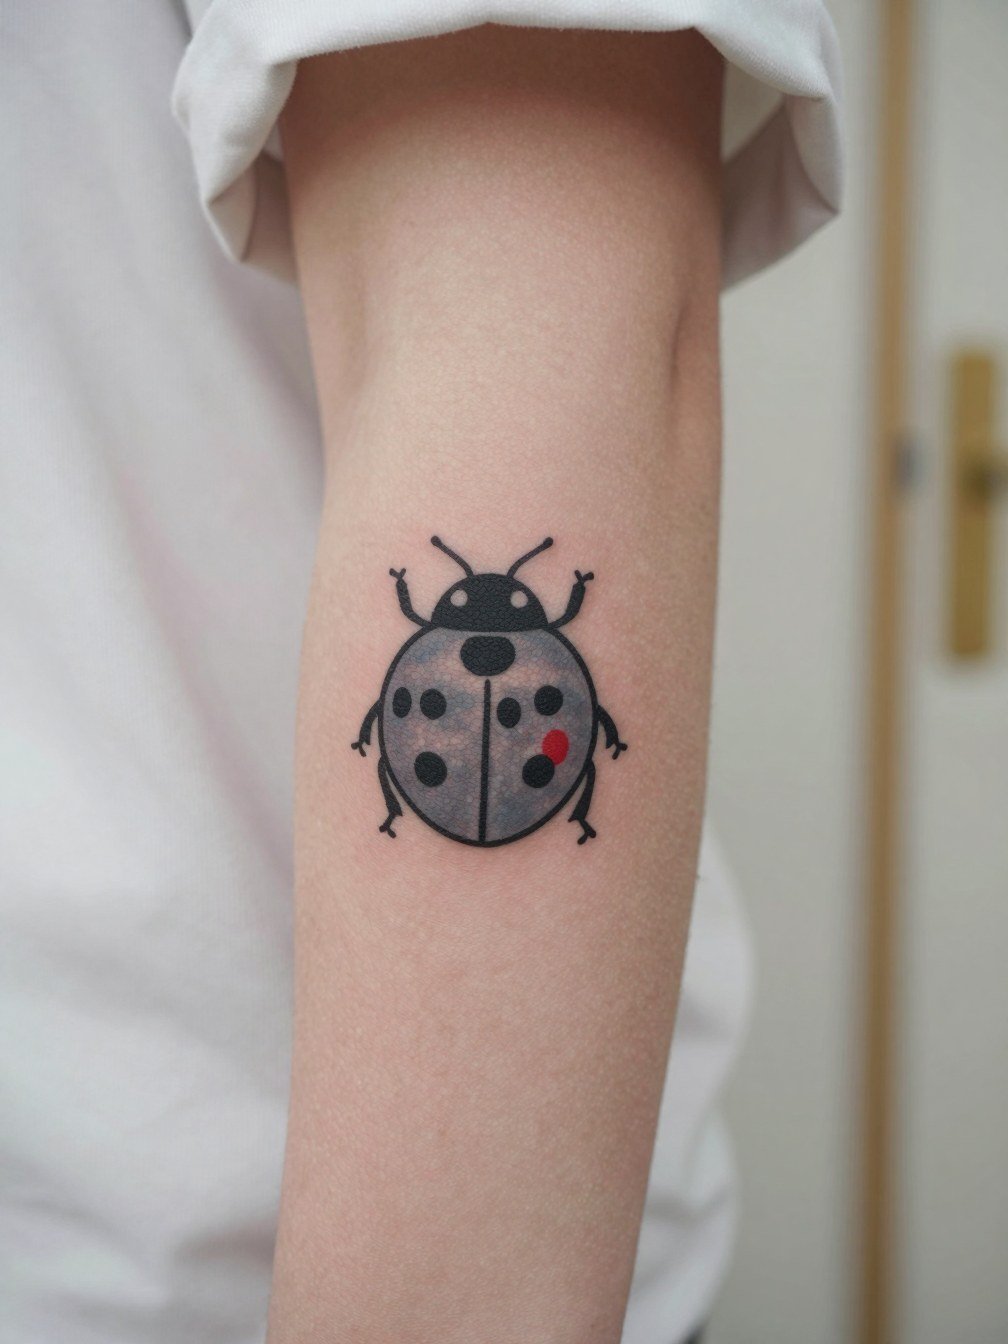
A behind-the-ear placement is discreet and reads as a little surprise, but the mastoid skin is thin so the sensation during the session can be sharper than an arm piece. Keep the design very small and simple to avoid blowout. Session wear: tie your hair up and bring a hair tie so the artist can work cleanly. For wardrobe, a low bun or short hair keeps the tattoo visible when you want to show it.
11. Black-and-gray ladybug on the inner thigh
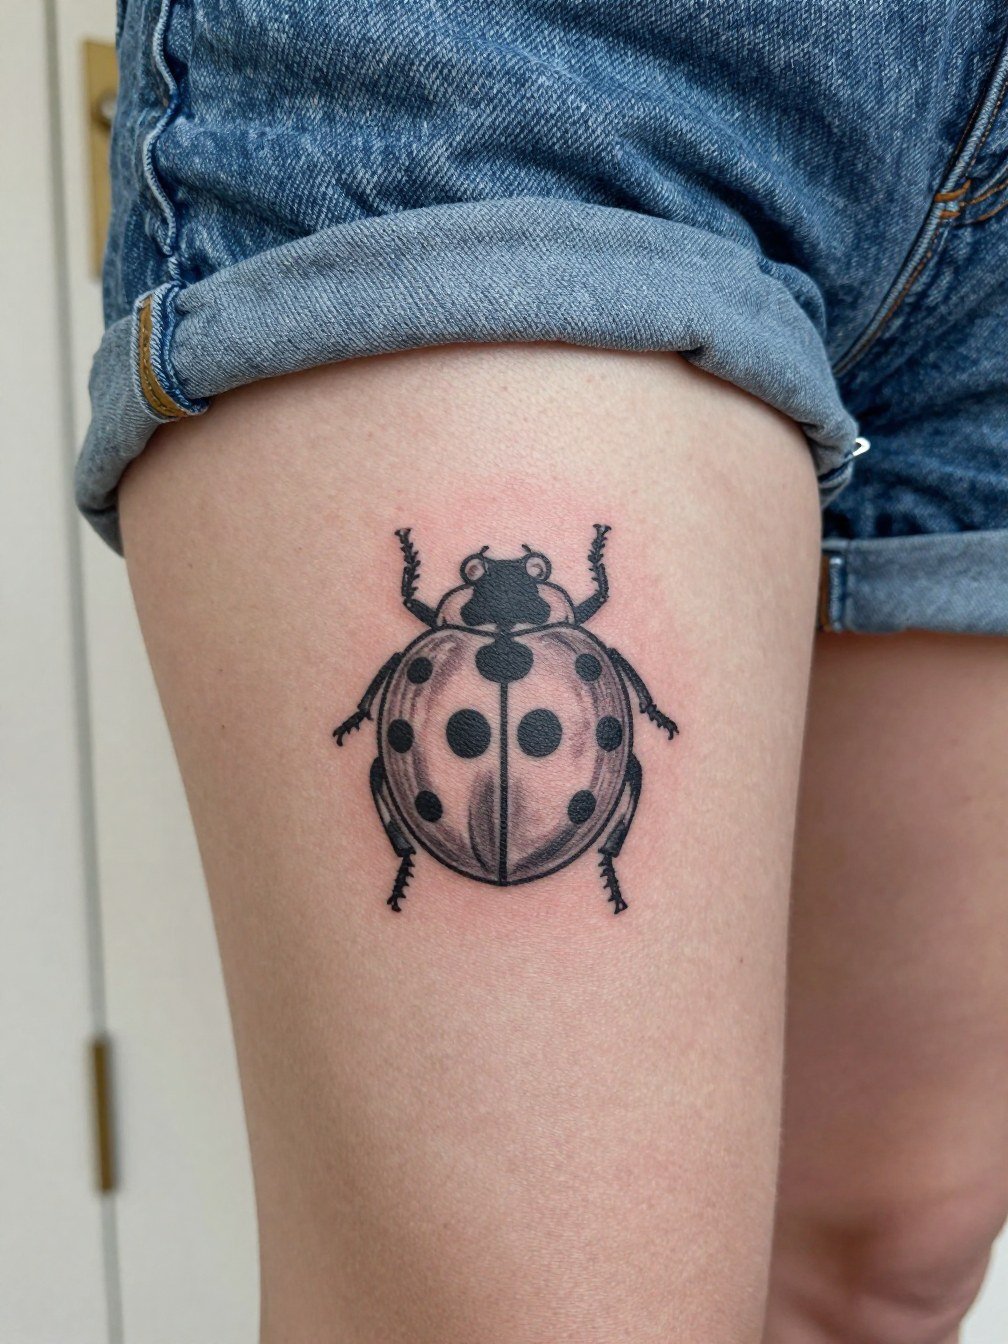
Choosing black-and-gray sidesteps some of the maintenance conversations about red pigment while keeping the ladybug silhouette readable. There is an explicit debate here. One camp says color is the point and that red makes the beetle instantly recognizable and cheerful. The other camp argues black-and-gray ages more predictably and avoids touch-ups tied to bright color fading. If you lean monochrome, ask for clear contrast between shell and spots so the shape stays distinct after settling. For session wear pick loose shorts or a skirt that you can move without tugging the skin.
Frequently Asked Questions
Q: How big should a tiny ladybug be so it does not look like a red dot later?
A: Plan slightly larger than you think. For a wrist or forearm micro bug, pushing to about one to two inches lets the outline and spots keep separation as the skin settles. Bring a life-size stencil or ask the artist to place the transfer in the chair so you can view it at arm's length.
Q: Color or black-and-gray, which holds up better over time for a ladybug tattoo?
A: Color gives the immediate recognizable look because of the red shell, but it usually needs more sun care and occasional touch-ups. Black-and-gray avoids that maintenance and will generally age more predictably. Decide based on how visible you want the piece to be and how willing you are to protect it from sun and friction.
Q: Where can I find healed photos and local artists who do ladybug work without naming specific accounts?
A: Search Instagram and TikTok with tags like #ladybugtattoo, #smalltattoo, or #traditionaltattoo plus your city name to find portfolios. Reddit communities such as r/tattoos and r/tattooadvice are great for healed-progress photos and blunt feedback on size and placement. When you search, prioritize portfolios that show healed photos at the two-month mark rather than only fresh work.
Q: What should I wear to the session for a shoulder, inner thigh, or side-chest ladybug?
A: For the shoulder, a tank top or off-the-shoulder top makes access simple. For inner thigh work, loose shorts or athletic shorts that can be shifted without pressure work best. For side-chest pieces bring a strapless or sports-bra option so the artist can reach the lateral chest without fabric bunching. Consider bringing a clean loose shirt to change into after the session.
Q: If I want a neutral or less "feminine" ladybug, what design moves help?
A: Make the bug more graphic with geometric framing, use muted or monochrome fills, or pick a traditional bold outline rather than cutesy expressions. Placing the tattoo in less gendered spots like outer forearm, upper arm, or calf also shifts how it reads. Ask for simpler facial treatment or no face at all to avoid an adorable, character-like look.
