
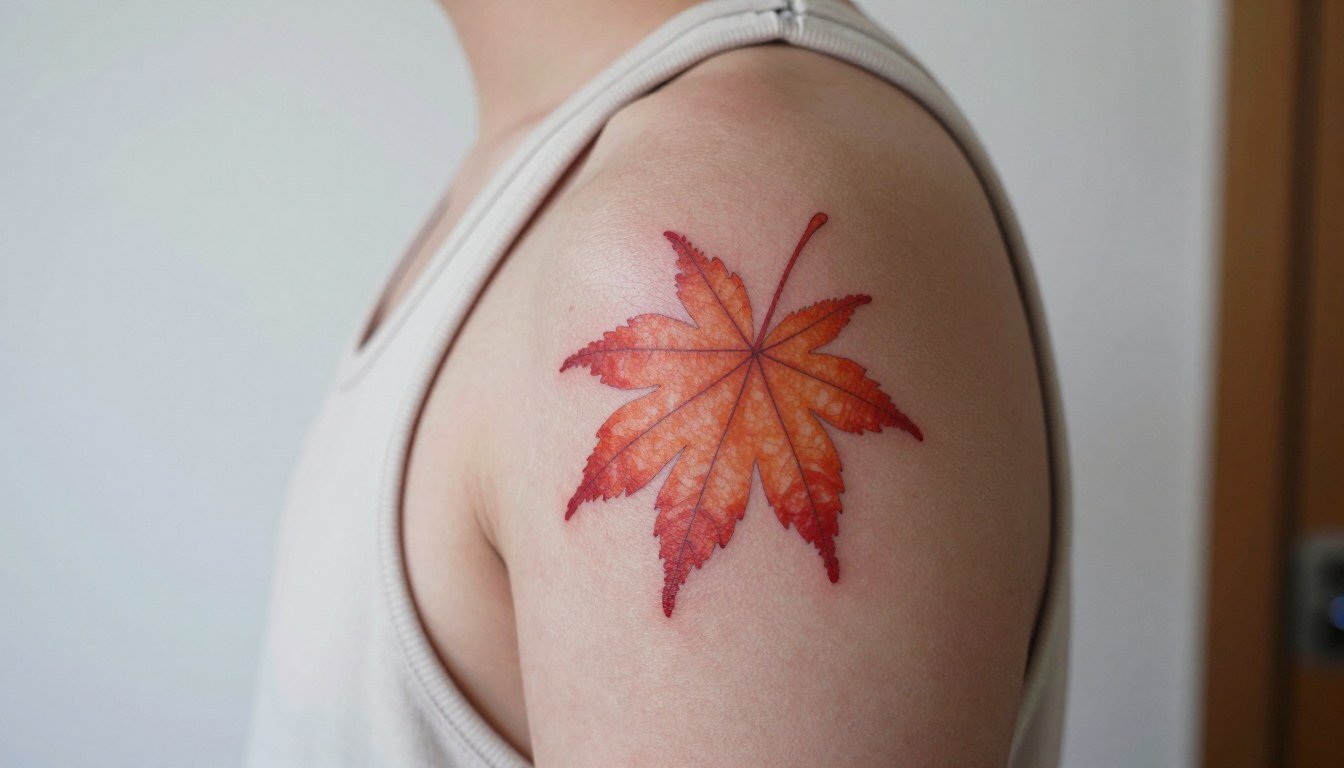
The cleanest Japanese maple leaf tattoos I see years later are often the ones that start with clear shape and sensible scale, not the faintest single-needle copy of a photo. Small changes at the stencil stage make the difference between a leaf that keeps its identity and one that merges into a blur. Read through the options below with an eye for placement, color choices, and what will actually look healed on your skin.
1. Single red maple leaf on inner forearm
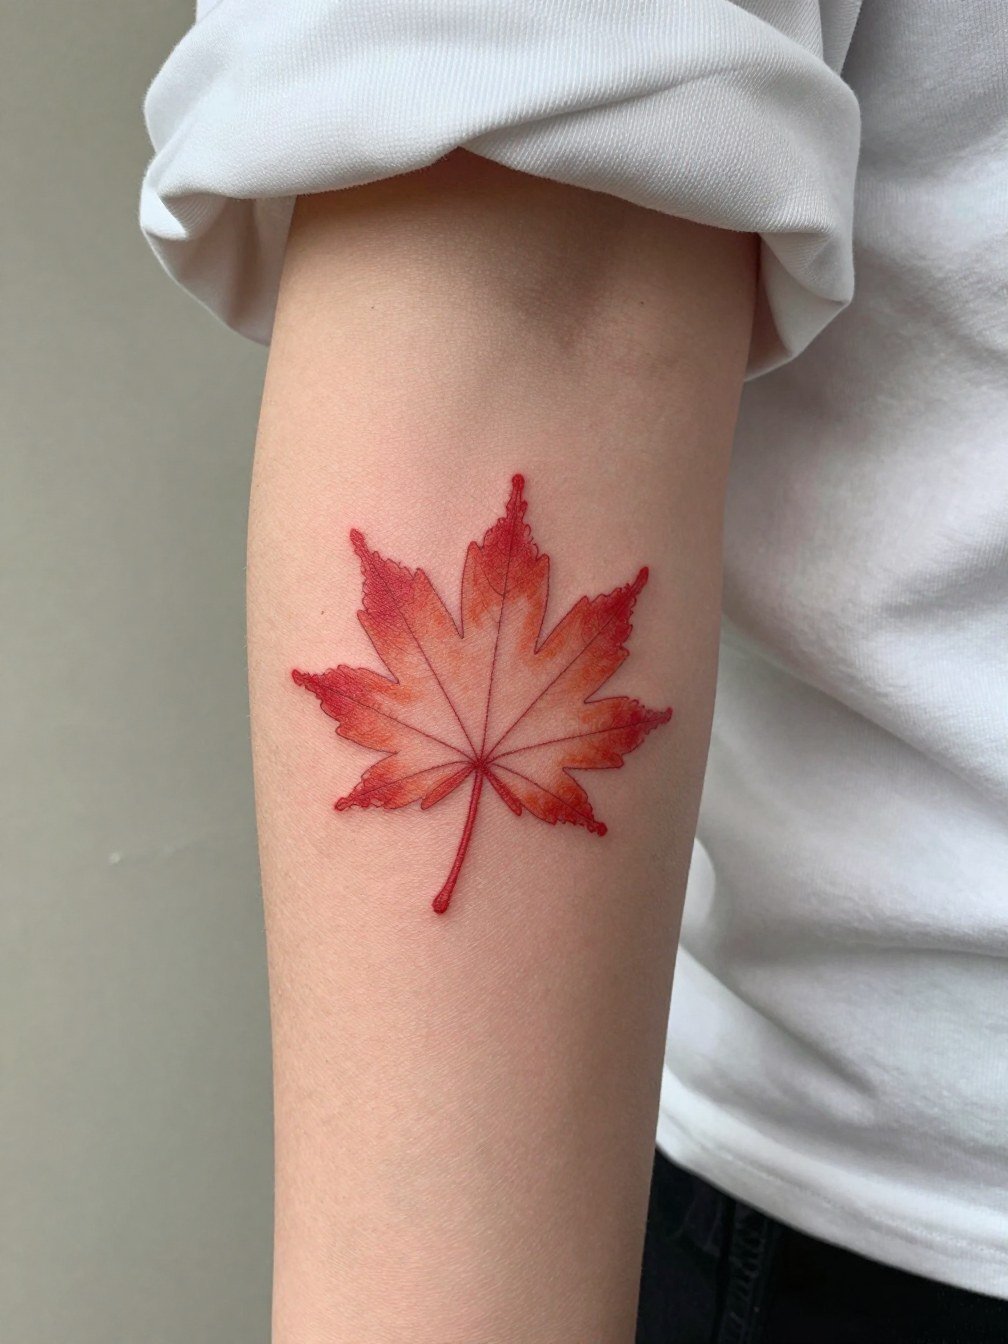
The inner forearm is a great place for a single red maple leaf when you want a readable, photo-friendly piece. I recommend sizing it large enough so the central veins are at least a hair thicker than single-needle in photos, because ultra-fine veins tend to fade and blur by year two. For the appointment wear a short-sleeve or a linen button down shirt that you can easily roll to expose the palm-up surface without tugging the skin. A common mistake is insisting on micro-veins at two inches across. If your plan is long-term clarity, ask for slightly bolder contour and a modest orange wash rather than tiny filigree.
2. Delicate-veined maple on the shoulder cap
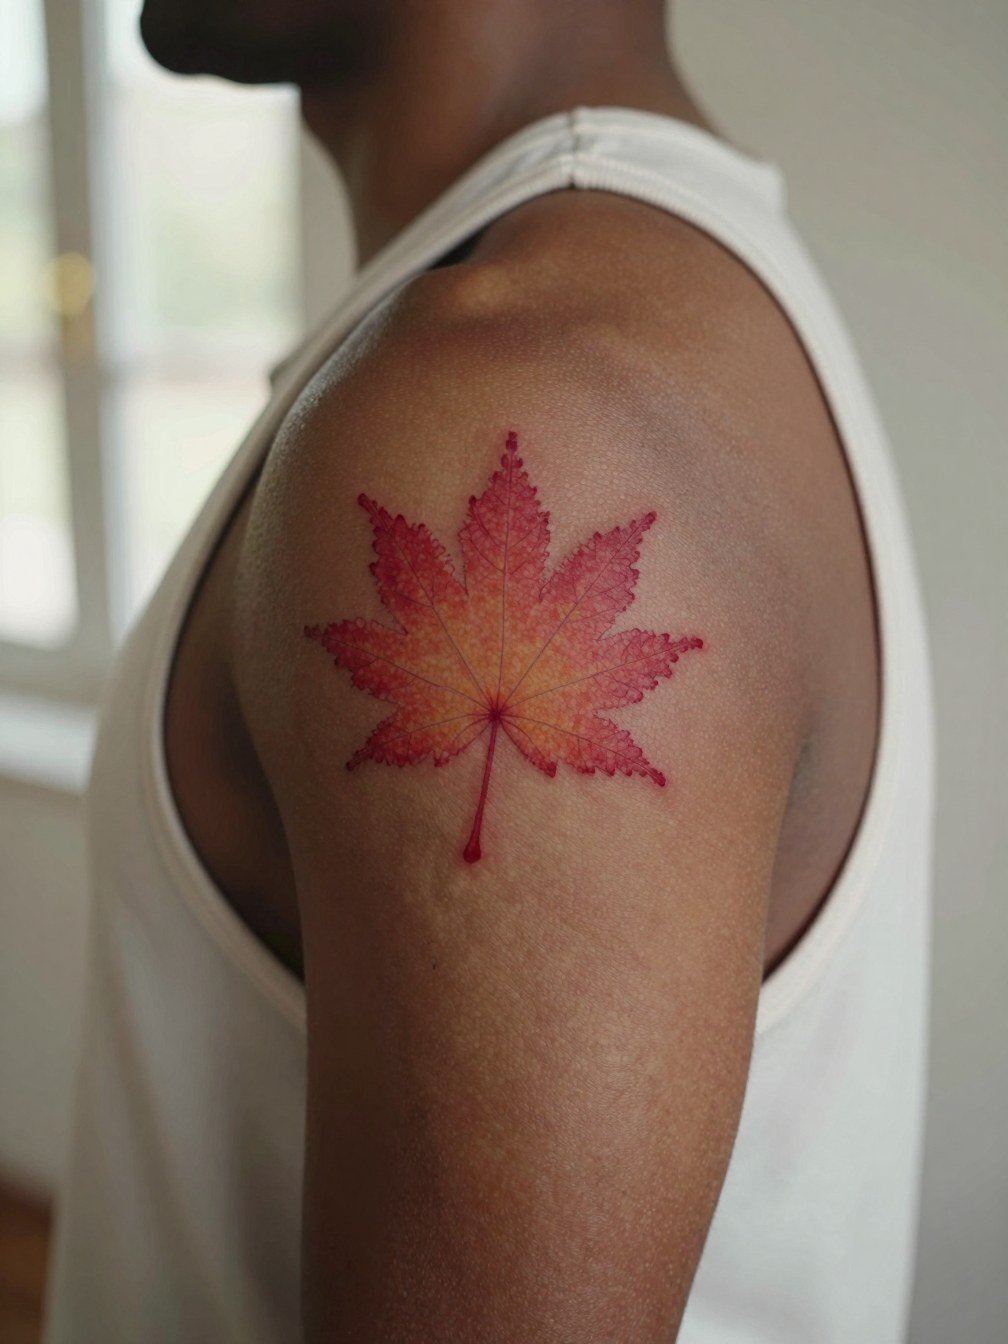
The shoulder cap provides enough room for veining that still reads after a few years. For this placement, the skin moves less with daily friction, so fine veins can hold if you give them breathing room. For showing the piece, sleeveless knits and open-neck tees work well, and a sleeveless tank top will let the curve of the shoulder read naturally. A frequent error I see is packing detail into a tiny shoulder spot. If you want the veins to stay crisp, add modest spacing and avoid ultra-dense stippling.
3. Maple leaf cluster with fall gradient across the forearm
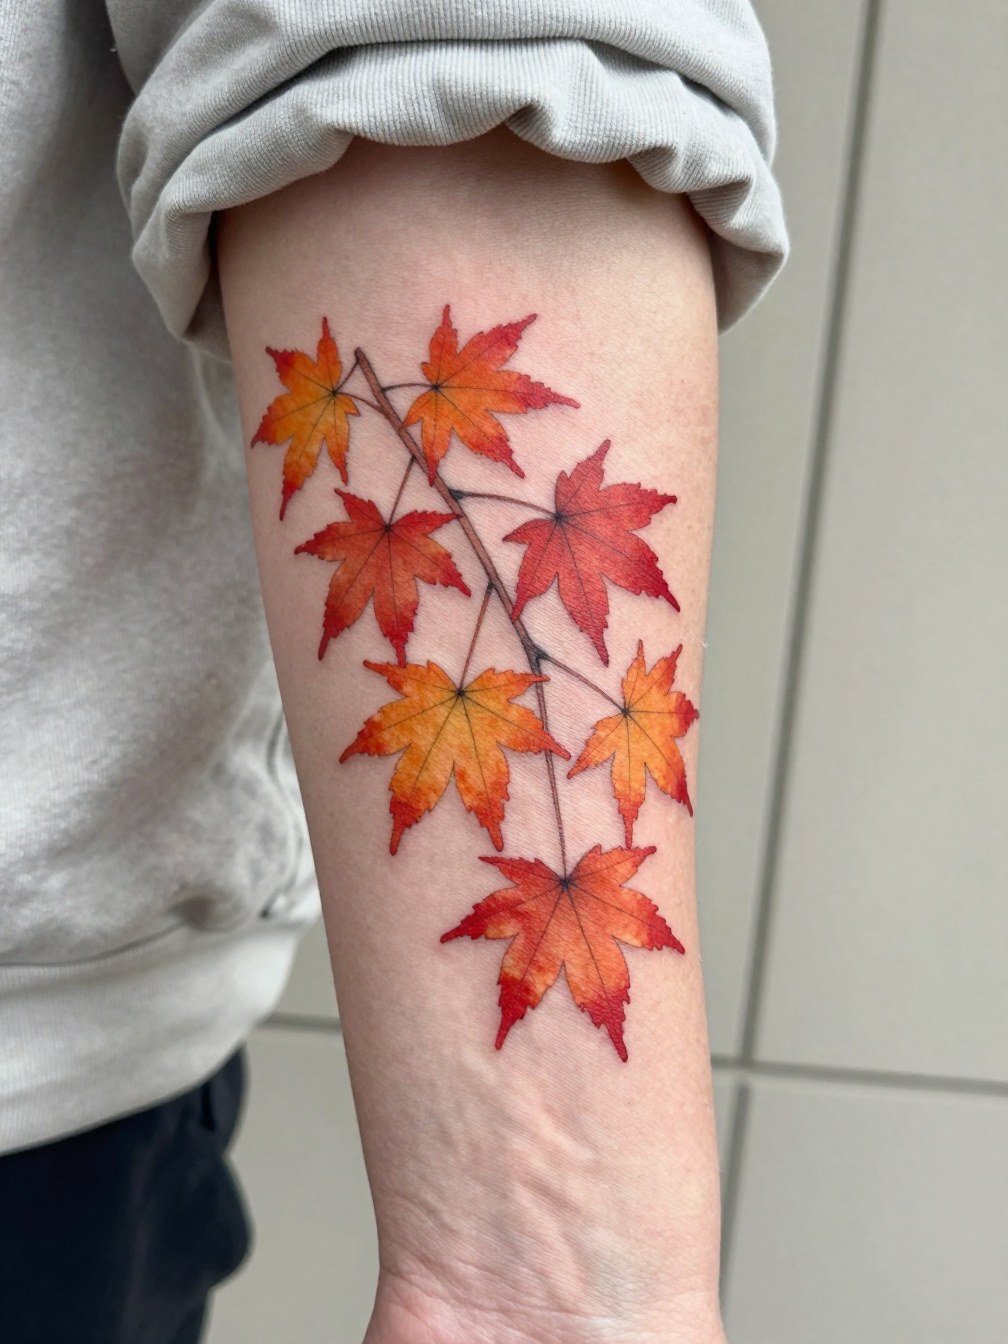
A cluster reads autumnal immediately because multiple leaves create motion. For a forearm cluster choose slightly stronger outlines around each leaf so the gradient wash does not bleed into a single blob after a year. One camp argues color is the best way to avoid pot-leaf confusion and keep botanical identity obvious. Another camp prefers black-and-gray for restraint and longevity reasons. Both positions have merit. If you want color but are worried about aging, ask for saturated color blocks with clean outlines rather than soft watercolor edges that can soften fast.
4. Vertical ribcage leaf with slim stems and negative space
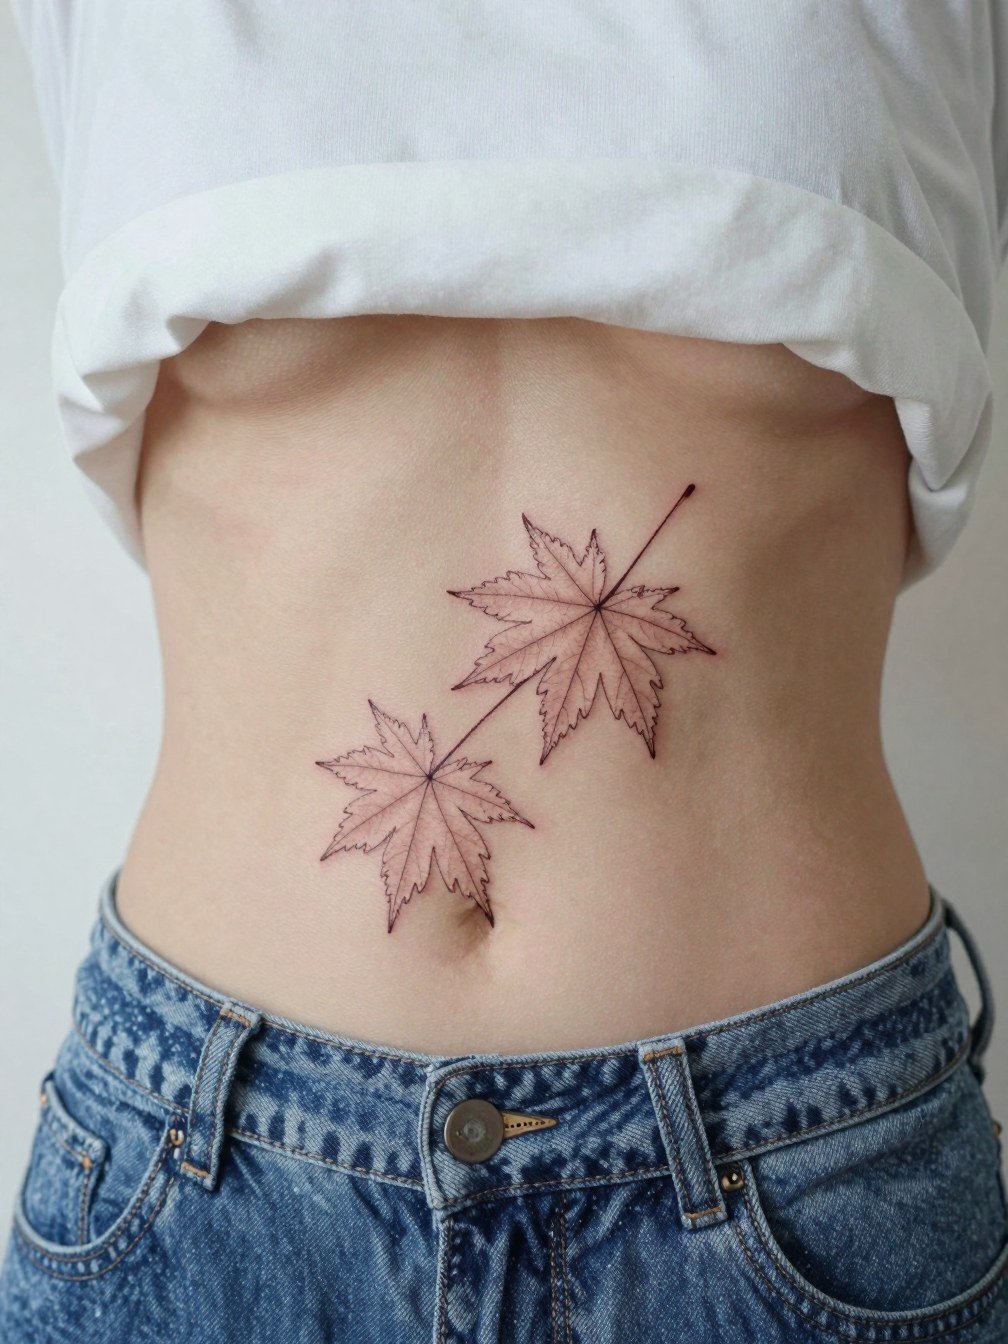
Rib pieces read private and elegant, but the area is softer and shifts with breathing. Fine line on ribs divides artists into two camps. One camp says thin lines blur quickly because the skin there stretches and rubs. The other camp says proper depth and slightly wider spacing makes fine line settle fine. If you choose ribs, plan for the higher pain and accept that touch-ups are more likely. For the session wear a loose button-up or a sports bra that the artist can move aside without pulling on the tattooed skin.
5. Maple leaf with Japanese-style wave background
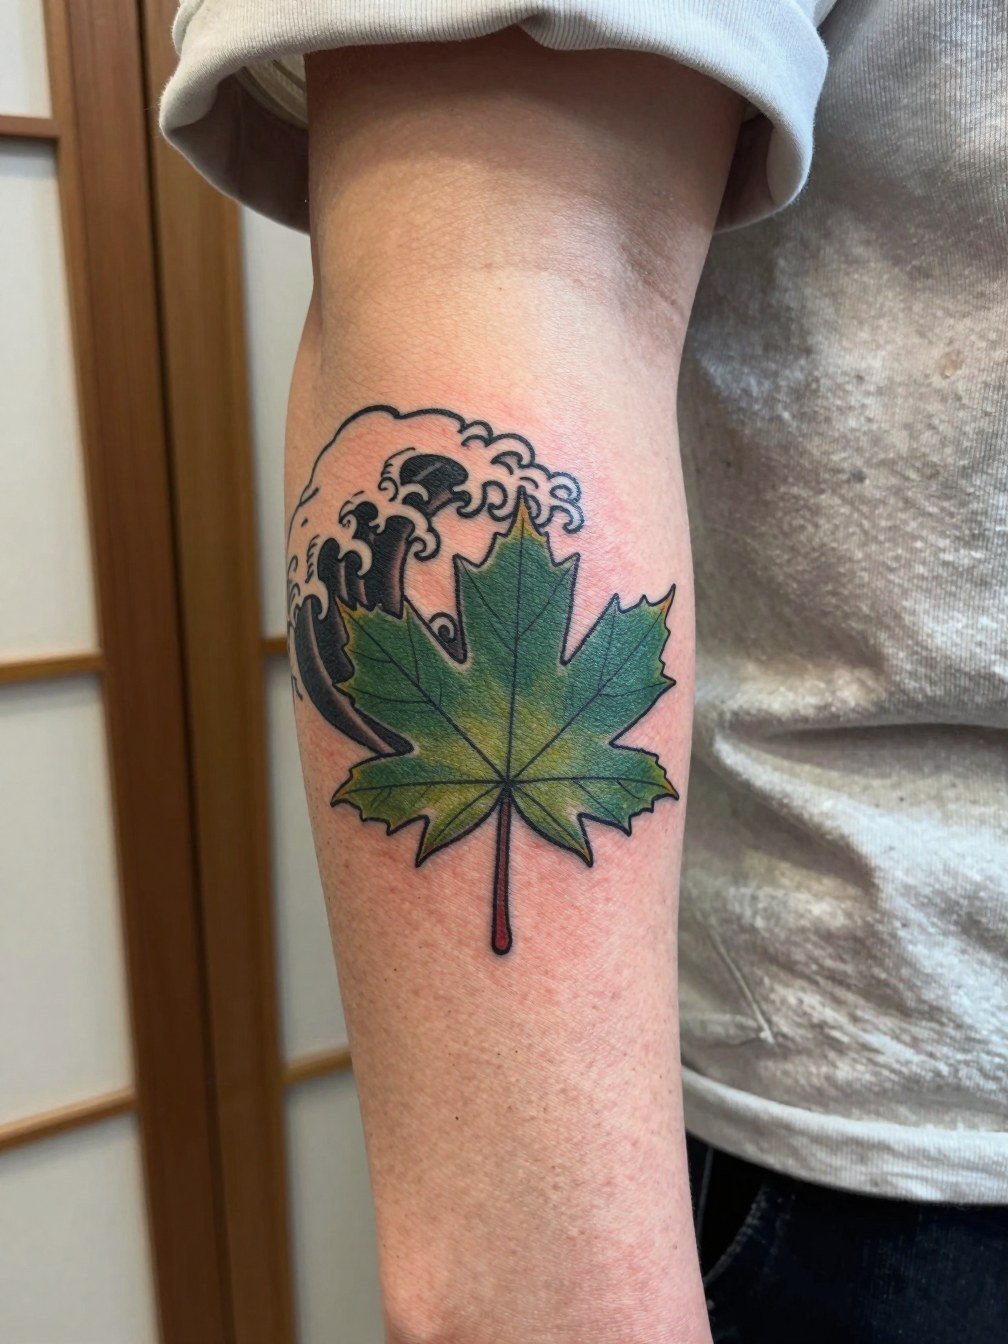
Adding waves turns a single leaf into a full Japanese composition and gives the piece movement. That makes the leaf read as intentional Irezumi rather than a standalone botanical. Expect multiple sessions for layered color and deep black wave fills. A common mistake is treating the leaf as an afterthought; the best results come when the artist composes leaf shape and wave rhythm at the stencil stage so negative space breathes. For a casual reveal, cuffed overshirts and plain crew necks let the sleeve panel act as the focal point.
6. Maple and crane composition with leaves as filler
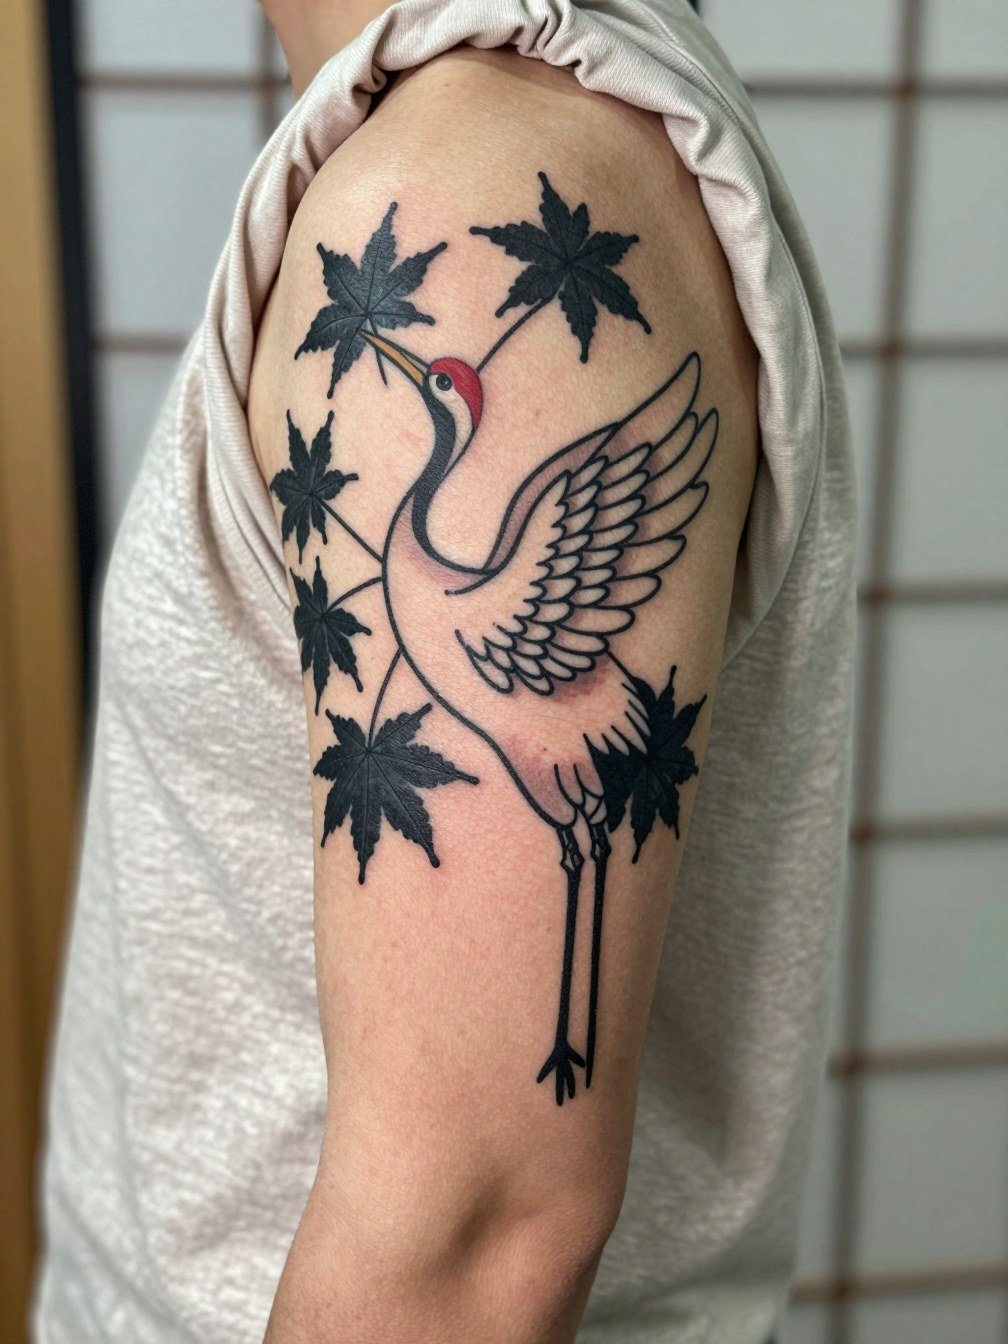
When the leaf supports a larger motif like a crane, it becomes filler that ties panels together. Tell your artist you want the leaves to sit visually behind the crane with reduced saturation so the bird remains focal. For session-day comfort on the upper arm wear a short-sleeve open-neck tee and bring a jacket you can remove without disturbing the arm. This placement often needs two sessions for full saturation and one touch-up at the one-year mark to refresh saturated color.
7. Tiger with maple leaves in a traditional panel
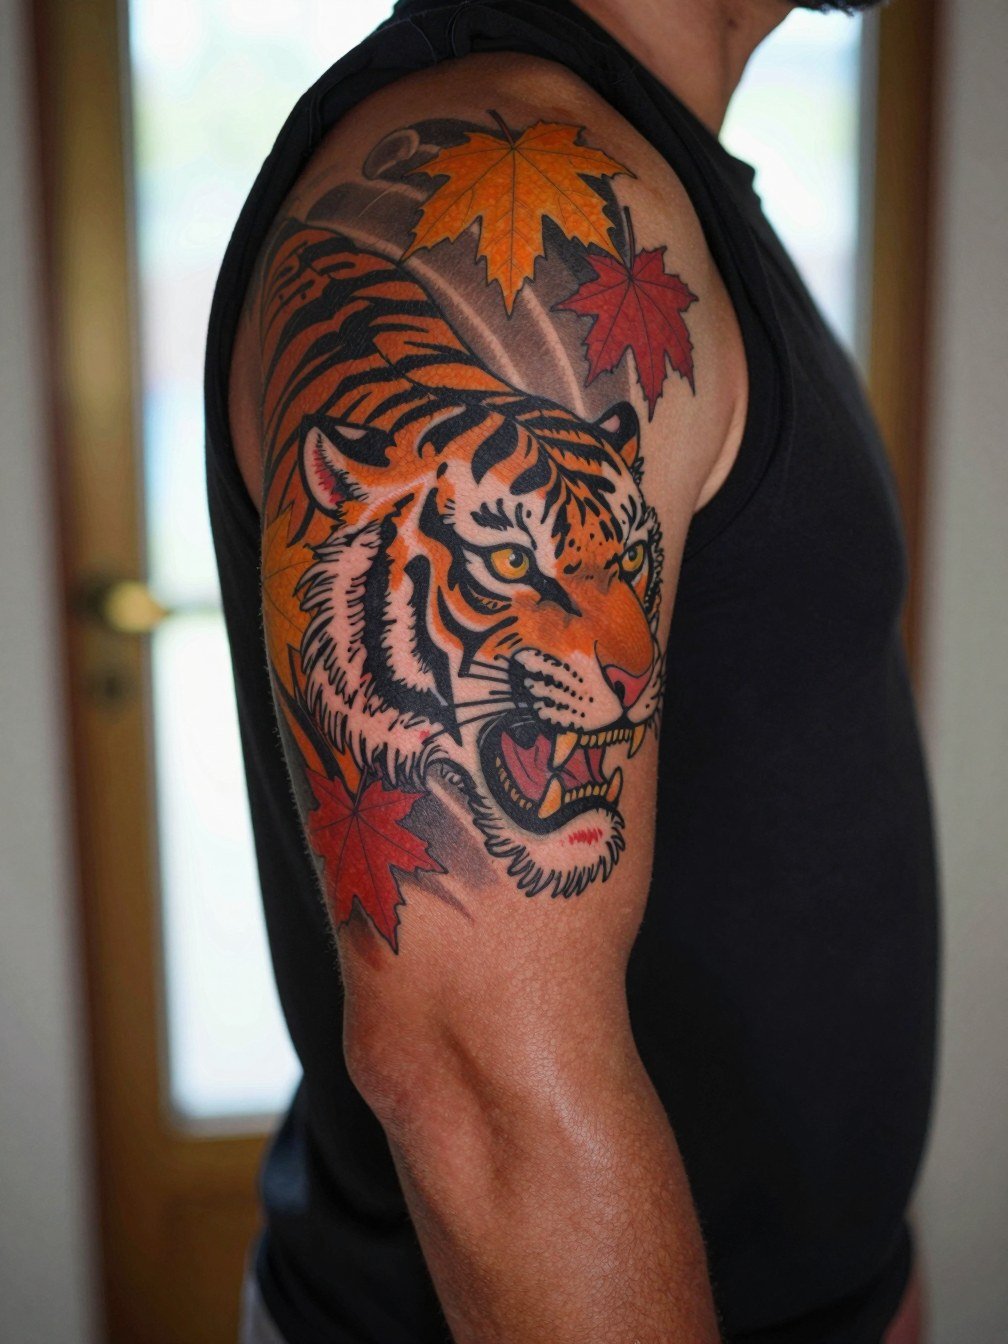
A tiger panel benefits from maple leaves as softer accents rather than focal pieces. The contrast between bold animal work and organic leaf shapes creates depth across a sleeve. Expect longer sessions and more saturation work. A practical mistake is crowding too many tiny leaves near the tiger's face. Keep larger leaves as anchors and smaller leaves as subtle texture so the composition stays readable at a distance.
8. Tiny maple leaf on the ankle
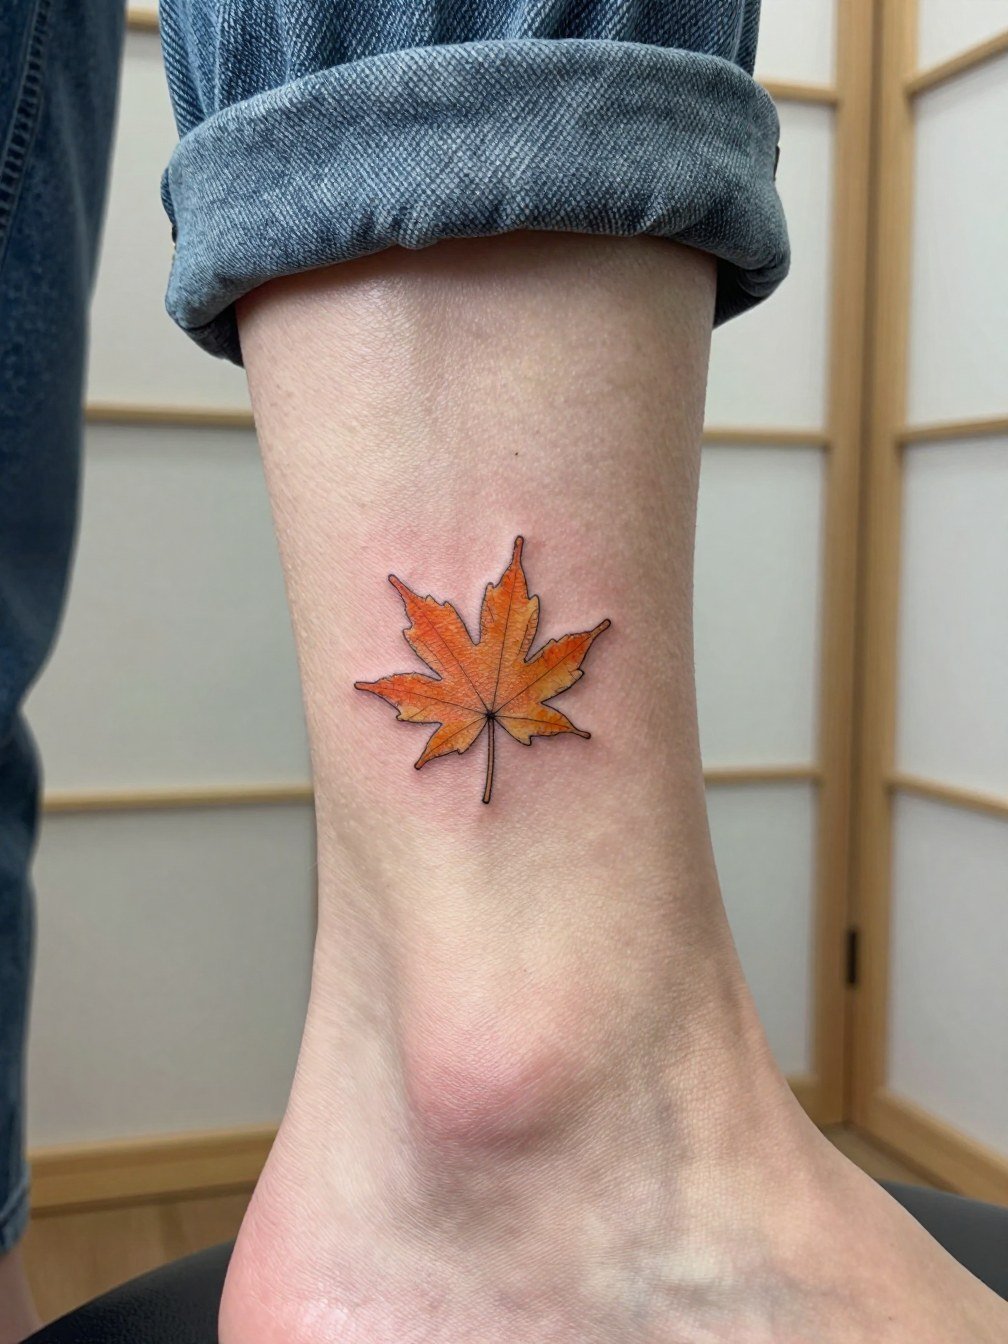
An ankle leaf reads discreet and seasonal, but the top of foot and ankle see a lot of friction from socks and shoes. Size this slightly larger than your instinct and ask for a modest outline to protect the silhouette. For showing it off in summer, strappy sandals pair naturally and a pair of ankle strap sandals will keep the area visible without rubbing the fresh ink. If you pick the ankle for a first tattoo, know that touch-ups are common after a year or two.
9. Black-and-gray maple for clarity without color
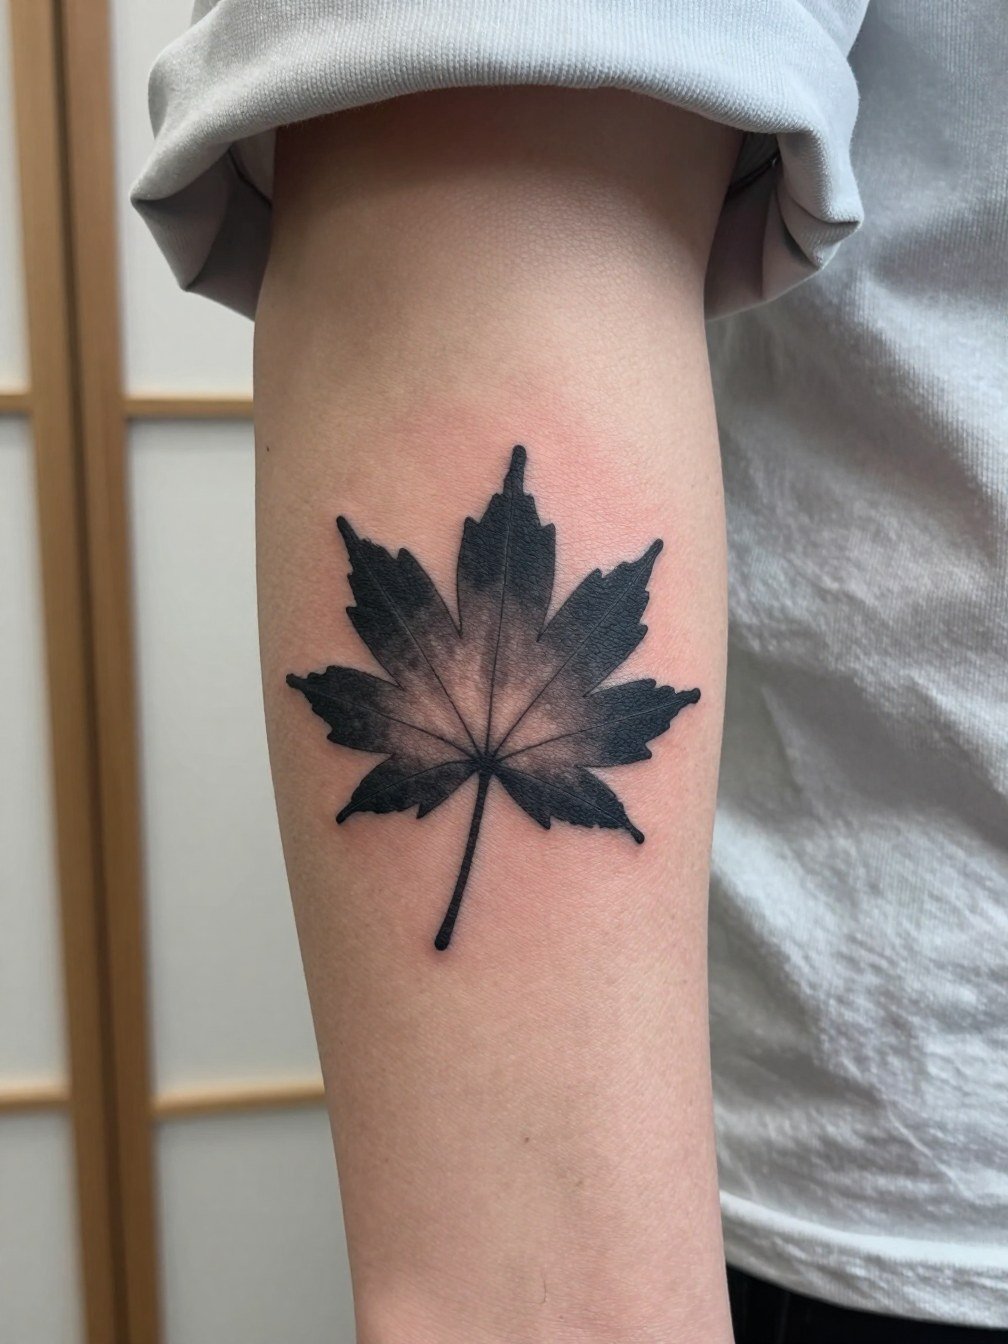
If you want restraint without risking misreading, a black-and-gray leaf can be effective if the silhouette is narrow and veins use contrast rather than ultra-fine lines. One reason people pick black-and-gray is longevity, because saturated color can fade unevenly on exposed areas. A mistake is treating black-and-gray like a washed watercolor. For clarity, insist on a clean contour and midtone fills so the leaf silhouette stays legible as it ages.
10. Thin-lined leaf with orange fill for clarity
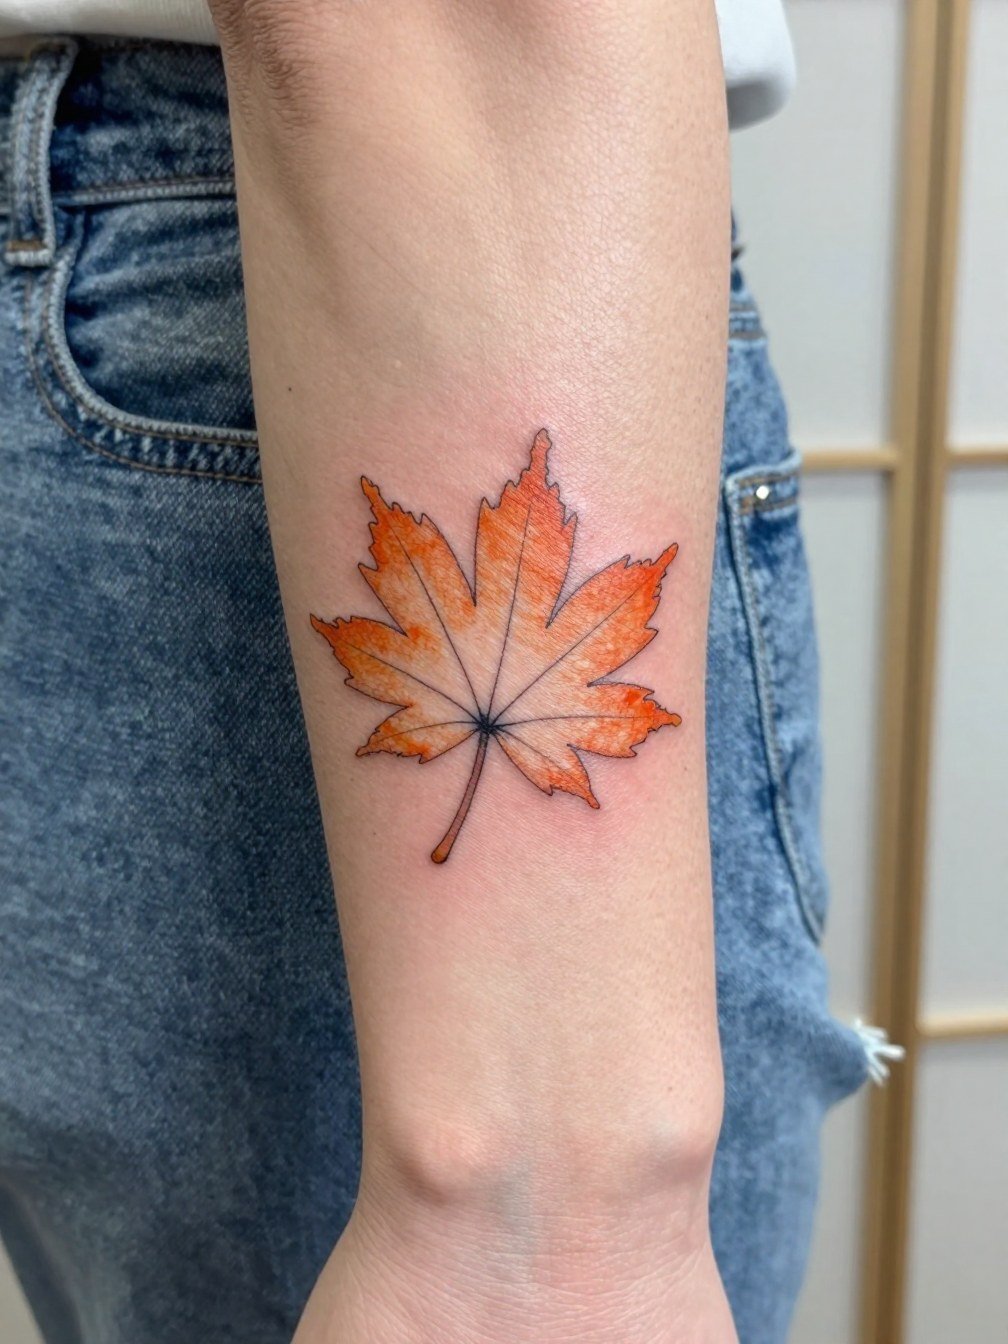
An orange-filled thin-lined leaf gives the best of both worlds when you want delicacy and instant botanical recognition. For session comfort on the calf wear loose drawstring pants or rolled jeans so the artist can access the spot without pressure. To show it off try cropped jeans or a midi hem paired with low-profile sneakers and a cropped jeans look that keeps the calf visible. Expect a touch-up window around the 12- to 18-month mark if the outline was kept very fine.
11. Autumn botanical set with cherry blossom and maple leaves
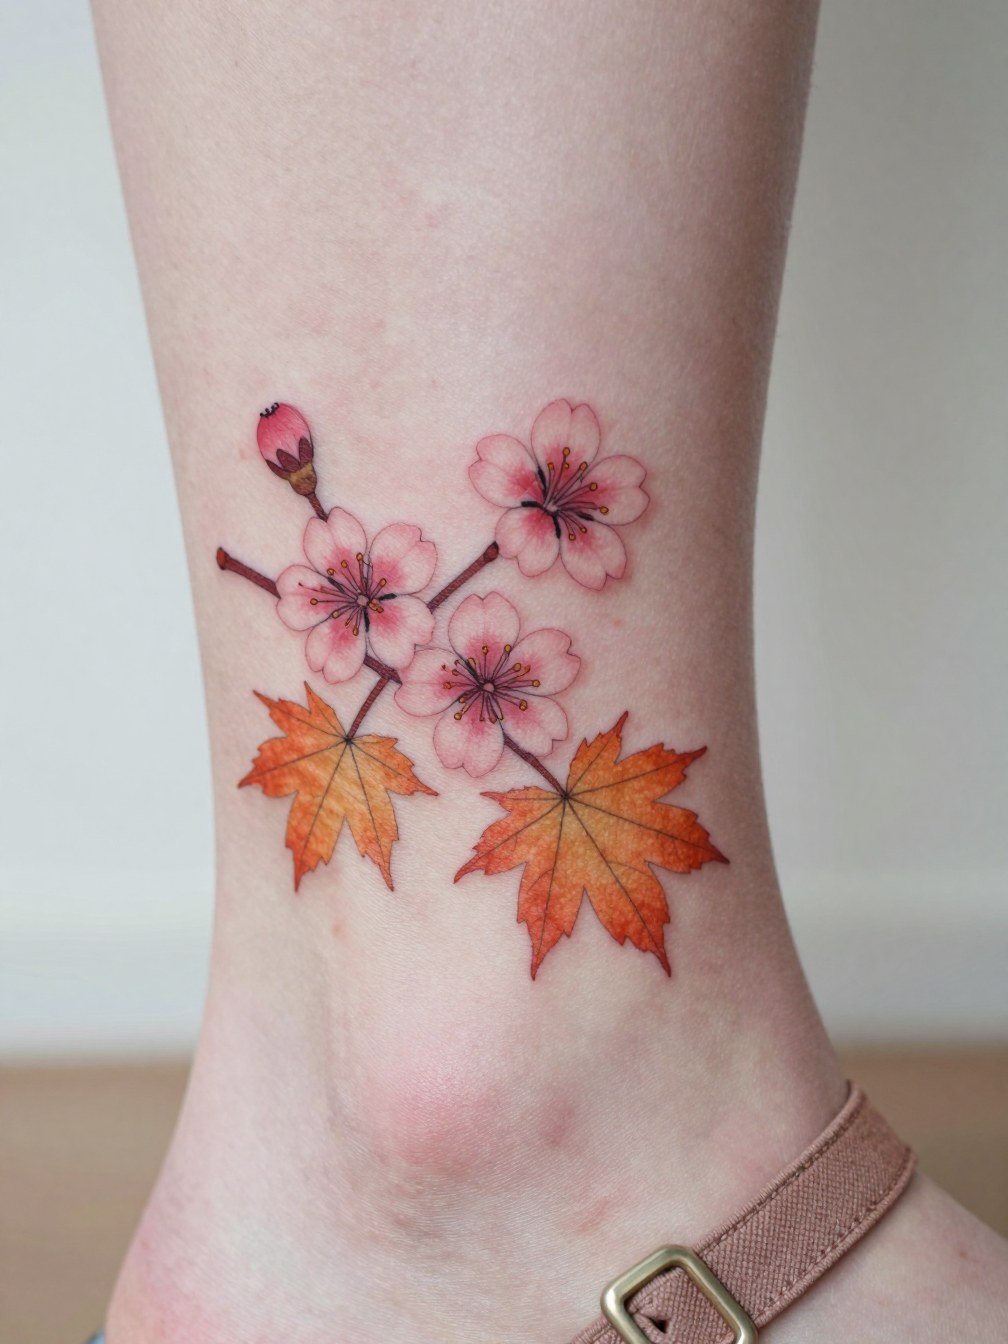
Combining spring and fall flora gives a tattoo narrative range and prevents the maple leaf from feeling generic. On foot or ankle be prepared for more fade from sun and shoe friction. A common error is overcrowding small companion flowers next to tiny leaves. Keep at least one larger element as the anchor and use negative space to separate motifs. For session-day ease slip into no show socks and sandals that are easy to remove, which makes prepping and aftercare less fussy.
Session Day Picks
These small items smooth chair time for the placements above and protect the first healing window.
-
Stencil transfer paper kit. Lets you preview stencil size and positioning on your skin, which is especially helpful for inner forearm and rib placements where scale matters.
-
Topical numbing cream. Applied as directed before a rib or ankle session eases the higher-pain zones without altering linework when used correctly.
-
Thin protective film roll. Use a small piece for foot and ankle work during the first day to reduce shoe friction while you transition to open footwear.
-
Fragrance-free gentle body wash. A mild wash helps keep the healing area clean without stripping pigments on delicate color washes.
-
Aquaphor healing ointment. A thin layer in the initial 48 hours locks in moisture for small, detailed pieces, then switch to lighter moisturizers per your artist's timeline.
Frequently Asked Questions
Q: Will a small Japanese maple leaf look like a weed leaf to other people?
A: The most reliable visual cue is shape and color. Narrower lobes and an orange-red fill make a maple leaf read botanically. If you want extra certainty, choose warm saturation and a thinner silhouette rather than broad serrations that mimic a different plant family.
Q: Which placements age best for detailed leaf veins?
A: Forearm and shoulder are the safest because they are easier to protect from sun and daily abrasion. Foot and ribcage can look beautiful but expect faster softening and the potential for earlier touch-ups. I usually recommend slightly larger scale for areas that move or rub so veins keep their form.
Q: How do I find artists or healed examples for Japanese maple work without naming specific people?
A: Search hashtags like #japanesemapletattoo, #momijitattoo, #irezumi, and #botanicaltattoo on Instagram and TikTok, then filter by city or studio tags to find local healed portfolios. Reddit communities such as r/tattoos, r/tattooadvice, and r/irezumi are useful for seeing healed photos and real-world feedback on placements.
Q: Should I pick color or black-and-gray for a first leaf tattoo?
A: Color helps the leaf read as maple and reduces misidentification, especially with orange or red tones. Black-and-gray reads more restrained and can age gracefully if contour is strong. Choose based on how visible you want the piece to be and how much maintenance you accept.
Q: What should I wear to the appointment for each placement?
A: For inner forearm wear a short-sleeve or a rolled sleeve shirt to allow palm-up access. For shoulder choose a sleeveless tank. For ribs bring a loose button-up or a sports bra that the artist can move without tugging the skin. For ankles and feet opt for sandals and easy-on shoes.
Q: How soon might I need a touch-up for tiny vein detail?
A: Expect that very fine veins often need refresh work between 12 and 24 months, depending on sun exposure and placement. If you want the least chance of early touch-up, start with slightly bolder vein work and reserve ultra-fine detail for larger compositions.
