
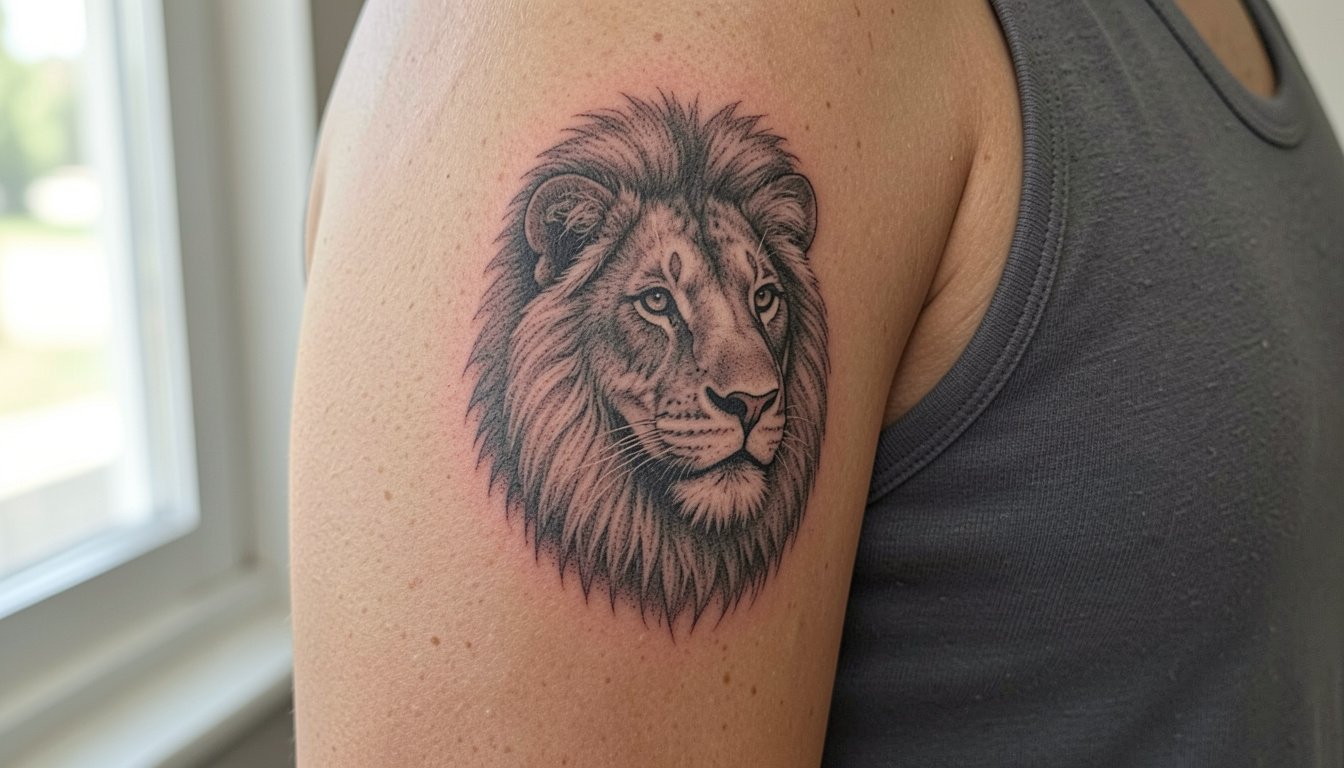
The stencil settles on the inside of the arm and the artist taps the line once, then again, and steps back. You feel the narrow panel of skin there is oddly perfect for short lines and single images. Pick the right scale now and the piece will age into a crisp quiet detail, not a soft blur. Start with placement decisions that honor the arm's vertical flow.
1. Fine-line Quote, Short and Vertical
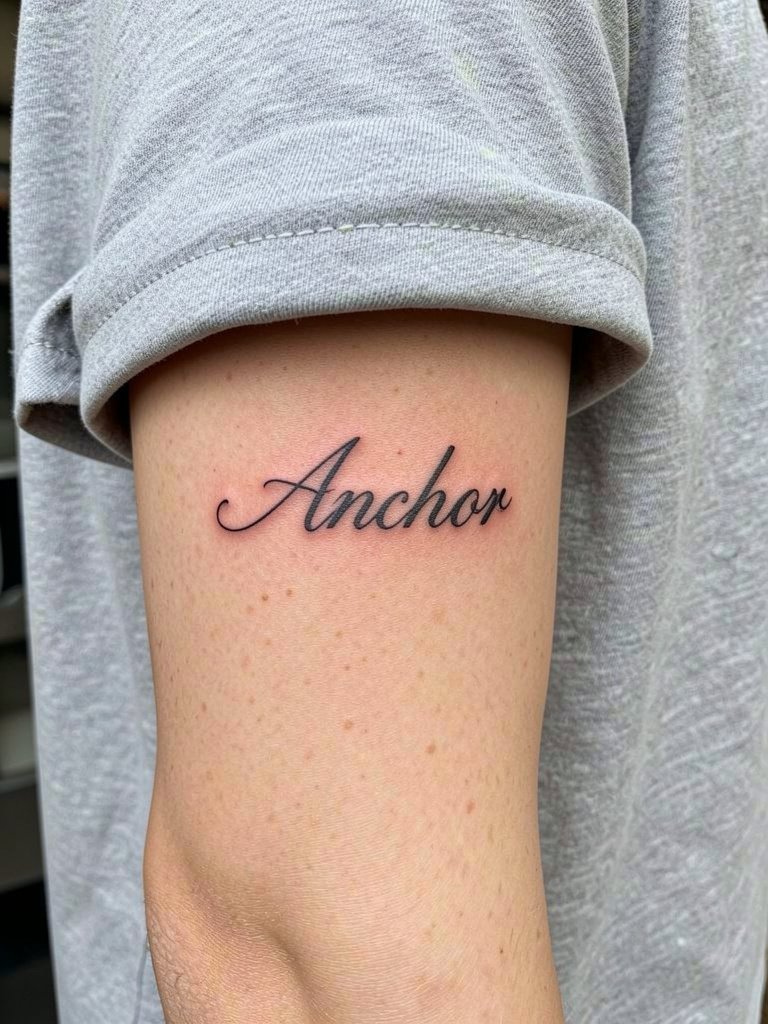
A single short phrase is the classic use of the inner bicep because the space is tall and narrow. Choose short words only, three to five characters if you want it to read sharply at arm length. Specify the font size in millimeters when you bring reference photos, and ask for slightly heavier single-needle weight than your Instagram sample so the strokes hold for years. The area feels more tender than the outer arm for a half hour session. Expect a one-session touch-up possibility at year two for the thinnest scripts. Avoid microscopic flourishes, they are the common mistake that becomes illegible with normal wear.
2. Roman Numerals in a Column
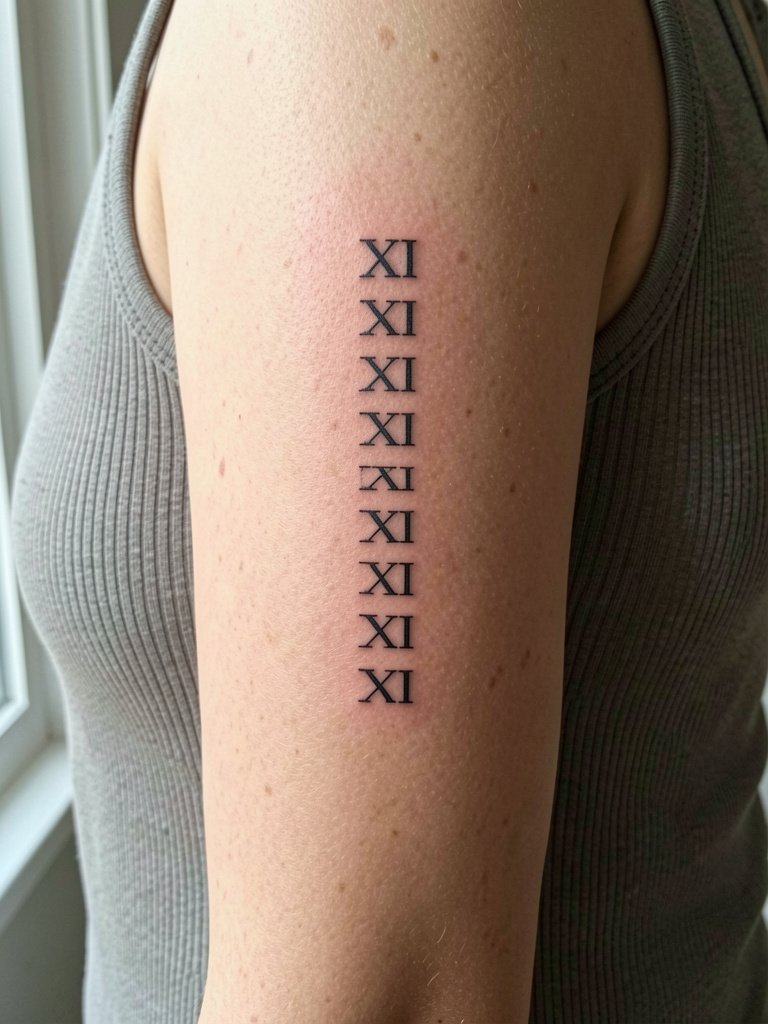
Roman numerals use the bicep's vertical grain well because they stack without crowding. Lay out the columns larger than you think and the numerals will stay legible after a few years. Artists split on fine-line numerals versus bolder strokes. One group prefers single-needle minimalism for the look, and they accept faster softening over time. The other group prefers thicker contour lines, arguing the bold numbers age more predictably in a mobile spot. When you sit with your artist, bring the exact numerals at the size you want and have them trace the stencil on your skin so you see the true scale.
3. Micro-Realism Portrait
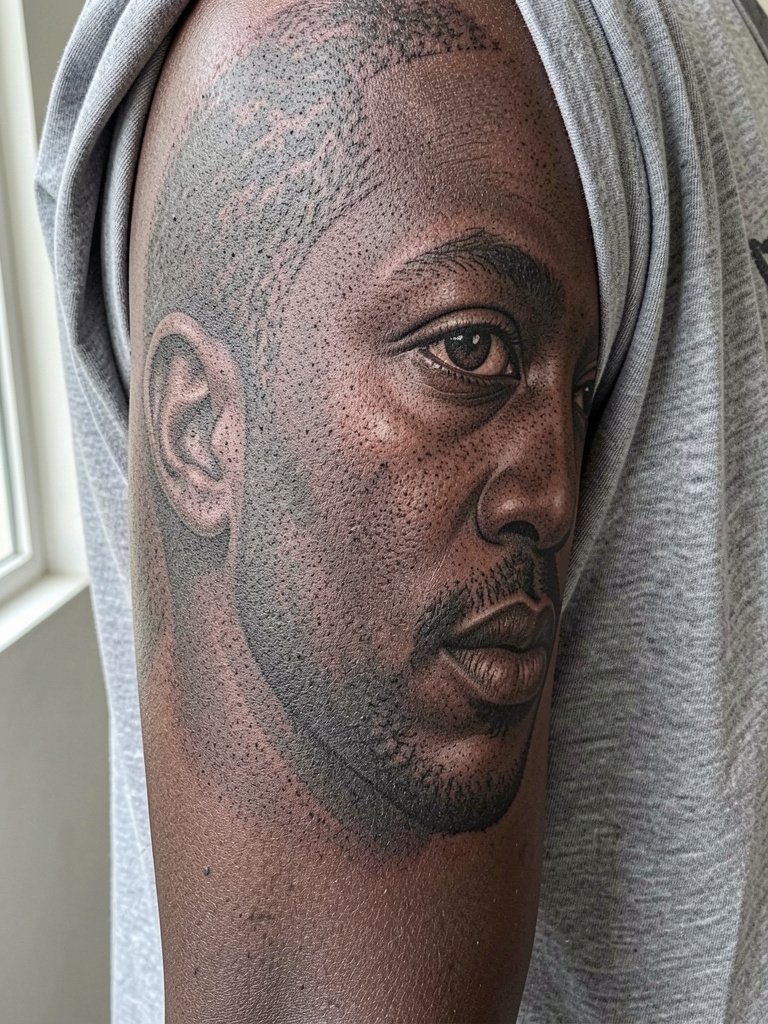
The inner bicep provides a relatively flat canvas for small portraits, so detail reads better than on curved outer zones. This style takes longer and may require multiple short sessions to layer shading without causing trauma. There is a debate about color here. One camp prefers black and grey because it keeps contrast and ages in a predictable way on the inner arm. The other camp argues that carefully saturated color can add life and still hold if the piece is larger and the artist stacks saturation deliberately. For portraits, show healed portfolio shots to confirm the artist's shading method, and agree on a touch-up schedule for fine highlights.
4. Single Eye or Symbolic Eye
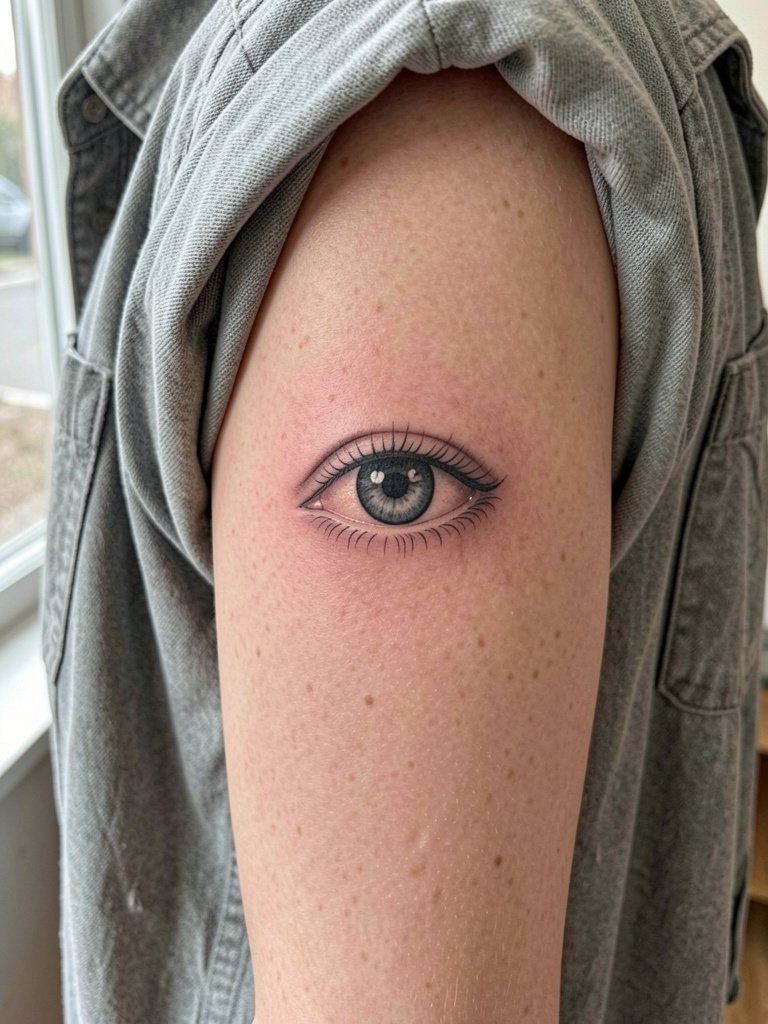
A single eye reads as a focal emblem in the long inner bicep panel. Keep the pupil and iris area slightly larger than your reference so tiny stipple work does not wash out. The usual mistake is cramming too many micro details into a three-inch area. In the chair, plan for a 90-minute session for a mid-sized eye, and ask the artist to show a healed example at similar scale so you can judge saturation. For showing it off, the eye pairs with an open casual overshirt that leaves the inner arm partially visible. Add contrast with darker sleeves to frame the piece.
5. Curved Tribal Wrap
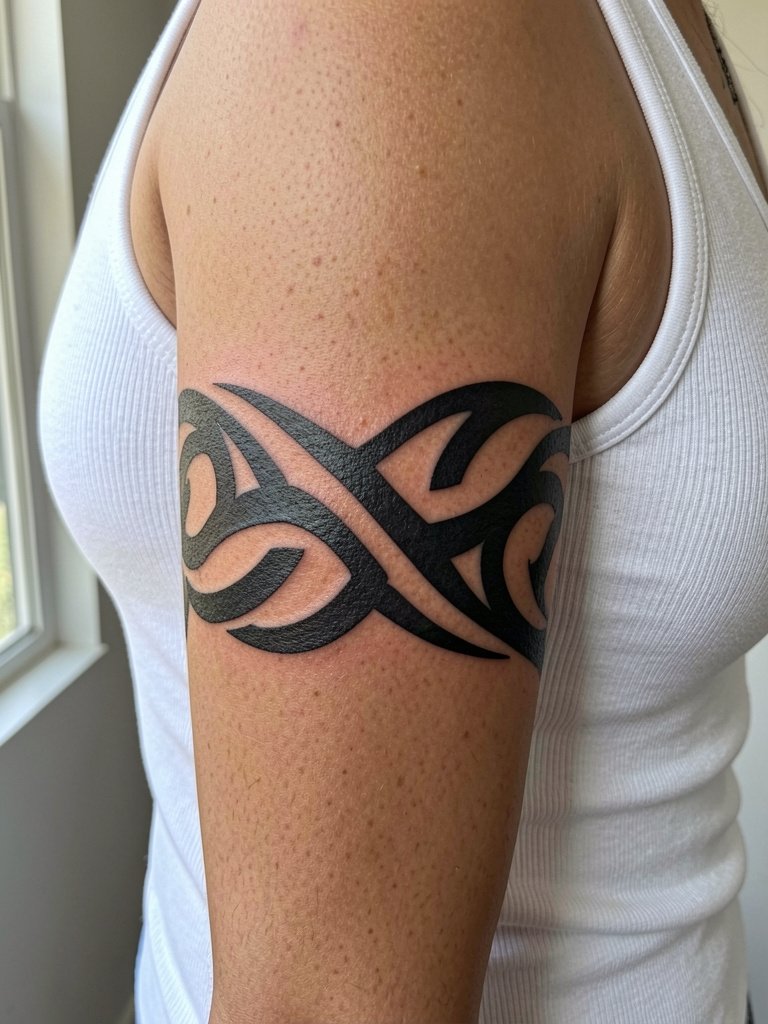
Tribal-style bands use the arm's curve to great effect, but cultural origin matters. If the motif borrows indigenous patterns, state that you want an informed approach and avoid direct copying of sacred designs. Bold black fills age well on the inner arm so the shape remains readable over time. The session can be relatively quick for solid fills, but expect soreness across the wrap where the needle crosses thick lines. Wear a fitted white tank on session day for easy artist access and to preview how the band will sit when you show it later.
6. Bold Animal Head, Half-Face
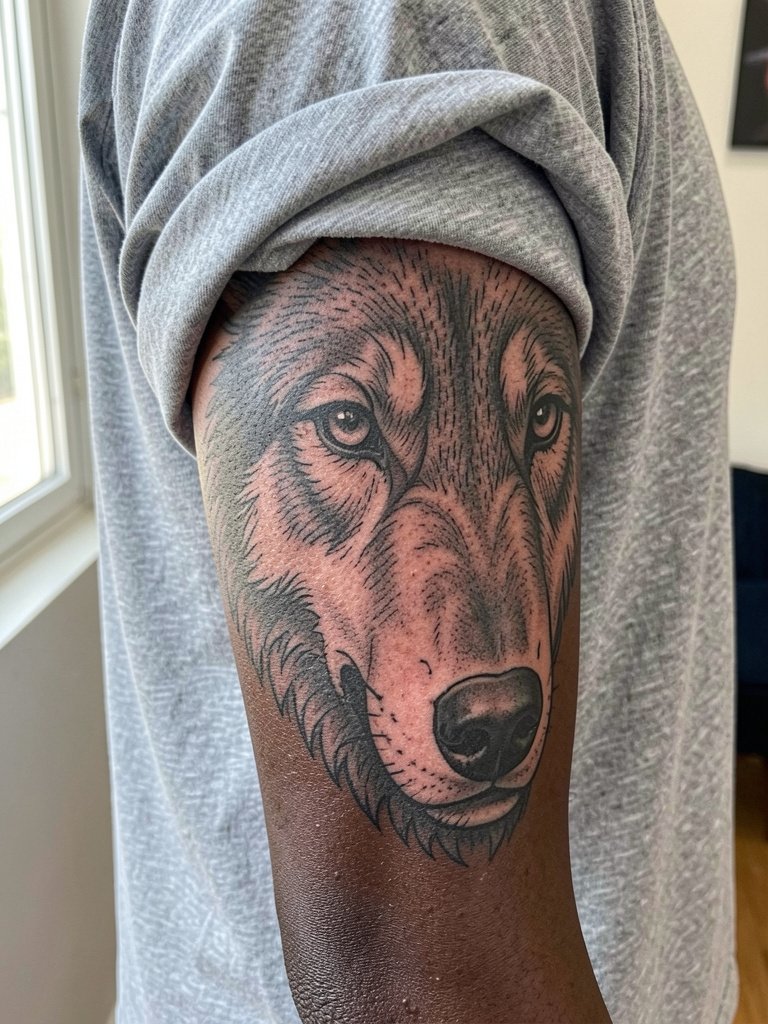
A half-face animal like a wolf or lion reads masculine and anchors sleeves well. Pick a larger scale so stipple and texture have breathing room. Common mistakes include shrinking reference size and losing eye detail by the one-year mark. Plan a two-part session if you want deep saturation without excessive swelling. For the session wear a loose cotton tee that the artist can easily move aside, and discuss how the design might connect into a future sleeve so the edges taper naturally.
Session Day Essentials
The six tattoo ideas above include fine line scripts and heavy black fills that demand different early-care routines. These five items ease the appointment and the first week of healing.
-
Second-skin bandage sheets. Transparent protective sheets help shield inner arm work from clothing friction during the first 24 hours, which reduces scabbing on delicate script and portrait edges.
-
Fragrance-free gentle wash. A mild cleanser keeps the skin clean without stripping ink or irritating freshly tattooed inner bicep skin.
-
Thin breathable protective film roll. Useful if you need to cover the area for a day when wearing heavier clothing, it reduces rubbing and helps keep outlines crisp.
-
Silicone-based scar smoothing sheets. Applied after initial healing they can help reduce raised scarring around dense blackwork areas, keeping edges looking sharper longer.
-
Aquaphor healing ointment. Use a thin layer in the first few days to lock in moisture and support fine-line settling without clumping.
7. Small Compass or Emblem
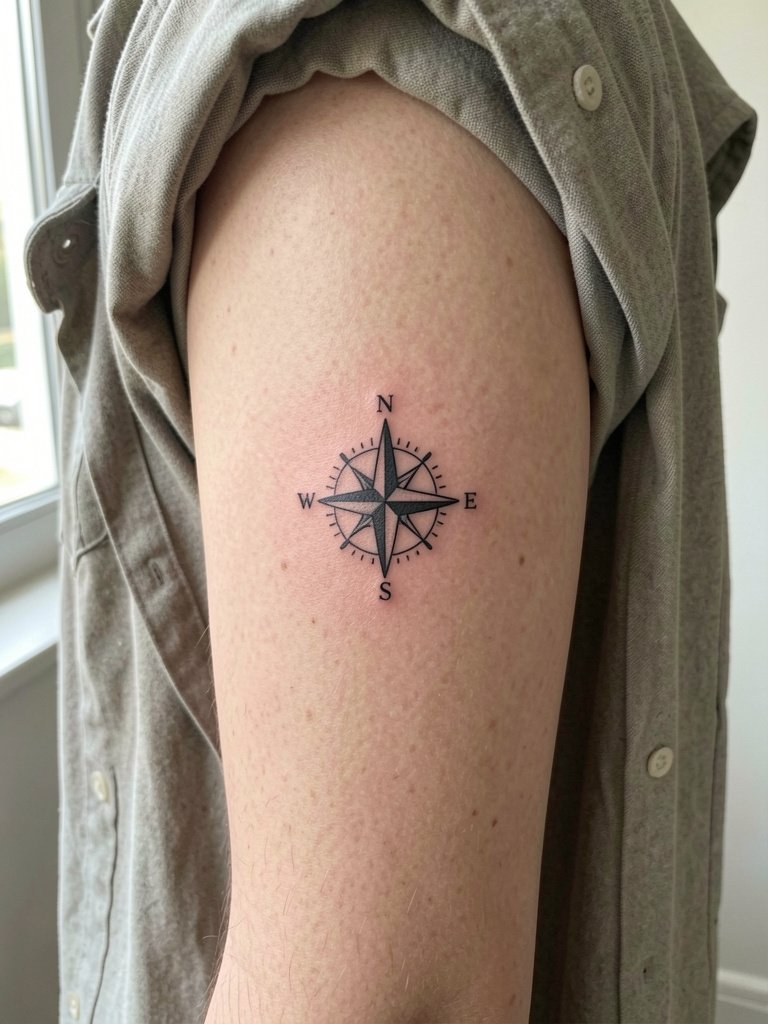
A small compass makes a tidy piece that hides easily under sleeves but looks purposeful when visible. Keep the needle and ticks slightly bold to guard against early softening. The common mistake is choosing ultra-fine ticks that disappear with normal movement. For show-off styling, pair it with an open casual overshirt so the emblem peeks out from a rolled sleeve. For the session, wear a loose short sleeve tee so your artist can access the inner arm without fabric bunching.
8. Gothic Cross with Script Base
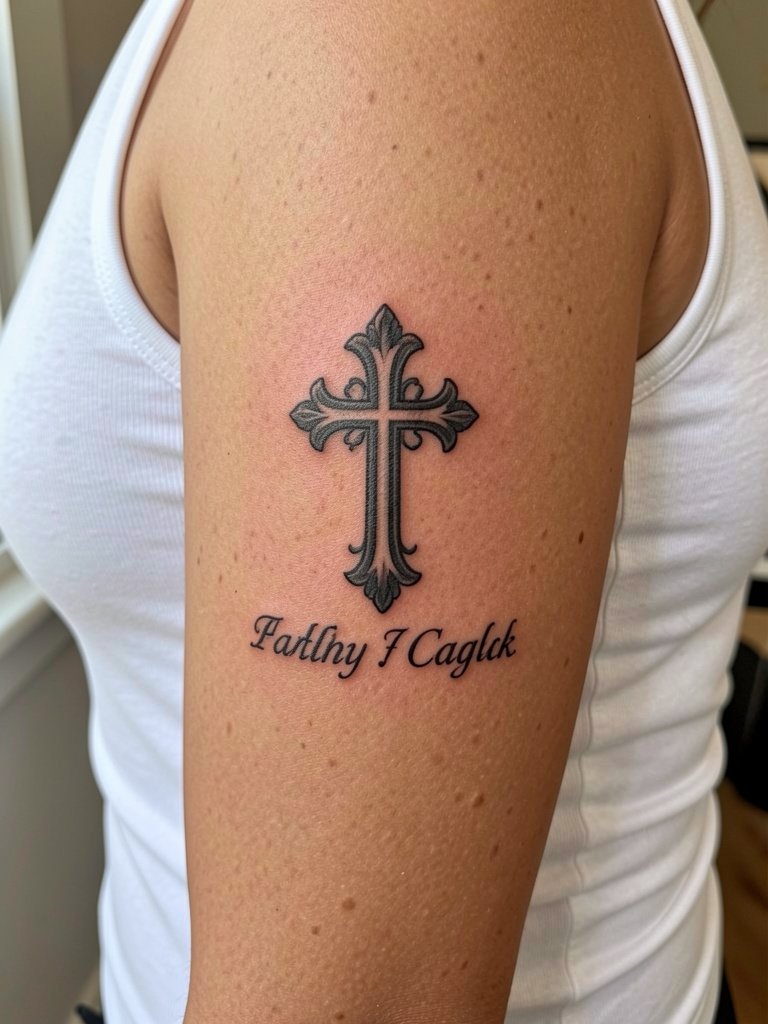
Religious symbols sit well on the inner bicep when you want them private. Keep the cross proportions bold so the silhouette stays crisp under clothing pressure. If you plan lettering beneath, ask for a mock stencil with the font at the intended size to confirm legibility. The area feels tender near the inner arm crease, so expect a slightly higher discomfort rating than the outer forearm. For session wear, a fitted white tank keeps the piece accessible and shows how the finished piece will look when you pull sleeves up.
9. Small Rose, Neo-Traditional
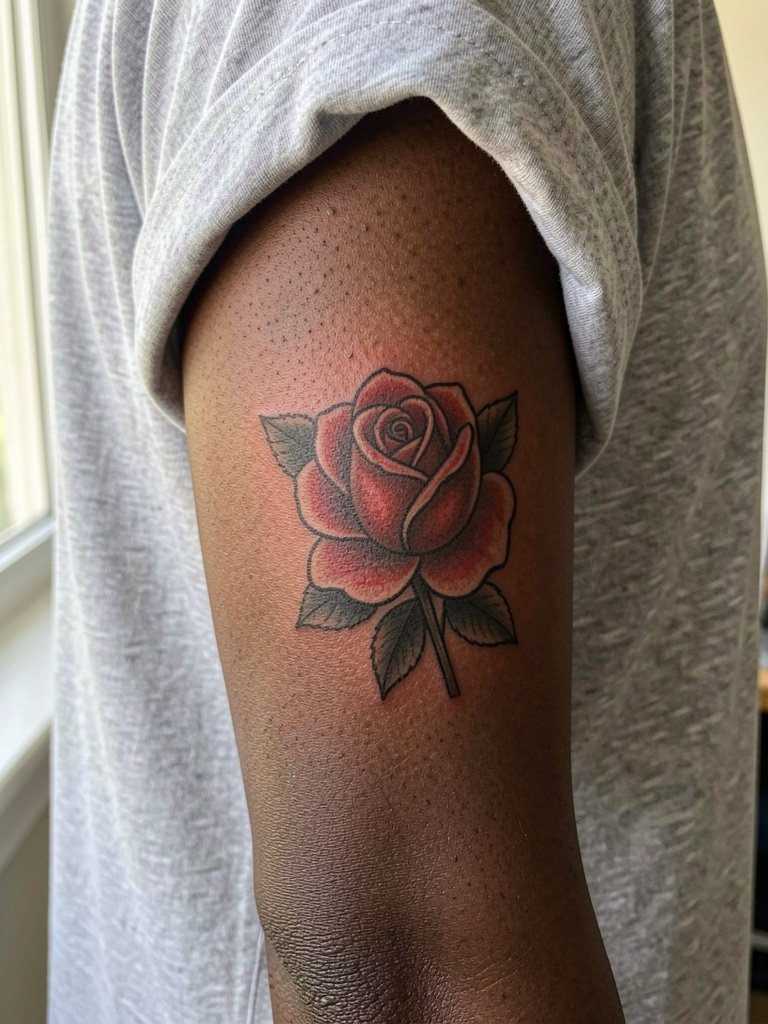
A small rose is classic, and the inner bicep lets a petal curve follow the arm. For longevity pick a neo-traditional approach with a bold outline and restrained color accents rather than tiny micro color fills. The usual mistake is choosing very thin petal veins that vanish with typical wear. Plan for a single touch-up at six to twelve months if you want color to stay vivid. Wear a loose cotton tee on session day and consider a fitted white tank for showing the piece off once healed.
10. Geometric Column with Negative Space
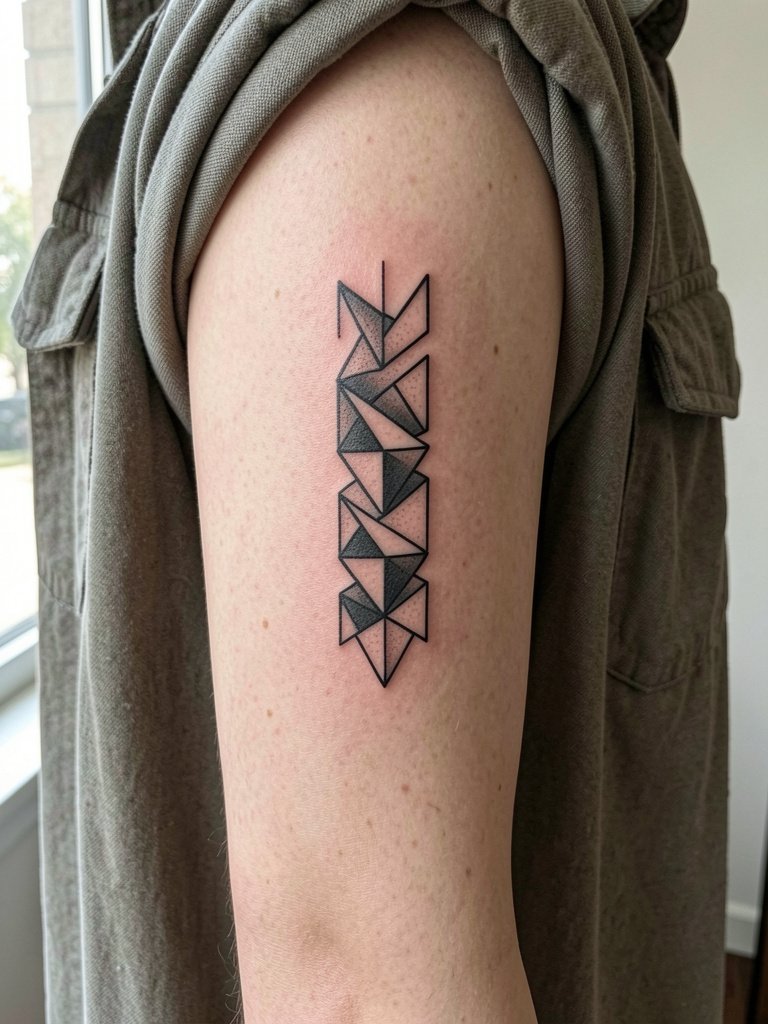
Vertical geometry uses the inner arm like a natural ruler, and negative space can keep the design readable with less ink. The primary mistake is running lines too close together in narrow bands. Request spacing measurements on the stencil and insist on showing the traced layout on the skin before any needle work. For session wear, an open overshirt makes it easy to check proportions as the artist works, and the geometric piece pairs with monochrome shirts to emphasize the crispness.
11. Skull in Black and Grey
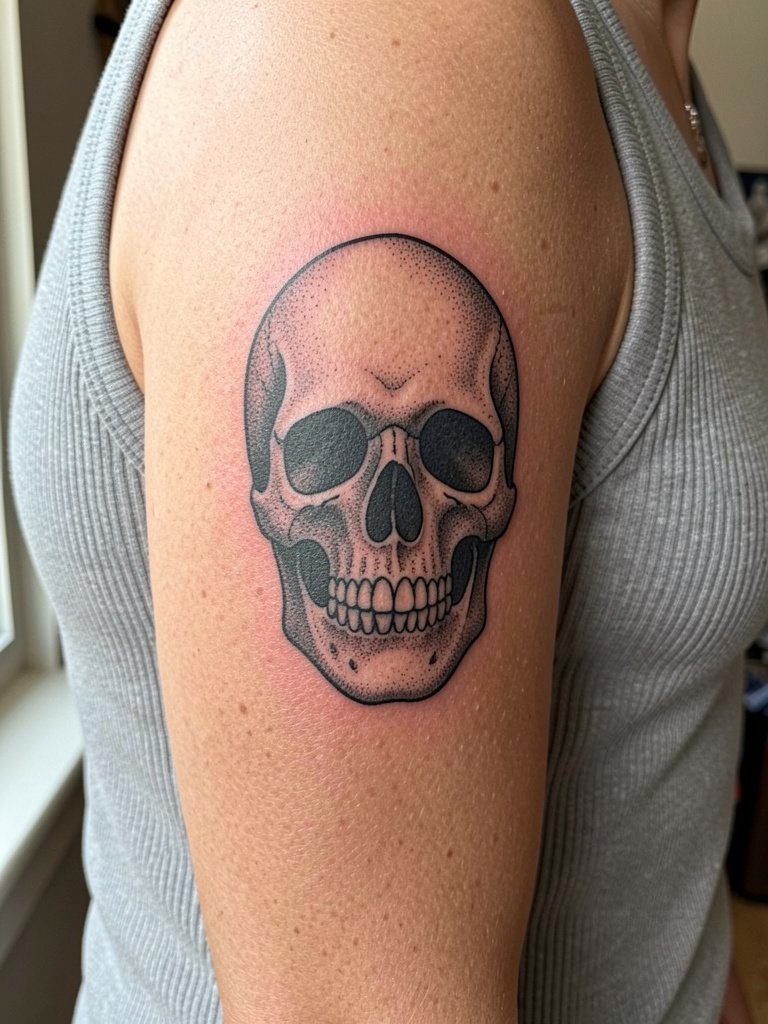
A skull plays into masculine illustration but needs scale to show shading. Ask the artist to leave stronger contrast at the eye sockets so shadows do not fill in over time. Plan for a one to two hour session depending on size. Common mistakes are shrinking the reference and losing depth in the jaw area. For showing it off, a ribbed tank contrasts with the skull's dark tones and frames the inner arm naturally. If you want the skull to connect into a sleeve later, request flow sketches so the edges are ready for additional motifs.
12. Minimalist Mountain Range
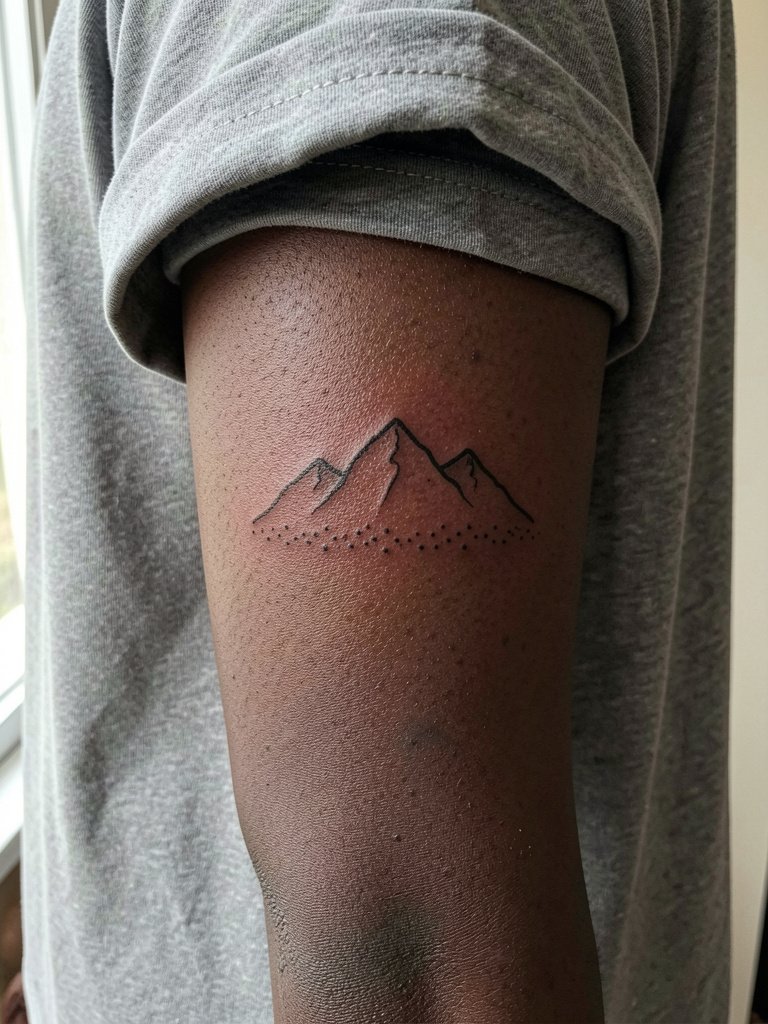
Clean single-line landscapes are quiet and easy to hide yet personal. Keep the line a touch bolder than your drawn example so the silhouette survives regular friction. Dot work can add texture but expect some softening if dots are too close. The session is quick and tolerable for most people. For the session, wear a loose short sleeve tee so the artist can roll the sleeve without compressing the arm. When you show it off, neutral-toned shirts with rolled sleeves let the simple silhouette speak.
13. Script Wrapped Along the Contour
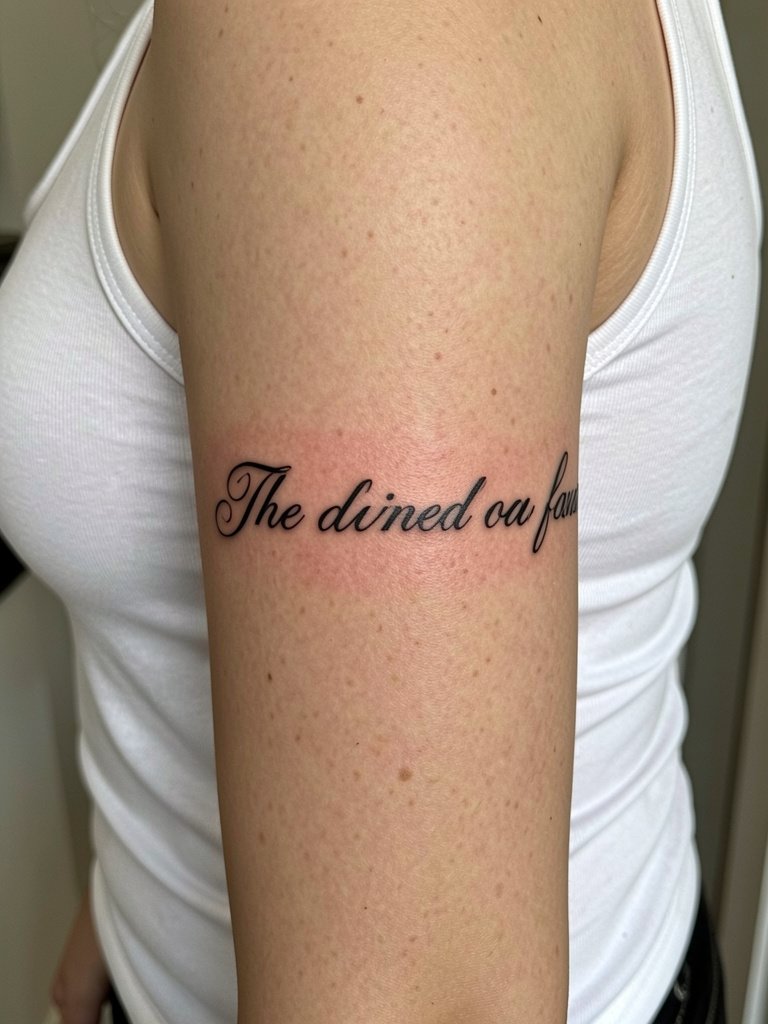
Wrapping text to follow the arm curve looks organic but increases the risk of uneven letter scale. Ask the artist to trace the full contour at the exact position you want so spacing is tested at the real curve. The common mistake is letting the top of letters compress near the crease, which makes words look cramped after healing. Session time depends on length, plan for short pauses. A fitted white tank shows the curvature well when you want to display the script.
14. Heraldic Crest, Distressed Edge
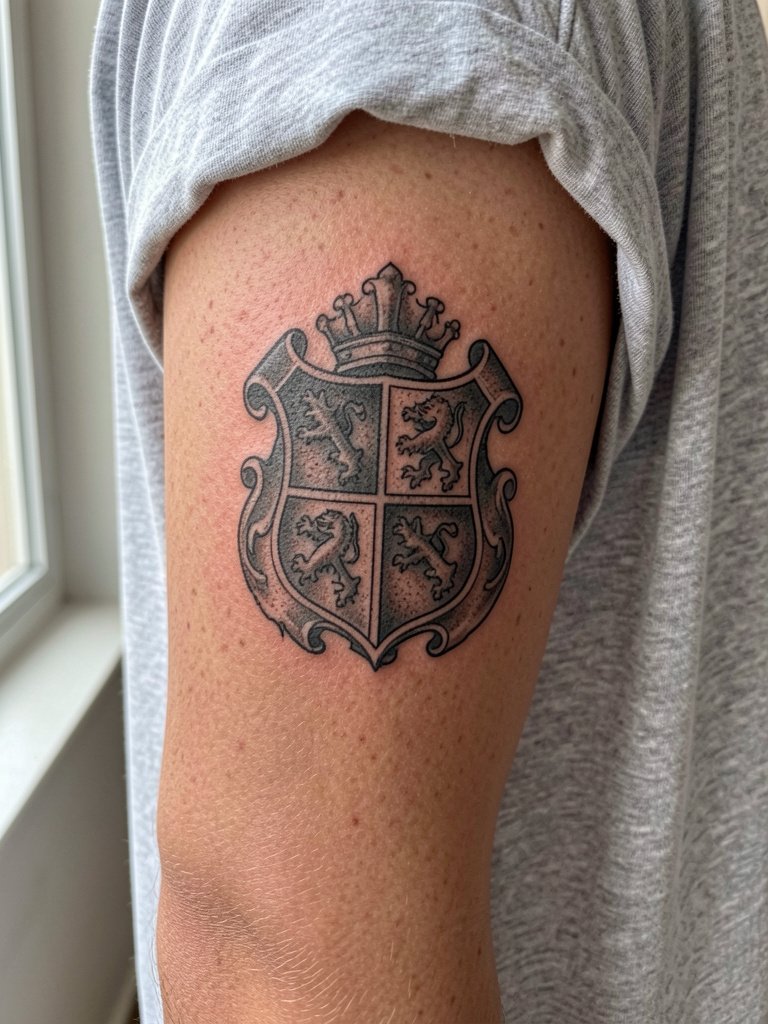
A crest needs clear negative space inside panels to remain readable. When you plan a compact crest, request a stencil at final size and have the artist show how the inside panels will hold up over time. The typical error is crowding tiny iconography into each quarter. The session often requires multiple passes to get grey washes smooth, and expect a touch-up to refresh midtone shading at the one-year mark. Wear a loose cotton tee for comfort during the longer shading session.
15. Vertical Script with Roman Accent
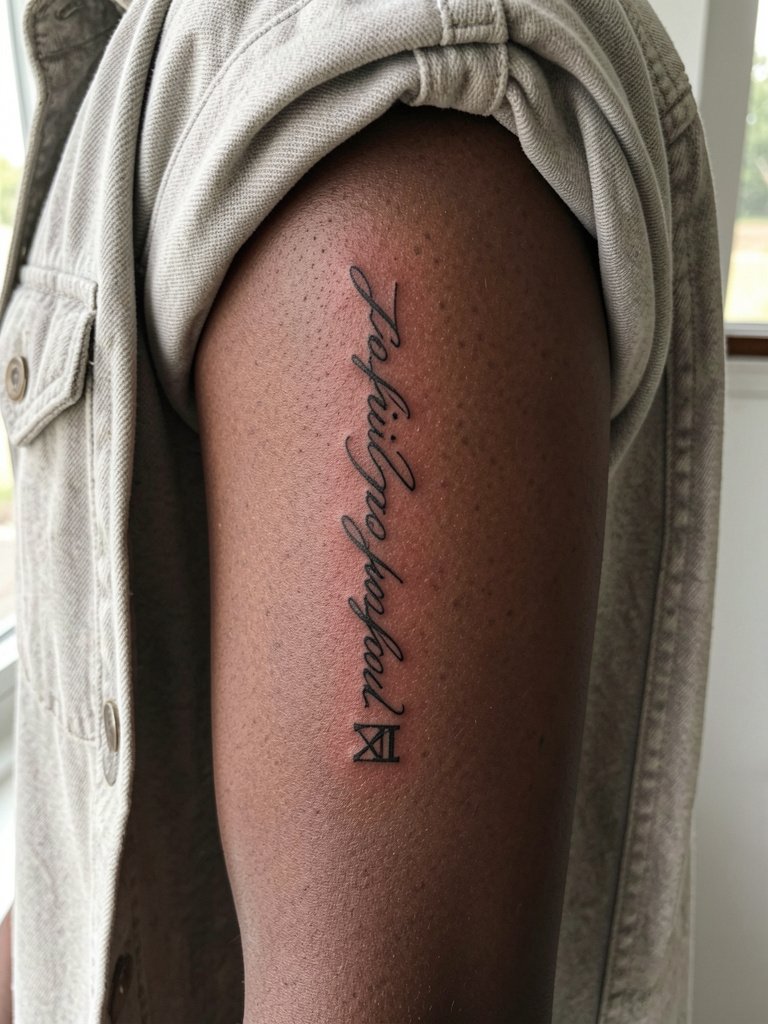
Combining vertical script with a bolder numeral gives you subtle contrast and longevity where the finer letters might fade. When you consult, ask for a numeral that is one weight stronger than the script so the accent outlives fine strokes. A common mistake is matching everything at single-needle weight and losing hierarchy after a year. The session is typically short, and the piece pairs well with an open overshirt for casual show-off styling.
16. Stipple-Shaded Object, Small
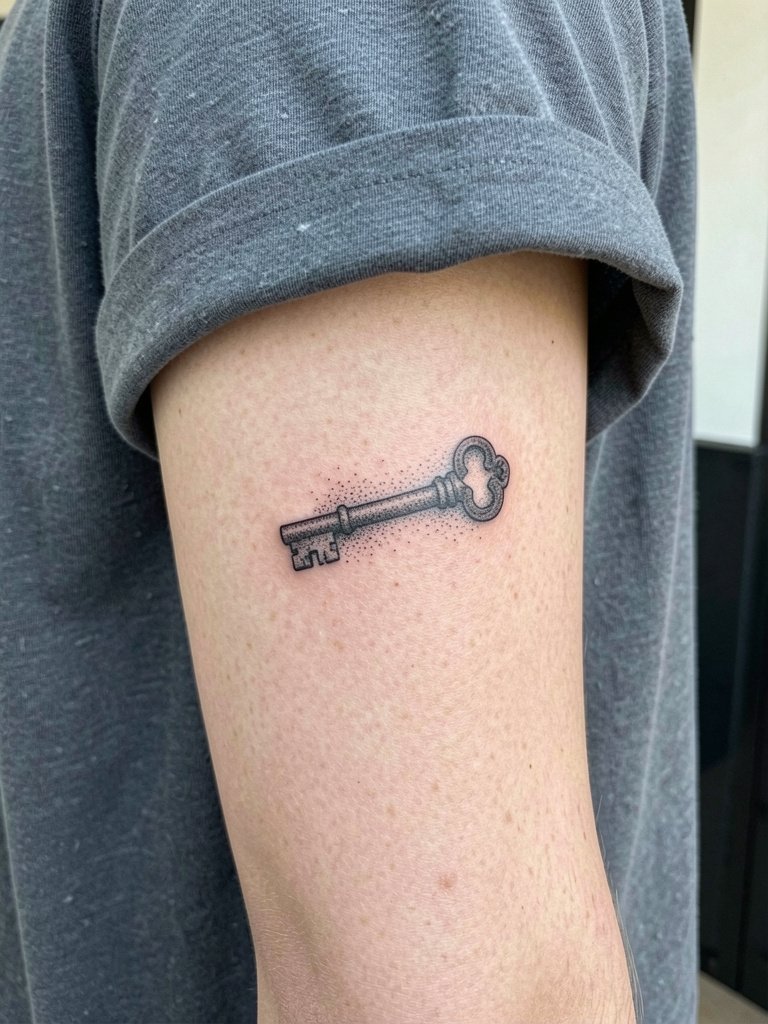
Stipple work looks refined on the inner bicep if the dots are spaced for longevity. Ask for the dot density to be shown on the stencil so you can judge how the texture will age. The common error is requesting ultra-tight stipple that blends into grey at year two. Expect a calm 60 to 90 minute session for a small object. Wear a comfortable tee and keep a ribbed tank nearby for after photos if you plan to document healed results.
17. Single-Line Anchor with Rope Detail
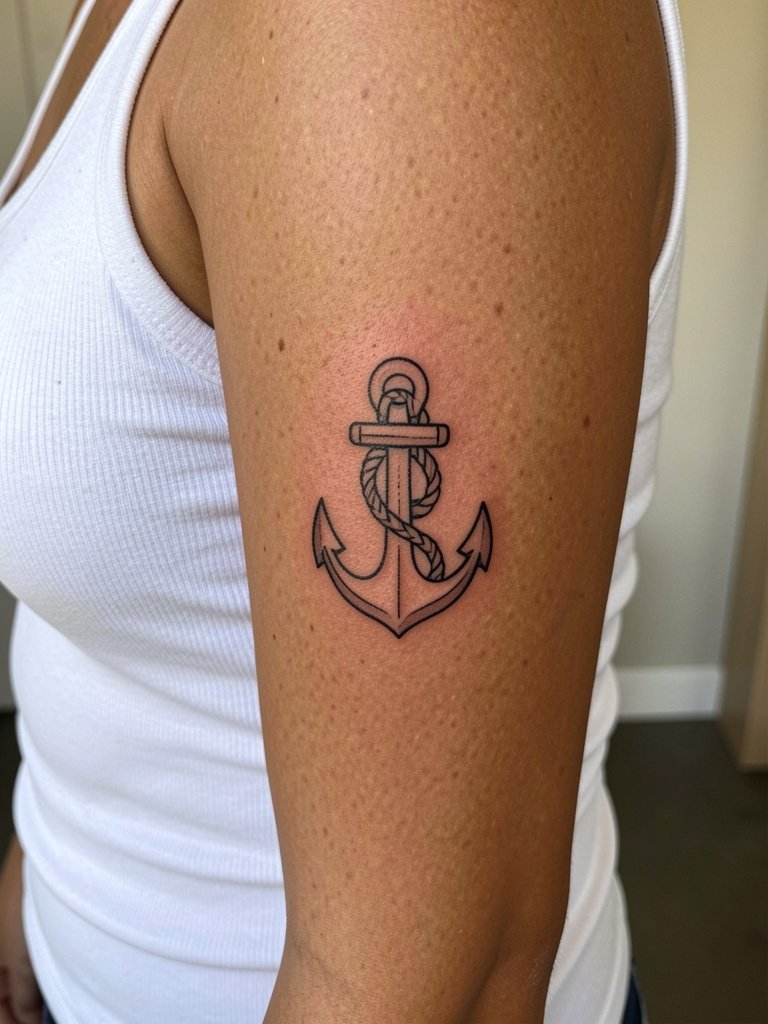
An anchor suits the inner bicep because the vertical line pairs with the arm shape. Make the rope loops a touch thicker than your initial sketch to prevent loss of separation as skin settles. The usual mistake is using single-needle rope detail that merges into the anchor mass. Plan for a 45 to 75 minute session and wear a fitted white tank to preview the finished alignment against your chest and sleeve lines.
18. Dot-Work Mandala Slice
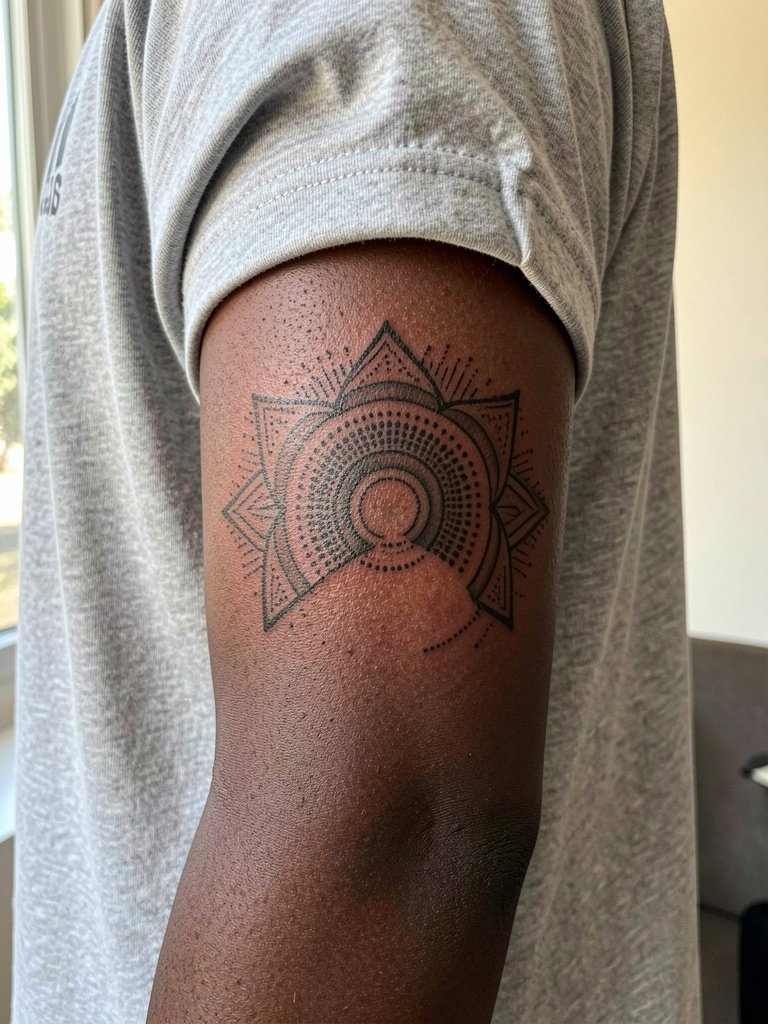
Mandala slices can anchor sleeve work while staying compact. Keep the lines wider between radii to maintain geometry over time. If the design borrows sacred patterns, acknowledge origins and ask for a respectful interpretation rather than direct replication. Session time varies with size, and dot work can create more tenderness than flat fill. A loose tee lets the artist access the area and shows the slice in casual outfits once healed.
19. Neo-Traditional Dagger with Red Accent
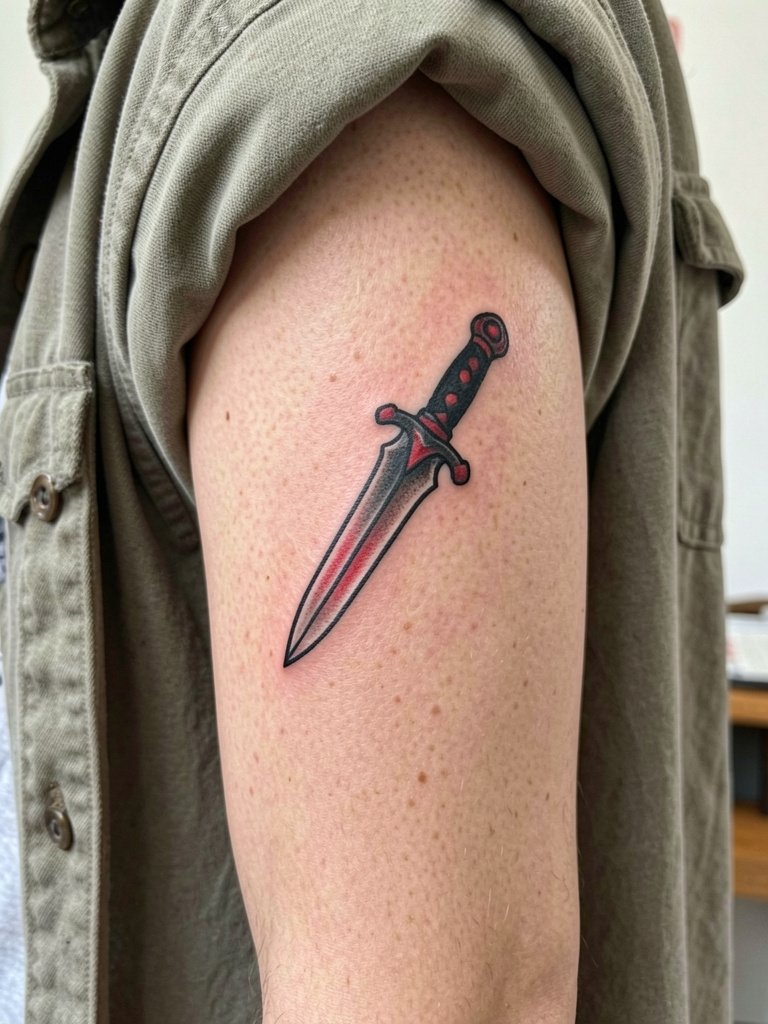
A dagger gives the inner bicep a directional edge and pairs well with neo-traditional color pops. Ask for the red accents to be applied in one solid layer rather than many faint washes so color holds better. A common error is over-embedding small color that becomes patchy with body motion. Plan a solid one to two hour session and wear an open overshirt to preview how the dagger sits when sleeves are rolled.
20. Minimalist Arrow, Vertical
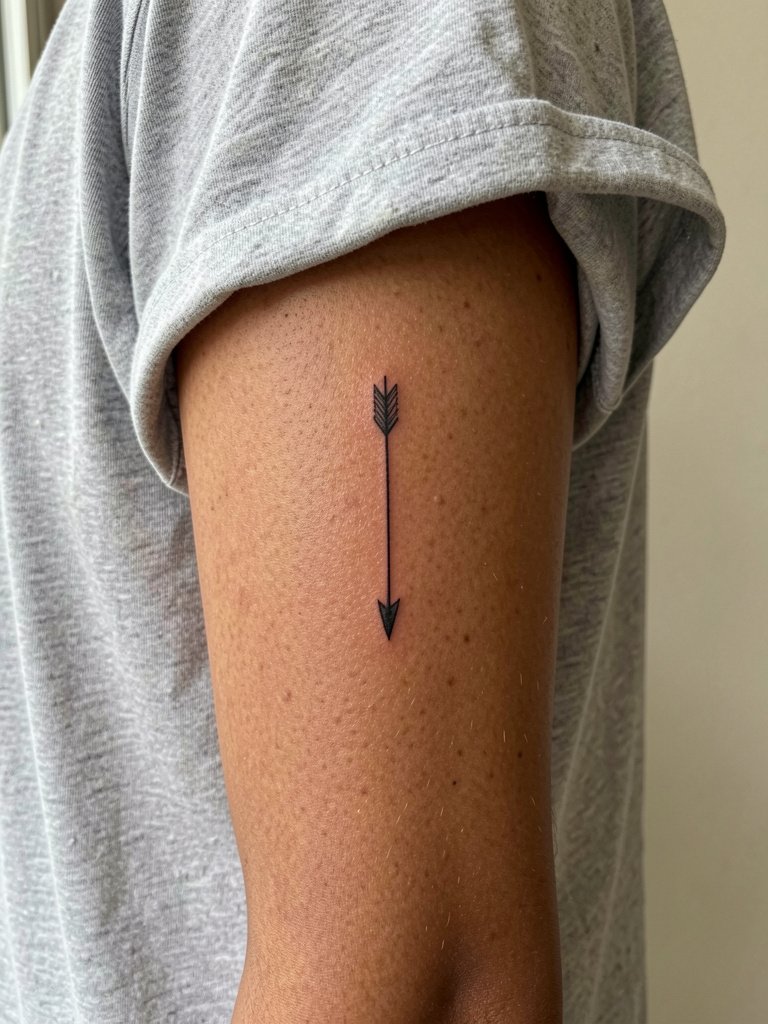
The arrow is a minimal choice that suits those wanting discreet marks. Make the shaft slightly thicker and the feathering simplified so the elements do not blur together. The common mistake is overly ornate fletching that loses clarity with normal arm abrasion. The session is typically under an hour and comfortable for most. Wear a loose short sleeve tee to allow the artist to access the inner arm and to avoid sleeve compression after the appointment.
21. Sleeve Anchor Panel, Black and Grey
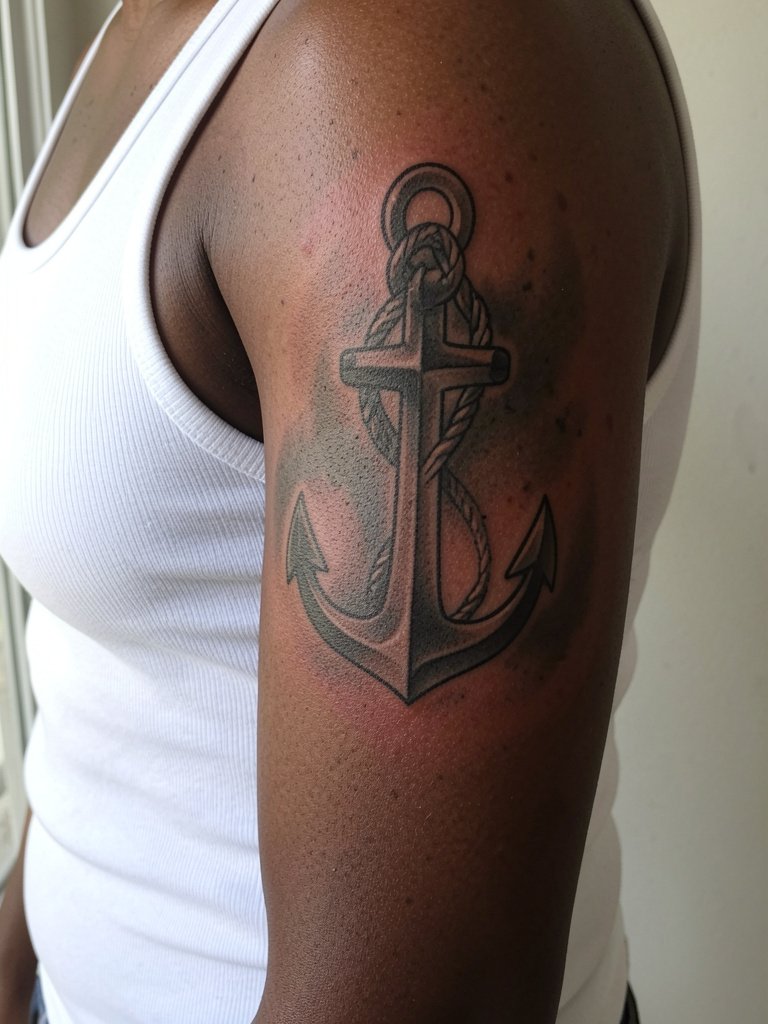
If you plan a sleeve, use the inner bicep as a smooth anchor panel that the rest of the sleeve can flow into. Request a composite sketch that shows how future shading will tie to this panel so composition stays cohesive. The main error is treating the bicep as a standalone element without considering seam lines. Sessions for anchor panels are longer because the artist balances depth and texture for future additions. Wear a fitted white tank so you and the artist can see how the panel will sit under shirts.
22. Micro-Symbol Chain, Vertical Dots
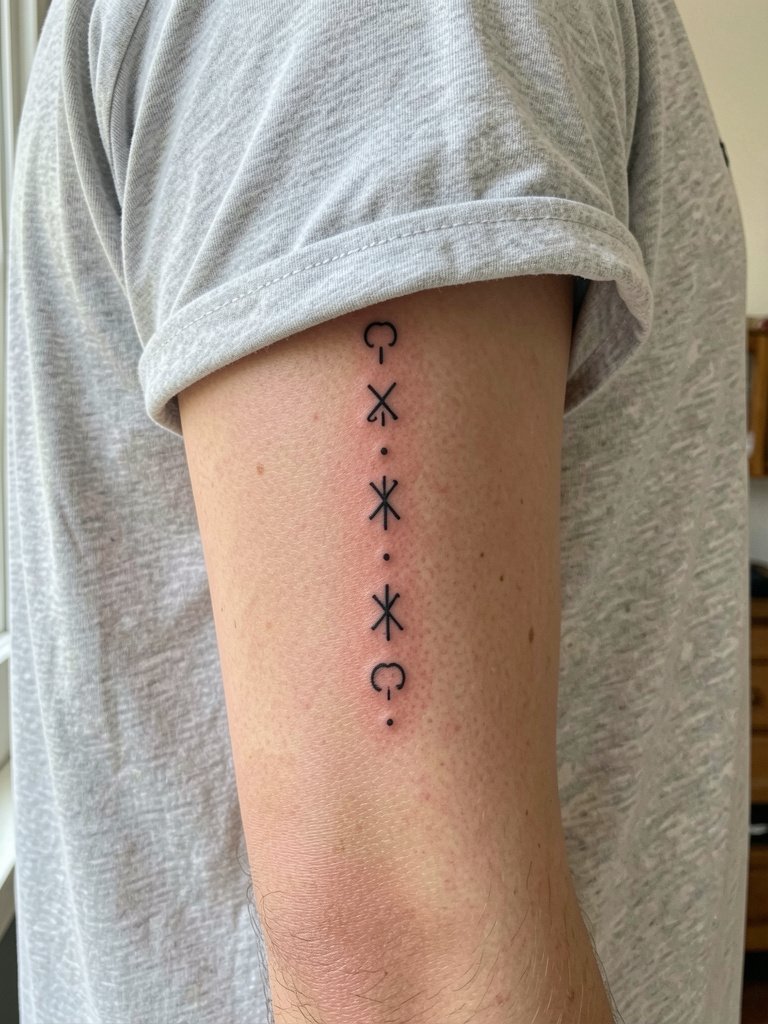
Tiny chains of symbols are subtle but risky if placed too close. Ask for spacing specifications on the stencil so each symbol keeps its shape over time. The typical mistake is choosing icons smaller than five millimeters which blur into a line. Expect a gentle session and plan for a touch-up if any symbol softens. For session clothing, a loose cotton tee lets you roll up sleeves without compressing the inner arm.
23. Botanical Stem, Vertical
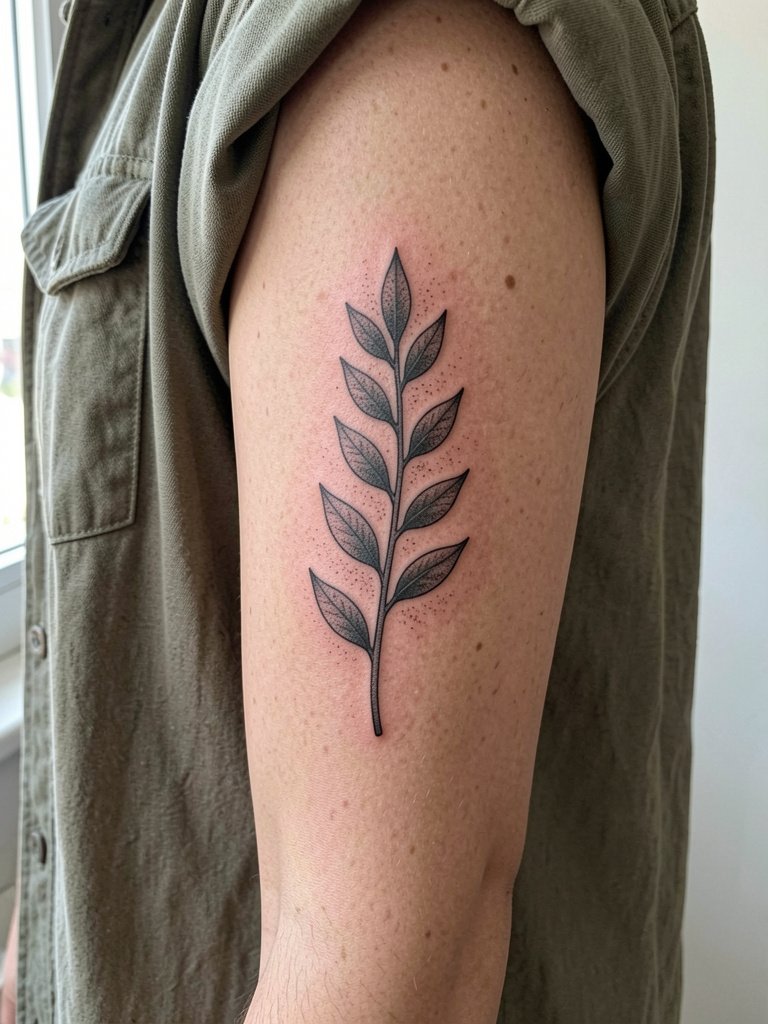
A vertical plant stem feels organic on the inner bicep and offers graceful flow into sleeve work. Have the artist leave extra space around the leaves so edges remain crisp with minor stretching. Common error is overly thin petiole lines that vanish with normal motion. Sessions are moderate in length, and the piece pairs with an open overshirt if you want to show it mid-sleeve. Request a healed portfolio example with similar leaf spacing before you commit.
24. Illustrated Nautical Map Sliver
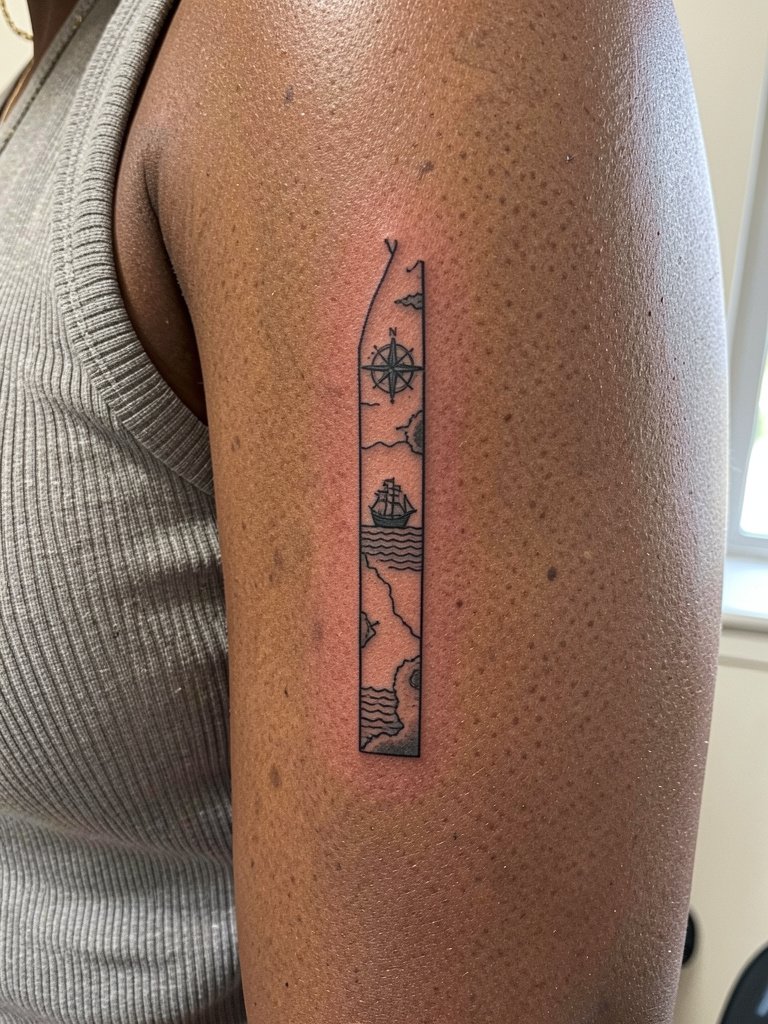
A vertical map sliver is a narrative micro-piece that works well in the inner bicep's narrow vertical plane. Keep the ship and compass slightly larger to avoid detail loss. The usual mistake is cramming too many tiny features into a two-inch strip. A one to two hour session is common depending on line complexity. Pair it with a ribbed tank to highlight the narrow verticality when you want to show the piece off.
25. Simple Anchor with Date
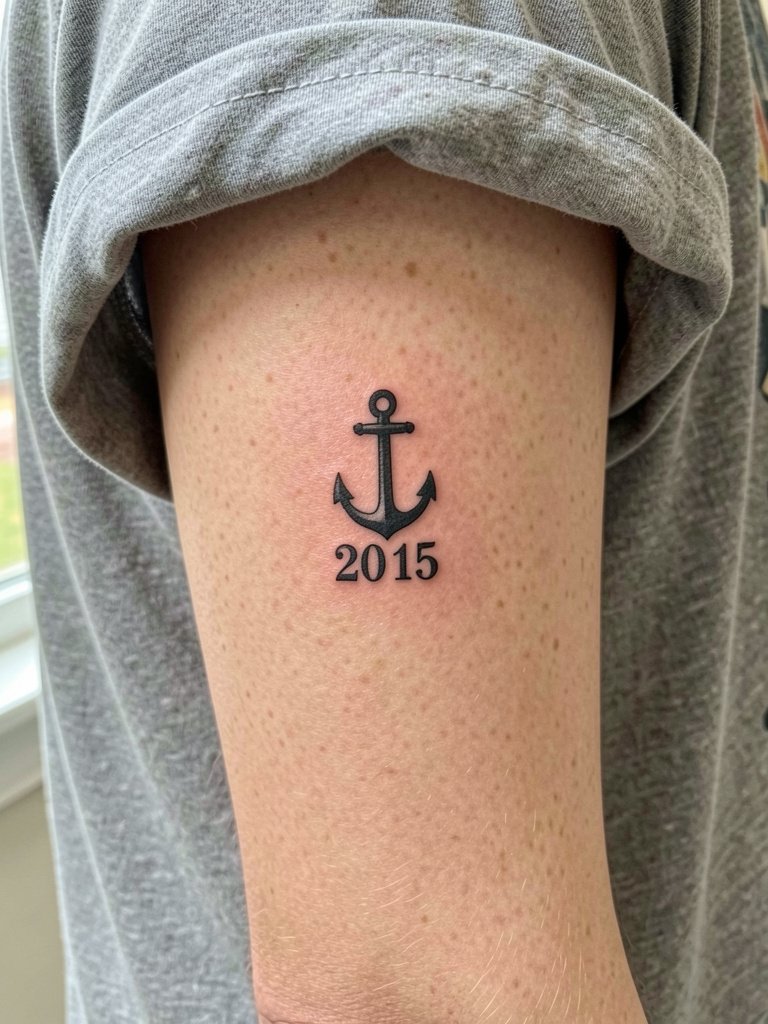
Anchors with dates are compact memorial or milestone pieces. Ensure the numerals are at least three to four millimeters in height so they remain legible. The common error is choosing script numerals that collapse into thin strokes. Expect a short session and wear a loose tee for comfort. This approach keeps the design discreet and allows you to reveal it selectively with rolled sleeves.
26. Small Mandible or Jawline Motif
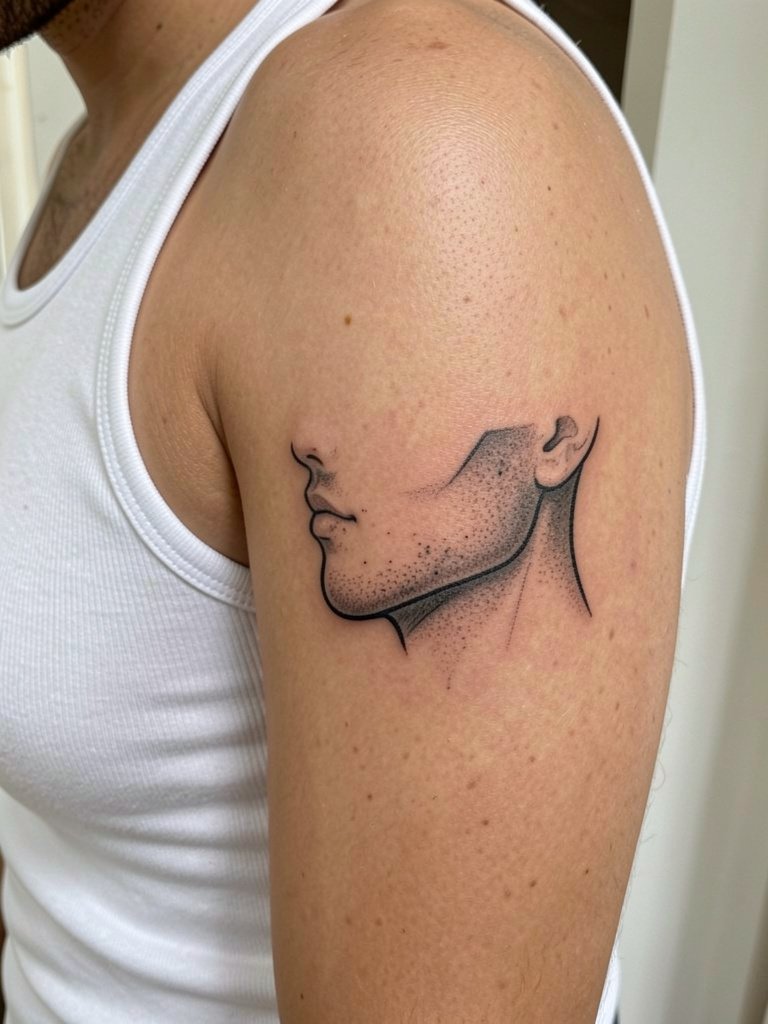
Anatomical fragments like a small mandible work as edgy anchor pieces. Keep the contour lines confident so muscle movement does not break the silhouette over time. The usual mistake is relying on faint shading to define edges rather than clear outline work. Sessions are moderate in length. For session wear, a fitted white tank shows how the piece inhabits the inner arm while allowing easy access.
27. Vertical Script Bar, Bold Final Word
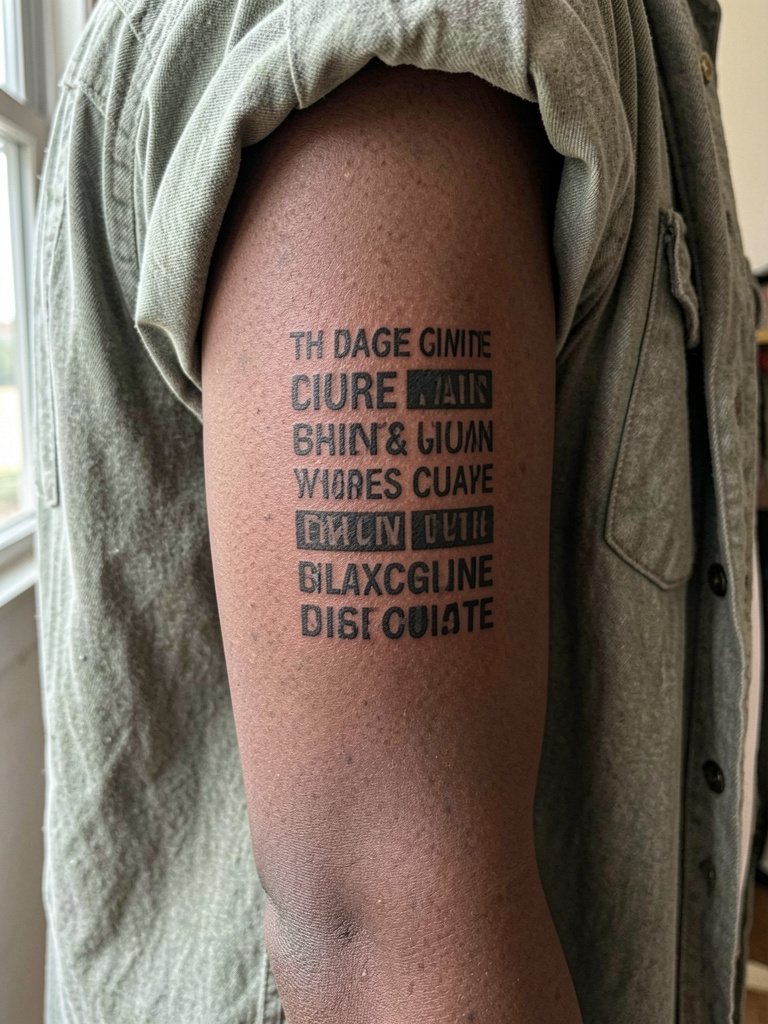
Stacking short lines with a heavier final word gives you a visual anchor at the base of the column. Ask the artist to increase the final word's weight by one step in the stencil so contrast is guaranteed. Common mistakes include equalizing all words in weight which reduces hierarchy quickly. Plan a session of about an hour and wear an overshirt you can leave open to show how the stacked bar sits when the arm is relaxed.
Frequently Asked Questions
Q: How painful is an inside bicep tattoo compared with other arm placements?
A: The inner bicep rates as more sensitive than the outer arm because the skin is thinner and there are more nerve endings near the armpit. Short sessions under 90 minutes are usually tolerable for first-time clients, and many artists suggest brief breaks during longer shading passes. Numbing options and pacing the appointment help a lot without changing ink quality.
Q: Should I pick black and grey or color for the inner bicep?
A: Black and grey tends to age more predictably on a mobile, covered area like the inner arm because contrast holds up against friction from clothing. Color can work if the piece is larger and the artist saturates carefully, but it often needs more touch-ups over the years. Decide based on the design's purpose and ask to see healed shots in the same palette on similar skin tones.
Q: How do I find artists who show healed inner bicep work and not just fresh photos?
A: Search platform tags like #innerbiceptattoo and #insidebiceptattoo and filter results by location to find nearby portfolios. Look for portfolios that explicitly label images as "healed" or include dates, and cross-check with Reddit threads where people post time-stamped healed progress. Use gallery searches on tattoo platforms and prioritize artists who display multiple healed examples for the style you want.
Q: How long should I plan for a typical inner bicep session?
A: Small scripts and symbols are often done in 30 to 60 minutes. Micro-realism and medium black and grey pieces usually take 60 to 120 minutes and may be split across two sessions. Larger anchor panels or pieces intended to start a sleeve can take multiple longer sessions. Communicate your pain tolerance and schedule with the studio before booking.
Q: What should I wear to the appointment for inner bicep access?
A: Choose clothing that gives the artist full, comfortable access to the inner upper arm. Loose short sleeve tees, fitted tanks, or open oversized overshirts are practical. Avoid tight cuffs or layered sleeves that force fabric under the arm. Bringing a spare loose shirt helps you keep the area from rubbing on the ride home.
