
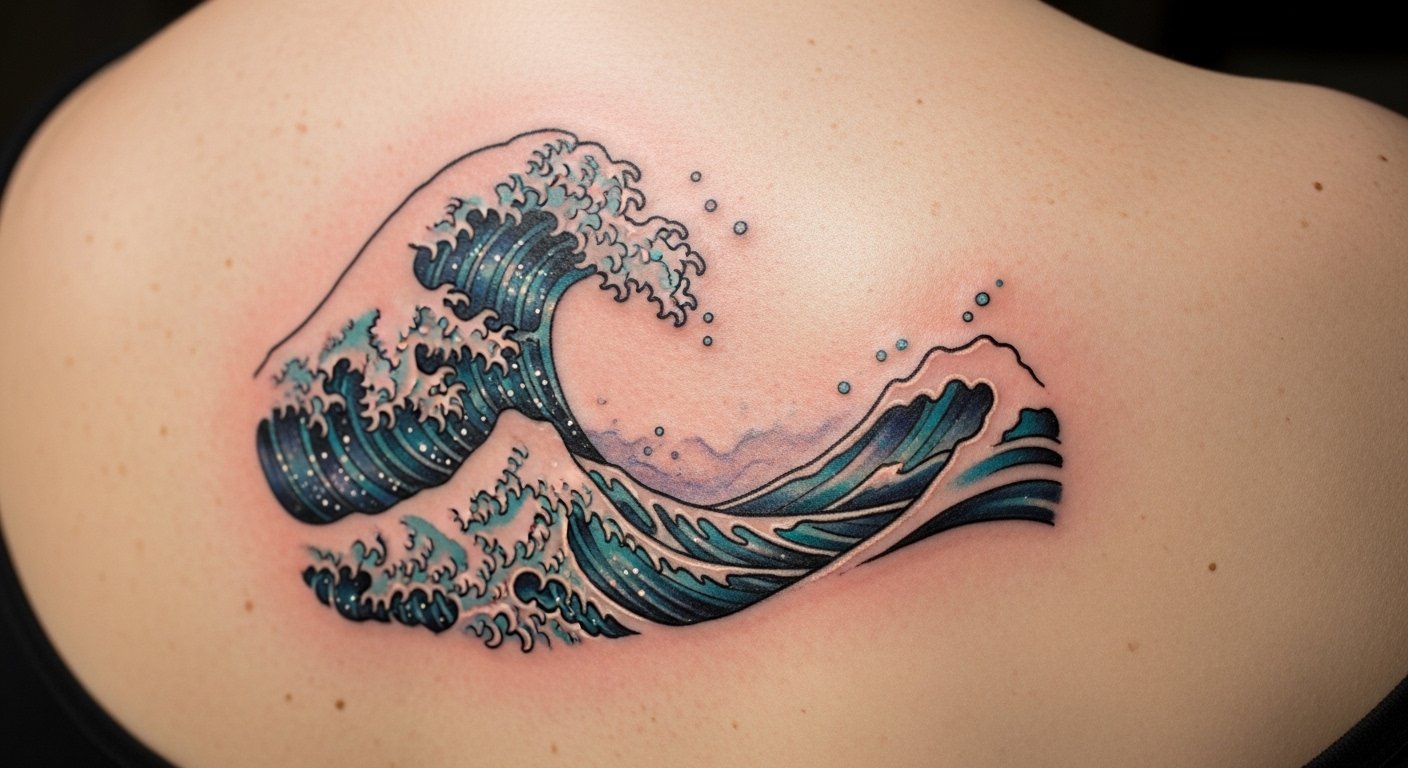
Someone I know spent months saving images and still hesitated at the shop because they were not sure how glow inks age, whether UV ink is safe for them, or how a tiny design would read after a year. I checked portfolios at five shops across Brooklyn and talked with an artist who specializes in fine line UV work. Below are 15 small glow in the dark tattoo ideas, where to place them, what to ask for, and what to expect during healing and beyond.
1. UV-Reactive Celestial Constellation on Collarbone
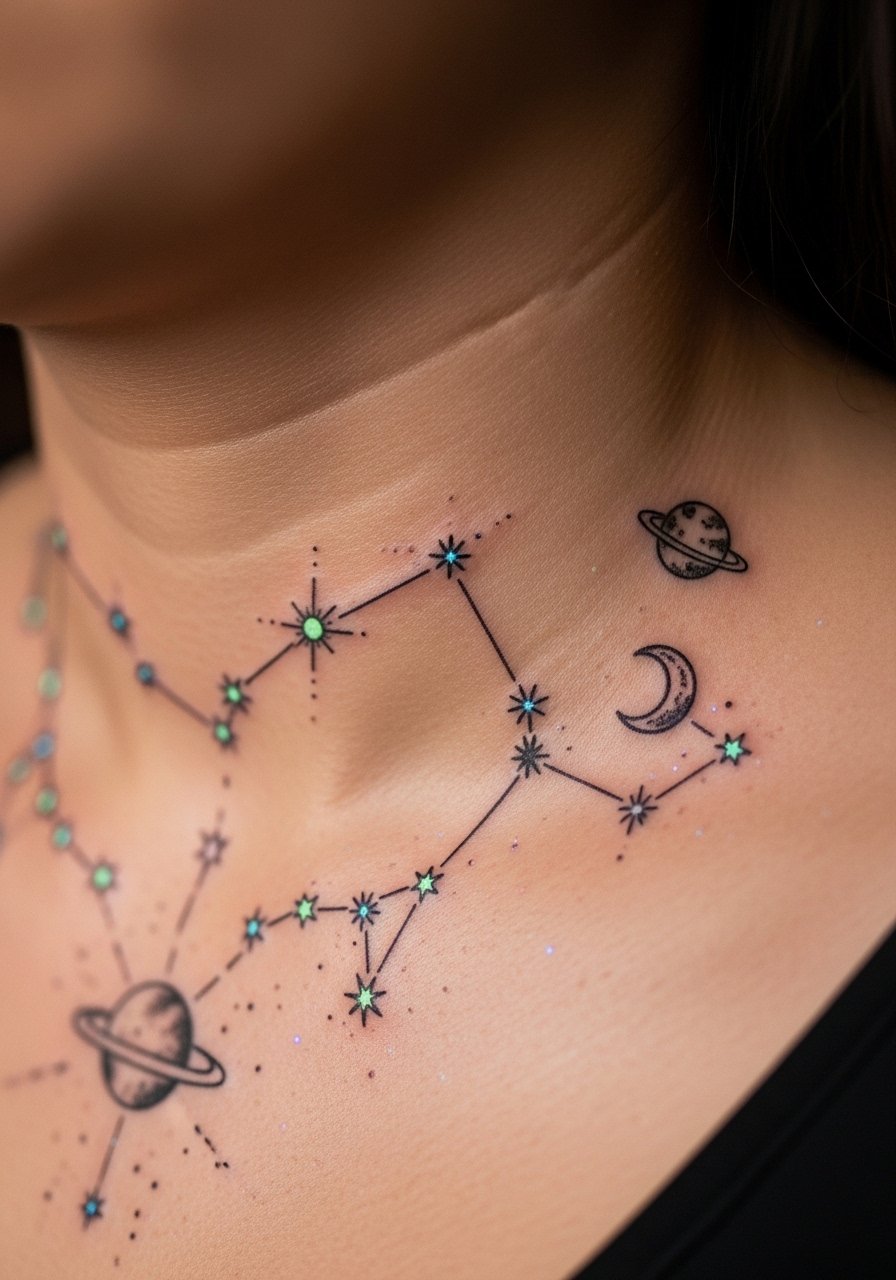
Someone I know first saw this style on a friend and booked it for a summer festival. Tell your artist the exact star map or zodiac you want and ask for sparse linework with pinpoint dots for stars. Collarbone skin is thin so expect a 3 to 5 out of 10 pain rating and a 30 to 60 minute session for a tiny piece. A common mistake is crowding too many small stars in a tight area. To age well, keep spacing between dots and ask for slightly bolder anchors that maintain visual structure as linework softens. Expect a light touch-up around year two if you want crisp UV points.
2. Glowing Butterfly Outline on Inner Wrist
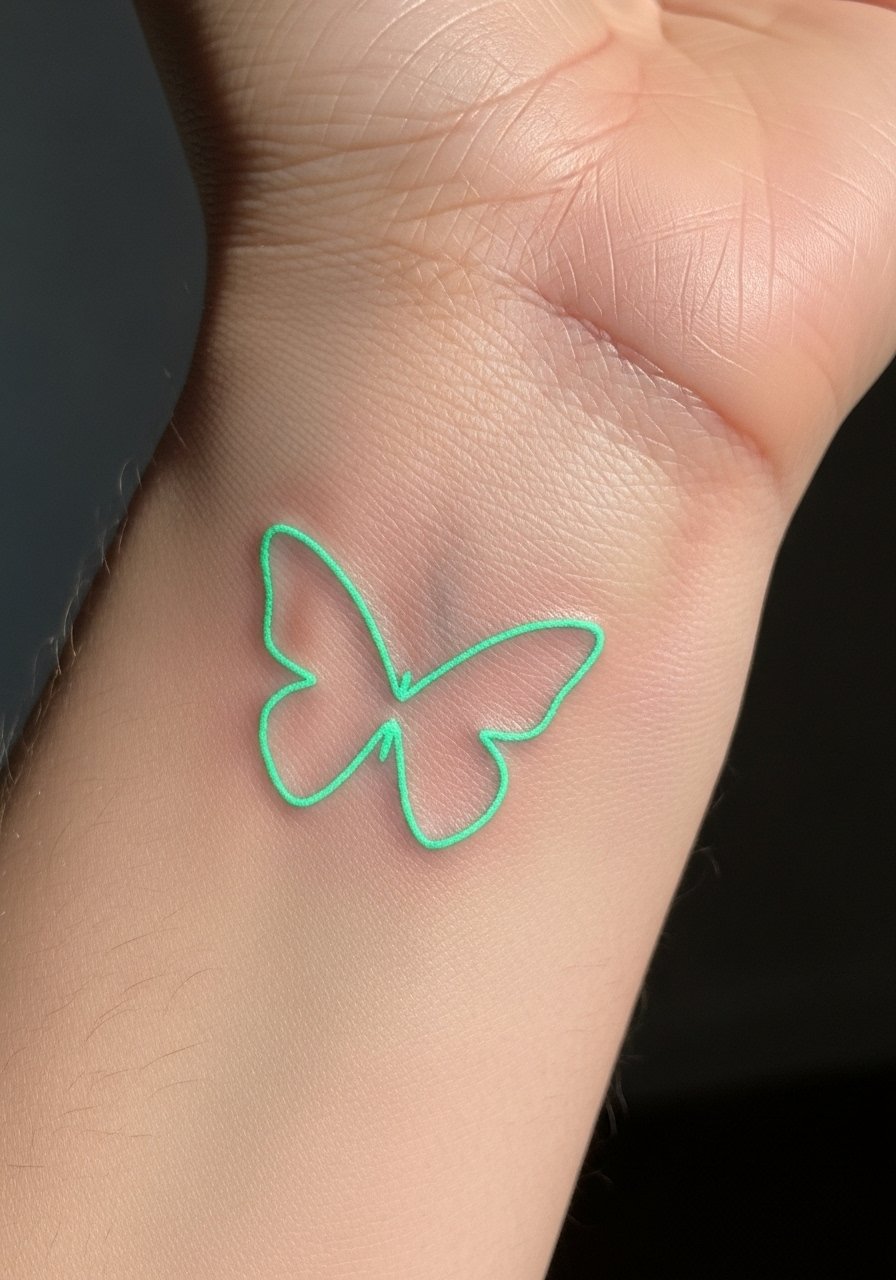
Fair warning: the inner wrist is visible and scuffs during healing, so plan placement with how you use your hands. For a delicate butterfly, bring reference photos showing the exact line weight you like and request neon UV accents only in the wings. Sessions are often under an hour for a micro piece and the pain is usually a 3 in most people I know. Wrist skin can blur if lines are too tight. To avoid that, ask for slightly thicker outline anchors where the wing meets the body. Expect visible glow under blacklight on night out photos, and normal daytime subtlety.
3. Neon Firefly Cluster on Ribcage
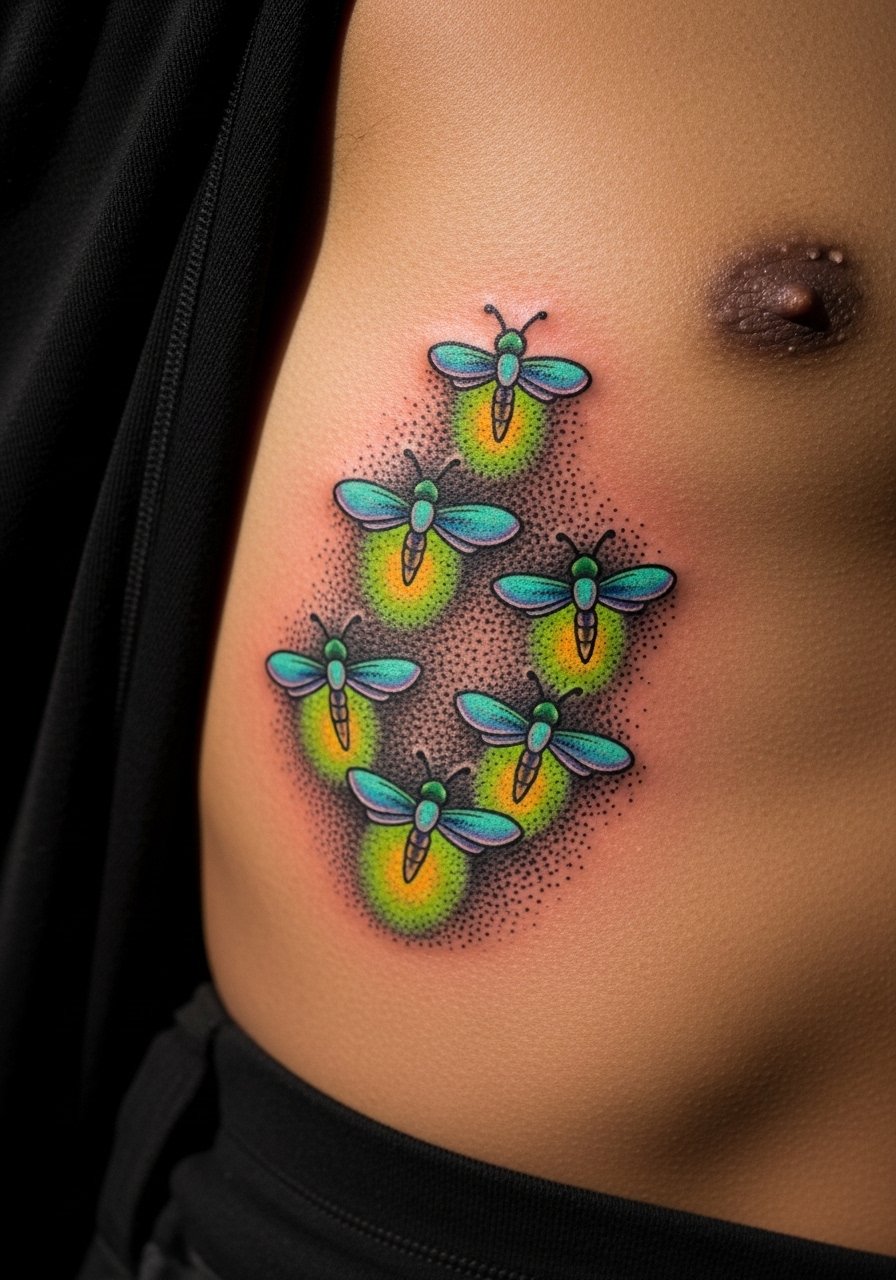
Fair warning: the ribcage is commonly rated a 7 to 9 on pain charts for most people I have spoken with. Artists split on whether fine details hold up there. One camp says the stretch and movement blur tiny dots within two years. The other camp says properly spaced stipple and a slightly deeper hand hold structure will keep detail intact. If you choose this placement, plan for a one to two session approach and ask for spaced clusters not packed dots. A common mistake is requesting micro glow specks too close together. Expect touch-ups at year three if you want fireflies to remain defined.
4. Hidden Moon Phases on Ankle
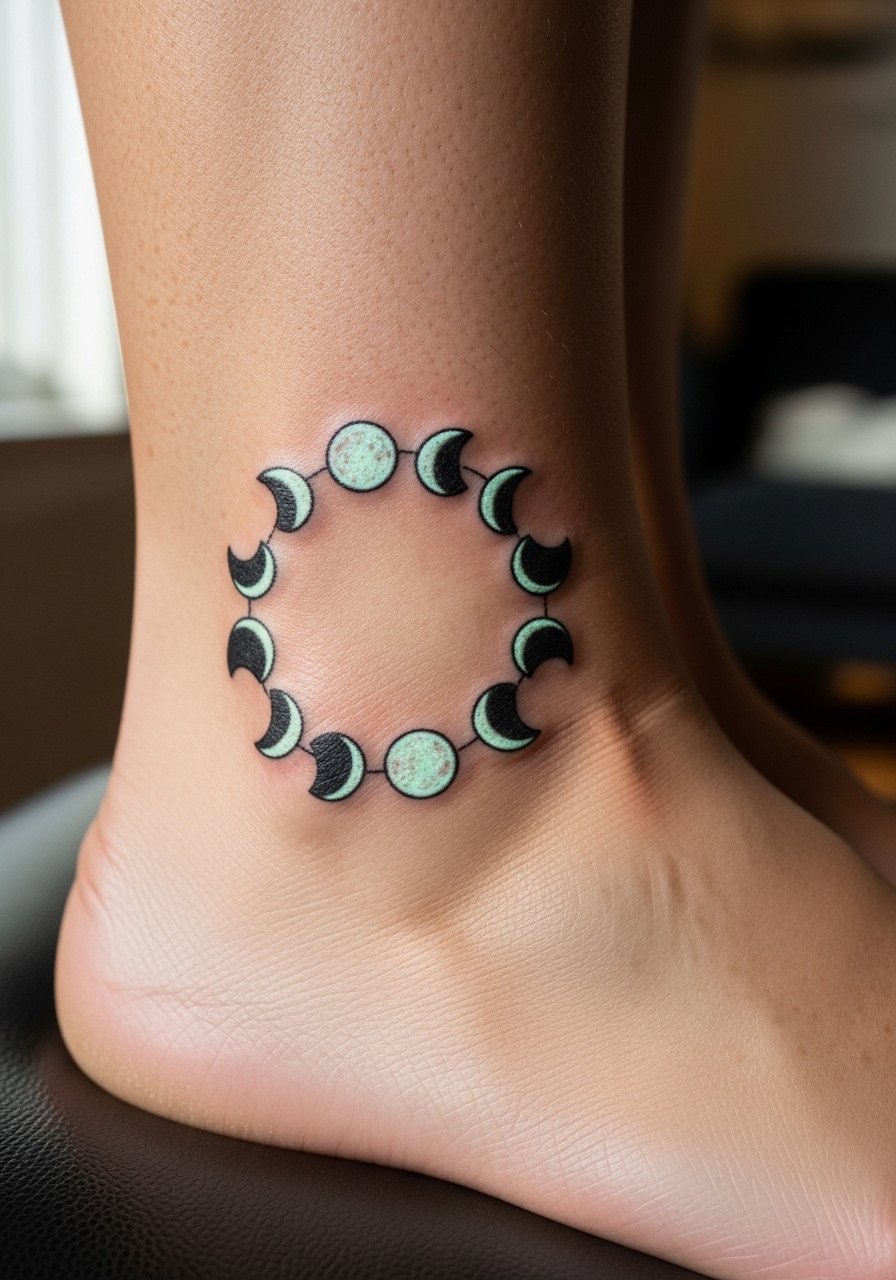
Most people pick the ankle for subtlety and nighttime reveal. When you sit with your artist, show side-by-side images of the exact phase spacing you want and ask for UV white ink accents inside the negative space. Ankle sessions are quick, often under 45 minutes, and the pain lands around a 4 for many. The usual mistake is making moons too tiny for the skin movement there. To keep design fidelity, size each phase so you still see spacing at six months healed. Expect the UV to be visible only under blacklight unless phosphorescent ink is used.
5. Glowing Wolf Silhouette on Thigh
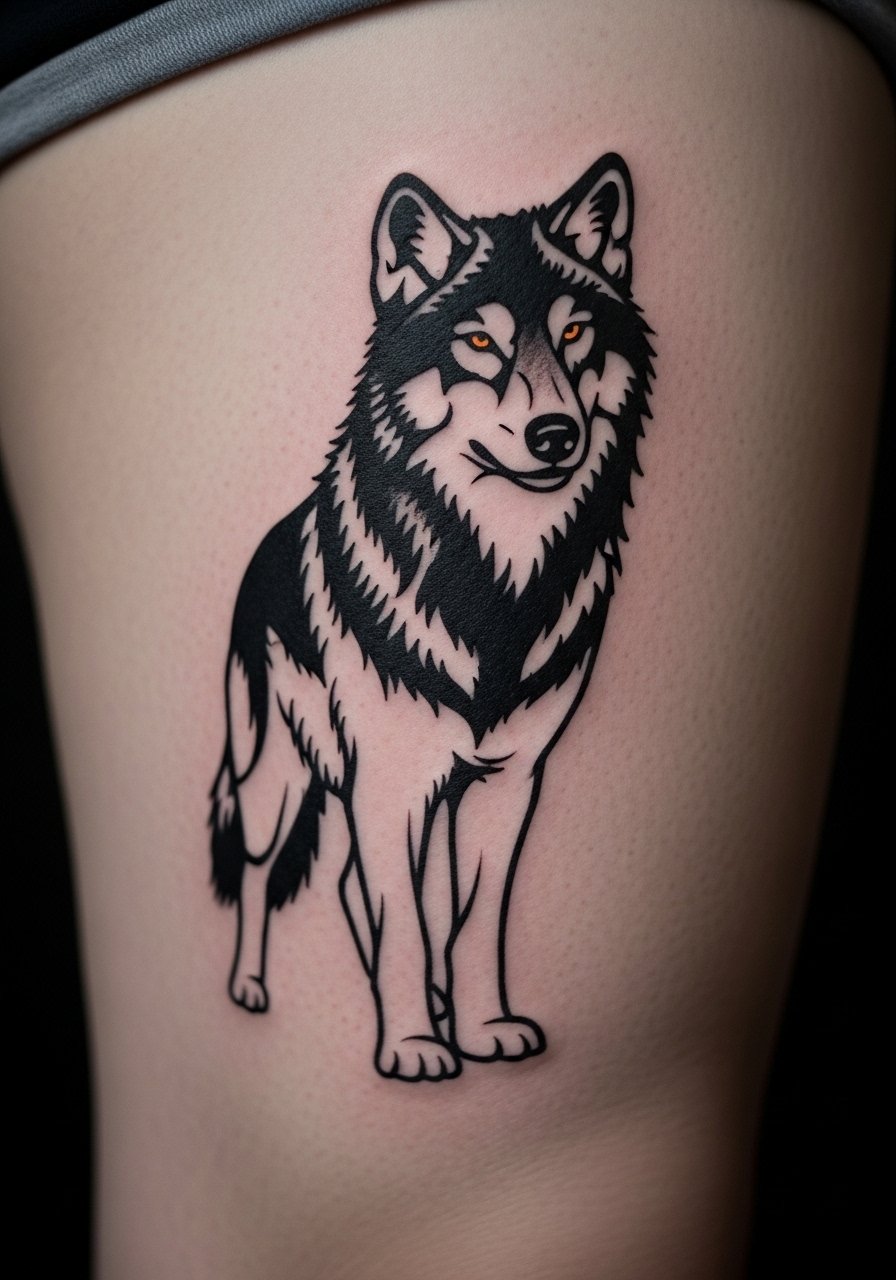
There is something about thigh placement that makes bolder work sing without daily exposure to friction. Bring reference photos that show the exact silhouette and ask for bold contour linework with UV outlines to make the wolf pop under blacklight. Sessions for a small to medium silhouette usually take one to two hours. The skin here tolerates saturation well so blowout risk is lower than on hands or ribs. Avoid tiny inner details that will fade into the blackwork. Expect the black to age slowly and the UV rim to need a touch-up earlier if you wear sunscreen irregularly.
6. Phosphorescent Plant Vines on Forearm
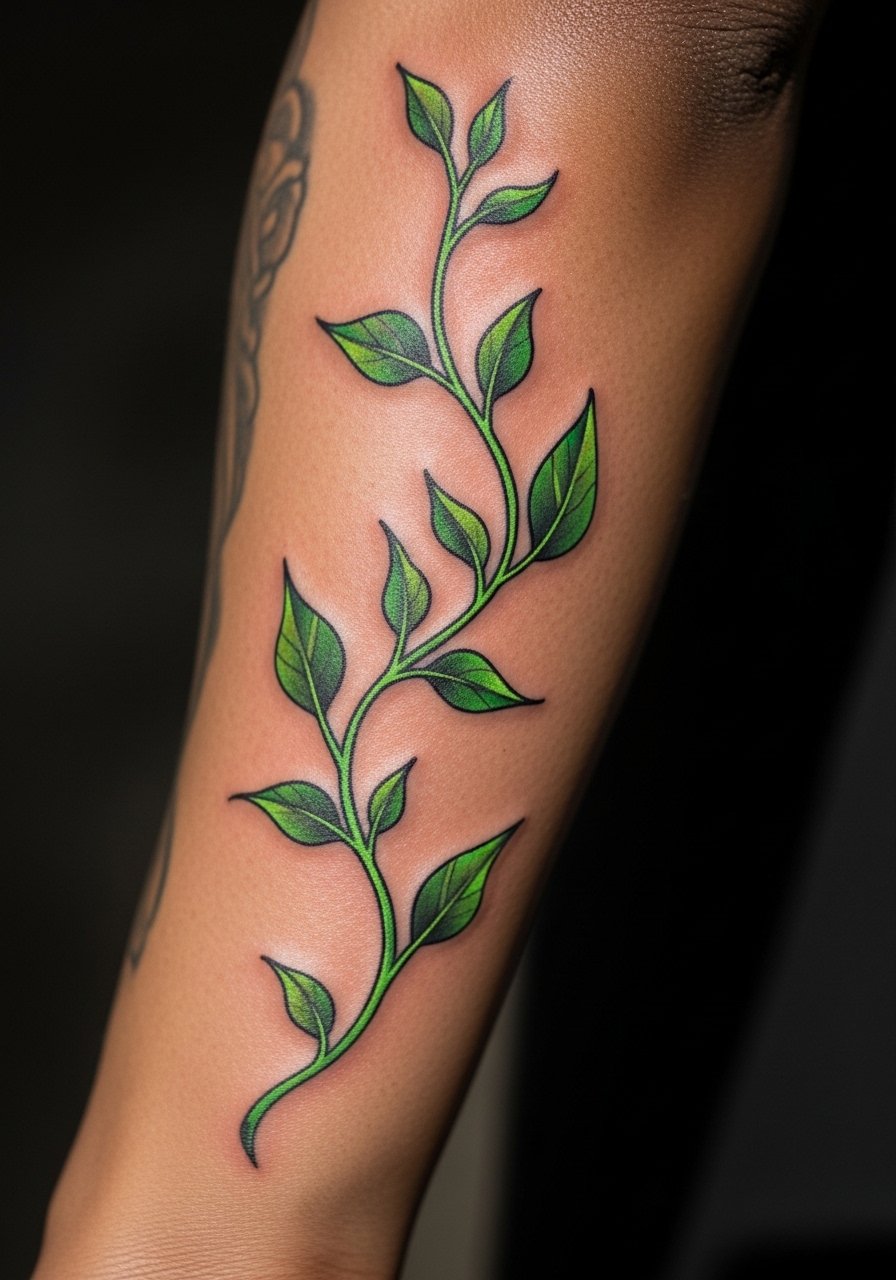
When you sit down with your artist for a forearm vine, ask about phosphorescent ink that absorbs ambient light versus UV-only ink. There is debate around availability and long-term safety of true phosphorescent inks. One camp praises the no-blacklight glow that works in regular low light. The other camp points out fewer artists have tested long-term wear. Forearm sessions are usually one session under two hours and pain rates are often a 3 to 5 depending on placement. A common mistake is over-detailing leaves too small. For longevity, request moderate saturation and leave space between vines to preserve dot work and stipple shading over time.
7. UV Star Map Sleeve Outline
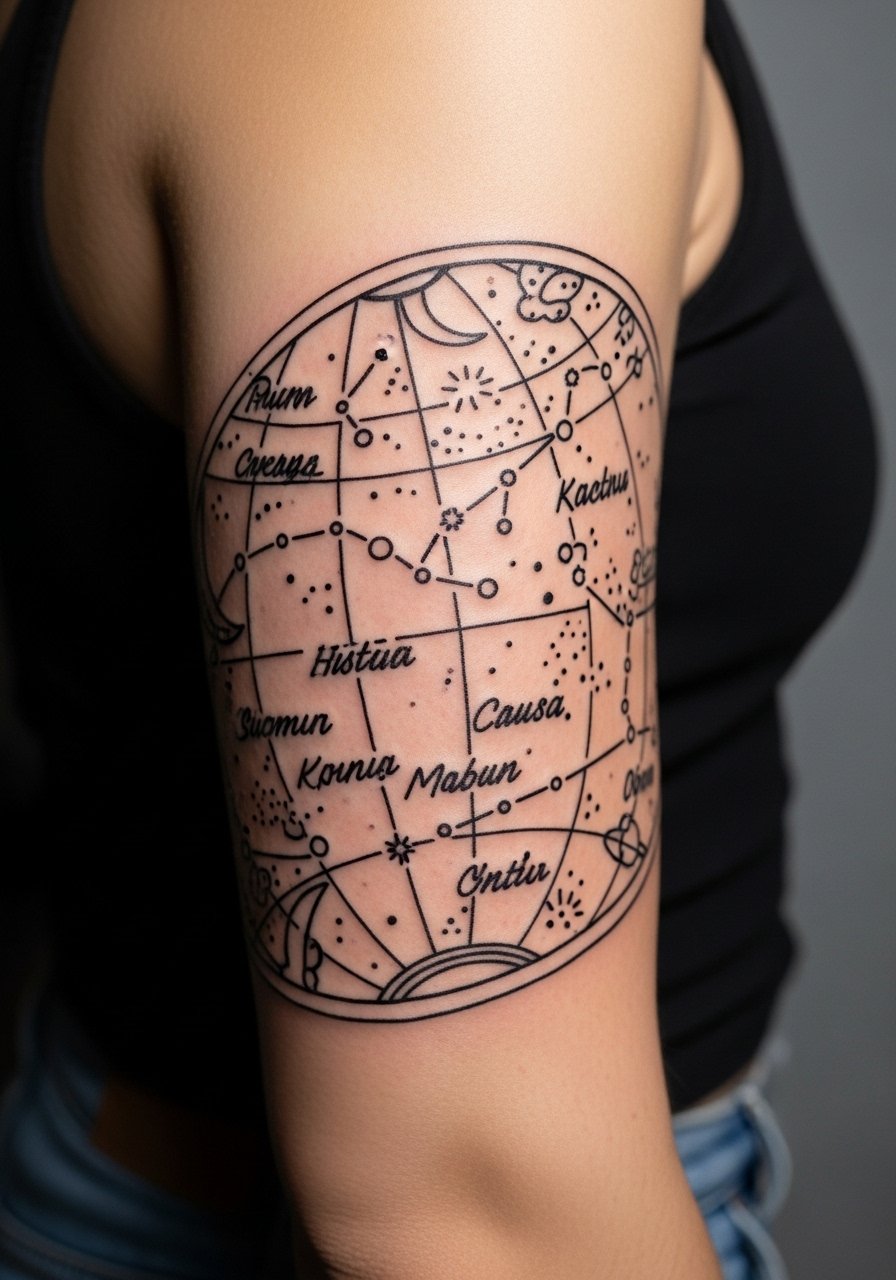
There is a growing crowd who build star map sleeves piece by piece. If you want this, plan a custom consultation and bring your exact coordinates and preferred constellations. Expect multi-session work that adds up across a year and longer. Sleeve linework needs room to breathe so do not compress stars into too dense an area. A mistake I often see is clients asking for tiny micro stars across a full sleeve which blurs as skin ages. For consistent healed saturation, budget touch-ups every few years for the UV layers and keep regular sunscreen on daytime-exposed areas.
8. Glowing Heart with Hidden Initials on Sternum
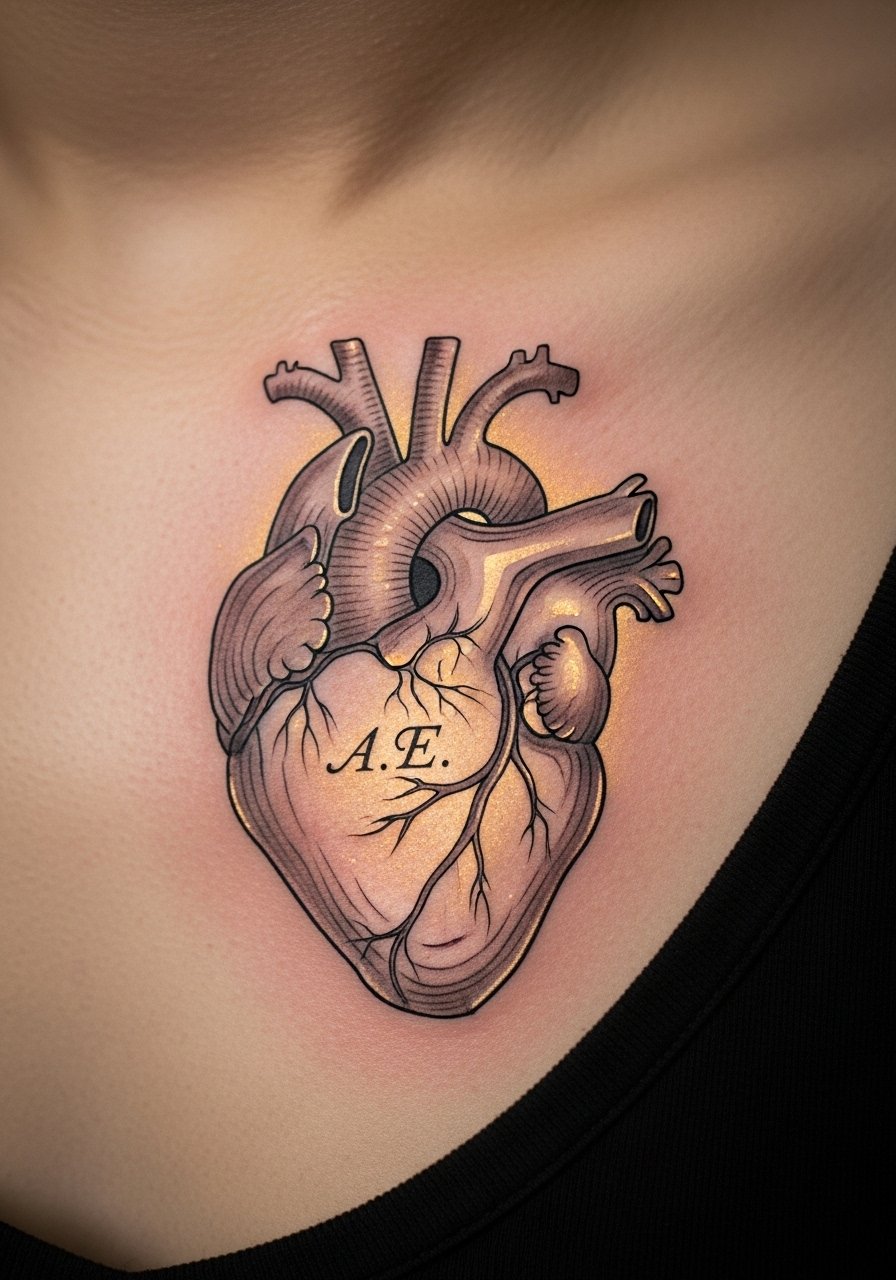
Sternum work reads intimate and requires a careful conversation about how hidden initials sit within negative space. If you want letters inside a small heart, specify the exact initials and font during consultation. Sternum is sensitive so expect a higher pain rating and a compact single-session appointment for a tiny piece. A one-sentence professional note: sternum tattoos need an artist comfortable with chest placements and thoughtful aftercare. A common mistake is asking for script that is too small. Ask for slightly bolder initial strokes to remain legible as the skin heals.
9. Tiny Glow Dot Behind Ear
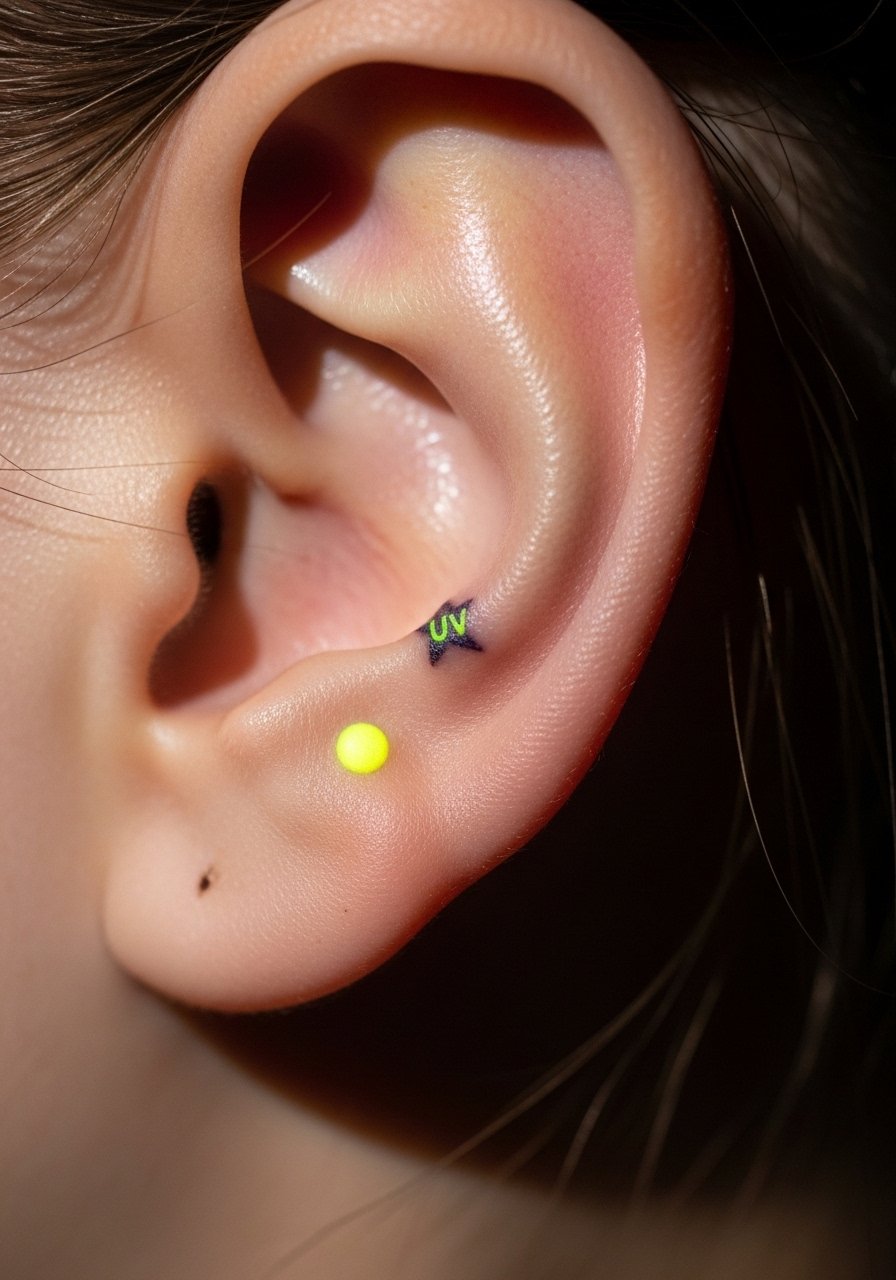
Someone I know chose this as a first glow tattoo because it is discreet and only shows at parties. Behind the ear sessions are under 20 minutes and the pain level is often a 2 to 3. For artists, the main concern is ink migration in very thin skin. Ask for a tiny anchor dot with a single UV accent rather than a cluster. The typical mistake is expecting a detailed design in a space that is the size of a pea. Healed glow will be subtle and you may see more faintness after a year, so plan for a small touch-up if you want the accent to stay bright.
10. Micro-Geometric Mandala at the Nape
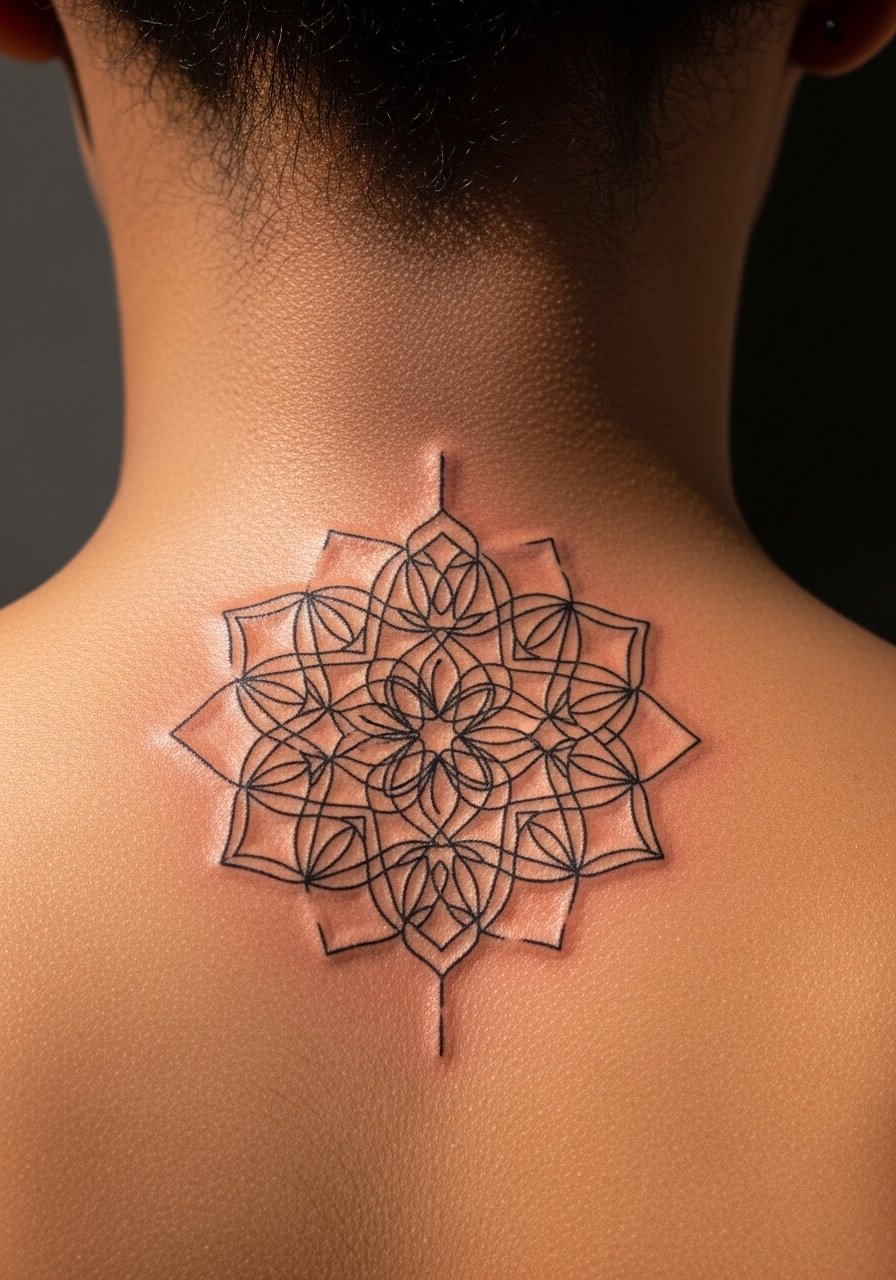
When you bring a mandala reference, point out exact line thicknesses and where you want stipple shading versus solid fills. The nape moves a lot when you sleep so ask about how the artist spaces dot work. This placement is semi-sensitive for many and sessions can be 45 to 90 minutes for a small mandala. A common mistake is squeezing intricate dot work into too small a circle which blurs over time. For cultural sensitivity note: geometric mandala patterns relate to certain spiritual traditions so some clients choose stylized variations rather than exact replicas.
11. Minimalist Glow Arrow on Inner Forearm
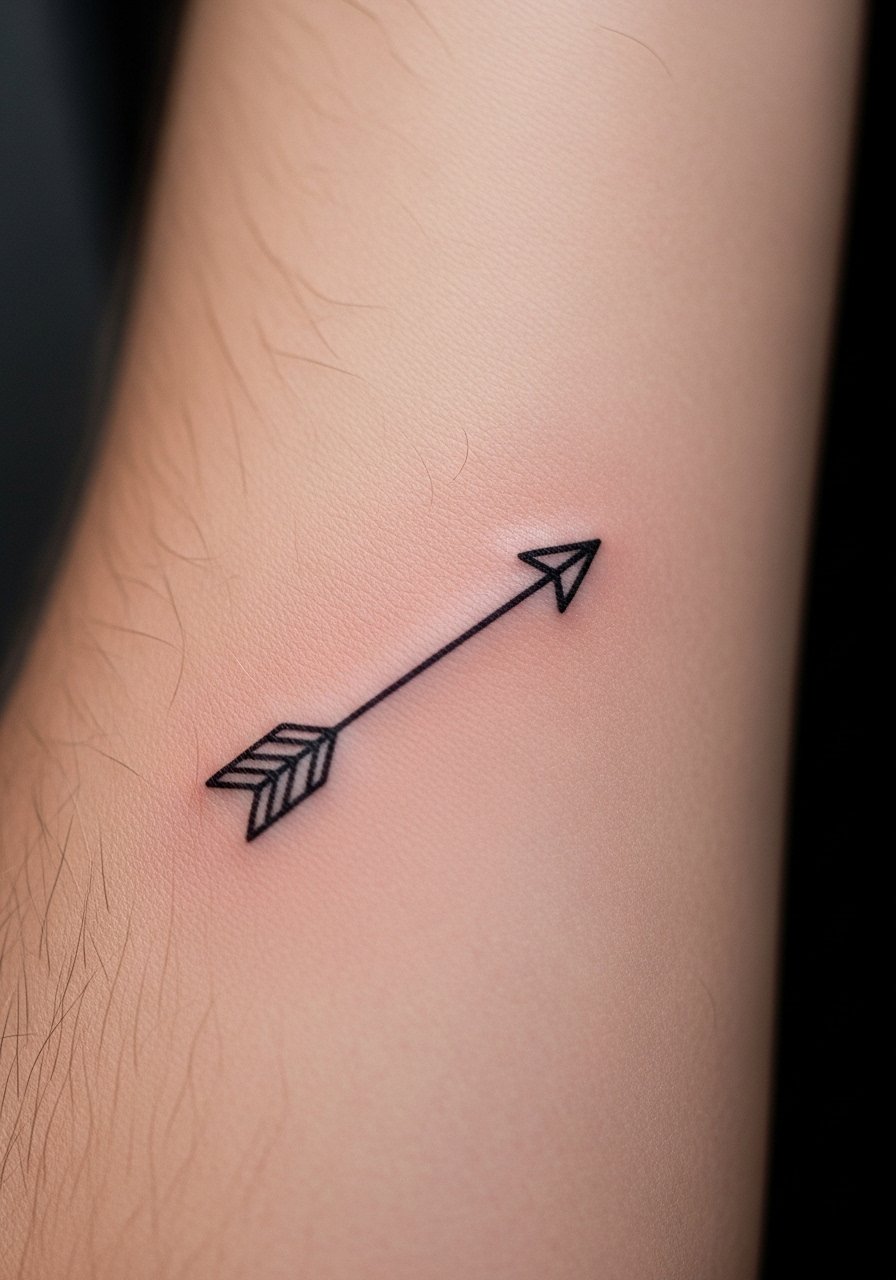
When an arrow is meant to be micro and directional, tell your artist how long and thin you want the shaft and whether you want UV tips. Forearm placement is forgiving and sessions are quick, often under 40 minutes. Forearms see regular friction with clothing so avoid ultra-fine shafts that can feather. The regular mistake is making shafts so thin the arrow loses shape after healing. For long-term crispness ask for slightly increased linework around the tip and a plan for a touch-up in two to three years if needed.
12. Neon Comet on Wrist Crease
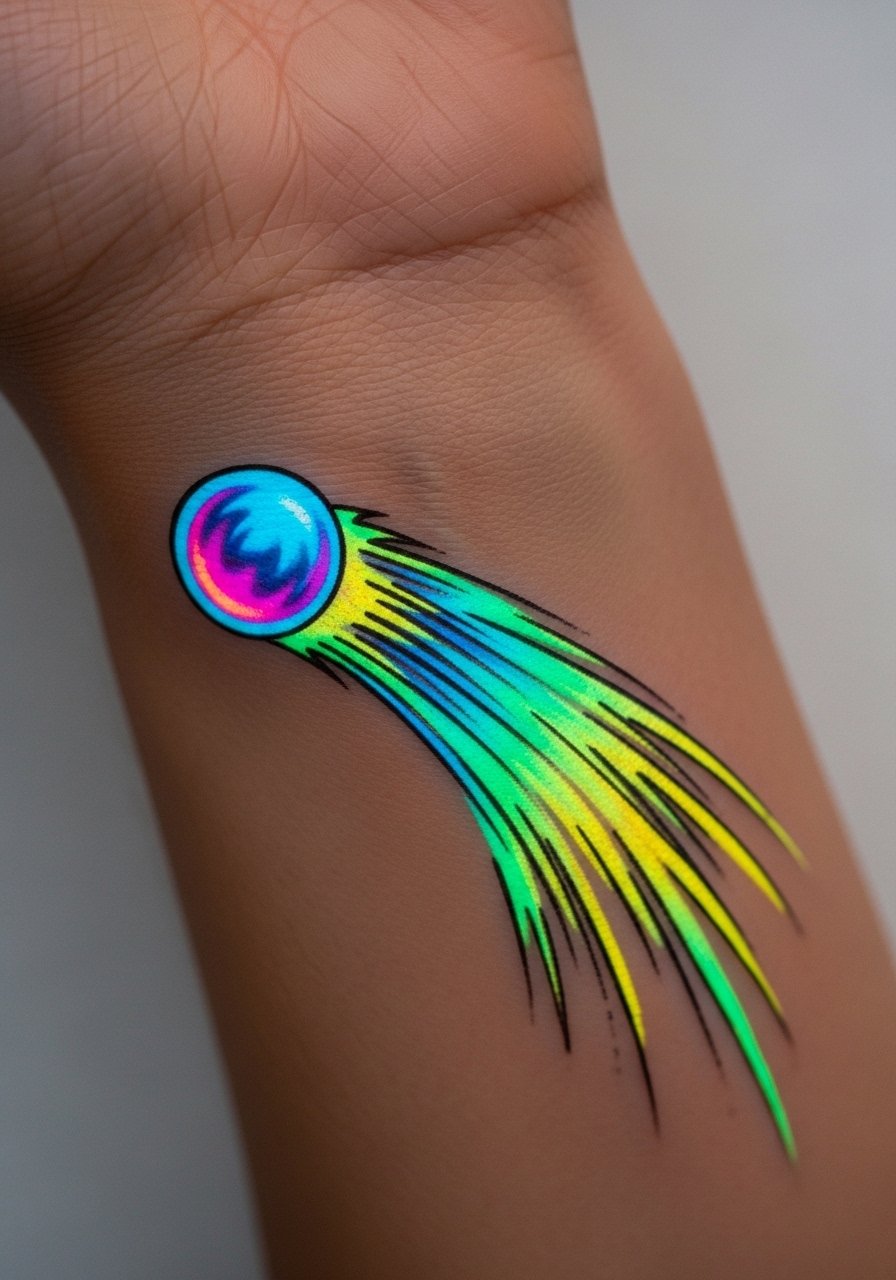
There is a visual shorthand to a comet that crosses into photos under blacklight. When you bring your idea, point to the length you want the tail to travel across your wrist and whether the nucleus should sit on bone or soft tissue. Wrist crease tattoos feel like a 4 to 6 on pain for many. The common mistake is placing the nucleus directly over a joint line which causes extra wear. For healing, keep the wrist mobility in mind and expect brighter UV contrast early on that softens as the piece heals. Plan a small touch-up if you want the nucleus to remain vibrant.
13. Bioluminescent Jellyfish on Calf
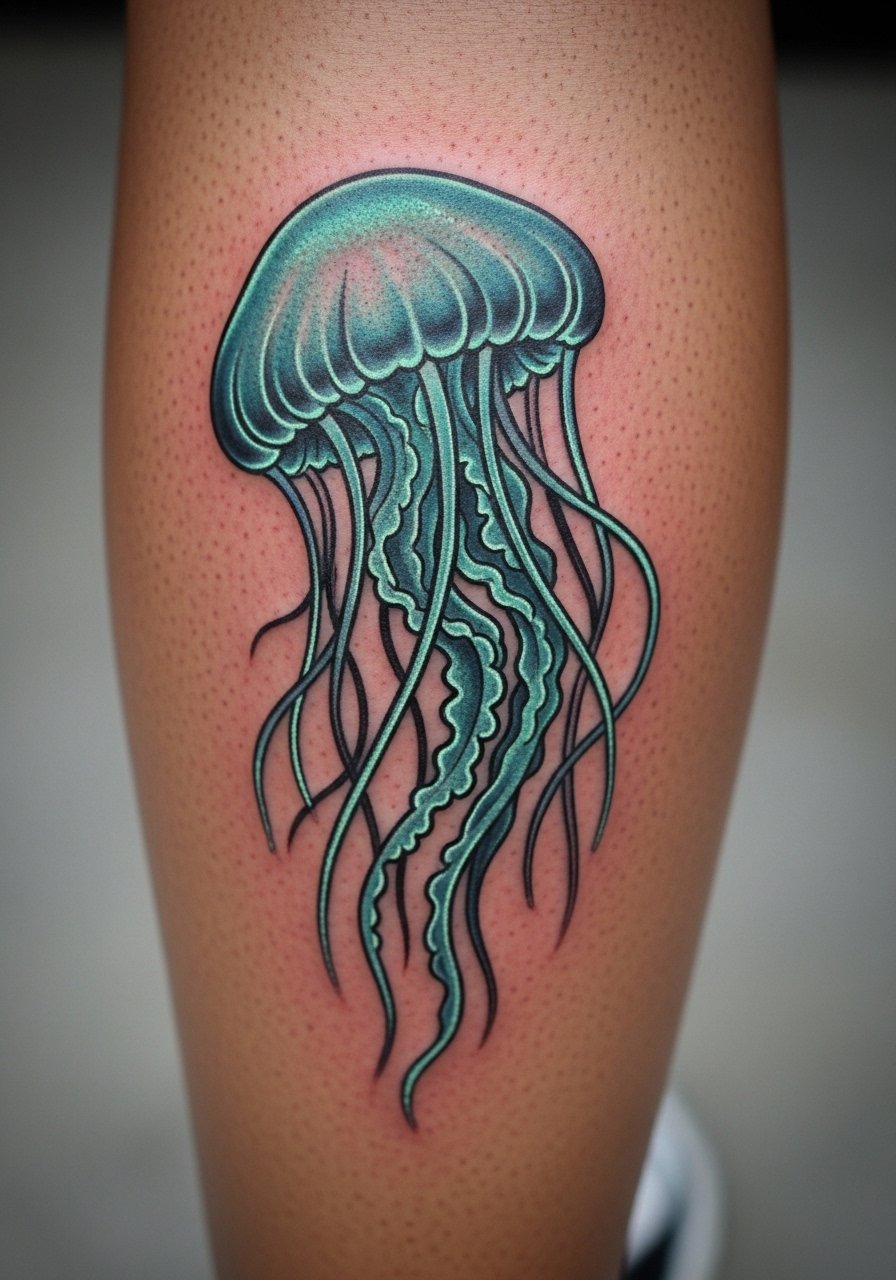
A calf piece lets you play with trailing tentacles that move with muscle. When you consult, show the exact tentacle flow you want and request a mix of stipple and whip shading to create a glowing trail. Calf sessions for a medium small piece run one to two hours and pain is usually a 3 to 5. A common mistake is asking for too many tiny tentacles that lose definition. For longevity, ask your artist to leave breathing room between tentacles so stipple shading keeps its texture as the skin changes.
14. Temporary No-White-Fill Glow Patch for Events
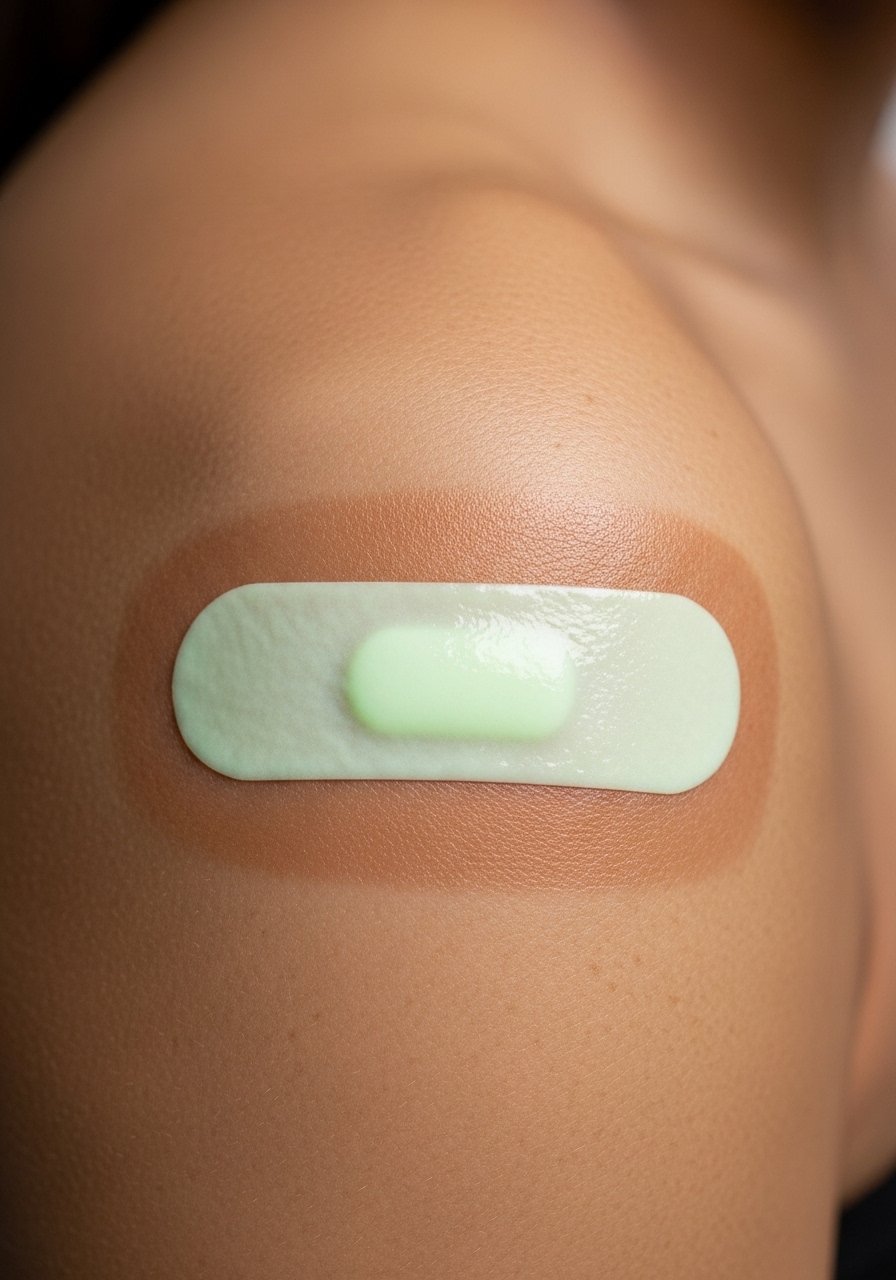
If you are not ready to commit, consider temporary UV flash patches that match custom art. I have seen friends use upload-your-art options for a night out to test placement, scale, and the exact glow intensity. These cost little and avoid long-term ink questions. When ordering, pick a no-white-fill temporary if you want a clean neon look under blacklight. A common misstep is using a temporary as a testing proxy for phosphorescent ink which behaves differently. Use temporaries to trial sizing and nighttime visibility before booking a permanent session.
15. True Phosphorescent Crescent Moon on Hip
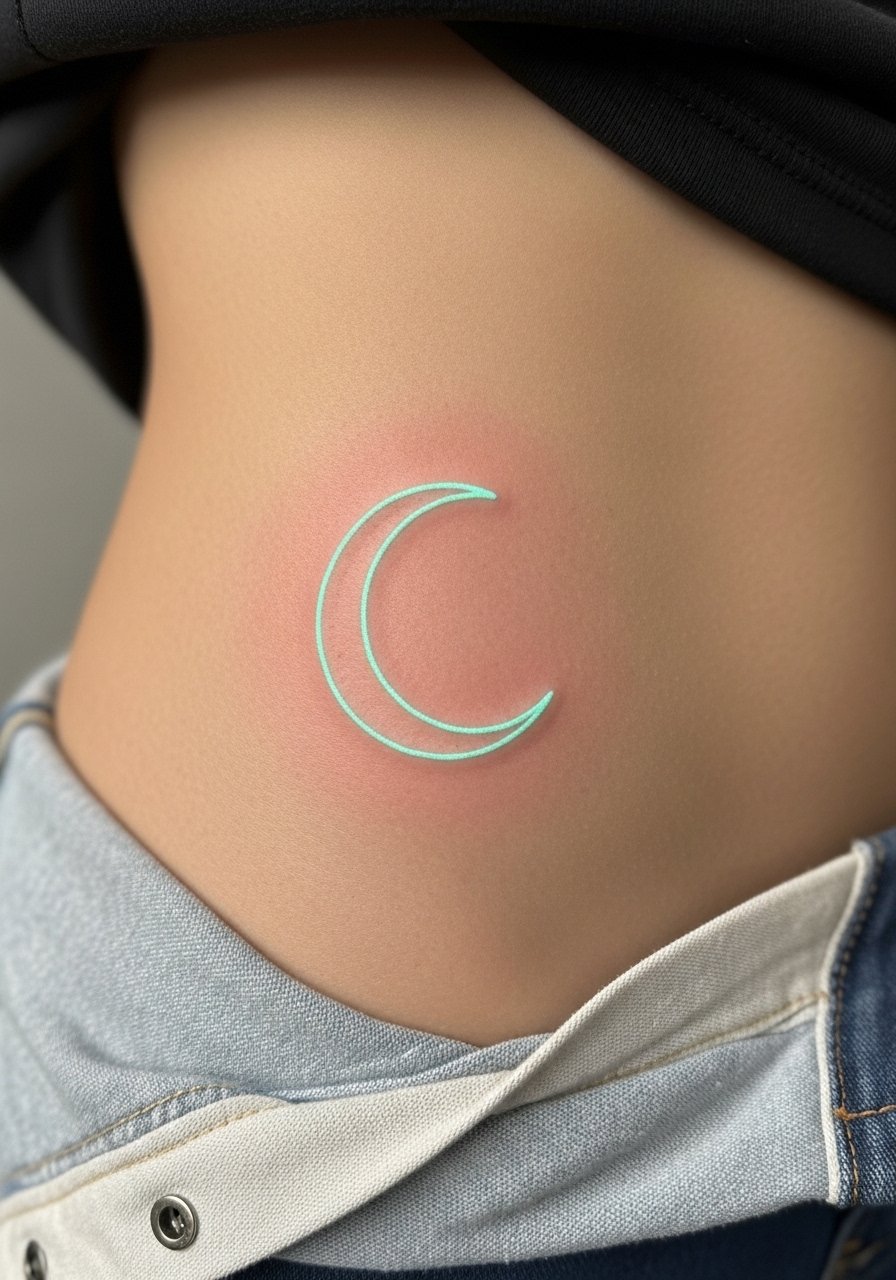
Artists and clients split on true phosphorescent ink availability and longevity. One camp argues true phosphorescent ink glows without blacklight and creates a rare after-dark look. The other camp points out fewer studios offer it and long-term testing is limited. If you choose this route, ask your artist if they have examples aged beyond a year. Hip placement is intimate so include a one-sentence note: consider how intimate placement fits your lifestyle before booking. Sessions are typically under an hour for a small moon and expect a touch-up timeline similar to other neon layers.
Tattoo Prep and Aftercare Essentials
Healing and prep make as much difference to how a glow piece looks healed as the initial linework. Below are practical items grouped by when you use them.
Healing and aftercare
Fragrance-free gentle foaming cleanser. Use in the first week to remove surface lymph without stripping moisture. Gentle cleansing prevents crusts and helps proper scabbing.
Fragrance-free moisturizing ointment alternative to heavy petroleum. Apply thin layers during the sealing phase to keep ink moist and reduce cracking.
Aquaphor Healing Ointment. A single mainstream option for those familiar with it. Use sparingly if your artist recommends it and avoid over-application which can clog pores.
Pre-appointment prep
Medical-grade second skin bandage, 6-inch roll. Good for travel home and overnight protection when recommended.
Lightweight fragrance-free balm sample pack. Useful to test which balm your skin tolerates before committing to a full tub.
Long-term maintenance
High-SPF, non-greasy mineral sunscreen stick. Apply to daytime-exposed glow tattoos to protect pigments that fade from sun.
Soft cotton clothing or bandage sleeves. Wear during intense activity while healing to cut friction and reduce scabbing risk.
Silicone-based scar prevention sheets. Optional for clients prone to raised scarring. Use only if recommended by a pro.
Every tattoo is different. Always follow your artist's specific aftercare instructions. Consult a dermatologist if you have skin concerns or unusual healing issues.
Frequently Asked Questions
Q: How does UV-only ink compare to true phosphorescent ink for small wrist pieces?
A: From what I have seen, UV-only ink lights up cleanly under blacklight and is more common among artists. True phosphorescent ink glows without a blacklight but is rarer and not every studio offers it. If you want day-to-night glow without special lighting, ask your artist about their experience with phosphorescent pigments and aged examples.
Q: Will fine line stars on a collarbone need touch-ups frequently?
A: Fine line stars can soften sooner on thin collarbone skin than on meatier areas. Expect a touch-up around year two to three if you want pin-sharp points. During your consult, ask the artist about spacing and slightly bolder anchors to reduce the need for early repairs.
Q: Are temporary glow patches a good way to test placement for a ribcage firefly cluster?
A: Yes. Temporary no-white-fill glow patches are a low-risk way to test scale and nighttime visibility before committing to permanent work. They let you see how a cluster reads under movement and whether the ribcage location feels right during daily life.
Q: Does sunscreen affect UV-reactive ink visibility under blacklight?
A: Sunscreen can slightly reduce contrast in photos taken under blacklight because it alters surface reflectivity. For daytime protection apply a non-greasy mineral stick listed above. Follow your artist's timeline for when to resume regular sunscreen after healing.
Q: How do I find an artist who does glow tattoos safely?
A: Use style-specific hashtags and local studio searches. Look for portfolios with healed photos under blacklight and ask how long the artist has worked with UV or phosphorescent pigments. I recommend checking local directories and asking studios if they can show healed examples that are at least a year old.
Q: Will a glow outline on a thigh blow out more than a standard blackwork silhouette?
A: Thigh skin tolerates saturation well so blowout risk is generally low compared to hands and feet. The key is not overworking the area and using proper spacing in the UV lines. Discuss blowout risk with your artist and ask to see healed thigh pieces with both blackwork and UV lines.
Q: What aftercare is specific to phosphorescent inks compared with UV inks?
A: The aftercare steps are similar. The main difference is that some artists recommend gentler initial cleaning and spot testing for sensitivity with rare phosphorescent pigments. If you are using a medical-grade second skin bandage, follow the product timeline and your artist's advice.
