
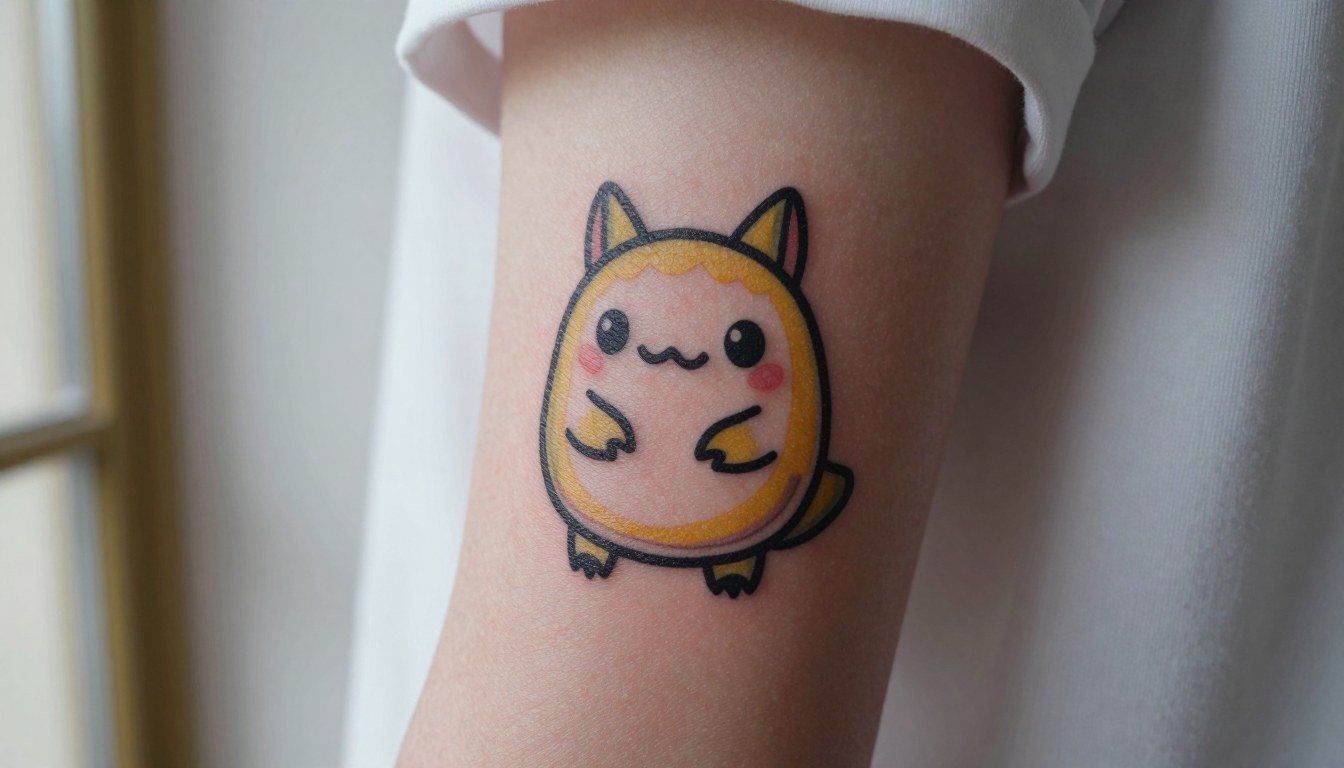
Small, character-forward Pokémon pieces age in ways people do not always expect, and the trick is planning for texture and spacing before the needle hits skin. Tiny color blobs that look adorable on day one can blur into indistinct patches if the linework is too fine. Pick rounded silhouettes, allow a touch of outline weight, and place them where movement and friction are minimal for longer readability.
1. Eevee Silhouette on the Inner Wrist
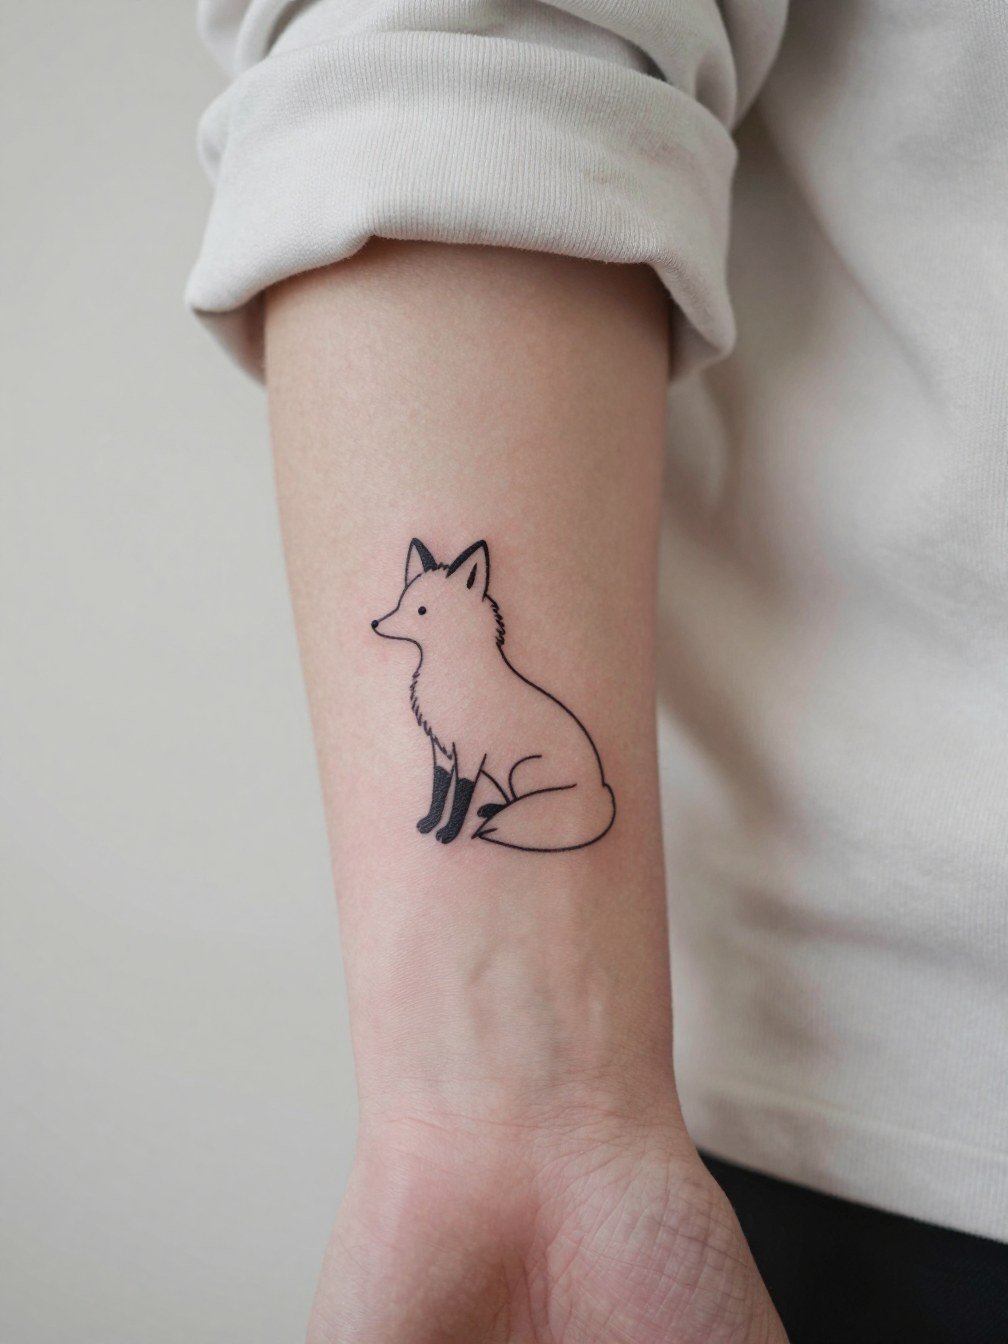
A tiny Eevee-style silhouette works well on the inner wrist because the curved shape follows the arm crease. Expect a short session under an hour for a one-inch piece. Linework that is a hair heavier than single-needle holds up better here, because the wrist sees frequent washing and sunlight. Bring two reference sizes so the artist can show how the design reads at one inch versus two inches. Common mistake is asking for hair-fine detail that disappears by year two. This piece pairs nicely with a thin leather bracelet that frames the wrist without covering the tattoo.
2. Pikachu Cheek Flash on the Ankle
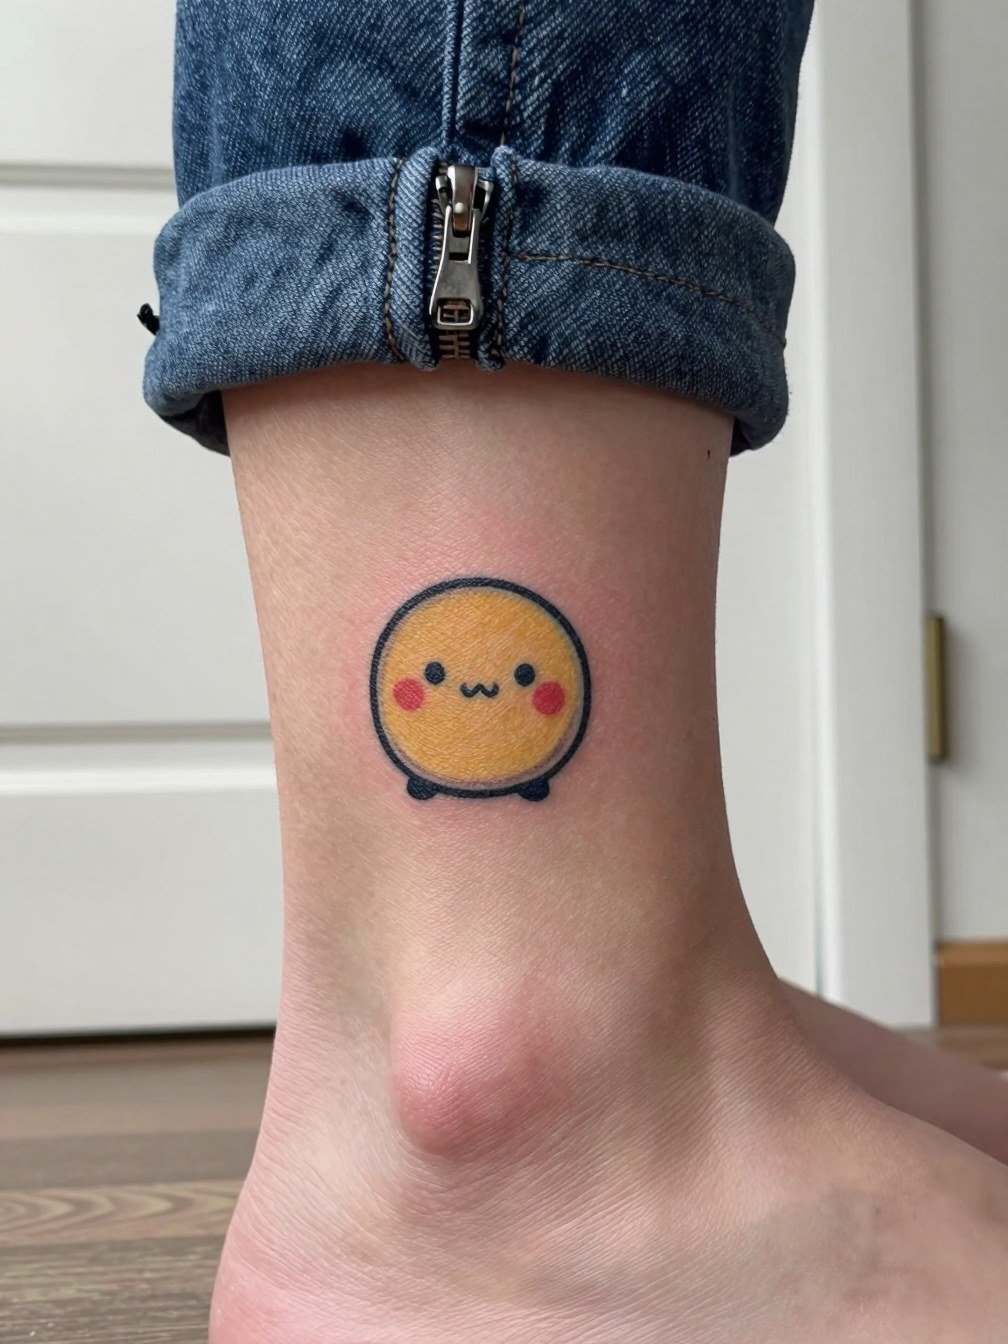
An ankle flash is great for people who want a playful nod without full commitment. The ankle endures friction from socks and shoes, so flat color fills with a clear outline outperform tiny gradients. Session time is about 30 to 60 minutes depending on size. Ask for slightly wider spacing between color fields so the red accents do not merge with the yellow over time. A common mistake is requesting micro shading that crowds the area. Show-off tip: cuffed jeans or ankle strap sandals keep the tattoo visible without rubbing.
3. Bulbasaur Seedling on the Upper Arm
The outer upper arm gives room for dot work and stipple shading that ages well because the skin there moves less. This size reads well at three inches and takes about 60 to 90 minutes in a single session. Discuss spacing for stipple texture with the artist, specifying you want visible dots rather than a soft wash. A common aging error is using low saturation greens that fade into the background. For easy show-off, wear short-sleeve linen shirts that let the shoulder and arm silhouette read without covering the piece.
4. Jigglypuff Outline on the Collarbone
Collarbones are perfect for delicate script or a compact round face motif. Pain is moderate because of thin skin over bone, and sessions tend to be short. Insist on a modest line weight and a slight distance between eye details so the tiny filled areas do not bleed together. Artists split on very fine work on the collarbone. One camp warns that single-needle here blurs within two years because the bone and movement are unforgiving. The other camp says that with slightly increased line weight and careful depth it settles clean, and they will show healed photos to demonstrate that. For outfits, a wide V-neck blouse frames the area without rubbing the tattoo.
5. Squirtle Tiny Back-of-Arm Dot Work
The back of the arm gives a private space that is still visible in summer. Stipple shading reads nicely here because the area is flat and moves less. Expect a 45- to 75-minute session for a small piece. A real mistake is packing too many micro details into a two-inch area. Talk to the artist about stipple density so the texture is visible at six months and one year. Wear a sleeveless top to the session so the artist can work without fabric in the way.
6. Charmander Flame Drop on the Ankle Side
Ankle-side placements read like tiny emblems. Because of constant sock friction, pick flat saturated color with a confident outline. The session is quick and usually under an hour. Tell the artist you want the color fields to have a 1.5 mm separation at the edges so they do not bleed together over time. A typical mistake is asking for soft feathered blends at this scale. To show it off, try low-cut canvas sneakers and cropped pants.
Pre-Session Essentials
The tiny wrist and ankle pieces above benefit from simple session prep items you can pick up online before booking.
- Transfer stencil paper. Lets you preview line placement on skin before the needle work, which helps avoid overly dense designs for small Pokemon faces.
- Topical numbing cream. Applied about 40 to 45 minutes before lightens the discomfort on ankle and rib placements without altering ink uptake.
- Thin protective film roll. Useful for covering tiny foot and finger pieces that see friction the first week.
- Fragrance-free gentle body wash. Cleans the area without stripping pigments during the healing window.
- Aquaphor healing ointment. A commonly used option for the first few days to lock moisture without clogging the needle channels.
7. Oddish Minimalist on the Calf
The calf is forgiving for slightly larger cute pieces and allows for crisp stippling that lasts. Plan for a 60- to 90-minute session depending on detail. Specify the exact leaf angle and stipple size so the texture remains legible at two years. A common mistake is choosing overly thin contour lines that fade under the calf's thicker skin. For showing off at warm-weather events, pair the tattoo with high-waist denim shorts.
8. Vulpix Tail Cluster Behind the Ear
Behind-the-ear tattoos read intimate and subtle. The skin is delicate so expect a short but sharp session. Ask for slightly bolder outlines than your reference picture because the area can blur faster than the forearm. A frequent mistake is cramming text or multiple fine details into the mastoid area. Wear a button-up shirt to the appointment so you can avoid pulling fabric over the head after the piece is finished.
9. Togepi Egg Motif on the Ribcage
Ribcage placements are visually striking but tricky for fine work because the skin stretches with breathing. Pain tends to be high. There is a two-camp debate about fine line on ribs. One group says single-needle ribs blur within two years due to skin stretch and movement. The other group argues that slightly wider spacing and precise depth make single-needle settle clean, and they will point to healed photos for proof. If you want longevity, request the artist space lines and keep the piece compact. For the session, wear a fitted sports bra so the area is easily accessible without fabric shifts.
10. Sandshrew Tiny Dot Cluster on the Finger
Finger tattoos are high touch and high wash, so only simple shapes last. Session time is short but expect touch-ups. Ask for slightly thicker dots than the reference so the pattern stays visible after frequent hand washing. The most common mistake is overcomplicating the design for the finger canvas. For display, choose rings that do not sit directly over the piece and consider a delicate midi ring set that complements without rubbing the ink.
11. Slowpoke Lazy Pose on the Thigh
Outer thigh is forgiving for cute, relaxed compositions and ages predictably because it sees less sun. Sessions here can run 60 to 120 minutes for medium pieces. Ask the artist to map the pose with your leg at natural rest so it reads while standing and sitting. Common mistakes are forgetting how fabric sits and placing detailed limbs where shorts will chafe. For showing off in summer, try flowy midi skirts that reveal the outer thigh without rubbing.
12. Dragonite Tiny Flight on the Shoulder Blade
Shoulder blade pieces are excellent for motion in the composition because the area is large and moves with the shoulder. Sessions are generally 60 minutes for a small motif. Talk about how the wings will curve with shoulder rotation so it does not warp when you raise your arm. A usual mistake is making symmetrically rigid wings that look off when the body moves. To show it off, choose open-back tops or a halter dress.
13. Magikarp Splash on the Ankle Top
Top-of-foot tattoos see constant friction from shoes and ground contact. Choose graphic shapes and avoid tiny soft blends. Session time is short but healing needs care because of movement. Ask for saturated orange and confident outlines to withstand abrasion. People often regret choosing pale fills for foot work. A good showing-off option is a strappy sandal that leaves the top of the foot visible.
14. Clefairy Crescent on the Inner Forearm
The inner forearm is one of the most readable spots for detailed small work. Expect a 45- to 90-minute session. State that you want single-needle linework with a specific stipple density so the dots remain visible at one and two years. A common mistake is pushing for ultra-fine script around the motif that competes with the main lines. For everyday outfits try rolled sleeves and a lightweight cardigan that frames the forearm.
15. Snorlax Lounge on the Belly Side
Abdomen tattoos change with weight and movement. This placement suits relaxed round compositions because the skin stretches but returns. Sessions vary from 60 to 120 minutes. Discuss expected changes with the artist and map the design with your body at rest. Mistakes include placing high-detail elements exactly over the navel. For outfits, high-waist pieces or cropped knit tops display the area without constant fabric fold.
16. Piplup Little Crest on the Wrist Band
A radial wrist band design reads like a charm and can wrap the wrist without being a full band. Session time is short. Ask the artist to mock up the curve on your actual wrist so the crest does not twist with motion. A frequent error is making the curvature inconsistent with the wrist circumference. Pair with thin stackable bangles or a minimal cuff bracelet that complements the band.
17. Umbreon Moon Dot on the Calf Side
High-contrast blackwork with a tiny color accent performs well on the calf because the darker fill resists early fading. Sessions are quick. Specify the yellow tone so it is noticeable but not fluorescent. A common mistake is choosing too pale a yellow that loses contrast on medium and dark skin tones. This piece looks great with cropped trousers and ankle boots.
18. Leafeon Tiny Leaf Line on the Rib Side
Lines that follow the rib curve can look elegant, but fine-line rib work carries risk. Discuss spacing and line weight so the leaf retains form through expansion and contraction. A typical mistake is insisting on ultra-thin veins inside the leaf that disappear. Sessions often require short breaks for breathing comfort. For sessions wear a supportive sports bra to keep clothing steady while you lie on the bench.
19. Glaceon Tiny Ice Crystal on the Wrist Outer
Geometric crystal shapes age predictably because their edges are bold and simple. Expect a 30- to 60-minute session. Ask for clear negative space between facets so the shape does not blur into a single block of color in a few years. A mistake is adding tiny micro-shading inside facets at this scale. Display the piece with rolled sleeves and a delicate watch strap that avoids direct friction over the tattoo.
20. Cyndaquil Spark on the Shoulder Cap
Shoulder cap tattoos read nicely with rounded shapes. Sessions are short and comfortable. Ask the artist how the spark will read when you wear a backpack or shoulder strap, since straps can rub during the first week. A typical error is placing the tattoo where backpack straps will constantly hit it. For showing off, choose tank tops or a strapless dress that frames the shoulder without friction.
21. Chikorita Little Leaflet on the Inner Ankle
Inner ankle pieces are discreet and hold up well if lines are not too hair-thin. Session time is brief. Ask the artist to leave a millimeter of space between outline and fill so the leaf reads at one and two years. Frequent mistake is packing inner ankle designs with tiny veins. For outings, pair with low-cut sandals or slide sandals that keep the inner ankle visible.
22. Mareep Wool Puff on the Back of the Neck
Nape tattoos are playful and easy to hide under hair. The skin here is stretchable so avoid ultra-fine detail. Sessions are short. Tell the artist you plan to wear your hair up sometimes so they can orient the motif where it looks balanced both up and down. Mistake is placing tiny script below the hairline that gets obscured. A hair-friendly outfit like a crew-neck tee keeps the area accessible for photos without revealing it all day.
23. Totodile Splash on the Forefoot Side
Forefoot areas endure a lot of abrasion, so pick bold shapes with solid fill. Sessions are brief but plan for touch-ups after heavy wear seasons. Tell the artist you want the fill to be dense and the outlines to read from a foot-length distance. The common error is asking for soft watercolor blends here. For sandals season try breathable footbeds.
24. Tinkaton Mini Hammer on the Inner Bicep
Inner bicep pieces sit in a private spot with less sun exposure. Pain is moderate. Ask the artist for a slightly bolder outline because the inner arm tends to eat fine detail. A common mistake is choosing a long thin handle that wraps into the armpit crease. For the session, wear a sleeveless tee that gives the artist full access without shifting fabric.
25. Mew Tiny Script with Tiny Silhouette on the Rib Edge
A tiny script paired with a compact silhouette on the ribs can be meaningful and discreet. The rib stretches during breathing so prioritize spacing over micro-fine strokes. Sessions are short but the area is painful for many. One camp of artists says single-needle ribs blur quickly if lines are too close together. The other camp says careful spacing and slightly bolder strokes avoid that fate, and they will show healed photos at two years. For the appointment, a soft sports bra keeps the area accessible without excess shifting.
26. Mewtwo Simple Power Symbol on the Forearm
A bold symbol on the forearm reads well and ages cleanly because of its simple geometry. Sessions are often under an hour. Ask the artist to preview the symbol at the exact width you want so the negative space does not collapse over time. The main mistake is scaling it too small for the forearm canvas. For daily style, a rolled cuff tee highlights the placement without covering the art.
27. Dragonair Tiny Spiral behind the Knee
Behind-the-knee tattoos are intimate and require care during healing because the area bends constantly. Plan for a short session and a week of limited deep knee bends. Ask the artist to avoid tiny internal details that fold and blur with motion. A common mistake is choosing a complex motif in the popliteal crease. For comfort after the appointment, wear loose athletic shorts or a pair of drawstring linen shorts so nothing presses into the area.
Frequently Asked Questions
Q: How do I find healed examples and fandom-specific portfolios without naming artists?
A: Search fandom hashtags on social platforms and filter by recent posts using location tags. Reddit tattoo threads often have collections of healed shots by character name, and event pages for local flash days list studios offering fan-themed designs. Use keyword searches like "healed small character descriptor" and regional tags to find after-healing photos in your skin tone.
Q: Will tiny color tattoos like cheek or foot pieces need touch-ups more often?
A: Yes, small saturated colors on high-friction spots typically need touch-ups at year one or two. Ask the artist about their typical touch-up timeline and bring healed photos of similar placements so you know what to expect. For fingers and feet plan for a realistic follow-up at eight to sixteen months.
Q: Which placements are best for first-time fans who want a subtle nod?
A: Inner wrist, behind the ear, ankle, and inner forearm are great for subtle nods. Choose simplified silhouettes or small symbols rather than full portraits. When booking, bring two scaled references so the artist can show how subtle details read at small sizes.
Q: How should I dress for session comfort and access for different placements?
A: Wear clothing that exposes the area without being pulled or adjusted. For shoulder and upper-arm pieces choose a tank top. For ribs bring a fitted sports bra. For inner thigh or hip consider high-waist jeans with a cropped tee. Pack a soft button-up to avoid pulling shirts over your head after the session.
Q: Are there style choices that consistently age better than single-needle micro-color?
A: Bold outlines with restrained color fields tend to age more predictably than ultra-fine single-needle work in high-movement areas. If you love fine details, ask your artist to slightly increase line weight and spacing to preserve clarity over several years.
