
A lot of people want a tiny bee and a blossom, but the most common trap is shrinking the flower until the petals turn to a smudge. I have seen fine-line bees look beautiful for a year and then soften into a fuzzy silhouette. Start with a flower that reads at small scale, pick a slightly firmer lineweight, and plan placement so the petals get room to breathe. The first idea below shows that approach on the inner forearm.
1. Fine Line Bee with Daisy Sprig on Inner Forearm
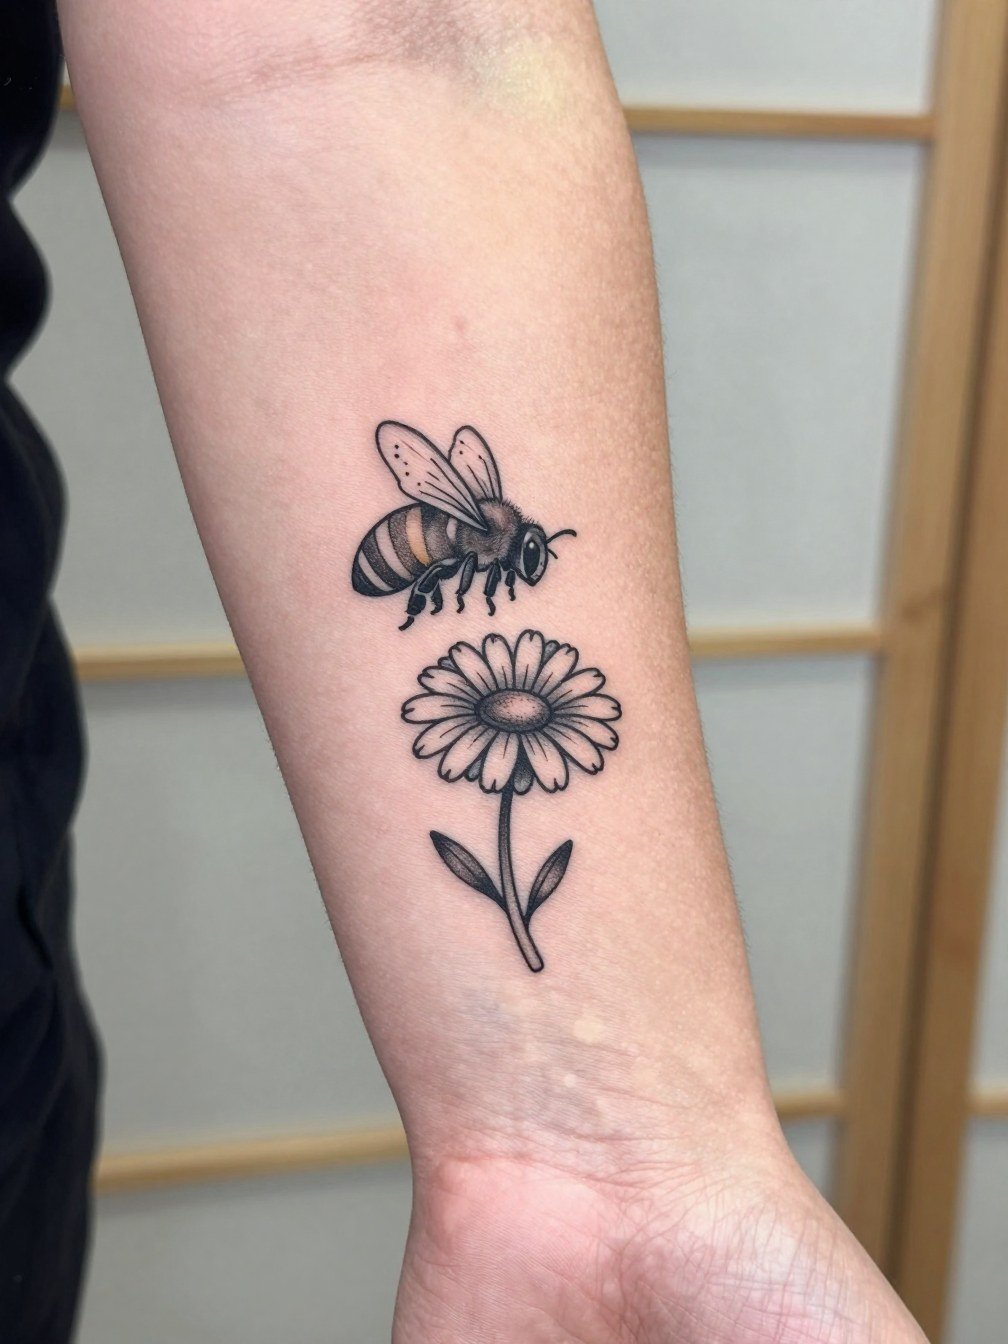
Fine line bees read airy on the inner forearm and they make excellent first tattoos for people who want visibility without a sleeve. I recommend slightly heavier single-needle linework than Pinterest samples, because the inner forearm stretches with movement and tiny petals blur fastest. Bring two references at different scales so the artist can show how the daisy silhouette reads at three inches versus five. For the session, wear a linen button down shirt or a loose short-sleeve tee so the artist has clear access. Expect a one-session sit and a possible touch-up after healing.
2. American Traditional Bee with Bold Flower Banner on Outer Upper Arm
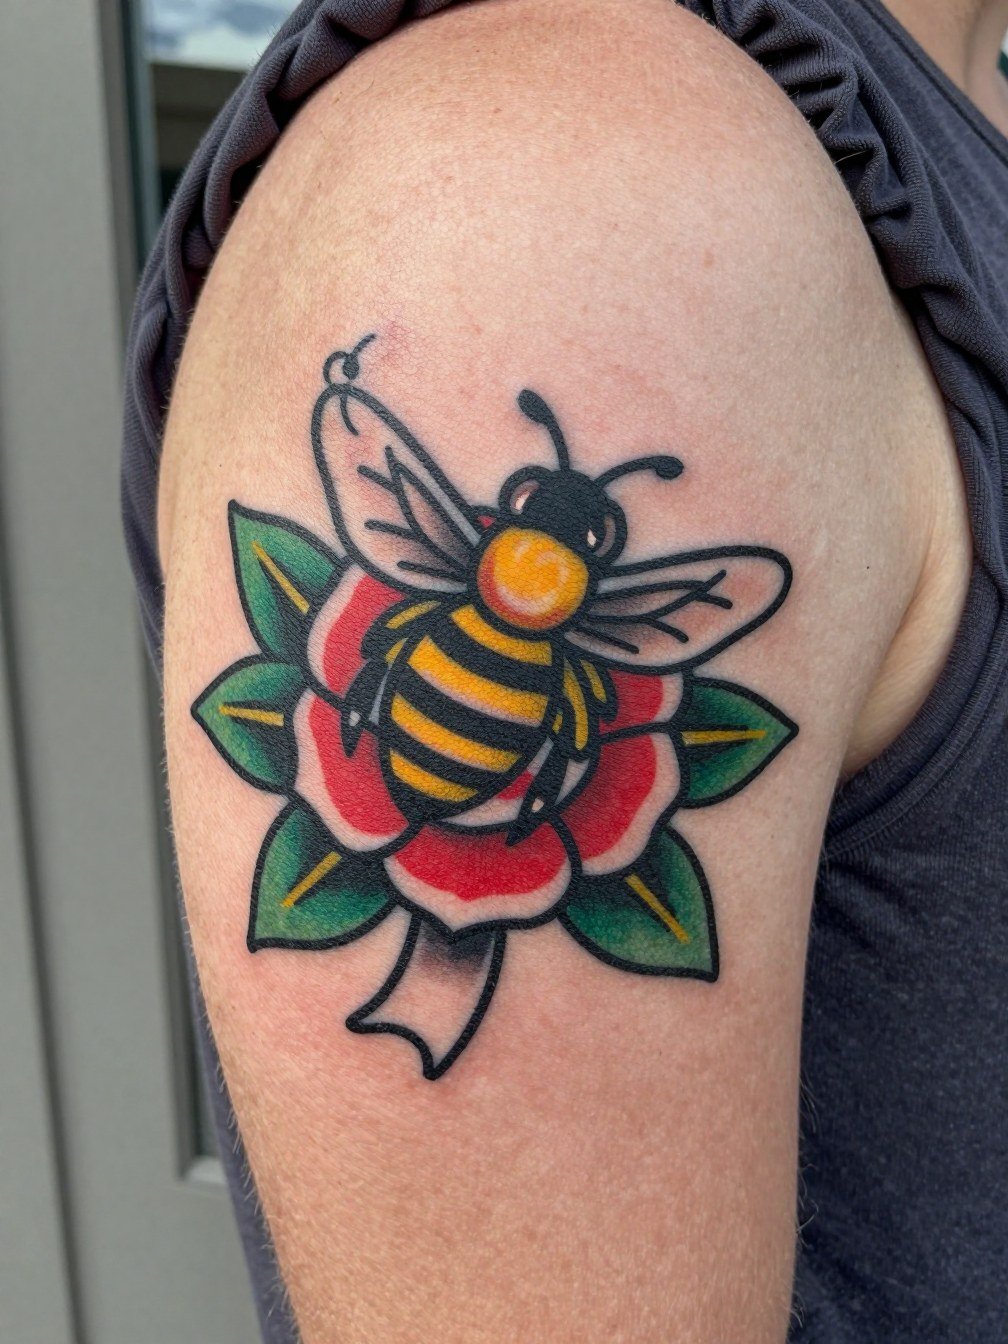
Traditional bees age well because the heavy outlines protect the silhouette as the skin changes. One common mistake is asking for micro petals inside the banner; that detail disappears faster than expected. Discuss banner placement specifically so the text wraps without crowding the bee. For showing it off, pair this placement with a muscle tank top or rolled sleeves to keep the composition visible. Sessions are comfortable for most people and usually finish in one to two hours, with a low blowout risk because of the bold linework.
3. Neo-Traditional Bee Perched on Lavender Stem on Outer Forearm
Neo-traditional gives you color saturation without sacrificing readability. If you want the bee and the lavender to age cleanly, ask for slightly heavier outlines around the petals and deeper saturation in the purples. A mistake I see is watercolor-style bleeding into thin petals, which flattens with time. For display, wear a black crew neck tee or vintage sweatshirt sleeves rolled above the elbow to frame the artwork. Expect one to two sessions depending on color density and size.
4. Micro-Realism Bee with Soft Floral Detail on the Wrist
Micro-realism can make a bee look like a tiny naturalist sketch, but the wrist is one of the trickier spots for tiny detail because of constant washing and motion. The common aging problem is loss of crisp petal edges by year two. Ask the artist to slightly increase contrast and leave a touch more negative space around the bee. For styling, balance the wrist with a minimal watch on the opposite wrist or a thin chain bracelet. Sessions are short, often a single pass, but touch-ups are common after the first year.
5. Watercolor Bee with Flower Accents on Shoulder
Watercolor approaches feel painterly but they can fade unevenly on high-sun areas like shoulders. A mistake is relying on soft washes with no anchoring linework. Ask for subtle black contours around the bee to preserve shape as color settles. For showing it off, pick tank tops or wide neck tanks that frame the shoulder cap. Expect one to two sessions and plan on occasional color refreshes for long-term vibrancy.
6. Bee and Honeycomb with Small Blossom Accent on Calf
Geometric honeycomb framing gives the bee a graphic context that resists blurring. The usual error is overloading the pattern near thin petals. Keep the blossom minimal so the hex grid stays crisp. Wear midi shorts or cuffed jeans when showing the calf. Session time is typically one to two hours with a predictable healing pattern and low touch-up needs.
Pre-Session Essentials
This tiny kit helps with the small pieces above, especially the wrist and forearm designs that need careful first-week handling.
-
Stencil transfer paper kit. Lets you preview how the bee and flower sit on curved forearm or calf skin before any needle work.
-
Topical numbing cream. Applied before the session it helps with wrist and ribcage sensitivity without changing linework when used correctly.
-
Thin protective film roll. Useful for small forearm or hand tattoos that face friction during the first few days.
-
Fragrance-free body wash. Gentle cleansers reduce irritation during showers while delicate inks are settling.
-
Healing ointment. A thin layer for the initial days locks in moisture and helps fine line work heal without heavy scabbing.
7. Fine Line Bee and Lavender Sprig on Ankle
Ankle skin gets a lot of friction from socks and shoes. That makes clean silhouettes preferable to tiny filigree. I suggest a slightly bolder stem line and simplified lavender buds so the sprig reads after six months. Wear cropped jeans or low-profile sandals when showing the piece. For the appointment, choose pants that roll easily like cropped straight leg jeans so the artist can access the ankle without tugging. Expect a single-session tattoo and a likely touch-up if you want the micro detail to stay crisp.
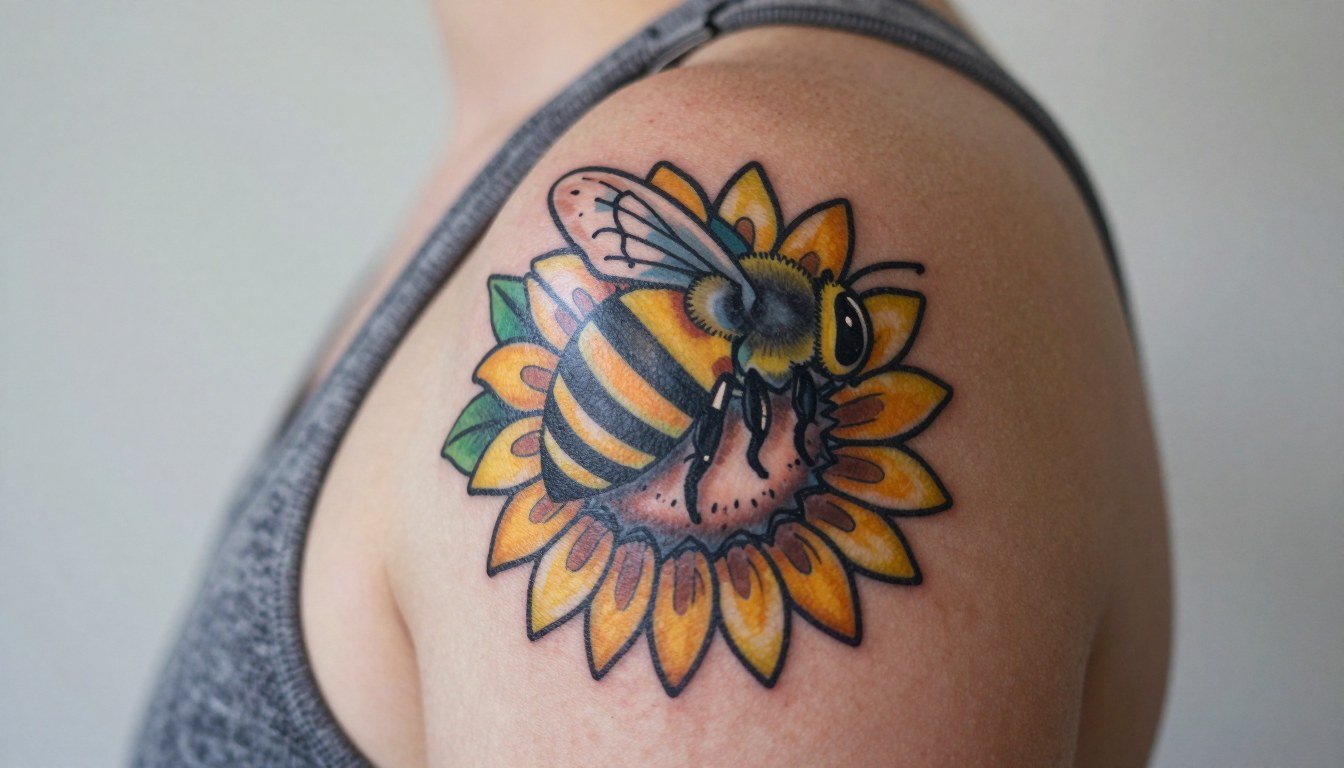
8. Colorful Bee with Sunflower on Shoulder Cap
Shoulder pieces are great for larger, colorful compositions that read from a distance. Yellow pigments can fade unevenly, so ask for stronger saturation in the sunflower center and a protective darker outline around petals. Pair this with off shoulder tops or wide neck tees to frame the shoulder cap. Sessions are comfortable and often finish in one or two sittings, with color refreshes recommended after a few years.
9. Small Bee on a Single Flower Stem for First-Timers at the Wrist
This compact composition solves the tiny-tattoo aging problem by keeping the flower simple and the bee silhouette clear. The most common error is shrinking both elements and expecting them to hold up. Plan for slightly more lineweight and ask the artist about touch-up timelines for wrist work. For session comfort and display, wear sleeveless tops and consider a thin chain bracelet on the opposite wrist. Most first-timers find the sit tolerable and the healing straightforward.
10. Bee with Banner or Script Around a Flower on Upper Arm
Adding a banner gives personalization without a large piece. The common pitfall is tight lettering that compresses as the skin ages. Ask the artist to space the script for readability at the chosen size and request a mock-up on the arm before inking. When showing this off, go for sleeveless tees or rolled sleeve shirts to keep the silhouette crisp. Sessions usually run an hour or two for a medium-sized piece.
11. Bee on Native Wildflower with Ecological Framing on the Ribcage
Ribcage placements spark a real debate among artists. One camp says the ribcage stretches and breathes so much that fine line petals blur within two years. The other camp argues that if you widen the composition and simplify petal shapes it settles fine and remains elegant. If you prefer the rib for intimacy, plan a medium-scale piece and have the artist show healed rib photos at that scale. For the session wear a button-front shirt or a sports bra that lifts easily without rubbing the area.
12. Small Bee and Flower Flash for Patchwork Sleeve Building on Outer Forearm
Flash pieces are efficient for building an arm collection because they slot into a larger layout. The mistake is picking flash that relies on micro-detail too small to harmonize with nearby pieces. Pick flash with firm outlines and consistent scales so future additions match. Session wear is easy, and this kind of piece often finishes in one sitting. For a casual show-off look, pair it with a plain black tee or vintage sweatshirt with sleeves rolled.
13. Blackwork Bee with Single Flower Silhouette on Side Torso
Blackwork keeps a composition readable as the skin changes because it relies on strong negative space rather than fine petal lines. Common issues come from trying to force tiny petal detail into solid black areas. If you want a dramatic silhouette, commit to bold fields and simple shapes. For reveal outfits, an open cardigan over a bralette frames the side torso nicely. Sessions are usually one to two sittings depending on block size, and these pieces age predictably.
14. Geometric Honeycomb Background with Small Blossom Accent on Calf
Using geometry gives a modern backdrop that keeps the bee visually anchored. The pitfall is making the honeycomb too dense near thin petal edges. Space the blossom away from tight hex clusters so both elements breathe. For outfit pairing, midi shorts or cuffed jeans present the calf cleanly. Expect one to two sessions and low long-term maintenance because the shapes are forgiving.
15. Micro-Realistic Bee with Muted Flower on Collarbone
Collarbone skin can show subtle detail beautifully, yet the area moves and catches the sun. A common mistake is relying solely on fine shading with no stronger contour. Ask the artist to keep a slightly firmer outer line so the bee and petal edges read after a year. For evening looks, pair it with a wide neck tank or scoop-neck top that frames the clavicle. Sessions are short but expect careful aftercare to avoid sun exposure.
16. Watercolor Bee and Clover Cluster on Thigh
Thigh placements let you go larger and softer with watercolor effects because the area sees less abrasive friction. The usual error is making the washes too pale and expecting them to hold vividness. Ask for slightly denser pigment in the clover leaves and a clear contour around the bee. Wear skirts or shorts that show the area and consider session wear like loose pants that roll easily. Sessions can be comfortable and are often done in one longer sitting.
17. Small Flash Bee on Outer Forearm for Patchwork Collections
Flash designs help fill gaps in an evolving sleeve. A common mistake is accepting flash that is too tiny compared with surrounding pieces. Keep scale consistent and request that the artist mock up how the flash will sit next to existing work. Session wear is simple and most flash pieces finish quickly. For a clean look, wear a plain black tee with sleeves rolled above the elbow to highlight the patchwork.
18. Botanical Illustrative Bee with Sunflower on Shoulder Blade
Shoulder blade pieces are intimate and photograph well. Avoid over-detailing the petal edges if you want long-term clarity. Have the artist simplify the sunflower petals into readable shapes and plan for a single or two-session approach depending on color. For nights out, off-shoulder dresses or wide neck tanks look great with this placement. Pain is moderate and healing is generally straightforward.
19. Black and Grey Bee with Rose on Upper Back Near Neck
The upper back near the neck suits black and grey for longevity because dark neutrals hold contrast. The common error is attempting tiny shaded petals that merge with the bee over time. Ask for clean stipple shading and a slightly firmer outer contour to keep the shapes distinct. For sessions, wear wide-neck or scoop-neck tops so the area is easy to access. Healing is usually uneventful and touch-ups are rare if the initial saturation is strong.
Frequently Asked Questions
Q: How should I budget for a small bee and flower tattoo?
A: Small bees and companion flowers often land above old $100 expectations. Budget for the shop minimum and the style you want. Fine-line pieces can be cheaper per hour but often need touch-ups, while saturated traditional pieces can cost more up front but need fewer early refreshes.
Q: Will fine-line bee tattoos blur faster than bold styles?
A: Artists split into two camps. One group says fine line blurs faster, especially on small pieces and high-movement areas like wrists and ribs. The other group says fine line holds if the design is scaled, spaced, and inked with proper depth. Consider your tolerance for touch-ups and ask the artist to show healed photos on similar placements and skin tones.
Q: What should I wear to my tattoo appointment for different placements?
A: Pick clothing that gives the artist easy access without tugging at the area. For inner forearm choose a linen button down shirt or a loose short sleeve. For shoulder or collarbone go with a tank or wide-neck top. For ribcage use a button-front shirt or sports bra that lifts easily and does not rub the healing skin.
Q: Where can I find healed examples and portfolios without naming artists?
A: Search hashtags like #beetattoo and #beeflowertattoo on Instagram and TikTok, then use location filters to find nearby portfolios. Browse gallery-style tattoo directories with keywords like "fine line bee" or "neo-traditional bee," and check Reddit tattoo threads for healed comparisons on different skin tones. Prioritize portfolios that show healed shots rather than only fresh work.
Q: If I choose color, how often will I need a refresh?
A: Color refresh frequency depends on pigment choice and sun exposure. Yellow and pale florals often need a refresh sooner than saturated reds and blacks. Plan for a possible color top-up after two to five years if you want the hues to stay vivid.
