
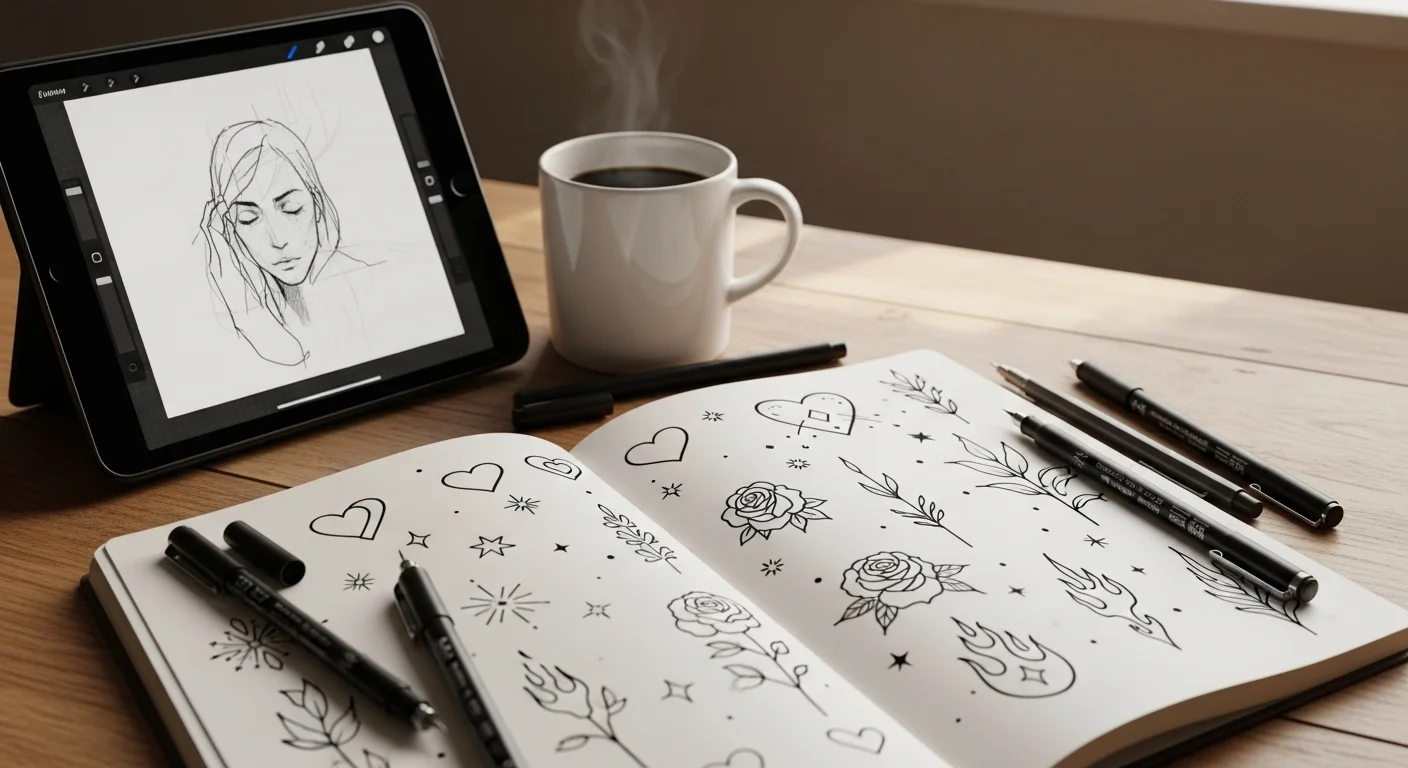
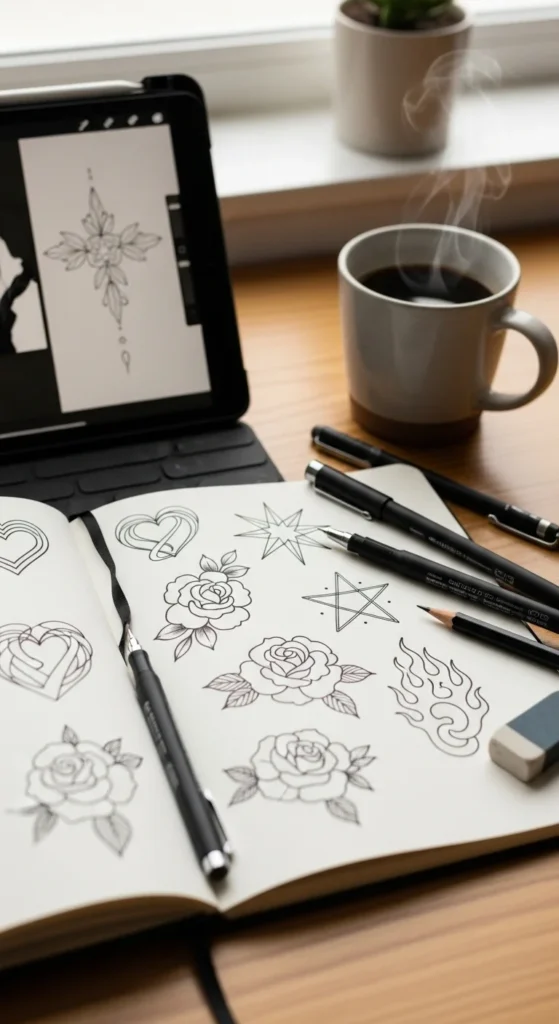
Designing tattoos at home can be really fun and creative—as long as you treat it as art practice, not a DIY tattoo session on your skin. Simple hearts, stars, and tiny roses are perfect for learning how to draw clean lines and balanced shapes that would later look great as real tattoos.
This guide walks you through how to design simple tattoos at home safely, build skills on paper and fake skin, and create a cute little “tattoo design portfolio” you can eventually take to a professional.
Quick reminder: Don’t tattoo yourself at home. Stick to paper, iPad, and practice skins. Let a licensed artist handle the needles and hygiene.
Start with Simple Symbols That Mean Something
You don’t need complex realism to design a meaningful tattoo. Begin with basic, symbolic shapes that are easier to draw and refine:
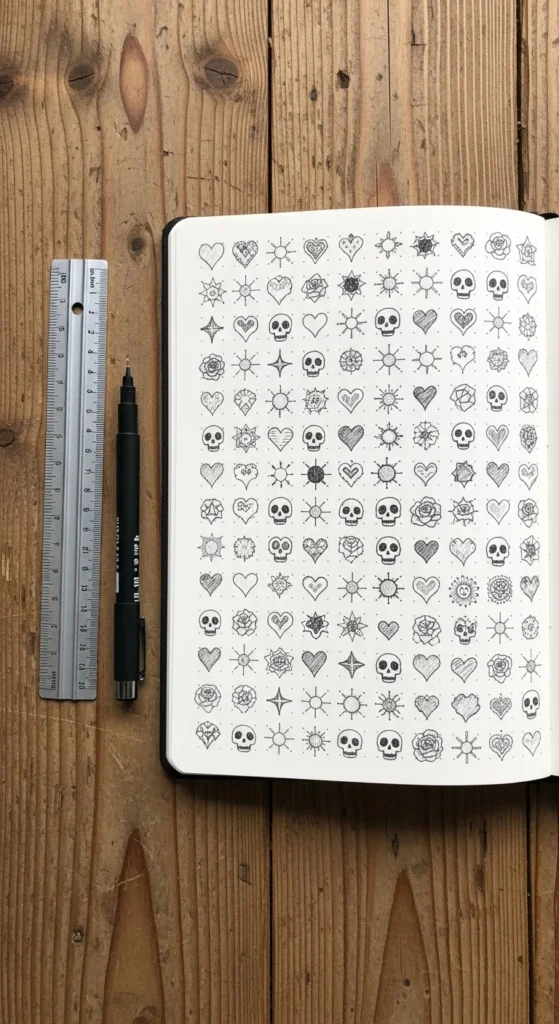
- Minimalist hearts for love and relationships
- Stars for guidance, goals, and direction
- Single-line sun for warmth, hope, or new beginnings
- Flat skulls for bravery, change, or memento mori themes
- Simple roses drawn with just outlines, no shading
Keep them under 3 inches at first. Smaller designs help you focus on clean outlines, not heavy details.
Try this mini exercise:
- Fill one page with 10 heart variations
- Another with star clusters in different sizes
- A third with sun and flame shapes using only lines
This repetition builds muscle memory fast.
Practice Line Work Before Anything Else
Line work is the backbone of simple tattoos. Before worrying about shading, get obsessed with smooth, confident lines:
On paper:
- Draw straight lines across the page—slow, then faster
- Practice curves for hearts, flames, and petals
- Do single-line drawings (sun, wave, or simple ghost) without lifting your pen
- Experiment with line thickness (thin outlines vs. slightly thicker borders)
You can also simulate tattoo needle control by:
- Using fine liner pens or technical pens
- Practicing on printer paper first, then smoother sketch paper
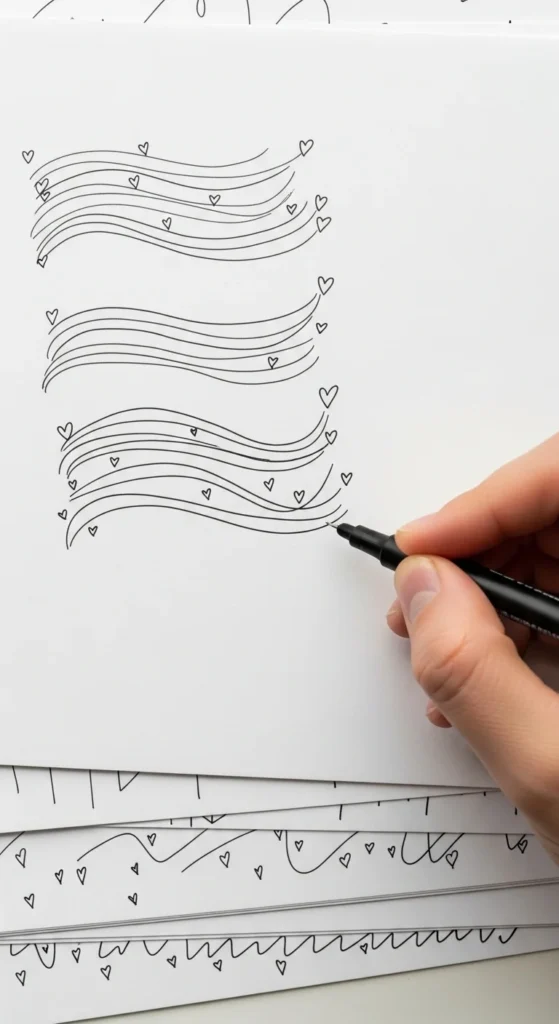
Focus on:
- Consistent pressure (no shaky “hairy” lines)
- Clean corners on stars and geometric shapes
- Balanced spacing in flame and wave designs
Think of this as your “line gym.” The more reps, the better your future designs will look.
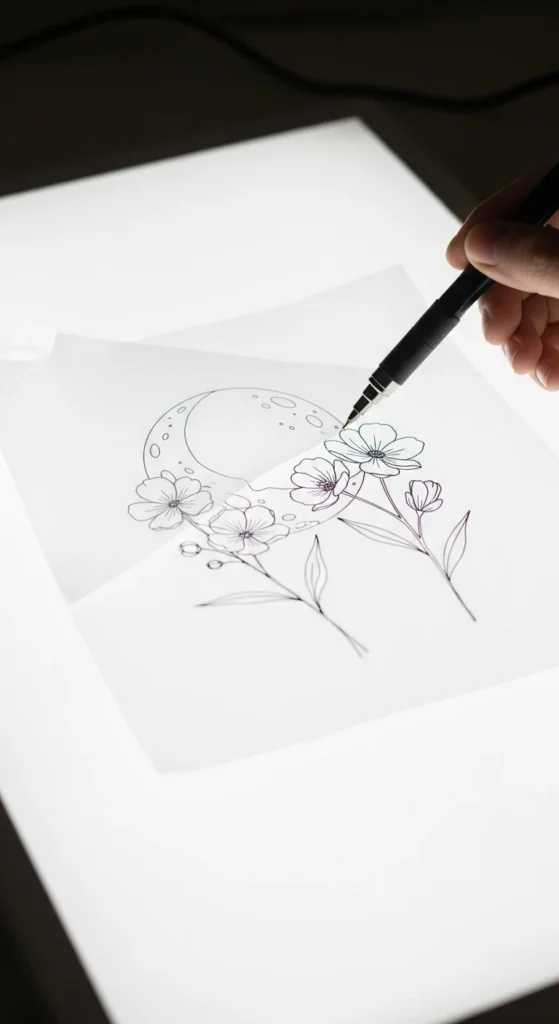
Move to Practice Skins (Still No Real Tattooing!)
Once your paper sketches feel controlled, you can try fake skin (practice skin) to understand how designs might look on a body-like surface.
What to do on practice skins:
- Re-draw your best hearts, stars, and roses
- Try flat skull outlines before adding anything complex
- Practice flames and waves to learn flowing shapes
- Test simple traditional-style designs with bold outlines (like anchors or classic hearts)
You can also transfer designs with a stencil-style approach:
- Draw your design on tracing paper
- Flip and retrace to clean it up
- Apply to practice skin using stencil gel or Speed Stick, like a real artist would
This helps you learn how designs sit on a curved surface and how crisp they look when transferred.
Again: keep everything on fake skin or paper. Infection, blowouts, and scarring from home tattooing are not worth it—save your best designs for a clean, professional studio.
Use Digital Tools for Clean, Symmetrical Designs
If you have a tablet and a drawing app like Procreate, you can get very polished simple tattoo designs at home.
Digital perks:
- Symmetry tools for hearts, skulls, stars, and mandalas
- Easy “mirror flip” checks to catch wonky sides
- Quick resizing for different body placements
- Layers to test line thickness and variations without ruining the base
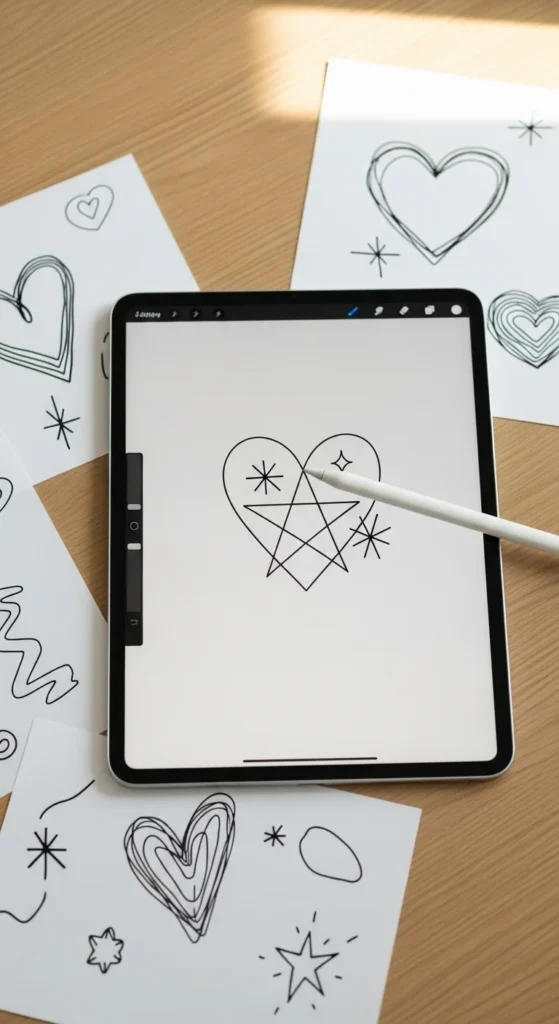
Try this workflow:
- Sketch your idea in pencil on paper
- Take a clear photo and import it into your app
- Trace over it with digital brushes for smooth lines
- Turn on symmetry for faces, skulls, and centered hearts
- Export different sizes ready to print as tattoo references
This gives you clean, professional-looking line art you can proudly show to an actual tattooer later.
Plan for Placement, Scale, and Longevity
Even though you’re just designing at home, think like a real client:
- Would this tiny heart work on a wrist or behind the ear?
- Is this simple rose big enough for the forearm without losing detail?
- Does this star cluster follow the curve of the collarbone or ankle nicely?
Easy placement tests:
- Print your design in 2–3 sizes
- Cut them out and tape them on different spots
- Take mirror selfies or ask a friend to snap photos
- Decide which scale and placement feel natural and readable
Also think about aftercare views—how the design will look as it ages:
- Simple designs with clean lines age better than tiny, super-detailed ones
- Thicker outlines usually hold up longer than ultra-thin micro lines
- Spots that rub constantly (fingers, sides of feet) are higher risk for blurring
This planning makes your final design much more realistic and studio-ready.
Keep It Safe, Fun, and Studio-Ready
Designing simple tattoos at home is a great way to:
- Build your drawing skills
- Discover your favorite symbols and styles
- Create a small portfolio to show your future artist
Just remember:
- No DIY tattooing on your skin—leave needles and real ink to licensed pros
- Focus on line work, shapes, and symmetry
- Use paper, digital tools, and practice skins as your playground
When you’ve got a few designs you love, print them neatly, organize them in a folder, and bring them to a trusted studio.
They can refine your art, adjust it for your body, and turn your at-home ideas into safe, clean, professional tattoos.
Save this guide for later so you can come back to the drills and prompts whenever you’re in the mood to sketch your next simple tattoo idea.
