
You don’t have to be a pro artist to design a tiny tattoo that actually means something.
You just need a clear idea, clean lines, and a way to test your design before it hits real skin.

Whether you’re a beginner tattooer practicing on fake skin or a client planning your first piece, simple symbols are the easiest way to start. Let’s walk through how to design them so they look minimal, clean, and personal—not generic.
Start With Meaning, Then Pick the Symbol
Before you draw anything, decide what feeling or story you want on your skin. Then match it to a simple symbol.
Some ideas:
- Love / connection → heart, infinity, two tiny stars
- Guidance / direction → compass, arrow, North star
- Growth / transformation → butterfly, flame, small rose
- Faith / devotion → cross, simple line halo, tiny moon
- Resilience / toughness → skull, wolf outline, thorny rose
- Home / memory → state outline, tiny house, coordinates
Ask yourself:
- What’s one word that sums this up? (love, courage, home, change)
- What shapes naturally fit that word? (circle, triangle, heart, star)
- Where do I want to see this message daily? (wrist, ankle, ribs, finger)
Jot down a few symbol + meaning pairs. You’ll refine the look later, but this step stops you from ending up with “just a random star.”
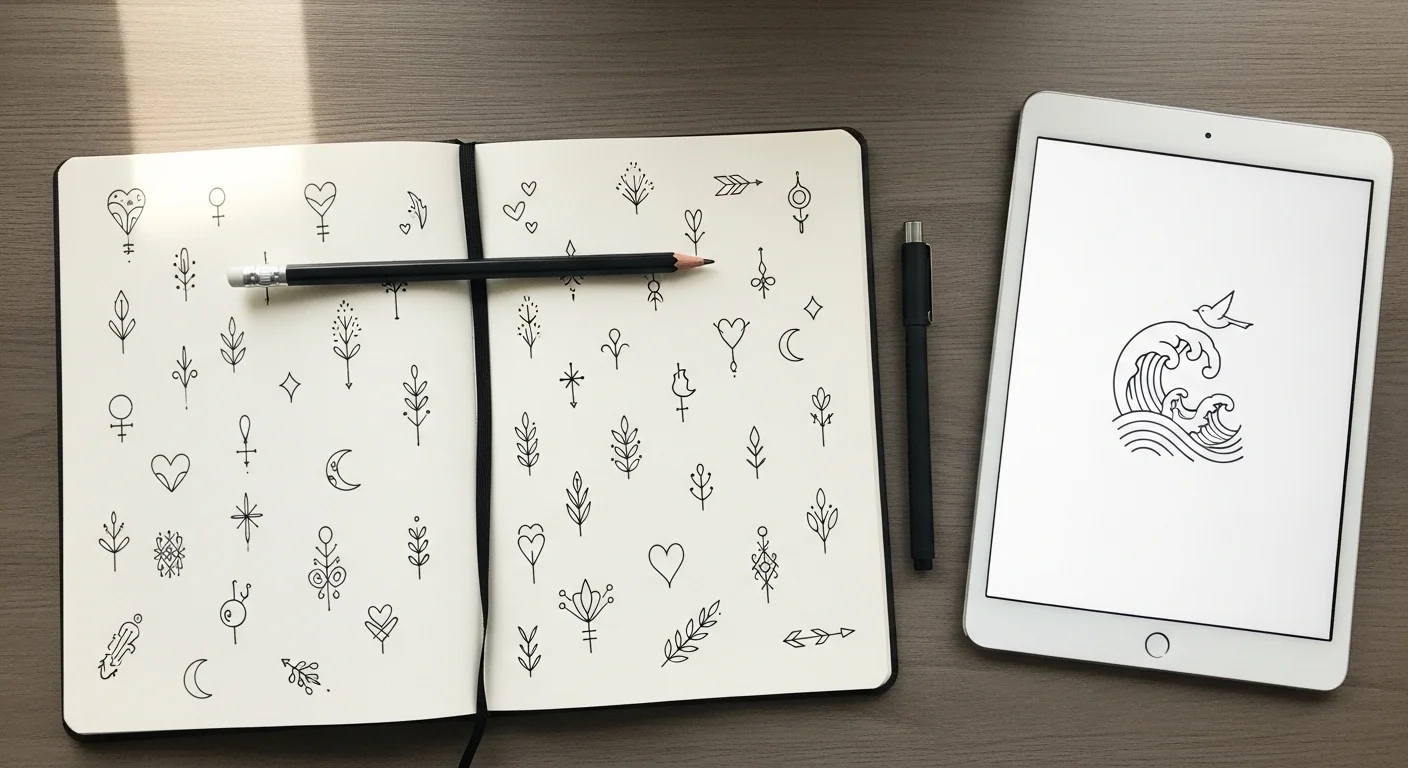
Keep the Design Extremely Simple
Minimal tattoos age better and are easier to pull off on fake skin or real skin.
Think:
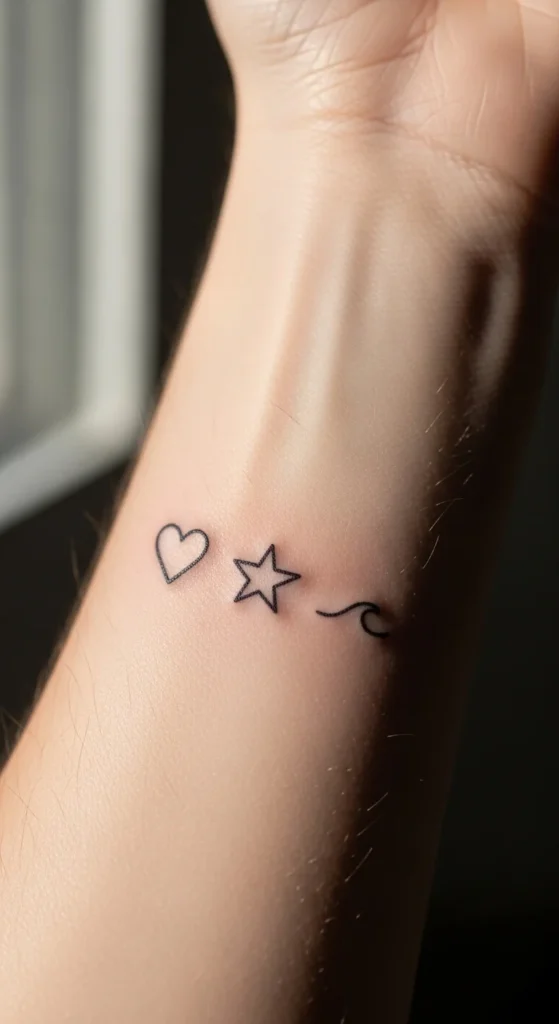
- Bold outline hearts
- Tiny star clusters
- Simple sun/moon arcs
- Single-line waves
- Clean arrows or infinity loops
Guidelines to keep it simple:
- Use basic shapes
Circles, triangles, lines, arcs, and dots. Build your symbol from those. - Avoid early shading
If you’re a beginner, stick to bold outlines instead of complicated shading. - Limit details
A skull? Drop the tiny teeth and eye wrinkles—just outline the shape and eye sockets.
A rose? Focus on the main bloom, not every petal. - Use negative space
Let skin become part of the design:- Moon created by leaving a crescent of skin un-inked
- Arrow tip implied with two short lines, not a filled triangle
- Flame shapes drawn around empty space
Less is not “boring” here. It’s how you get clean, readable ink that still says something.
Draw For Line Quality, Not Perfection
For tattoo symbols, clean lines > perfect art.
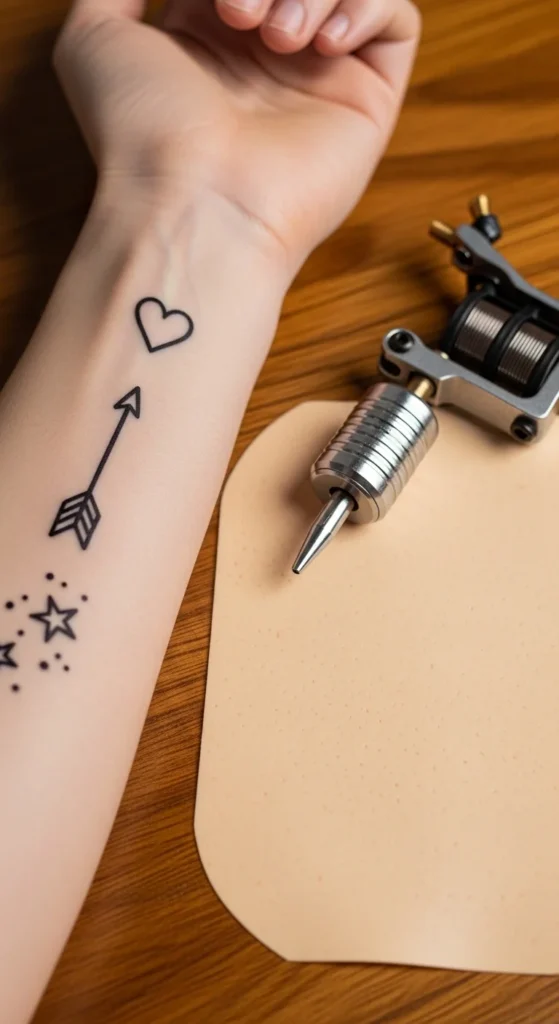
If you’re tattooing:
- Practice straight and curved lines on fake skin before anything else.
- Start with 3RL needles or similar for clear outlines.
- Repeat simple shapes:
- 20 hearts in a row
- 20 stars
- 20 arrows
If you’re a client designing your own:
- Use a fineliner or gel pen on paper so lines look close to tattoo ink.
- Draw the same symbol in:
- Micro size (finger/behind ear)
- Small (wrist/ankle)
- Medium (forearm/calf)
Then:
- Snap photos from arm’s length.
- Zoom out and ask: can I still tell what this is?
If it turns into a blob when viewed small, simplify again.
Use AI & Design Tools Without Losing Your Voice
AI generators are amazing for quick ideas—but they shouldn’t replace your meaning.
Good tools to test:
- AI tattoo generators (prompt-based)
- Design platforms like Canva
- Style-adapting tools like Inker or vector programs like Illustrator

How to use them smartly:
- Write a clear prompt
- “Minimalist single-line butterfly tattoo symbol, small, wrist-sized, clean black line, no shading.”
- “Tiny compass tattoo outline, negative space in the center, ankle placement style.”
- Generate several options
Save the ones that match your idea and ignore anything that feels generic. - Print, trace, and simplify
- Print your favorite AI designs.
- Trace only the core shapes.
- Remove extra lines and clutter.
- Add your twist
- A tiny dot for a birth year.
- An extra star for a loved one.
- A thicker line on one side to show direction or emphasis.
AI is a sketch partner, not the final say. Your story is what makes the design worth wearing.
Test on Skin: Paper, Marker, and Practice Skins
Never jump straight from screen to real tattoo.
Try this sequence:
- Paper first
- Draw 10 versions of your symbol.
- Circle the top 3 that feel the most “you.”
- Paper-to-skin test
- Cut out the symbol.
- Tape it:
- On wrist
- On ankle
- On inner arm
- Take mirror and phone selfies to see how it sits.
- Marker test (for clients)
- Draw the symbol with a fine marker directly on skin.
- Wear it for a day:
- Does it annoy you?
- Do you start to love it more?
- Fake skin drills (for tattooers)
- Use practice skins to repeat:
- Hearts
- Stars
- Flames
- Moons
- Focus on:
- Even pressure
- Smooth curves
- Consistent line thickness
- Use practice skins to repeat:
The more you rehearse on low-stakes surfaces, the calmer you’ll feel when you move to real skin.
Match Symbol, Size, and Body Placement
A good simple tattoo isn’t just about the design—it’s about where and how big it is.
Think about:
- Visibility level
- High: wrist, forearm, hand, neck
- Medium: ankle, upper arm, behind ear
- Low: ribs, hip, upper thigh
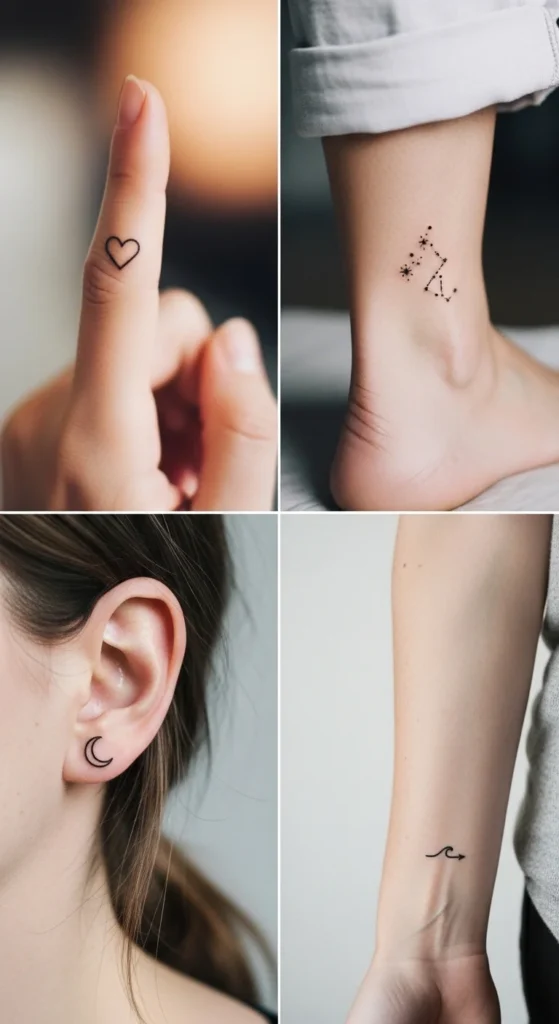
- Symbol + spot combos
- Tiny heart or infinity → side of finger, inner wrist
- Compass, arrow, or state outline → forearm, calf
- Butterfly or small rose → collarbone, shoulder
- Cross or moon → back of neck, behind ear
Quick sizing tip:
- Print your design at three sizes.
- Tape them on the exact body spot.
- Pick the smallest one that is still clearly readable in a mirror selfie.
If you’re working with an artist, bring all your tests—paper cutouts, AI references, and photos. That gives them a clear base and saves time (and money) in the chair.
Final Thoughts: Design Small, But Think Deep
Simple tattoo symbols don’t have to be random or trendy. With a little prep, you can create a tiny design that actually matches your story, your style, and your skill level (if you’re the one tattooing).
- Start with meaning.
- Keep shapes clean and minimal.
- Use AI and practice skins as tools—not crutches.
- Test placements and sizes before going permanent.
If this helped you, save this guide for your next tattoo idea or share it with a friend who’s stuck choosing their first symbol. Your future ink will thank you.
