

Celtic knot tattoos are chosen for their flow, patience, and meaning carried through line rather than imagery. These designs rely on balance and repetition, which helps them age well when planned carefully. This list focuses on knot styles that look striking while staying practical for real bodies and real budgets. Each idea explains how the pattern works, where it fits best, and how to approach it without overcomplicating the process.
1. Full Forearm Knot Sleeve
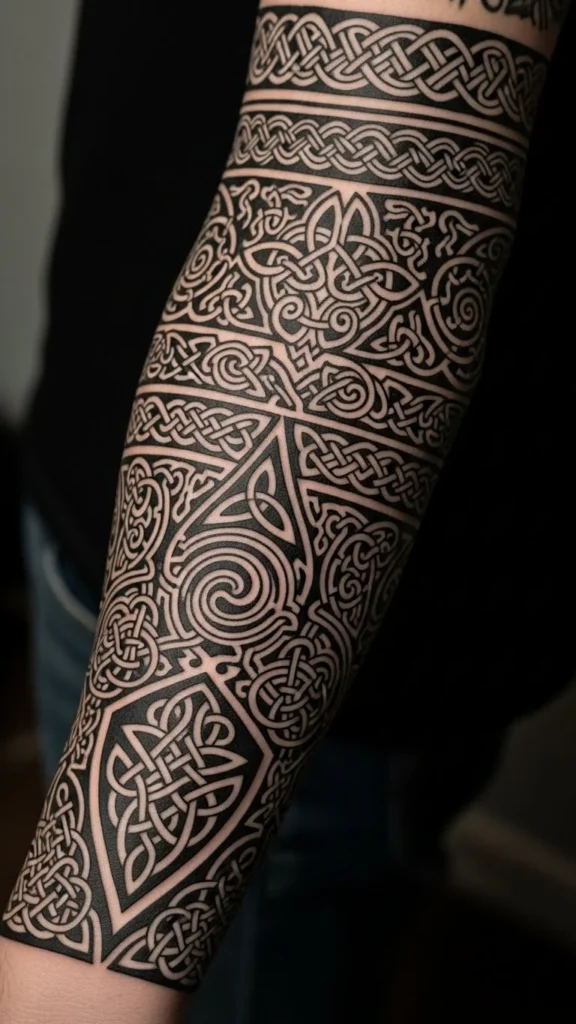
A full forearm knot sleeve creates impact through repetition and flow. The eye naturally follows the pattern, which keeps even dense designs readable. This style works best when the knots wrap smoothly around the arm instead of stopping at sharp edges.
To keep costs reasonable, use a repeating knot pattern rather than a fully custom scene. Black ink only shortens sessions and simplifies healing. Ask for consistent spacing so the lines remain clear as the skin changes. A simple DIY step helps a lot here. Wrap paper around your forearm and sketch the knot flow. This shows where breaks may feel awkward before any ink is applied.
2. Circular Shoulder Knot
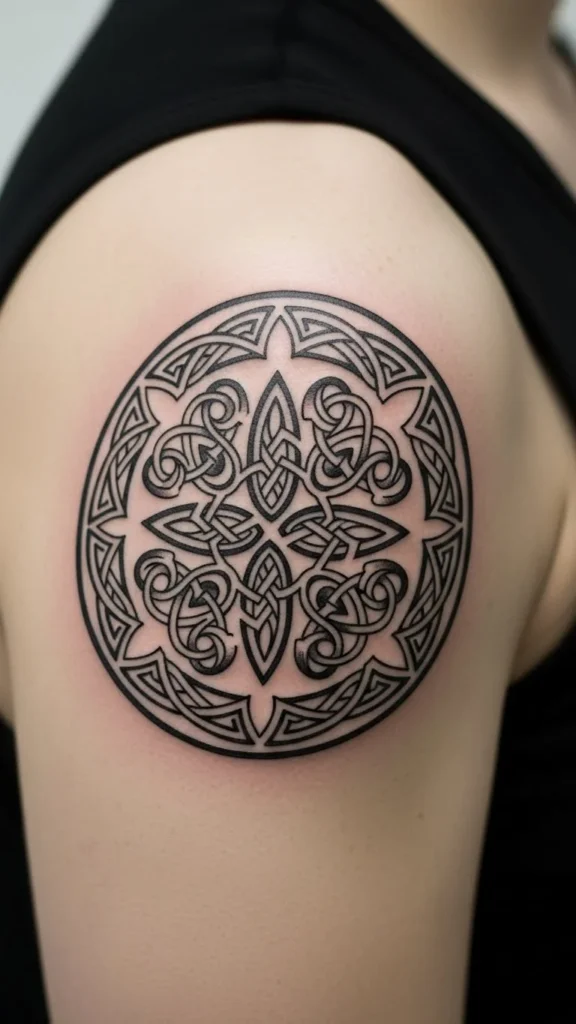
Circular knot designs sit naturally on the shoulder. The rounded shape matches the body and feels complete from every angle. This makes it a strong option for people who want balance without large coverage.
Medium line weight works best. Very thin lines can blur over time, while heavy fills add cost without adding clarity. Keeping the design line-only helps manage session length. A simple trick is to tape a paper circle to your shoulder and check it in the mirror from different angles. If it still feels centered, the size is likely right.
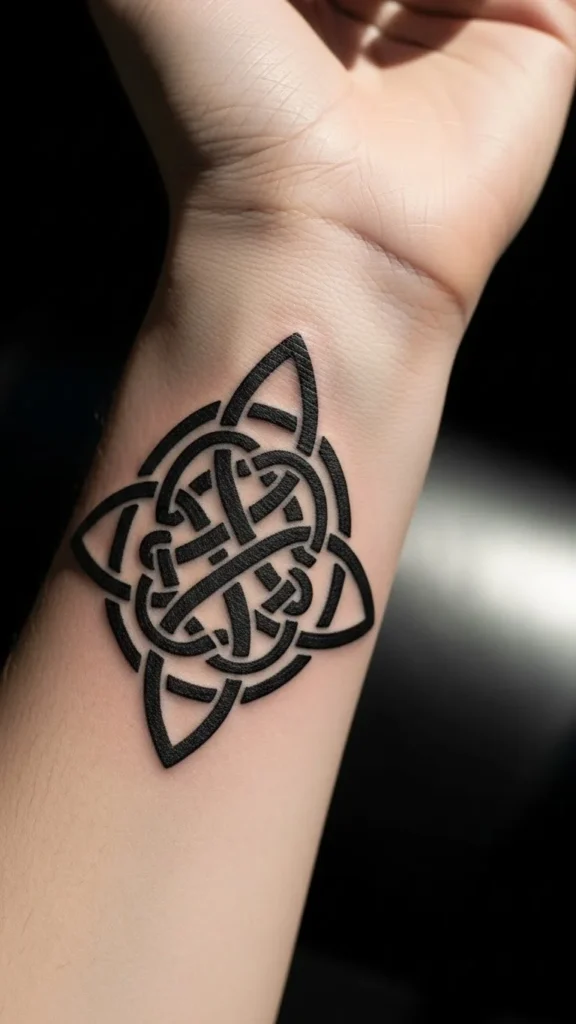
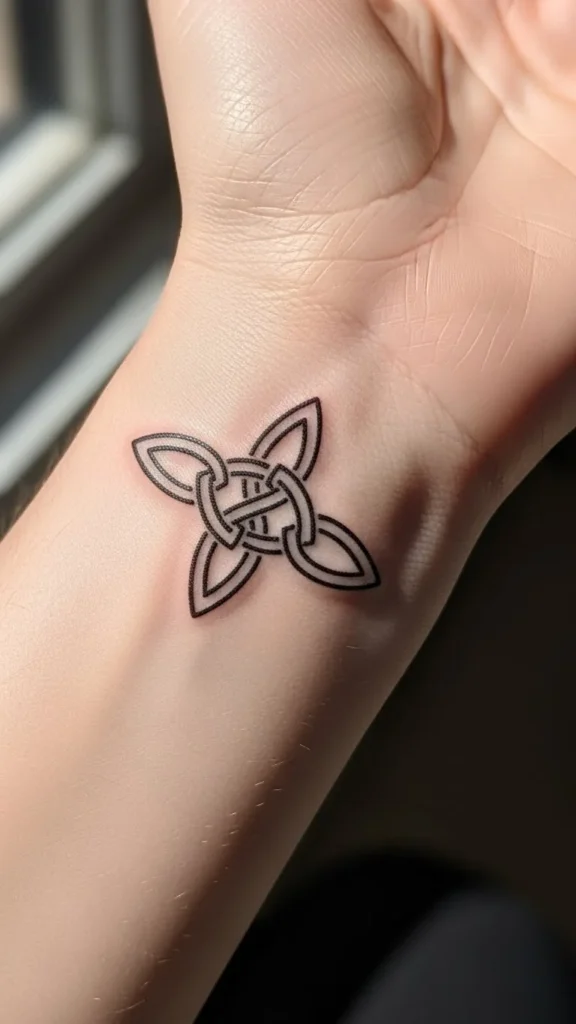
3. Thin Wrist Knot Band
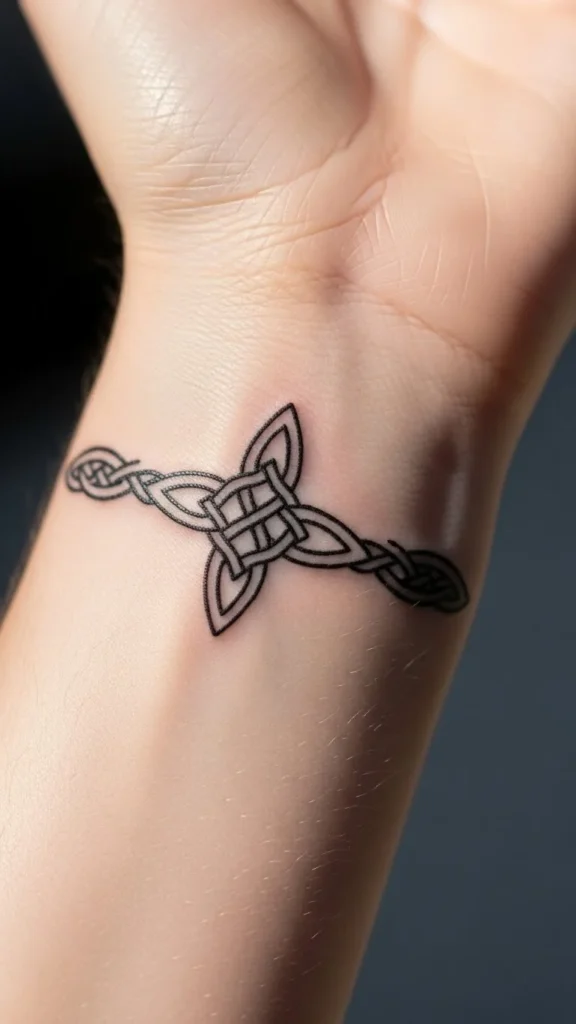
Wrist knot bands are subtle but meaningful. The continuous pattern often reflects connection and continuity. Because the wrist moves constantly, simplicity matters.
Choose a single repeating knot rather than layered detail. Slightly thicker lines help the design stay visible long term. Measure your wrist with string and mark the width you prefer. Even a few millimeters can change how the band feels. Ask for a stencil test before starting so the pattern sits evenly all the way around.
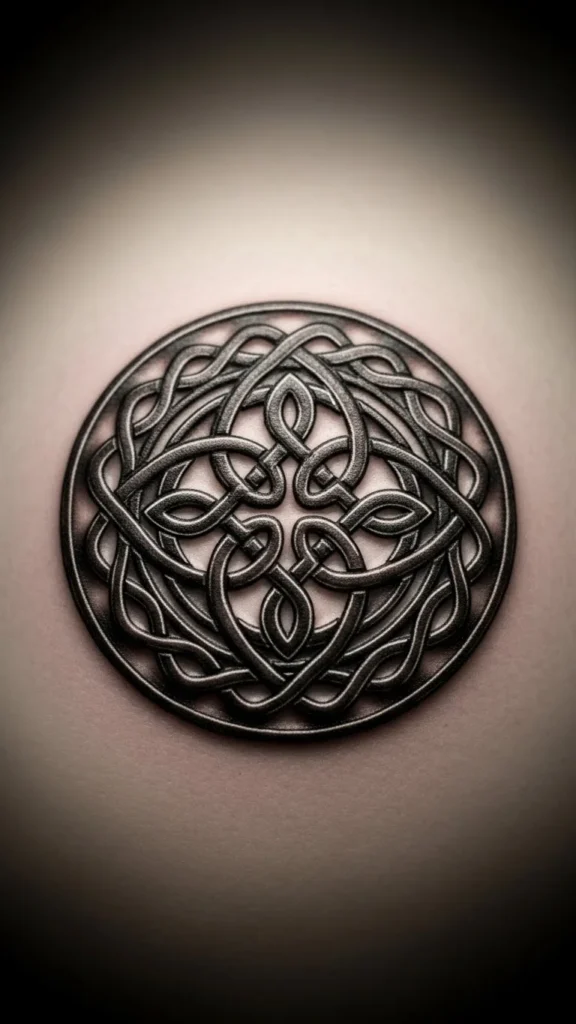
4. Chest Knot Medallion
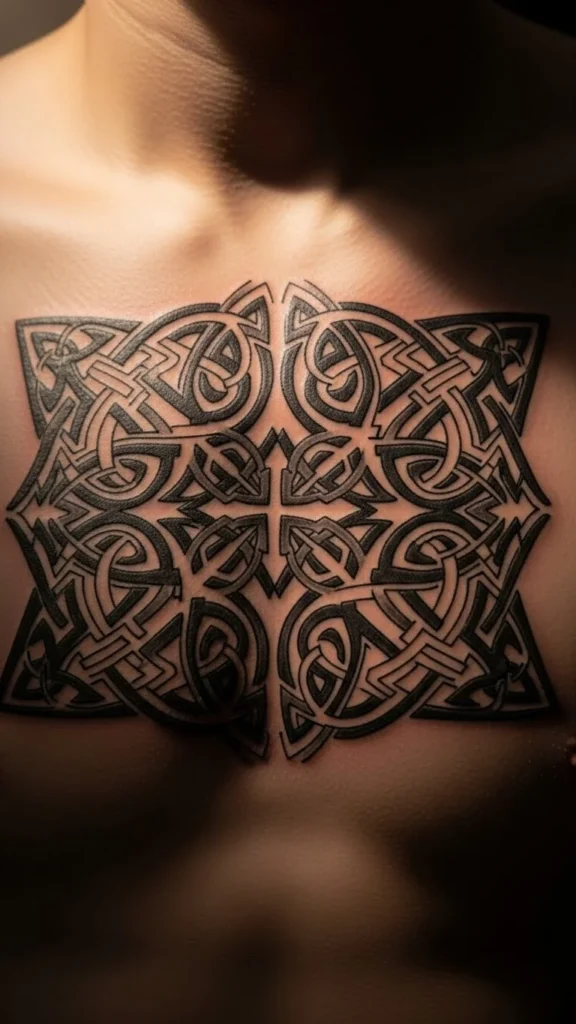
A chest knot medallion feels grounded and symmetrical. It often reflects balance and inner focus. Center placement matters here more than size.
Bold, even lines keep the design readable at a distance. Avoid packed shading, which increases time and cost. Printing the design and folding it in half helps confirm symmetry. This small step can prevent uneven results later.
5. Calf Wrap Knot Design
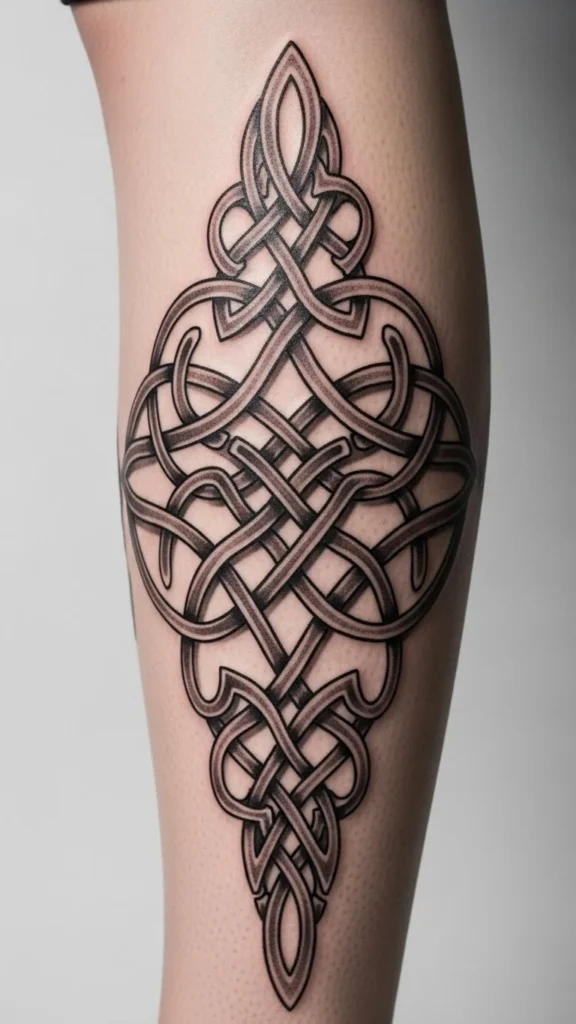
The calf offers space for flowing knot patterns that move naturally with the leg. Wrap designs feel dynamic without being overpowering.
Limit the wrap to one full rotation to control session length. Open spacing between knots keeps the pattern readable. Walk around with a temporary stencil for a day if possible. Movement changes how wrap designs feel more than expected.
6. Vertical Spine Knot
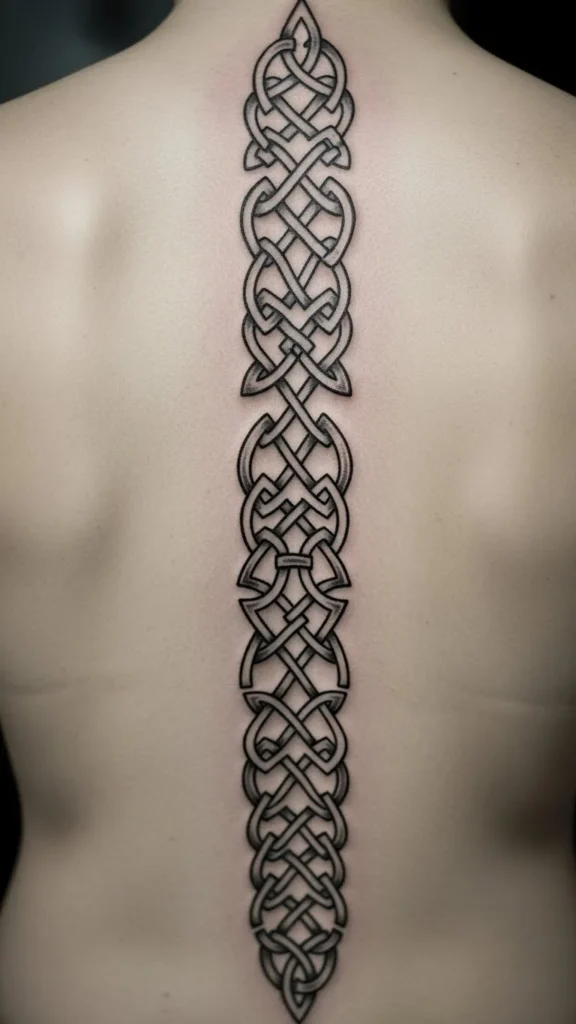
A vertical knot strip along the spine feels structured and intentional. The natural symmetry of the back supports this layout well.
Repeating the same knot shape down the spine keeps things calm and affordable. Ask to check alignment while standing normally. Small shifts in posture can affect how straight the design looks.
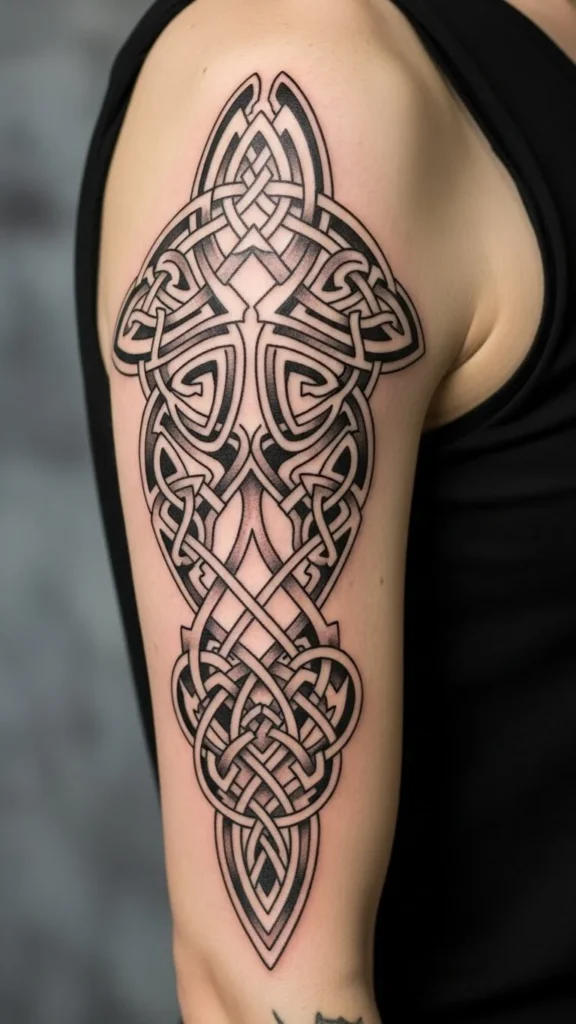
7. Shoulder to Upper Arm Knot Flow
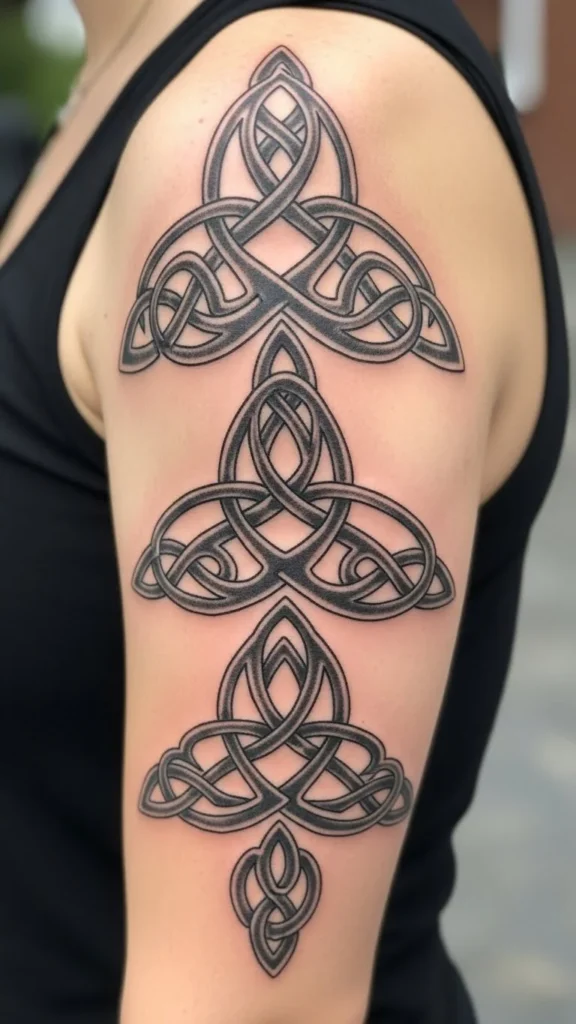
This placement allows knots to flow naturally from shoulder to arm. It suits people who want coverage without committing to a full sleeve.
Focus on flow rather than density. Fewer intersections keep the design clear and easier to maintain. Plan where the pattern ends so it looks intentional when wearing short sleeves.
8. Back-of-Arm Knot Panel
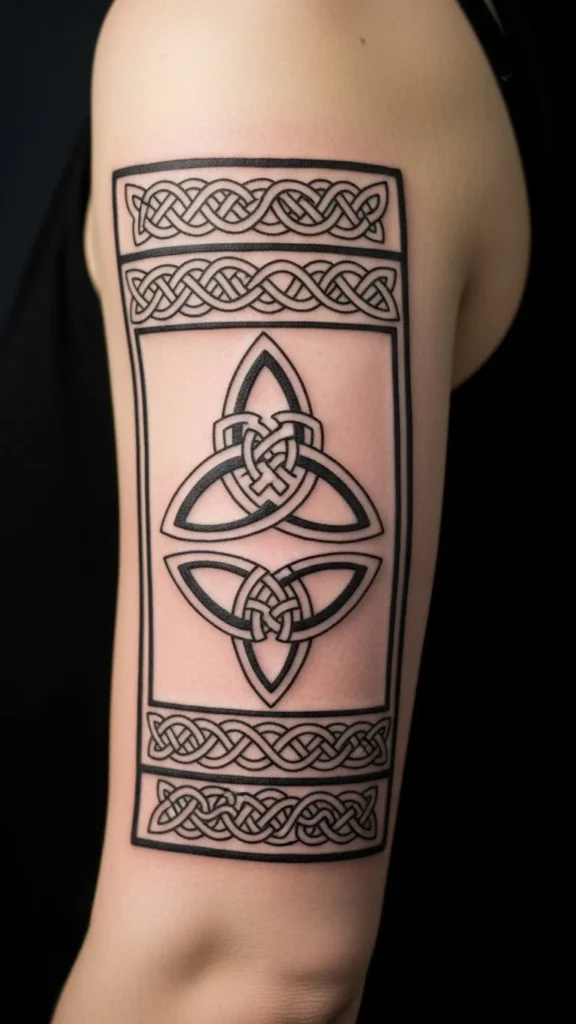
A knot panel on the back of the arm feels detailed without drawing constant attention. Rectangular layouts help contain complexity.
Using one knot style throughout lowers design time and keeps the look consistent. Straight edges help the pattern stay readable over time.
9. Ankle Knot Loop
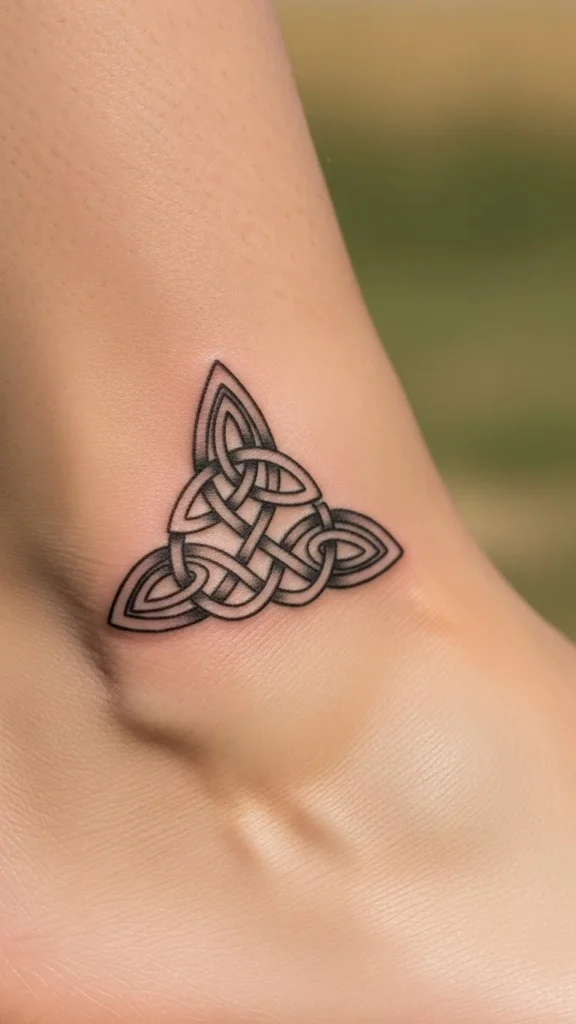
Ankle knot loops work well for smaller designs. They feel personal and understated.
Choose lines slightly thicker than expected. Shoes and movement affect this area. Test placement with socks to see how often the tattoo stays visible.
10. Hand-Sized Knot Emblem
A single knot emblem near the hand makes a quiet statement. Simpler shapes work best due to constant movement.
Avoid heavy detail. A slightly larger size helps maintain clarity over time. Temporary ink testing is helpful here.
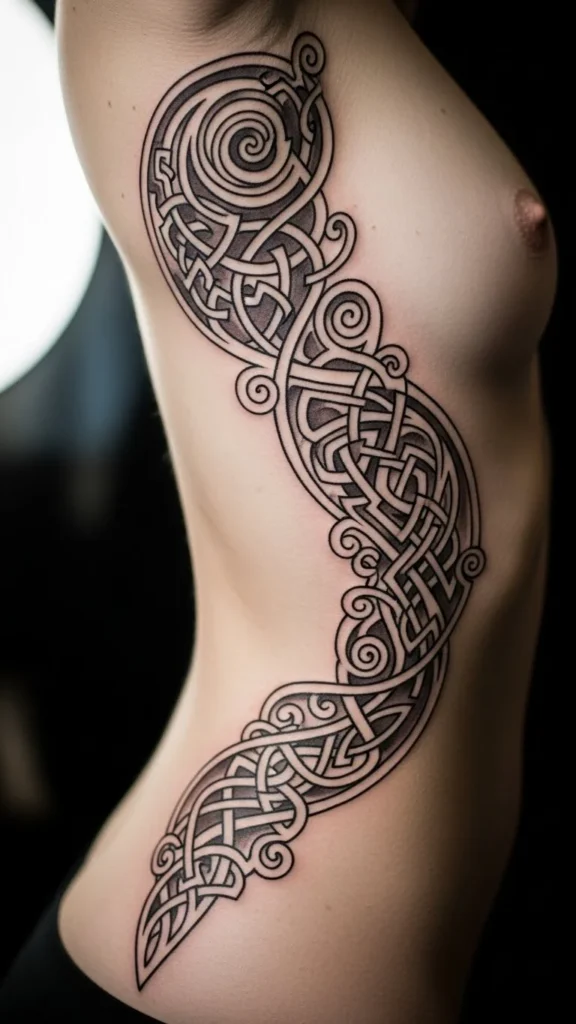
11. Ribcage Knot Strip
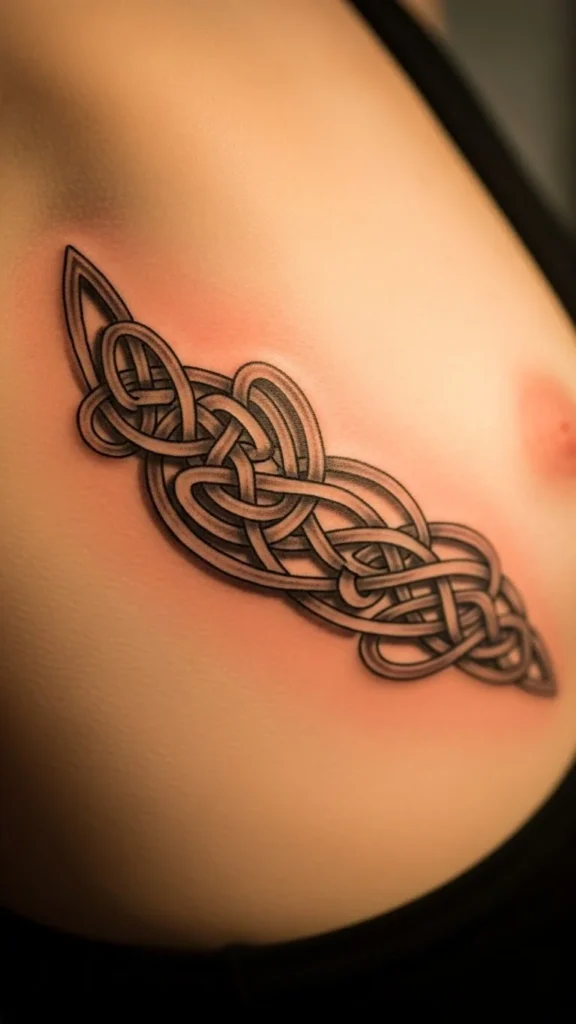
Ribcage knots follow the body’s curve naturally. Long, flowing patterns suit this area.
Breaking the design into shorter sessions helps manage discomfort and cost. Always check how the stencil looks while breathing normally.
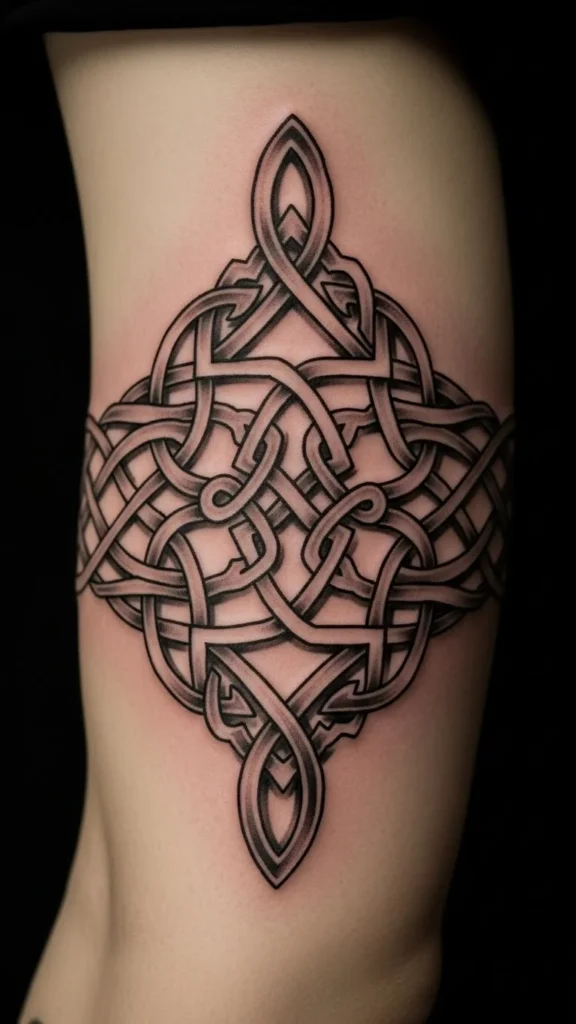
12. Thigh Knot Panel
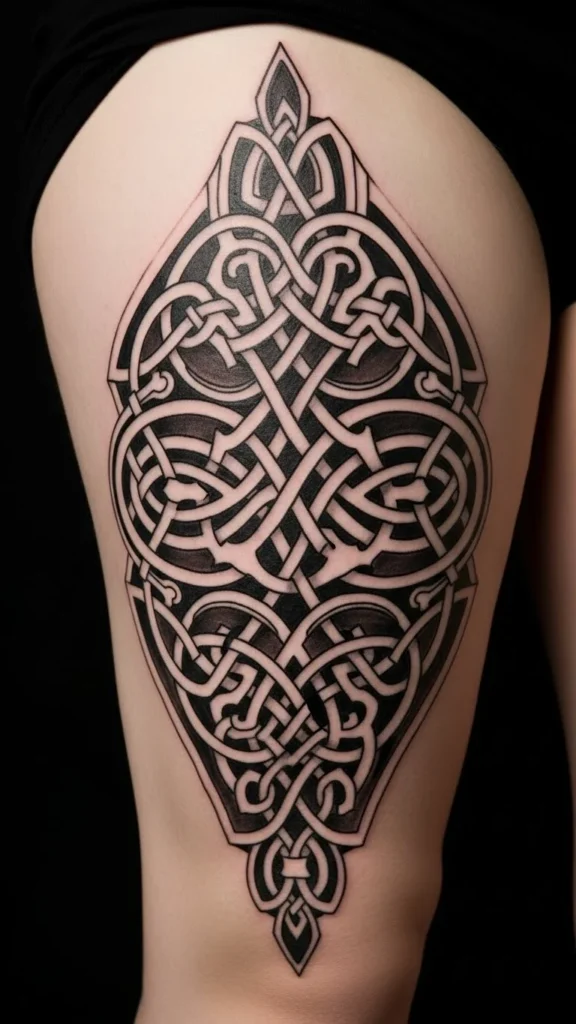
The thigh offers space for bold knot panels without constant visibility. Flat panels are easier and more affordable than wraps.
Use clothing outlines to confirm coverage before starting.
13. Shoulder Blade Knot
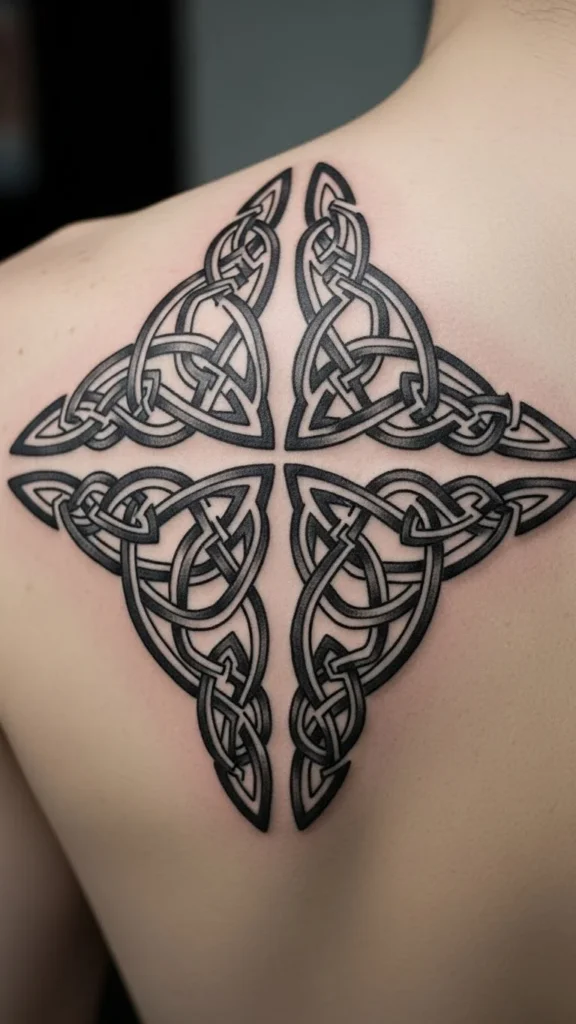
Shoulder blade knots feel balanced when centered properly. Symmetry matters a lot in this spot.
Ask someone to photograph the stencil from behind so you can review alignment.
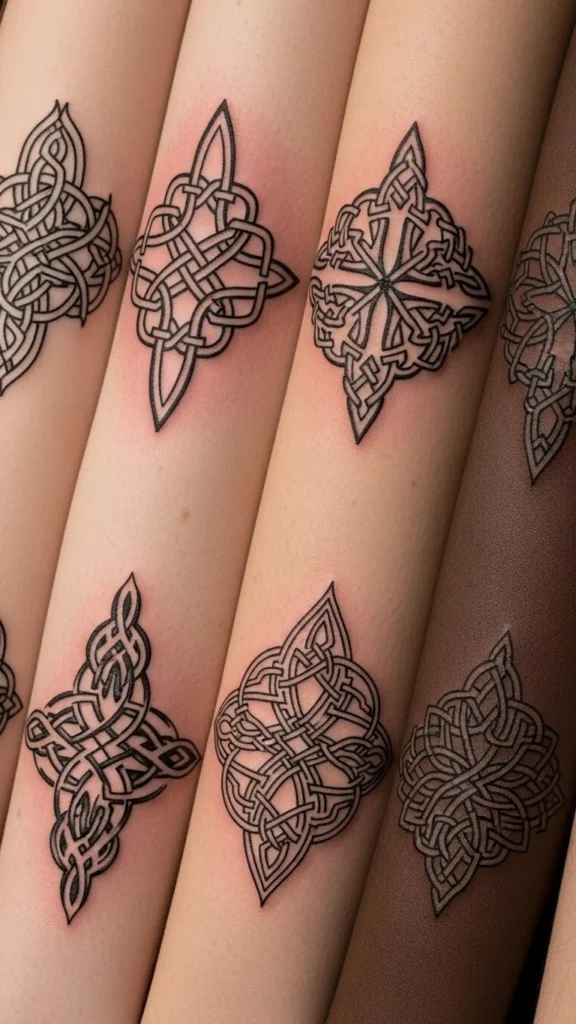
14. Minimalist Knot Square
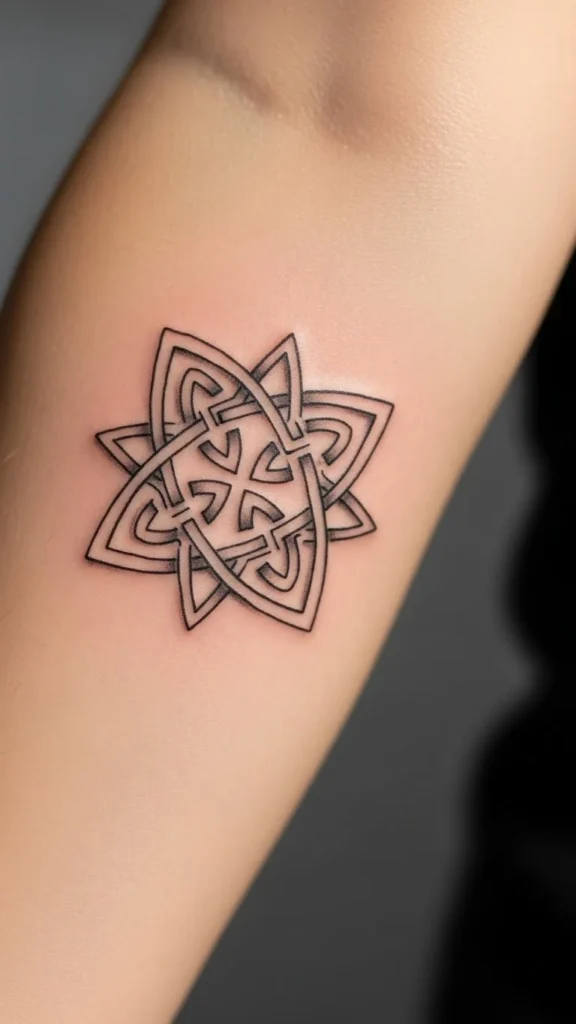
Square knot designs feel grounded and structured. They work well for smaller tattoos.
Simple repetition keeps cost down. Test multiple sizes on paper first.
15. Wrist to Forearm Transition Knot
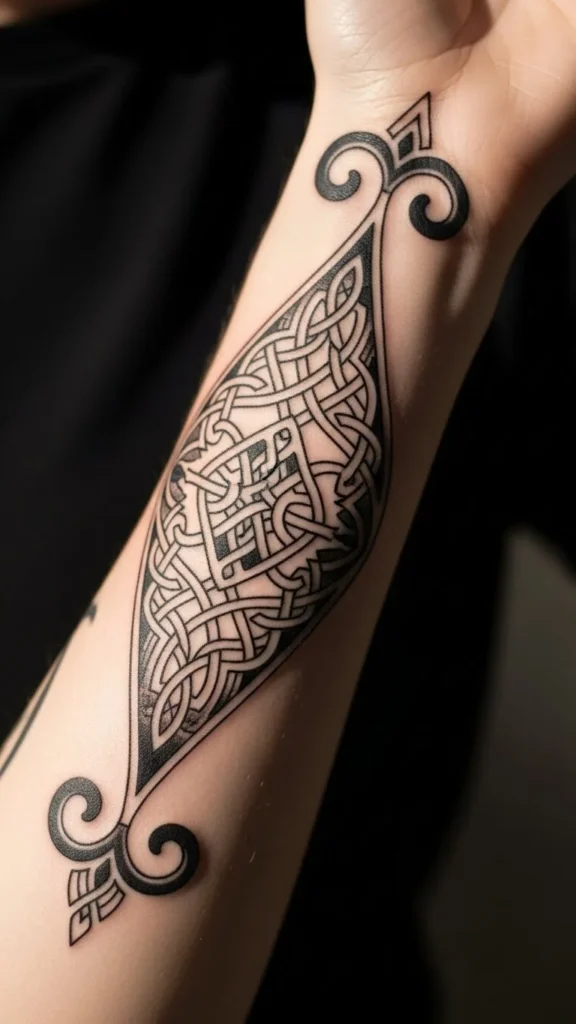
This design connects wrist bands with forearm patterns. Flow matters more than detail.
Stick to one knot style so the transition feels natural.
16. Neck Base Knot Symbol
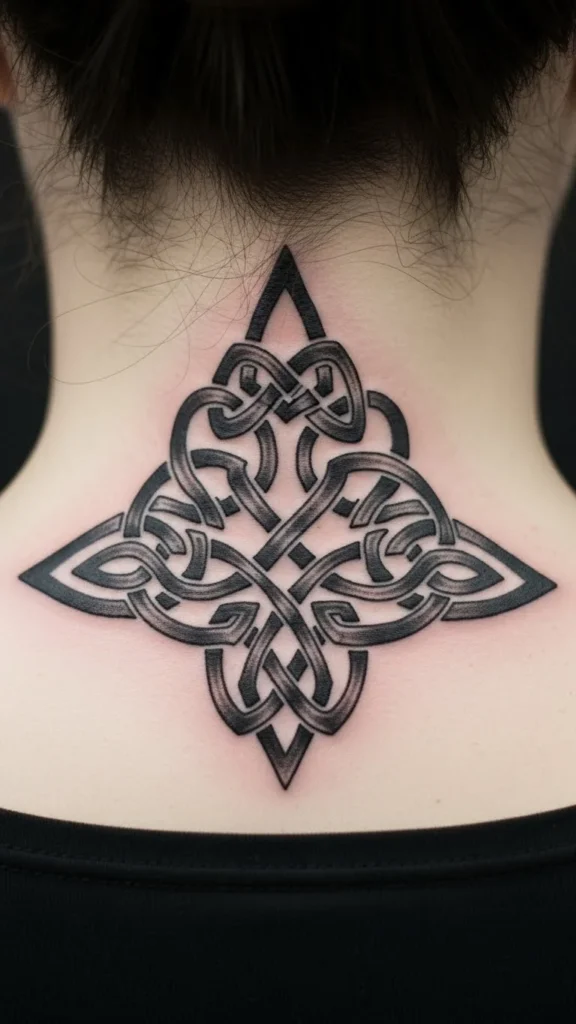
Placed at the base of the neck, knot symbols feel discreet yet intentional. Smaller designs heal faster.
Check hair coverage and daily visibility before placement.
17. Bicep Knot Band
Bicep bands follow muscle shape naturally. Even spacing prevents distortion when flexing.
Measure band width carefully before tattoo day.
18. Knee-Side Knot Curve
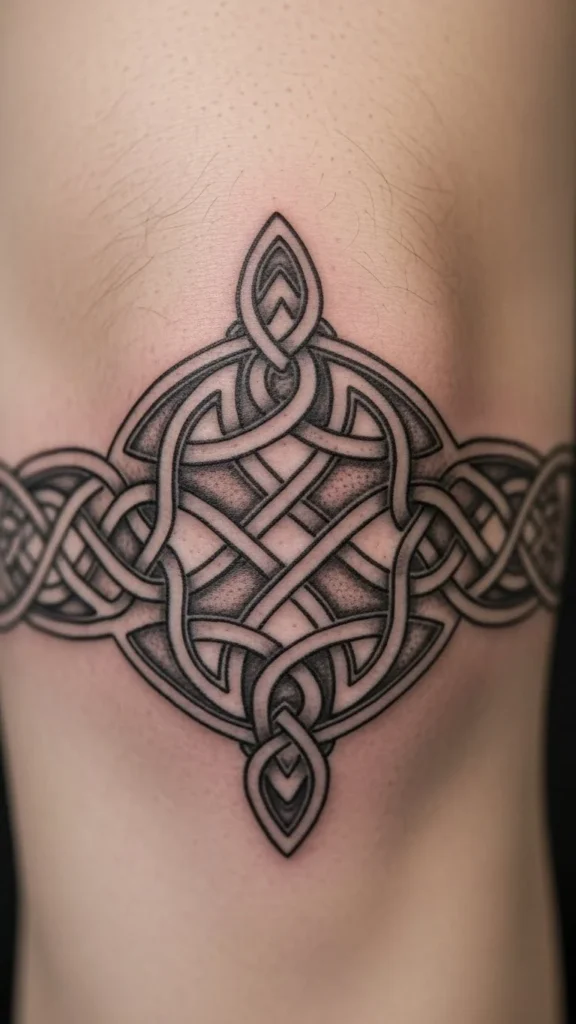
Side knee placement suits curved knot designs. Open patterns adapt better to movement.
Test the stencil while walking.
19. Collarbone Knot Line
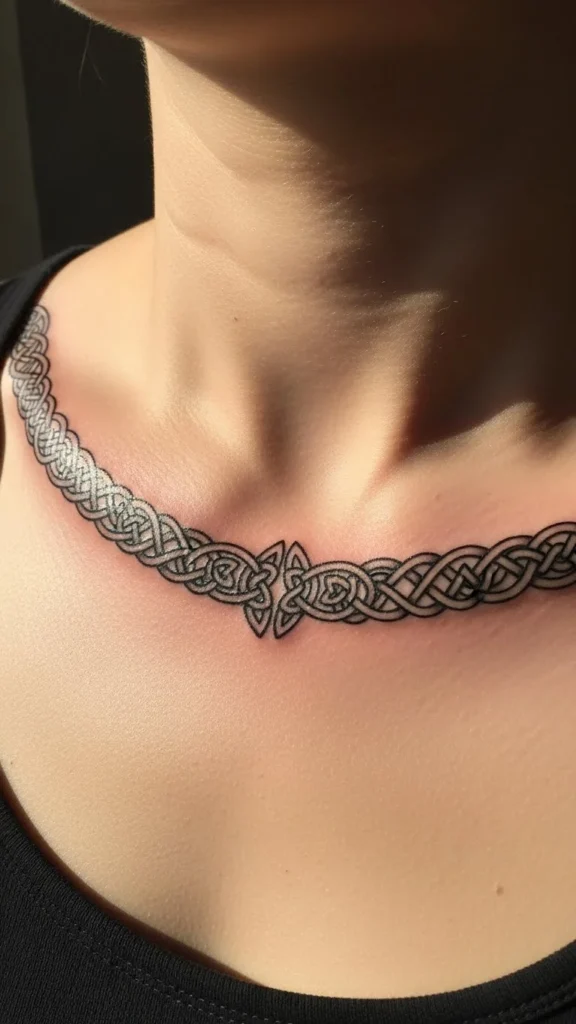
Collarbone knots feel clean and structured. Horizontal flow works best here.
Avoid very thin lines. Slightly thicker lines age better.
20. Back Panel Knot Grid
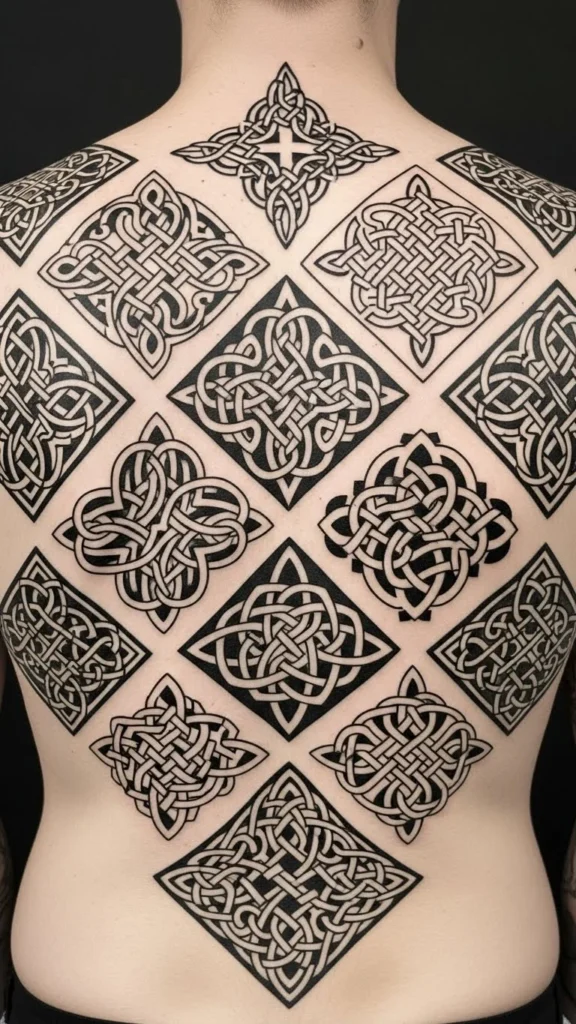
Grid-style knot panels create rhythm and order. Repeating patterns help control cost.
Keep margins even on all sides.
21. Side Torso Knot Flow
Diagonal knot flows complement the torso’s shape. Limiting complexity keeps sessions manageable.
View the stencil from multiple angles.
22. Behind-the-Ear Knot
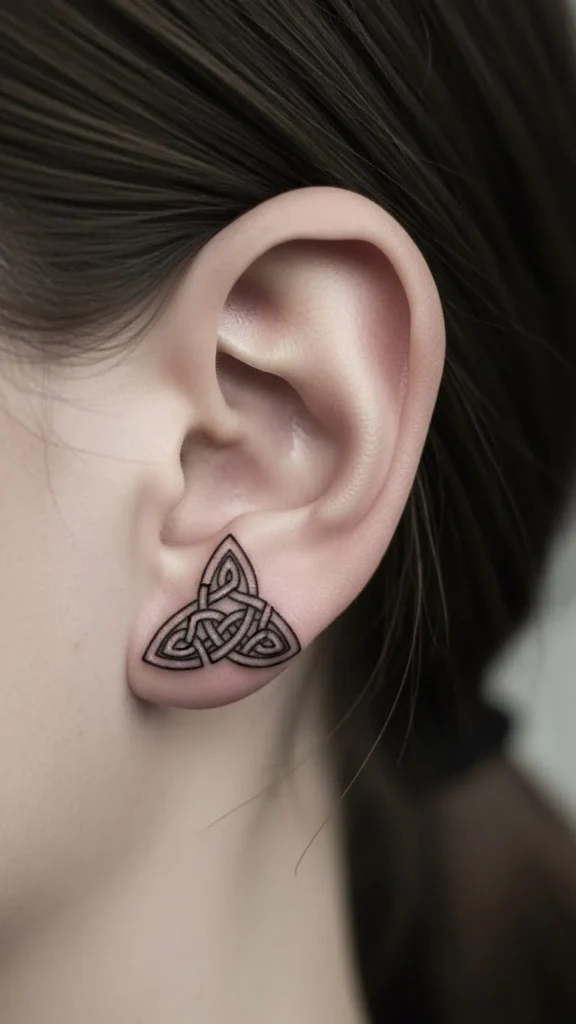
Small knots behind the ear feel personal. Bold outlines help prevent fading.
Check hair growth patterns before placement.
23. Palm-Side Wrist Knot
This subtle placement suits minimal knot designs. Avoid fine detail due to movement.
Temporary ink testing is useful here.
24. Half Sleeve Knot Composition
Half sleeves allow storytelling through pattern. Flow matters more than density.
Using repeated motifs saves time and cost. Leave negative space to avoid crowding.
25. Foot-Top Knot Design
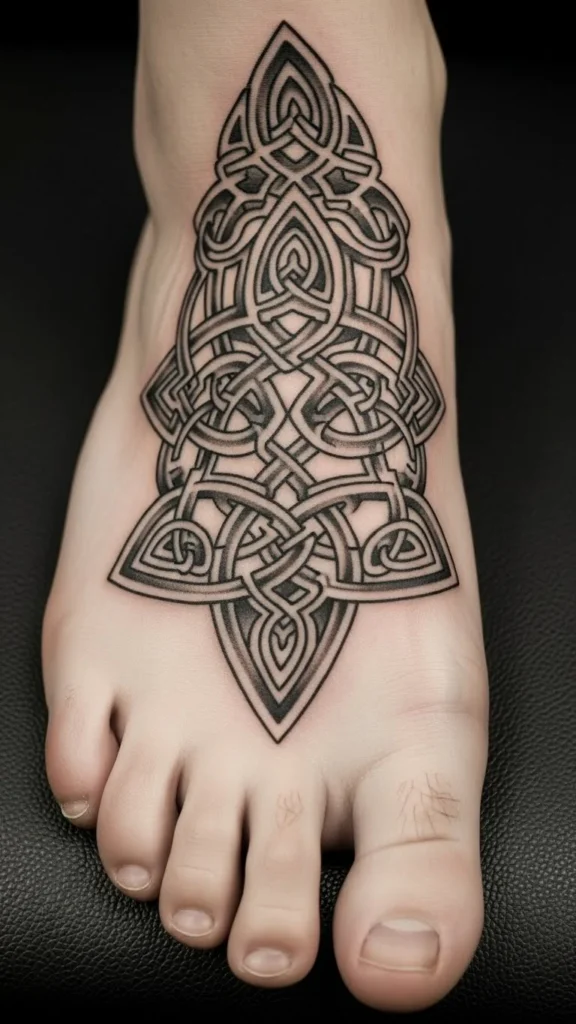
Top-of-foot knots look detailed but require planning. Shoes affect healing.
Use bold lines and plan downtime.
26. Knuckle-Adjacent Knot Symbol
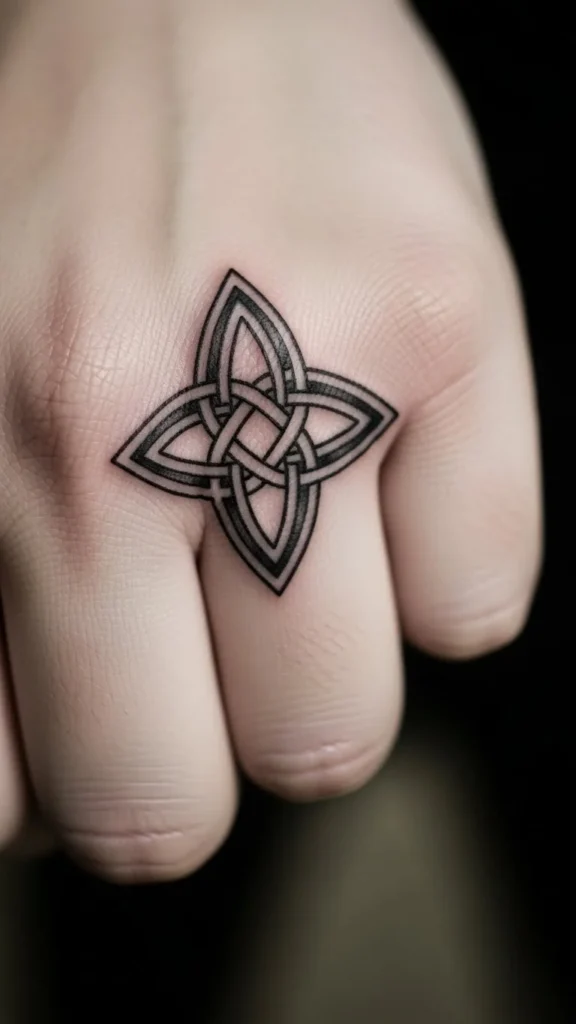
Small knot symbols near knuckles stay understated. Simple shapes last longer.
Discuss healing expectations with your artist.
27. Layered Knot Medallion
Layered medallions feel bold when spacing is controlled. Too many overlaps reduce clarity.
Ask for mockups with fewer layers first.
28. Single-Line Knot Design
Single-line knots rely on flow rather than complexity. They age well and cost less.
Precision matters more than size. Practicing the line on paper helps refine the shape.
Conclusion
Celtic knot tattoos stand out through balance, repetition, and thoughtful planning. Clean line work, smart placement, and realistic sizing make a lasting difference. Taking time to test scale and flow before tattoo day leads to designs that stay clear and meaningful for years.
