
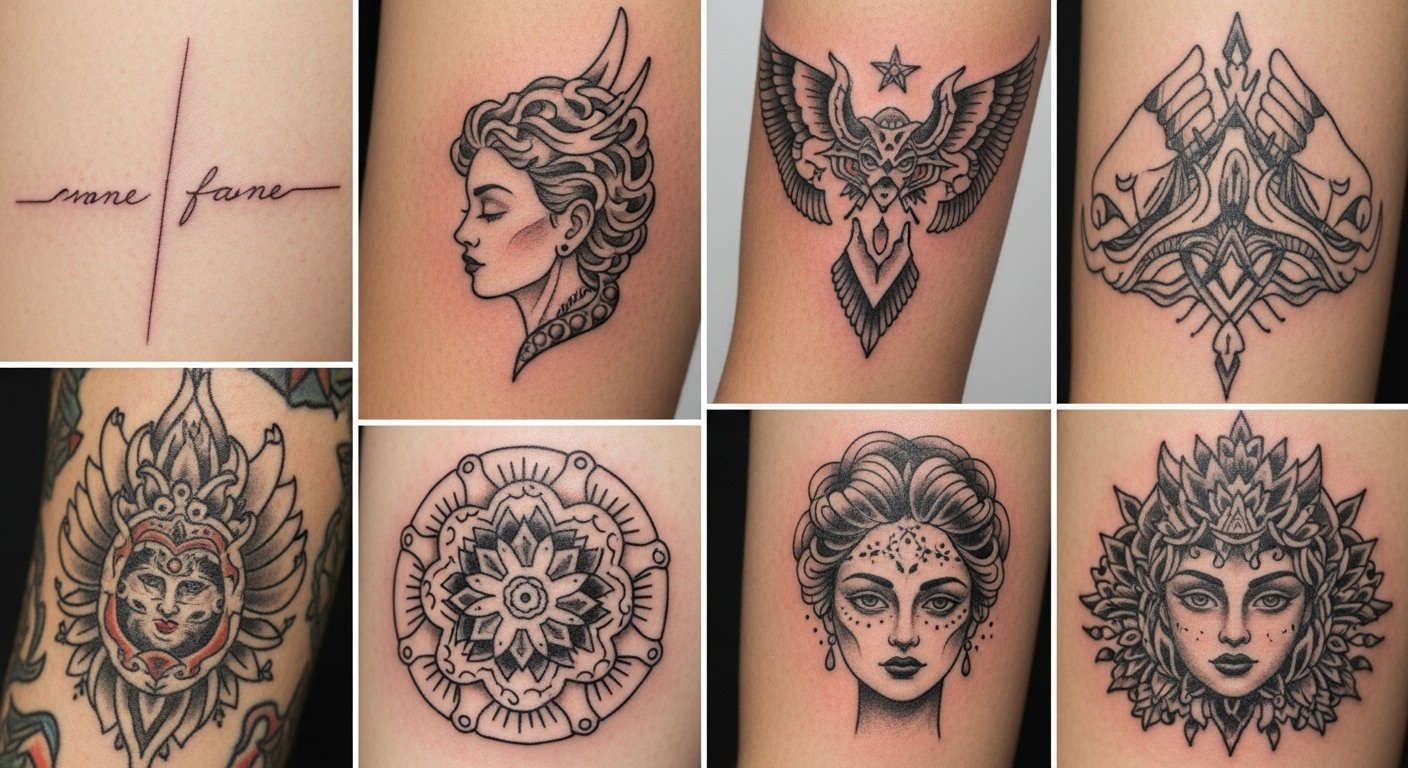
I spent months curating butterfly tattoos I would actually get. I’d scroll past shiny fresh ink and wonder how those pieces would look after six months. These 18 designs are the ones I kept coming back to because they move with the body, age well, and still feel alive after healing.
This list leans on fine line, micro-realism, watercolor, and a few blackwork takes. I picked placements that show off movement, like forearms, collarbones, and ribs. From what I’ve seen, 2026 trends favor subtle motion and layered detail in butterfly tattoos.
1. Fine Line Realistic Butterfly on Inner Forearm
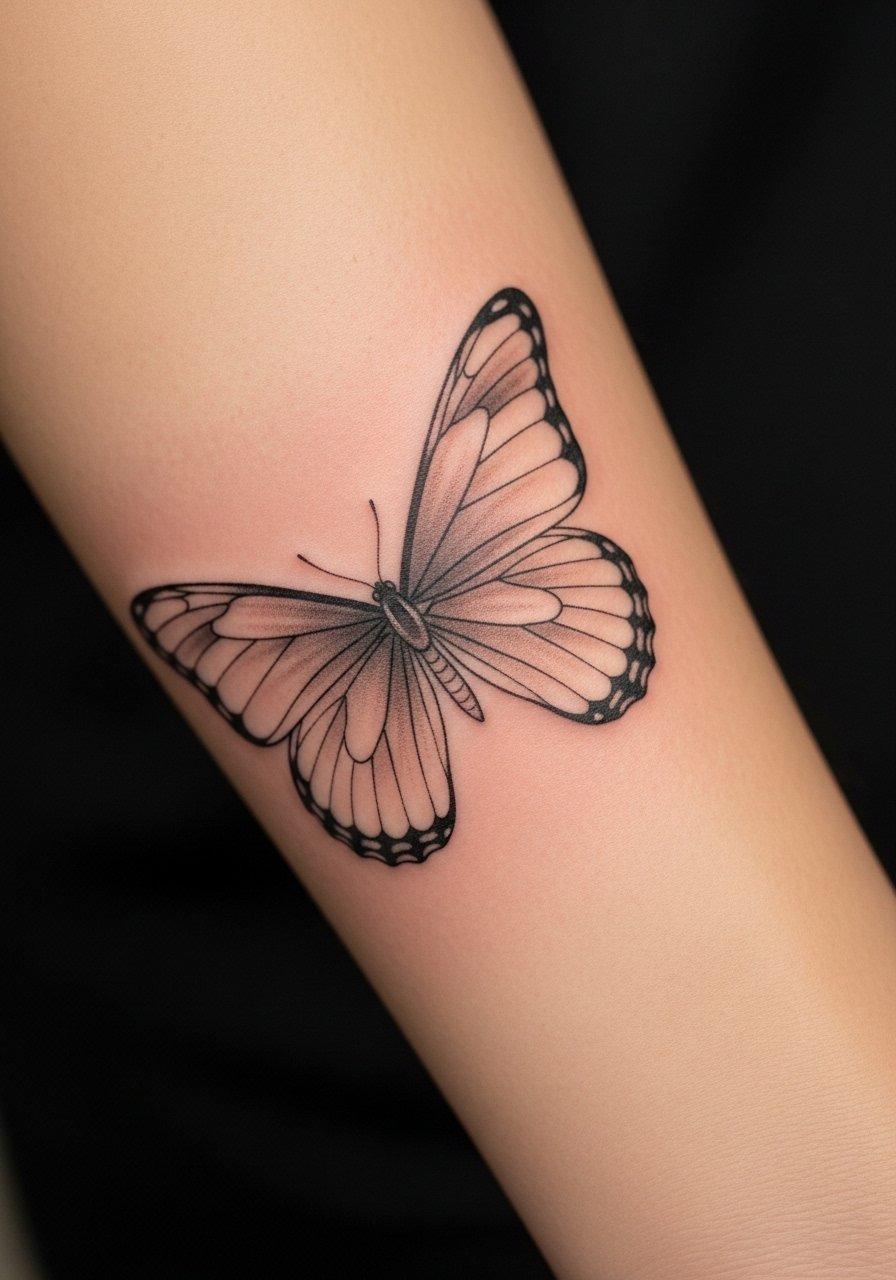
I first noticed this on a friend who wanted something discreet but detailed. The inner forearm is forgiving for fine line work in my experience. Expect a mild sting for 60 to 90 minutes. Ask your artist to leave a tiny width to the outline so the wings do not blur together after two years. Many people request feather-thin lines that look perfect fresh. After six months those lines can thin out if the artist doesn’t allow for slight boldness. Tell your artist you want crisp negative space in the wing veins. In my experience, clean stencil placement and touch-ups within the first year help this style stay readable.
2. Watercolor Splash Butterfly on Shoulder Blade
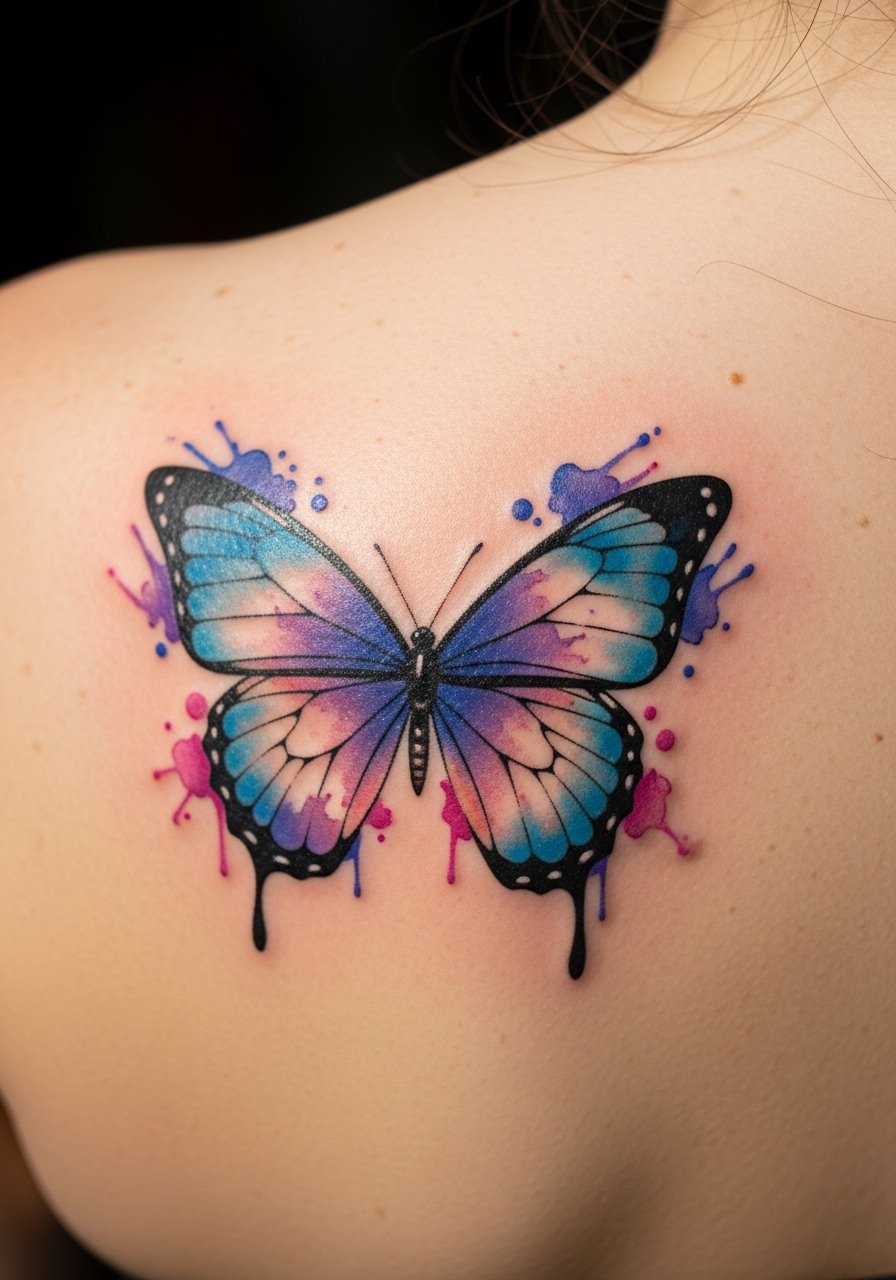
Fair warning, the shoulder blade can be a bit more painful when the needle hits near the bone. I recommend a watercolor approach if you want motion, because the pigment spreads like a soft wing in real life. Tell your artist to anchor the watercolor with thin black linework, so the colors do not become a blurred stain after a year. From what I’ve seen, pure watercolor without any linework often looks like a bruise as it heals on sun-exposed skin. Healing time is two to three weeks for surface repair, then months for color settling. Ask for a healed reference from the artist. That tells you how their colors age.
3. Micro-Realism Monarch on Upper Thigh
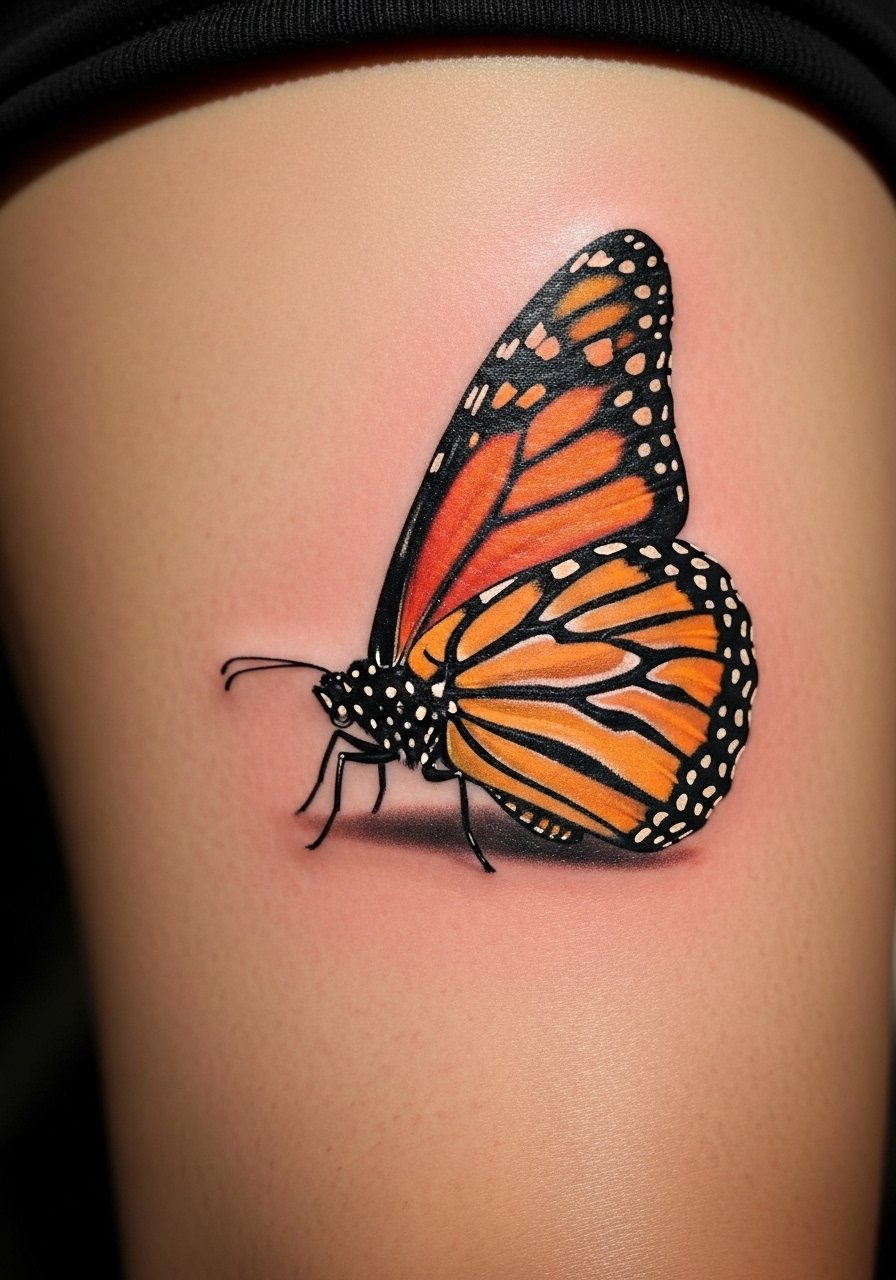
I love the upper thigh for micro-realism. The area takes shading well and hides easily while healing. Sessions can run 2 to 4 hours. Expect moderate pain with deep shading near the bone. A mistake I see often is asking for too small a micro-realistic piece. On the thigh, you can scale up slightly to keep detail readable after two years. Tell your artist you want visible individual scales and a soft shadow beneath the wings. From my experience, micro-realism keeps its detail best when sized for the body part. If you want this tiny, plan on touch-ups.
4. Minimalist Single-Line Butterfly Behind Ear
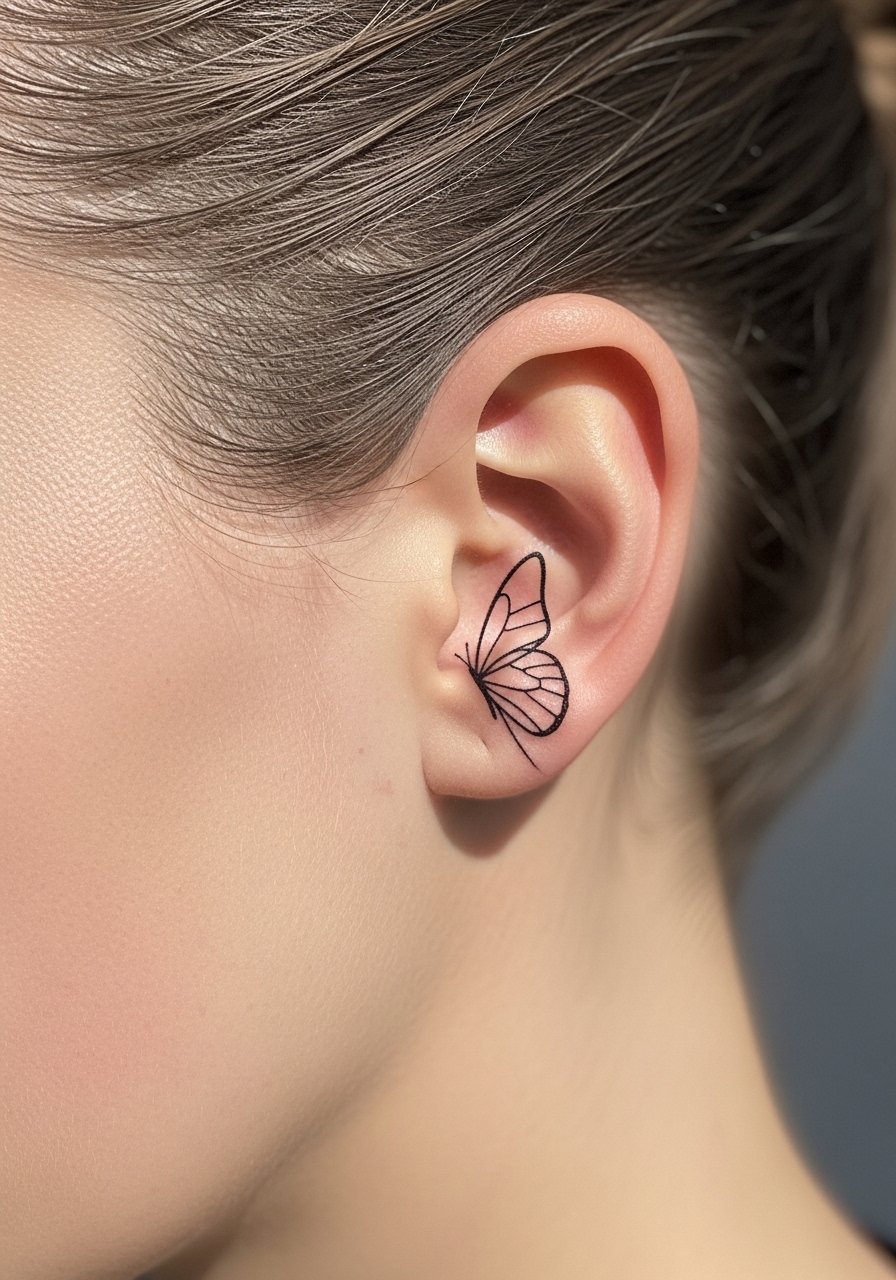
I recommend this if you want something tiny that hints at movement. Behind the ear hurts in quick bursts. Sessions are short, often under 30 minutes. One common mistake is making the line too thin. On such a small placement the line should be slightly bolder than you think so it does not disappear after six months. Ask your artist to show you healed photos of single-line ear pieces. In my experience, minimalist line work that looks great fresh can turn patchy if the artist uses a machine speed meant for larger pieces. Keep the design simple and be ready for a touch-up within a year.
5. Traditional Flash Butterfly on Chest
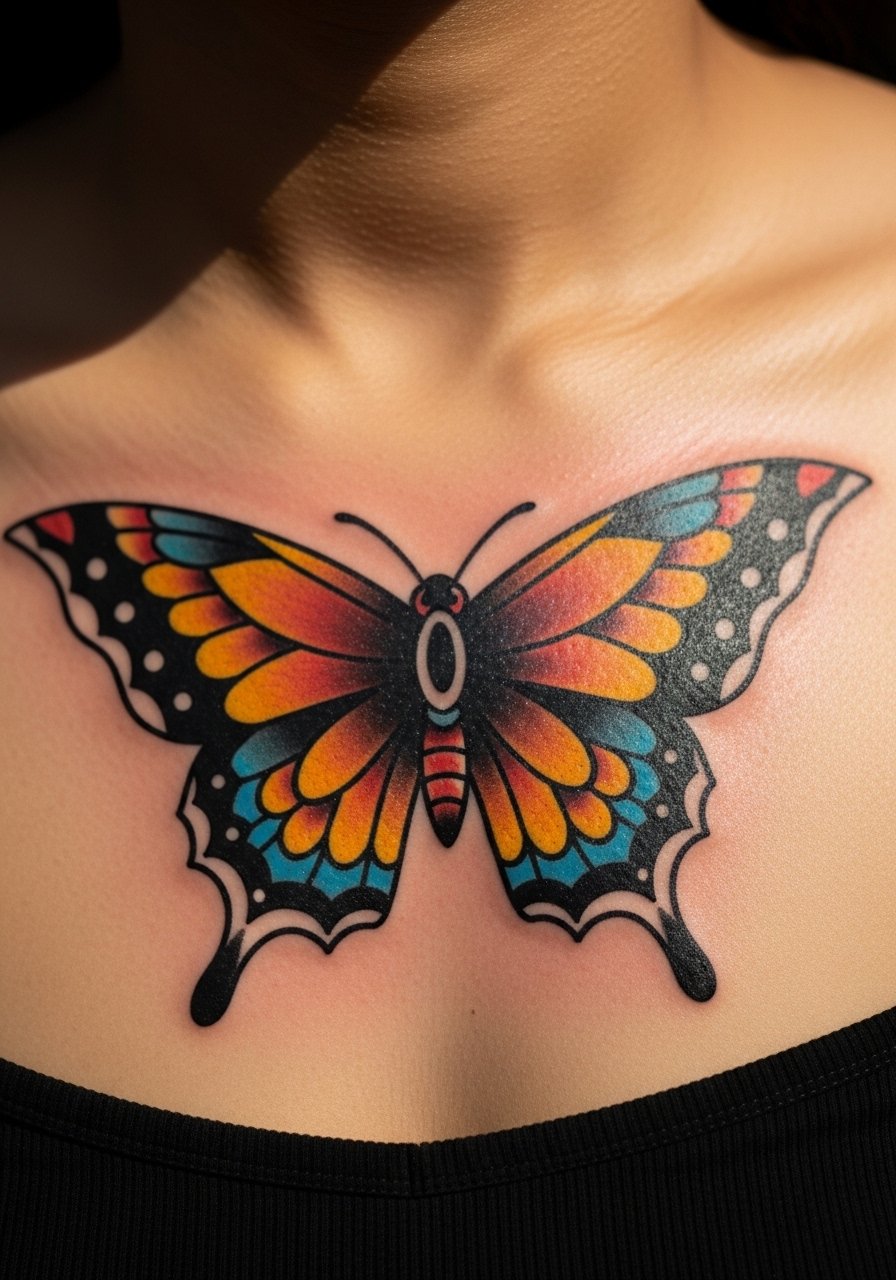
There is something about bold outlines and saturated color that reads from a distance. The chest takes color well but can be painful near the sternum. Expect 90 minutes to two hours. Traditional styles age well because the strong black holds the form as color fades. I tell people to pick slightly larger wings than they imagine. A mistake I often see is shrinking traditional motifs down too much. During consultation, request saturated fills and bold black borders. From what I’ve seen, those choices keep the flutter readable after five years.
6. Blackwork Geometric Butterfly on Sternum
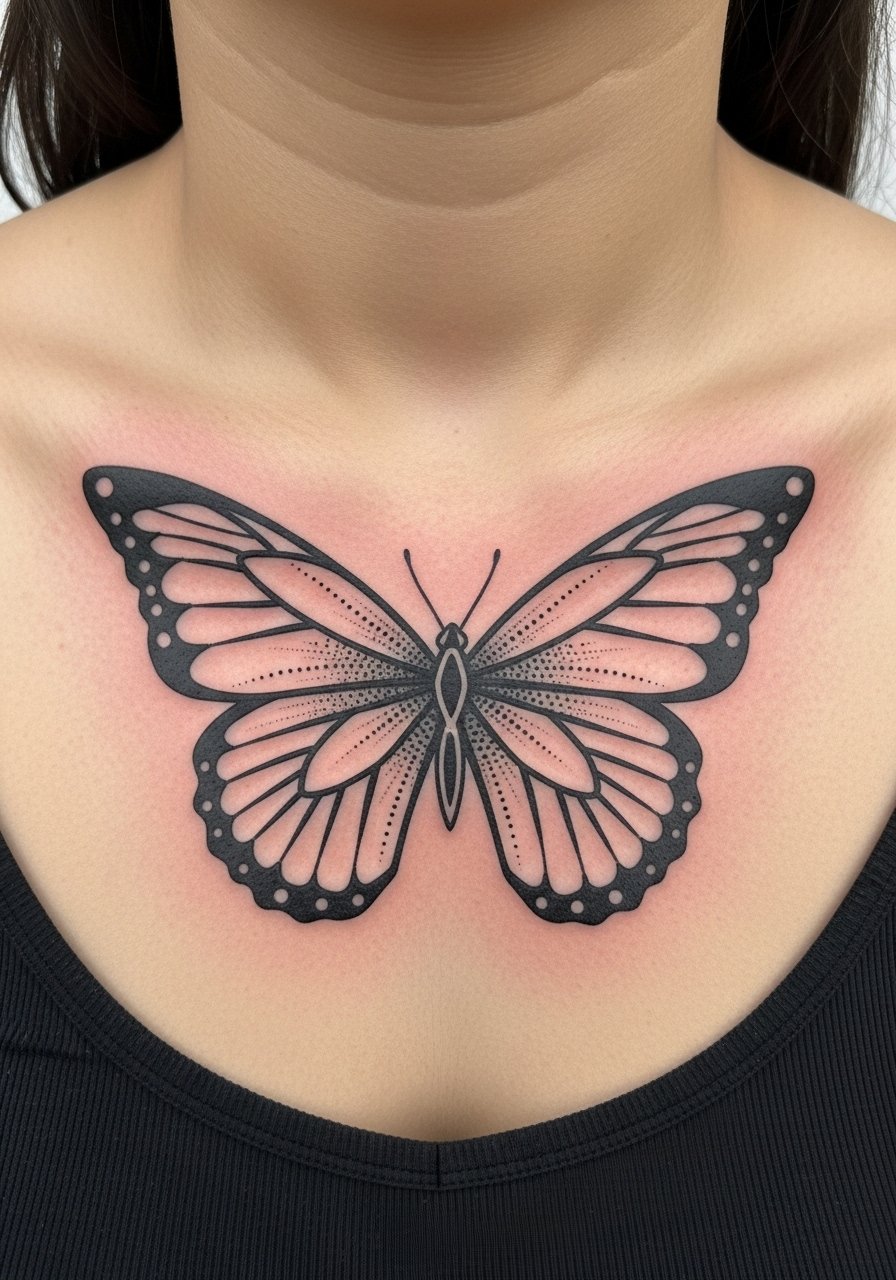
Pain level on the sternum is high. I warn friends about that every time. Blackwork is forgiving with aging because solid fills maintain contrast. What I recommend is spacing the geometric lines wide enough so they do not blur together after a couple of years. Many people get overly tight geometry that becomes muddy as the skin settles. Tell your artist you want negative space preserved between shapes. Expect long sessions, possibly split into two for comfort. I’ve seen blackwork look crisp years later when the negative space was planned intentionally.
7. Neo-Traditional Butterfly With Flowers on Ribcage
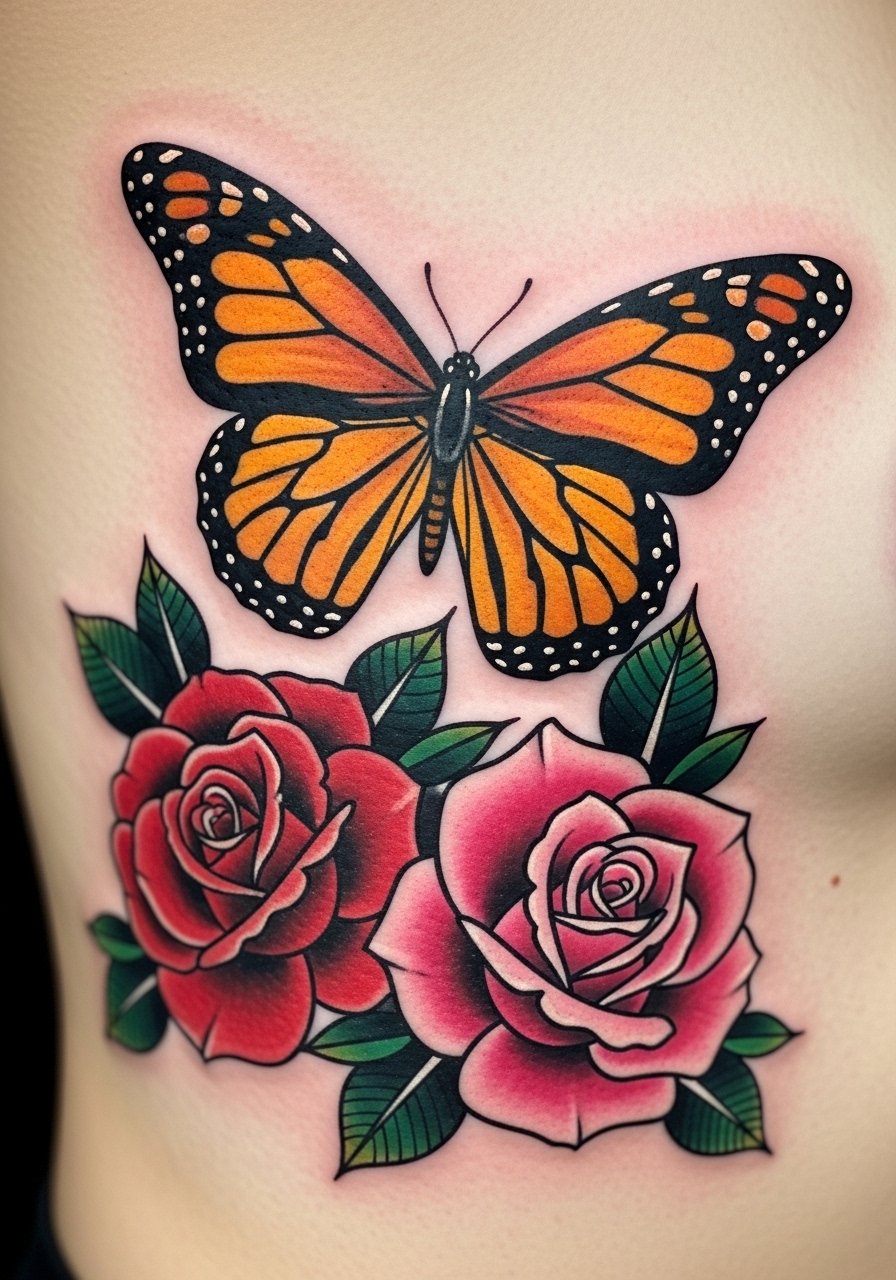
Fair warning, the ribcage is one of the more painful spots. That said, it moves beautifully when you breathe, which breathes life into the butterfly. Neo-traditional allows rich color and bold lines, and in my experience those choices age better on ribs than delicate dotwork. A common mistake is asking for too much tiny shading that gets lost on flexing skin. During your consult, show reference photos with similar ribcage scale. Tell the artist you want color that reads from four to six feet away. Healing can take longer because clothes can irritate the area.
8. Fine Line Botanical Butterfly Sleeve on Outer Forearm
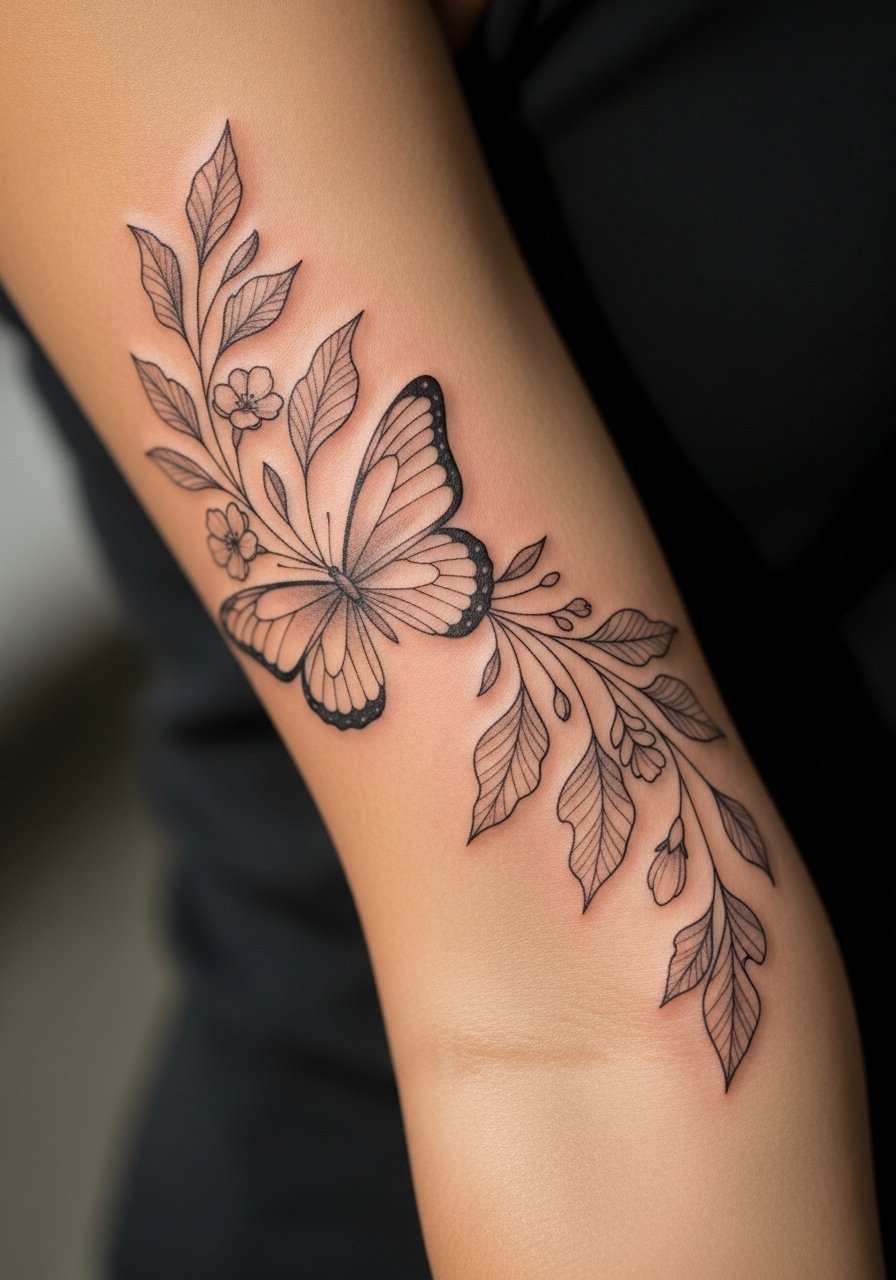
I started noticing this sleeve idea in portfolios and it stayed with me. The outer forearm is low pain and great for display. In my experience, fine line sleeves need rhythm in spacing so the butterfly has room to breathe. A mistake is packing too many tiny elements near the wings. During consultation, ask your artist to map negative space and leaf placement so the wings pop. Sessions will be multiple and often paced to avoid hand fatigue. After two years expect slight softening of the hair-thin veins. Plan for touch-ups to restore crisp wing veins.
9. Negative Space Butterfly on Back of Hand
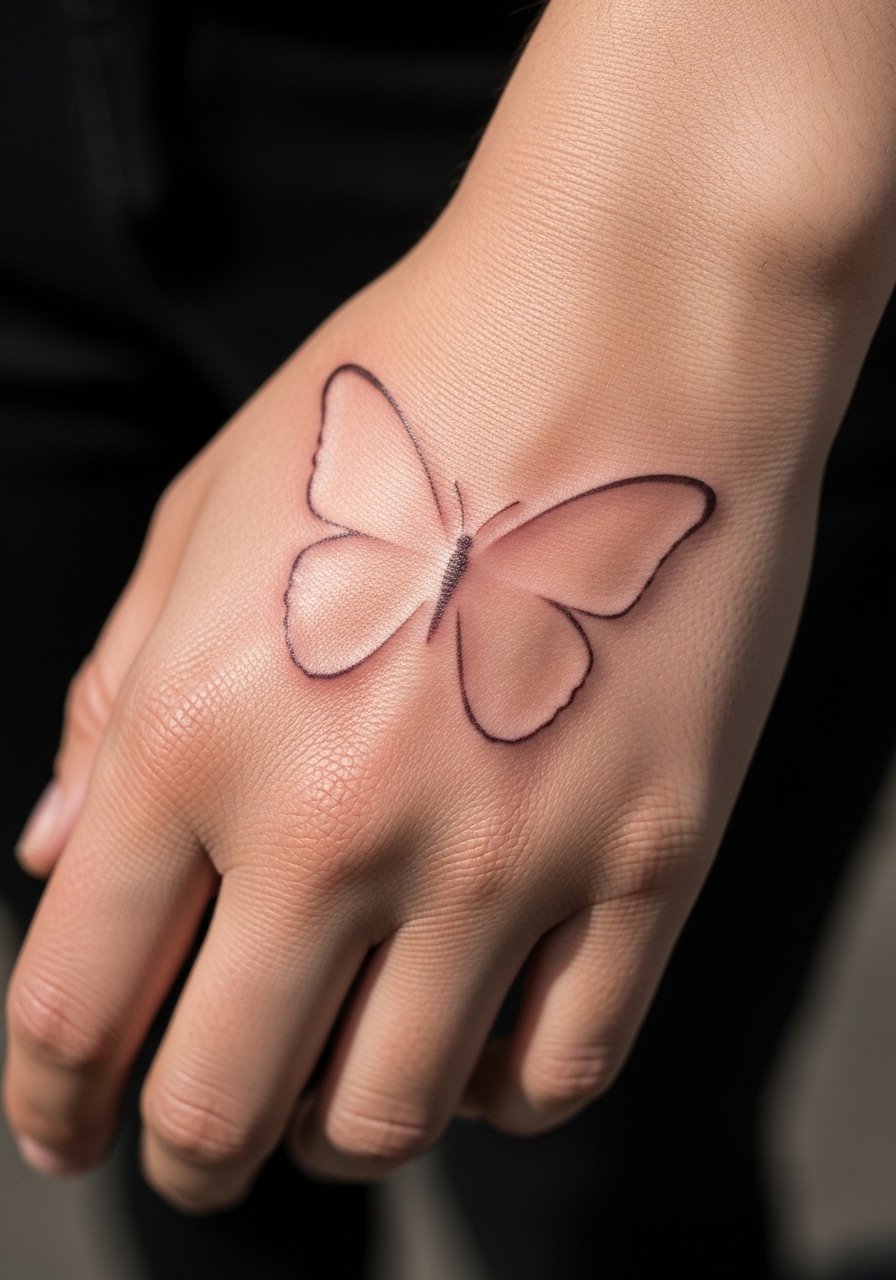
Hands are notorious for fading. I tell people that up front. Negative space uses surrounding black or color to form the butterfly, which can hide wear better if executed correctly. A frequent error is placing too many thin gaps. On the hand you need bold blocks that will still define shape after six months. Sessions are short but expect more frequent touch-ups. Tell your artist to plan for bold surrounding fills and slightly larger gaps. From what I’ve gathered, negative space on hands looks most consistent when the surrounding ink is solid.
10. Minimal Color Dotwork Butterfly on Ankle
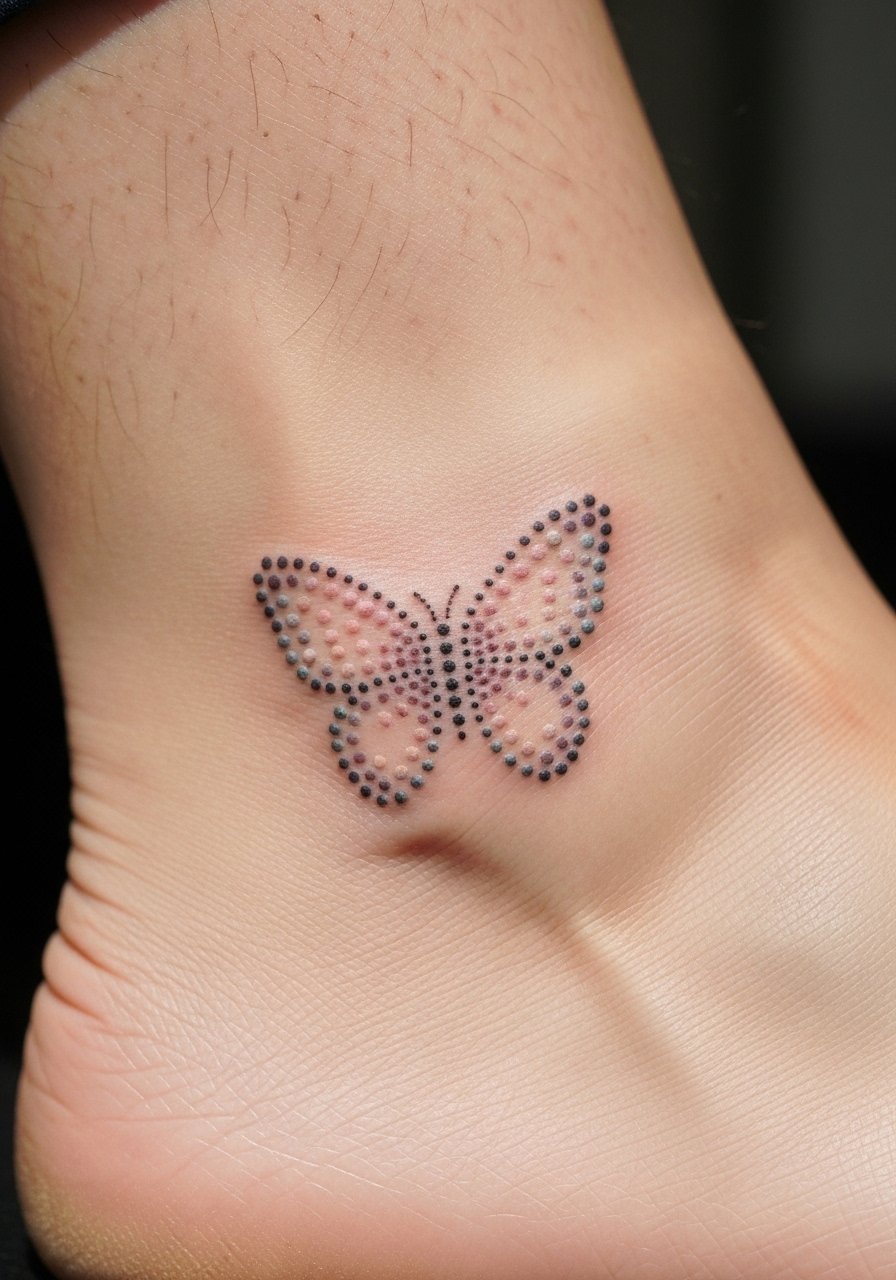
I recommend the ankle for a small, delicate piece. Dotwork can create texture that still reads after healing if dots are spaced properly. People often ask for extremely fine dot gradients that blur into solid patches. Ask for a slightly heavier dot at core points so the pattern retains structure at six months. Pain is moderate and sessions are brief. I’ve noticed ankles need more moisture during healing because friction from shoes can irritate scabs. Use a breathable sock and keep the area clean.
11. Micro-Realism Moth and Butterfly Pair on Collarbone
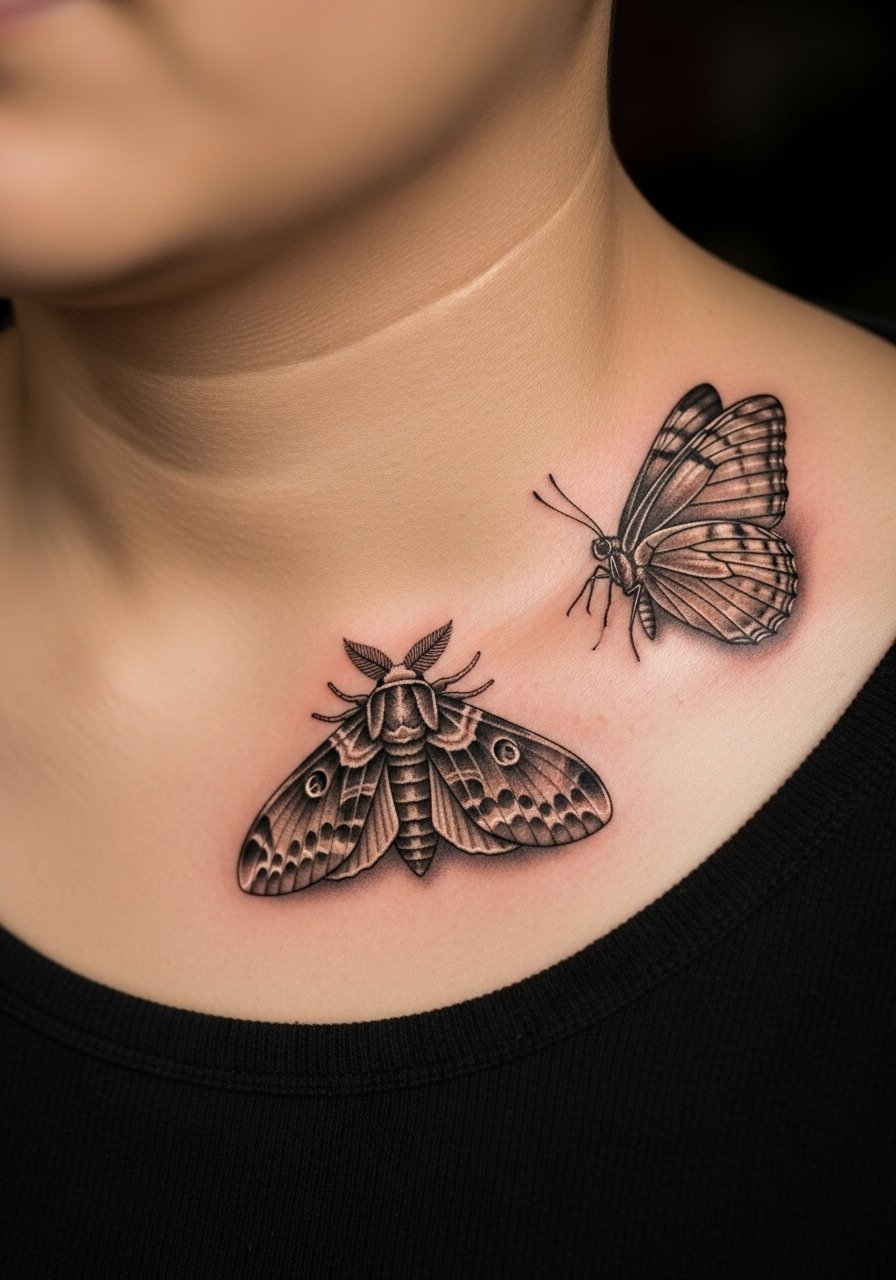
When I saw this pairing on an artist I follow, I loved the narrative contrast. Collarbone pieces can sting when the needle passes bone. Micro-realism here benefits from slightly larger spacing between subjects so each insect reads. A common mistake is crowding the collarbone with tiny details. Ask your artist to leave a soft shadow under each wing for lift. From what I’ve seen, micro-realism on collarbones retains clarity when artists plan for skin tension in that area. Sessions might be split for comfort and to manage swelling.
12. Watercolor Abstract Butterfly on Calf
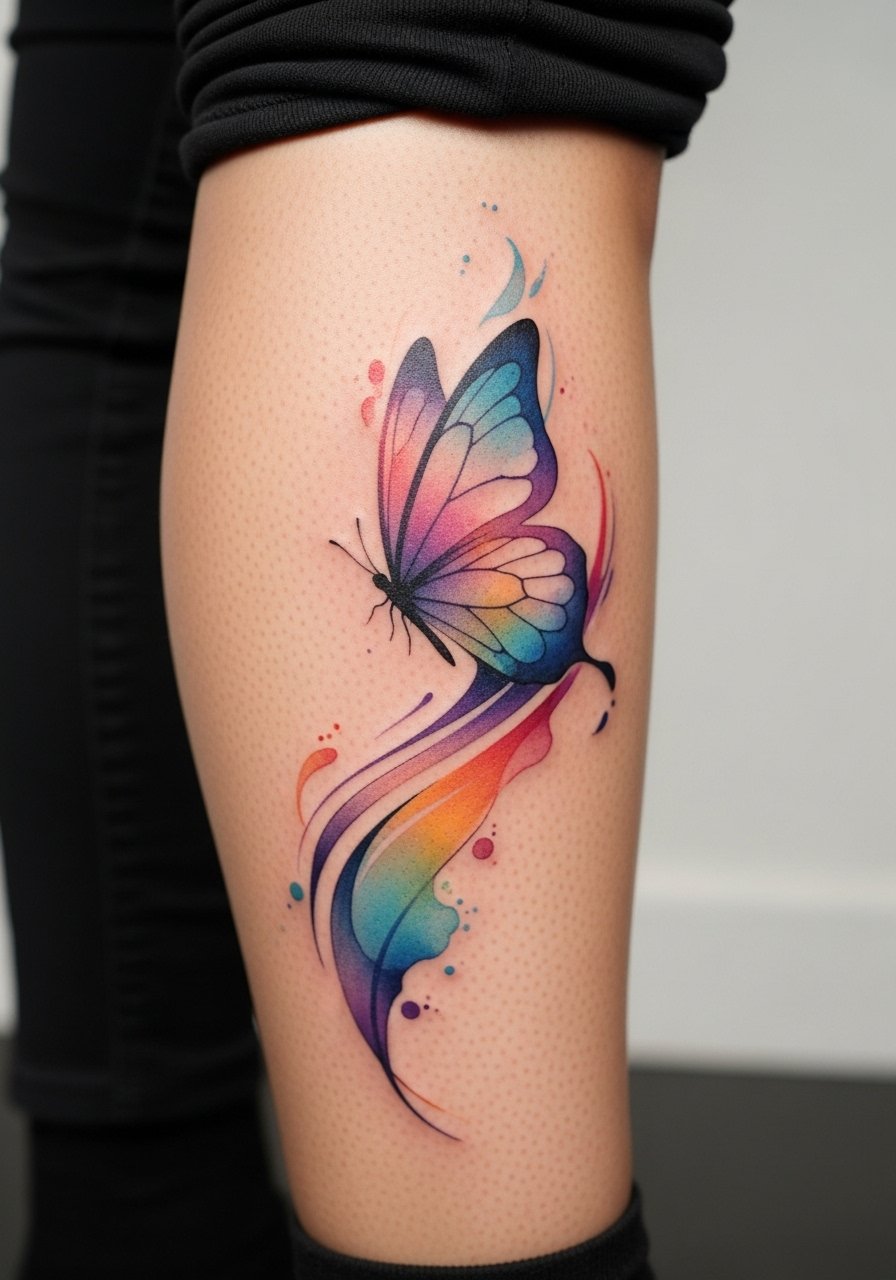
I find the calf forgiving for loose, painterly work. Watercolor here can look like a wing in motion when you walk. Be cautious with artists who only show fresh photos. Ask for healed examples on similar skin tones. The usual mistake is ignoring UV exposure. Calf tattoos see sun on summer days and colors can wash out faster. From my experience, adding a touch of black line or a fine outline helps keep the form intact. Healing is straightforward and sessions are comfortable while seated.
13. Single Needle Tiny Butterfly on Wrist
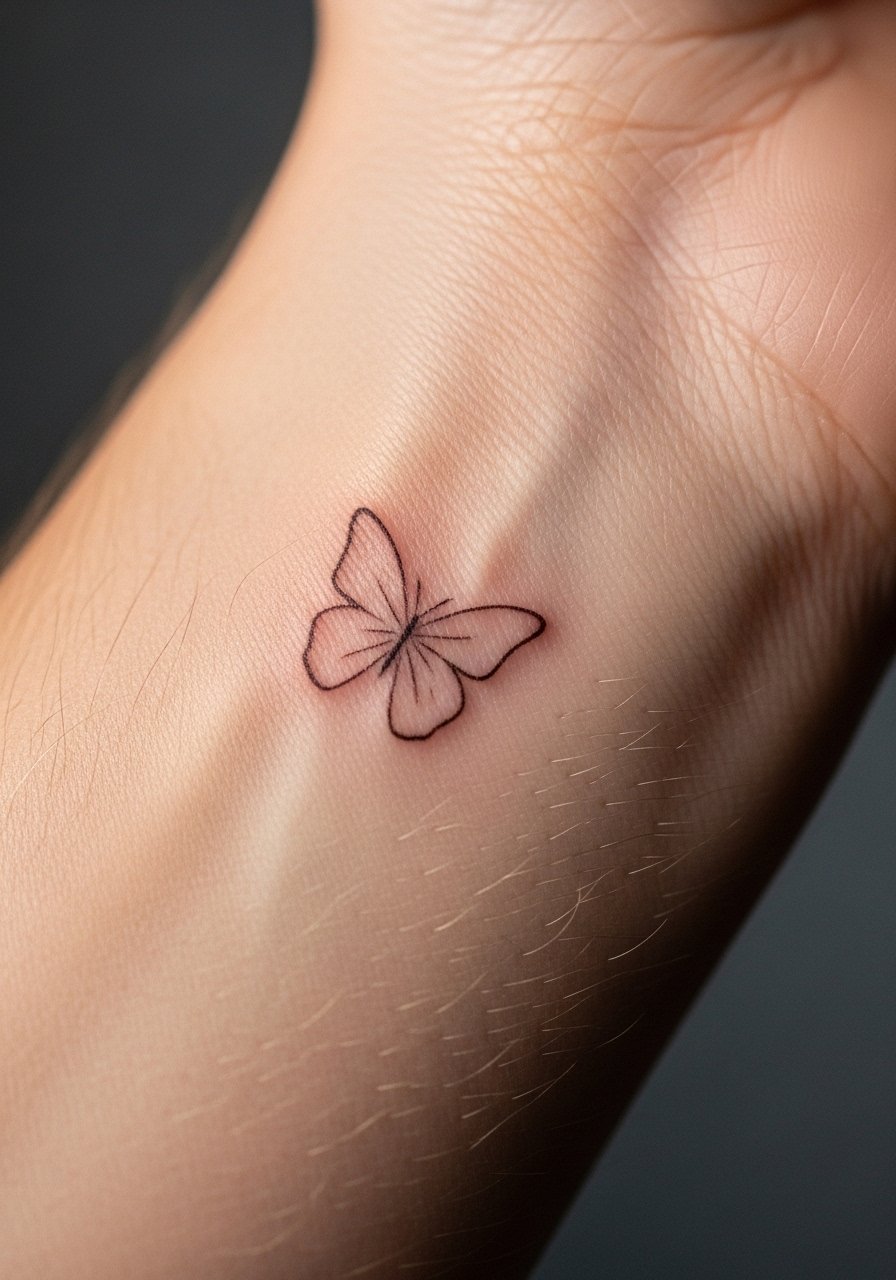
Wrist tattoos are subtle and visible. Single needle looks delicate but I have watched this style blur faster than expected when placed too small. Pain is mild. Ask your artist to size the wing veins slightly thicker than a single hair so they last. Many artists recommend a tiny bit of shadow to protect the single line. Expect touch-ups within one to three years. During your consult say you want single-needle aesthetics with longevity. That tells the artist to balance fine detail with durability.
14. Realistic 3D Butterfly on Hip

I first fell for a 3D hip piece because it looked like the butterfly might take off when the model moved. The hip is sore but hides well. 3D effects require crisp contrast. A mistake is over-softening shadows, which flattens the illusion after healing. Tell your artist you want strong base shadows and a subtle highlight to sell lift. Sessions are medium length and may need a follow-up for depth. From what I’ve seen, 3D realism ages well if the artist uses definitive contrast instead of micro-gradients.
15. Fine Line Script and Butterfly on Inner Wrist
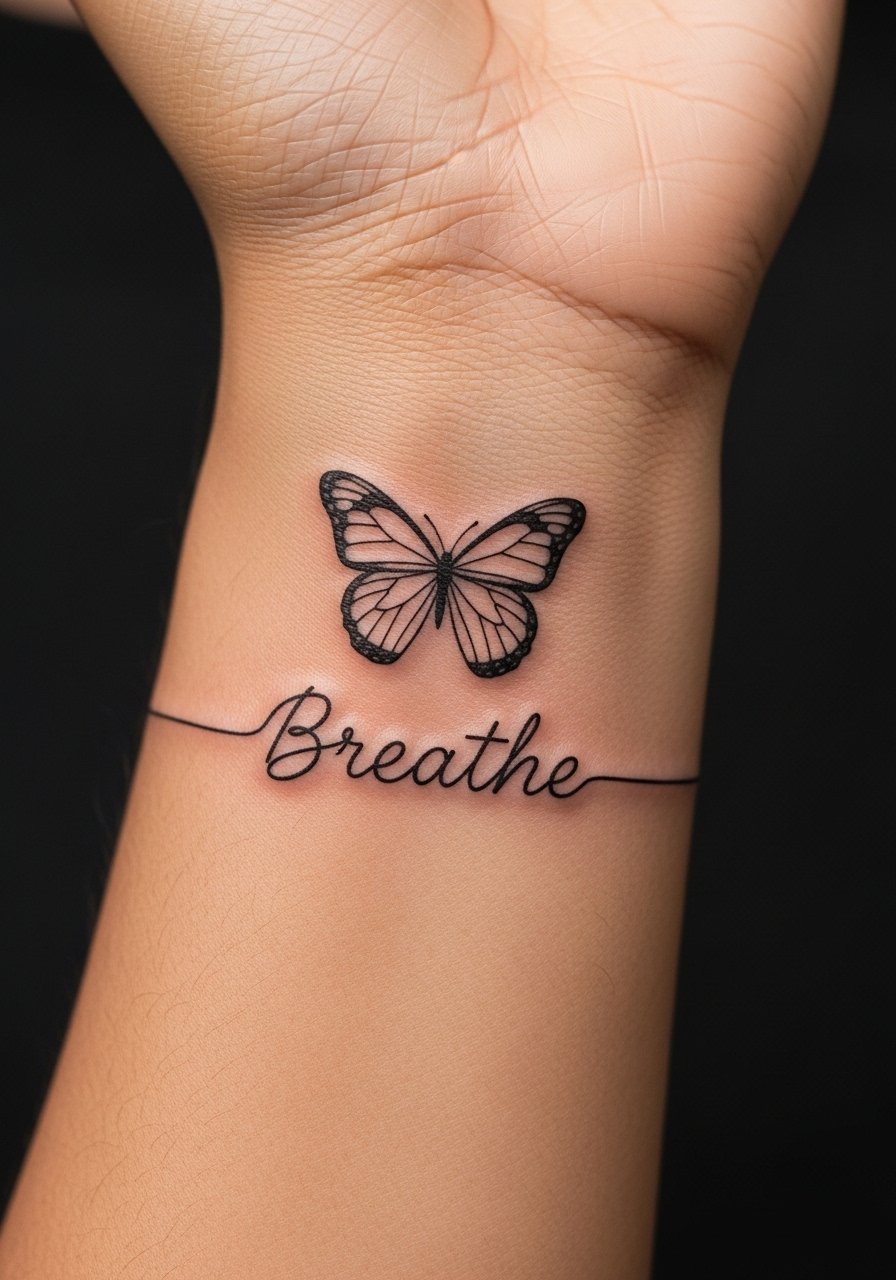
I saw a version of this that read "Breathe" and it stuck with me. Script plus butterfly is intimate and great for inner wrist placement. The main mistake I see is using too-small script next to delicate wings. In my experience, the letters should be bold enough to stay legible after a year. Name and word choices need exact sizing. Tell your artist the exact word and ask them to draw it at full scale on your wrist before inking. Pain is mild and healing is quick but keep the area moisturized and out of sun.
16. Double Exposure Butterfly With Landscape on Thigh
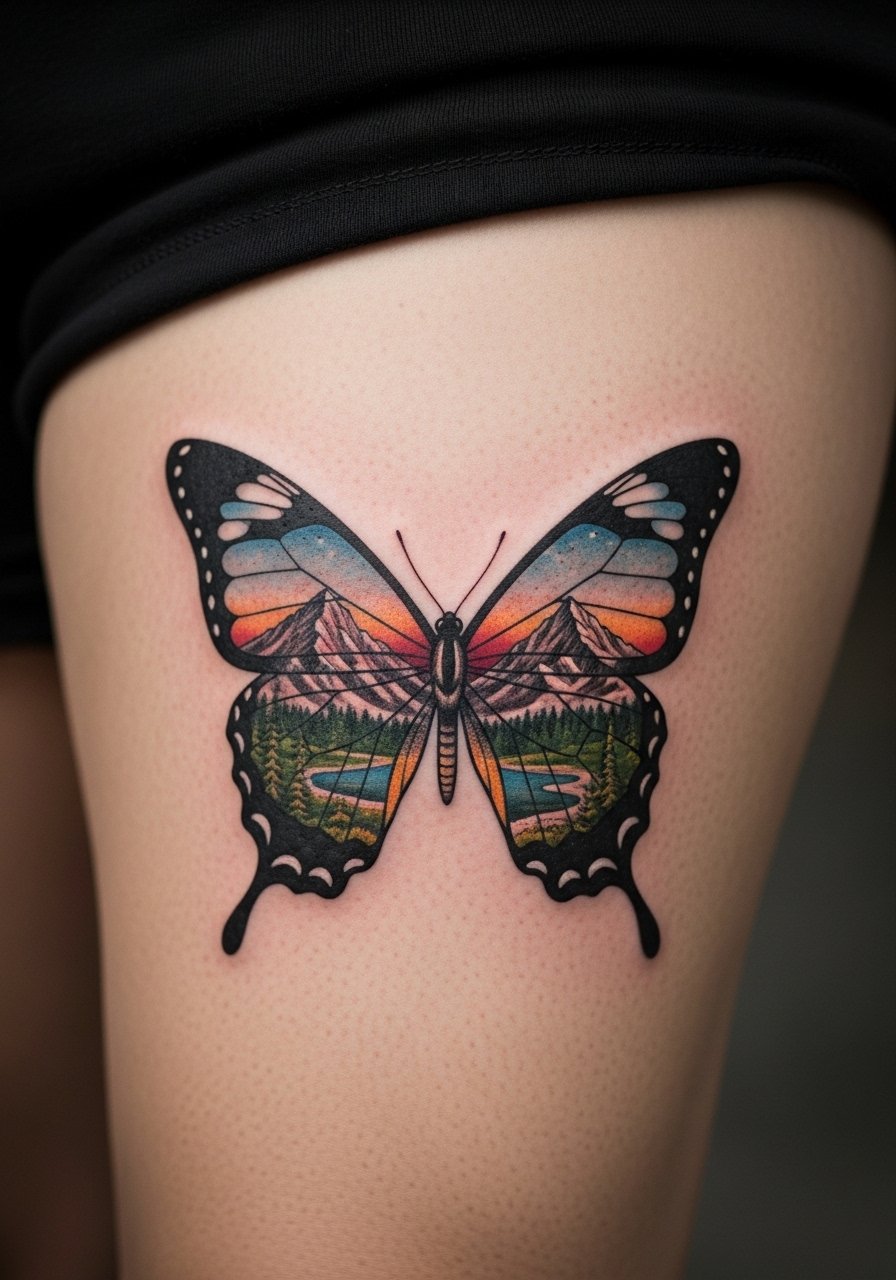
I first noticed this double exposure effect on a portfolio post and loved the narrative depth. The thigh gives room for both butterfly form and a tiny landscape contained within. A common error is trying to cram too much landscape detail into small wings. Ask your artist to simplify the scene and emphasize silhouette. Sessions can run long, so plan breaks. From what I’ve gathered, double exposure holds best when the internal scene uses bold shapes rather than micro-shading. After two years, simplified interiors age more gracefully.
17. Fine Line Mandala Butterfly on Spine
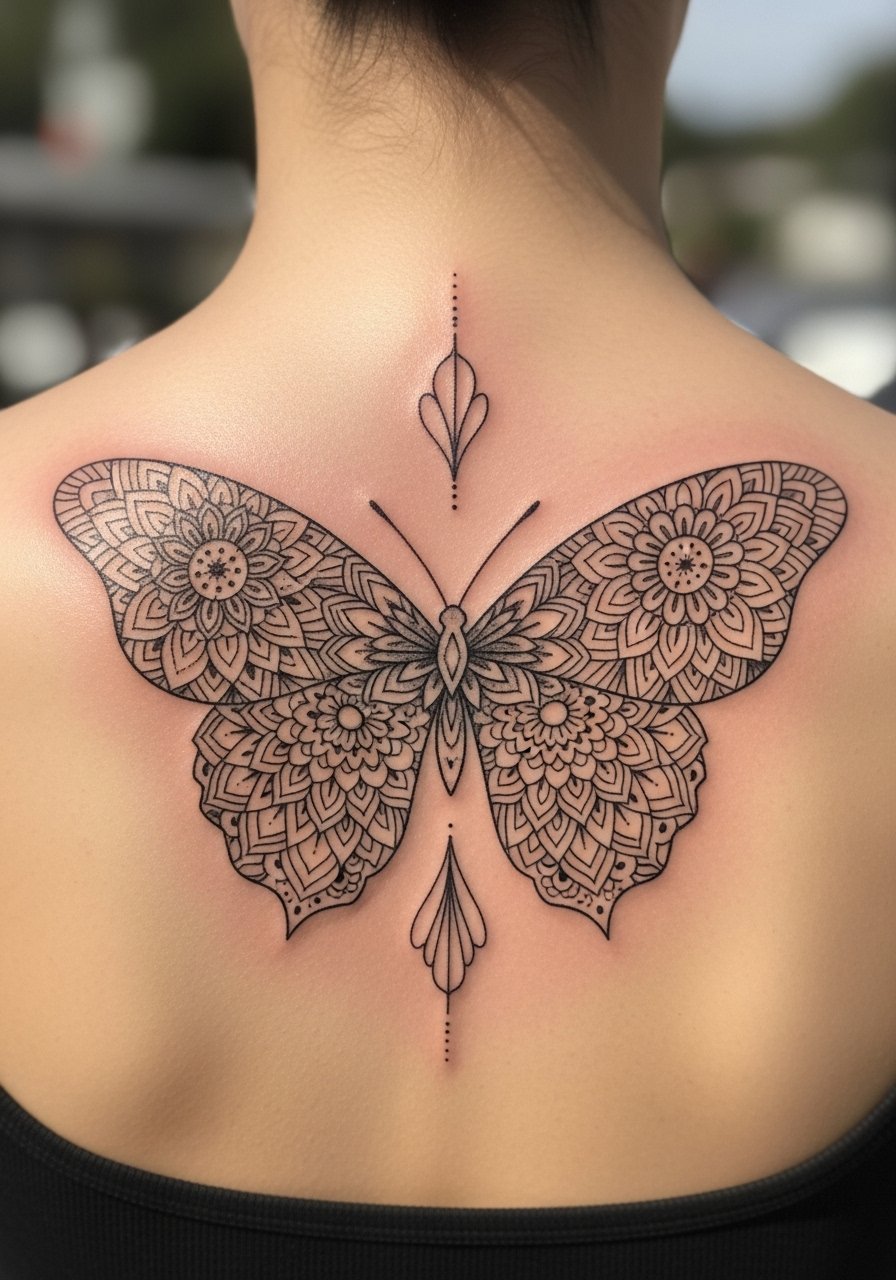
Centering a mandala-butterfly on the spine creates a strong vertical motion. Spine placement can be intense on pain. I tell clients to expect sharp sensations when the needle crosses the vertebrae. The critical mistake is making mandala lines too thin. That loss of thickness can leave the pattern looking broken after a year. Ask your artist to keep the mandala lines deliberate and to provide mirrored placement stencils so symmetry is perfect. In my experience, healed photos show mandalas last when the line weight is intentional.
18. UV Glow Butterfly on Upper Arm
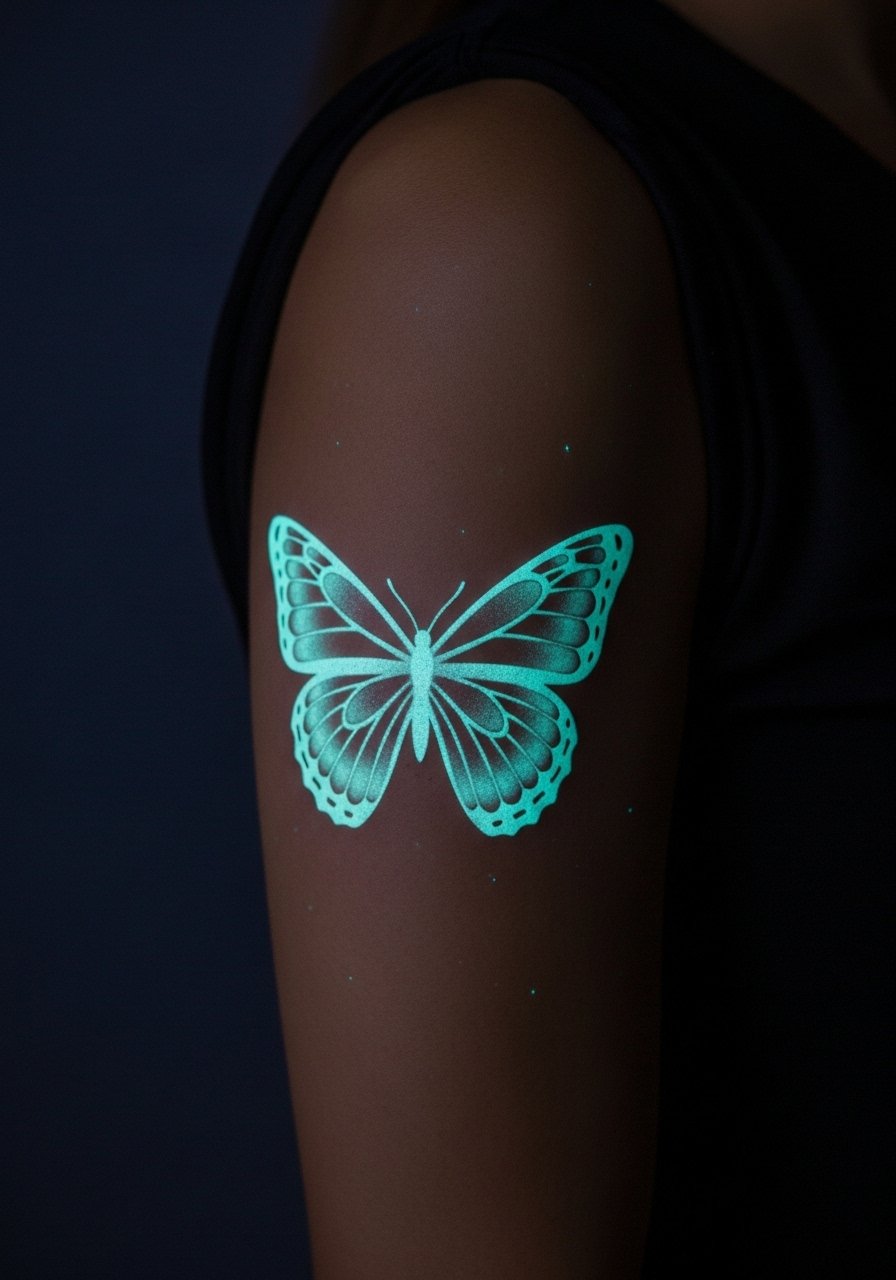
I saw a UV piece at a convention and loved the night effect. Upper arm placement balances visibility and comfort. Be aware UV ink fades faster in sunlight, from what I’ve seen. Ask your artist for a blended approach, where UV highlights sit over conventional color. That way the design reads in daylight and pops under blacklight. Sessions are similar in length to color work. A mistake is relying solely on UV ink for the entire piece. That usually looks patchy as it ages. Plan touch-ups specifically for the UV areas.
Tattoo Prep and Aftercare Essentials
Aftercare Essentials:
- Aquaphor Healing Ointment, 14oz tube. Industry standard for the first three to five days. I use a thin layer at night when the tattoo is still scabbing
- Saniderm Transparent Adhesive Bandage, 6-inch roll. Second skin healing method. Every artist I know recommends it for the first 24 to 72 hours
- CeraVe Fragrance-Free Moisturizing Lotion, 12 oz pump. Daily moisturizer from days four to fourteen. The pump is more hygienic
- Dr. Bronner's Unscented Castile Soap, 8 oz. Gentle cleanser for rinsing twice a day during the first week. A tiny drop diluted with water is enough
Before Your Appointment:
- Numbing Cream with 5% Lidocaine, 30g. Apply 30 to 45 minutes before your session only if your artist approves. Many artists prefer no numbing
- Tattoo Stencil Transfer Paper, A4 Pack. Useful for testing placement at home before your appointment
Long-Term Maintenance:
- SPF 50 Sunscreen Stick for Tattoos, Travel Size. Use on healed tattoos whenever they see sun. I carry one for beach days
- Mad Rabbit Tattoo Balm, 2 oz. Good for long-term maintenance to keep colors vibrant. Artists I know recommend it for healed pieces
- Hustle Butter Deluxe, 5 oz. Vegan option that works during healing and after. I prefer it for long sessions when skin gets dry
Optional Comfort Items:
- Tattoo Numbing Spray, 4 oz. Useful for touch-ups or sensitive areas mid-session
- Hydrocolloid Bandages, Large Size. Alternative to Saniderm for small to medium tattoos
Frequently Asked Questions
Q: Will fine line butterfly veins blur into each other if I get a full sleeve?
A: I’ve seen it happen when artists use hairline strokes with no plan for breathability. For a sleeve, ask for deliberate spacing and slightly heavier vein lines around focal butterflies. That keeps wings readable after two years. You can also request touch-up windows in advance. If you want product help after the session, Aquaphor Healing Ointment, 14oz tube is what I use in the first nights.
Q: Do watercolor-style butterflies need different aftercare than traditional ones?
A: From what I’ve gathered, watercolor pieces benefit from the same basic cleaning routine but also need sunscreen sooner. The softer fills can look washed out with heavy sun exposure. I recommend moisturizing with Mad Rabbit Tattoo Balm, 2 oz after initial healing, then applying an SPF 50 Sunscreen Stick for Tattoos when you expect sun exposure.
Q: Are UV reactive butterfly tattoos safe long term?
A: I’ve talked to several artists about UV ink. The consensus I’ve seen is that UV can be safe when used sparingly, but it needs more frequent touch-ups. If you want daytime visibility and blacklight pop, ask the artist to layer UV highlights over standard pigments rather than relying solely on UV ink. For maintenance, I use Hustle Butter Deluxe, 5 oz on healed pieces.
Q: How do I protect a hand or finger butterfly so it doesn’t fade quickly?
A: Hands get constant wear. I advise bold shapes and negative space to keep form. During healing, avoid heavy washing and use a gentle cleanser like Dr. Bronner's Unscented Castile Soap, 8 oz sparingly. From what I’ve seen, frequent touch-ups are common, so plan accordingly.
Q: Can I use numbing cream for a ribcage neo-traditional butterfly?
A: Some artists allow numbing creams and some do not. I apply a Numbing Cream with 5% Lidocaine, 30g only when my artist gives the go-ahead. Bring it to your consult and ask if they prefer you use it. Pain tolerance varies, and some people find break sessions more effective than numbing.
Q: What's the best way to test placement for a collarbone micro-realism pair before inking?
A: I use stencil transfer paper at home. Get Tattoo Stencil Transfer Paper, A4 Pack and wear it for a day to see how movement, clothing, and sitting affect the design. From what I’ve tried, this saves regret and helps your artist place the wings where they read best.
