
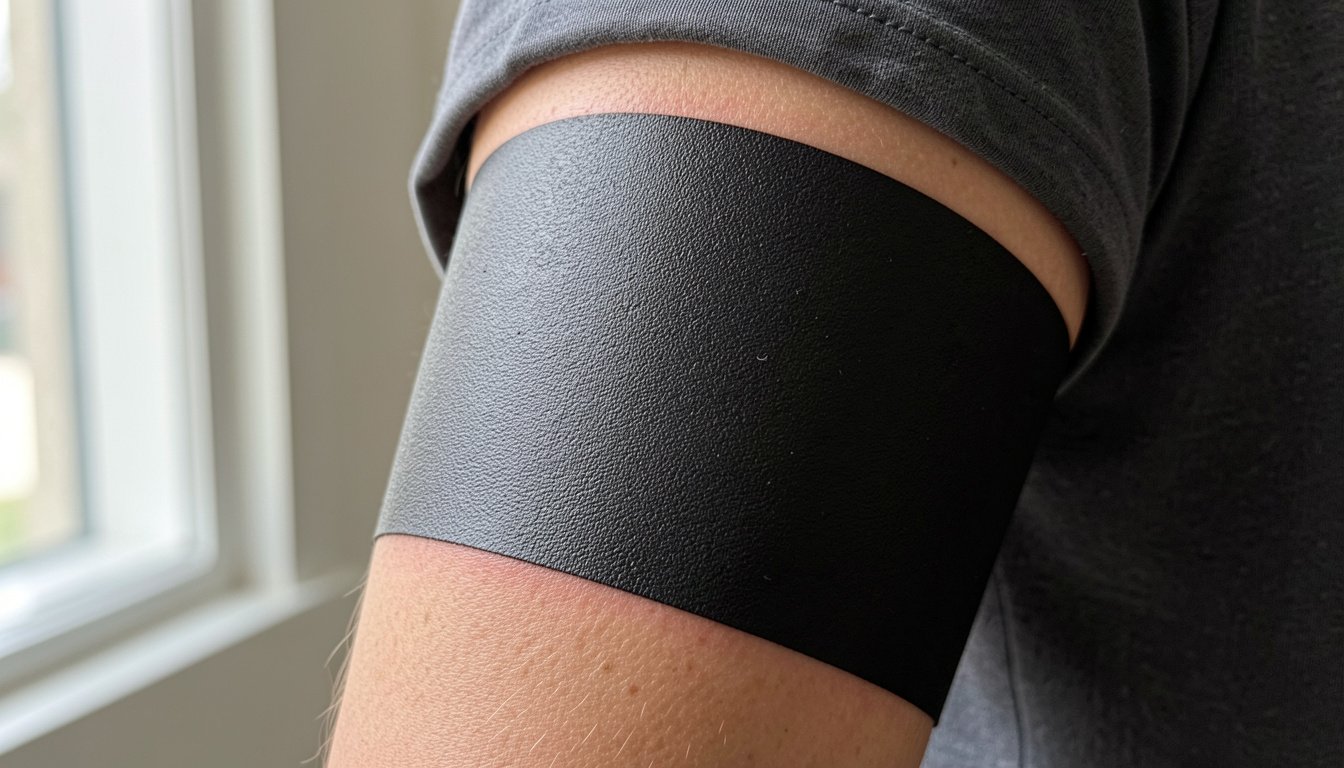
Black solid armband tattoos read like a statement on movement and time. They are popular because saturated black holds up differently than delicate single-needle bands. Thin, wispy armbands trend on social feeds but often blur into an uneven shadow after a few years. This collection focuses on black bands built to last, with placement and wardrobe tips so the piece still reads sharp at year five.
1. Narrow Inner Wrist Band For Everyday Wear
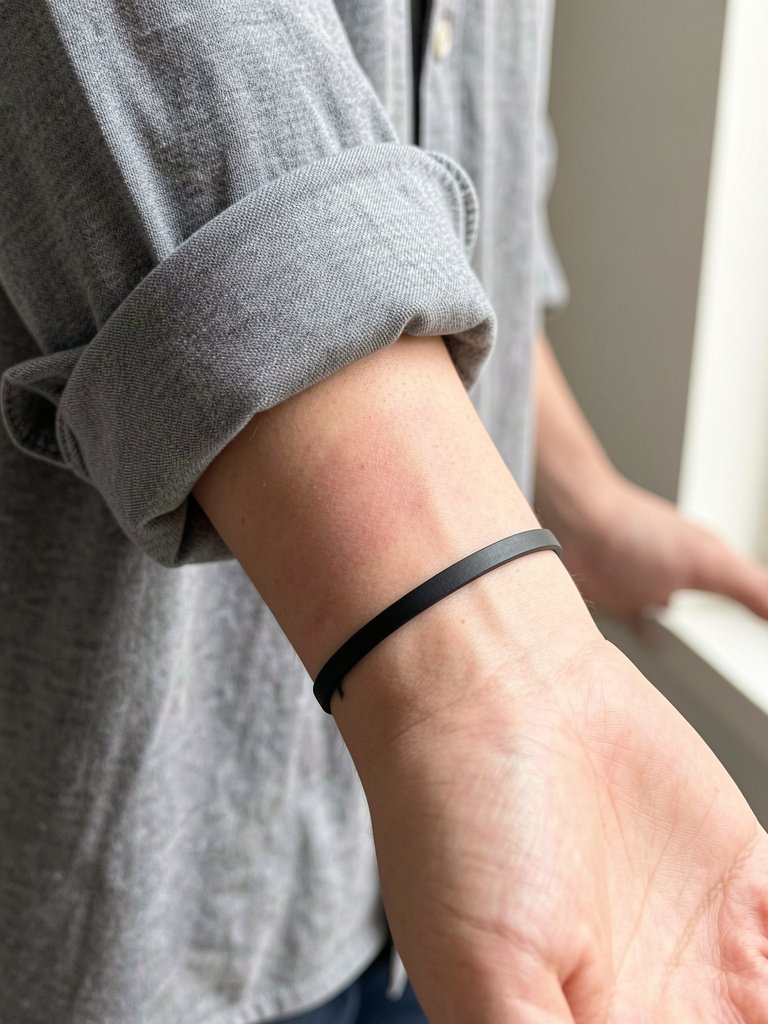
A narrow solid band at the inner wrist is low-profile and easy to show. Recommend this when you want a visible band without the heaviness of a full upper arm wrap. The wrist takes frequent friction from watches and bracelets, so I suggest a slightly thicker narrow band than people expect to avoid early softening. In a session expect 20 to 40 minutes and moderate stinging. Common mistake is asking for a single hairline stripe that vanishes into the skin texture by year two. For a clean long-term edge, bring two reference widths so the artist can simulate how a two- to three-millimeter band reads at six months and two years. Styling note: pairs well with a slim leather watch or cuff, try minimal leather band watches for evening looks.
2. Inner Forearm Mid-Width Band With Negative Space
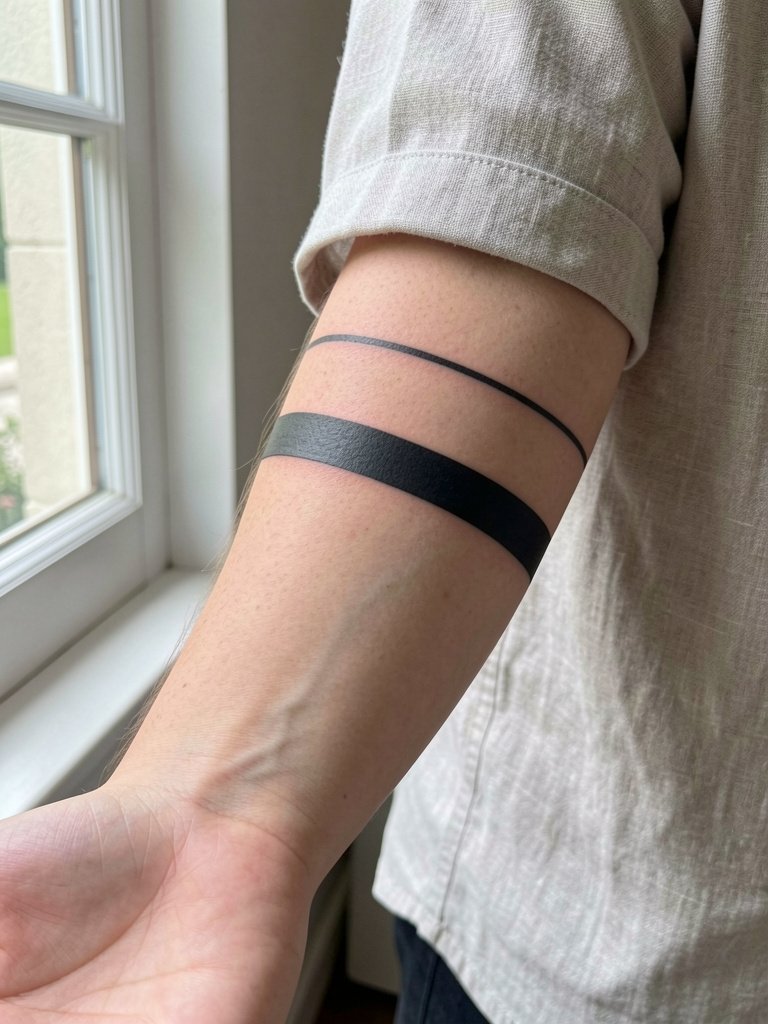
This mid-width armband with a deliberate negative gap reads like a modern bracelet. I recommend it when you want a graphic band but still want contrast against the skin. At six months the negative space remains clear, at two years thin negative gaps often need a small touch-up if placed too close to heavy motion zones. A frequent error is requesting a half-millimeter gap which blurs in 18 months. During consultation bring a mock-up showing exactly how wide the gap should be so the artist can space the black mass to compensate for skin migration. Session time is usually 30 to 60 minutes. Wear a short-sleeve top to the appointment so the artist can access the inner forearm easily.
3. Upper Arm Wide Band For Bold Contrast
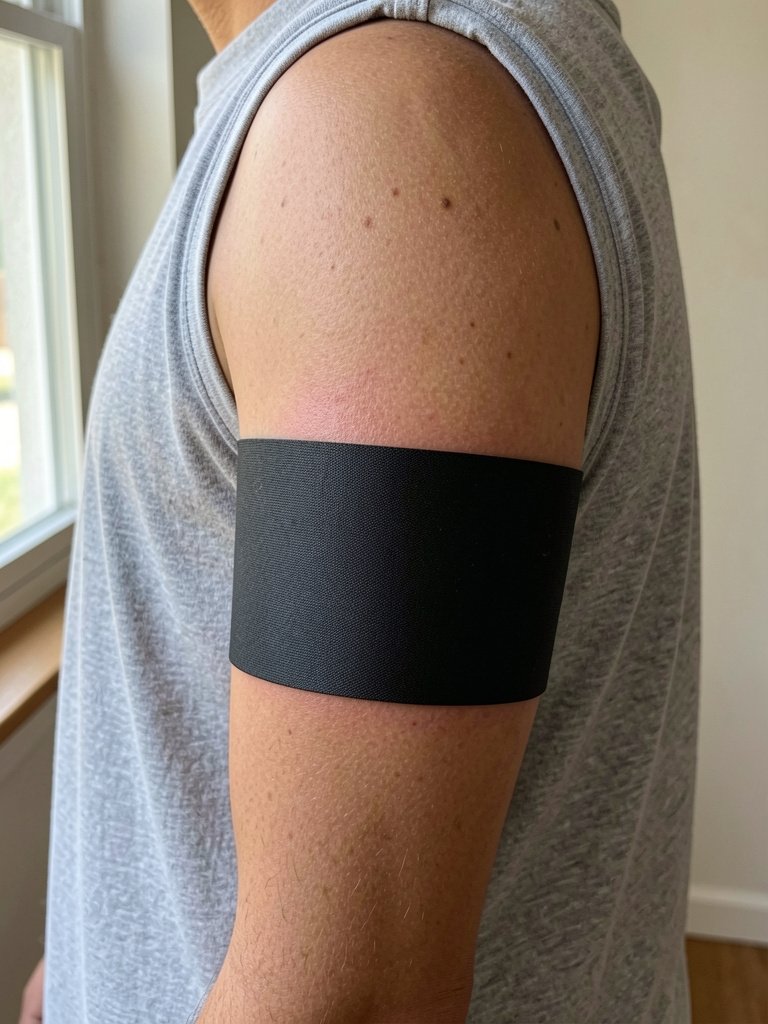
A full-width upper arm band brings a graphic silhouette that reads across a room. Recommend it for people who want a strong visual anchor for sleeve work or to balance a larger composition. Expect 60 to 90 minutes for a full-width band and moderate to high discomfort as the area wraps the muscle. One common mistake is asking for a band that is too narrow to match body proportions. Over time a wider, well-saturated band keeps a cleaner edge than a super-skinny stripe. For placement, ask for the band to sit where natural muscle shape will support a straight edge when the arm is relaxed. Wear a tank top for the session so the artist can roll the sleeve out of the way without stretching the skin.
4. Broken Band With Geometric Gaps
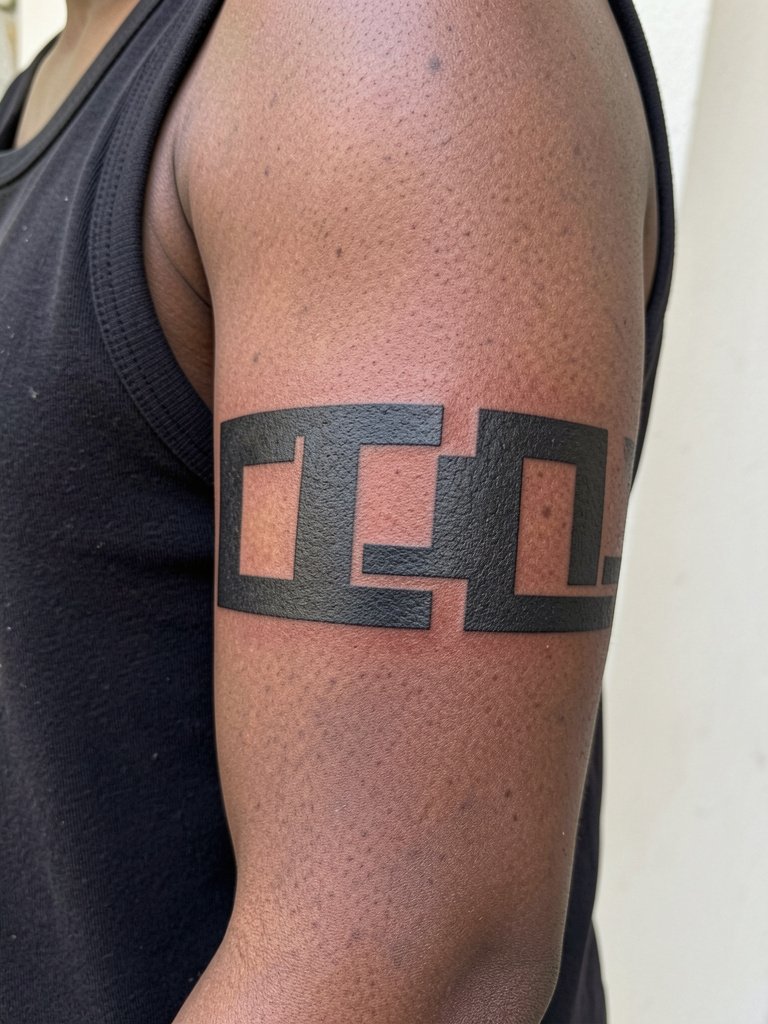
A broken band offers rhythm while staying in pure blackwork territory. I recommend this if you like movement but want the longevity of saturated ink. The geometric gaps should be at least four to six millimeters wide to avoid filling in over time. Artists are split on how narrow the negative areas can be and still last. One camp argues that gaps under four millimeters will blur within a couple of years because of skin migration. The other camp says with heavy saturation and clean edge work the gaps can survive, and they will show healed photos to support that. In practice I advise a slightly wider gap than the photo you love and a touch-up plan at year two.
5. Stacked Thin Bands For a Layered Look
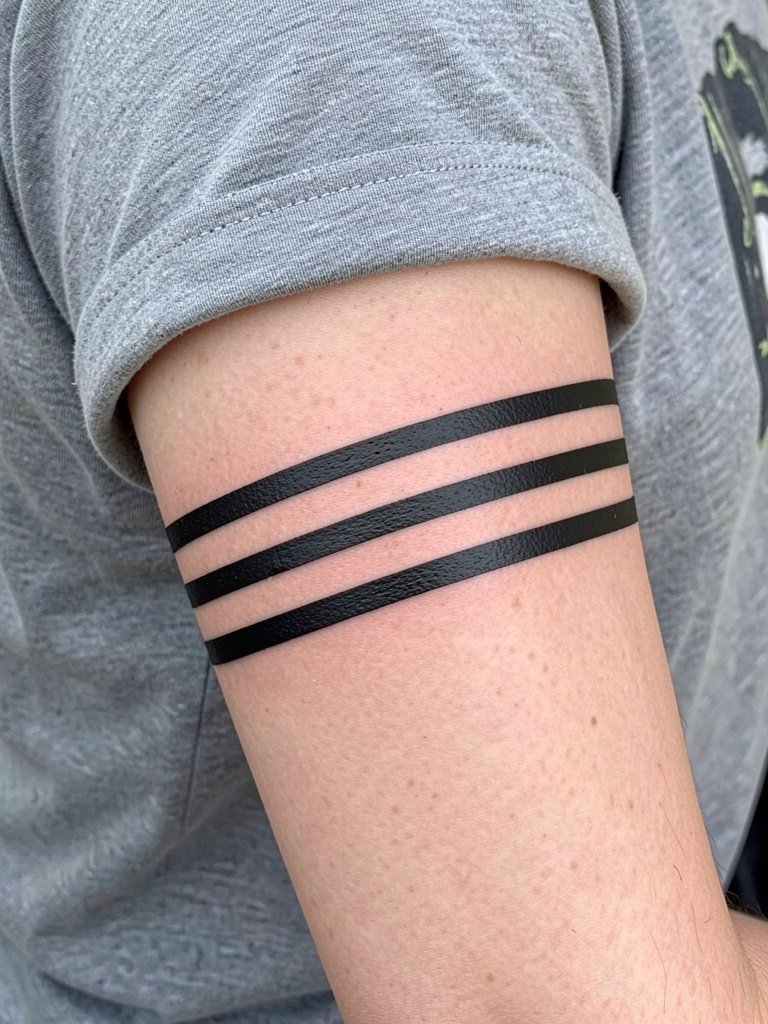
Stacked thin solid bands create a bracelet effect without color. They are great when you want modularity because an extra band can be added later to expand into a sleeve. Expect session time of 45 minutes to an hour for three crisp bands. The typical mistake is spacing bands too close so the edges bleed into one another at year two. Bring a printed template showing exact spacing so the artist can test stencil placement on the arm curvature. Styling idea: looks sharp with rolled sleeves and layered thin rings. Try pairing with stackable minimalist rings when you want to show the band off.
Session Day Picks
The wrist and inner forearm bands above heal differently from full upper-arm wraps, so a few small items smooth the session and early healing.
-
Stencil transfer paper kit. Lets you preview line placement on skin and is useful for precise stacked and negative-space bands discussed above.
-
Topical numbing cream. Applied per product directions before a shorter wrist or forearm band reduces fidgeting during the outline pass.
-
Thin protective film roll. Ideal for small bands at high-friction spots like the wrist and ankle during the first week.
-
Fragrance free gentle body wash. Cleans the area without stripping the fresh ink if you are showering after a wrist or forearm session.
-
Aquaphor healing ointment. A mainstream choice for the initial thin-film stage to protect saturated blackwork on small armbands.
7. Textured Brushstroke Band For Organic Edge
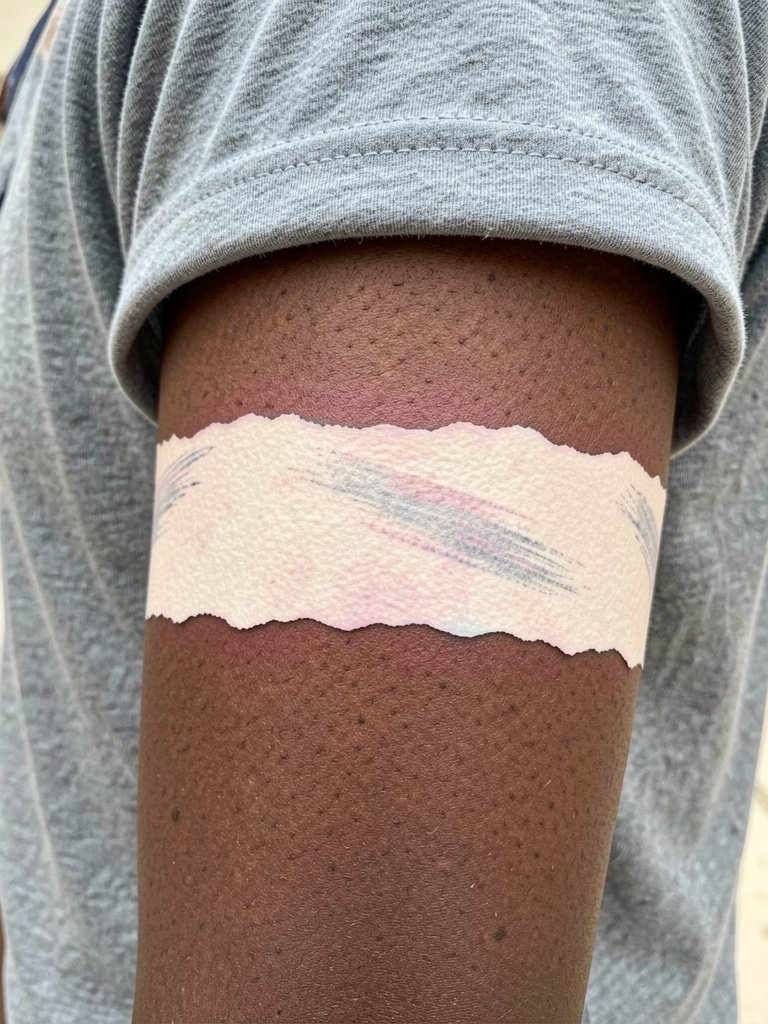
A brushstroke band reads handcrafted and pairs well with casual wardrobes. I recommend this when you want the visual weight of blackwork but prefer softer edges. This style ages differently than a crisp block. Over five years the textured edge softens into a faded band, which can be an intentional look if you want slow change. The usual mistake is expecting a crisp edge when ordering a brushstroke style. Clarify that you want visible texture so the artist can map irregular saturation intentionally. Session time ranges from 45 to 75 minutes. For showing it off, try cuffed short sleeves and a casual bracelet. Here is a pairing idea: woven friendship bracelets.
8. Tribal-Inspired Solid Band With Respectful Nod
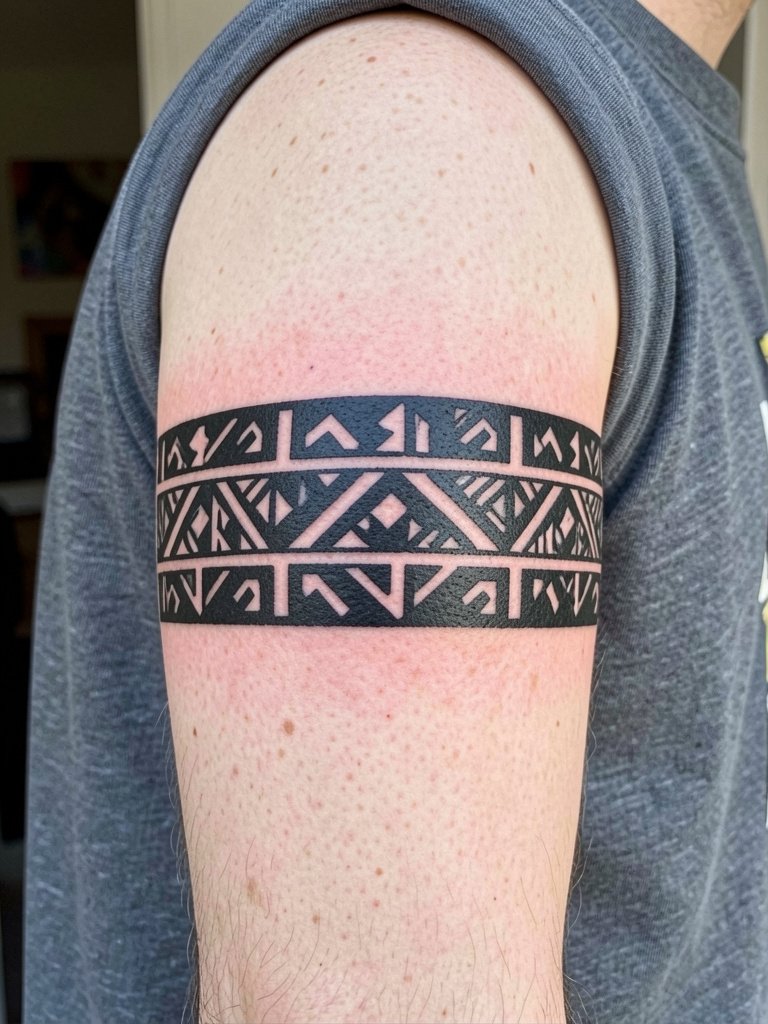
This design borrows geometric language without copying sacred symbols. There is a clear debate around tribal-style bands. One camp insists these patterns belong to specific communities and that their use outside of those contexts is cultural appropriation. The other camp believes simplified, abstract patterns can be used respectfully if credit and research are part of the process. If you choose this route, explain the origin you are referencing and offer to compensate cultural teachers when appropriate. A consultation should cover which motifs are sacred and which are stylistic so you avoid problematic choices. Session time is usually 60 minutes for a patterned band and touch-ups are common at year two for crisp edges.
9. Tapered Gradient Band That Thins Toward the Edge
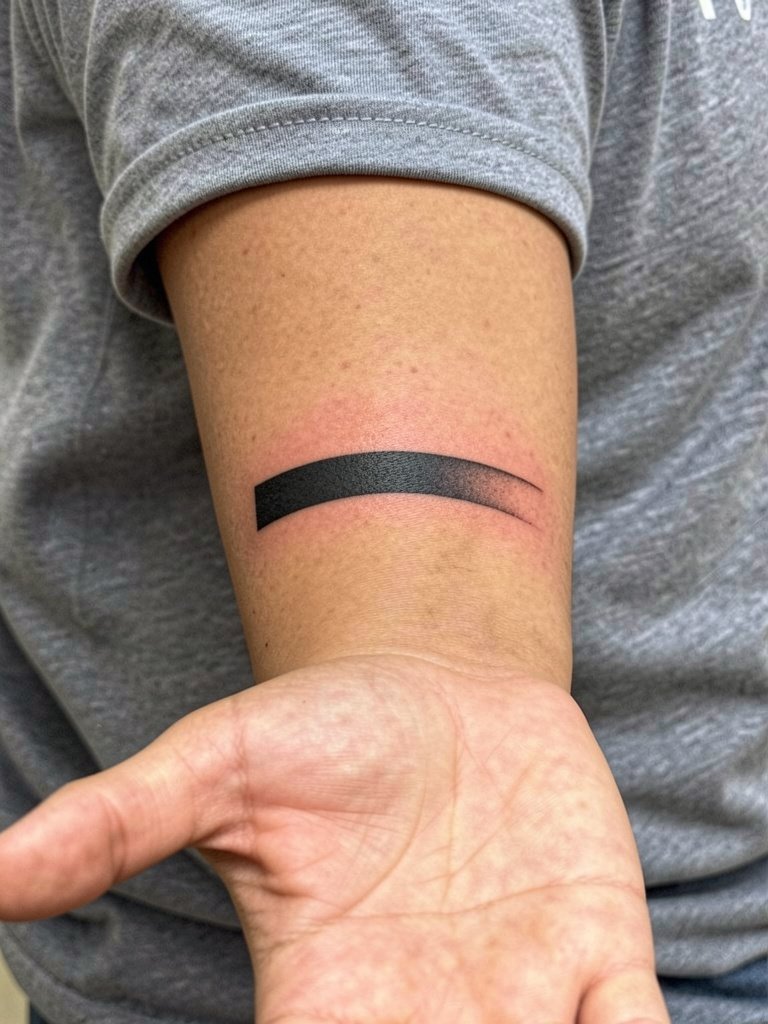
A tapered band offers motion without negative space and reads like light striking the arm. It works well when you want a bold presence that still feels dynamic. The main risk is asking for a micro-taper which fills in quickly. Specify how much taper you expect by showing the artist a cross-section mock-up so they can plan needle passes accordingly. Expect a session of 45 to 75 minutes depending on band height. Over time the thicker end keeps crisp edge while the tapered edge may need a touch-up at three years. Styling tip: looks modern with rolled linen shirts and mid-forearm bracelets. Pair with rolled linen shirts to let the taper show.
10. Interlocking Bands That Wrap the Arm
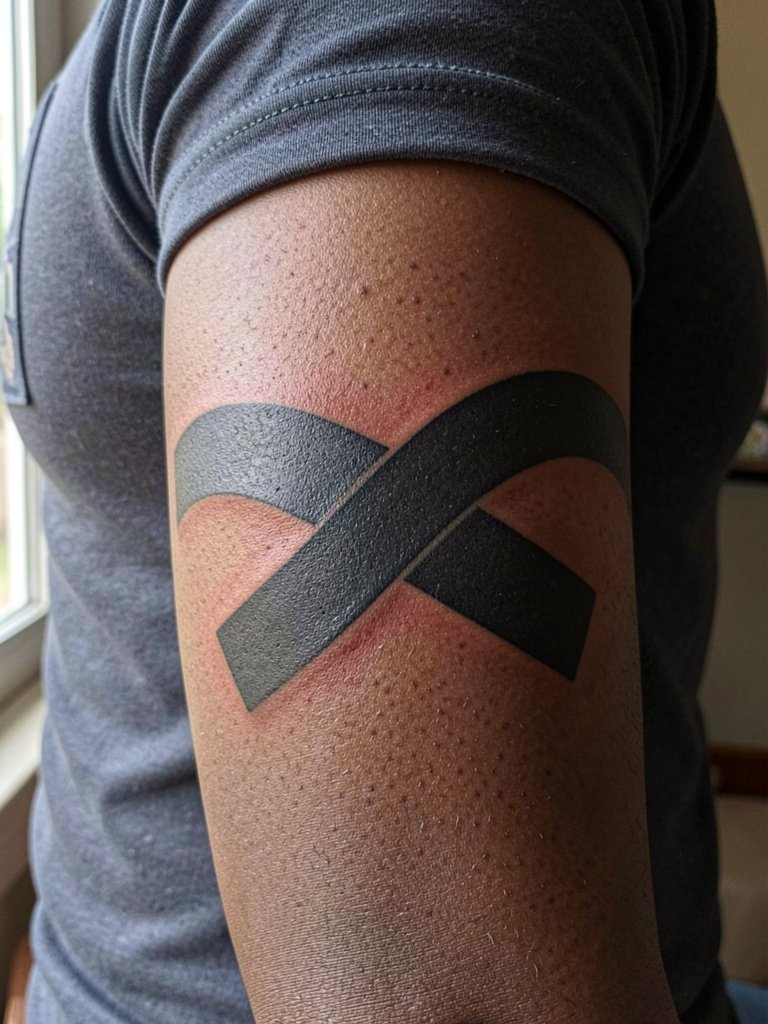
Interlocking bands create depth without color. Pick this design when you want the illusion of layers without the hassle of color saturation. Be clear with your stencil about which band sits visually on top. A frequent error is misaligned stencils that make the overlap look accidental rather than intentional. Session time varies from 45 to 90 minutes depending on width. For longevity, larger overlaps retain cleaner separation than thin, intricate overlaps. Accessory pairing: stacks nicely with a metal bangle. Try simple metal bangles.
11. Narrow Negative-Punched Dots Across a Solid Band
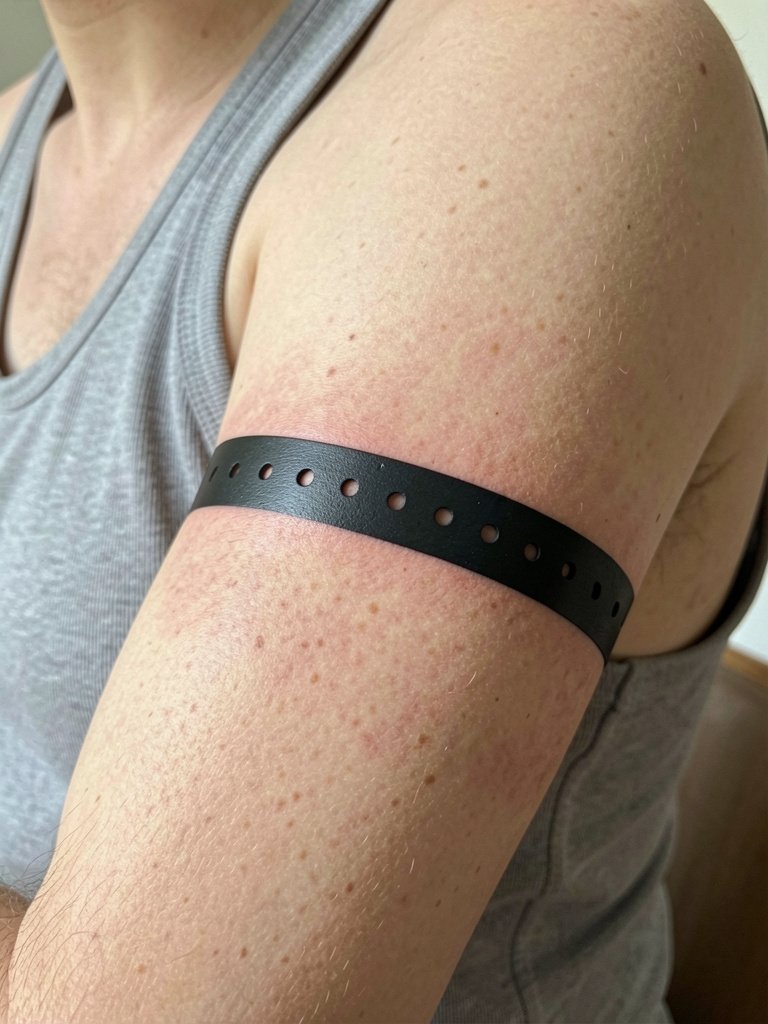
Negative punches create a patterned rhythm that still reads as a single solid. This style is good for people who like texture but need a compact design. Punches should be no smaller than four millimeters across to avoid closing up at follow-up. Mistake examples include requesting micro-dots which merge into the black mass. Expect 30 to 60 minutes. Over time the punched holes may look slightly softer, so plan a touch-up at two to three years if you want sharp contrast. Session wear: a sleeveless top makes positioning easier for the artist.
12. Thin Rope-Like Band That Wraps Twice
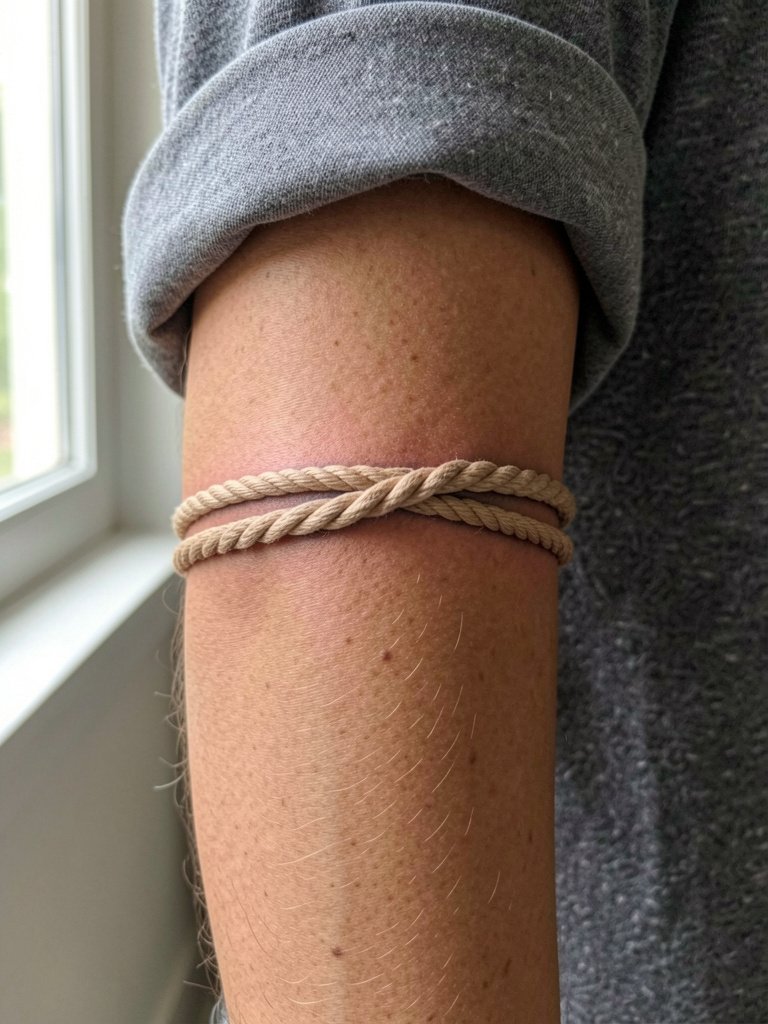
A double-wrap rope band gives subtle complexity but remains all black. I suggest this when you want an armband that reads like jewelry. The rope appearance relies on precise spacing and consistent edge work, so bring reference photos showing the desired twist density. The common mistake is asking for too-tight twist lines that blur. Expect 45 to 75 minutes. After healing the double-wrap can soften into a single-looking band unless the lines are given breathing room. For show-off outfits try short cuffed sleeves and layered necklaces to echo the wrap.
13. Offset Thin Band With Tiny Script Above
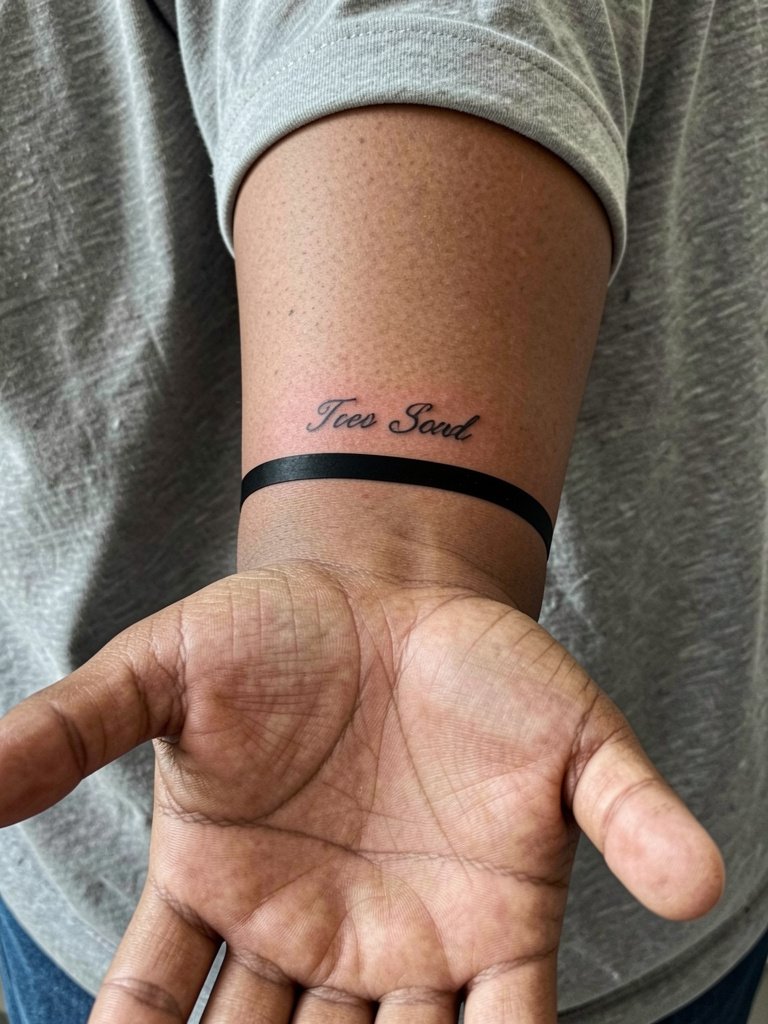
Combining a solid band with small script adds a narrative without overwhelming the arm. This is best for someone who wants a bold anchor and a subtle word. The script must be set at a safe size because small lettering near a saturated band can be eaten by surrounding saturation over time. A specific consultation point is the vertical spacing between band and script. Bring printed scale references so the artist can draft exact placement. Session time for this combo is usually 45 to 90 minutes. Avoid tiny single-needle letters under three millimeters in height if you want legible text at three years.
14. Ombre-Dotted Fill Within a Solid Band
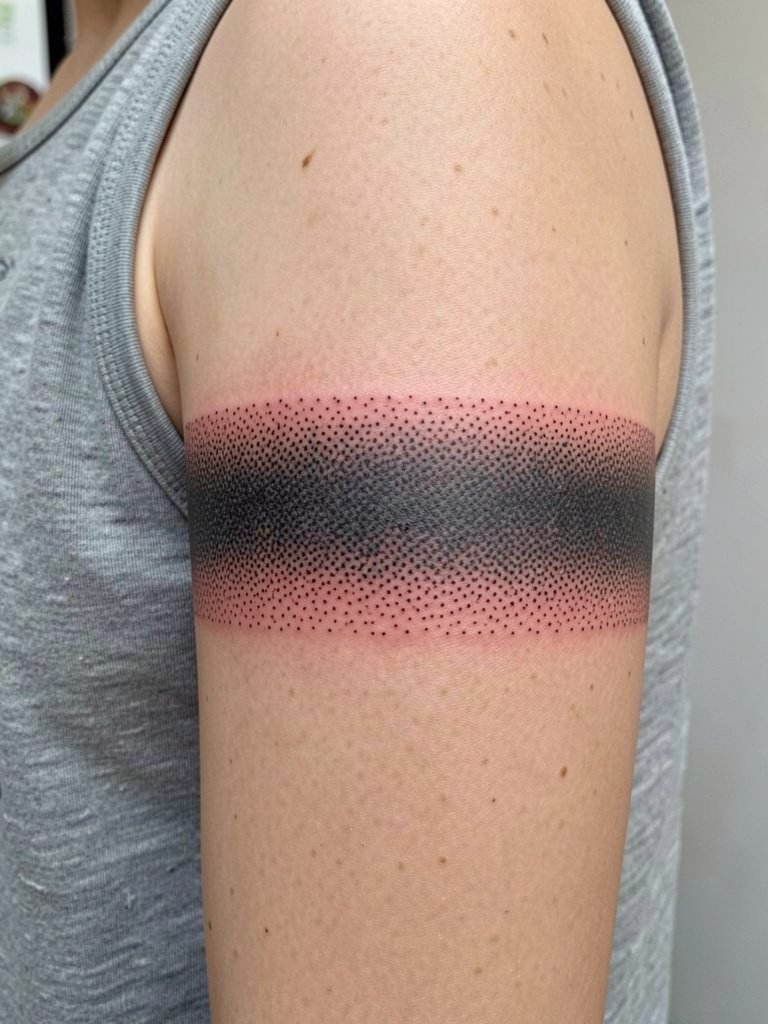
Stipple fill inside a solid armband softens the visual weight while keeping blackwork discipline. Recommend this when you want texture without negative space. Dot-work requires precise needle rhythm and takes longer. Expect 90 to 120 minutes for a wide band with detailed stippling. One mistake is asking for micro-dots too close together which can compact into muddy shading. Plan for a touch-up at year two to preserve crisp stipple density. For styling, the texture pairs well with knit sleeves and bracelets.
15. Micro-Gap Morse Code Band
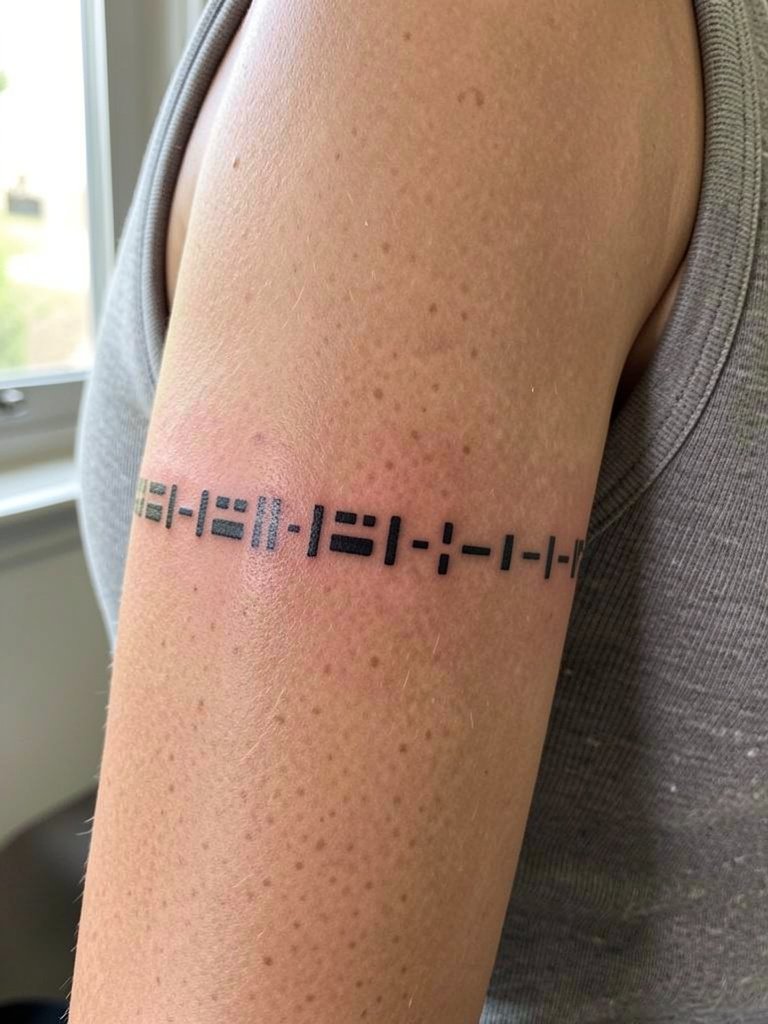
A Morse code pattern is a discreet way to encode a message into a band. It works well for someone who wants meaning without overt text. The gaps need to be wide enough to remain legible over time, so plan code spacing with your artist rather than guessing from a photo. Expect a 30 to 60 minute session for a narrow band. The primary aging issue is the short gaps filling in, so allow for a planned touch-up window at two years. For the session wear, a sleeveless top keeps access straightforward.
16. Asymmetric Band That Sits High on the Arm
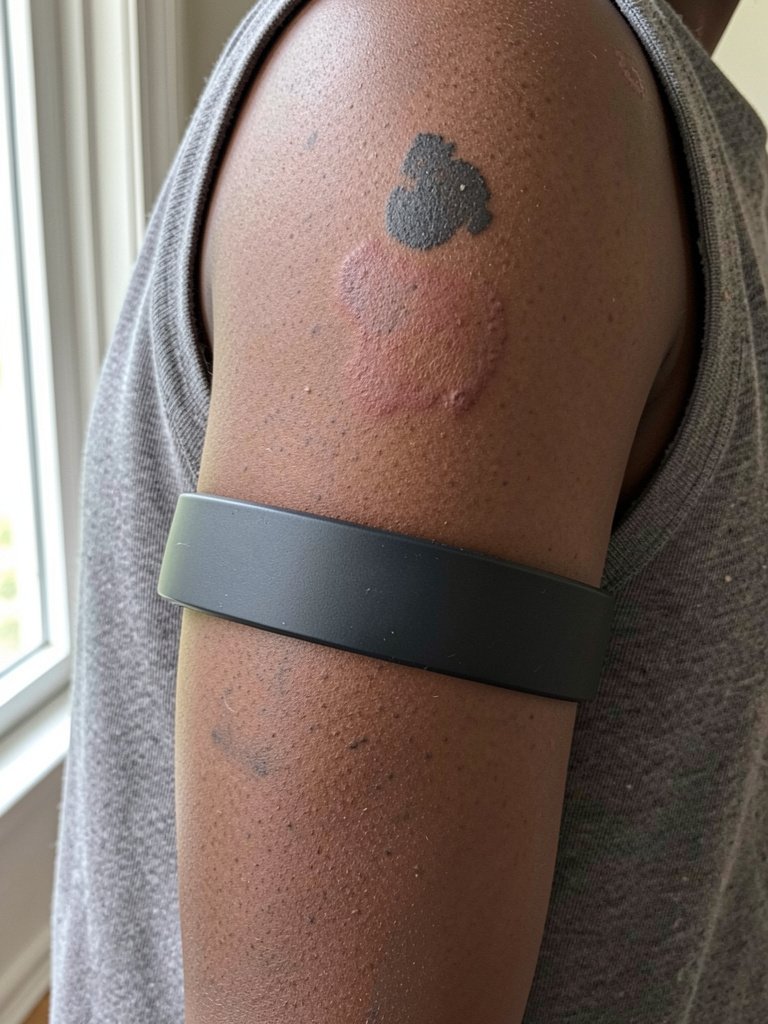
Placing a band higher on the arm distorts the silhouette in a flattering way. I recommend asymmetric placement when you want the band to read like an accent rather than a cuff. The main mistake is not accounting for how the upper arm compresses when the arm is relaxed. During consultation have the artist mark the arm in three relaxed positions so you can approve exact height. Sessions are 60 to 90 minutes for a wider band. Over years the upper-arm location keeps a strong edge if saturation is deep.
17. Double-Width Band Split by a Thin Line
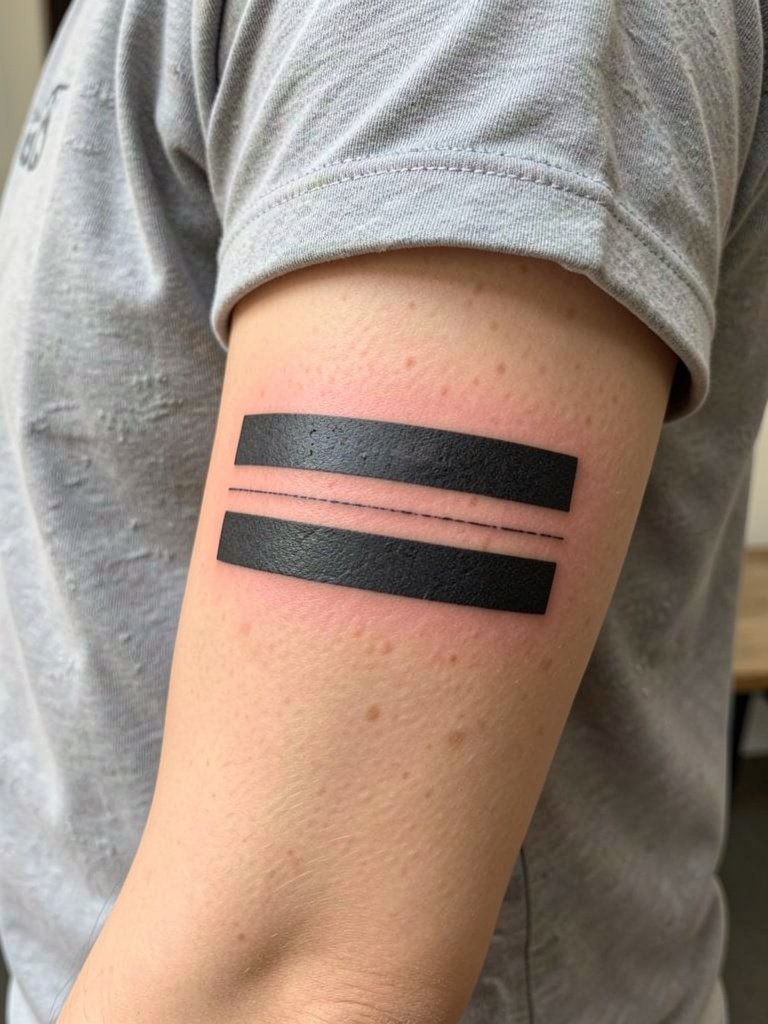
Two wide bands divided by a slim negative line feel architectural. This approach balances bold mass with a breath of light. The thin separator must be wide enough to persist or the divider will blur into one solid block. A good consultation detail is determining the negative line width in millimeters so the artist can plan saturation and edge stops. Session time can be 60 to 120 minutes depending on band height. For showing off, short sleeves and simple bracelets keep attention on the split. Consider classic silver cuff bracelets.
18. Matchbox-Edge Band With Slight Irregularities
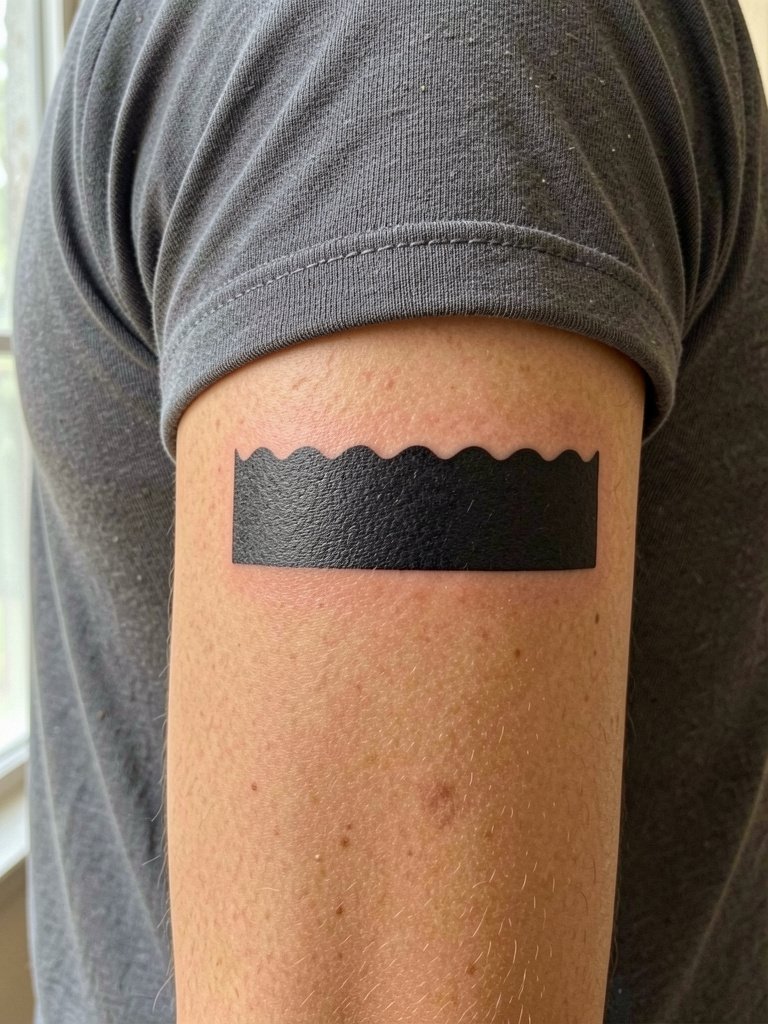
A matchbox-edge band looks handmade while remaining graphic. Choose it if you want character without ornate detail. The irregular edge should be intentional and scaled to the band height so it reads as design rather than error. A typical mistake is asking for an irregular edge and ending up with uneven saturation because the artist rushed the fill. Expect around 60 minutes. Over time the scallops soften, so plan touch-ups if you want to maintain crisp scalloping at the three-year mark.
19. Skinny Chevron Accented Band
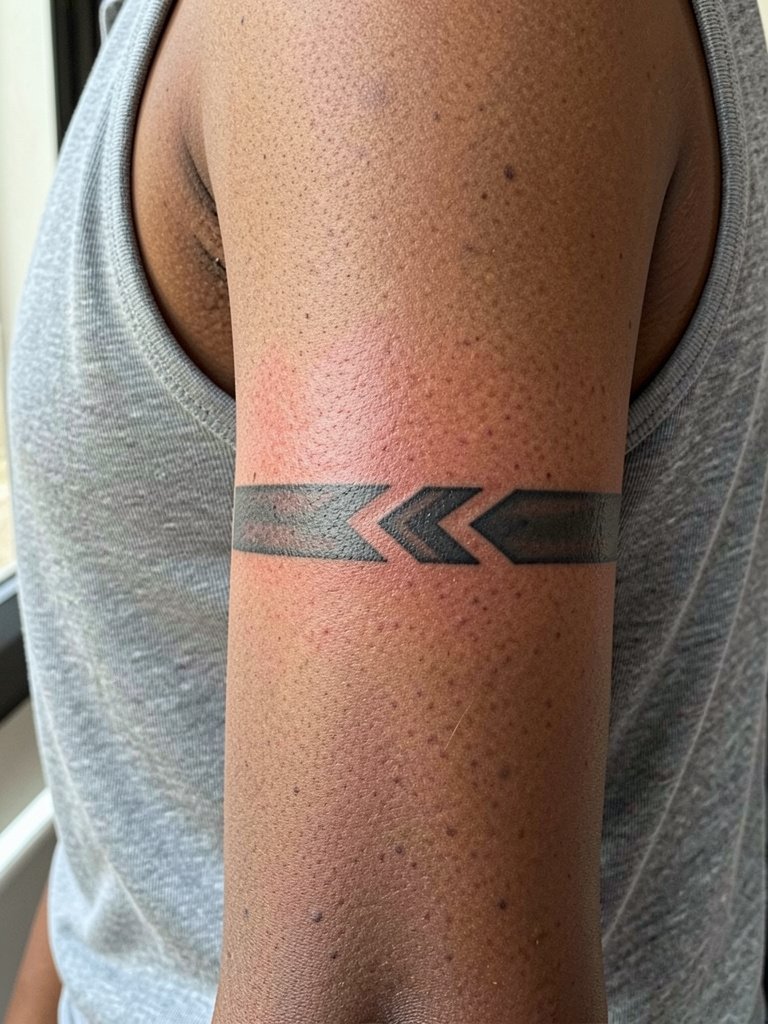
A chevron accent gives directional flow to a narrow band. It works well when the wearer wants the band to point toward another piece or a focal point like a watch. The chief risk is making the chevron too small, which will blur. A specific consultation point is the angle and depth of the chevron relative to the band edge. Session time is 30 to 45 minutes. Over time the chevron retains shape better if slightly larger than the photo reference. For outfit pairing, short-sleeve shirts and a slim wristwatch help the chevron read.
20. Fading Edge Band That Mimics Sunburn Line
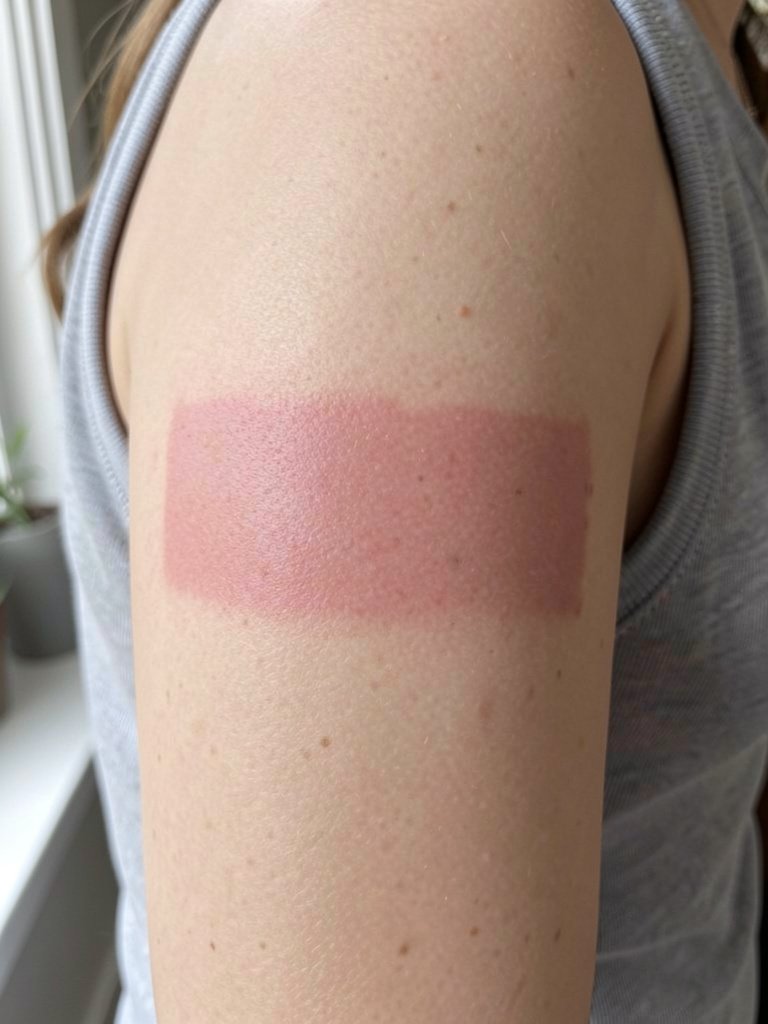
A fading-edge band offers a hint of impermanence while staying fully black. Choose this when you like tactile contrast without negative space. The feathering must be deliberate and graded properly during the session to avoid accidental patchiness. The big mistake is asking for a feathered edge and then expecting the same saturation as a clean block. Sessions run 60 to 90 minutes for wide feathering. Over years the feather tends to integrate with surrounding skin, which can be the intended look. For style, it pairs with rolled sleeves and layered metalwork.
21. Ringed Elbow Band That Sits Just Above the Joint
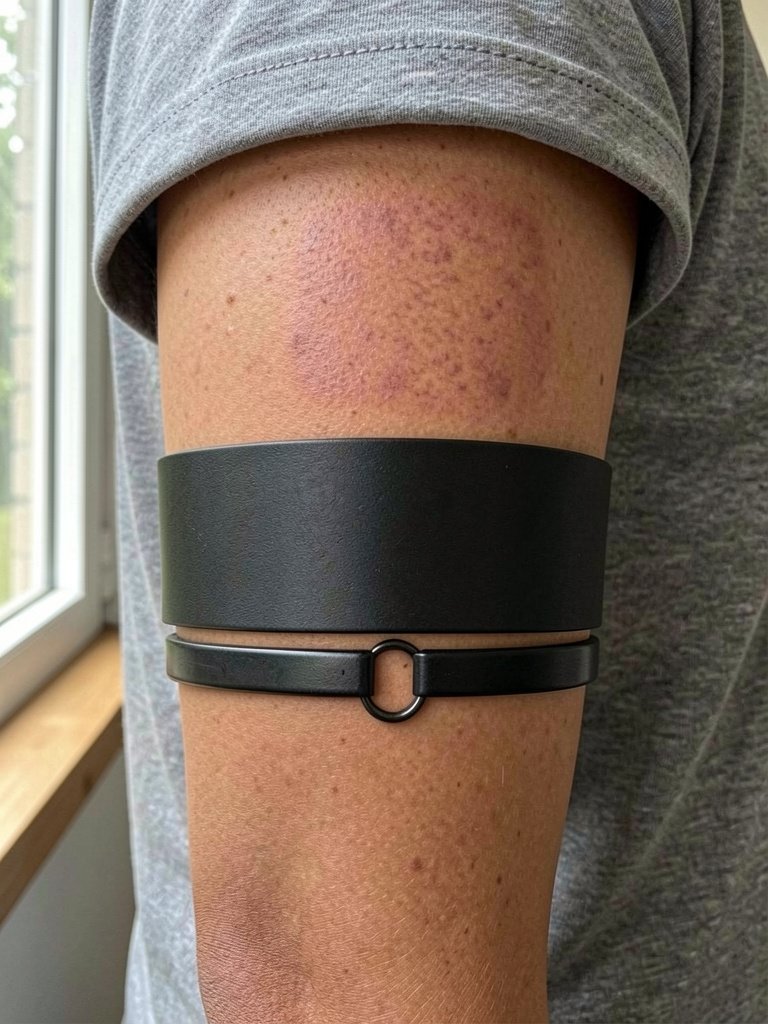
Bands close to joints behave differently because of constant flexing. I recommend a slightly wider band above the elbow to resist softening at the crease. The common mistake is placing a thin band directly over the crease which often blurs and distorts. Discuss with the artist how the band sits when the elbow is bent and when it is straight so you approve final placement. Session time is typically 45 to 75 minutes. For showing off, sleeves that stop just above the elbow spotlight this placement.
22. Concentric Bands With Varying Heights
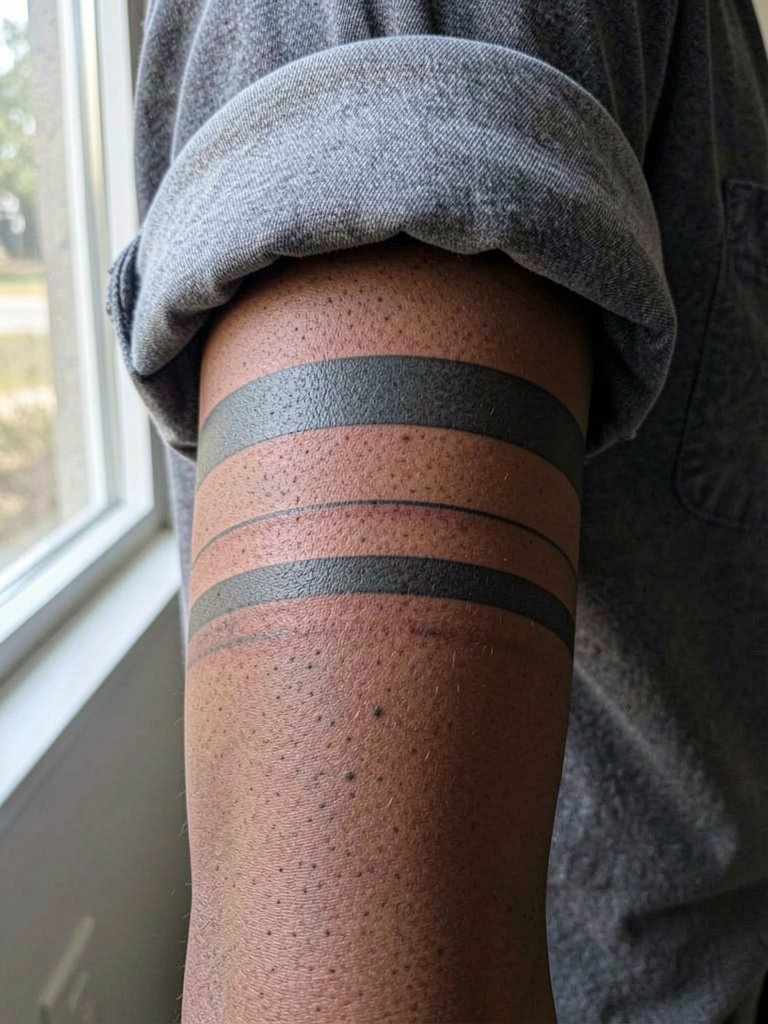
Concentric bands read architectural and work when you want a structured set. This is a good choice if you plan to expand into a partial sleeve later, because each band can become a border. The issue people face is choosing heights that conflict with arm proportions. Ask for mock stencils at full scale so you can see the graduation before ink. Sessions can take 90 to 150 minutes for a large composite. Over time the thin bands might need a touch-up to match the wider bands. Pair with short sleeves and a bold watch to let the graduation stand out.
23. Ankle Solid Band For Alternative Placement
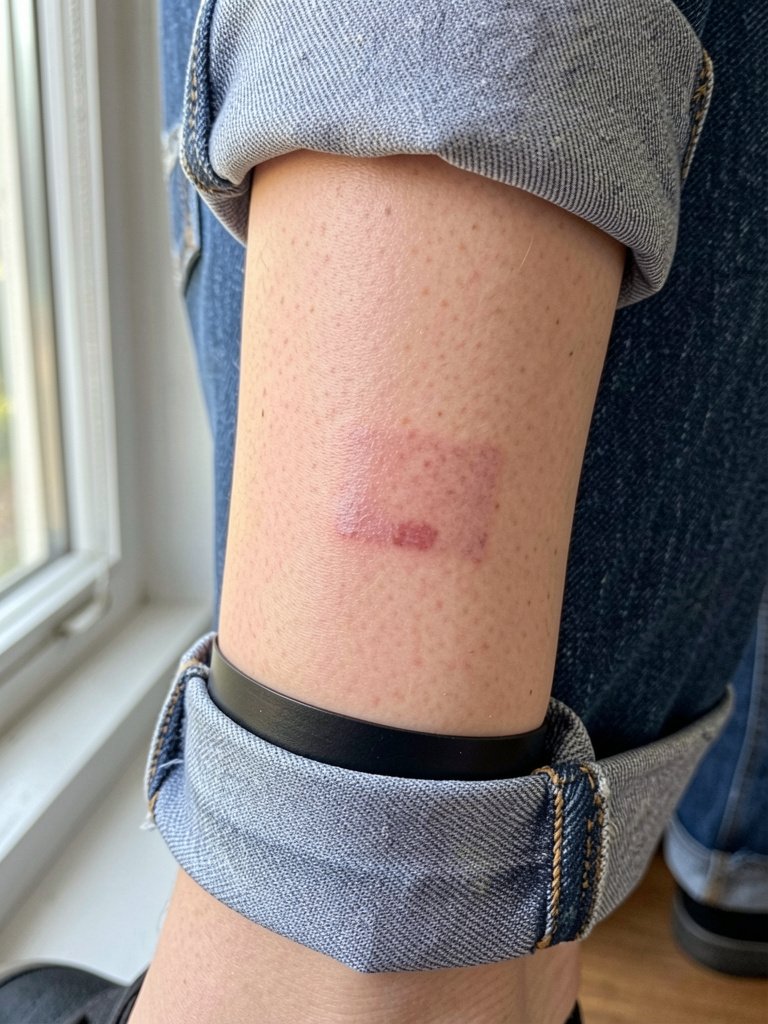
An ankle band uses the same visual language as an armband but in a lower, more intimate place. This is a good option if you want an armband aesthetic without arm visibility. Ankle tattoos face lots of movement and shoe friction, so slightly thicker narrow bands keep clean longer. A common mistake is asking for an ultra-thin ankle stripe that becomes patchy from shoe rubbing. Session time is 20 to 40 minutes. For the appointment wear jeans that can be rolled up easily and a shoe that is easy to remove so the area is accessible.
Frequently Asked Questions
Q: How do solid black armbands age compared with fine-line armbands?
A: In my experience, saturated black bands tend to hold a strong silhouette longer than fragile single-needle stripes. One group of artists believes single-needle armbands can read very delicate and keep that look with perfect depth. Another group says the thin work blurs more quickly on active skin. Plan for touch-ups at two to five years depending on width and placement.
Q: What should I wear to the appointment for an inner forearm or wrist band?
A: Wear clothing that gives the artist easy, relaxed access. For inner forearm and wrist pieces a loose short-sleeve or sleeveless top works best. If you want a show-off suggestion for after healing, consider short-sleeve linen shirts that let the band sit visibly without constricting the area.
Q: Are there cultural concerns with patterned or tribal-style armbands?
A: Yes. One camp says many tribal motifs are culturally specific and should not be used without permission or context. The other camp feels that abstracted geometric work can be respectful if you research origins and avoid sacred symbols. If you are considering a pattern, ask the artist to explain the motif origins and whether it is appropriate to use.
Q: How likely is blowout on the inner arm versus the outer arm for solid bands?
A: Blowout risk is higher where the skin is thin and repeatedly stretched. Inner bicep and the wrist can show slight spread earlier than the outer forearm. To reduce risk, the artist should plan a slightly thicker edge and avoid overworking the same needle path. Expect a touch-up window at one to three years for delicate placements.
Q: Where can I find healed examples and discovery pathways without naming specific artists?
A: Search healed-tattoo hashtags and include terms like "blackwork healed arm" or "armband healed" on video platforms and image feeds to see recent results in different skin tones. Use location filters to find shops near you and browse community threads for real-world before-and-after photos. Tattoo-focused forums often list portfolios with filters for healed work and placement.
Q: Should I plan a touch-up and when?
A: Plan a realistic touch-up at about two years for narrow or wrist bands, and at three to five years for larger, saturated upper-arm bands. Touch-ups are a normal part of maintaining solid blackwork and are especially common when bands sit close to joints or high-friction areas.
