
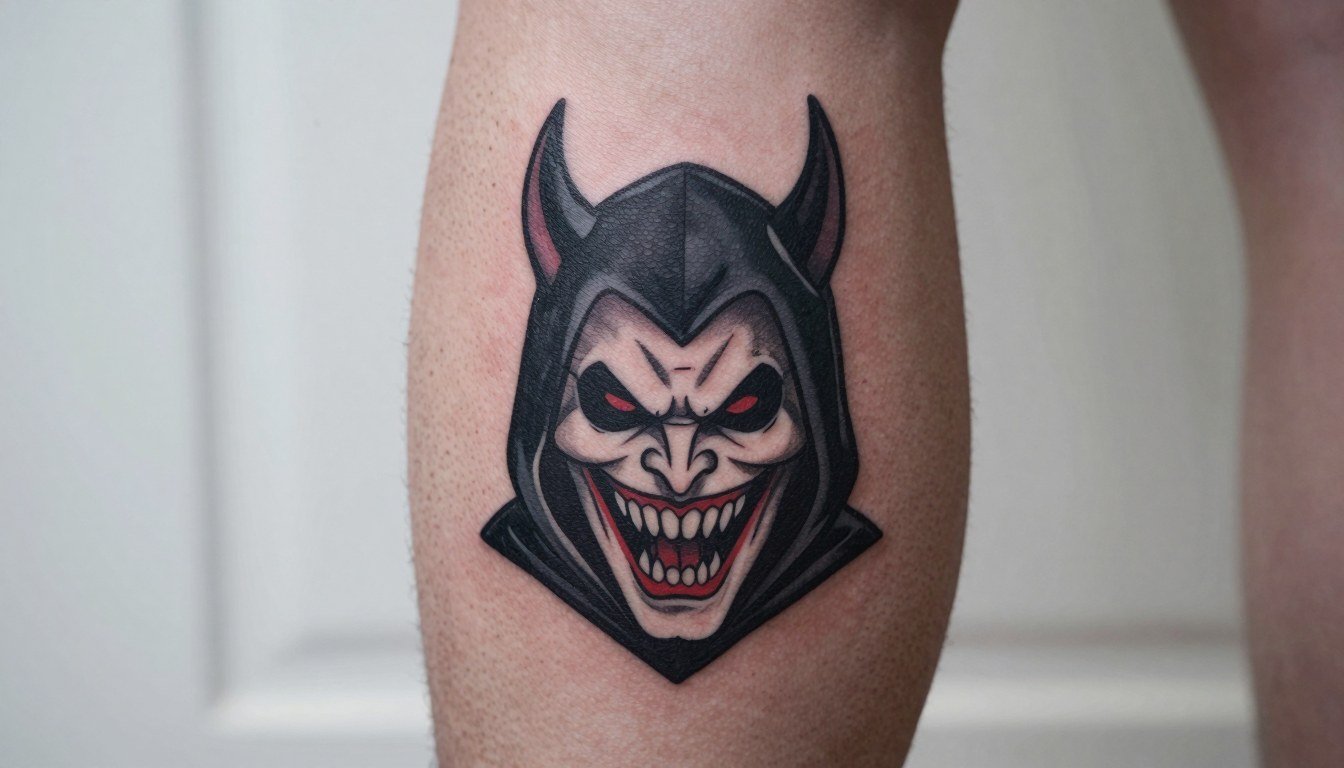
Black, grinning, and built to read from across the room, the Batman Who Laughs tattoo rewards bold choices and careful planning. Many fans worry it will blur into an anonymous villain mashup, that the face will lose detail if scaled too small, or that the color-versus-black debate will wreck the vibe. Read these ideas for placements, what to insist your artist adjust, and how to dress for the session so the grin still reads two years from now.
1. Full-Figure Forearm Portrait in Blackwork
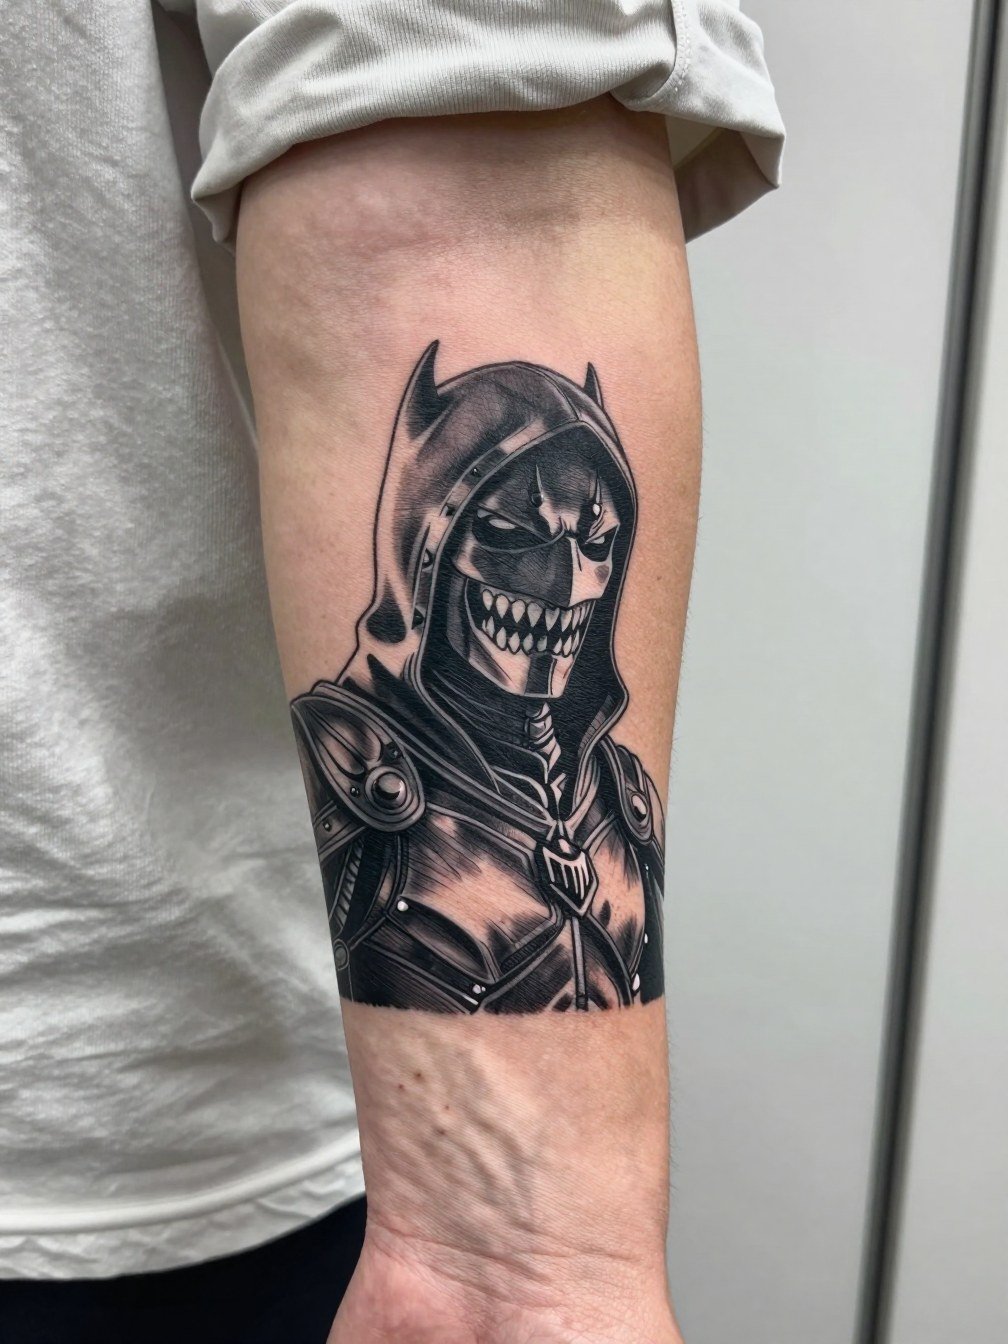
A full-figure forearm portrait sells the character silhouette and keeps the grin readable. Recommend medium to large scale so the mouth and cowl spikes have room. In consultation, bring two reference photos at different scales so the artist can show how the face reads at three inches versus five. Forearm pain is moderate and sessions usually run one to two hours for a single sitting. Common mistake is shrinking the face to fit a narrow spot, which blurs teeth into a dark mass by year two. For showing off, pair with a rolled sleeve tee so the forearm sits exposed without looking staged.
2. Split Mashup Portrait, Joker Energy with Bat Silhouette
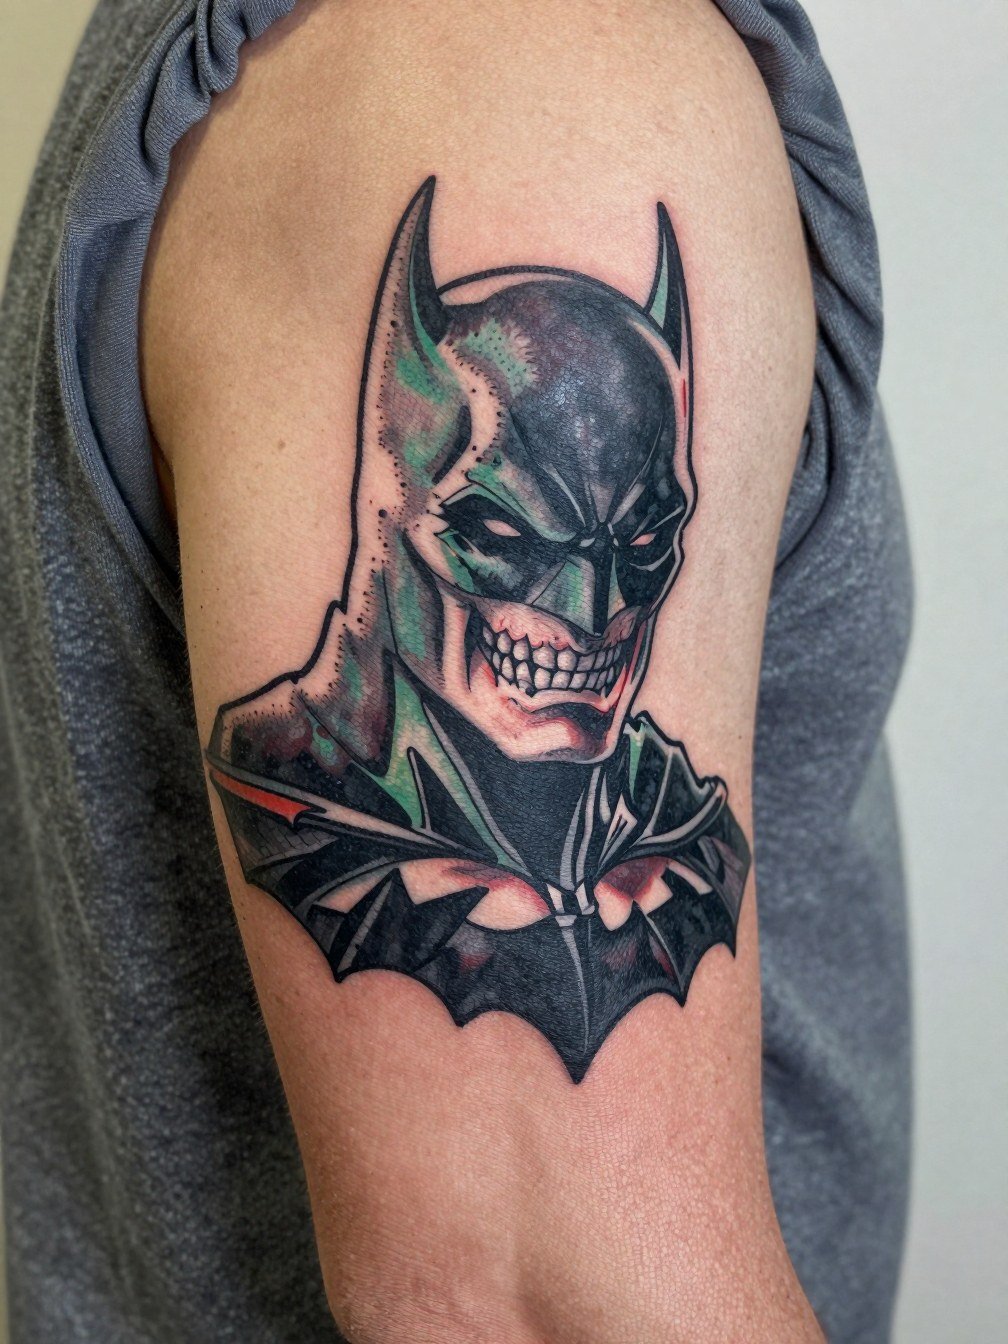
A mashup leans on composition to keep both identities legible. One camp says black-and-gray preserves menace and reads longer. Another camp favors color for comic-book punch. If you prefer color, ask for controlled saturation with muted reds and a sickly green rather than neon fills. Discuss how the split line will flow with muscle shape so the two faces do not collide when the arm moves. Expect a two-session timeline for clean color layering. For sessions, wear an open overshirt so the artist can easily access upper-arm placement.
3. Compact Inner Forearm Fan-Piece
The inner forearm is a great place for a recognizable fan-piece that stays personal but visible. The biggest mistake is asking for single-needle fineness and then losing the grin detail as the skin settles. Ask for slightly heavier linework around the mouth and eyes so those elements hold at six months and beyond. Blowout risk here is low with proper needle depth, but fine stippling can soften after two years and may need a touch-up. Session feel is steady and tolerable. For display, pair it with a crewneck sweatshirt with sleeves rolled when you want the arm visible.
4. Calf Vertical Portrait with Heavy Shading
Calf placement gives vertical room for the cowl, shoulders, and face. The skin there takes heavy blackwork well, which makes it a common choice for larger, darker versions. Pain is moderate and sessions often run one to two hours per sitting. A common error is compressing shoulder or neck detail into the calf's narrow zone, which can force the artist to overwork shading. If you want the piece to peek under pants, wear cuffed straight jeans after healing to show off the silhouette without constant exposure. Expect touch-up at year two if you go dense with blacks.
5. Blackwork Cover-Up for Old Ink
When you need a cover-up, the Batman Who Laughs aesthetic is useful because dense blacks and textures mask older lines. One camp insists on pure blackwork to fully hide old ink. The other camp mixes blackwork with gray texture and small color accents to break up flatness while still covering the old piece. During consult bring a clear photo of the current tattoo and ask the artist to mark proposed cover zones on a printed reference so you both agree on black mass placement. Expect multiple sessions depending on how dark the underlying ink is. For session wear, pull on a muscle tank top so the artist can reach the upper arm easily.
6. Comic-Panel Forearm Panel with Caption Bar
A panel-style forearm piece reads like a comic page and keeps composition tidy for display. The common aging mistake is shrinking the caption and expecting small type to last. If you want text, agree on exact letter size and weight so it remains legible at two years. Ask your artist to show you a mockup at actual scale on paper taped to the arm. Panel work often takes a single long session or two medium sessions depending on shading. For public wear, a boxy denim jacket frames the forearm while keeping the overall outfit grounded.
Session Day Picks
These first six ideas include forearm and upper-arm placements that heal under friction, so a few items smooth the session and the first week.
-
Stencil transfer paper kit. Lets you preview the linework on skin before the needle hits, which matters for pieces where the grin must land precisely.
-
Topical numbing cream. Applied as directed before your appointment reduces discomfort for sensitive zones like ribs or inner forearm during longer shading passes.
-
Thin protective film roll. Useful for tattoos near clothing edges to prevent accidental rubbing in the first 48 hours.
-
Fragrance-free gentle body wash. Cleanses without irritating new ink during showers without leaving scented residues.
-
Aquaphor healing ointment. A thin protective layer for the first days keeps heavy black fills from scabbing hard and promotes even saturation.
7. Small Minimalist Head on Inner Wrist
A wrist piece reads as a discreet fandom nod but risks losing facial detail. Avoid ultra-thin single-needle lines for the grin. Instead, request bolder contour lines with tiny negative-space highlights so the teeth remain visible at six months. Wrist skin moves and sees lots of washing, which accelerates fading and calls for touch-up at year one. Session time is short but intense for a sensitive spot. During the appointment wear a short sleeve shirt you can roll without compressing the area.
8. Shoulder-Bust Piece with Dramatic Shadow
Upper shoulder and collarbone pieces let artists play with shadow flowing into the chest. The sternum and collarbone area can be higher pain, so plan for breaks during long shading sessions and consider a two-session approach. A mistake is asking for extremely tiny teeth near the collarbone where bone makes line placement tricky. Ask for the face to sit slightly off-center so the shading flatters the shoulder curve. Healing tends to be steady but check how the black saturation looks at six months. For showing it off, a wide V-neck top frames the upper chest and balances the dark shading.
9. High-Detail Guest-Artist Showcase on Upper Arm
Collectors often seek guest artists for ultra-detailed villain portraits. If you go this route, bring healed photos of the artist's past work so you can confirm their stipple shading and graywash hold over time. High-detail pieces can look extraordinary when fresh then soften at two years if saturation is too light, so request slightly richer mid-tones in the mockup. Sessions commonly span multiple days. For session ease, wear a button up shirt you can unbutton and roll rather than tugging fabric over the shoulder.
10. Leg Sleeve Segment, Villain Among Villains
A leg sleeve lets the character join a roster of villains and gives the artist room for narrative. Anticipate multiple long sessions and a multi-year build. The thigh handles saturations well so the villain portrait can include delicate texture without losing presence. A common misstep is treating the portrait as isolated art rather than planning how it reads with adjacent panels. Ask the artist to sketch the full leg composition first so sightlines line up when you stand. To show healed work, wear loose joggers rolled to the desired cuff height.
11. Small Collarbone Medallion with Negative Space
A small medallion on the collarbone is subtle while keeping trademark elements. The trade-off is scale versus readability. If you want negative space teeth, ensure those voids are at least a millimeter larger than you think so they do not fill in with time. The sternum area moves with breathing which can blur very fine features, so expect touch-up needs at year two. Session time is short and tolerable. For occasions, a scoop-neck tank frames the chest while letting the medallion sit in view.
12. Horror Portrait with Exaggerated Grin on Ribcage
Ribcage placement heightens the dramatic effect but increases pain. Fine-line advocates warn that the area stretches and blurs lines quickly. Others say proper spacing and needle depth solve the problem and will show healed examples. If you choose ribs, plan on numbing and shorter passes to avoid overheating the skin. Ask for a two-pass shading plan and a specific touch-up check at six months. Expect a tougher first week of aftercare. For session wear, a fitted sports bra or fitted cropped top is easiest so the artist can access the area without fabric tugging.
13. Back-of-Neck Mini Portrait
Behind-the-neck tattoos read as hidden strikes of fandom. The main risk is sun exposure if you wear shorter hair, which fades dark blacks faster. Ask your artist about slightly deeper saturation where the cowl meets the hairline so the silhouette stays crisp. Healing is straightforward but avoid tight collars while the area scabs. If you get this, plan for an annual check-up if you swim or sunbathe frequently. For session day wear, style your hair in a natural updo ahead of time so the area is accessible to the artist without hands moving fabric.
14. Chest-Centered Portrait with Muted Red Accent
A chest-centered portrait feels confrontational and benefits from muted color accents if you want comic energy without neon. One camp argues black-and-gray alone is the purest route for this subject. The other camp says a small red accent in the mouth or eyes adds life and references the source material. Be explicit about the red's opacity and ask to see a healed mockup in a similar skin tone so you understand contrast. Sternum shading can be painful so consider splitting into two sessions. For showing off, a fitted bandeau keeps the area exposed when you want it visible without full chest exposure.
15. Custom Collage Built from Multiple References
If you do not want a panel copy, commission a custom collage that borrows the best elements from several panels so the tattoo reads as original. The main mistake people make is asking for omniscient detail in too small a space. Bring reference photos and specify which feature must remain prominent, for example the grin over the cowl spikes. Custom pieces require the artist to plan negative space so the design holds at scale. For session comfort, wear an open-collar shirt you can roll without tugging the shoulder area.
16. Fine-Line Fan Knot as an Accent on the Wrist Band
A wrist-band accent is a low-commitment way to nod to the character without a full portrait. Fine-line options here age faster because of constant contact and washing. If you want single-needle crispness, request slightly wider spacing and a marginally heavier anchor line around the knot so it keeps shape. Plan for a touch-up at year one. Session time is short but the area is sensitive. For daily wear, contrast the tattoo with a minimal bracelet set on the other wrist rather than covering the ink.
17. Large Thigh Portrait for a Statement Piece
The thigh is forgiving and perfect for large statement portraits that keep detail while remaining private if needed. Talk specifics about scale so the grin and eye slits get appropriate negative space. The thigh takes saturation well, so stipple shading can remain crisp longer than on forearm skin. Sessions are long and may require prone positioning with breaks. For healing and reveal, wear loose shorts that do not rub the area during the first two weeks.
Frequently Asked Questions
Q: Will a small Batman Who Laughs tattoo on my wrist still read in two years?
A: Small wrist pieces often lose the fine-grain face detail because of daily washing and movement. If you want longevity, choose slightly heavier linework and prioritize negative space around the teeth and eyes. Expect a touch-up at year one rather than assuming a single session will be enough.
Q: Should I pick black-and-gray or color for this character?
A: Artists and fans split into two camps. One camp prefers black-and-gray for the character because shadow and menace are central to the look and dark fills age predictably. The other camp prefers limited color to capture comic energy and specific accents that reference the source material. Decide whether you want longevity and classical menace or comic vibrancy, and ask to see healed examples in comparable skin tones before booking.
Q: How do I find artists who handle high-contrast comic-realism without copying a panel exactly?
A: Search hashtags like #batmanwholaughs, #dccomics, and #batmantattoo on Instagram and TikTok and filter results by location. Browse Reddit threads in r/tattoos, r/DCcomics, and r/batman for real fan photos and discussions. Look for portfolios that include healed shots, not only fresh work, and bring multiple references to the consult so the artist can compose a custom collage rather than tracing a single panel.
Q: What should I wear to a forearm or calf session to make the appointment easier?
A: For forearm work, a rolled sleeve tee or boxy jacket that you can comfortably roll keeps the area accessible. For calf pieces, loose shorts or joggers that pull up without pressure are best. Comfort reduces movement during shading and helps the artist maintain steady passes.
Q: I need a cover-up. Is the Batman Who Laughs design actually a good choice?
A: Yes, dense blackwork and layered textures in this aesthetic often conceal older ink effectively. The key is honest assessment of how dark the underlying tattoo is and willingness to accept larger scale or multiple sessions. Bring a photo of the existing ink and ask the artist to map proposed black mass over the old lines so you both agree where coverage will be concentrated.
