
Tiny Pokémon pieces are splashed across feeds, but the ones that still read clearly after a few years are not always the flashiest. Small designs that prioritize silhouette, slightly heavier line weight, and sensible placement age into crisp marks rather than blurred blobs. The ideas below focus on characters and symbols that translate when shrunk, plus practical notes on placement, what to bring to the appointment, and simple styling tips so the piece looks intentional on day one and after a few touch-ups.
1. Tiny Pikachu Face with Bolt Accent, Wrist
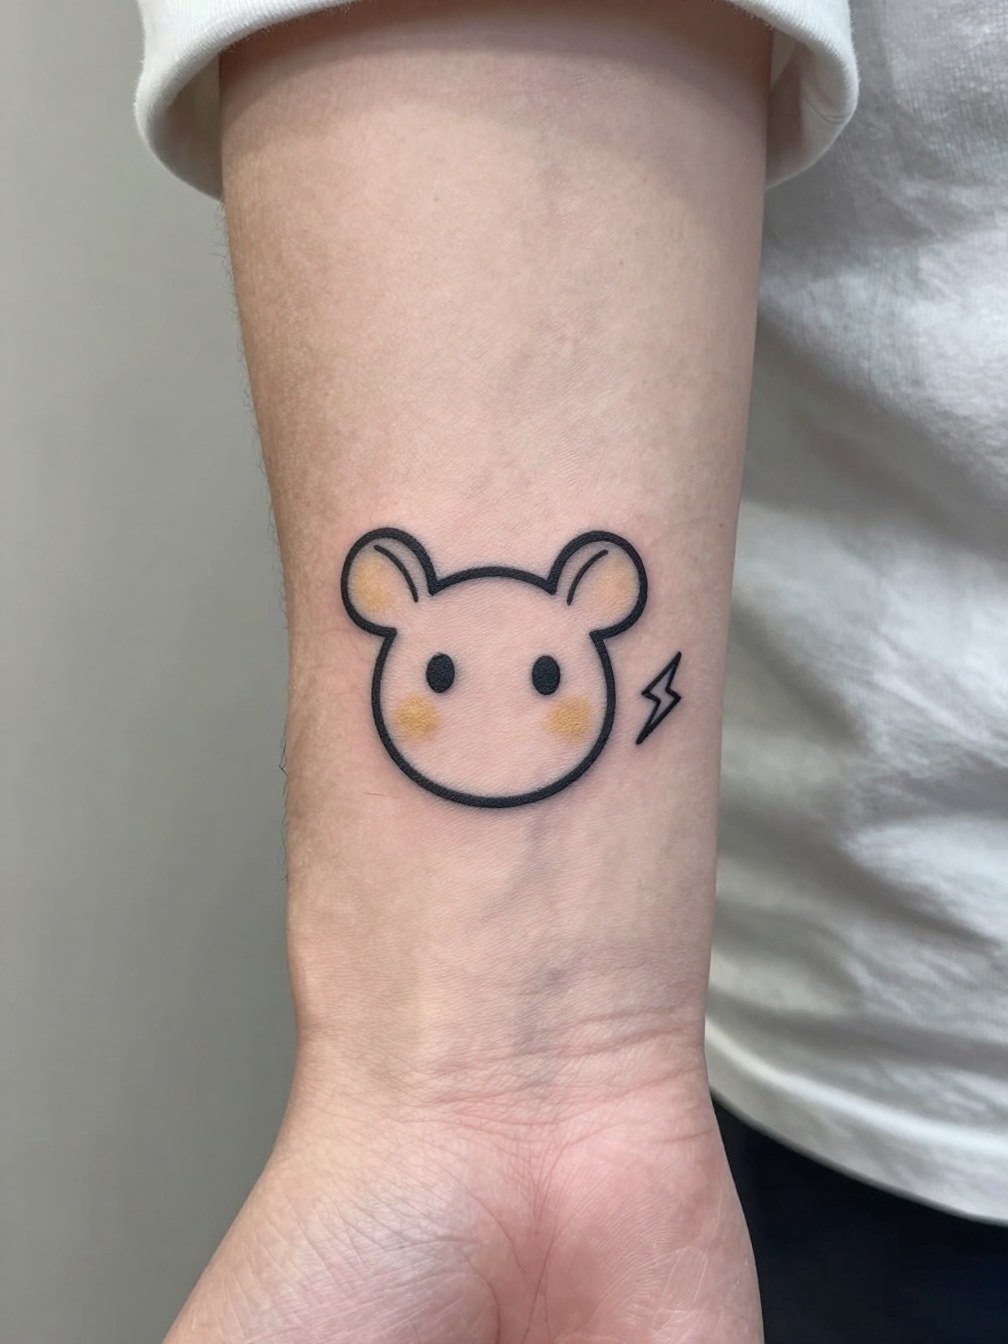
A tiny face with one bolt reads instantly because the silhouette is familiar and the composition is sparse. On the inner wrist the skin moves with every flex, so linework should be a hair heavier than gallery single-needle examples to avoid early blurring. Bring two scale references to the consultation showing the face at two sizes so the artist can mark exactly how large the bolt and cheek dots need to be. Common mistake is packing interior detail into a space that needs negative room. For the session wear a short sleeve top so the artist can work without cuff pressure. Six months in the color softens and lines settle, and most small wrist faces need a light touch-up by year three to preserve cheek saturation.
2. Small Poké Ball Outline, Inner Forearm
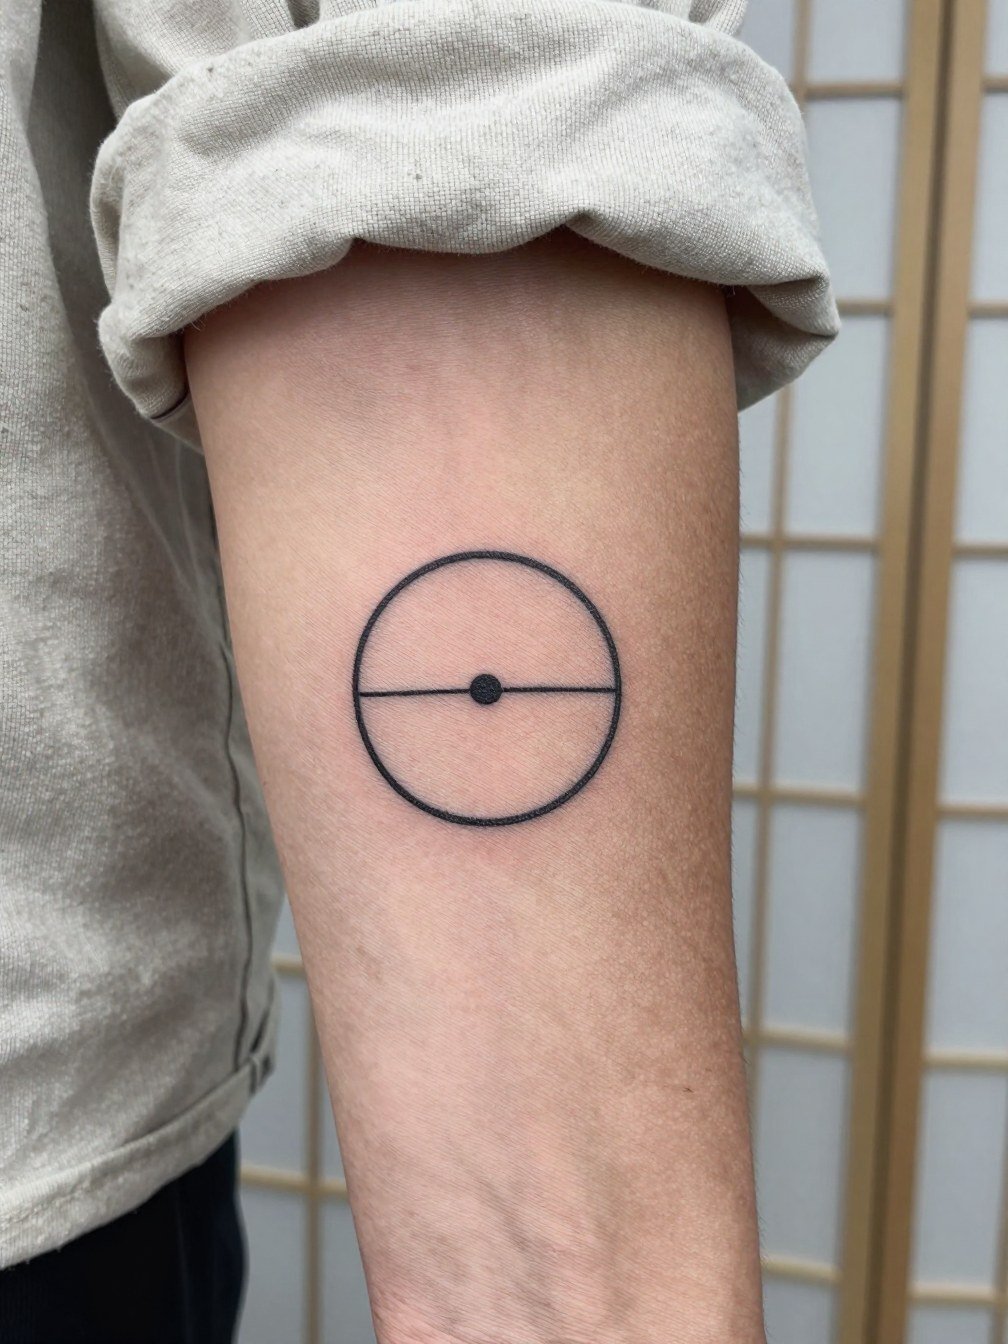
The classic Poké Ball outline is the safest subtle fandom marker because the shape survives heavy reduction. On the inner forearm this reads well and is easy to show. Ask for a slightly bolder outer line and a thin internal line so the dot stays crisp after healing. A mistake people make is requesting a single-needle outline with no weight contrast, which can fade into a soft halo. For showing the piece, pair it with a rolled cuff linen shirt that keeps the palm-up forearm visible. Session time is short, often under thirty minutes, and touch-up needs are modest because the shape is simple.
3. Eevee Silhouette, Ankle
Eevee works well as a silhouette because the ears and tail are distinctive traits. The ankle faces friction from socks and shoes, so keep the silhouette compact and avoid thin hatch marks that can scatter. Tell the artist you want the silhouette to be solid with a subtle stipple texture inside, not internal fine details. A common aging issue is softening along the foot where movement is frequent. To show the piece, pair it with cropped jeans and low-profile sneakers so it peeks out. Expect a short session and a small chance of a touch-up in the first year where the outline meets high-friction skin.
4. Fine Line Pikachu, Inner Forearm
Fine line keeps the design airy, and the inner forearm is a forgiving canvas for a delicate face. There is an ongoing split in approach among artists. One camp prefers fine single-needle work because it reads as modern and less cartoonish. Another camp argues that slightly heavier outlines last better on tiny pieces and preserve character over time. When consulting, bring two reference photos and ask for the artist to show you how the single-needle version compares at the exact wrist scale. Avoid asking for micro interior details that do not survive movement of the skin. For the appointment wear a linen button-down so sleeves roll easily and the artist can work on the palm-up surface without obstruction.
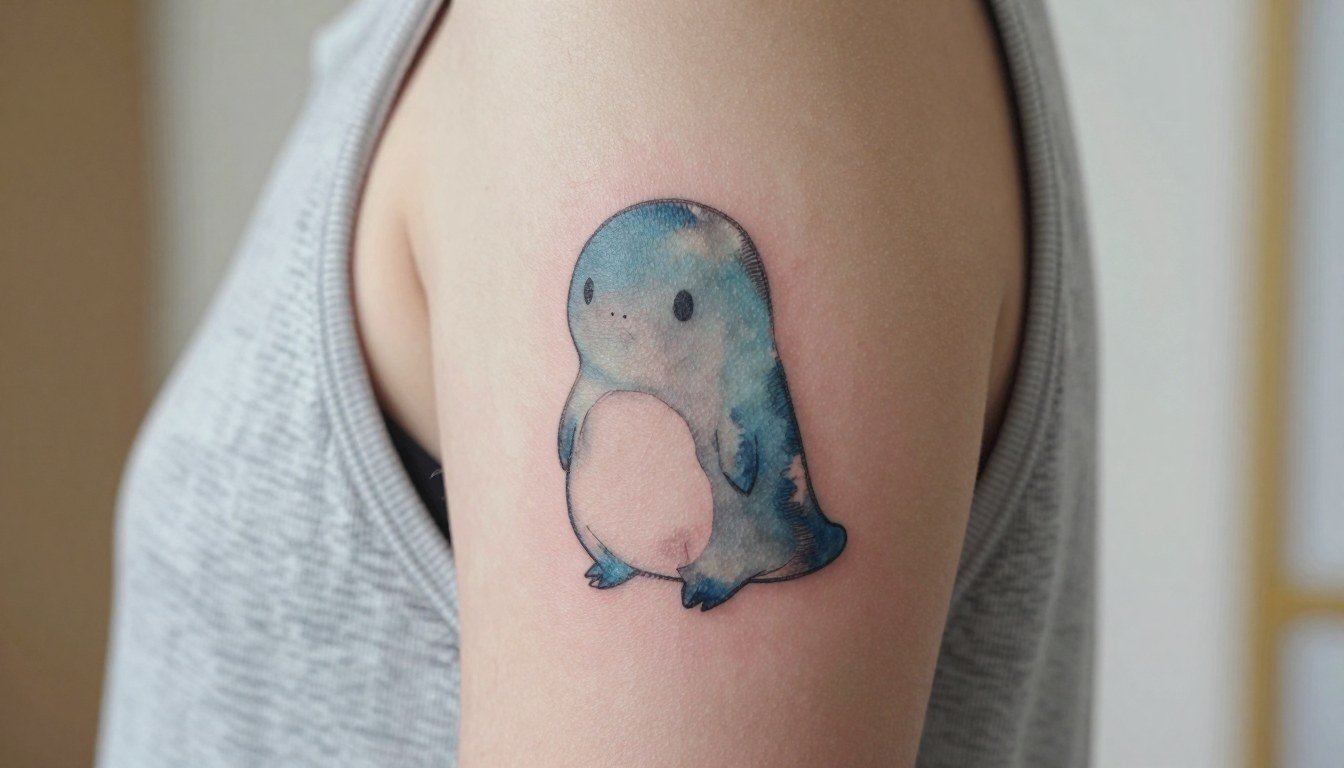
5. Watercolor Snorlax, Outer Upper Arm
A small watercolor wash softens a large, round character into a playful badge. Outer upper arm tolerates color well and rub is minimal, so the soft edges age more gracefully there than on high-friction spots. Specify that the color fields be slightly saturated, not thin washes, so they stay visible once healed. A common mistake is asking for bleeding watercolor edges too close to delicate linework, which causes the lines to look fuzzy after three years. For the session choose a tank top so the artist can access the lateral arm. Touch-up at year two can revive any softened washes without disturbing the black contours.
6. Pixel Sprite, Ankle or Arm
Pixel work is nostalgia that translates neatly at small scale because the blocks read even when tiny. Pick the ankle when you want a hidden pop, or the lower forearm when you want it visible. Ask the artist to map the sprite to a measured grid during consultation so no half pixels occur. The mistake is scaling an odd number of blocks into a narrow spot which forces the artist to stretch pixels and lose crispness. For the ankle pairing, low-top sneakers and cropped jeans let the sprite peek out. Healed pixels tend to hold well because of the strong contrast, and touch-ups are straightforward if a color softens.
Session Day Picks
These first six ideas include wrist and ankle placements that handle light sessions differently, so a handful of small items smooth the appointment and early healing.
- Stencil transfer paper kit. Keeps the placement predictable on curved areas like the wrist and ankle so you can preview line weight against your skin before the first pass.
- Topical numbing cream. Applied as directed before the session it can reduce wrist sensitivity without compromising the artist's ability to gauge line depth.
- Thin protective film roll. Useful for ankle and wrist pieces to protect the fresh ink from rubbing during the first 24 hours when showers and socks are still a factor.
- Fragrance-free gentle body wash. Cleans the area during showers without stripping pigment from fine line work in the early healing window.
- Aquaphor healing ointment. A mainstream healing ointment for the first few days that locks in moisture for small linework without creating heavy residue that traps bacteria.
7. Small Black-and-Gray Jigglypuff, Thigh
A compact black-and-gray rendering keeps a round character from looking juvenile when small. The thigh offers space and less sun exposure, so stipple shading reads well and ages predictably. During the consultation request a tight shaded fill rather than delicate hairlines inside the silhouette, because the inner fills hold better on thicker skin. A common error is asking for tiny facial minutiae that vanish. For showing off, combine the piece with high-slit skirts or biker shorts so it appears in movement. Pain on the thigh is moderate and most people report a comfortable session time under an hour for this scale.
8. Small Black-and-Gray Cyndaquil, Wrist
Small, compact silhouettes with a single accent translate well on the wrist. Ask for a slightly strengthened outer contour and a tiny negative-space flame so the accent remains legible as the skin shifts. Mistakes happen when clients request tiny internal hatch shading that the wrist eats in time. For a clean appointment wear a short sleeve top so the artist has unobstructed access. Expect a short session and one predictable touch-up within the first two years if the wrist sees a lot of sun exposure.
9. Chibi Character, Outer Arm
Chibi proportions make details simpler and more readable at small sizes. On the outer arm you can keep a playful color accent without worrying about heavy abrasion. During the consult ask the artist to simplify the eyes to a single dot and remove minute highlights that add little to the healed image. People sometimes over-embellish and then notice the tiny extras vanish after healing. For showing the tattoo pair it with oversized tees with sleeves rolled so the arm silhouette shows. Sessions for this scale are brief and touch-ups are usually cosmetic, not structural.
10. Mimikyu with Neo-Traditional Framing, Arm
Neo-traditional framing gives a slightly eerie character room to breathe and read at a glance. Bold outlines and flat color patches help preserve form as the piece ages. If you want a darker edge, request stronger black anchors and limited palette accents so the floral framing does not compete with the core figure. A mistake is overloading the frame with tiny filigree, which blurs into texture over time. For the session wear a tank top so the artist can access the arm area easily. Touch-ups are standard for color refresh after a few years.
11. Dragonite Illustrative, Outer Arm
An illustrative small dragon benefits from a pose that reads as motion rather than tiny texture. The outer arm gives the artist room to suggest movement with a few purposeful strokes. During consultation ask for motion lines that are bold enough to survive a few years rather than thin hairlines. A common mistake is cramming too much surface texture into a small wing. If you want to show it, pair the piece with rolled sleeve tees that frame the lateral arm. Expect a moderate session time as the artist balances line and fill.
12. Zorua Anime-Style, Outer Forearm
A stylized fox silhouette with a simplified anime eye reads cleanly on the outer forearm. Ask the artist to show how a small muted color halo behind the head will keep the eye pop without demanding full color fidelity. The outer forearm tolerates light texture, so avoid ultra-fine interior lines that may soften. For showing this design a rolled cuff shirt looks intentional. Touch-up at year two is typical if you want to refresh the muted color halo.
13. Mew Stamp, Inner Forearm
Stamp-style framing turns a character into a collectible badge that looks intentional rather than fan art. The inner forearm keeps the stamp readable and easy to show or hide. Specify the distressed edge be subtle so it does not fill in during healing. A frequent error is asking for micro-lettering around the band which will become illegible; choose a short single word or skip the text entirely. For the appointment wear a short sleeve top that exposes the palm-up forearm. Healed stamps maintain shape well and are low-maintenance beyond a color refresh if needed.
14. Mini Jigglypuff Ankle
A tiny rounded figure on the ankle is a discreet fandom nod that still reads when the outline is strong. On the ankle, avoid fragile internal highlights. Ask for the tuft and minimal facial dots to be slightly larger than the reference so they survive rubbing. A common mistake is insisting on delicate internal curls that fade. Pair with low top sneakers and cropped jeans to show it off. Sessions are quick and most ankle pieces heal solidly with one light touch-up if needed.
15. Silhouette Nesting with Poké Center, Forearm or Calf
Shape-based nesting turns character recognition into a design problem rather than a portrait problem. This approach is ideal for people who want a clever fan reference that reads at a distance. During the consult, have the artist lay out the silhouettes in a stencil so you can see negative space at the chosen scale. The common error is squeezing too many silhouettes into a tiny band which makes the center emblem lose impact. For a calf display wear high-slit skirts or shorts when you want it visible. Touch-ups are straightforward because the design depends on clean edges.
16. Egg Motif, Upper Chest Below Clavicle
Using an egg motif is a fresh alternative to direct character portraits and it scales down beautifully. The space below the clavicle is ideal for a small emblem that can be shown with layered necklaces. Ask the artist to center the egg slightly off the sternum if you wear asymmetric necklines. A common mistake is choosing a busy pattern that blurs when reduced in size. For show-off outfits pick square-neck tops and delicate chains that frame the area. Session pain is low and healed results are long-lasting with minimal touch-up need.
17. Psyduck Meme Nod, Inner Forearm
Humor-based small tattoos like a meme-worthy portrait read clearly when the expression is simplified. The inner forearm keeps the face visible and easy to photograph. During the consult show the artist exactly which expression you want scaled to the wrist size so the bewildered look stays legible. People sometimes add too many facial details that disappear. For session comfort wear a loose short sleeve top so the sleeve does not press on the area. Expect quick sessions and the option of a light touch-up to keep the facial dots crisp.
18. Umbreon as Filled Doughnut, Nape
A lifestyle twist like turning a character into a doughnut shape is playful and subtle. The nape is a discrete spot that shows when hair is up, and bold simple shapes work best there. Ask for the yellow accents to be small dots rather than thin lines to avoid feathering. The mistake is requesting thin internal lines that blur under hairline movement. For showing it, wear hair up and choose off-shoulder tops or hair tie sets that keep the neck exposed. Nape tattoos can be slightly tender during the session and often need a minor touch-up if the pigment shifts during healing.
19. Ditto Minimalist Face, Hand or Finger
A tiny face on a finger or hand reads as a deliberate micro piece when the contour is strong. Hands and fingers are high-wear areas so pick a compact single-shape design rather than anything with internal shading. Request reinforced outer dots and keep the form simple to reduce blowout risk. People often ask for minuscule interior highlights that vanish. Session time is short but the touch-up timeline is more likely because the hands see frequent washing and sun. For the appointment remove rings and wear sleeves that do not constrict the wrist.
20. Neo-Traditional Tiny Badge, Upper Chest
A small neo-traditional badge reads like jewelry when placed under the collarbone. Bold outlines and a tight palette preserve the emblem over time. During the consult ask the artist to mock up the badge at collarbone size so you can see necklace layering possibilities. Avoid intricate text; any lettering should be at least a readable size. Pair with layered necklace sets or scoop-neck tops to highlight placement. Pain is low to moderate and touch-up is uncommon unless you want to refresh color accents.
21. Subtle Hybrid Mashup, Side Torso
Hybrid mashups let you personalize a fandom nod without a literal portrait. On the ribcage the skin shifts, so ask for slightly wider spacing and a vertical orientation that follows the natural curve. One camp of artists warns that fine-line ribs blur faster, and they recommend increased spacing and a hairier line weight. Another camp believes a careful single-needle approach can settle well on ribs with the right depth and stencil placement. When you schedule this area, plan for a longer session and consider numbing strategies if needed.
Frequently Asked Questions
Q: How much does a small Pokémon tattoo cost?
A: For tiny single-character or symbol work expect a common entry range around $150 to $200 for a micro line piece, depending on studio minimums and location. More complex small color or neo-traditional badges can push the price higher depending on time and saturation. Always confirm the studio minimum and whether a touch-up is included in the quoted price.
Q: Fine line or bold outline, which should I pick for a tiny Pokémon piece?
A: Fine line looks modern and less cartoony, and many people choose it for inner forearm and collarbone placements. Bold outlines are chosen for longevity, and artists who prefer them argue they keep the character readable as skin shifts over years. Both camps have valid points, and your choice should depend on placement, how much friction the area sees, and the artist's small-scale healed photos.
Q: Will color make a small Pokémon tattoo age poorly?
A: Color makes characters instantly recognizable, and many people choose it for Pikachu, Snorlax, and similar figures. Another group prefers black-and-gray because it tends to age more gracefully and reads as a subtler fandom mark. If you want color, ask for slightly higher saturation and limited palette accents to ensure the hues remain visible once healed.
Q: Where can I find real healed examples and local artists without naming specific people?
A: Search Instagram and TikTok with hashtags like #pokemontattoo, #pokemonink, #pikachutattoo, and add your city name to narrow local portfolios. Use keyword combos like "fine line Pikachu," "black and gray Eevee," or "pixel Pokémon tattoo" to filter results. Reddit communities such as r/pokemon and r/pokemontattoos are useful for seeing healed examples and getting peer feedback.
Q: How should I dress for a session based on placement?
A: For wrist and forearm pieces wear short sleeves or a loose rolled cuff shirt so the artist has clear access. For ankle work choose pants that roll easily or a skirt that does not constrict the area. For clavicle and upper chest pieces wear a scoop or square-neck top that exposes the area without the artist needing to move fabric. A couple of the idea sections include direct shopping links to clothing that pairs well for showing or for session comfort.
Q: How often do small Pokémon tattoos need touch-ups?
A: Small pieces with strong silhouettes and solid black anchors often need minimal touch-ups beyond an initial healing check. Color accents and very fine single-needle lines are more likely to require a refresh within two to five years. Expect to plan for a one-time touch-up in the first year for many tiny designs, and occasional refreshes after that depending on sun exposure and skin type.
Q: Are there special considerations for sensitive placements like the nape or ribs?
A: Yes. Ribs and nape react differently. Ribs can be tender and may cause fine lines to blur if spacing is too tight. The nape tolerates compact bold shapes but can need a minor color refresh. If you choose either, ask for a detailed stencil preview showing exact scale and spacing so you know how the design will sit on your body.
