
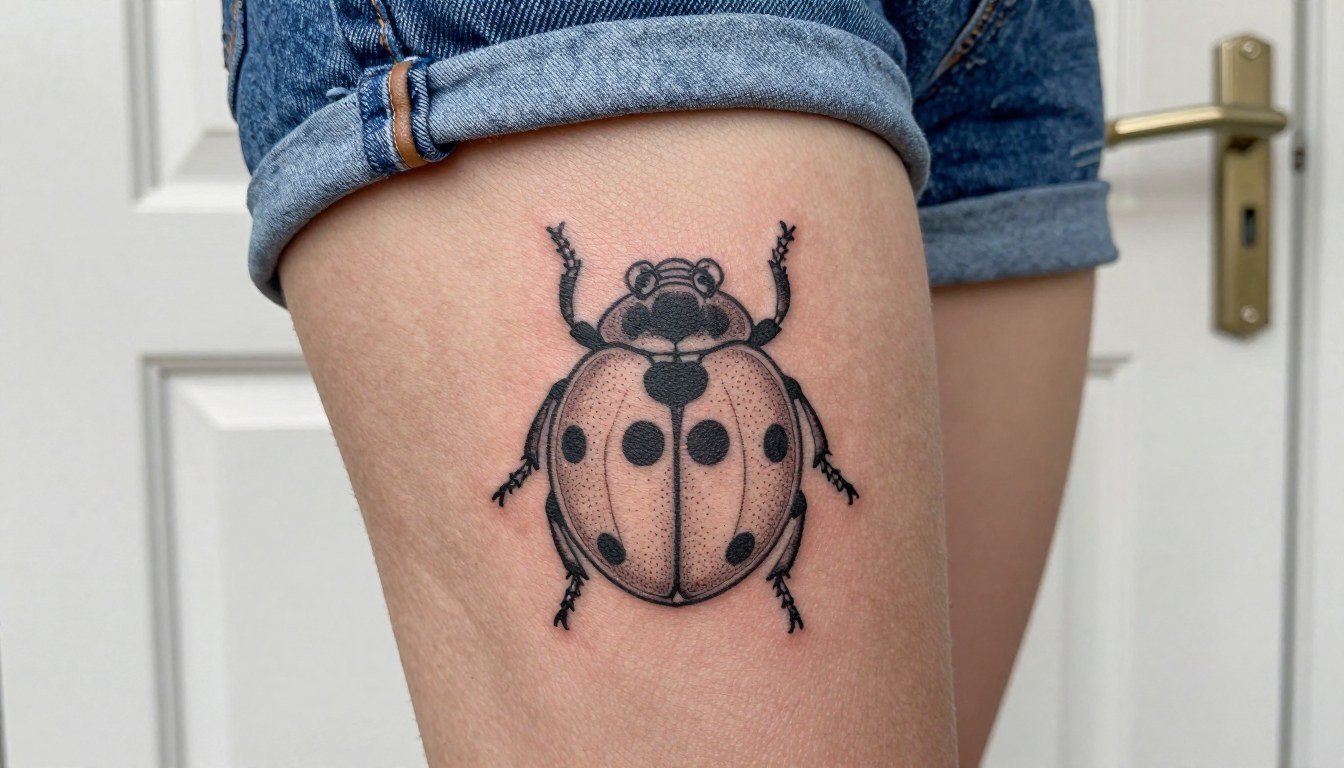
A tiny ladybug that reads clean at year one can look like a blur at year three if it started with ultra-thin lines and crowded spots. Pick designs with clear shell geometry and a little breathing room and you get a small motif that still reads as a bug, not a smudge. The first idea below starts with a simple inner-forearm fine-line ladybug and then widens into placements and tweaks that protect the linework over time.
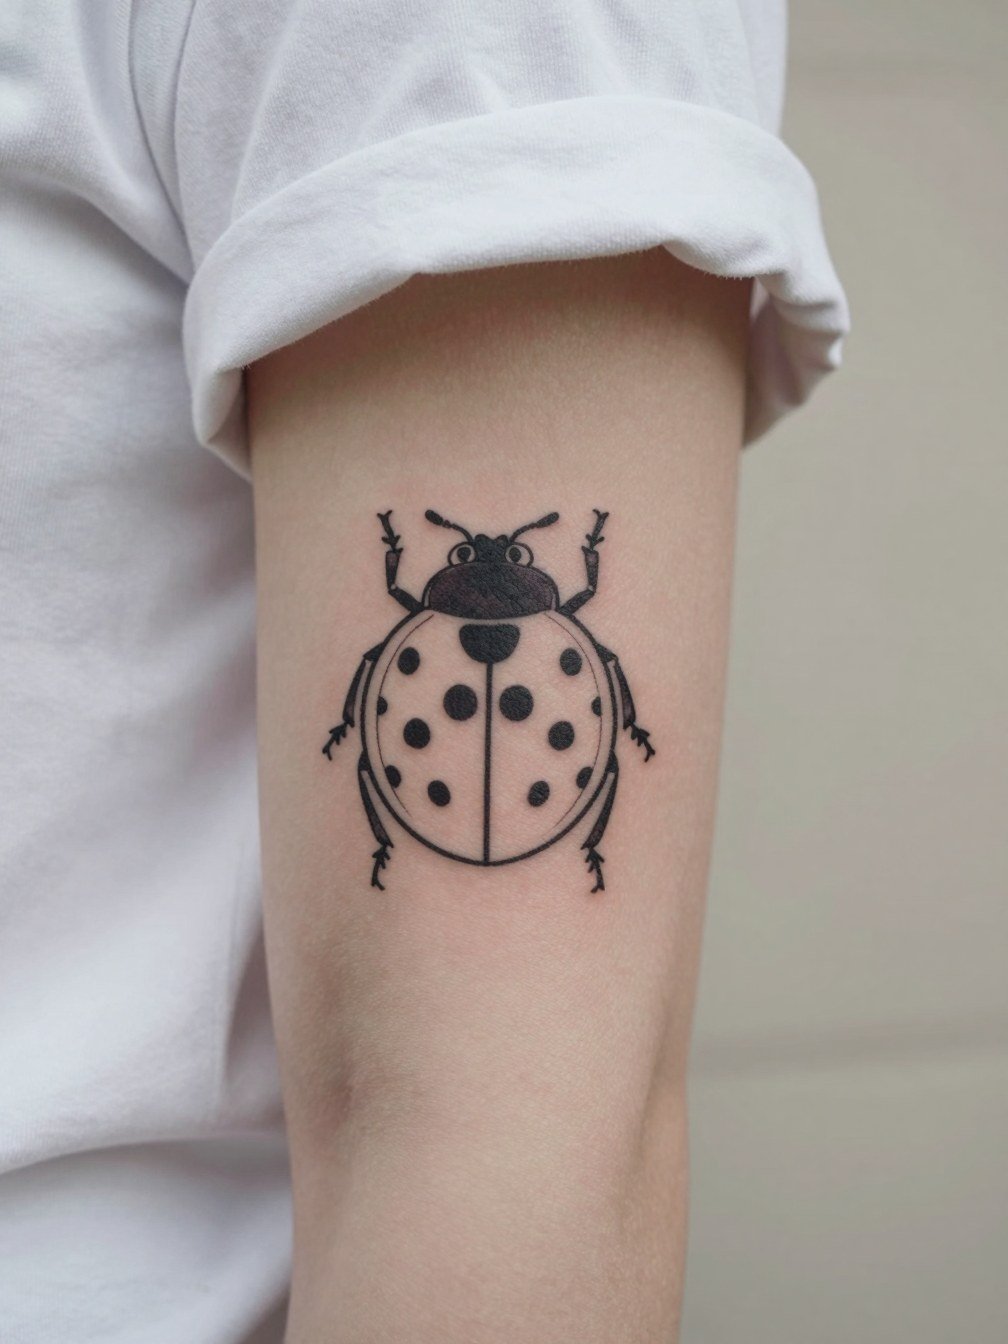
1. Fine-line Minimalist Ladybug on Inner Forearm

This classic inner-forearm fine-line ladybug is the pick for a first small tattoo that you want to see daily. Pain is low to moderate and most sessions finish under an hour. I recommend slightly bolder linework than the Pinterest micro versions so the spots keep crisp edges after healing. A common mistake is squeezing too many tiny dots into a rice-grain scale, which increases blowout risk and makes touch-ups more likely at year two. For the session wear a short sleeve tee so the artist can access the palm-up surface easily. Expect clean six-month contrast, mild softening at year two, and one possible touch-up by year three if you want razor crisp spots.
2. Micro Ladybug Behind the Ear
The behind-the-ear ladybug reads as playful and private because it hides in hair but peeks out with an updo. Session time is short and pain is low to moderate. The main mistake is making the dots too dense; the mastoid skin can blur microdetail over time so crisp filled spots and simple head shape hold up better. Expect a clean six-month healed look if you avoid scratching, and plan for a small touch-up in two to three years if you want sharper contrast. For the appointment wear your hair in a clip or an easy updo so the artist can check placement without tugging.
3. Tiny Red-and-Black Ladybug on the Wrist
Wrist placements are highly visible, so color gives the ladybug instant recognition. Expect moderate pain and a session under an hour. The longevity trade-off is clear: bright red saturation ages better than tiny colored washes, but the wrist gets lots of sun exposure so sunscreen after healing is essential. A frequent error is using thin color fills that patch out during healing. Discuss slightly thicker saturation and clean linework if you want a red shell that still reads at year three. For showing off, pair with a thin chain bracelet on the opposite wrist to balance attention.
4. Stipple-Shaded Ladybug on the Ankle
The ankle is a seasonal show-off spot that suits a slightly stylized ladybug with stipple shading. Expect low to moderate pain and a short session. The ankle sees friction from socks and shoes, so simplified shapes and filled black spots outlast extra tiny details. A common mistake is using multiple delicate lineweights that the ankle skin does not hold well. For the session wear shorts or roll your jeans and consider no-show ankle socks for transit so the area stays accessible and clean while you travel home. Plan on possible touch-up at two to four years in high-friction cases.
5. Black-and-Grey Ladybug on Upper Thigh
The upper thigh is forgiving for micro fine-line work because the skin texture tends to hold linework well. Pain ranges from low to moderate depending on proximity to bone. The advantage here is you can keep the ladybug slightly larger and add stipple or whip shading for depth without risking early blur. A mistake is placing ultra-micro detail near the groin line where friction and sweat accelerate fading. Wear loose shorts to your session so the artist can position the stencil precisely and you stay comfortable. Expect good longevity with touch-ups only if you prefer peak contrast.
6. Traditional Flash Ladybug on the Calf
Traditional flash on the calf works well if longevity is a primary concern because thicker outlines and solid saturation resist blurring. Session time is short and pain is mild. The common error is treating a flash layout like micro fine line, which shrinks the bold shapes into indistinct marks over time. One practical tip is keeping the spots large and the shell geometry bold. For summer showing, match it with relaxed shorts so the piece is visible and the skin around it breathes during healing.
Heal Smart
The small forearm, wrist, and ankle ideas above all share one issue: they get sun and friction in day-to-day life. A few carefully chosen basics help the first week and protect fine-line contrast.
- Lanolin-free healing salve alternatives. Good for people who react to lanolin yet still need a thin protective layer in the first two to three days.
- Fragrance-free mild soap. Gentle cleansing prevents irritation on delicate single-needle work without adding perfumes that sting.
- Sensitive-skin aftercare cream. A light lotion for the thin-layer phase reduces flaking without smothering the needle channels.
- Lanolin-free ointment balm. A slightly thicker product for very dry skin types who need extra protection during the scabbing window.
- Thin unscented A&D ointment. Use a very thin layer early on if your artist suggests a short occlusive phase to lock in moisture for fine-line saturation.
7. Minimal Ladybug with Botanical Accent on Inner Forearm
Pairing a small ladybug with a leaf line softens the insect while keeping the whole composition readable. The inner forearm handles light stipple shading and thin stemwork well. A typical mistake is letting the leaf veins become as fine as the bug lines, which vanishes faster. During consultation bring reference photos showing the exact leaf size so the artist can scale the whole piece. For styling, this placement looks smart with rolled-cuff linen shirts that let the forearm peek out without clipping the design. Expect minimal change at six months and gradual softening over several years.
8. Micro Ladybug on the Side of the Foot
Feet and toes are notorious for fading because of constant friction and thin skin. If you choose a foot ladybug, simplify the shell and accept a higher chance of touch-up. Pain for a top-of-foot micro is low to moderate and the session is quick. Artists split on whether micro fine line holds well on the foot. One camp argues foot and toe work fades rapidly under shoe friction. The other camp says simplified shapes and planned touch-ups can make the placement viable. Expect a higher fade risk and plan accordingly with your artist. For post-session strolls pick open-toe sandals so the area can breathe while still being comfortable.
9. Tiny Geometric Ladybug on the Collarbone
The collarbone spot gives a flattering frame for a small geometric ladybug, but movement and sun exposure affect how crisp linework remains. Expect moderate pain and a session under an hour. A mistake is cramming angular details too close to the shell outline; the collarbone skin shifts and can distort micro geometry. Bring reference photos that show how the design sits on the bone to avoid surprises. For evenings out pair the placement with open-back midi dresses that highlight the collarbone without overexposing the area during early healing.
10. Single-Spot Micro Ladybug on a Finger
Fingers are high-wear and micro work there often needs touch-ups. Expect short session time but higher immediate fade and pigment loss from hand washing. The common error is treating a finger micro like a wrist micro. The skin and constant abrasion demand a bolder single-spot approach rather than many tiny dots. For the session plan to have the hand dry and avoid long water exposure for the first week. For daily style consider a minimalist ring that sits on the opposite hand rather than on the ink itself so you do not add pressure during healing.
11. Ladybug with Tiny Script Anchor on Inner Wrist
Combining a micro ladybug with a single-word script below creates a neat focal point on the inner wrist. Pain is moderate and the session is brief. Avoid ultra-thin script that is the same thickness as the bug outline; the wrist eats hairline text and you will regret illegible words. Bring two scaled references so the artist can show how the word reads at small sizes. For show-off styling pair the piece with a minimalist watch on the opposite wrist so the tattoo stays visible without being shadowed during daily wear.
12. Tiny Ladybug in a Botanical Wreath on the Upper Arm
A wreath composition gives the ladybug breathing room and scales up the design without losing delicacy. The outer upper arm tolerates slightly thicker linework and light shading, so you can add botanical elements safely. Mistakes include overdetailed wreath leaves that compete with the bug. Discuss exact leaf spacing and overall diameter with the artist so the composition holds at six months and beyond. For session comfort wear a sleeveless tank top so the area is fully accessible and the artist does not need to adjust clothing mid-session.
13. Micro Realism Ladybug on the Shoulder Blade
The shoulder blade allows a micro-realism take because the skin there is stable and holds fine stipple shading well. Pain is low to moderate and the session is quick. Avoid asking for ultra-fine tiny crosshatching next to single-needle outlines because the contrast can muddy. Tell the artist you want slightly bolder contour linework around the shell so the dot shading has an anchor. For showing off bring a wide-neck top that exposes the upper back without pulling on the skin during dressing.
14. Tiny Ladybug with Negative-Space Wing on the Ribcage
Ribcage placements split artists into two camps. One group says fine-line ribs blur quickly because skin stretch and breathing cause lines to soften within two years. The other group counters that slightly wider spacing and correct needle depth help single-needle work settle fine on the side torso. If you favor the rib, ask the artist to show healed three-year photos from similar placements so you can see how negative-space elements held up. Pain is higher here, and session breaks and numbing options matter for comfort.
15. Micro Ladybug with Stitched Ornament on the Thigh
Thigh work is forgiving and ideal for adding small supporting elements like a stitched patch without risking blowout. Pain is low and sessions are relaxed. The typical mistake is making the patch lines too thin; the thigh benefits from a little line weight to keep the geometric read through the years. For session wear loose shorts so the artist can adjust stencil placement while you remain comfortable. The thigh placement typically ages well with infrequent touch-ups.
16. Minimal Ladybug on the Back of the Neck
The nape is intimate and discreet, and single-needle work reads nicely when scaled modestly. Pain is low to moderate and the session is quick. One common error is placing the design too close to the hairline where fading and hairstyling cause disturbance during healing. If you want it visible with short hair, show pictures so the artist can set the piece lower or higher. For the appointment tie hair up loosely so the artist can access the nape without tugging at roots.
17. Tiny Ladybug with Dot-Work Halo on the Upper Arm
Dot-work halos lift a micro ladybug visually without crowding the shell. The outer upper arm tolerates dot density and clean spacing, so the piece can age with minimal blur. People sometimes request tightly packed stippling that flakes during healing; keep the dot spacing airy to avoid that. For session comfort wear a sleeveless tank top and expect a short session and low pain. Plan on a touch-up only if you want the halo to stay as crisp as day one.
18. Micro Ladybug on the Toe
Toe tattoos face a high rate of early fading because of constant friction and thin, shifting skin. Expect low session time but a higher likelihood of pigment loss. Artists generally advise against ultra-micro detail here. One camp says toes are poor for fine-line micro work and will require touch-ups. The other camp will do a simplified silhouette and plan follow-up sessions. If you opt for a toe piece, accept a likely touch-up at one year and avoid tight shoes during healing. Choose open-back footwear for the trip home.
19. Small Ladybug with Geometric Backdrop on the Shoulder
A triangle or simple geometric shape gives a micro ladybug a modern frame and helps the eye read the bug from a distance. The shoulder cap tolerates slightly more saturation so the shape holds. A frequent mistake is merging the backdrop lines with the bug outline at tiny scale. During consultation specify how thick you want the backdrop lines relative to the bug so the two elements stay distinct. For dressing, a loose tank top makes access simple and keeps fabric off the fresh skin.
20. Tiny Ladybug Near the Collarbone with Accent Dot Trail
A trailing dot path gives a sense of motion and reduces the need for extra detail in the bug itself. Expect moderate pain and a brief session. Avoid scattering the dots too tightly, which makes the trail read like a single smudge after a year. Ask the artist for spacing previews so the rhythm of the trail reads at small scale. For show-off styling a wide V-neck top frames the collarbone without bunching tissue during healing.
21. Micro Ladybug with Tiny Leaf Cluster on the Ankle Bone
Ankle bone placements are visible yet prone to rub from shoes. Keep the leaf cluster airy so it does not merge into the bug during healing. Pain is low and session time is short. A common misstep is placing too much micro detail near the bone where the skin can scar and blur lines. For travel home pick slip-on sandals so the ankle avoids pressure from tight footwear during the initial days. Expect a possible touch-up at year two if you notice softening.
22. Tiny Ladybug on the Outer Calf with Shadow Dot
The outer calf is durable and an excellent canvas for a tiny ladybug plus a small shadow dot that reads as depth without extra linework. Pain is mild and sessions are quick. The main mistake is trying to cram tiny decorative curls around the bug which the calf will soften. If you like clear long-term contrast, keep the shadow dot separated by a little negative space and ask for a slightly bolder contour line. For summer outfits, match with midi skirts or shorts that let the calf be visible.
23. Micro Ladybug with Simplified Shell Geometry for Longevity
If longevity is your priority pick clear shell geometry rather than squeezing in extra anatomy. The inner arm holds linework well when the shapes are legible and slightly scaled up. Sessions here are short and pain is low. The typical error is asking for "as tiny as possible" which sacrifices the shell silhouette and invites blur. During the consultation show the artist examples at two sizes so you can see how the shell reads at three inches versus five. For easy access to the area during the session wear a loose button-down shirt that can roll without tugging the skin.
Frequently Asked Questions
Q: Do fine-line ladybug tattoos fade faster than bold traditional work?
A: Fine-line pieces can soften sooner because thin needle channels have less margin for healing variation. Some artists say fine line fades faster and point to early blur on tiny details. Other artists argue fine-line work can hold well if the design uses clear spacing, slightly heavier contour where needed, and is placed on lower-wear skin. In practice pick the style based on how much maintenance you accept and whether you want touch-ups down the line.
Q: Which placements should I avoid if I want the ladybug to last?
A: High-friction zones like toes, soles, and the side of the foot tend to lose crisp single-needle detail fastest. Ankles and wrists sit in a middle zone because they see sun and rubbing. For best longevity choose lower-wear areas such as the outer calf, shoulder blade, or upper thigh and ask the artist to scale the shell geometry up a hair.
Q: How do I find artists who show healed fine-line work and accept walk-ins?
A: Search social platforms for keywords like fine line tattoo, micro tattoo, and ladybug tattoo with your city name and filters for location. Look for portfolios that include healed photos rather than only fresh shots. Reddit threads often surface walk-in-friendly shops and real client timelines. Local studio pages can list guest spots and walk-in policies, so check those and confirm they show healed examples before you book.
Q: What should I wear to my appointment for an inner forearm or wrist ladybug?
A: Wear a short sleeve tee or a loose button-down so the artist can access the palm-up surface without adjusting fabric. For ankle or calf pieces choose shorts or rollable jeans. A practical pick for inner forearm sessions is a short sleeve tee that you can slip on and off easily.
Q: How should I care for a tiny fine-line ladybug in the first week?
A: Follow the artist's instructions first and then the gentle routine of brief lukewarm rinses with a fragrance-free soap, patting dry, and a very thin layer of the recommended ointment or lotion. Avoid soaking, swimming, and direct sun. If your skin tends to react, ask the artist about lanolin-free options or a sensitive-skin cream and monitor the site for excessive redness or prolonged scabbing.
Q: Will black-and-grey ladybugs age differently than red-and-black ones?
A: Black-only work often ages more quietly because it relies on contrast rather than color saturation. Red can be very readable if applied in solid, saturated fills. If you want color, insist on clean outlines and bold spot shapes so the red sits inside a durable structure rather than being the only element that defines the bug.
