
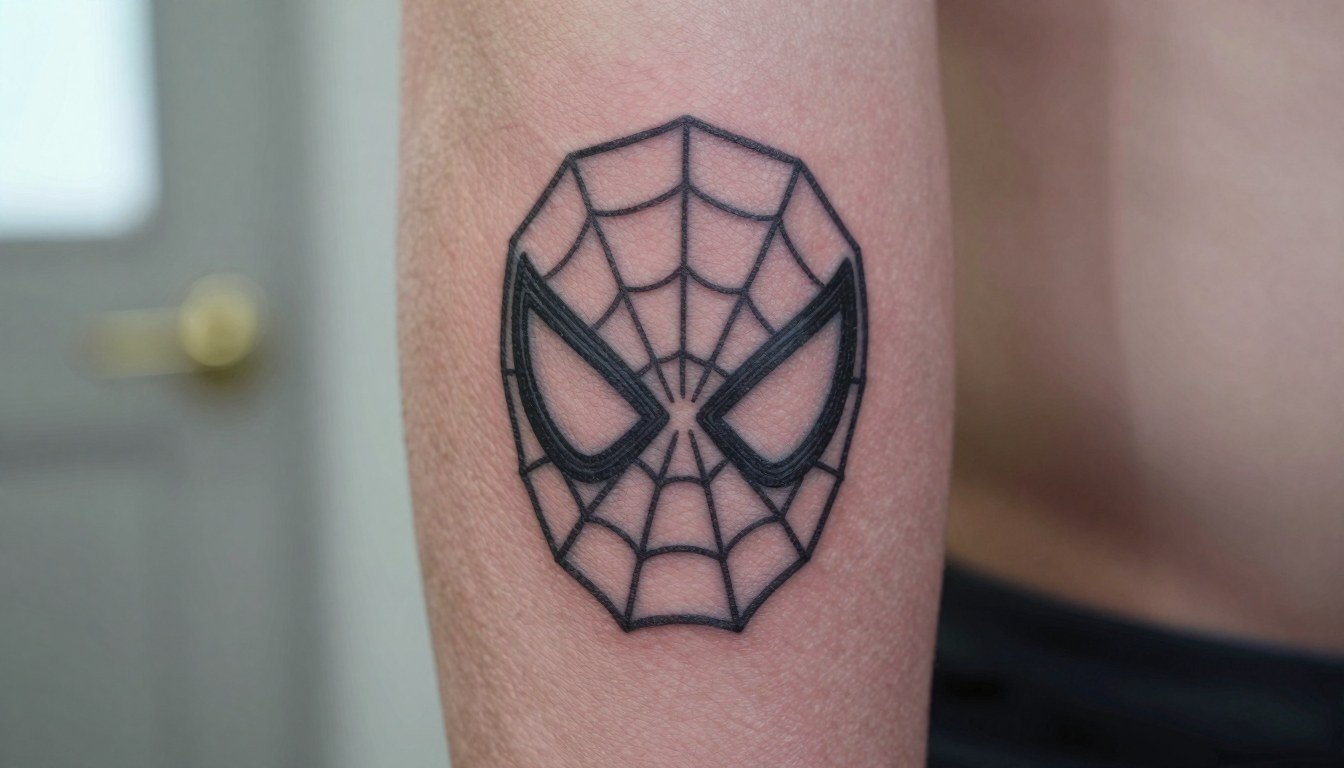
Spider-Man tattoos can look razor-sharp in photos and still fade into a blur if the size, color balance, or placement is wrong. Fans who want the suit detail often pick larger canvases so webbing and lenses hold up. If you want a compact nod instead, plan a simplified mask or emblem and accept a different visual tradeoff up front.
1. Thigh Spider-Man Character Portrait
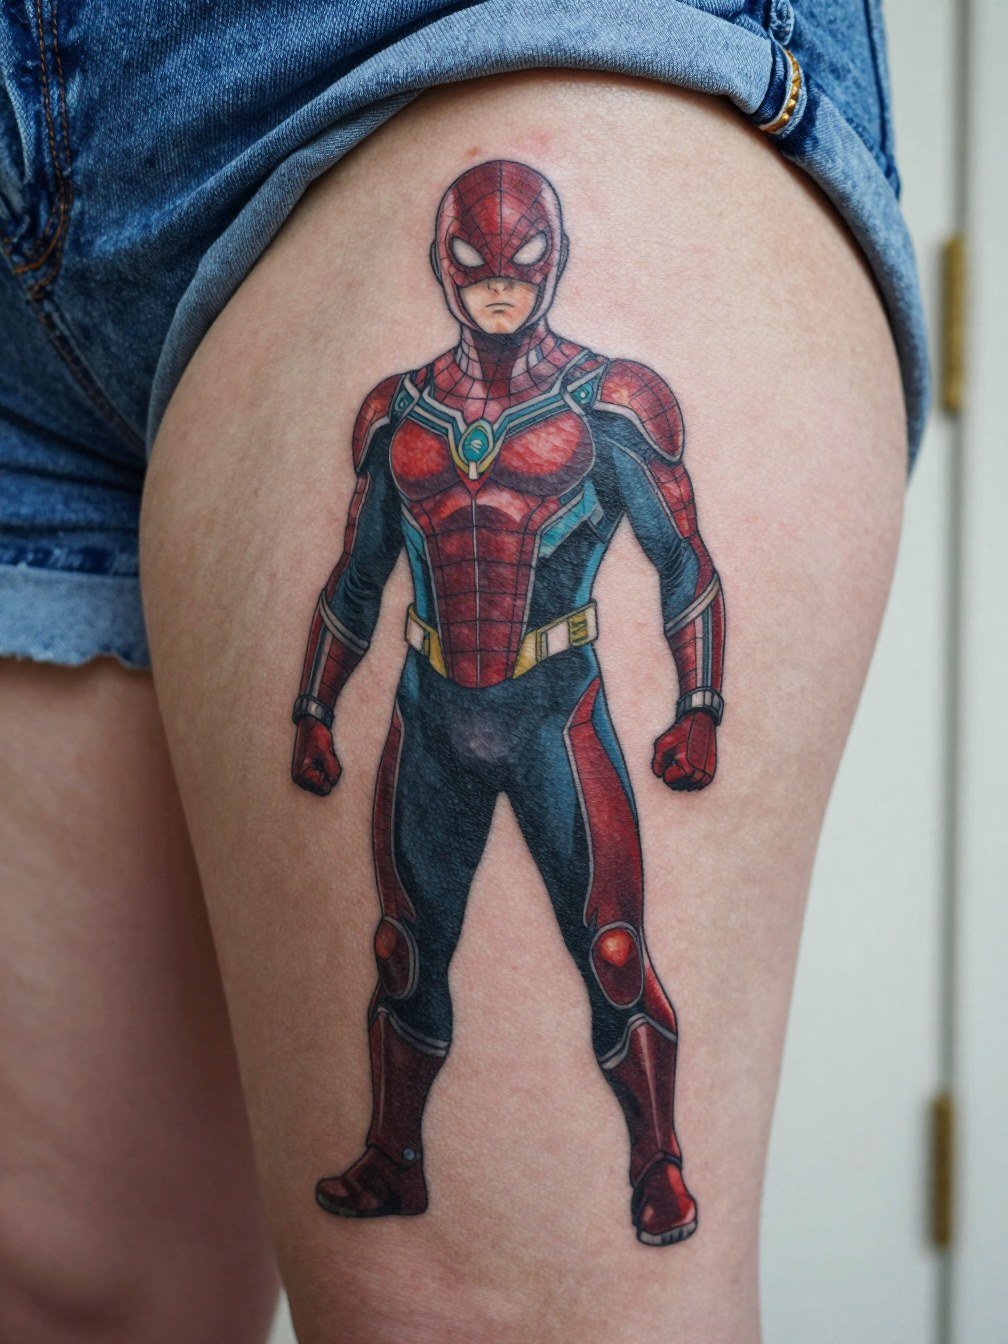
A front or outer upper thigh portrait gives the artist room to render suit texture and facial planes without compressing detail. For this placement plan at least one to three sessions so the artist can build saturation and keep the webbing crisp. Bring reference shots that show the exact suit version, mask shape, and emblem size so the stencil can be drafted to your leg proportions. Expect the session to feel lower-intensity than ribs, but the thigh needs steady positioning for long stretches. Common mistake, asking for tiny facial detail on a thigh portrait as if it were a wrist tattoo, leads to blurring. For show-off outfits pair the piece with straight-leg jeans hemmed above the ink or relaxed cargo shorts, and wear loose shorts on session day so the artist can access the area easily, for example relaxed cargo shorts.
2. Spider-Verse Patchwork Sleeve
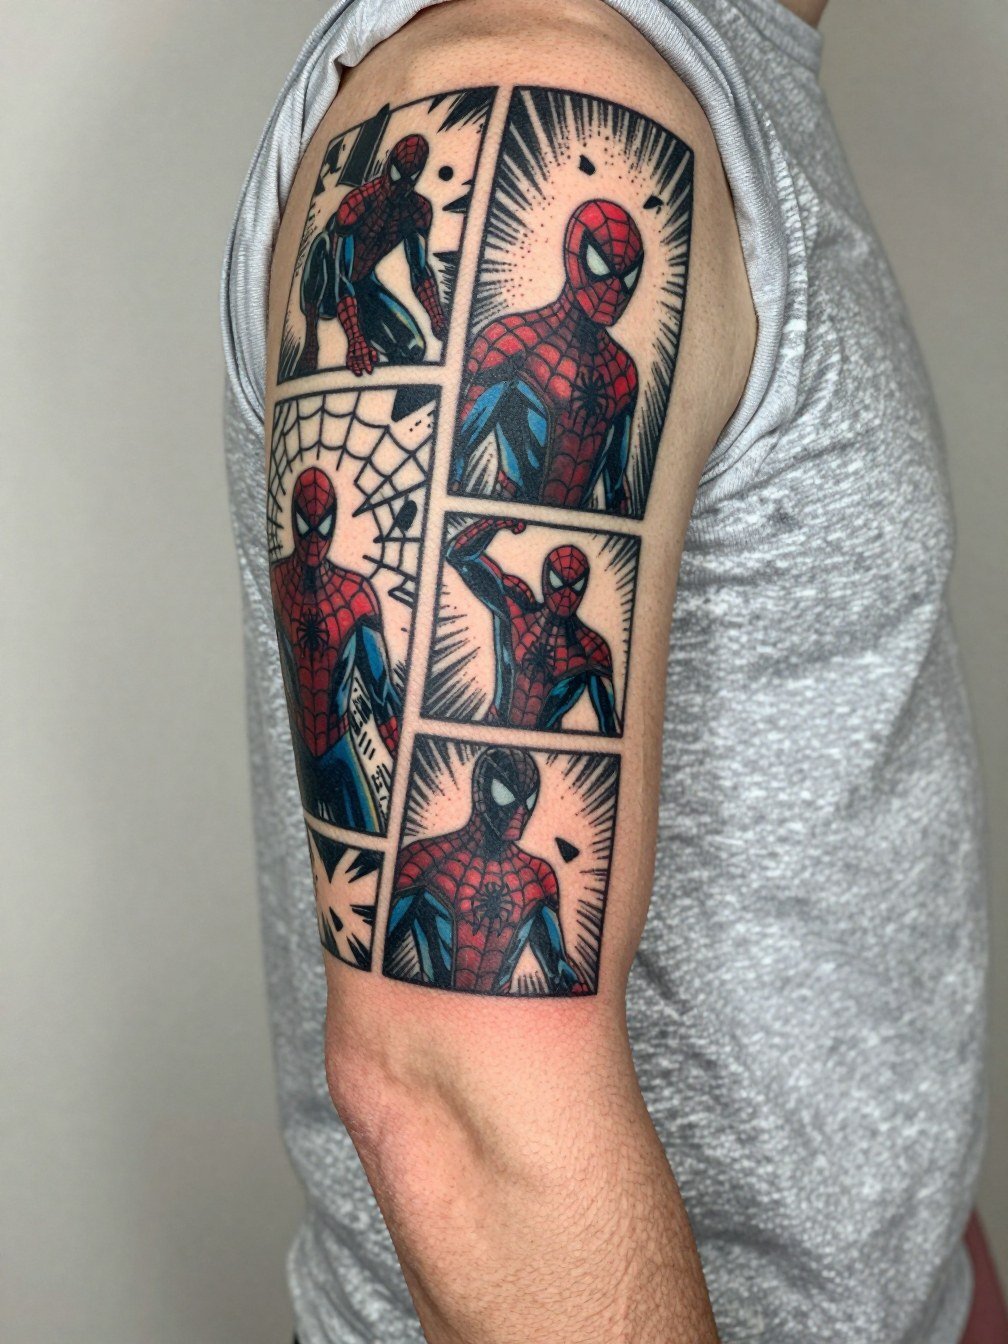
Build a Spider-Verse sleeve panel by panel when budget matters, and keep each new panel readable by keeping consistent line weight across sessions. A sleeve built over time benefits from a single composition plan so new panels do not clash in scale or perspective. Tell the artist the characters you plan to add over the next year so they can plan negative space and motion lines now. Expect multiple sessions over months. The biggest mistake is booking disparate styles without a unifying connector like webbing or a recurring color accent. When you want to show off the outer arm roll short sleeves or choose muscle tees on casual days to emphasize the sleeve.
3. Symbiote Spider-Man Chest-to-Rib Crossover
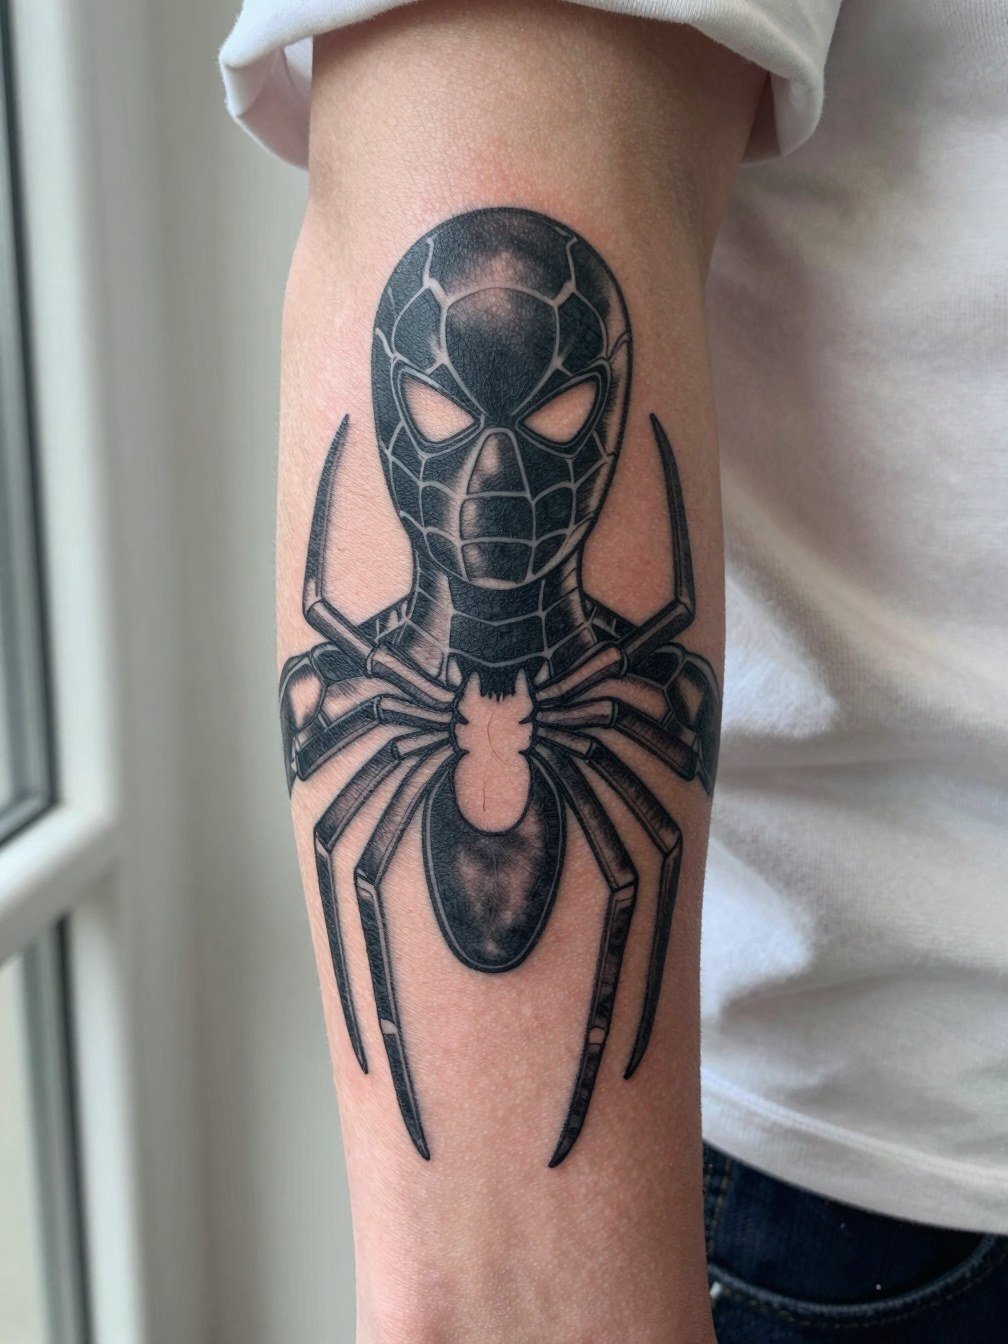
A black-heavy symbiote piece reads powerfully across chest and rib skin because the dark silhouette follows muscular contours. Plan for two or more sessions and expect the side torso area to require strategic breaks for breathing and positioning. When consulting, specify how much white emblem you want versus full-black coverage, and bring shirt-fit photos so the composition sits well under collars. High-movement ribs can mean more touch-ups over years, so stronger linework and layered saturation help longevity. The usual mistake is oversaturating red highlights in a blackwork piece, which can muddy the glossy effect. For show-off looks pair this placement with open overshirts or low crew necks, and wear an open button-down for the session so the chest is accessible, for example open button shirt.
4. Small Spider-Man Symbol or Logo-Style Mark

A compact emblem on the wrist or inner forearm solves the fandom nod problem while staying subtle. Keep in mind the core debate about scale and readability. One camp argues small pieces are a bad tradeoff because suit texture, mask lines, and emblem geometry blur too quickly on high-motion areas. The other camp says small simplified icons work fine if you commit to a stripped-down mask or logo that was designed to read at that size. If you want a tiny mark, specify exact dimensions and line weight so the artist can draft a version that will still look like the emblem after healing. Wear short sleeves for the session and pair the finished wrist mark with a thin chain bracelet or a minimalist watch, for example minimalist watch.
5. Calf Spider-Man with Villain Companions
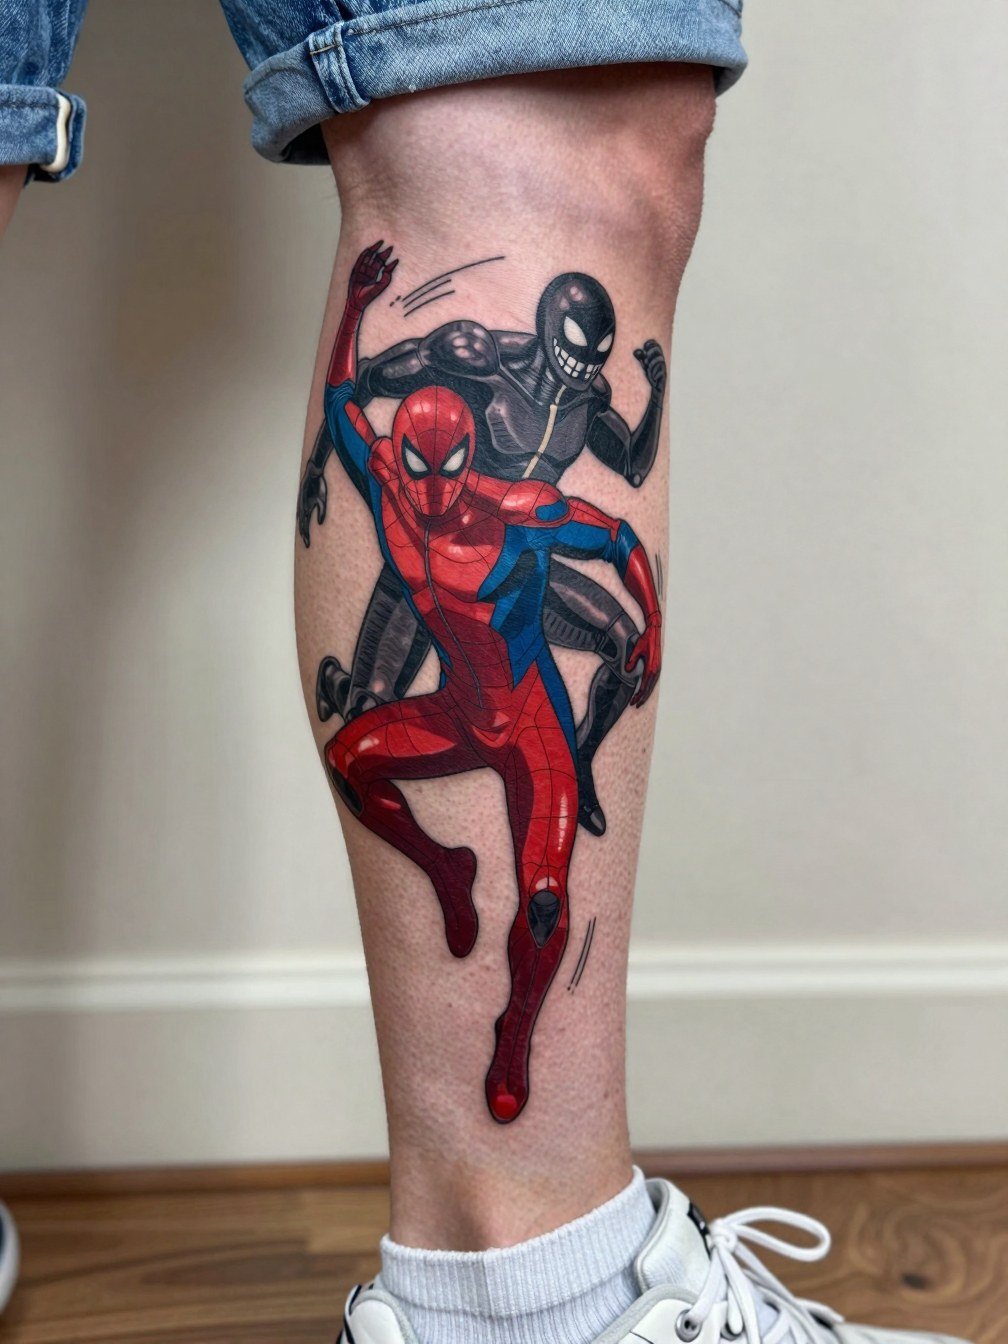
The calf is ideal for vertical storytelling and makes it easy to add villains later without crowding the piece. For a paired hero-villain layout ask the artist to map negative space so a future Carnage or Venom panel can tuck in without overwriting the hero. Sessions feel moderate in pain level and usually resolve in one long appointment or two shorter ones. A common mistake is forcing too many characters into a single calf panel which flattens the composition. For show-off fits, wear shorts or cuffed jeans and choose tapered joggers for casual days. Session day tip, use basketball shorts so the leg is easy to work on.
6. Insomniac Suit Tattoo with White Spider Accent

The Insomniac-style white spider accent makes a black suit read as a clean graphic on the shoulder or upper chest. Fans split on color strategy for pieces like this. One camp warns that red ink fades faster so you should lean on black structure and use white spider accents sparingly for longevity. The other camp insists red is essential to the suit aesthetic and will ask for bold red saturation even if it means planning touch-ups. For this placement specify how much white versus red you want and bring healed reference photos so the artist can match saturation and contrast. Wear a sleeveless top in the session for easy access and show it off later with boxy tees or open overshirts like a boxy tee.
7. Sam Raimi-Era Portrait on Forearm
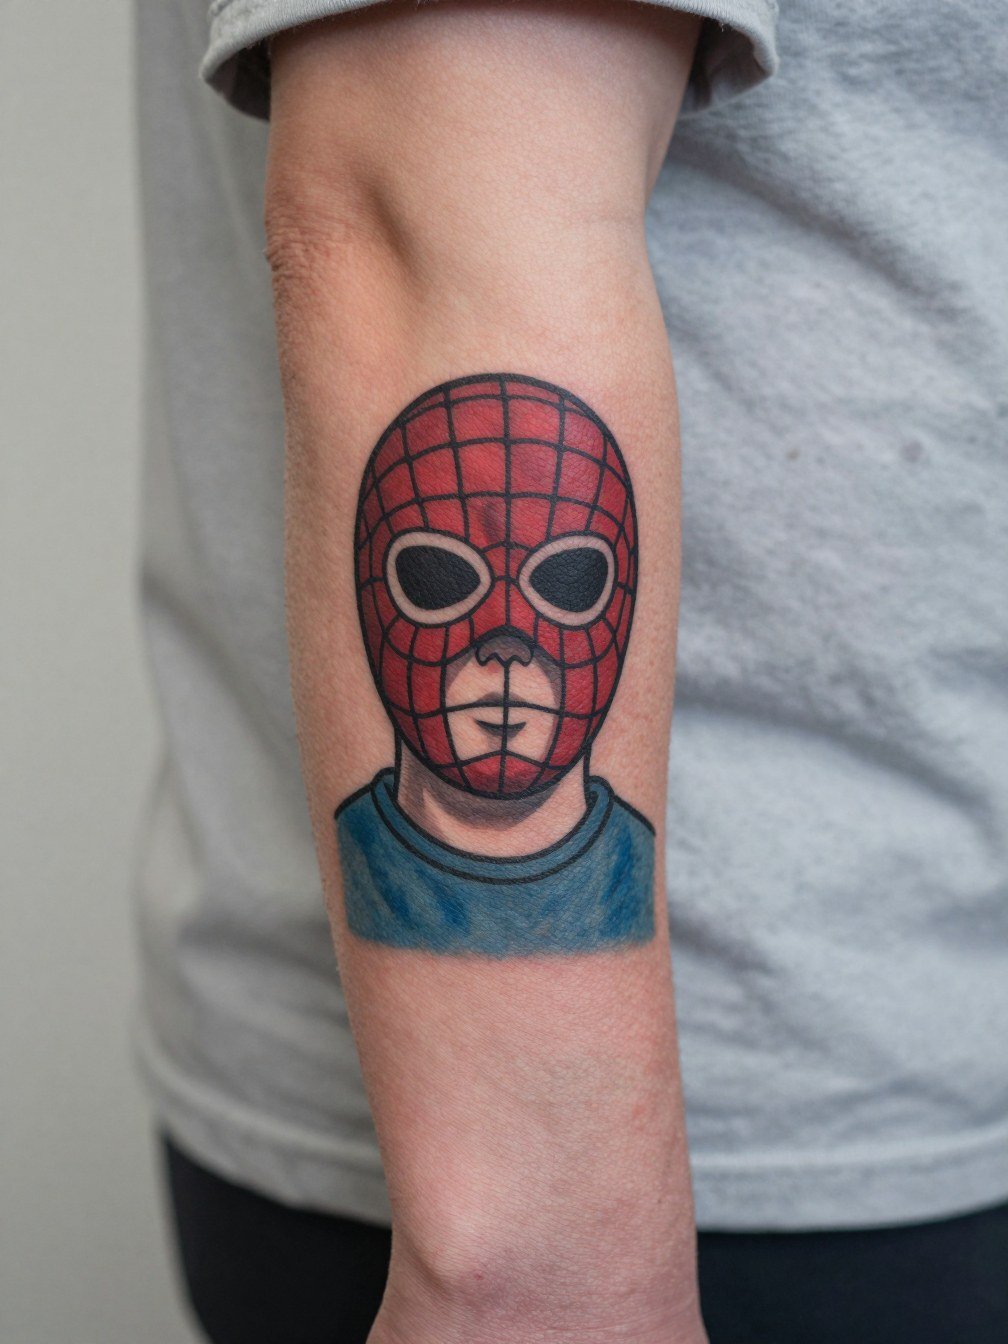
A Sam Raimi-era portrait reads clearly on the forearm because the mask shapes are iconic and scale well. Ask the artist for a three-inch and a five-inch stencil preview so you can see how the mask lines and webbing compress at different sizes. Expect the session to be straightforward with moderate discomfort along the forearm and one session for medium sizes. The typical mistake is adding too much tiny suit texture that will blur; lean on bold contouring for longevity. Rolled sleeves and fitted casual shirts make this palette pop, and for the appointment use a removable short-sleeve shirt or rolled sleeve shirt so the artist can work freely.
Session Day Picks
These first six placements include both small icons and larger portrait work, so a few session-day tools smooth the appointment and the first 48 hours.
-
Stencil transfer paper kit. Lets you preview how a detailed thigh or forearm portrait will sit on curved skin before the needle goes down.
-
Topical numbing cream. Applied on schedule reduces edge pain for sensitive chest, rib, or knee sessions.
-
Thin protective film roll. Good for covering wrist or finger emblems during the first days of hand washing.
-
Fragrance-free gentle body wash. Cleanses healing skin without irritating fresh pigment on larger pieces like thigh or calf work.
-
Aquaphor healing ointment. Thin layers in the first few days lock in moisture for bold blackwork and keep fine line edges intact.
8. Spider-Man Knee Piece

Knee tattoos create an attention-grabbing effect because the canvas moves with walking and sitting. The tradeoff, expect higher touch-up frequency because knee skin and motion can force pigment to thin over time. When planning this piece ask the artist to make contours bold and avoid ultra-fine webbing that will disappear faster. Sessions can be sore as the needle hits thin skin and bone. Wear shorts for the appointment, and plan for at least one revisit in the first year to reinforce saturation if needed. The common error is requesting tiny detail right over the kneecap; scale up, or choose a simplified mask variant.
9. Spider-Man Back Piece with Watercolor Accents
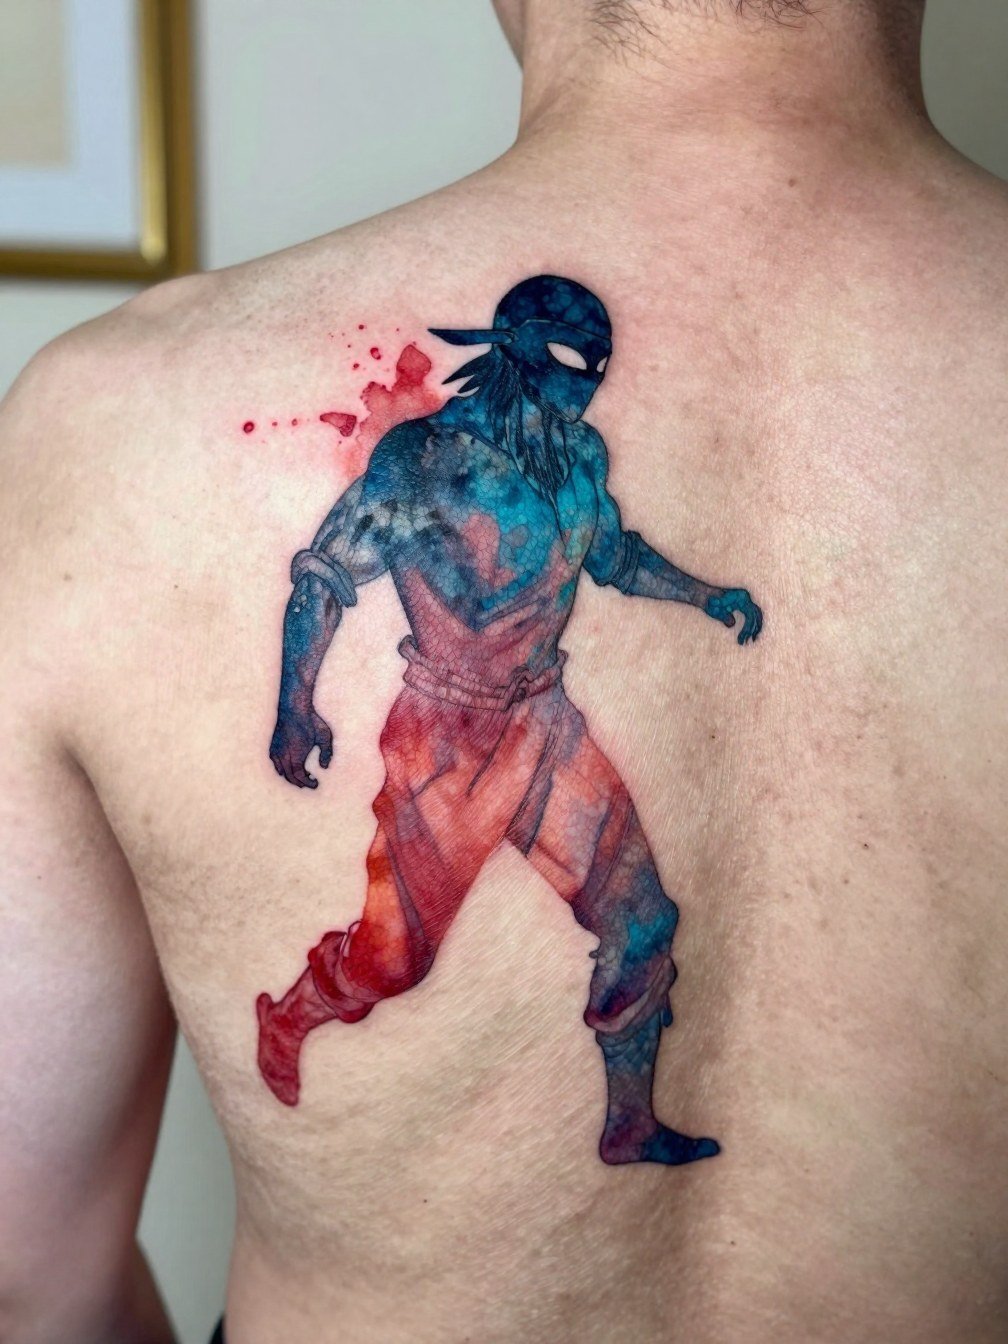
A large upper-back scene with watercolor accents lets you keep the character recognizable while adding motion and atmosphere. For longevity request stronger black outlines around the figure so the watercolor washes can fade more gracefully without losing form. Sessions are multiple because of size and layering. Healed watercolor can soften into a wash, which some fans prefer and others do not, so clarify how much edge you want to keep crisp. For session wear, use an open button-down or loose tank so the artist can reach the shoulder blades. For evenings out pick open-back or low-back shirts to partially reveal the work, for example linen button shirt.
10. Ben Reilly or Alternate Variant Tattoo
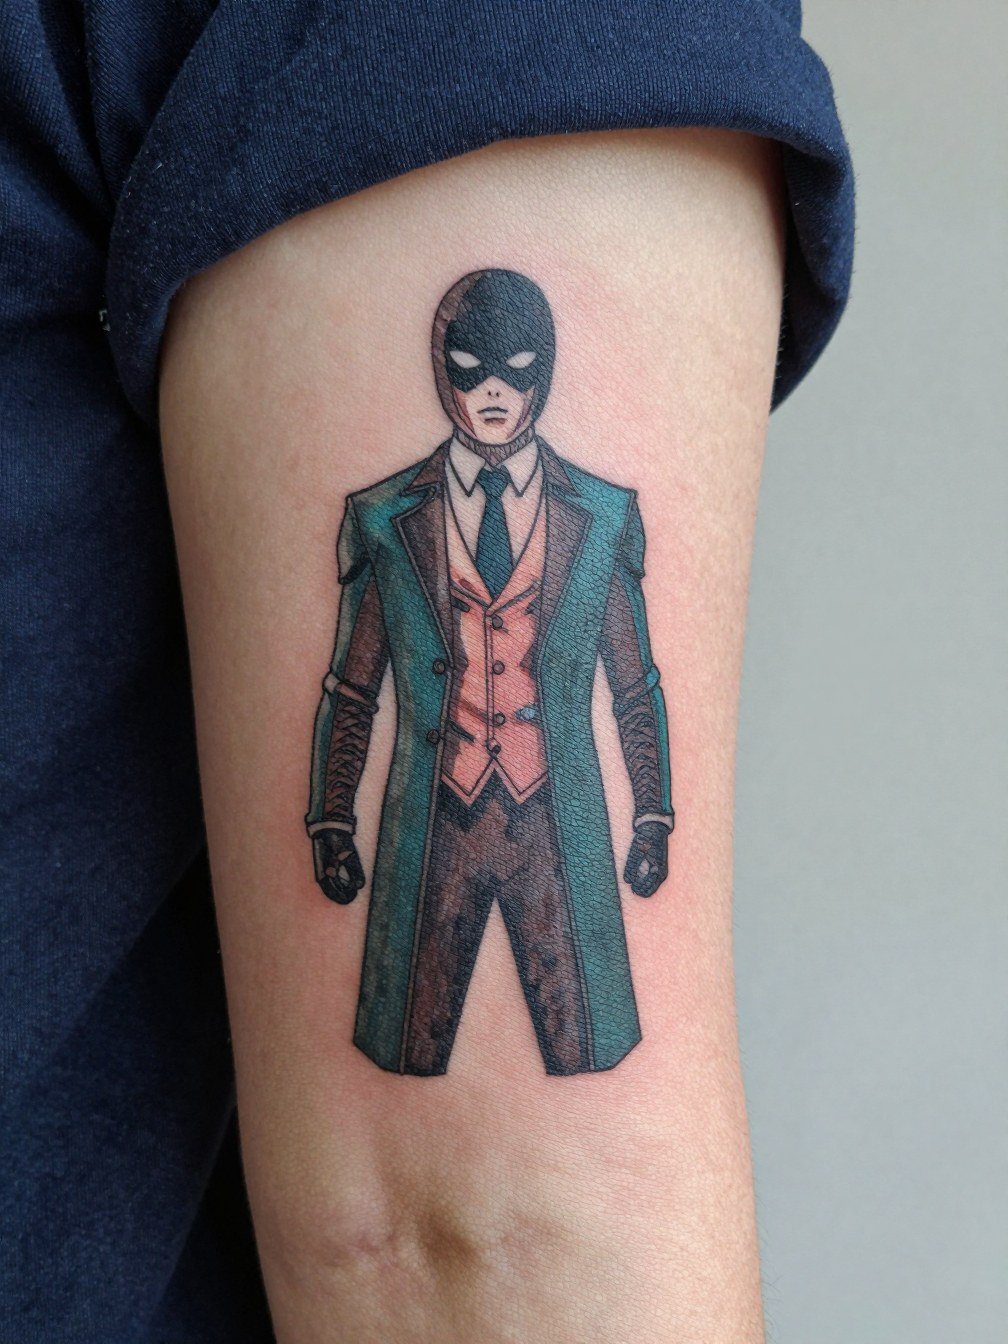
Choosing an alternate variant like Ben Reilly gives you a less common visual route while keeping the fandom connection. Decide if you want color-accurate palette fidelity or a stylized tweak when you sit down for the consultation and show examples. The real decision is whether you want broad readability from across the room, or a closer, more niche reference that rewards viewers who know the variant. Session length depends on how much suit texture you request. A practical mistake, asking for an offbeat emblem but insisting on tiny size, makes the variant unreadable. Use rolled sleeves or shorts to show these variants off depending on placement.
11. Spider-Man and Venom Paired Composition
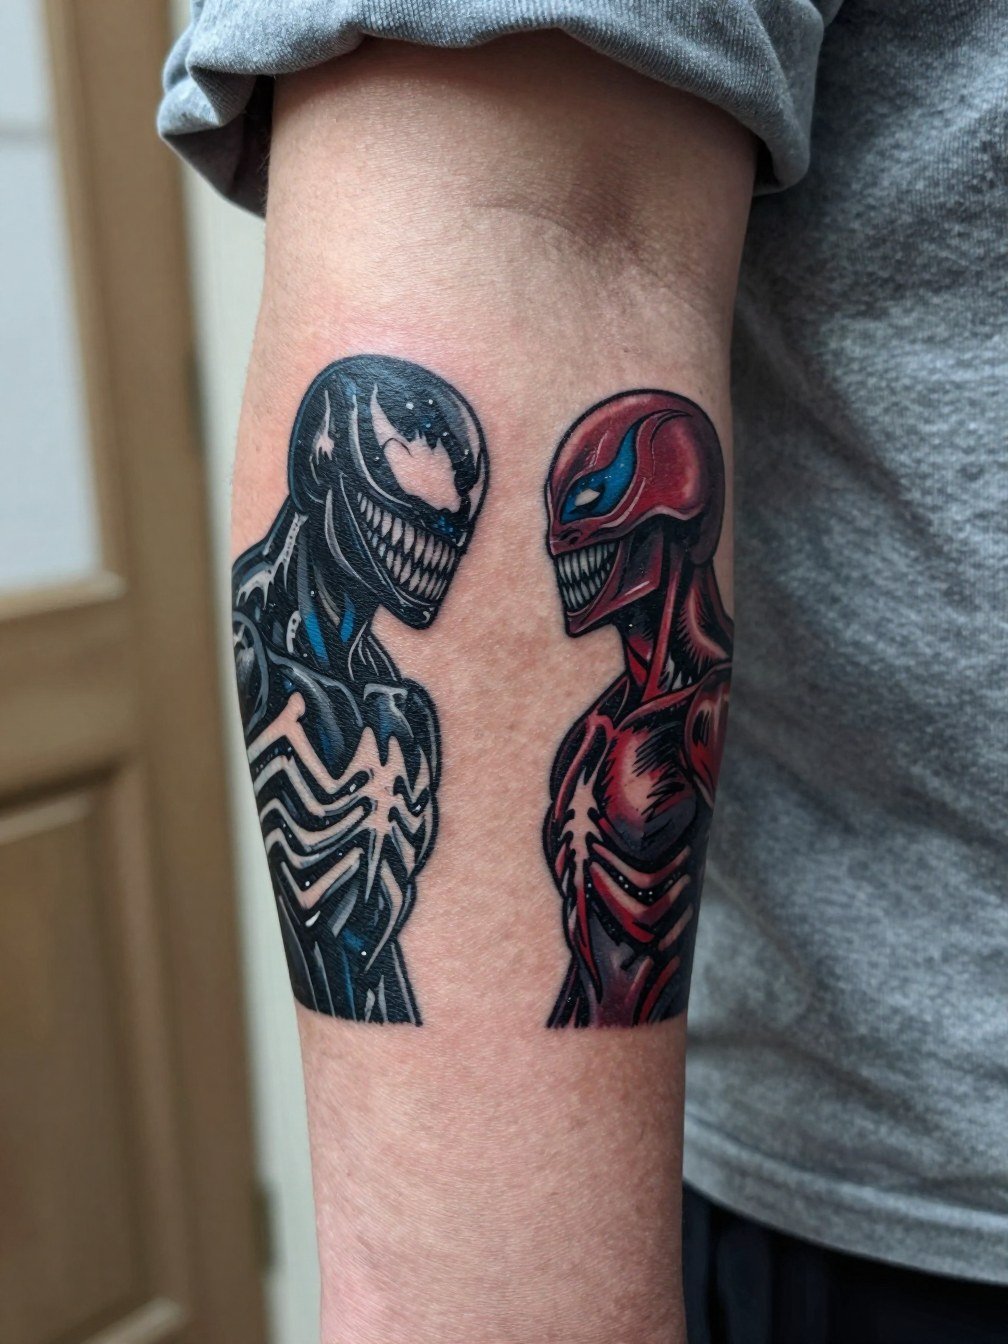
A hero-versus-villain pairing adds narrative contrast and stronger composition than a solo portrait. When planning this ask for a proof of how the two figures overlap so one silhouette does not swallow the other. Expect at least two sessions if the piece spans both chest and sleeve. The most common mistake is matching two different artists' styles without a unifying treatment, which yields mismatched shading and line density. For clothing, chest pairings look sharp under open shirts or low crew necks, and sleeves read well with rolled short sleeves. If you want to emphasize contrast on casual days try a fitted T-shirt that frames the chest panel.
12. Simple Spider-Man Head or Mask Icon
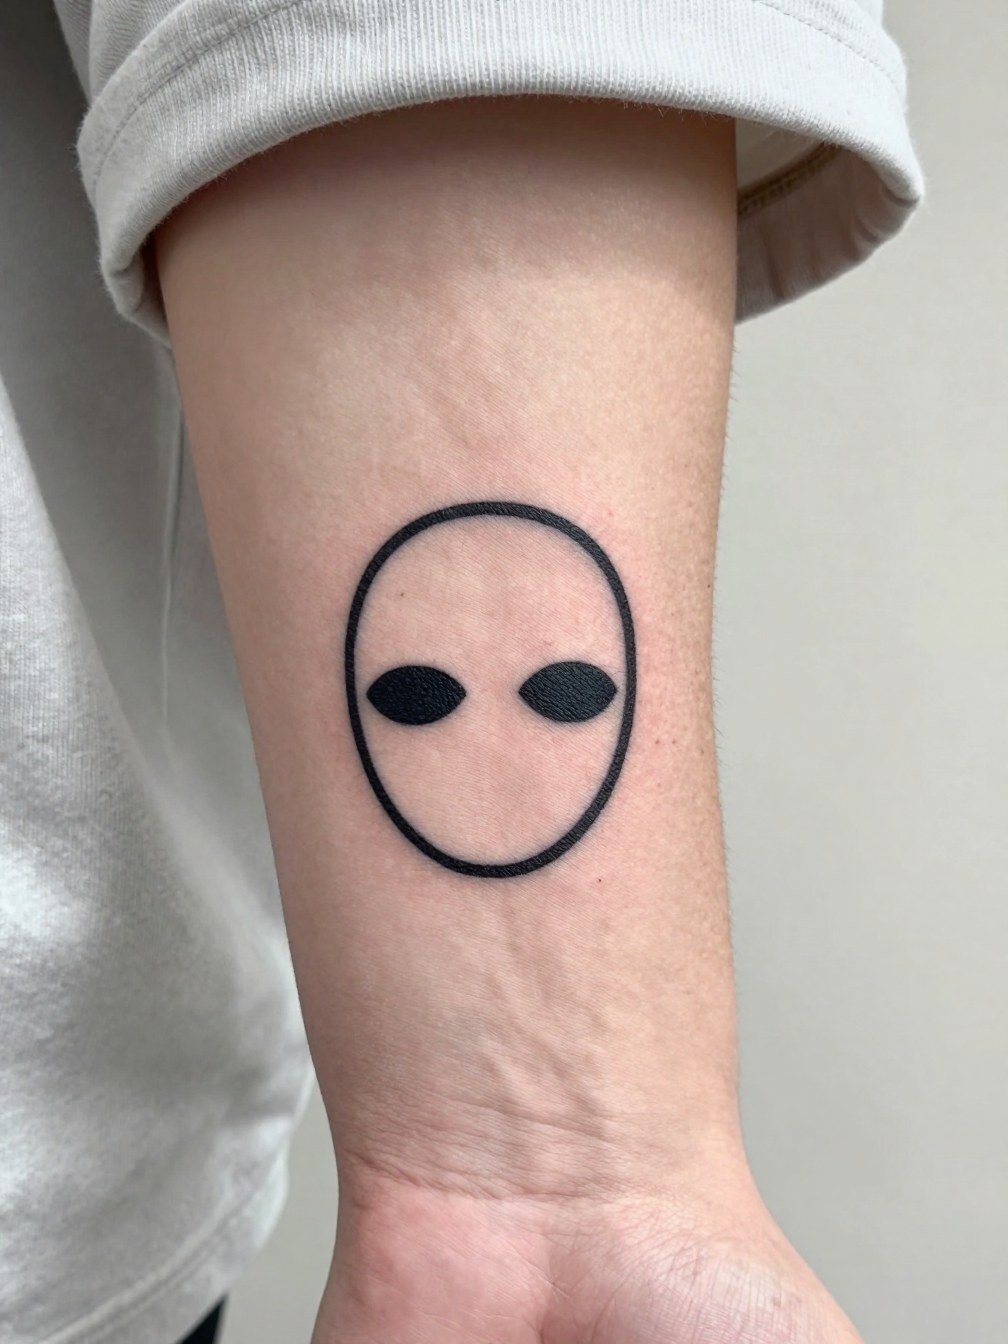
A tiny mask icon solves the desire for fandom without committing to a giant portrait. The design must be simplified and bold so the almond eyes and a hint of webbing remain readable as the skin ages. A common mistake is asking for ultra-fine single-needle webbing at two centimeters across. If you want a small piece, specify the exact final width in inches or millimeters so the artist can plan line weight. Wear short sleeves or cropped pants to show off wrist or ankle placements and bring a removable top for the session.
13. Spider-Verse Collage Sleeve
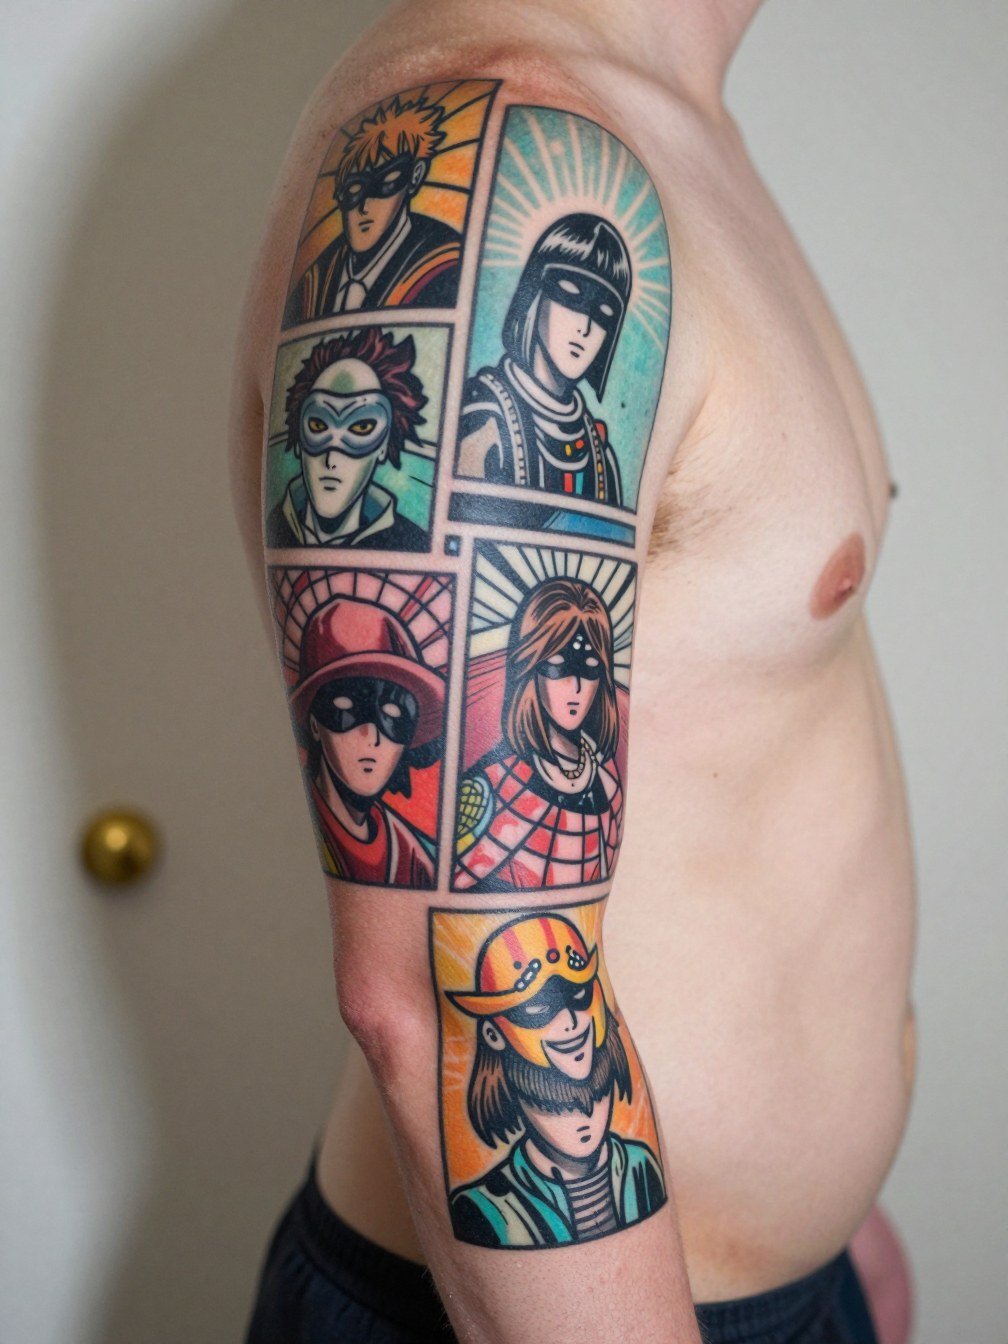
A full collage sleeve is the collector route. Map the sleeve into panels and pick a signature motif, like a recurring spider or a consistent motion line, so later additions tie in visually. Building the sleeve over time is normal and lets you spread cost, but if you care about matched shading ask for a style guide at the first appointment. A typical misstep is letting each new piece drift in scale; insist on consistent reference sizing and panel framing. For showing off the sleeve choose muscle tees or rolled sleeves.
14. Classic Webbing-Only Filler
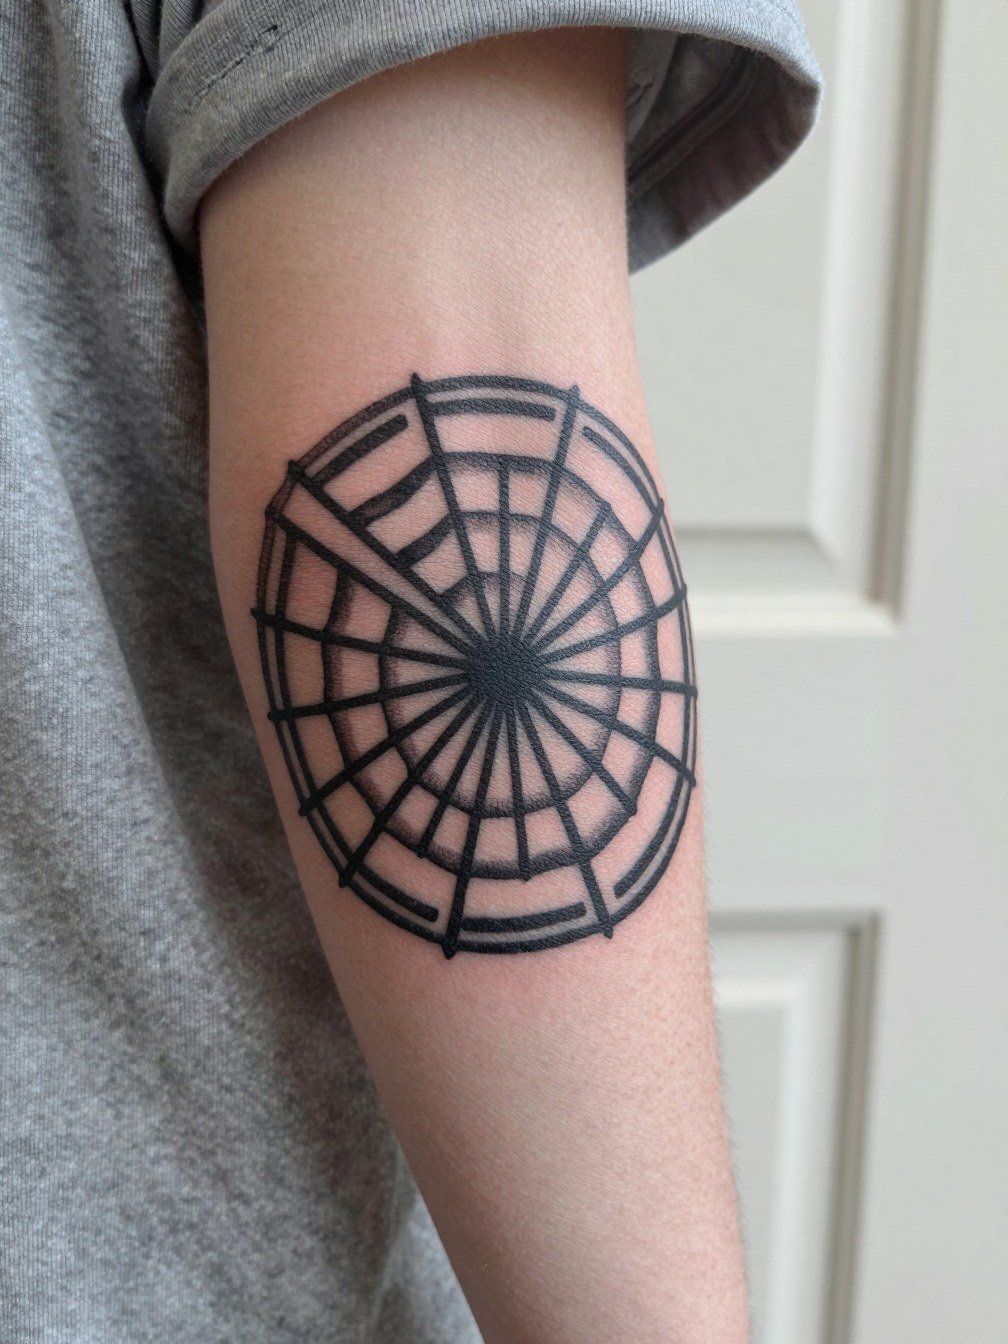
Webbing filler keeps a sleeve coherent without stealing attention from main panels. Use bold black lines and avoid tiny lace-like webbing in high-motion areas because the fine intersections blur first. A frequent mistake is designing filler that competes with the focal portraits; use simpler anchors and consistent spacing so the primary characters remain the stars. Fillers are one-session jobs and pair well with long-sleeve layering or rolled sleeves.
15. Spider-verse Collage Back-to-Leg Connector
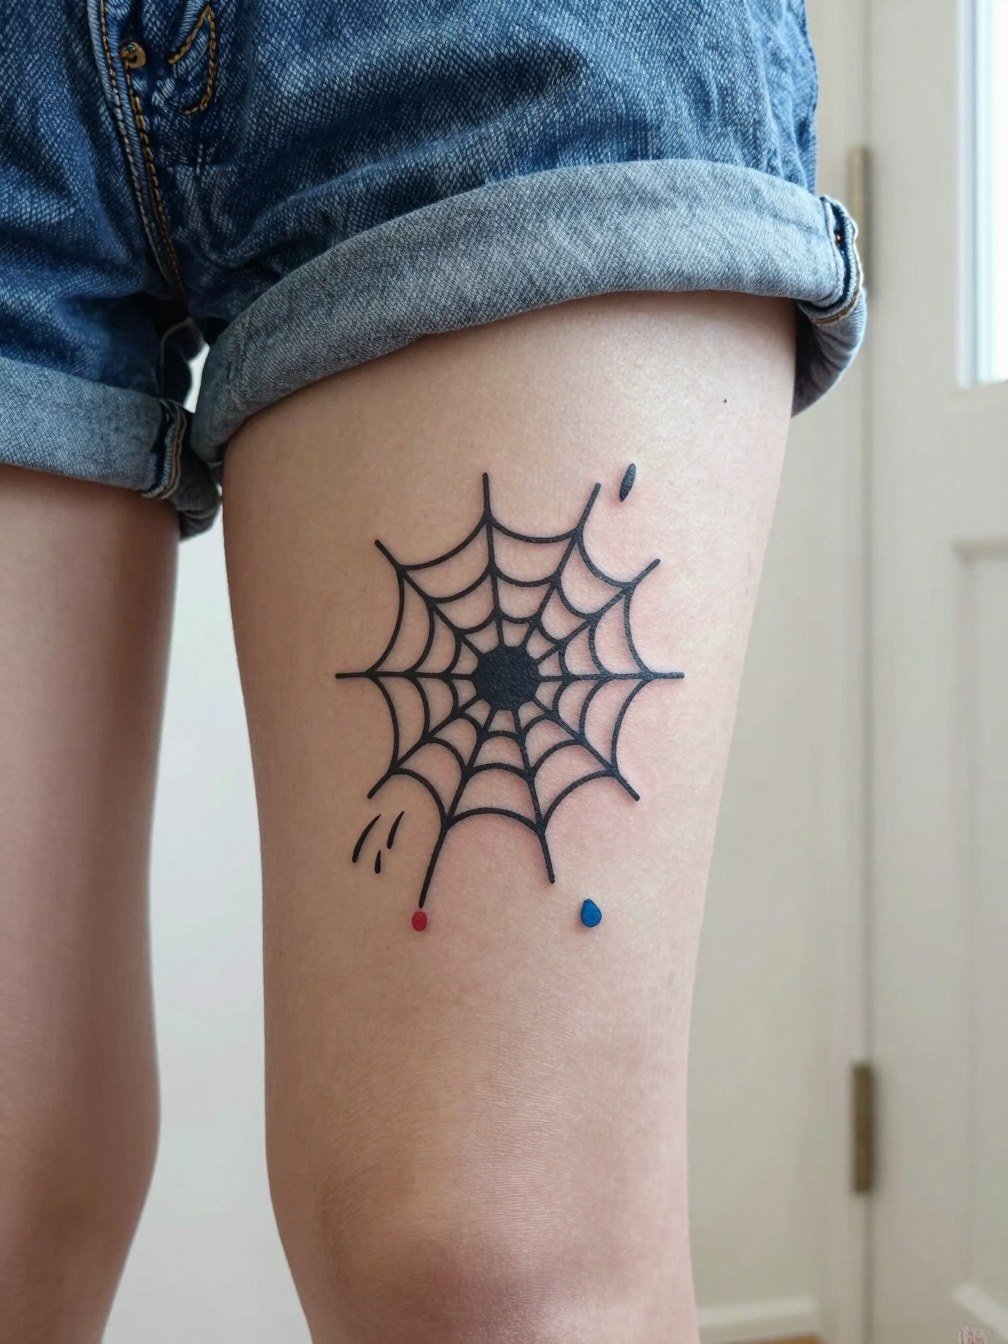
Connector panels let a back piece flow into a leg project and keep the multicharacter build feeling intentional. Ask for a composition mock that shows how the connector reads when you stand, sit, and move. The mistake is designing a narrow strip that fades into the waistband or rubs from clothing. Plan the panel to sit on stable skin away from constant friction and wear low-rise jeans for show-off fits. For the session wear loose bottoms like drawstring pants so the area is accessible.
Frequently Asked Questions
Q: What size should a Spider-Man portrait be so details like webbing and the emblem hold up?
A: For a portrait with suit detail aim for a minimum of three to five inches across depending on placement. Ask for a stencil at both the smallest and preferred sizes so you can compare how webbing and eye shapes compress. Larger canvases like thigh, chest, or calf give the artist room to space lines and avoid early blurring.
Q: How worried should I be about red ink fading, and what are the practical tradeoffs?
A: Red pigment commonly requires more touch-ups than black because it loses saturation faster on many skin tones. One camp recommends leaning on black structure and limiting red to accents for longevity. The other camp prioritizes color accuracy and plans periodic recolor sessions to keep the suit faithful. Either choice is valid, but budget extra for at least one touch-up if red is a big part of the design.
Q: Where can I find healed portfolio shots and artists who do comic-book fandom work without naming specific people?
A: Search hashtags and keywords on visual platforms like #spidermantattoo, #spiderversetattoo, and #marveltattoo, then filter results by your city to surface nearby portfolios. Reddit communities such as r/Spiderman and r/TattooDesigns are useful for seeing healed examples and long-term sleeve builds. Look specifically for healed photos rather than fresh uploads so you know how the inks age on real skin.
Q: Are knees and ribcage worth the novelty if I want something that ages well?
A: High-movement zones like knees and ribs are eye-catching but often need extra touch-ups. If longevity matters more than novelty pick a bolder, simplified design for those areas and accept periodic reinforcement. For knees choose a larger graphic with heavy outlines, and for ribs ask for slightly wider spacing so lines do not merge during natural skin movement.
Q: How should I prepare for a multi-session Spider-Verse sleeve if I want a consistent final look?
A: Create a reference folder with the key characters, preferred color treatments, and a single connector motif you want repeated across panels. Bring this to the first session and have the artist draft a style guide that sets line weight, shading consistency, and panel sizing for future appointments. Wear a button-front shirt or a removable top on session days so the artist can access different arm sections easily.
