
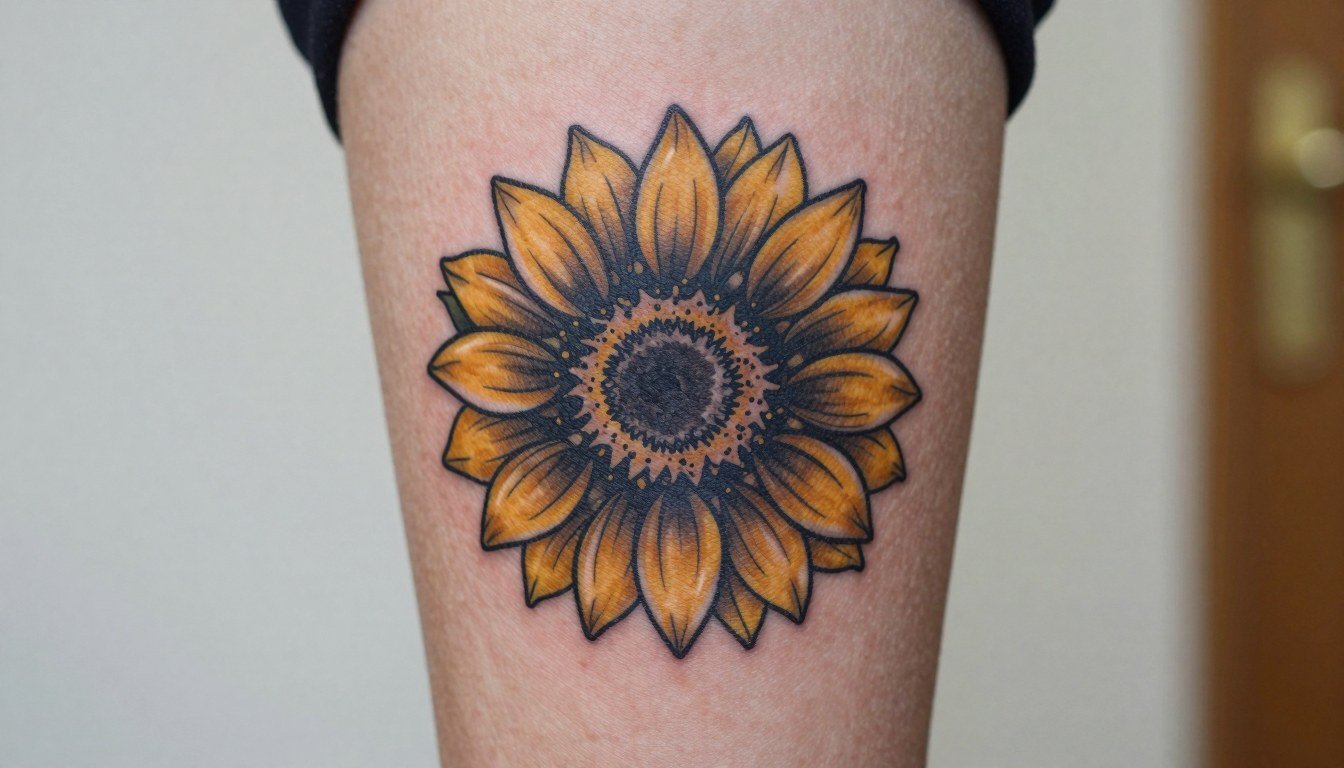
Small sunflower tattoos often look brightest right after the appointment and then quietly change over the next few years. Tiny color fades, super-fine petals can soften, and the center sometimes reads like empty skin if it was left too open. If you want a small sunflower that still reads as a flower at year five, plan spacing, center texture, and line weight before the needle touches skin.
1. Fine-line Single Head on the Inner Wrist
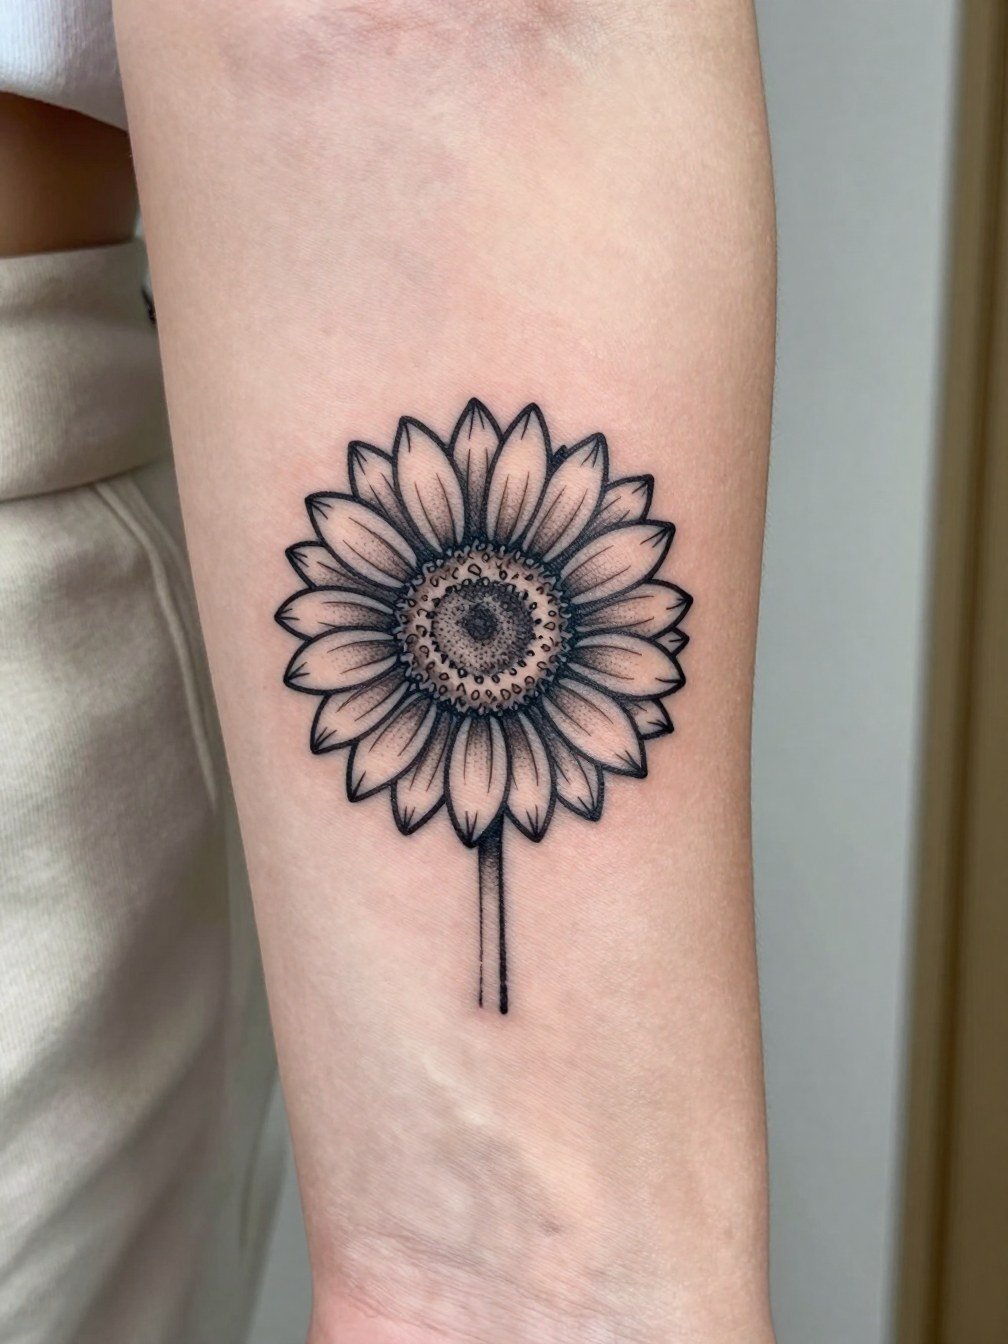
A tiny fine-line sunflower on the inner wrist reads elegant the first year but the wrist is a high-motion area. Expect the yellow to fade faster than black lines, and be prepared for the center to soften. I recommend slightly thicker linework than Pinterest samples show, which preserves petal separation as the tattoo heals. A common mistake is asking for single-needle petals with a blank center. Instead ask for subtle dot work in the center to keep it legible at year two. Session time here is usually under an hour and discomfort is low to moderate. For the appointment wear a loose tank top so the artist can access the wrist and forearm easily.
2. Black-and-Gray Outline on the Inner Forearm
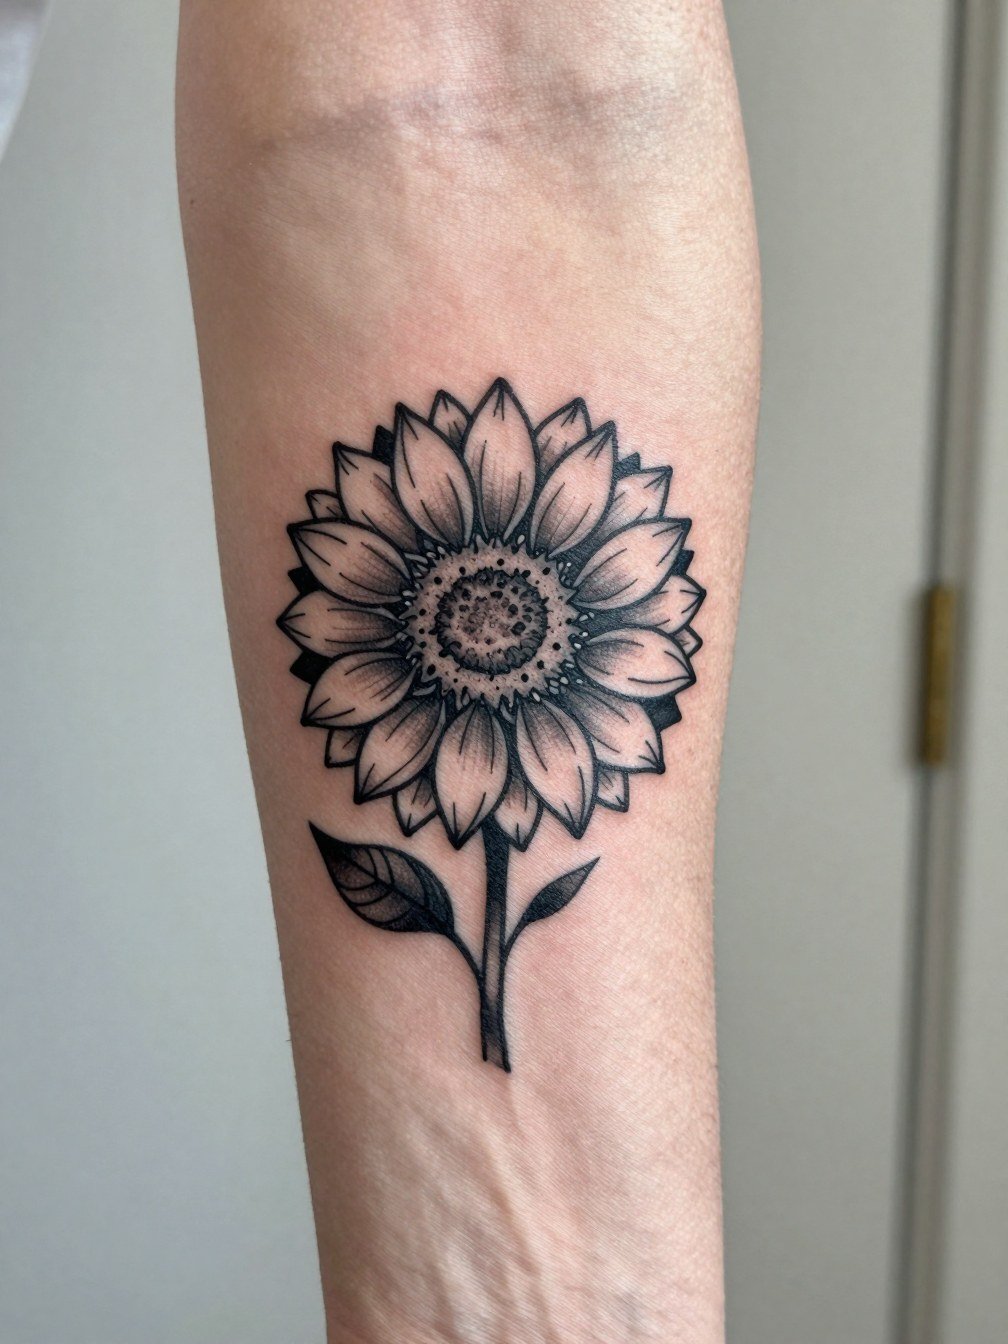
Black-and-gray linework often beats color for longevity on small florals. The thicker outline option keeps petal edges readable as the skin ages. If you want subtle shading, stipple or light whip shading holds better than saturated fills at this scale. Avoid asking for dense yellow fills in a 1.5-inch piece if longevity matters. A typical session is 45 to 75 minutes and pain is moderate for this area. This placement pairs well with rolled sleeves, so plan outfits that show the forearm intentionally. Try a neutral linen long-sleeve shirt when you want to frame the tattoo.
3. Tiny Trad Sunflower on the Outer Elbow Swell

The elbow's curved skin rewards the traditional approach with thicker outlines and saturated blocks. Bold contours prevent early blurring where the skin flexes. A common error is trying a micro-realism design here; the curve eats fine detail. Sessions usually last about an hour and the area can be tetchy during healing because of movement. For showing this placement off, a cropped sleeve or fitted short-sleeve tee highlights the swell. Pair it with a structured short-sleeve shirt when you want the sunflower to be obvious.
4. Micro Sunflower Behind the Ear
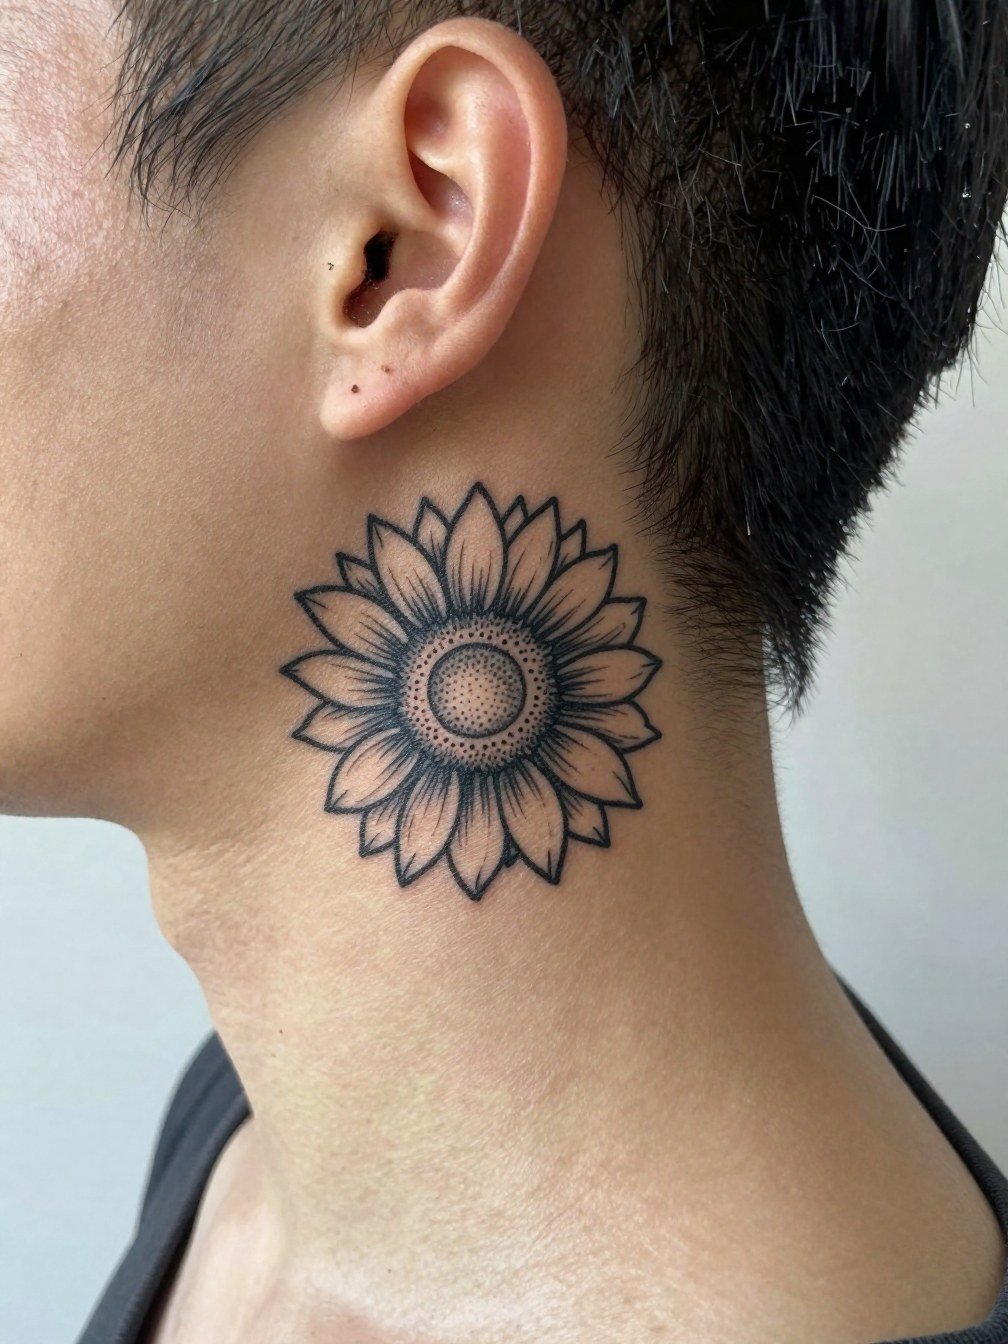
A behind-the-ear sunflower is discreet and cute, but micro detail must be balanced or it will blur into an indistinct spot. One camp says micros behind the ear never age because of the thin skin and smaller canvas. The other camp points to healed photos of sharp micro dots and argues that careful spacing and dot work can hold up. If you want this placement, ask for clear seed texture rather than open negative space in the center. Session time is short and pain is low. Style-wise, this piece looks great with short hair or an updo. Wear a simple hair clip during the appointment to keep hair away.
5. Watercolor Wash on the Upper Arm

Watercolor sunflowers feel painterly but need more upkeep when small. The trade-off is visual softness for higher touch-up likelihood. A common mistake is compressing a loose wash into a one-inch piece, which becomes muddled as color fades. If you choose color, plan for a touch-up at year two or three. Sessions can run longer, often an hour to two depending on layering. For showing off the wash, sleeveless summer dresses or spaghetti strap tops reveal the piece elegantly. Consider a light open-back sundress for warmer months.
6. Seed-Textured Center on the Ankle
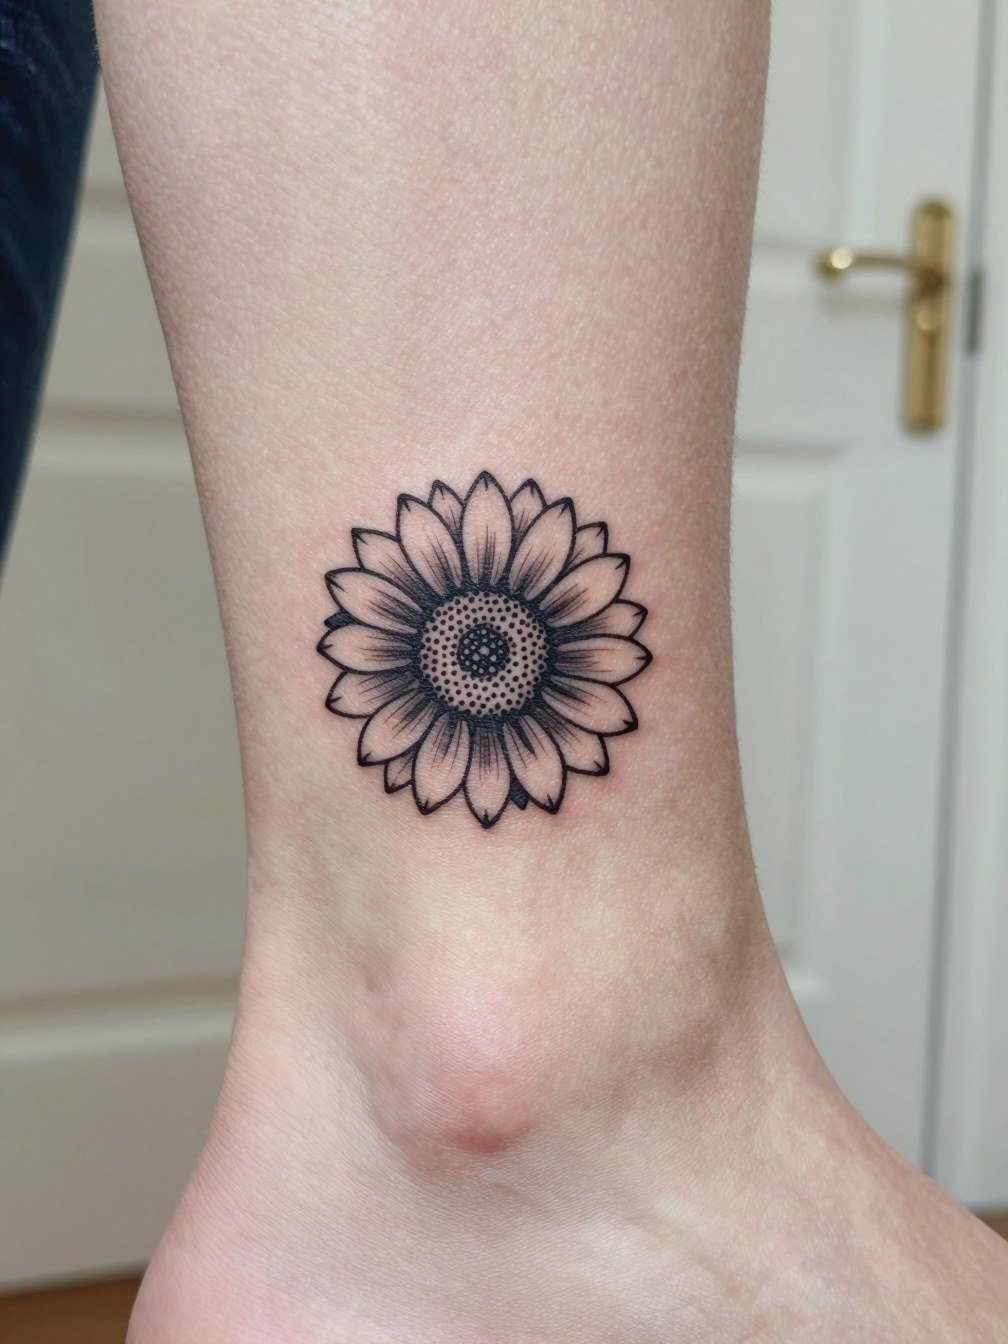
A seeded center solves the common complaint that small sunflowers look flat at a distance. The center dotwork gives contrast and keeps the eye on the flower. Ankle pieces face friction from socks and shoes so tight dense fills can drag; dot texture is forgiving. Expect a 45- to 90-minute session and mild discomfort near bone. For showing this piece, cropped jeans or ankle-wrap sandals frame the area. During the session wear slip-on shoes so the artist can access the ankle without you removing footwear.
Pre-Session Essentials
These first six small sunflower ideas share common prep and early-healing needs, so a few practical items smooth the appointment and the first week.
-
Stencil transfer paper kit. Lets you preview line placement on skin before the needle starts, which is helpful for wrist and forearm pieces above.
-
Topical numbing cream. Applied about 45 minutes before most short sessions eases initial sting for sensitive spots like ribs, inner arm, and ankle.
-
Thin protective film roll. Useful for ankle or hand tattoos to reduce friction during the first day and keep the site clean.
-
Fragrance-free gentle body wash. Gentle cleansing helps avoid irritation on small linework while the scab layer forms.
-
Aquaphor healing ointment. A thin early layer can protect fine line areas without suffocating the skin.
7. Minimal Stem Pod on the Collarbone

Collarbone placements photograph beautifully and remain visible when you want to show them. Thin stems and a single head suit this spot, but the area is close to bone so thin lines can feel sharper during the session. A common mistake is requesting a micro center without texture, which reads like bare skin against the collarbone highlight. A six-week healed check often shows slight softening, so a touch-up at year two is realistic. Wear a low-scoop top for the appointment and bring a second top for aftercare if needed. For outfits, balance the piece with an open neckline or a delicate pendant necklace that sits just above the flower.
8. Sunflower and Initials on the Inner Bicep

Pairing a tiny sunflower with initials gives clear personal meaning without adding bulk. The inner bicep is a private canvas that sees less sun and often ages well. One practical error is placing text too close to the seed center, which crowds the design. Ask for the initials spaced a half inch away and for the center texture to be slightly denser than the petals. Session time is usually under an hour and pain is moderate. For the session wear a sleeveless top so the area is accessible. When you want to show this piece, short-sleeve shirts or rolled sleeves highlight it elegantly.
9. Micro-Realism Seed Detail on the Finger
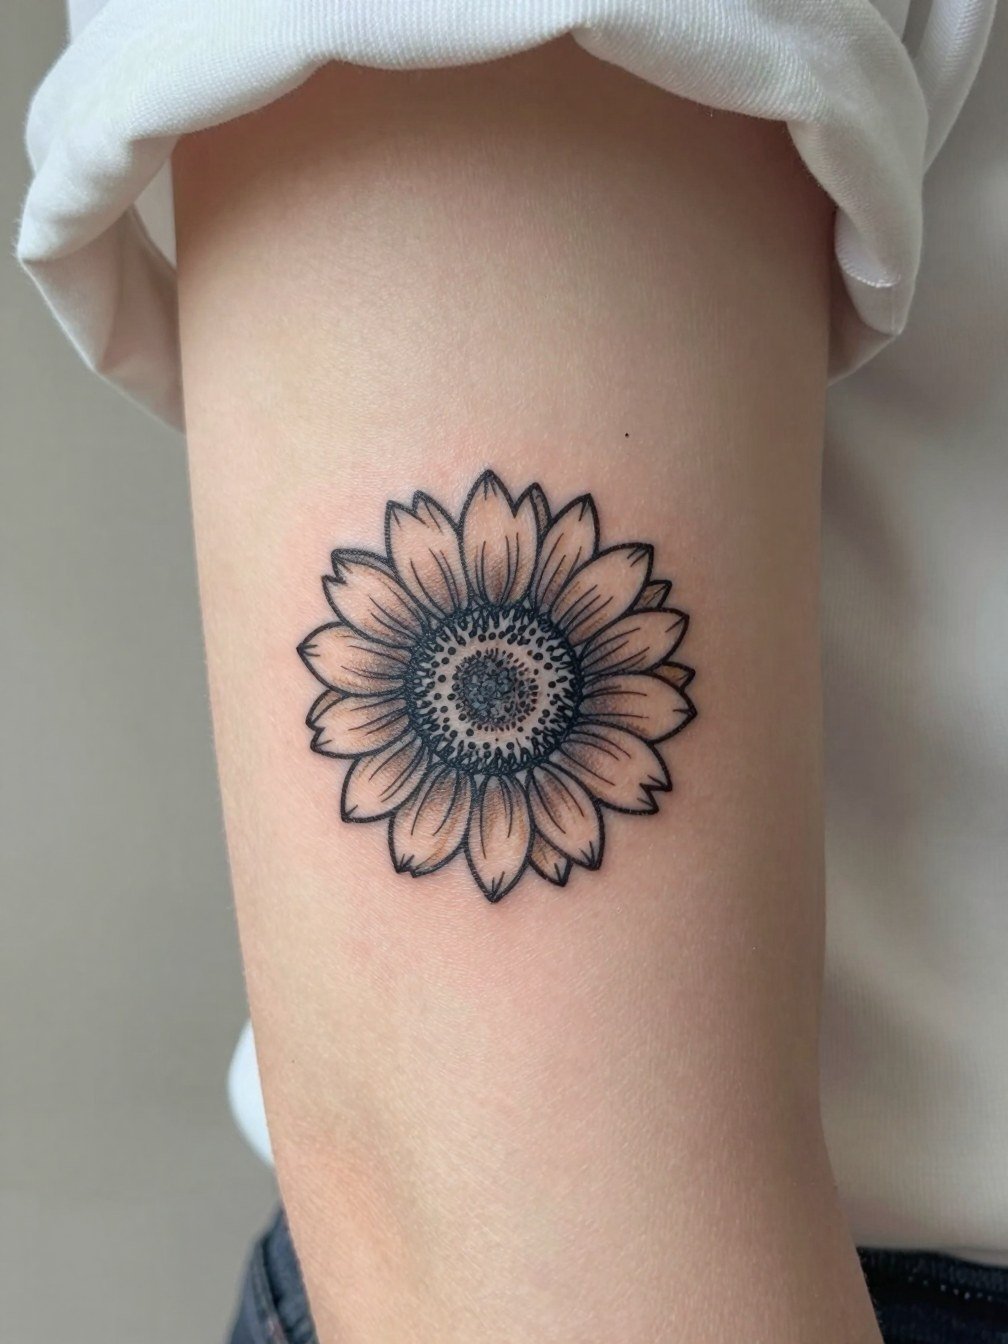
Finger tattoos are high-wear and small sunflower designs here often lose color quickly. One camp argues that finger micro-realism blurs within a few years due to constant washing and friction. The other camp points to carefully placed tiny dots and says with the right spacing some detail can survive. If you choose a finger piece, keep the design ultra-simple and expect yearly touch-ups. The session is brief but uncomfortable because of bone proximity. For the appointment wear a ring you can remove easily and bring a soft hand glove to protect the area post-session if advised.
10. Small Sunflower on the Side Rib

Ribcage placements are painful for most people but can be discreet and meaningful. The skin there moves with breathing so avoid micro petal overlap. If you want a fine-line sunflower here, ask for slightly wider spacing between petals and modest center texture to stop bleeding. Sessions may require breaks and last one to two hours. For this area wear a supportive cropped top for access and comfort during healing. Plan for occasional touch-ups because the skin stretches with weight changes and pregnancy.
11. Single Head with Leaf Accent on the Calf

Calf pieces sit on a flatter surface and can carry slightly more detail than wrist or ankle tattoos. A single leaf adds balance and reads well even if the yellow lightens over time. The most common mistake is overcomplicating the seed center; a textured dot cluster here keeps definition. Sessions take about an hour and pain is typically mild. For seasonal show-off, pair this with calf-baring footwear. Try lightweight wrap sandals when you want the tattoo visible.
12. Tiny Sunflower Cluster Behind the Knee
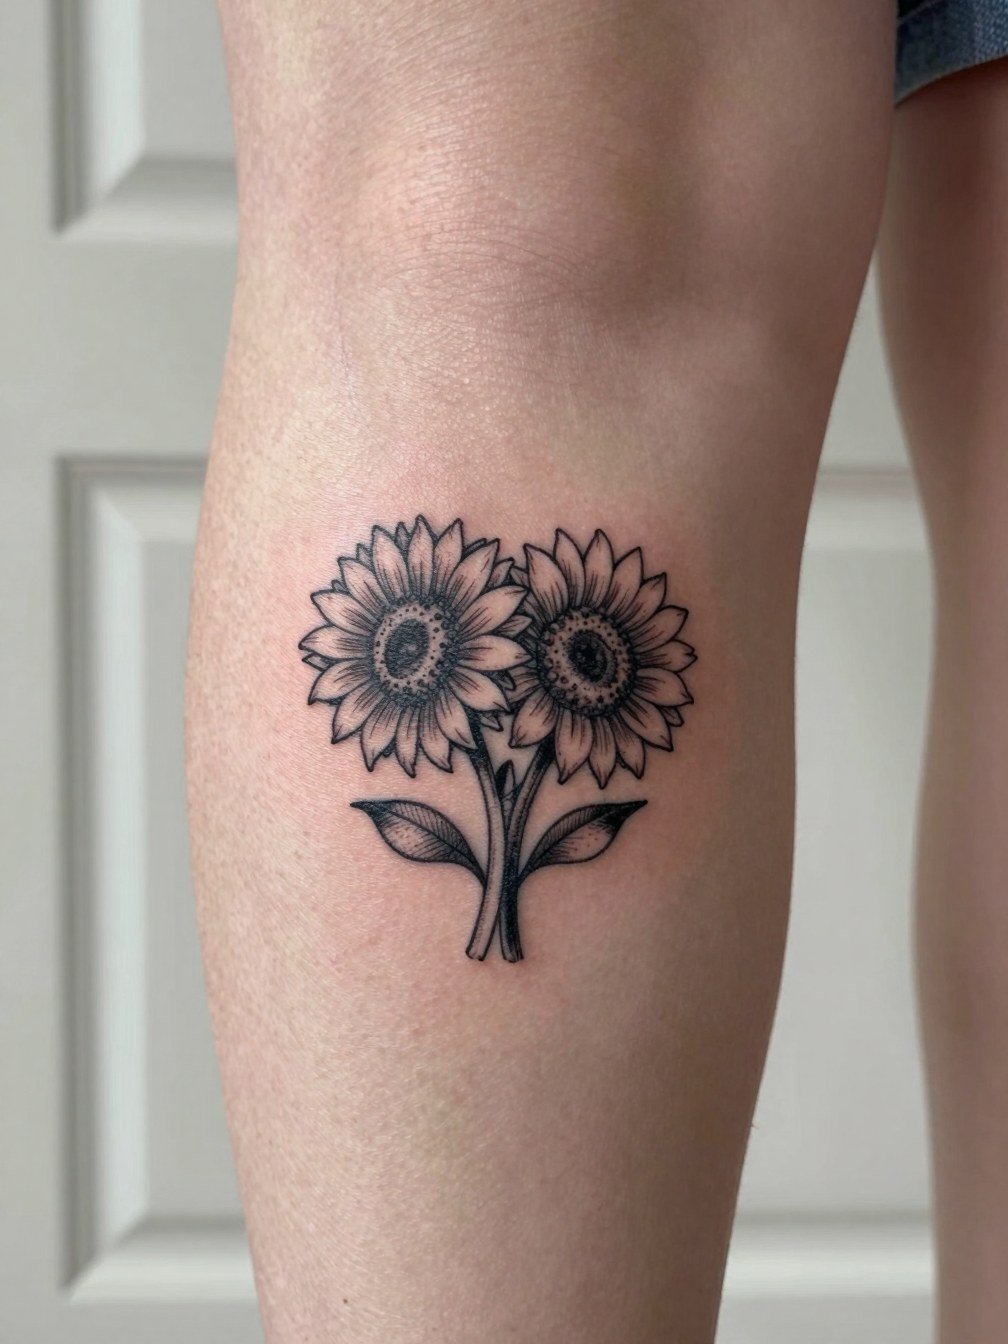
Behind-the-knee placements are unusual and prone to motion-related stretching. Keep the cluster compact and avoid tight seed work that will spread with flexing. A common mistake is placing too much color in this crease area. Sessions are moderately uncomfortable and can take longer because the artist must adjust position often. For showing this area, dresses or shorts work well. During the session wear breathable shorts so the artist can access the back of the knee easily.
13. Single Head on the Side of the Hand

Hand placements are visible and age differently because of frequent washing and sun exposure. For a sunflower here, simplify the petals and use heavier linework to resist blurring. The major mistake is over-detailing the center in a tiny space. Sessions are short and can be surprisingly painful. Style pairing is simple; short-sleeve shirts and bracelets draw attention. Consider a slim leather bracelet to frame the piece.
14. Sunflower with Tiny Globe Insert on the Forearm

Inserting a tiny globe or other symbol inside the seed center makes the sunflower personal. The risk is overcrowding the center. One practical rule is to increase overall scale by about 20 percent when you want an inset symbol so both the seed texture and the icon remain legible. Sessions can run one hour and discomfort is low to moderate. For casual show-off, roll sleeves or wear fitted button-ups with forearm exposed. A plain canvas tote bag complements the travel symbolism if you photograph the piece.
15. Geometric Sunflower on the Sternum
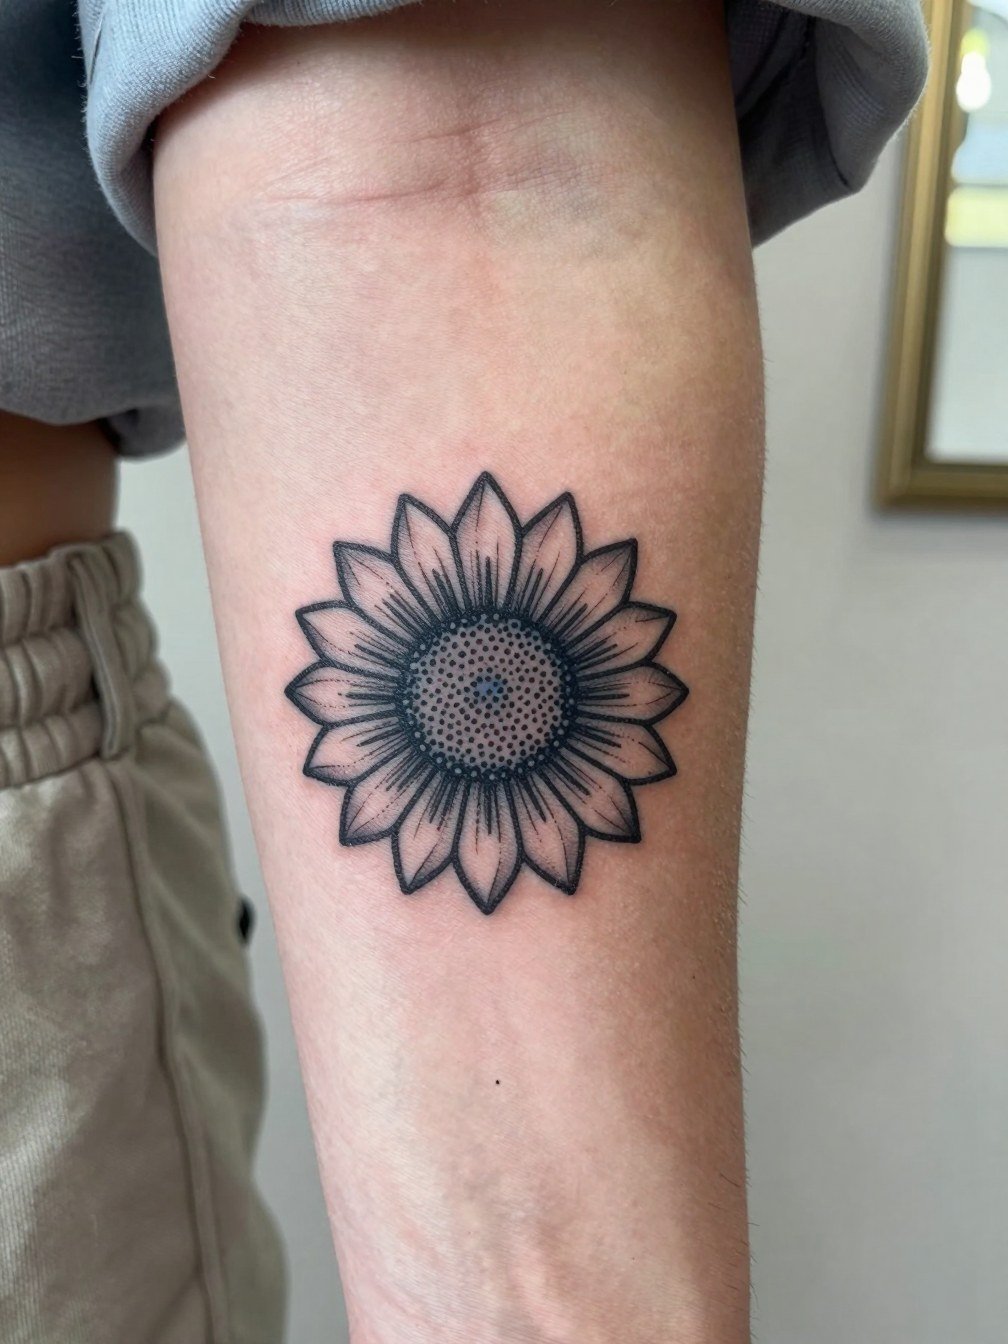
Sternum pieces read bold when centered, but the area demands careful spacing. One camp is wary of fine-line sternum work, citing skin movement and scabbing. The other camp favors geometric spacing and even spacing, saying the shape maintains clarity. If you choose this spot, pick a radial pattern that leaves clear negative space between rays and add a seeded center. Sessions are typically longer and more painful. For the session wear a supportive top that the artist can lower slightly while keeping you comfortable.
16. Small Sunflower on the Side Neck
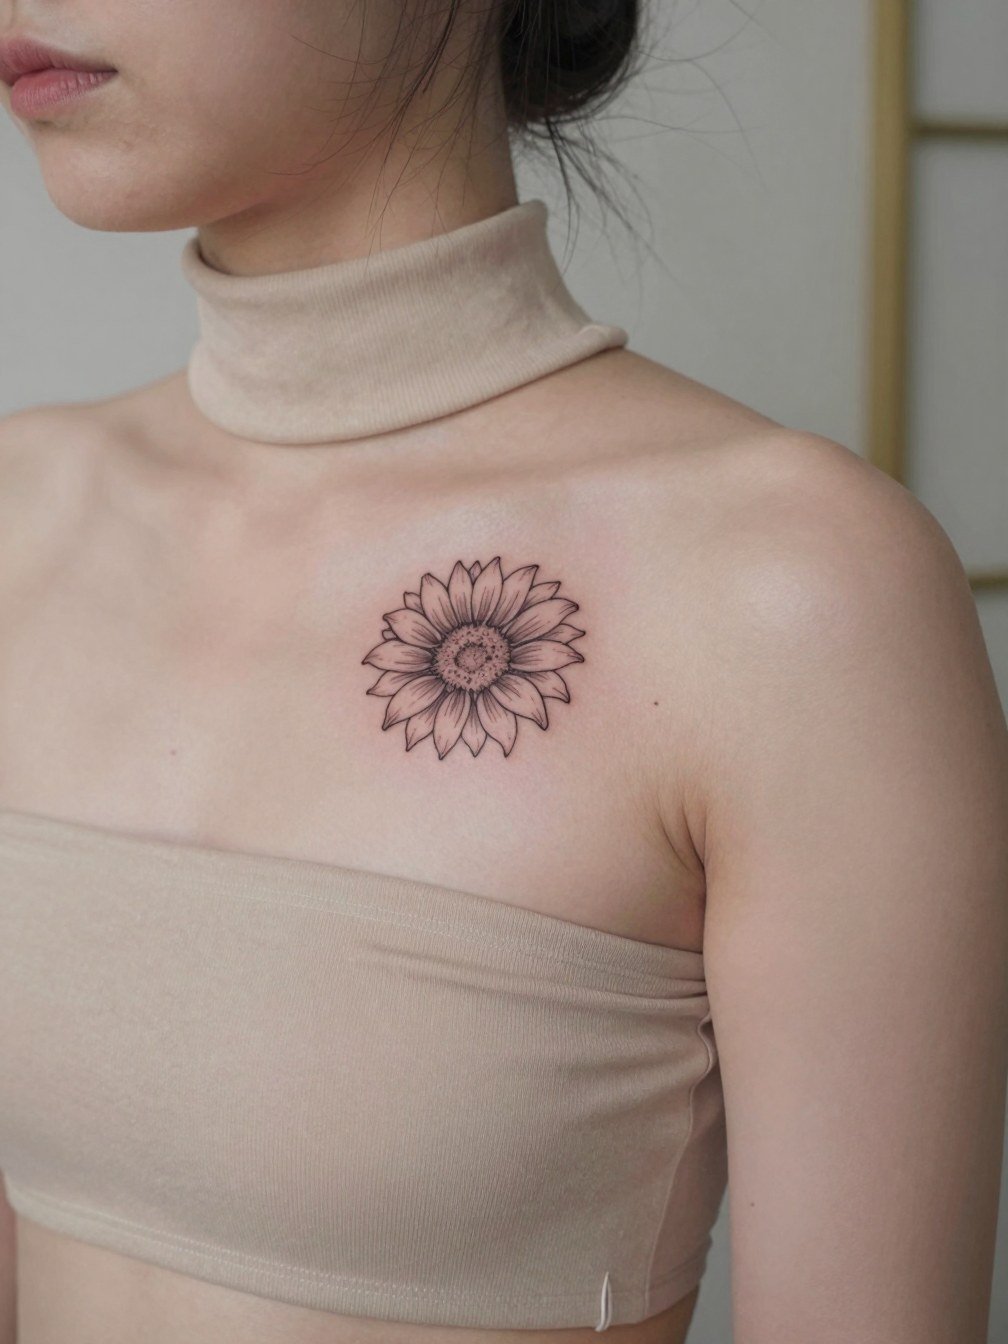
Side-neck sunflowers are visible and intimate at small scale. Skin here is thin and mobile, so opt for confident linework and modest center texture. A mistake is over-precious single-needle work that disappears. Sessions are short but can be sensitive. For public show-off, pair the tattoo with open-neck tops or a low-back dress. A lightweight scarf works for cooler weather and frames the placement.
17. Single Head with Curved Stem on the Hip

Hip tattoos can be flirty and private. The lateral hip handles slightly more size than ankle or wrist, so a curved stem looks natural and frames the body. Avoid compressing the seed center against the waistband. Sessions are low to moderate in pain and the area is forgiving during healing. When you want to show it, low-rise or high-cut swimwear reveals the curve. For the appointment choose low-rise jeans you can keep fastened so the tattoo remains undisturbed.
18. Small Sunflower at the Nape

Nape pieces feel personal and photograph well when hair is up. The main error is making the seed center too open, where hairline shadows make it look spotty. Ask for modest seed texture and a clear outline. Sessions are quick and discomfort is low. For showing the tattoo, wear your hair in a bun or high ponytail and pair with collared shirts or open-back tops. A fragile hair tie set helps keep hair away during the session.
19. Mini Sunflower on the Foot Arch

Foot tattoos face high friction from shoes and constant sun when barefoot. For a sunflower here simplify the petals and accept faster fade for color. The typical mistake is over-inking color in a thin area that blisters during healing. Sessions are brief but painful. During healing limit shoe wear and choose open footwear. For show-off, low-slung sandals or a skirt that reveals the foot work well. Pack a pair of loose slide sandals for after the session.
20. Small Sunflower with Crescent Moon Accent on the Wrist
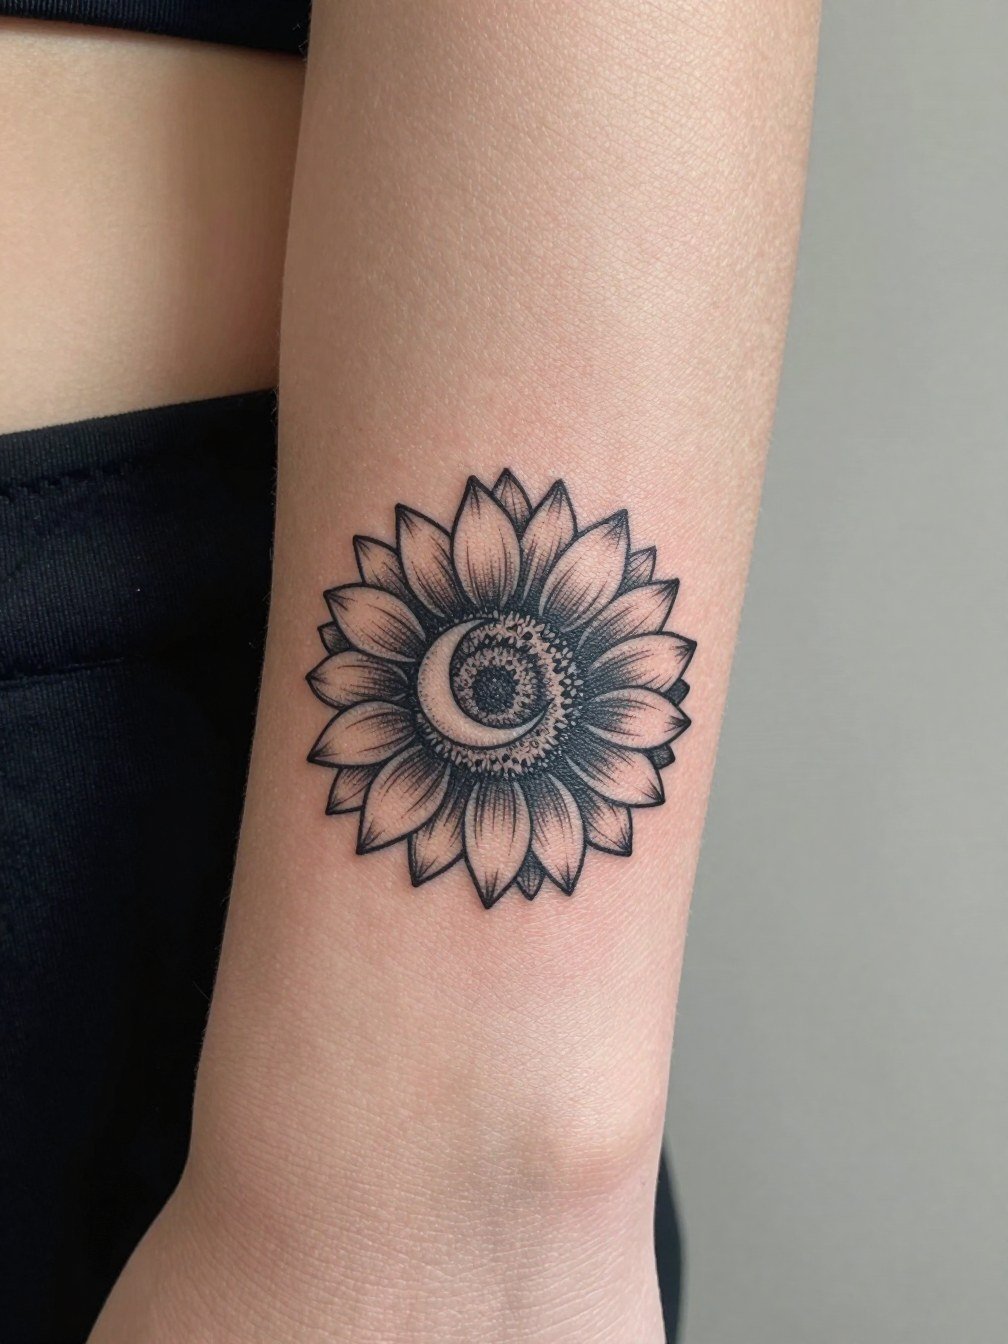
Adding a small moon or other symbol creates clear meaning without increasing size much. The mistake is nesting the symbol too close to the seed center. Leave at least a quarter-inch separation so both elements read. A wrist sunflower often needs a touch-up at two to three years depending on sun exposure. Sessions are under an hour and pain is low to moderate. For wearing, bracelets or a slim watch complement this placement nicely. Try a minimalist leather watch band to frame the tattoo.
21. Small Sunflower Cluster on the Shoulder Blade
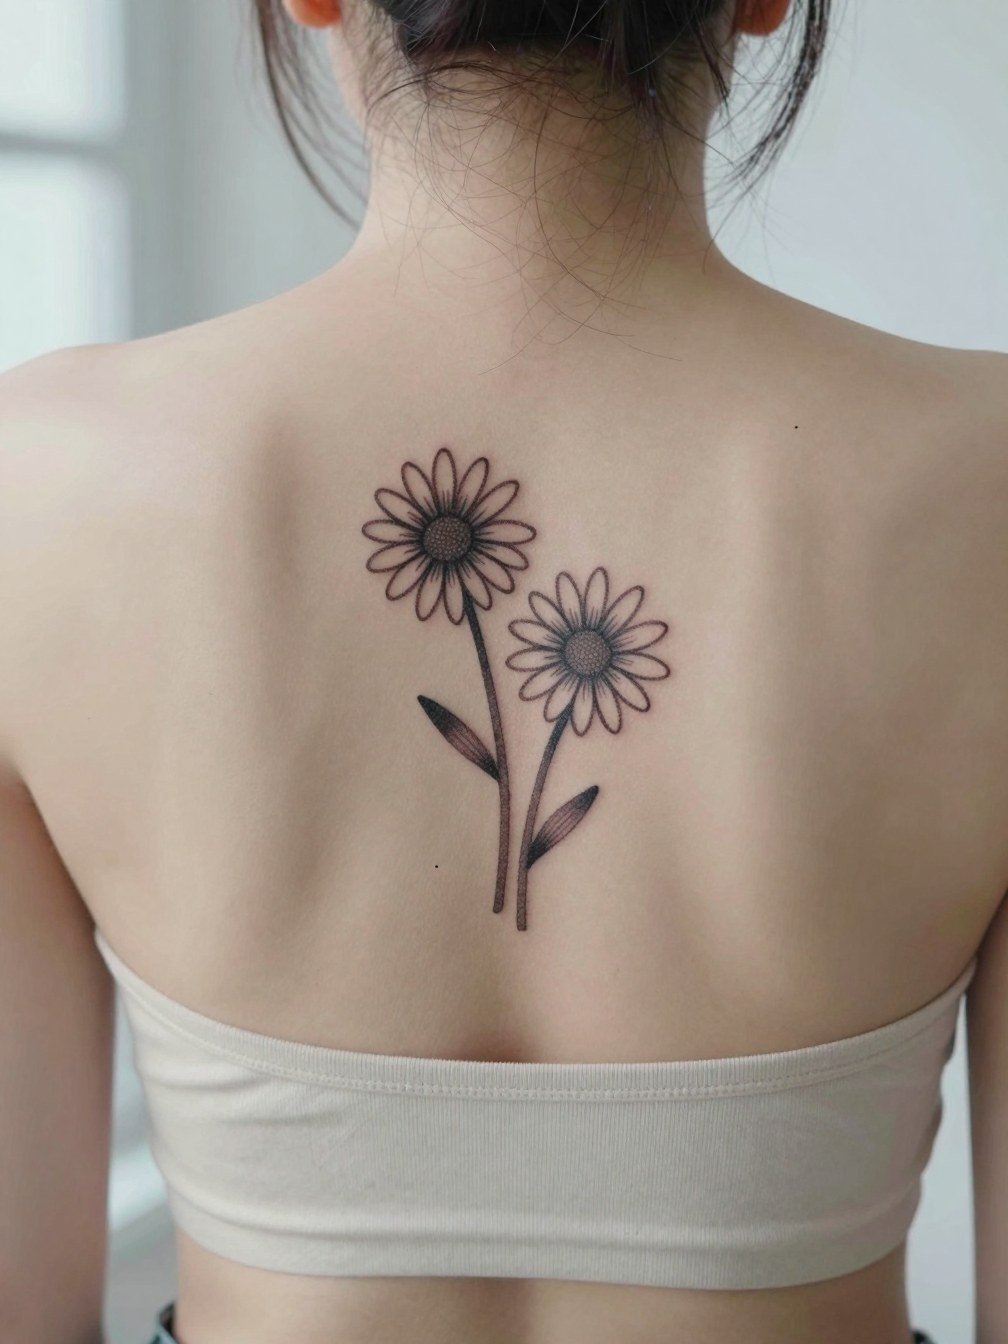
Shoulder blade pieces enjoy a flat canvas and often age well if scaled properly. A cluster reads like a small motif even as color softens. The common mistake is crowding multiple seed centers too tightly. Space clusters by a half inch to allow each head to breathe. Sessions are comfortable and can be completed in one to two hours. For showing it, off-shoulder tops and swimwear work best. A simple strapless bikini top makes the shoulder blade visible for photos.
22. Micro Sunflower on the Back of the Arm Near Elbow
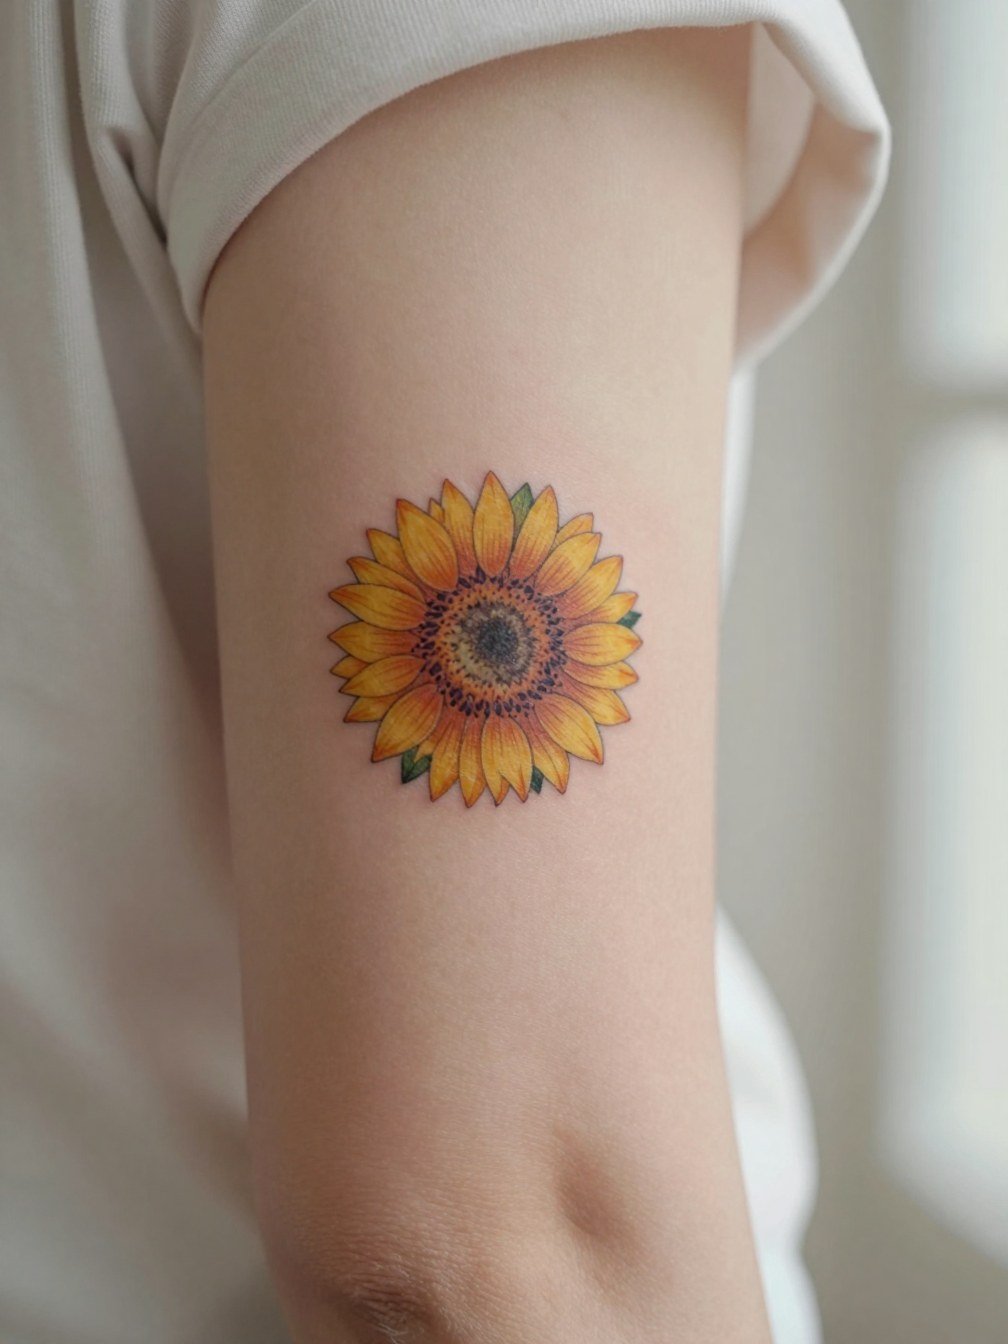
The back of the arm has thinner skin and sees sun when outdoors. Keep linework solid and the center textured. Overly fine single-needle work here can lose presence in a few years. Sessions are moderate in pain and quick to complete. For showing the piece, short sleeves or rolled sleeves help. Bring a lightweight tee to the appointment to avoid clothing rubbing the fresh ink after leaving the studio.
23. Single Tiny Sunflower on the Outer Thigh

The outer thigh gives room for a detailed seed center without scaling up visibly. It is an excellent choice if you want privacy and occasional showing. A common mistake is shrinking the design too much because the area can handle more. Sessions are low to moderate in pain and usually under 90 minutes. Pair this placement with thigh-baring skirts or shorts when you want to display it. For the appointment, wear loose shorts so the artist can work without fabric rubbing the site during heal.
Frequently Asked Questions
Q: How much does a small sunflower tattoo cost and how long is a typical session?
A: Prices vary by studio and region, but small sunflower pieces are often priced in general ranges rather than fixed sums. Most of the designs above fit into a single-session window, typically 30 to 90 minutes depending on detail. Expect simpler black-and-gray outlines to be faster than watercolor or micro-realism.
Q: Will a tiny colored sunflower fade faster than a black-and-gray one?
A: Yes, color, especially yellow and orange, often fades faster on small work due to shallow pigment depth and sun exposure. Black-and-gray outlines retain contrast longer. If you want color, plan for touch-ups around year two to three depending on placement and sun habits.
Q: Where can I find healed sunflower tattoo portfolios and local artists who do botanical work?
A: Search Instagram and TikTok for botanical and fine-line hashtags such as #sunflowertattoo, #smalltattoo, and #finelinetattoo while filtering results by location. Reddit r/tattoos is useful for healed comparisons across skin tones. Look for portfolios that explicitly show healed photos in wrists, forearms, and ankles before booking.
Q: How do I make sure the center of a small sunflower looks like a seed disk instead of blank skin?
A: Request dotwork or stipple texture in the center rather than leaving it open. Ask the artist to show a healed example of similar scale so you can see how the seed detail holds up. If space is tight, increase the overall diameter slightly to allow for defined center texture.
Q: Are any of these placements unsuitable for first tattoos?
A: Most of these small sunflower placements are fine for first-timers, but areas like ribs and sternum are higher on the pain scale. If you are nervous, choose wrist, forearm, or outer arm first. Discuss session pacing and breaks, and wear clothing that allows easy access to the area.
Q: What should I wear to the appointment for a sunflower on the forearm or shoulder blade?
A: For forearm work wear a loose tank or short-sleeve top so the artist can work comfortably. For the shoulder blade a scoop-neck or tank top gives access without excessive shifting. A breathable tank top is an easy choice for many placements and helps keep the site clean during the session.
