

A fresh shoulder-cap piece can shift how a tee fits, how a jacket falls, and how you move through a crowded gym. I learned that the hard way when a friend booked a crest too small for his deltoid and the detail blurred into an indistinct patch after two years. Planning the diameter, choosing line weight, and mapping any future sleeve connections up front keeps a cap from looking stuck-on once it heals.
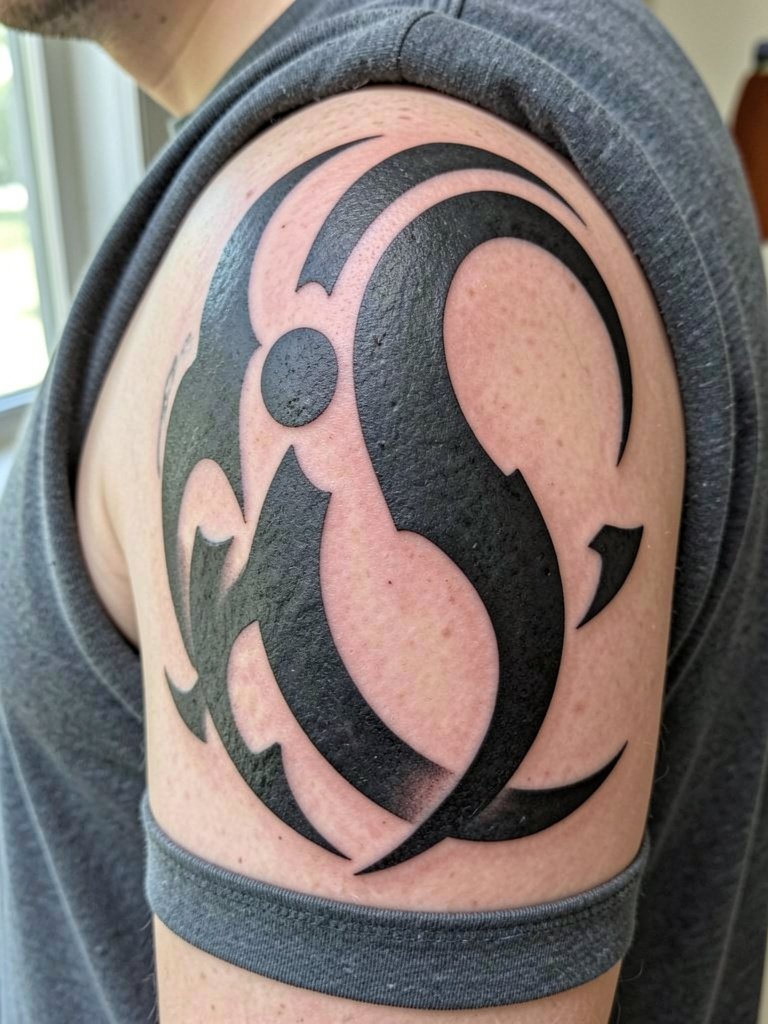
1. Tribal Pauldron Armor for a Bold Cap
A tribal pauldron treats the shoulder like protective gear, using bold black masses and directional lines that flare outward across the deltoid. This is a good call if you want a single-session cap that still reads from across a room. Pain is moderate, session time is typically 1.5 to 3 hours, and blowout risk drops when the artist uses thick linework with solid fill instead of micro detail. A common mistake is requesting a tiny tribal motif, which loses its negative-space rhythm after a year. For the session wear a fitted crewneck tee to make access easy and to preview how the piece will look in short sleeves.
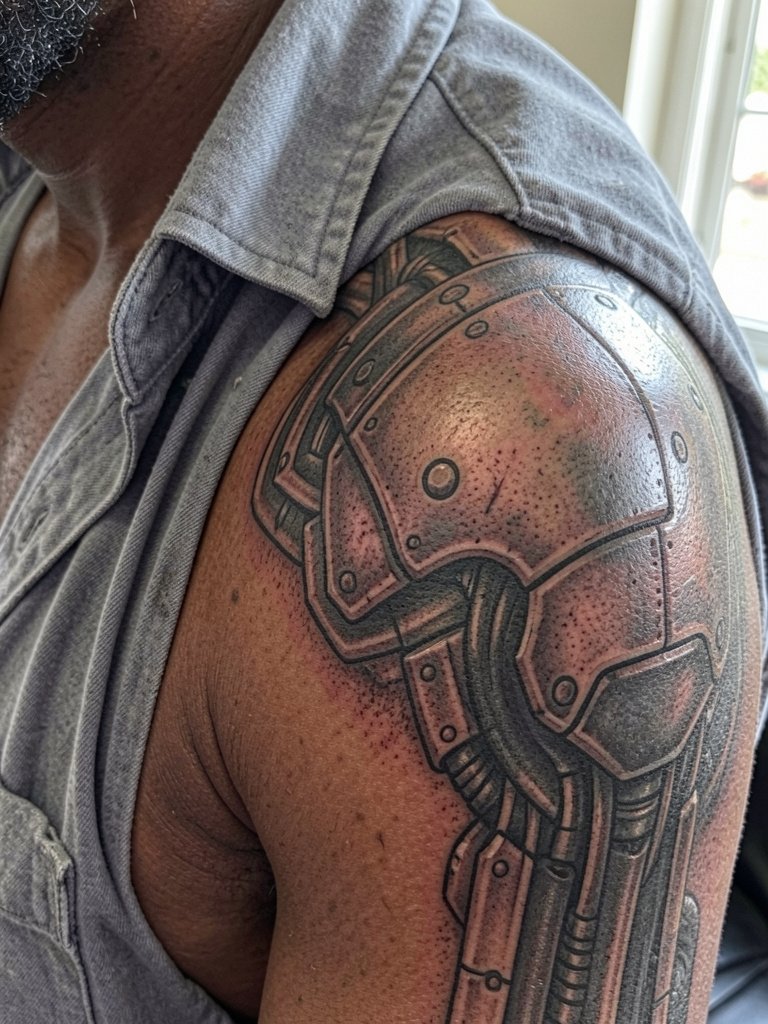
2. Biomechanical Plating That Follows Muscle Flow
Biomechanical shoulder plating uses plates and seams that trace the deltoid curve so the piece looks like layered armor. One camp prefers saturated black and gray plates for longevity. The other camp argues for more contrast and individual panel highlights so the piece keeps read at a distance. Expect two to four sessions for a detailed cap, moderate to high pain on the anterior edge, and touch-ups within two to five years depending on sun exposure. Bring photos that show exactly where you want seams to meet the clavicle and the upper arm. For session comfort, wear a sleeveless tee.
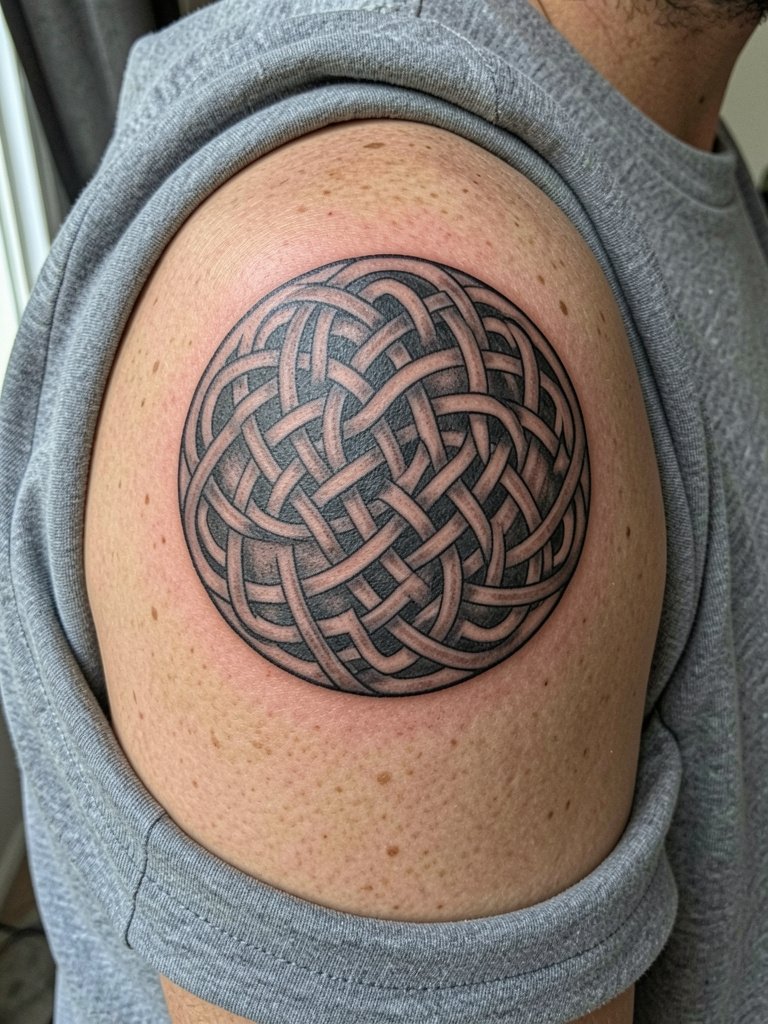
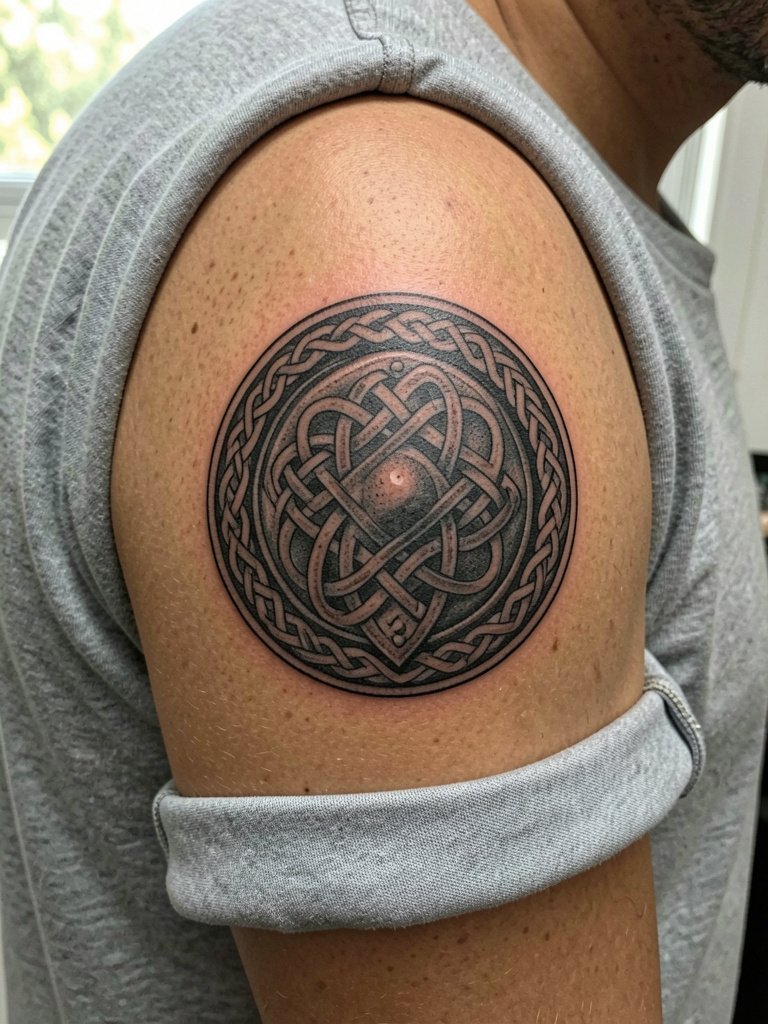
3. Celtic Knotwork Cap That Wraps Cleanly
Celtic knotwork uses interlocking lines that naturally mirror the shoulder’s circular form, so the design reads as intentional rather than tacked on. Choose thicker knot lines if you want the piece to age well. The usual mistake is asking for ultra-fine knots across the whole cap, which collapses into murk by year three. Tell your artist exactly how many millimeters of negative space you want between strands, and bring a 6-to-8-inch sizing mockup so the knot density stays balanced. For showing it off, a linen short-sleeve shirt with slightly wider sleeves frames the cap without covering the outer weave.
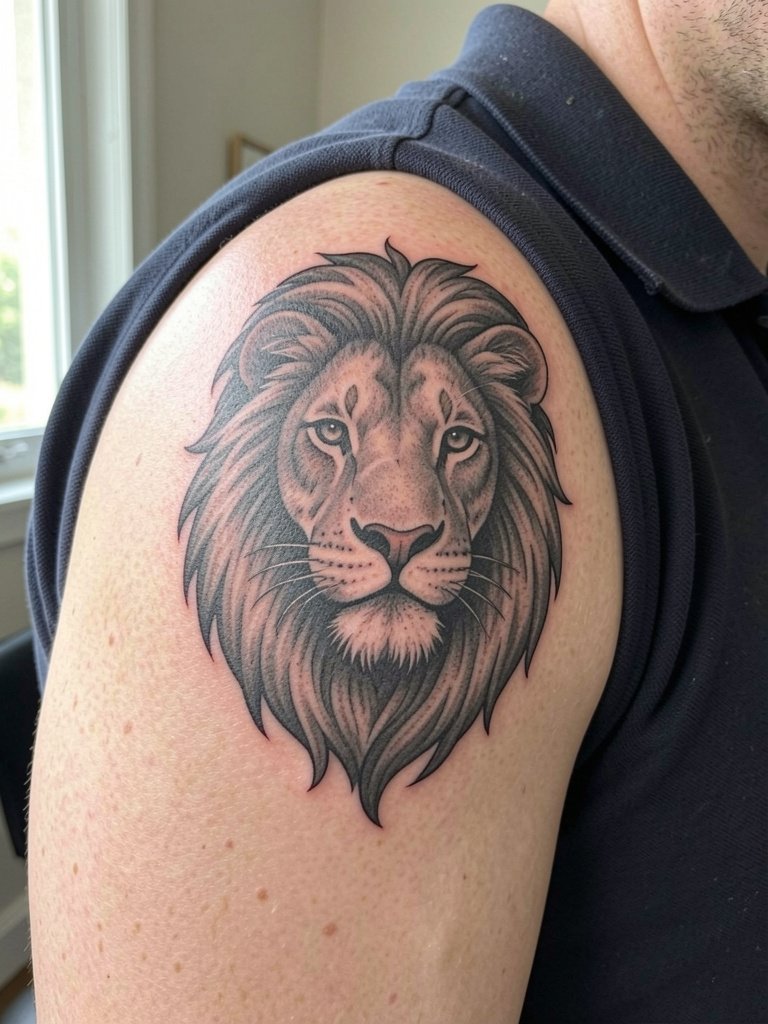
4. Front-Facing Lion Head for Confrontational Read
A front-facing lion head sits on the anterior shoulder for a direct, confrontational silhouette that works best scaled to the deltoid. Expect one long session or two shorter ones depending on facial detail. The common error is cramming too many small mane strokes into a compact area. Instead, request clear contrast between mane textures and the facial plane so eyes remain punchy over time. This placement reads strongly in tanks and fitted polos, so bring a fitted polo shirt to test how the chest-shoulder interface looks when you show the piece.
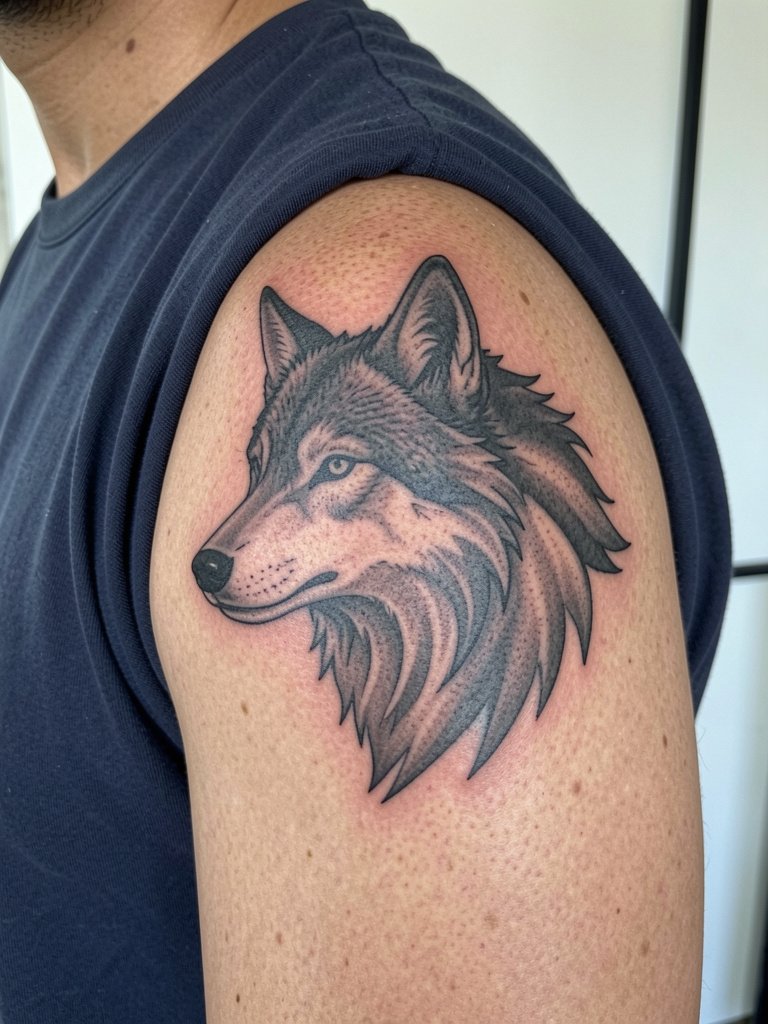
5. Wolf Silhouette with Directional Fur Flow
A wolf motif that follows the shoulder’s curve gives the impression of movement across the cap and into the arm. Pain on the outer edge is moderate and most clients sit for a single session if they prefer black and gray. Avoid tiny teeth or super fine fur detail on a small cap. Instead, ask for directional fur strokes that exaggerate the deltoid flow so the face and eyes stay legible at two and five years healed. For evening looks, a deep crewneck tee frames the front shoulder elegantly.
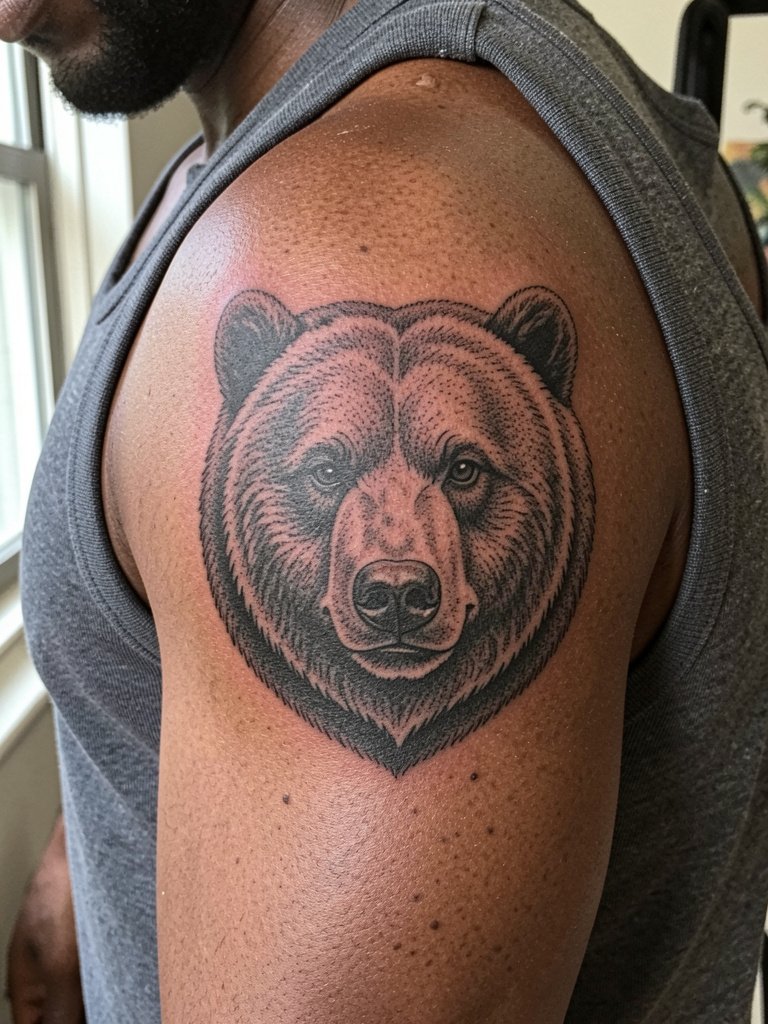
6. Bear Portrait That Uses Dense Shading
A bear portrait works well when sized to the round deltoid so the heavy shading reads as mass rather than muddle. This style prefers solid saturation and stipple gradients to keep depth without relying on tiny hatches. Common mistake is over-detailing the nose and leaving the rest flat. Ask for consistent saturation maps so touch-up timelines are predictable. For session ease, wear a muscle tank so the artist can reach the anterior and posterior edges without fabric bunching.
Before You Book
The pieces above share common concerns: scale, line weight, and first-week care. These five items help on session day and in the initial healing window.
-
Tattoo numbing cream. Useful for clients who want to reduce discomfort during dense shading sessions, especially for anterior shoulder edges.
-
Thin protective tattoo film roll. Keeps a fresh shoulder cap covered during the first 24 to 48 hours when shirts can rub the area.
-
Fragrance-free gentle body wash. Cleans the area without irritating newly broken skin after the initial dressing is removed.
-
Stencil transfer paper kit. Lets artists lay down a precise cap shape so seams and knotwork align to the deltoid curve before the needle starts.
-
Aquaphor healing ointment. A mainstream balm for the first few days that keeps saturation stable while the skin re-epithelializes.
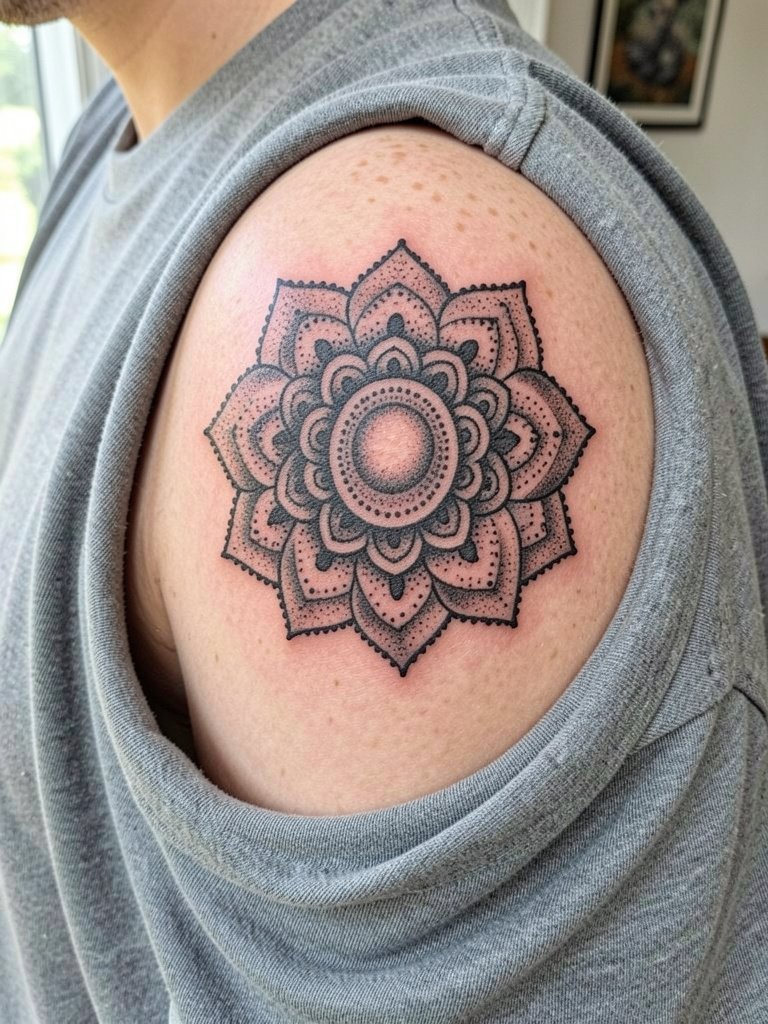
7. Mandala Deltoid Cap with Radial Symmetry
A mandala thrives on the shoulder because its radial geometry complements the round deltoid. Aim for a 6 to 8 inch diameter for longevity so stipple and dot work retain clarity. A typical session runs one to three hours depending on density. The error I see most is scaling it too small with single-needle filigree. Ask your artist to show the mandala at multiple scales so you can judge the negative space at arm length. For outfits that let it breathe, a linen short-sleeve shirt in neutral tones pairs well with the fine geometry.
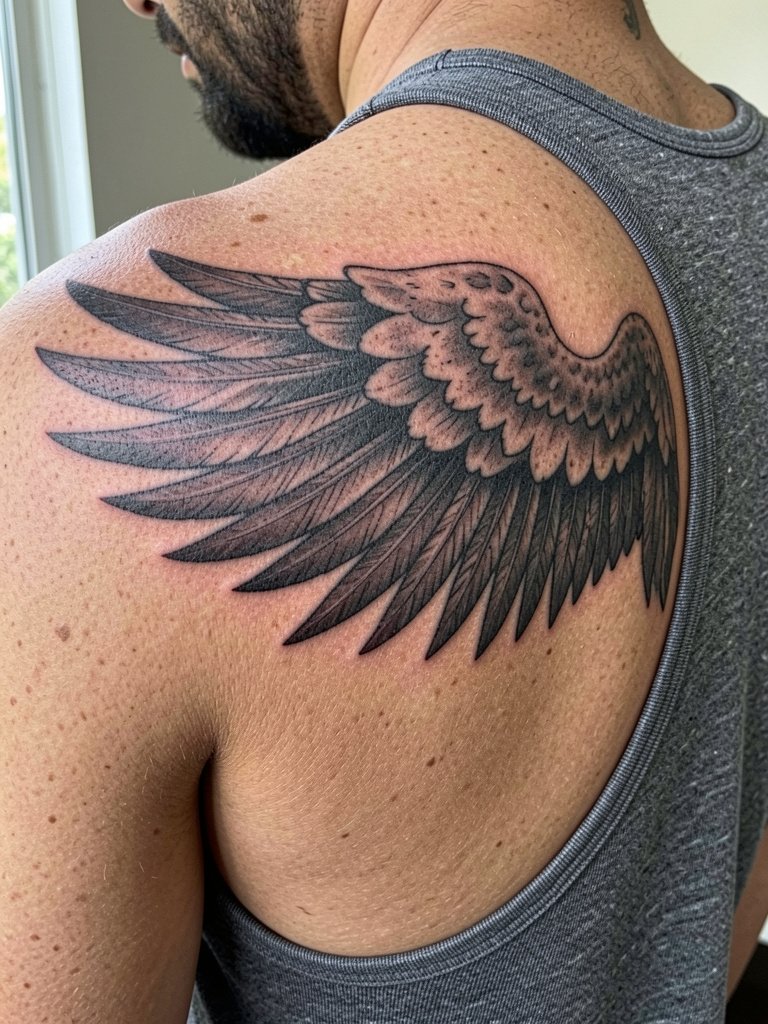
8. Scapular Wing Extension That Broadens the Back
A winged extension sweeps from the shoulder cap onto the upper back, widening visual breadth and making a single cap feel like part of a larger panel. This is a strong choice if you plan future back or sleeve work. Expect two sessions and moderate pain where shading meets the scapula. The main mistake is cutting the wings too short so they look unfinished. Show your artist how far you want the feathers to extend with a tape outline during consultation. This placement is best revealed with a racerback or open-back top when you want to show it.
9. Clavicle-to-Deltoid Biomech Flow for Seamless Transition
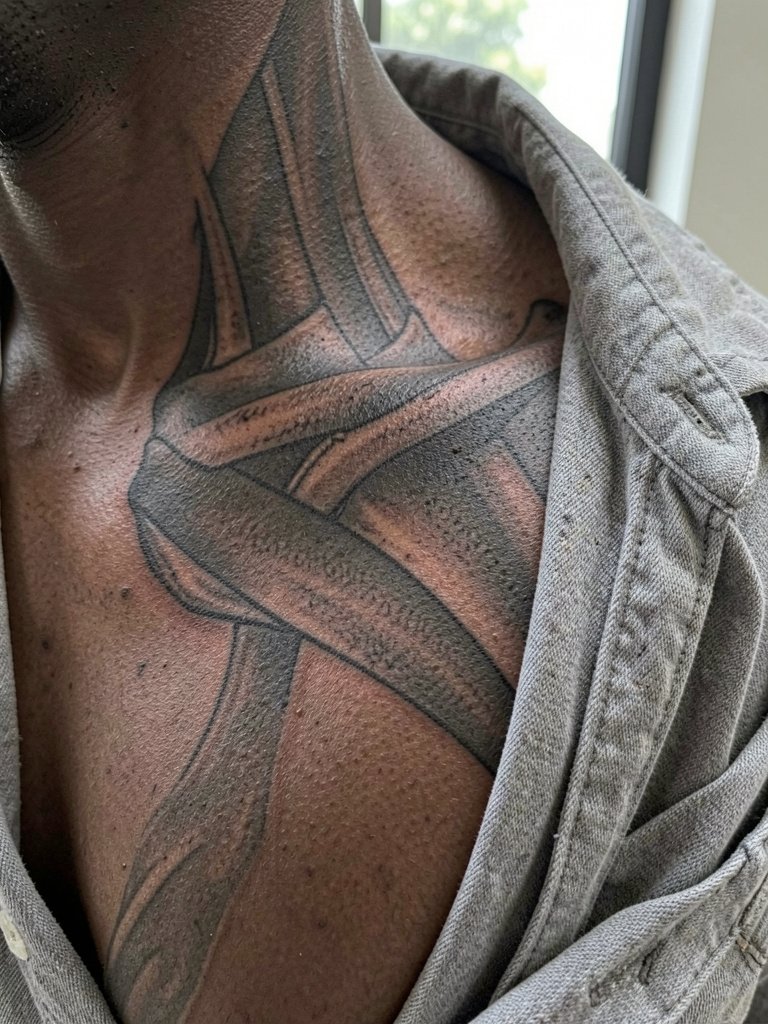
When the shoulder connects to the chest, a biomechanical flow across the clavicle prevents awkward gaps between panels. This solves the common “sticker on top of the shoulder” look. Request a mockup showing the seam behavior at rest and with arm raised. The piece often needs two sessions and careful placement so the clavicle highlights do not distort with movement. For showing off chest connections, an open-collar shirt lays the transition line bare without overexposing the chest.
10. Anterior Armor Plates for High-Visibility Caps
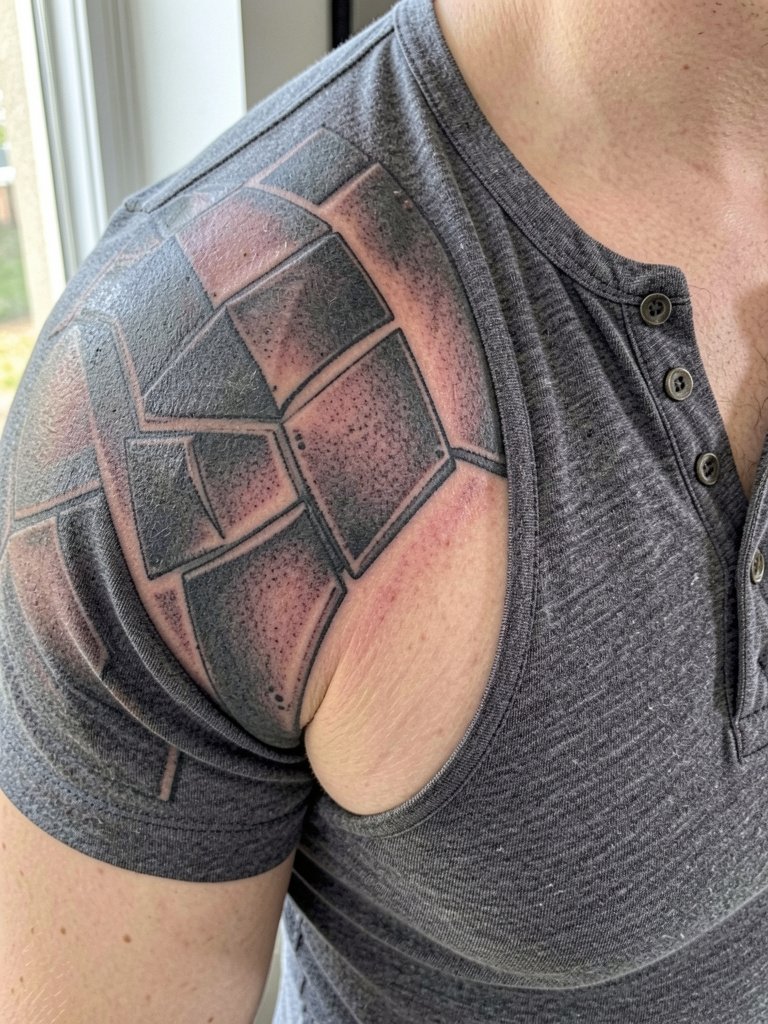
Anterior plate designs sit on the front shoulder and read strongly when you wear short sleeves. They use angular geometry to catch the eye. The risk is over-detailing small plates; simpler, bolder panels age much better. Expect moderate pain and one to two sessions. During consultation, agree on how the plates meet the collarbone and upper arm so the lines stay consistent with your chest structure. To highlight the front cap in daily wear, a fitted Henley often frames the plates without hiding them.
11. Rotator Wrap Geometry That Moves With You
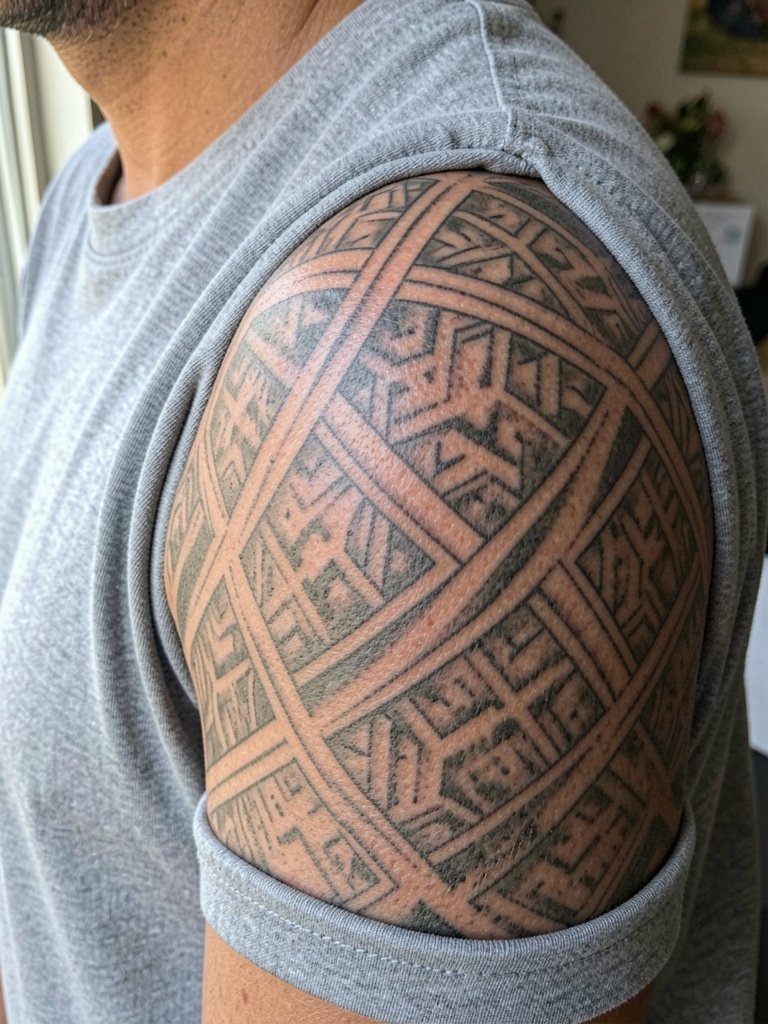
A rotator wrap pattern tracks the shoulder joint and keeps motifs readable from multiple angles. The design is useful for people who want their cap to perform while lifting and reaching. The common error is repeating a tiny motif across the joint without allowing for skin flex. Ask for pattern flow studies the artist can mark on your skin before inking so you can see how shapes align with movement. Wear a crew neck tee on the session day to check the wrap lines.
12. Shoulder Hinge Mechanism for Anatomical Play
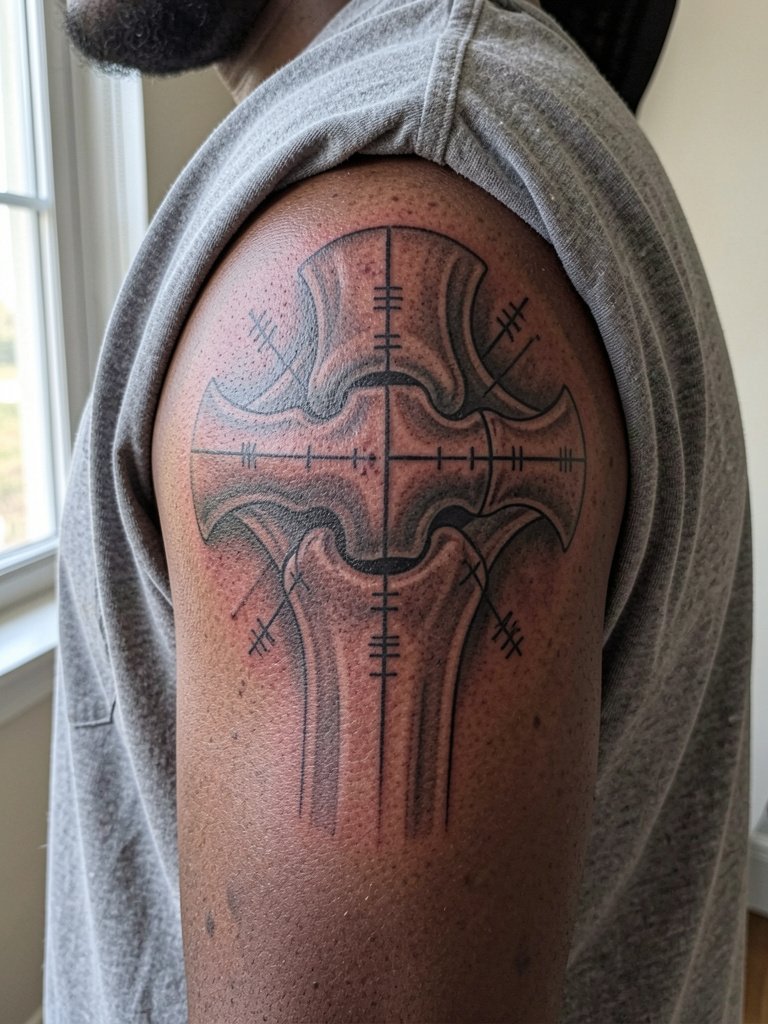
A hinge-style biomech piece deliberately uses the shoulder’s anatomy to inform design, positioning the joint as the visual pivot. This is specialist work and benefits from an artist who shows healed examples of hinge pieces. Pain can spike near the joint line and sessions are typically longer. A frequent mistake is ignoring how much the skin stretches there. During consultation, have the artist mark hinge points on your skin and flex the arm so you can see how shading will settle. No special clothing needed beyond a loose top that allows range of motion.
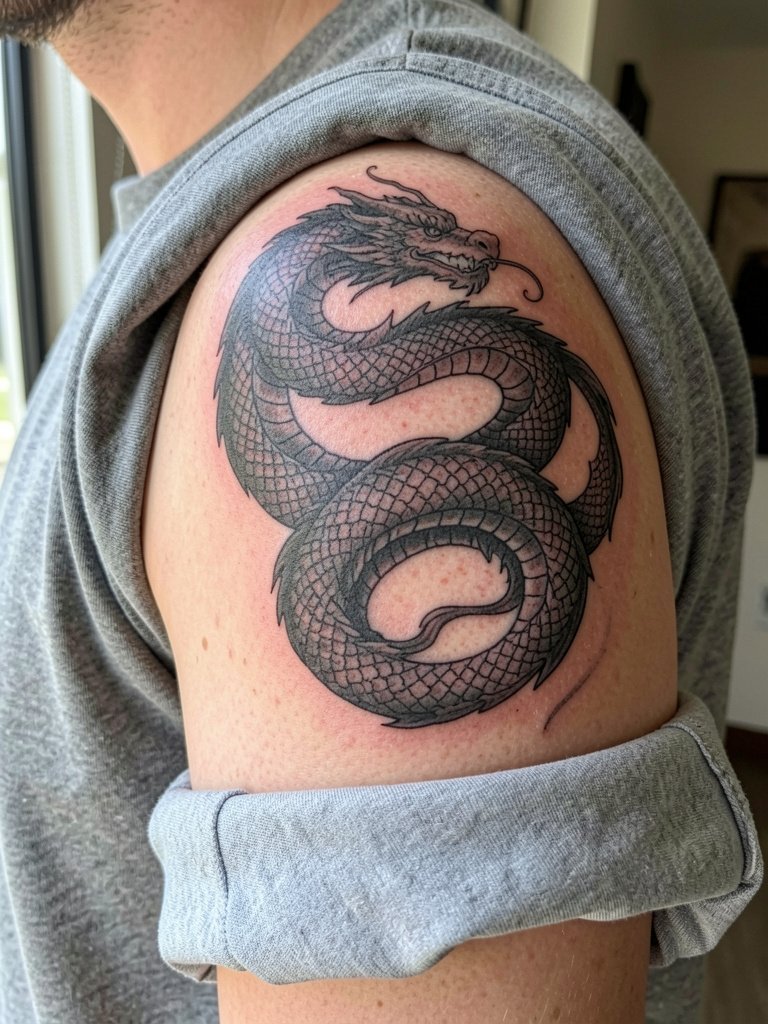
13. Dragon Wrap That Extends Into the Arm
A dragon’s body can coil perfectly around the deltoid and then continue into the bicep or back, making it ideal for expansion. For longevity, insist on larger scale scales and reduced micro-detail inside the coils. The session count varies widely. Before ink, tape out the intended expansion paths so future sessions match the original flow. For a casual reveal use a rolled sleeve tee that stops at mid-bicep and frames the dragon’s tail.
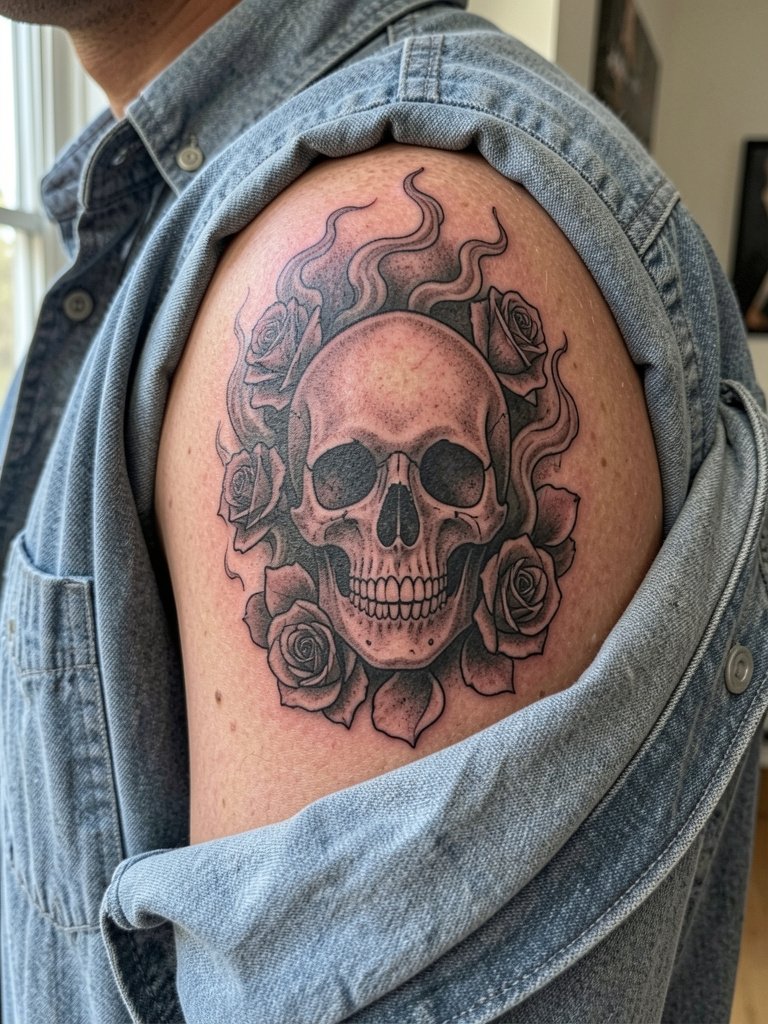
14. Skull Cap with Supporting Elements
A skull centered on the deltoid reads as a bold focal point and pairs well with roses, smoke, or clockwork elements that wrap the cap. To keep detail crisp, size the skull so shadows have room to breathe. Expect one medium session for black and gray. The mistake I see is adding tiny script or filigree too close to the jawline. For the session, wear something the artist can slip a sleeve out of without stretching the shoulder seam.
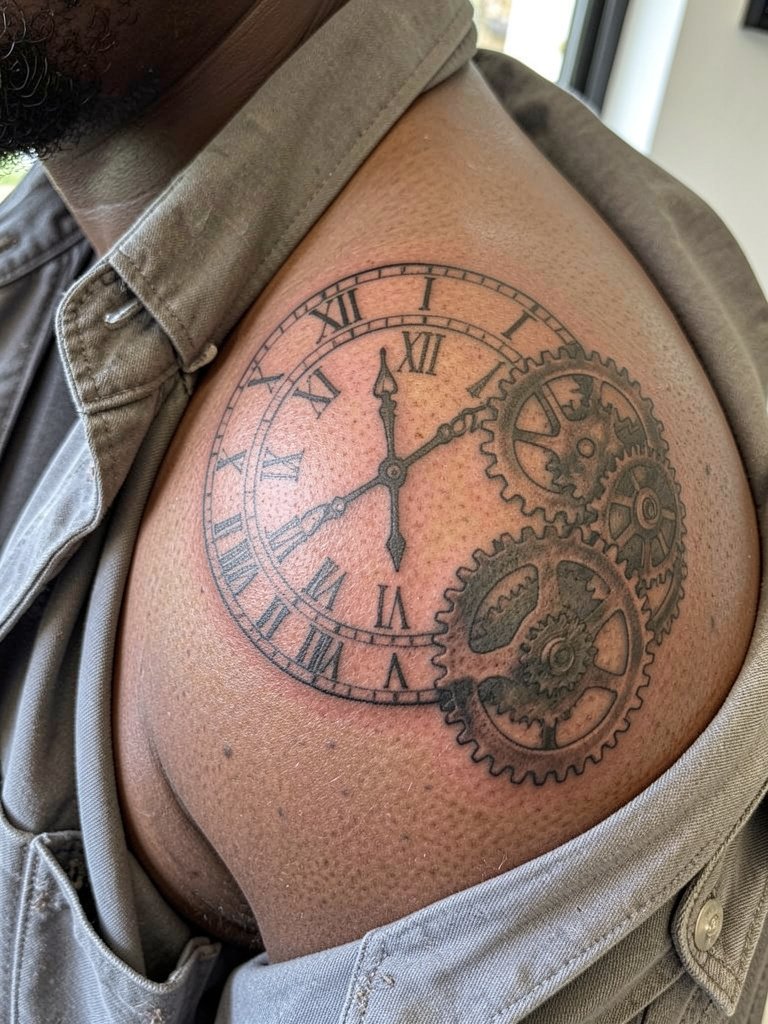
15. Clock and Gear Memorial That Curves with the Cap
Clocks and mechanical gears lend themselves to curved compositions on the shoulder cap and can carry milestone symbolism without being literal. Keep the face large enough that numerals and hands keep separation as the skin shifts with age. One common revision request is to darken gear teeth after a year, so plan a touch-up window. For smart-casual wear, an open-collar shirt complements the mechanical edge and reveals the clavicle connection.
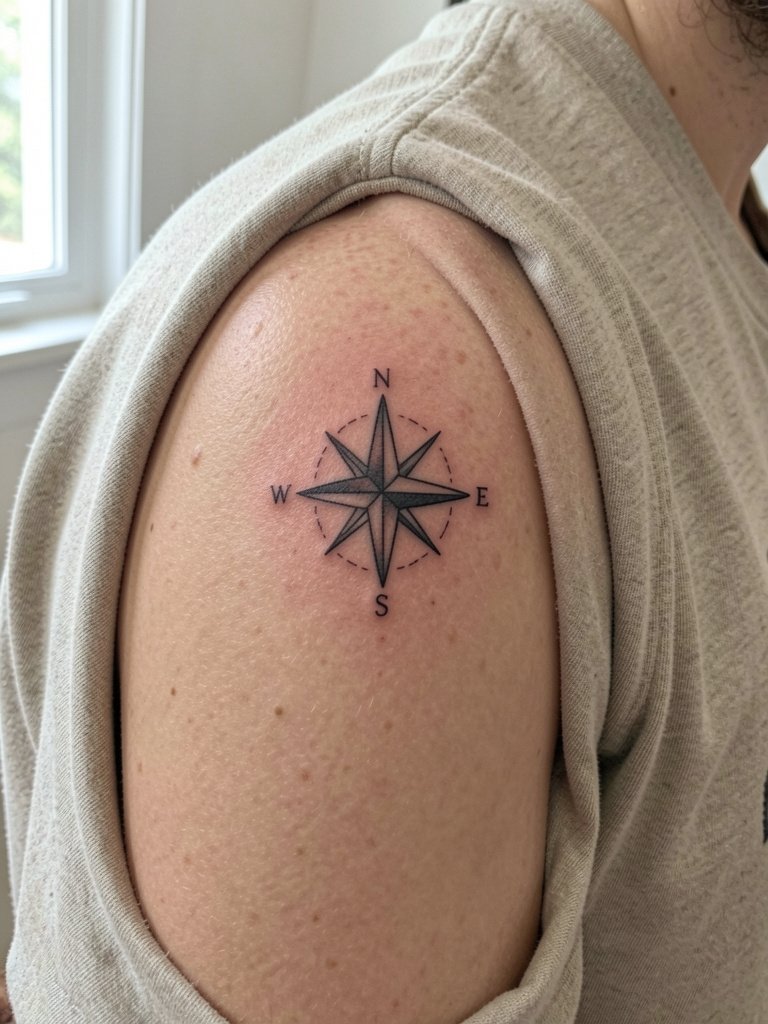
16. Minimalist Compass Rose for Low-Key Travel Vibes
A minimalist compass rose uses clean linework and negative space to sit neatly on the cap while leaving room for expansion. Fine-line compasses can age well if the diameter is kept at least three to four inches. The error I see is people wanting extremely tiny detail that disappears after two years. Ask the artist to show a scaled mockup and to slightly beef up the main cardinal points. Session time is short and pain is low. No styling link here so the list stays balanced on affiliate distribution.
17. Norse Knotwork Shield That Reads Wide
Norse knotwork can be arranged as a shield motif that broadens the shoulder visually. Use thicker interlaces and solid black anchors so run-in and blowout have less impact over time. One camp likes a stark black shield with minimal interior detail. The other camp prefers more internal imagery inside the shield with thinner weaving. Tell your artist which approach you prefer and bring hand-drawn size guides. This cap pairs well with a rolled sleeve tee when you want the knotwork on display.
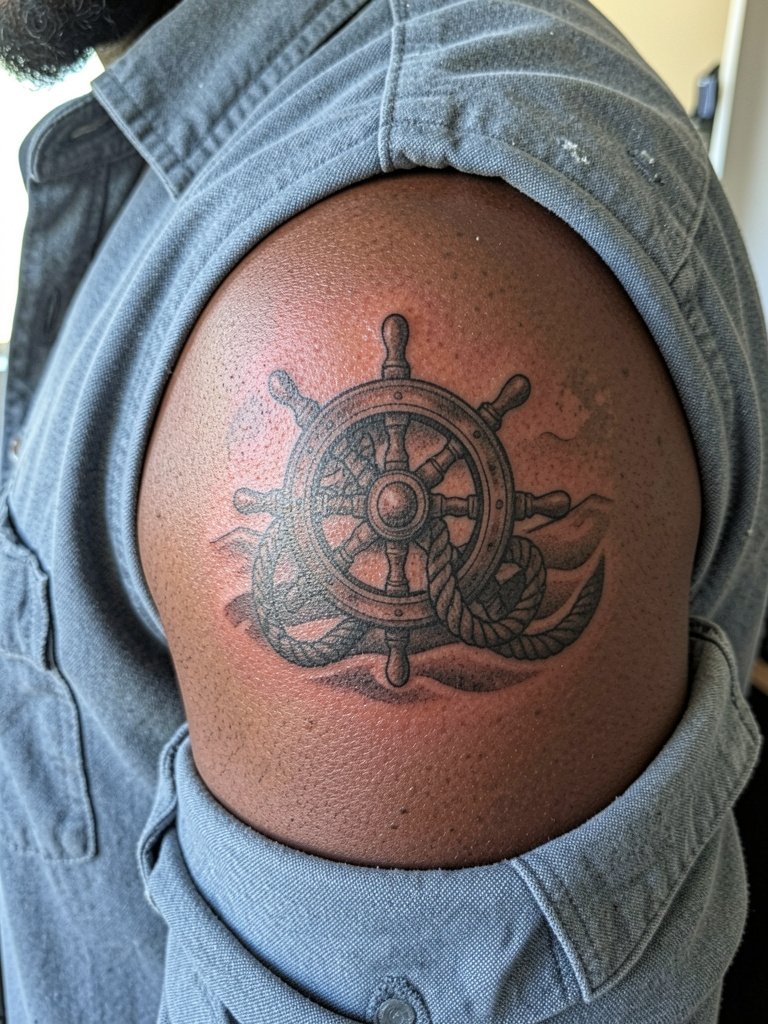
18. Nautical Helm and Rope for Classic Motifs
A nautically themed helm and rope sit naturally on the cap and can link later to sleeve anchor or ship scenes. Keep rope thickness bold enough to resist softening and ask for clear negative space between coils. Sessions are mid-length and pain is moderate around the anterior shoulder. For sessions wear a button-down you can remove without tugging the shoulder seam. This section does not include an affiliate link to keep distribution consistent.
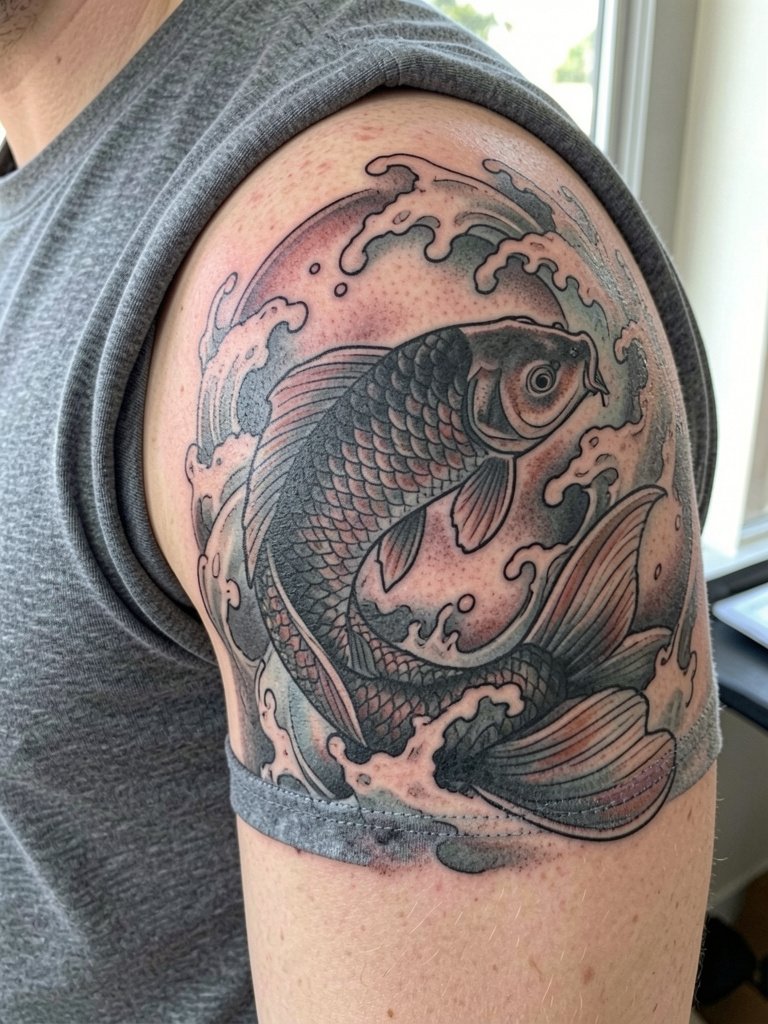
19. Japanese-Inspired Koi That Follows the Curve
Koi designs flow across the shoulder easily and offer clear expansion paths into the arm or back. Color saturation helps maintain scale and prevents the pattern from bleeding into a single mass. The mistake I see is tiny scale patterning inside the koi that gets lost. When color is used, plan a touch-up in two years to refresh saturation if you spend time in the sun. For casual framing try a muscle fit t shirt that stops right at the sleeve edge.
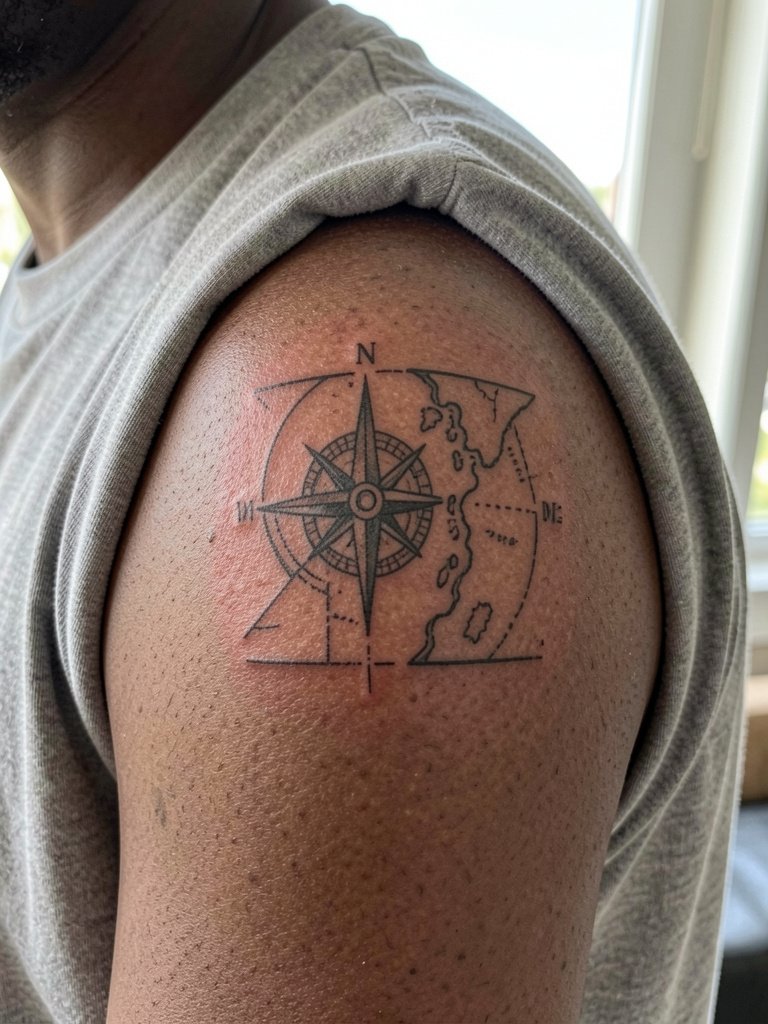
20. Compass and Map Fragment for Adventure-Led Caps
A compass plus a small map fragment is a subtle way to carry travel motifs without full sleeve commitment. Keep the map lines simplified so they do not smudge into an unreadable texture. Request a preview of how the map’s coastline will look at three to five inches across. Session time is short and touch-ups are usually minimal. No styling link here to preserve the article’s affiliate spread.
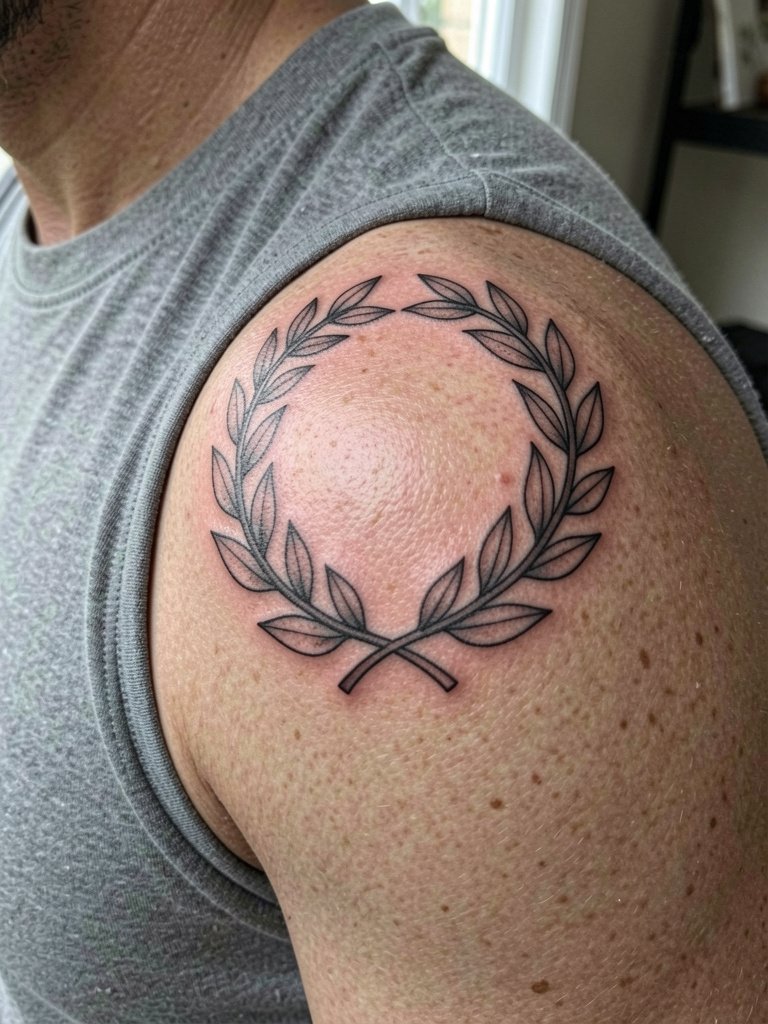
21. Laurel Wreath Medal Style for Subtle Honors
A laurel wreath rendered as a cap works like a medal that hugs the deltoid. Keep leaf details bolder rather than micro-etched so they stay readable. The usual mistake is clustering small dots inside each leaf. Ask for a three-year healed simulation if you want to see how the leaf edges hold up. This cap looks neat with a fitted crewneck tee for casual evenings.
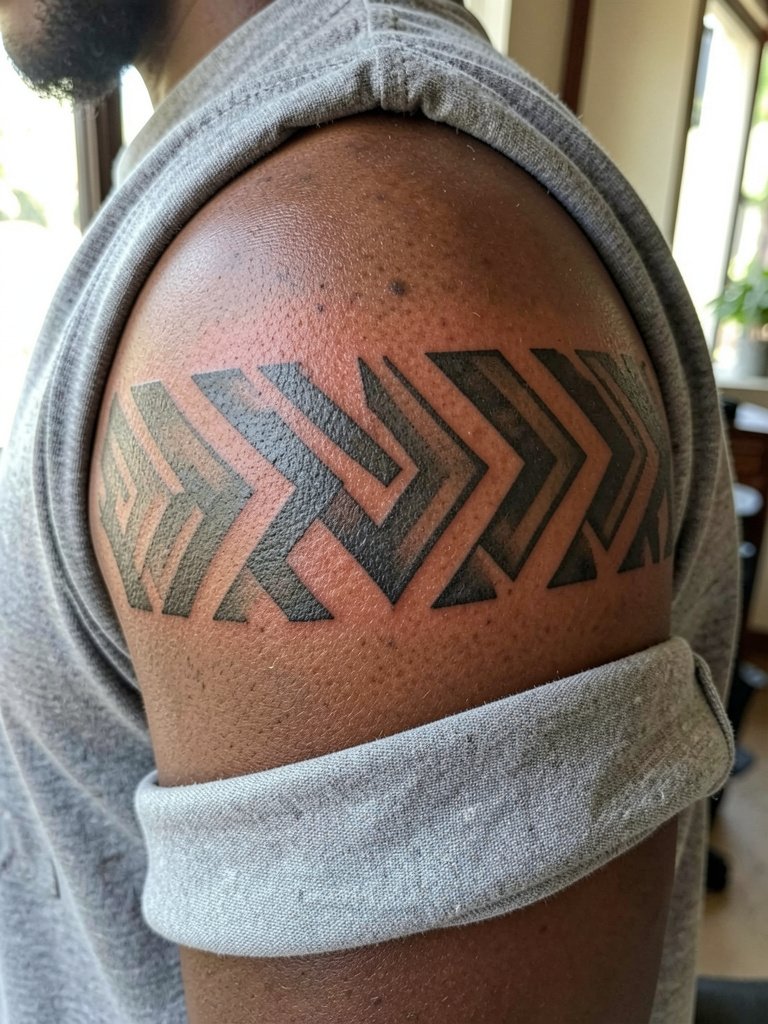
22. Chevron Tribal Band That Wraps Smoothly
A chevron band uses repeating V forms that wrap and emphasize shoulder width. For durability, use bold chevrons spaced to maintain negative space over time. The common error is narrow V-lines that merge with skin texture. Ask for a mockup at arm length so you can check visual rhythm. A rolled sleeve tee will show the band without fully exposing the upper arm.
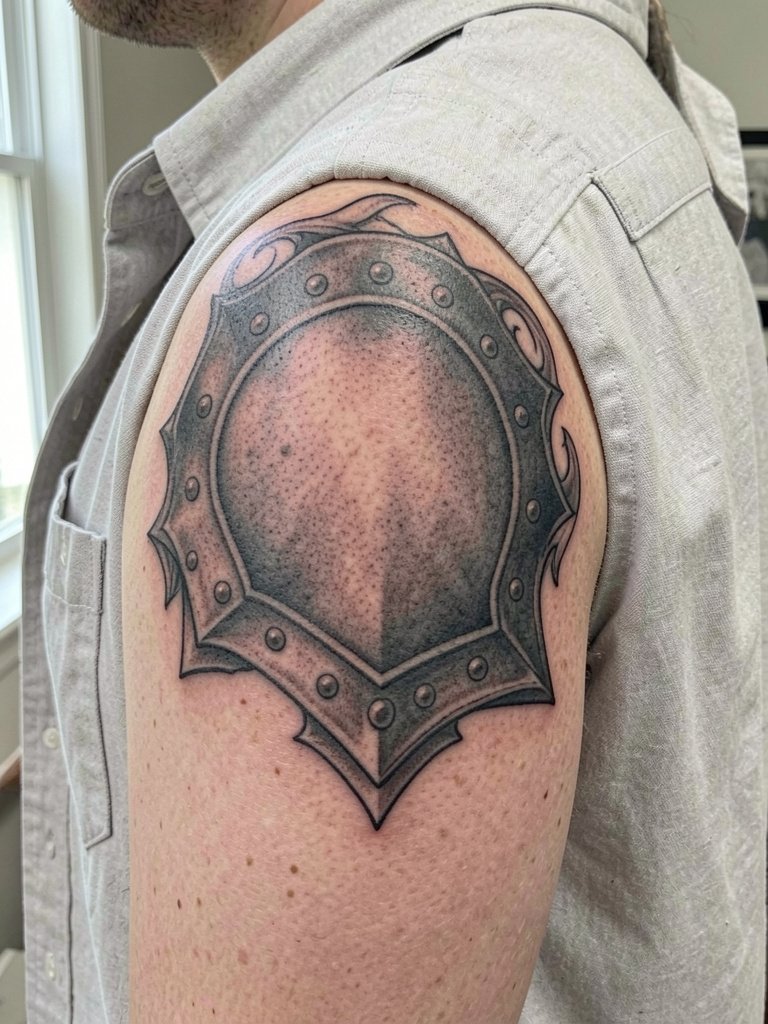
23. Ornamental Pauldron with Rivet Detail for a Finished Look
An ornamental pauldron uses rivet and plate motifs to finish the cap like tailor-made armor. This is a good choice if you want an immediately complete piece that can still accept sleeve bridges later on. Avoid overfussy rivet detail in tiny clusters. Ask your artist to show a placement grid so rivets stay consistently spaced around the deltoid. For session ease and to preview how the jacket will sit, try a light overshirt in normal worn position.
Frequently Asked Questions
Q: How do I choose front cap versus top cap if I need to hide the tattoo at work?
A: Front caps are more visible in tanks and fitted polos, while top caps sit under a crewneck and are easier to conceal with standard office tees. If concealment matters, bring the shirt types you wear to the consultation and ask the artist to place the top edge so it stays beneath your typical sleeve seam.
Q: How will a mandala or geometric cap hold up on darker skin tones?
A: Geometric work reads well on all skin tones when the artist adjusts contrast and increases line weight slightly for saturation. On darker skin, medium-thick lines and balanced negative space keep the pattern legible over time. Review healed photos on similar skin tones during the consultation.
Q: Where can I find artists who post healed shoulder-cap portfolios without naming specific people?
A: Search hashtags like #shouldertattoo, #shouldercaptattoo, #blackworktattoo, and #geometrictattoo on Instagram and TikTok, then filter by your city. Look specifically for "healed shoulder" in portfolio captions and check Reddit threads for before-and-after healing photos. Tattoo directory sites also let you filter portfolios by placement and healed images.
Q: Do fine-line shoulder caps age worse than bold blackwork?
A: Artists split into two camps on this. One group says fine-line shoulder work softens and blurs within a few years on this canvas because the shoulder moves and details compress. The other group argues that with slightly wider spacing and careful needle depth, fine-line geometry can settle cleanly. If you prefer fine line, ask for larger scale and wider spacing so the pattern has room to breathe.
Q: What should I wear to the appointment for a shoulder cap session?
A: Wear something that gives full access without pulling fabric over the head or arm seam. Good choices are loose short-sleeve tees, sleeveless tanks, or button-downs you can slip off without tugging the shoulder. Avoid tight fabrics and anything that presses on the fresh ink when you leave the studio.
