

Black and grey sleeves usually outlast the Pinterest favorites that pile tiny runes and micro-detail into every crevice. If you want a Viking sleeve that still reads at year five, think about symbol hierarchy, deliberate negative space, and slightly heavier linework for the elbow and wrist zones. Below are ideas that lean into Nordic motifs while offering clear notes on aging, session feel, and wardrobe tips to show off the work.
1. Intricate Full-Arm Sleeve Anchored by Valknut and Vegvisir
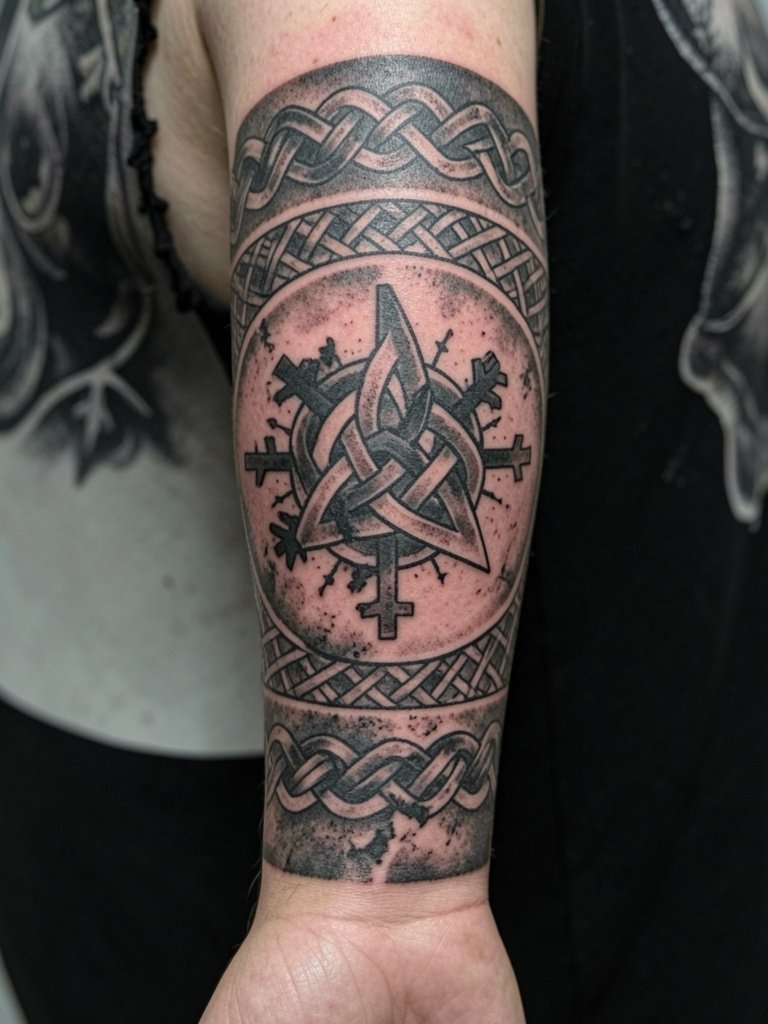
This is the classic sleeve that combines anchor symbols so the arm reads as a single narrative rather than a patchwork. For sessions plan 4 to 8 sittings depending on saturation and background shading. During the consultation bring a large-scale mockup and two sized references so the artist can show how the Valknut reads at three inches versus five. Expect the elbow and wrist to take longer because the skin moves more there. A common mistake is cramming runes too small next to the Vegvisir which blurs into the compass over time. For showing off the piece, neutral short-sleeve tees frame the shoulder and upper arm best.
2. Norse Knotwork Sleeve with Interlaced Geometry
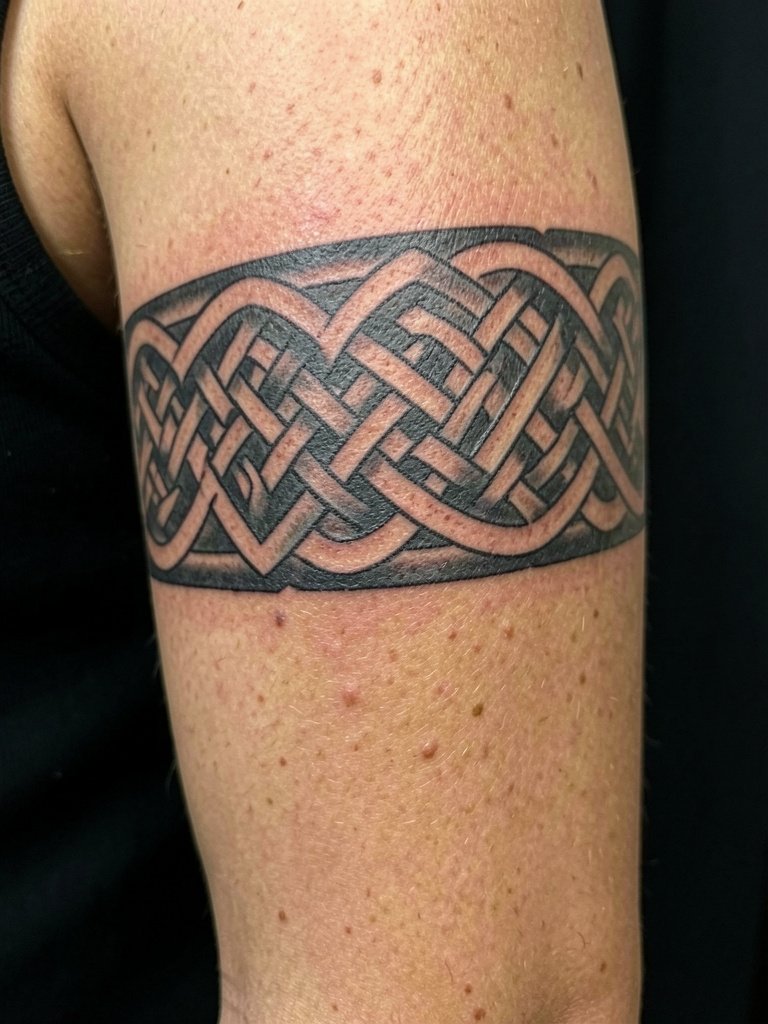
This sleeve reads like carved metal when executed with bold lineweight and careful spacing. Some people favor saturated blackwork that fills every gap. That camp argues full saturation keeps the knots legible and dramatic as the skin ages. Other wearers prefer wider negative space and lighter backgrounds because they believe density hides detail and leads to visual mush. If you like knotwork but worry about aging, request slightly thicker primary lines and open bridges between knots so the pattern keeps its rhythm at year three and beyond. For session wear try a muscle tank so the artist can access the shoulder and outer arm cleanly.
3. Valknut-Centered Panel for a Forearm Chapter
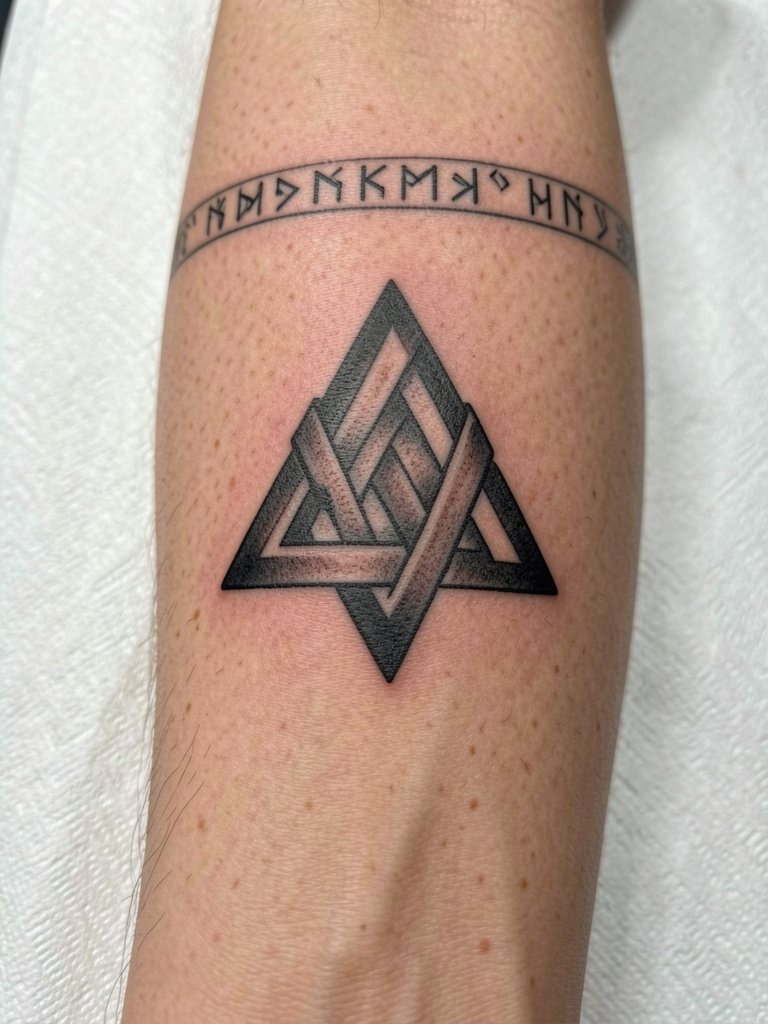
Use the Valknut as an anchor piece inside a sleeve built in chapters. This works for someone who wants a clear focal point without full-arm commitment. Linework here should be heavier than a small wrist script so the triangles keep their negative space. A mistake I see is placing the Valknut too near the wrist where blowout risk is higher from thin detail. Expect a single two-hour session for this size with a possible six- to twelve-month touch-up for crispness. For casual show-off pairing wear rolled sleeves or short-sleeve shirts so the forearm panel sits in clean contrast with fabric.
4. Vegvisir Compass as a Forearm Directional Focal Point
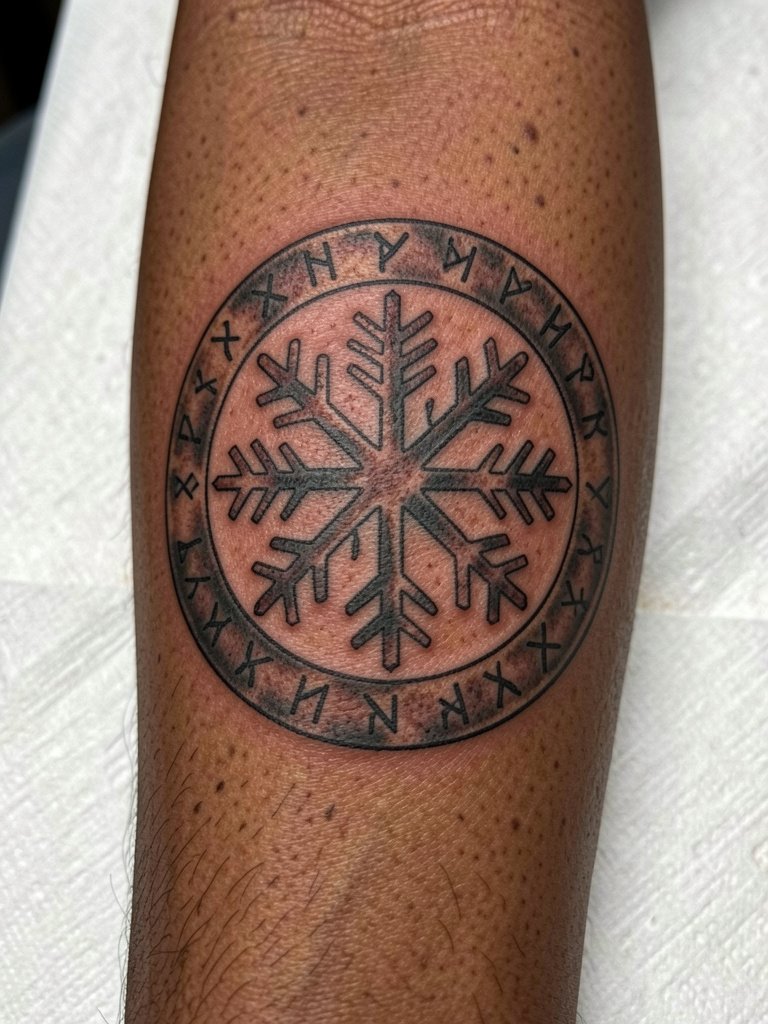
The Vegvisir reads well because its radial geometry plays nicely with the arm's cylindrical form. Artists disagree about small compass sizes. One group insists the Vegvisir must be scaled to at least three inches across to keep spokes separate as the arm moves. The other group says expert stipple shading and slightly heavier spokes let a two-inch compass survive. If you want a compact Vegvisir bring scaled references and ask for slightly wider spoke widths than the reference. For session clothing pick a short-sleeve henley that can be rolled without stretching the shoulder seam.
5. Mjölnir Integrated into a Mythic Composition
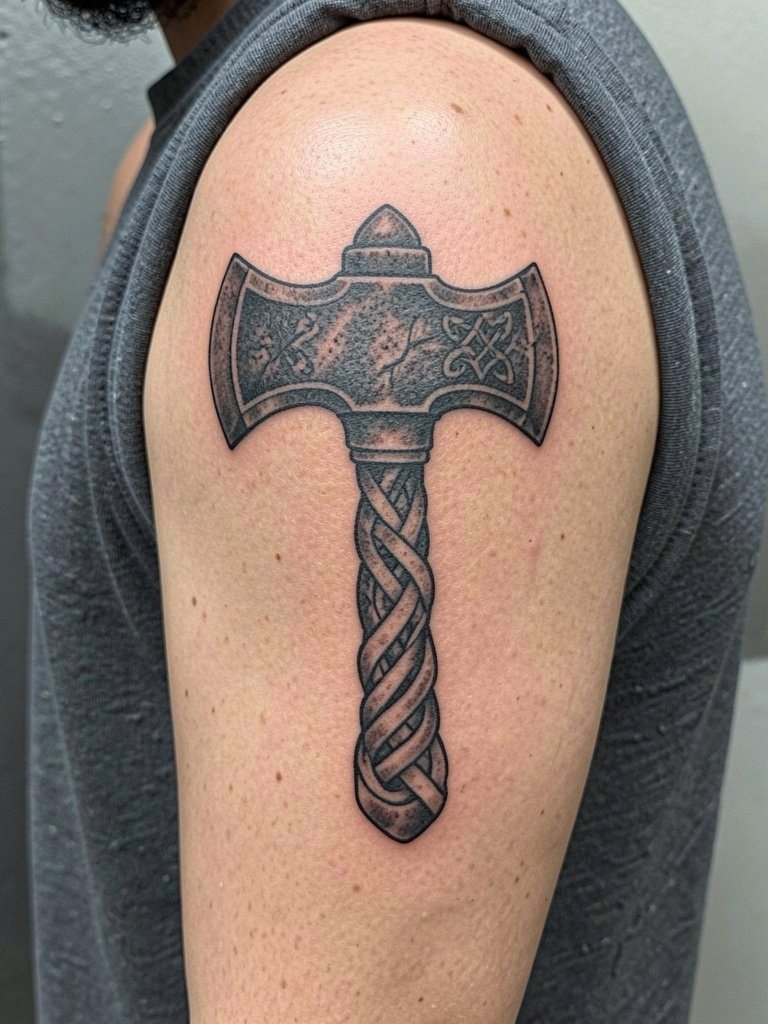
Mjölnir is a powerful anchor symbol that benefits from texture and frame work. If you want mythic weight, ask for carved-stone texture and knotwork framing that gives the hammer visual heft without tiny internal filigree. A frequent error is over-detailing the head with micro crosshatching that softens into gray in two years. Touch-ups are common for the edge crispness after the first year. This placement feels firmer than the forearm so the session can run longer with less movement. Pair this placement with capped sleeves that highlight the deltoid and bicep shape.
6. Raven-Themed Sleeve with Mythic Realism
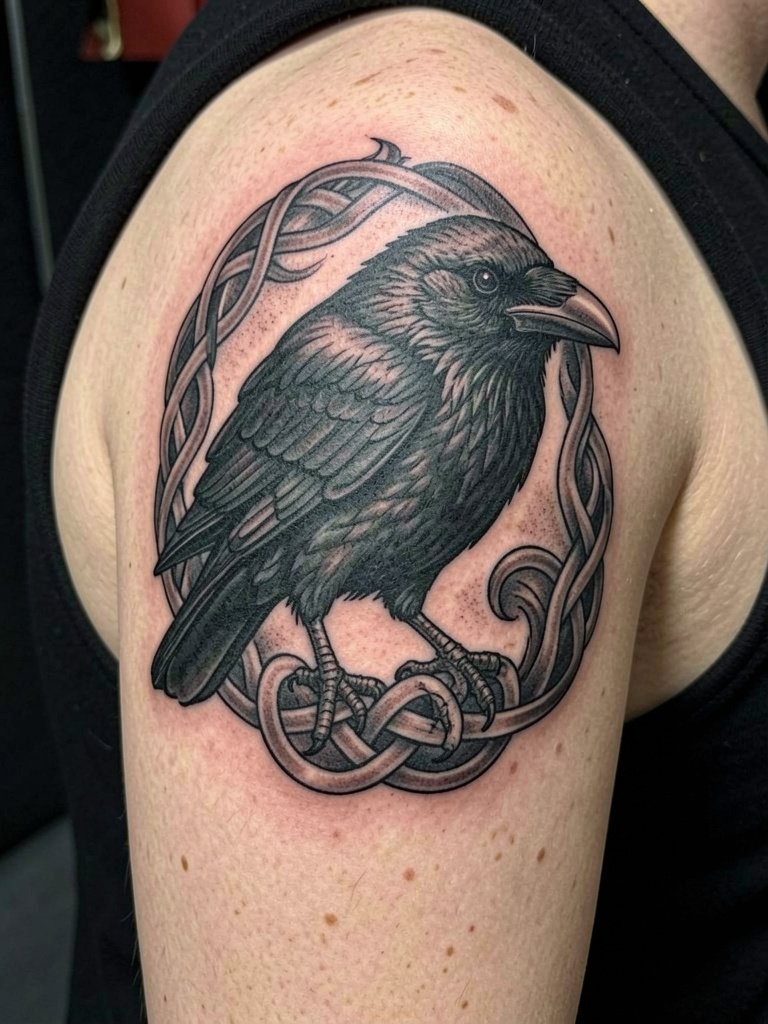
Ravens bring mood and movement without relying on human figures. For realism request a balance between silhouette shapes and feather stippling so the bird still reads at a distance. A common mistake is asking for ultra-fine feather lines close to the elbow where motion causes blurring. If you want drama but longevity, pick heavier primary contours with stipple shading for texture. For session comfort wear a loose short sleeve so the artist can shift the arm without fabric bunching. Expect a two to four hour block for a detailed raven head.
Pre-Session Essentials
The upper-arm anchors and forearm panels above benefit from a few practical items that smooth the session and the first week of healing.
-
Stencil transfer paper kit. Lets you preview linework on the skin so the Valknut, Vegvisir, and knot bands align before ink touches the skin.
-
Topical numbing cream. Applied as directed 45 minutes before a long sleeve session can reduce edge soreness on the elbow and inner bicep.
-
Thin protective film roll. Keeps fresh blackwork panels clean during the first week of movement and showering.
-
Fragrance-free gentle body wash. Cleans the area without stripping the healing scab, which matters for heavily shaded Viking fills.
-
Aquaphor healing ointment. A thin layer for the first few days supports coverage retention on dense blackwork without clogging needle channels.
7. Traditional Nordic Sleeve with Bold Contrast
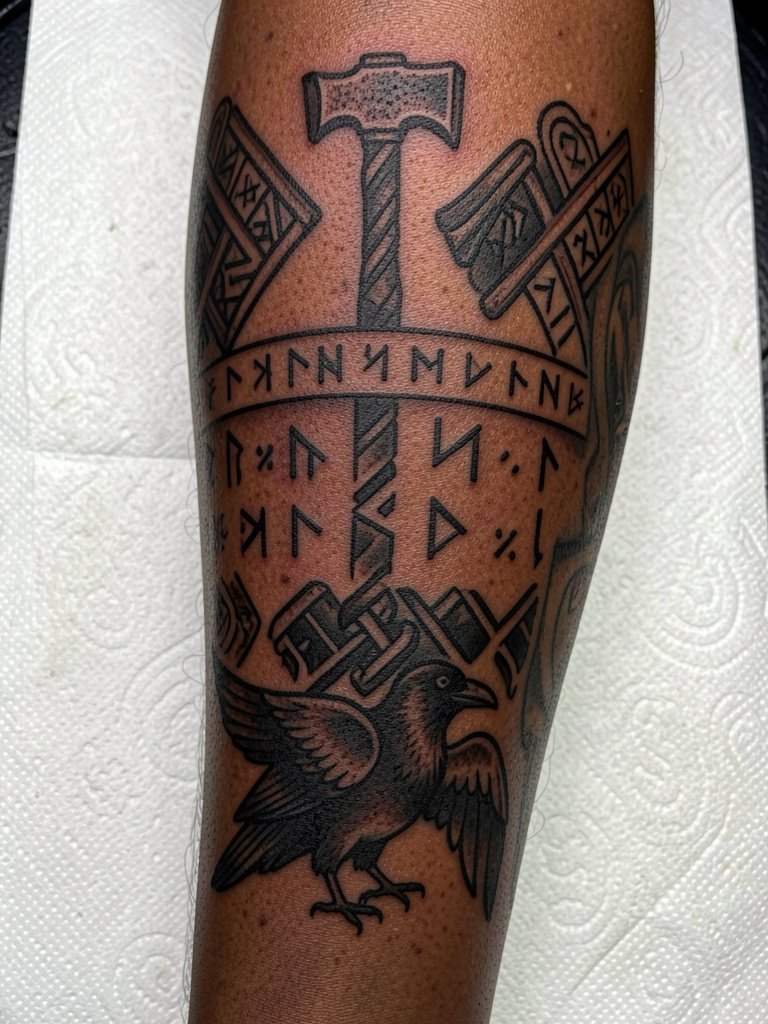
If you care most about long-term legibility pick a traditional approach with strong outlines and restrained shading. That style ages predictably because the line hierarchy remains clear as skin texture changes. A typical mistake is layering too many small decorative fills inside the outlines. During the consultation show one bold reference and one detailed reference and ask the artist to favor outline weight. This sleeve tends to need fewer touch-ups over five years than ultra-fine illustrative work. For evenings out pair with a relaxed heavyweight tee or a dark henley that keeps attention on the sleeve silhouette.
8. Black-and-Grey Storytelling Sleeve with Flowing Bands
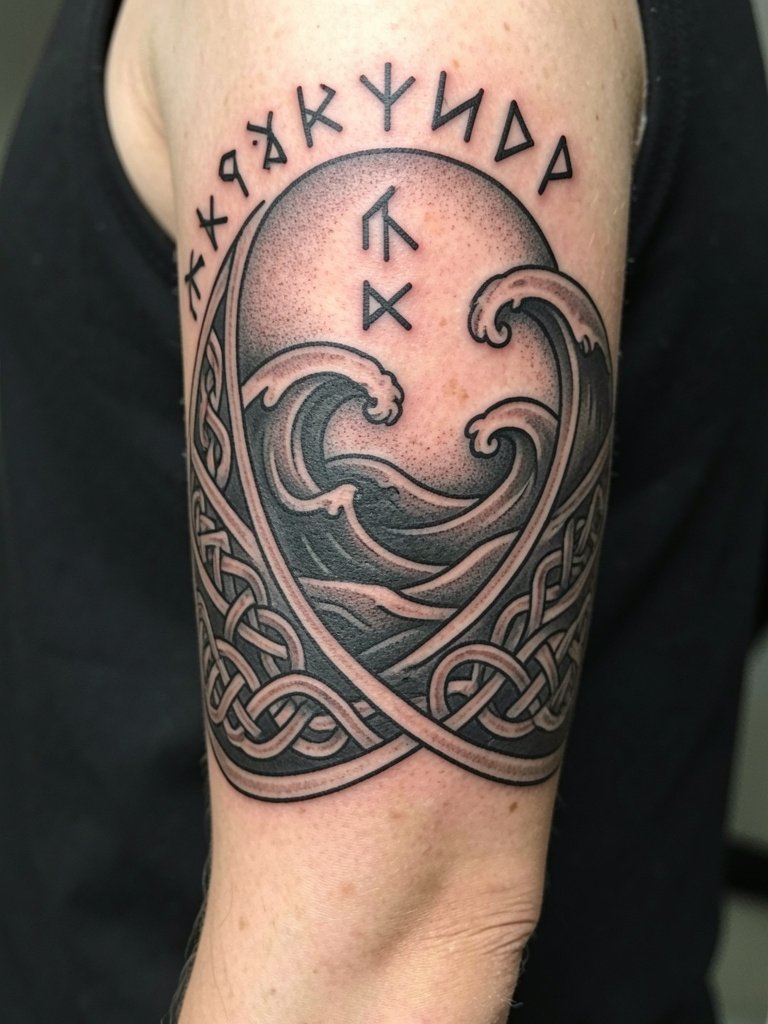
This approach uses chapter bands to move the eye along the arm and to bridge the elbow naturally. I recommend asking for transitional fills that echo the knotwork but use negative space to prevent crowding. A frequent error is creating continuous dark backgrounds across the elbow which makes the joint read as a single blob. Expect elbow bridging to be split across sessions so the skin can recover before the next pass. For session wear a button-down you can slide off the shoulder area or a loose tank so the artist has clear access.
9. Pinterest-Style Patchwork Sleeve, Curated Over Time
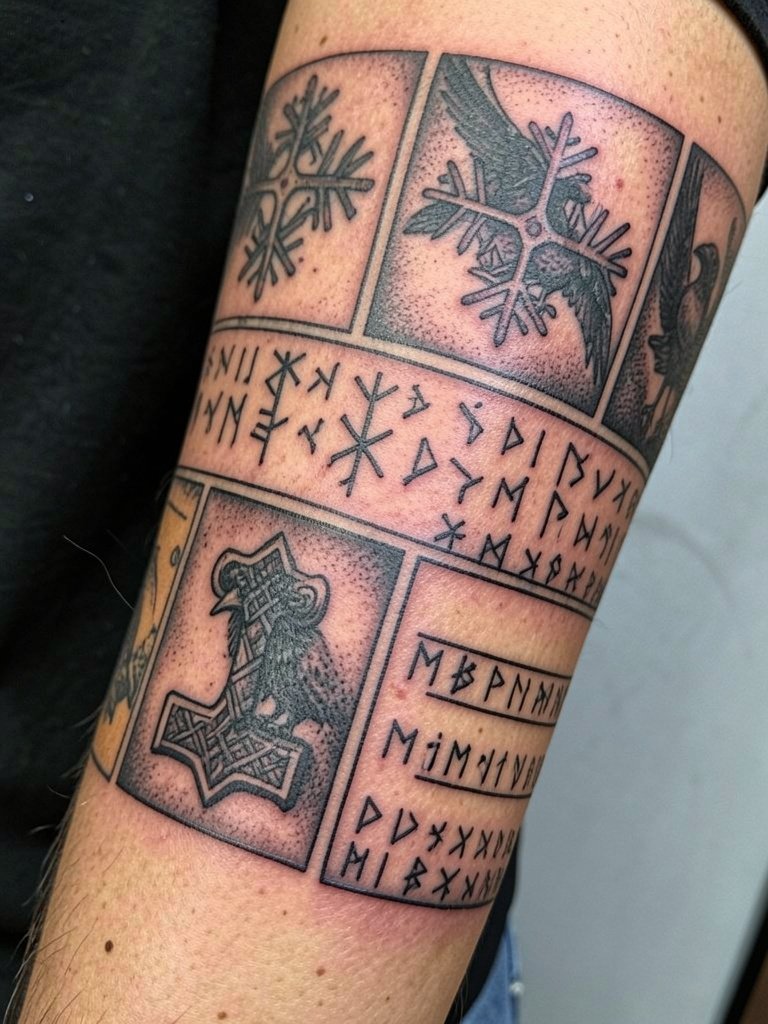
Patchwork sleeves let you add pieces over years so the arm reflects changing tastes. For a cohesive look avoid copying multiple small references literally. Instead pick one consistent lineweight and a shared filler motif like rope or smoke to tie panels together. The common mistake is mixing lineweights from different flash images which reads inconsistent when healed. If you plan a long build ask the artist for a master map that shows future anchor zones. For session comfort wear a zip hoodie or a short-sleeve top that can be pulled on and off without disturbing freshly inked areas.
10. Navigation and Survival-Themed Sleeve
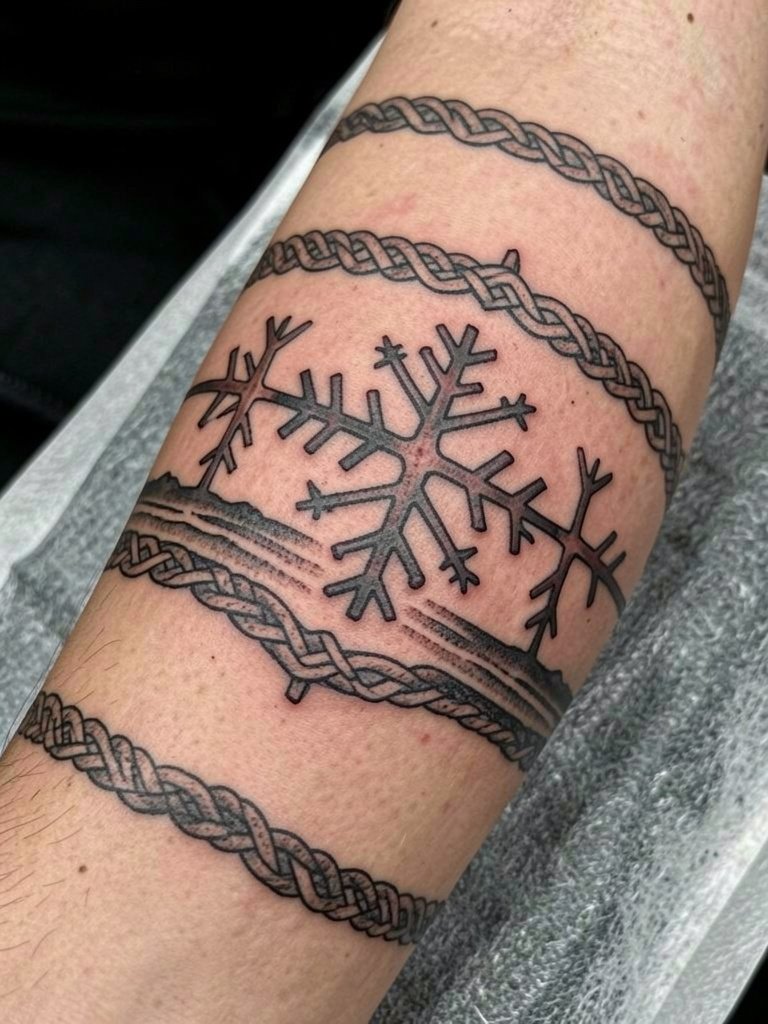
Organizing motifs around a journey theme gives the sleeve conceptual coherence without literal scenes. For clarity pick two core symbols and repeat smaller rune bands as connectors. A common aging mistake is tiny compass ticks that merge with shading in the wrist area. Ask the artist to render the main compass larger and use rune bands at half the saturation of the anchor. For showing off the navigation theme rolled sleeves or linen shirts in neutral tones make the compass pop. Expect this build to take three to six sessions depending on background saturation.
11. Forearm Sleeve with Open Negative Space
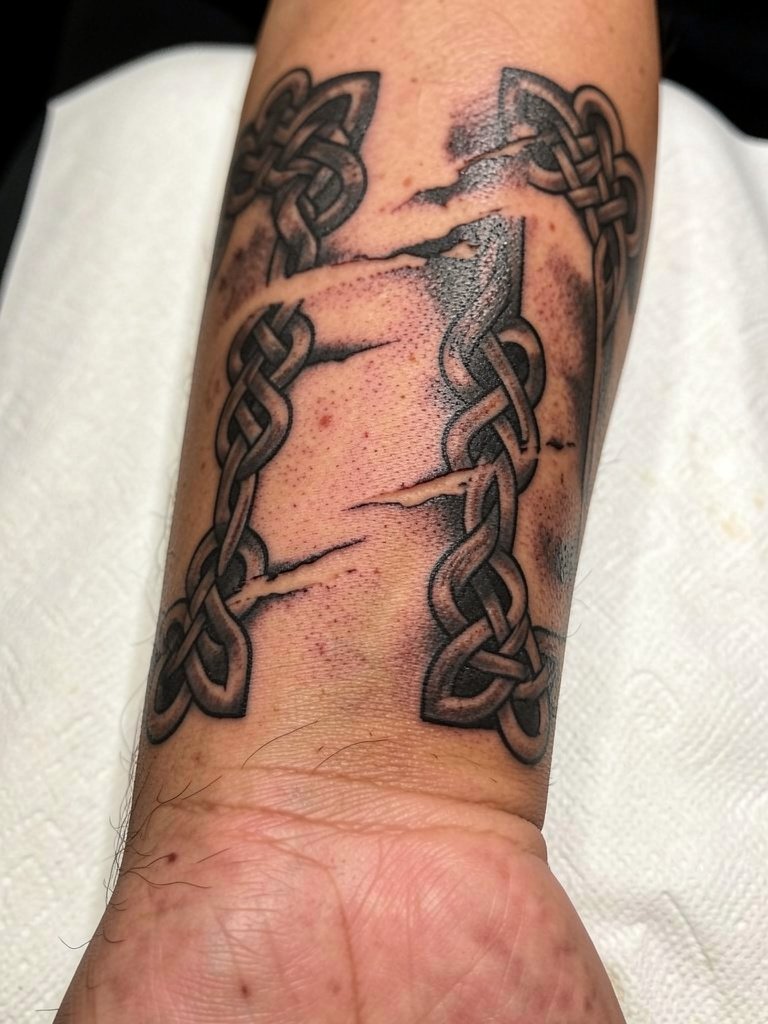
Leaving negative space is a deliberate design choice that helps dense blackwork breathe as it ages. One common misconception is that more ink means better definition. In practice strategic open areas preserve contrast and reduce long-term muddiness. For inner forearm details use slightly bolder strokes than the reference so fine motifs do not fade into a gray wash by year three. During the appointment wear a linen overshirt with sleeves that roll easily. If you want the inner forearm to stand out avoid bracelets on the tattooed wrist for the first month.
12. Mythology-Forward Sleeve with Layered Symbols
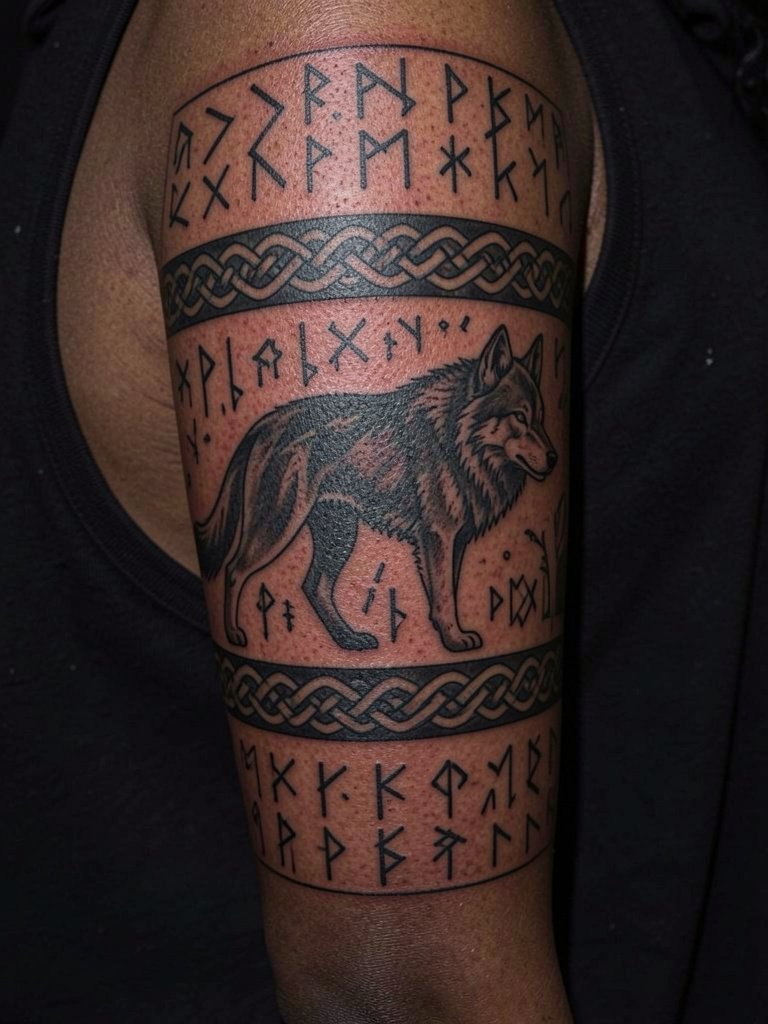
This option suits collectors who want to add icons over time while maintaining unity. The trick is to pick a limited palette of symbol types so each new addition reads like a chapter. A frequent mistake is allowing each session to introduce a new scale or texture. To avoid this bring a sheet showing the lineweight and stipple density you want repeated. For session wear a loose short sleeve you can slide down without squeezing the bicep. Expect realistic wolf heads and similar elements to take longer per session because of the detail in eyes and fur texture.
13. Historical Artifact Feel with Weathered Texture
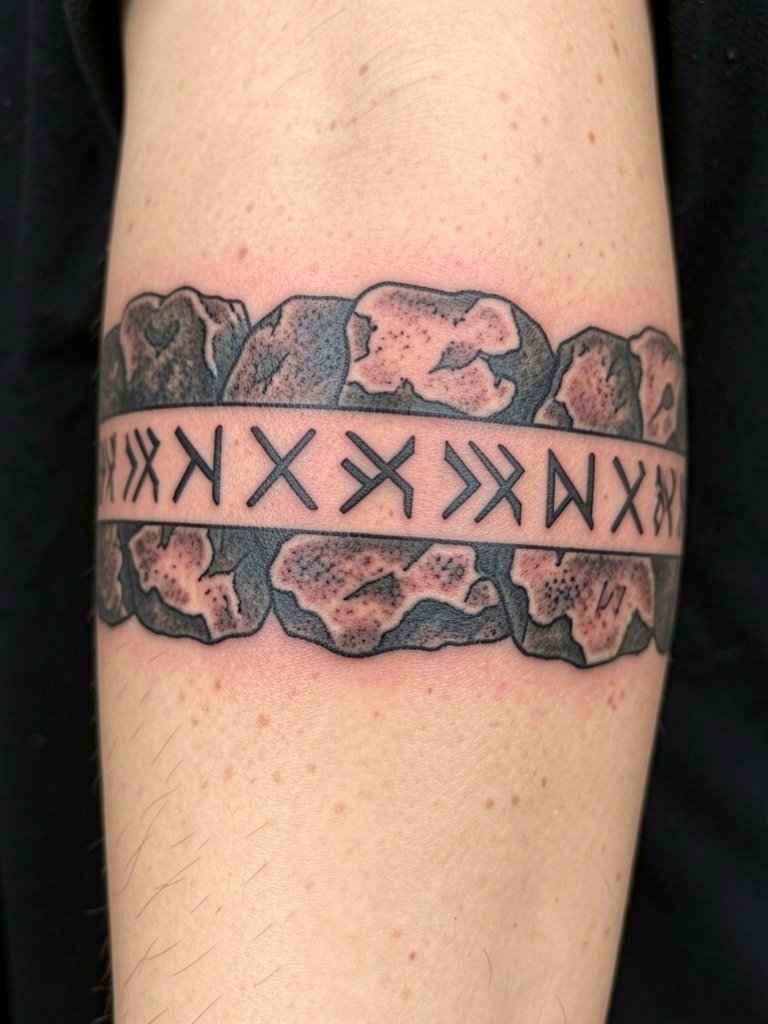
If authenticity matters aim for a carved-stone look that reads like a relic. Ask for weathered edges and controlled stipple shading instead of smooth gradients. The aging advantage is that pre-aged texture masks small touch-up seams later. A mistake is heavy soft shading that makes the design look flat on textured skin. For the appointment wear a loose button-down so the artist can access the shoulder and upper arm. This style often pairs well with neutral, structured shirts that let the carved texture be the visual focus.
14. Long-Build Sleeve Designed in Stages
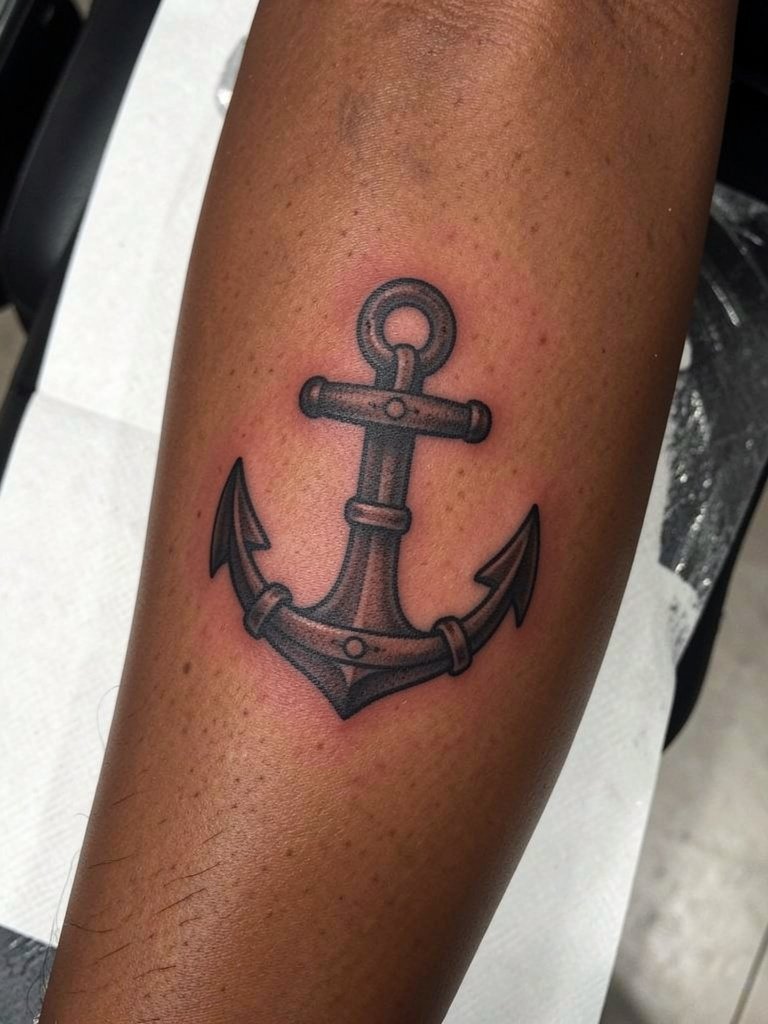
Treating a sleeve as a multi-year project reduces regret and keeps your arm wearable between sessions. One camp believes a full mockup up front preserves scale and cohesion. The other camp prefers adding anchors incrementally to let the sleeve evolve with the wearer. Both approaches are valid. If you want to build slowly bring a master sketch for spacing and ask the artist to mark future anchor zones on the skin during the first session so new pieces lock into the layout. For session-day clothing a zip hoodie or loose tee is ideal for repeated access without fuss.
15. Forearm Script and Rune Bands with Negative Buffers
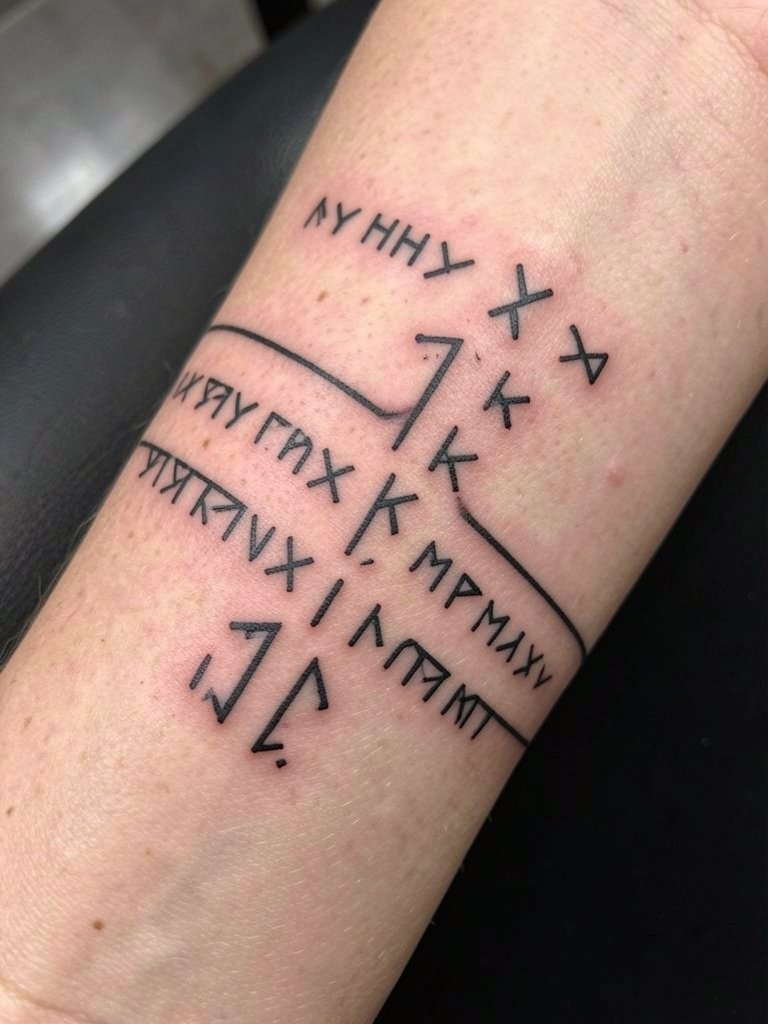
If you prefer minimal runs of runes, prioritize scale and spacing. Tiny runes placed too closely tend to blur into one another as the skin ages. Ask for a slightly increased major line weight and for each rune to have a minimum of three to five millimeters of clear skin between marks. For the session wear a rolled-cuff linen shirt so the inner forearm sits exposed and flat. Expect a small script session to be quick but plan a touch-up at six to twelve months for crispness, especially if you work with your hands often.
Frequently Asked Questions
Q: How do I find artists who show healed Nordic work rather than mockups?
A: Search hashtags like #vikingtattoo, #nordictattoo, #vikingtattoosleeve, and #blackworktattoo on Instagram and TikTok and filter by your city. Focus on portfolios that include healed photos, not only fresh setups. Reddit threads in local subreddits can also point to shops that specialize in black-and-grey Nordic work.
Q: Should I choose black-and-grey only or add color accents for a Viking sleeve?
A: Black-and-grey usually ages more predictably for dense knotwork and compass elements because saturation reads clearly over time. Some people prefer small, muted color accents to highlight a single anchor like a hammer or an eye. If you want color, limit it to one or two small accents and ask for color patch tests on similar skin tones first.
Q: How do I manage the elbow in a sleeve so the design does not become a visual mess?
A: Plan the elbow as a transition zone using circular motifs, knot bridges, or negative space bands. Avoid running dense linear detail across the joint. Request a bridge concept during your first appointment so later sessions continue the same flow.
Q: What are realistic touch-up timelines for these sleeve styles?
A: Expect a touch-up at six to twelve months for crispness on high-motion areas like the wrist and elbow. Major touch-ups across the sleeve often happen at two to five years depending on sun exposure and your skin. I have seen blackwork hold better with yearly check-ins for small fixes.
Q: What should I wear to a multi-hour sleeve session?
A: Wear loose, comfortable clothing that gives clear access to the placement. Good picks are a zip hoodie, button-down shirt that can be removed without rubbing fresh work, or a muscle tank. Bring an extra layer for long sessions because studios can run cool.
Q: Are runes or Nordic motifs culturally sensitive to use?
A: Nordic symbols have historical context and varying modern meanings. If authenticity matters, discuss the origin and traditional forms and avoid stylized mash-ups that misrepresent runic structure. Being clear about which runes you pick and why helps maintain respect for the symbols.
Q: How do different skin tones affect blackwork knotwork visibility?
A: Blackwork generally reads across skin tones when lineweight and saturation are adjusted. Heavier primary contours and controlled shading work well on darker tones. Ask the artist to show healed examples on similar skin tones so you can see real outcomes.
