
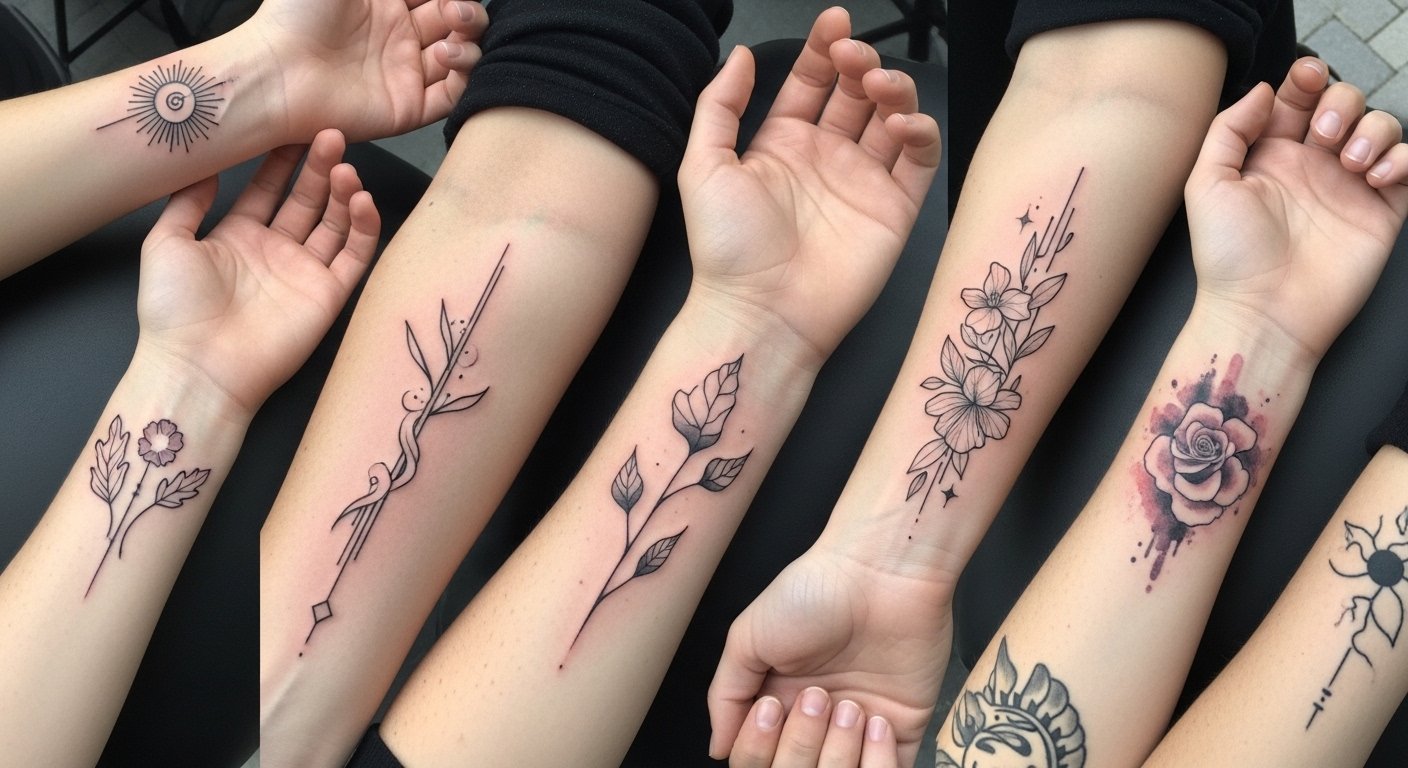
I spent months living with a tiny wrist piece before I realized the real choice was about longevity, not flash. I wanted something readable at a glance and still clear after five years. These 30 wrist tattoos are styles I've seen hold up, styles that fade into character, and a few that I would skip if long-term clarity mattered.
This list leans into minimalist, fine line, and micro-realism styles that work on the inner and outer wrist. I focused on pieces you can hide or show with a sleeve. From what I've seen in tattoo communities in 2026, small readable designs and subtle wraps are trending. I also include a few under-covered ideas like UV-friendly wrist accents and negative space cuffs.
1. Fine Line Script on Inner Wrist
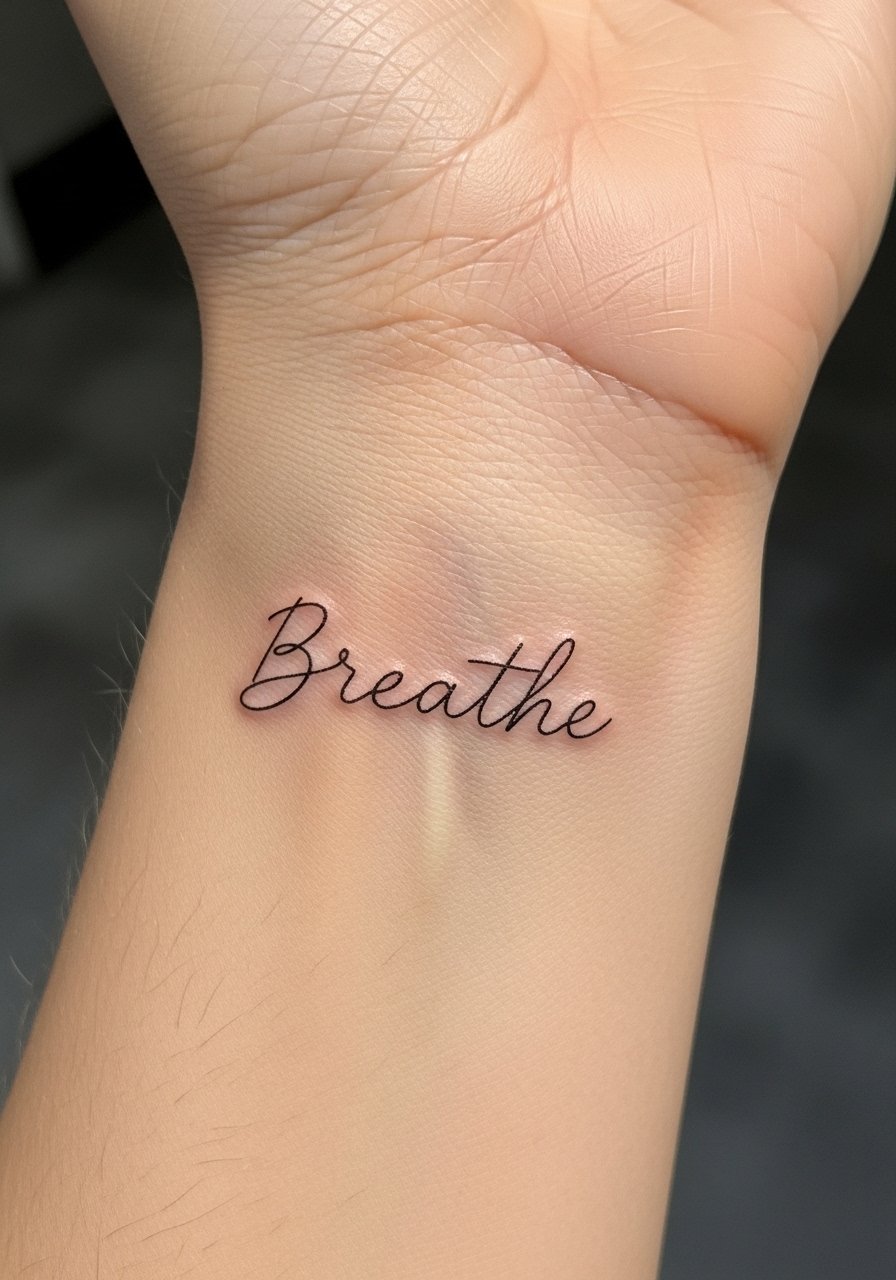
I first chose a fine line script for my inner wrist after seeing a friend wear one for three years. Pain is low. Expect thirty to forty minutes, sometimes a touch longer if the artist perfects the spacing. Ask for slightly thicker hairlines near joins, so the word stays readable after a year. The common mistake is going too thin. That fades into a gray smudge. I tell artists I want readable letters at arm's length. Heals in two to three weeks visibly. From what I’ve seen, touch-ups at 12 to 18 months keep the script crisp.
2. Semicolon Symbol on Ulnar Wrist, Minimalist
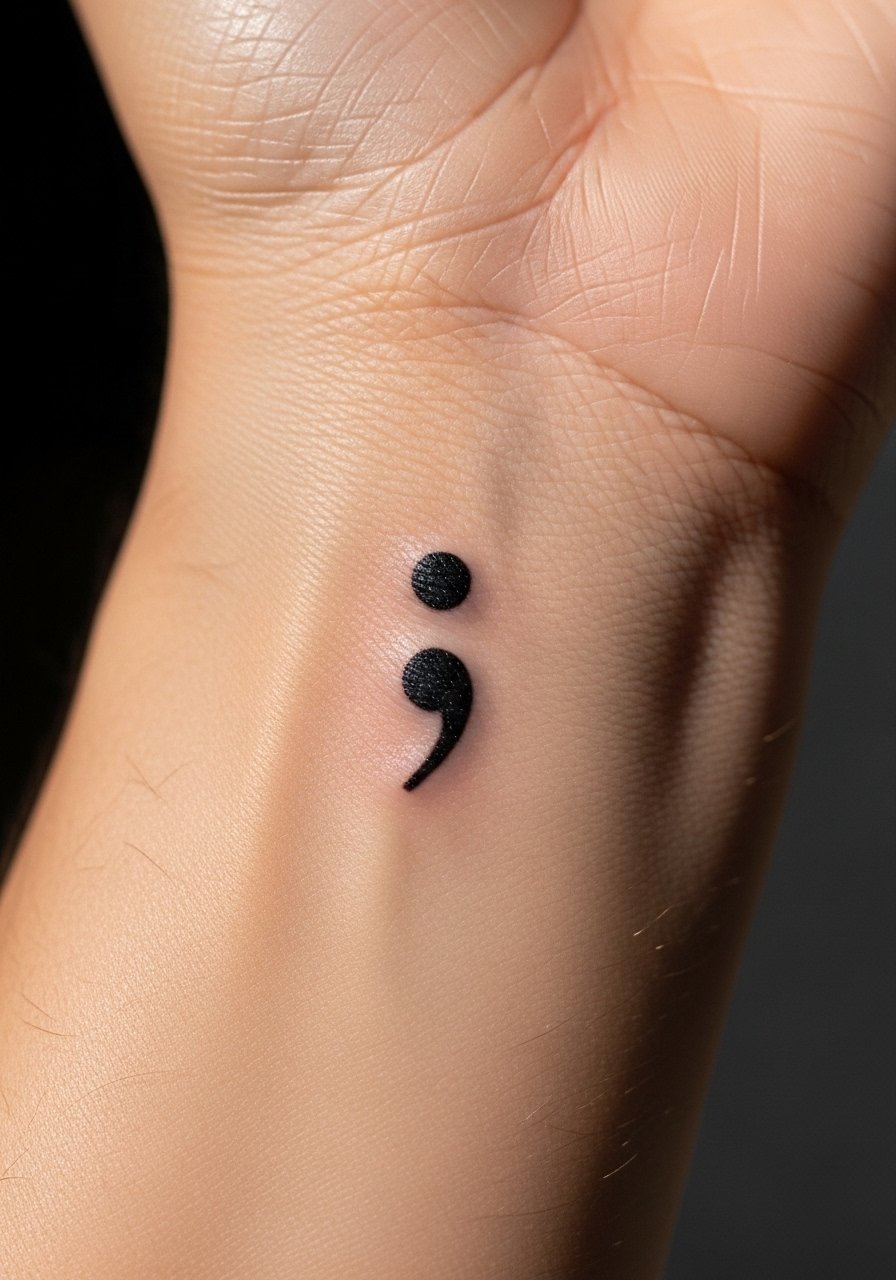
Fair warning, the ulnar edge rubs against shirts. The semicolon is quick, often ten to twenty minutes. I recommend a tiny fill, not a hairline, so the comma holds its shape as it heals. Many people ask for it just a hair thinner than needed. That causes early blurring. Tell your artist you want solid black, but not saturated to the point of scabbing heavy. It’s best for someone who wants a discreet symbol with a strong meaning. It ages well if the black is slightly bold at first. Reapplying sunscreen helps long term.
3. Micro-Realism Rose on Outer Wrist
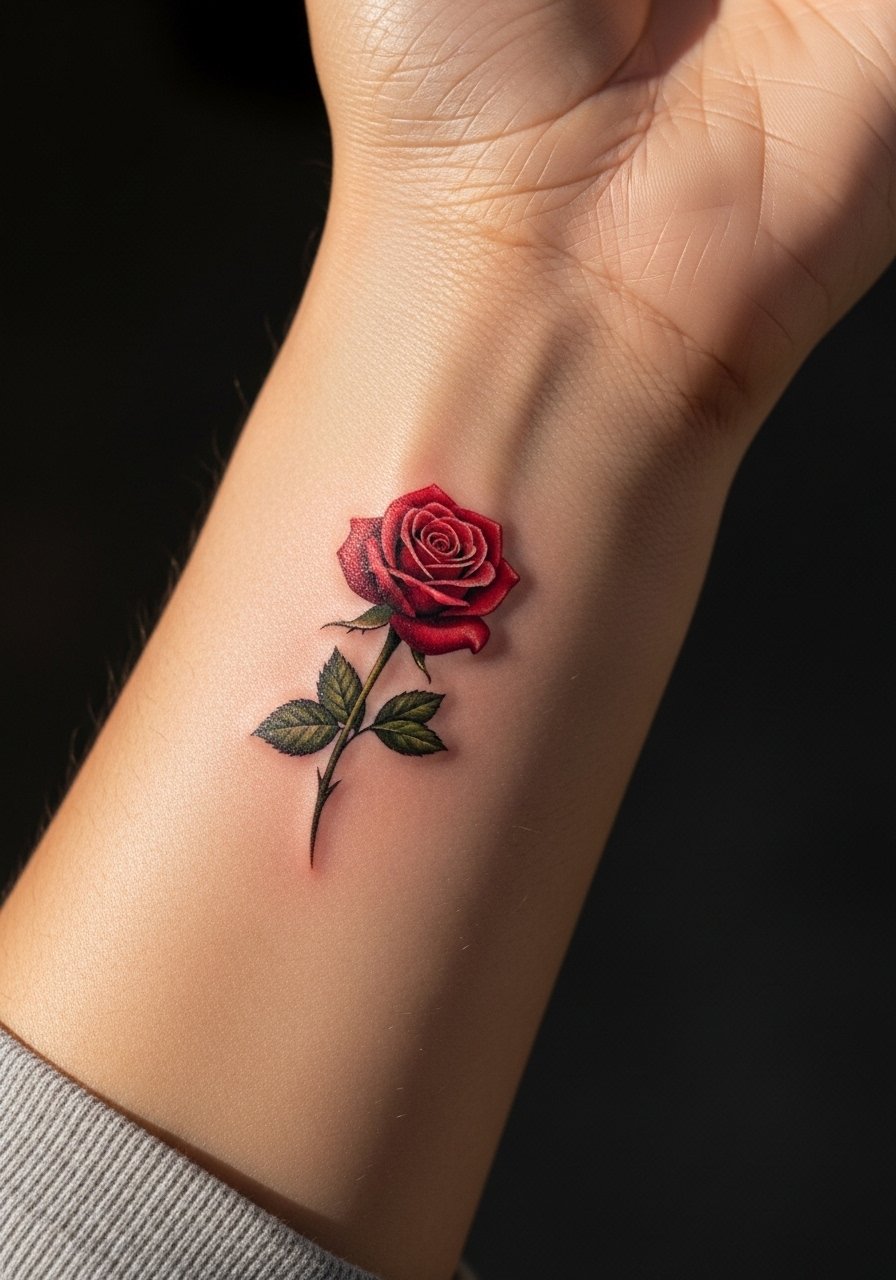
I saw this style on a tattoo collector who favored small realistic blooms. The outer wrist shows color best, but it takes more sun protection. Expect a 60 to 90 minute session for tiny realistic shading. Ask for crisp contrast between petals and background so the rose does not turn into a blotch in two years. The typical mistake is over-saturating reds in one pass. That causes heavier scabbing. If you want longevity, plan a two-stage approach with a touch-up after three months. Healed color will soften but keep shape if you use SPF regularly.
4. Blackwork Geometric Band Wrap on Wrist
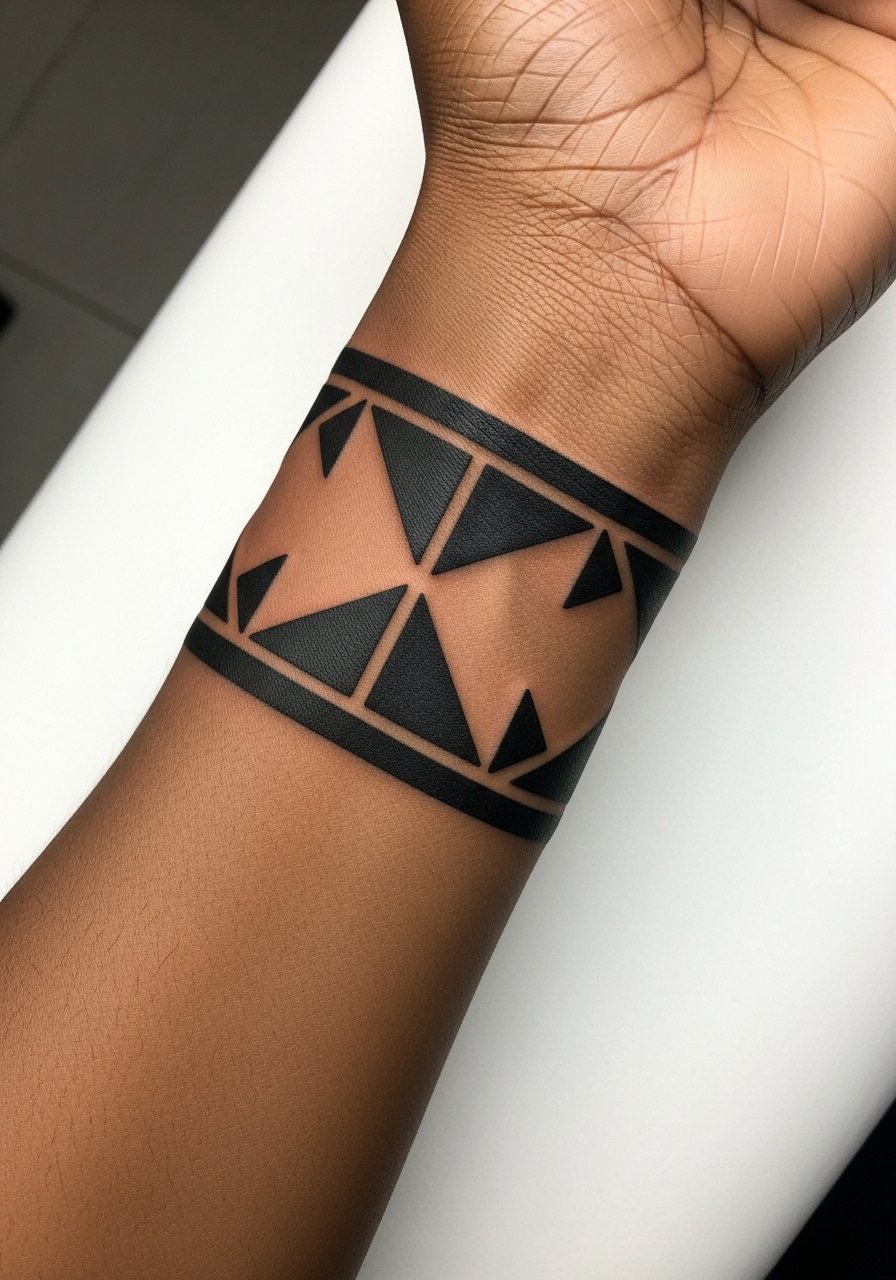
There's a visual impact to a solid black geometric wrap. Placement around the wrist makes it read like jewelry. Pain here ranges moderate because of continuous tattooing around bone. Sessions can be forty-five to ninety minutes depending on pattern density. The common mistake is making elements too small, which lose definition as lines merge. Tell your artist you want at least 3 mm of spacing between lines. Heals to a crisp matte look. I recommend using a long-term balm to stop the black from looking patchy after two years.
5. Watercolor Wave on Side of Wrist
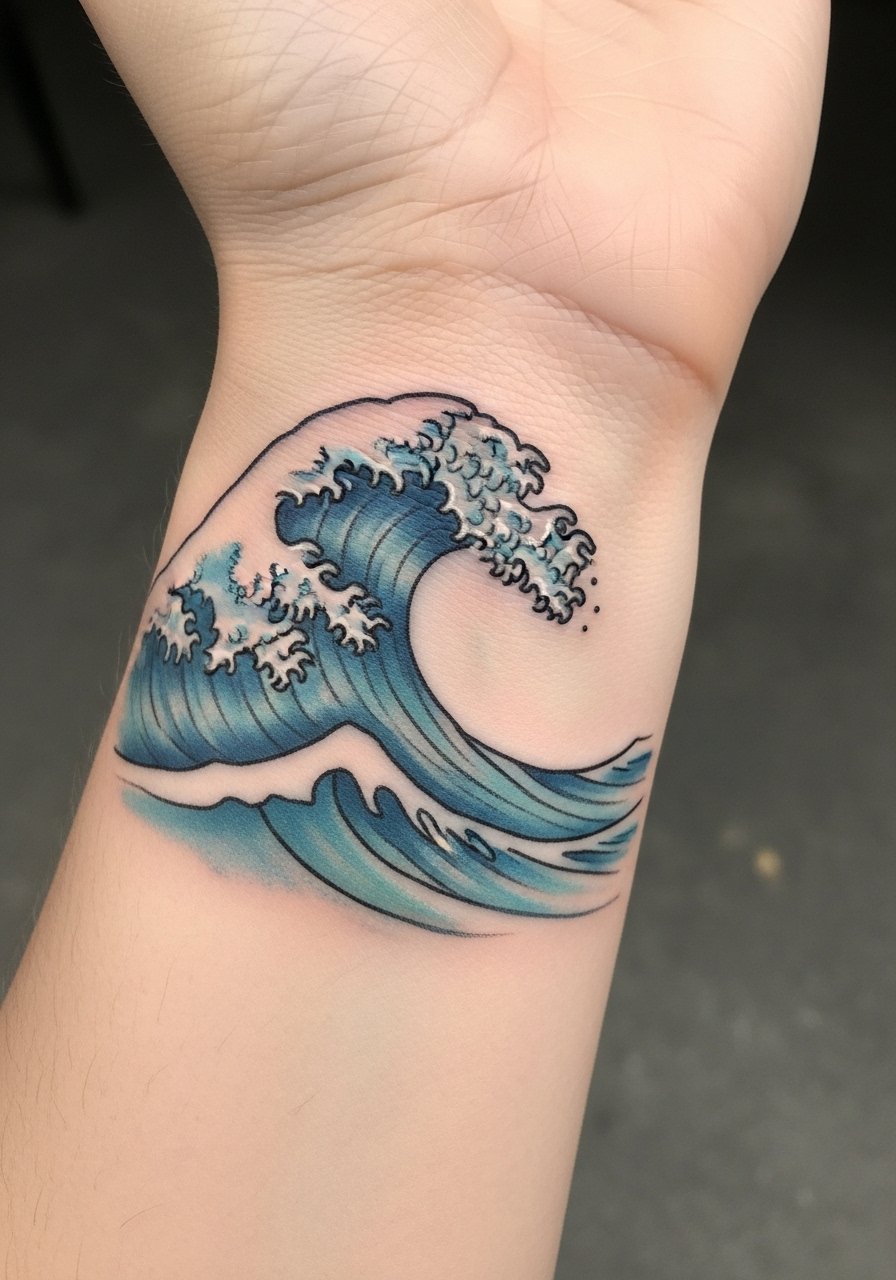
I noticed watercolor on wrists fade faster than solid black. That said, soft waves with deliberate outlines last better. Pain is low to moderate. Plan for 45 minutes. Ask your artist to anchor the washes with thin, stable outlines. A common mistake is skipping outlines altogether. The colors will bleed and look like bruising after a year. If you want the washed look but lasting color, ask for saturated pigments under the wash and expect a yearly refresh. Healed pieces soften but keep the motion of the wave if you care for them.
6. Tiny Locket Portrait, Inner Wrist
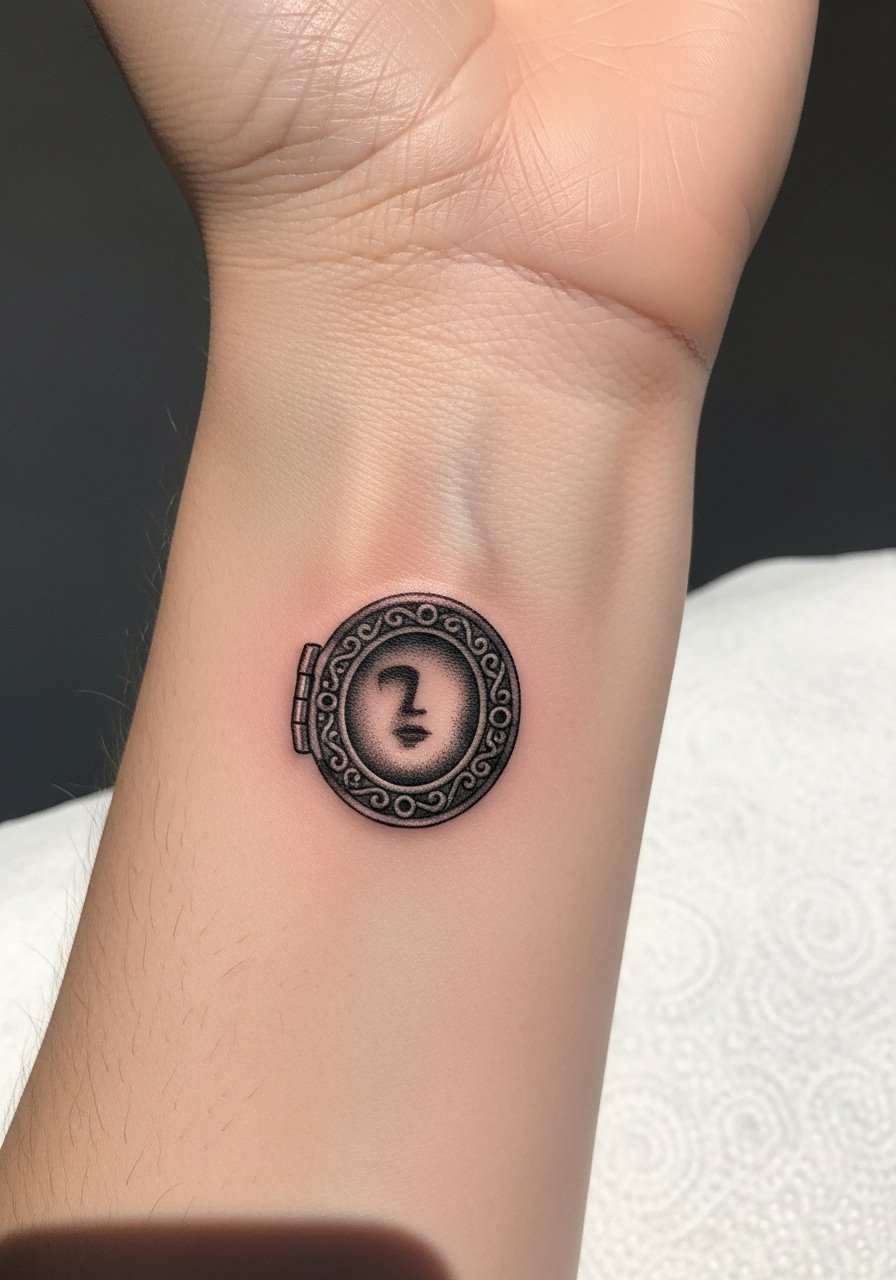
I got a tiny locket years ago, and I learned small portraits need contrast to read. For a locket-style portrait, choose a 60 to 90 minute slot. Pain is mild inside the wrist. Tell your artist to prioritize high-contrast features over tiny detail. The usual error is cramming facial detail into a tiny area. That blurs. A simplified silhouette ages much better. Expect touch-ups at one year to keep the locket edges crisp. This style reads as intimate jewelry and is great for a memorial or keepsake piece.
7. Single Needle Constellation on Top of Wrist
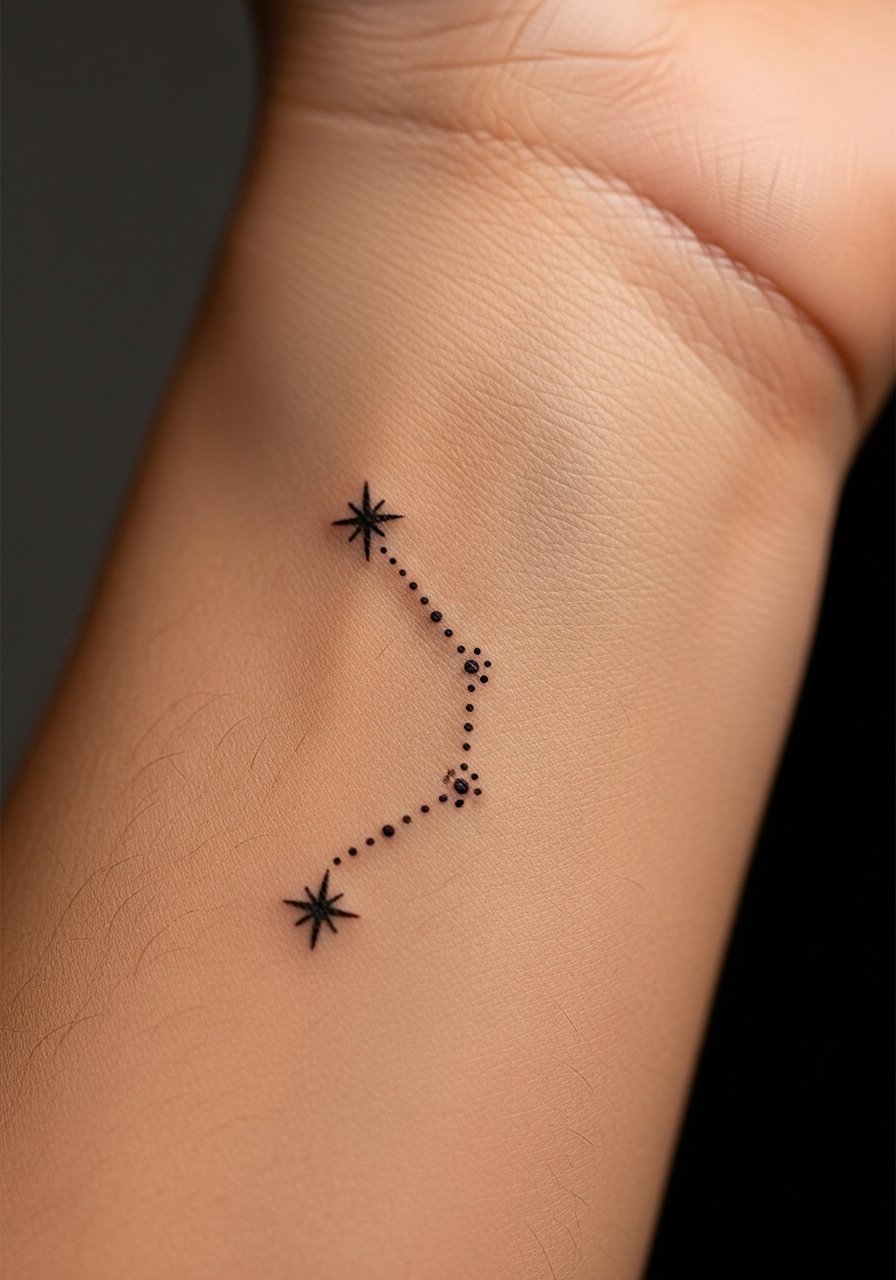
I found a cluster like this on a skateboarder who wore it for daily visibility. Single needle is delicate, so pain is low but sessions require steady hands. The risk is blown-out dots if placed too close to joints. Ask for slightly larger star dots and generous spacing. You want skin to win the composition as it settles. It looks crisp at 6 months and can blur into soft specks by year three. I recommend a tiny touch-up at about 18 months if you want to keep the star shapes defined.
8. Neo-Traditional Anchor on Radial Wrist
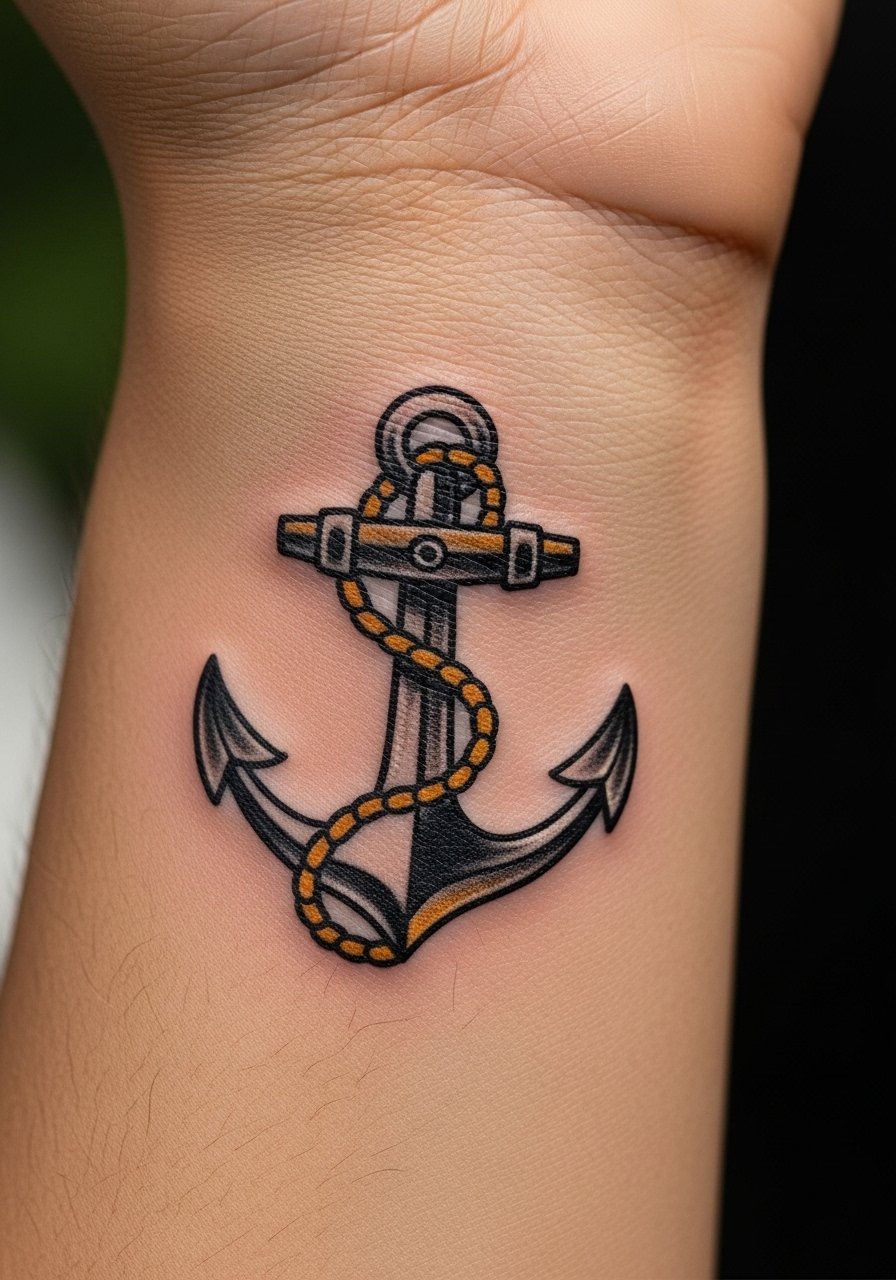
When I first saw a neo-traditional anchor, its bold lines still read across a room. This placement is great for a small nautical theme. Pain is moderate along the radial bone. Sessions are about 45 minutes. Ask your artist for thick outlines and conservative color packing, so it heals with clear borders. A common mistake is too much fine shading inside the anchor. That diffuses after healing. The piece holds up if outlines are the anchor of the design, literally. Touch-ups after the initial heal keep color rich.
9. Minimalist Line Heart on Inner Wrist
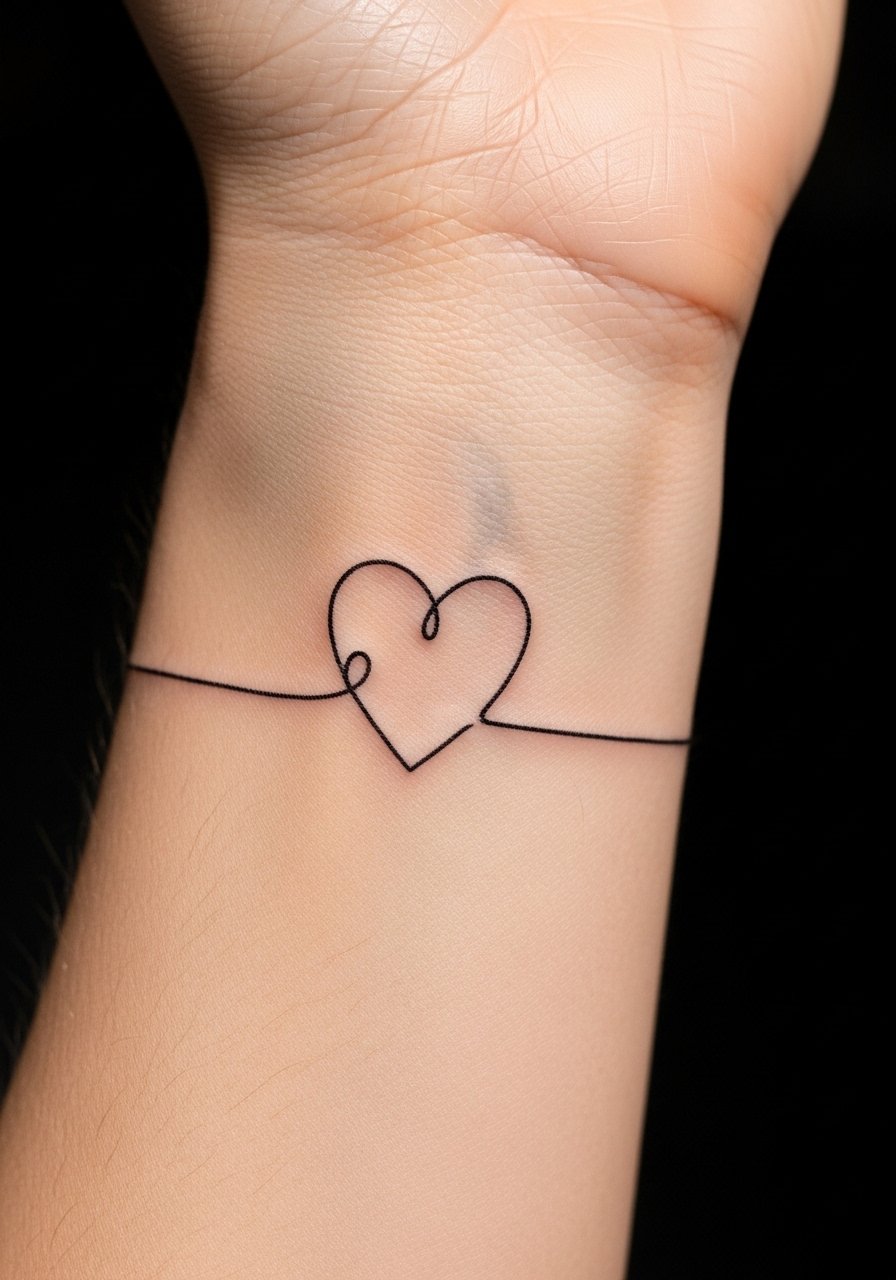
I often recommend a single-line heart for first-timers. It’s fast, about 10 to 20 minutes. Pain is gentle on the inner wrist. The trick is not to make the line thinner than 1.5 mm. Tiny thin lines disappear into faint gray after a year. Tell your artist you prefer a slightly bolder line while keeping a minimalist look. It will look clean at six months and softer at two years. Keep it moisturized and protected from sun for the best longevity.
10. Dotwork Mandala Wrist Cuff
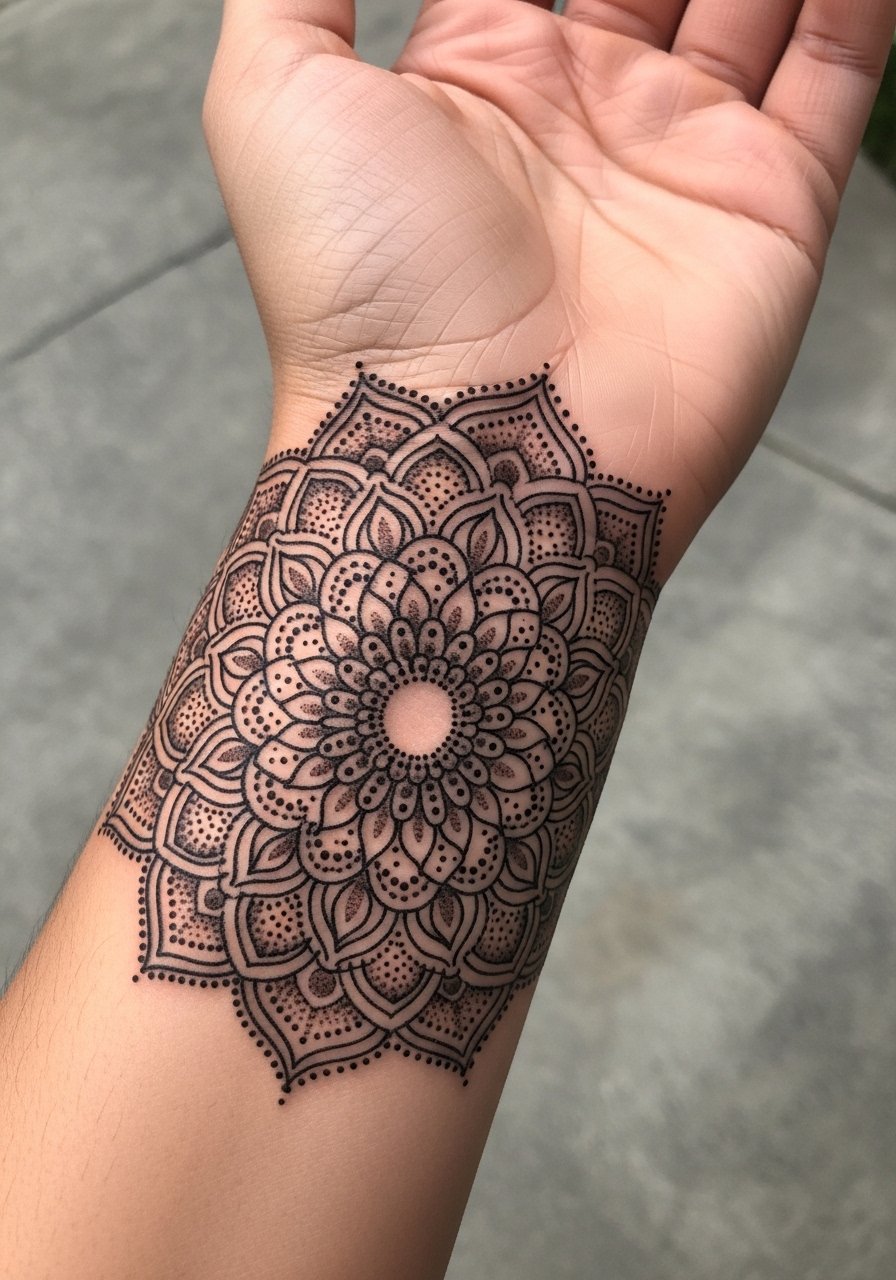
I saw a dotwork cuff worn under a watch band and it read like a delicate bracelet. Dotwork takes patience. Expect a 90 minute to two-hour session for a small cuff. The main mistake is packing dots too closely, causing a muddled gray patch when healed. Ask the artist to use negative space deliberately. That trick helps the mandala read longer. It ages into a softer lace pattern. If you want the high-contrast look maintained, plan a touch-up in 12 to 18 months and be religious with SPF.
11. Script Name Ribbon on Inner Wrist
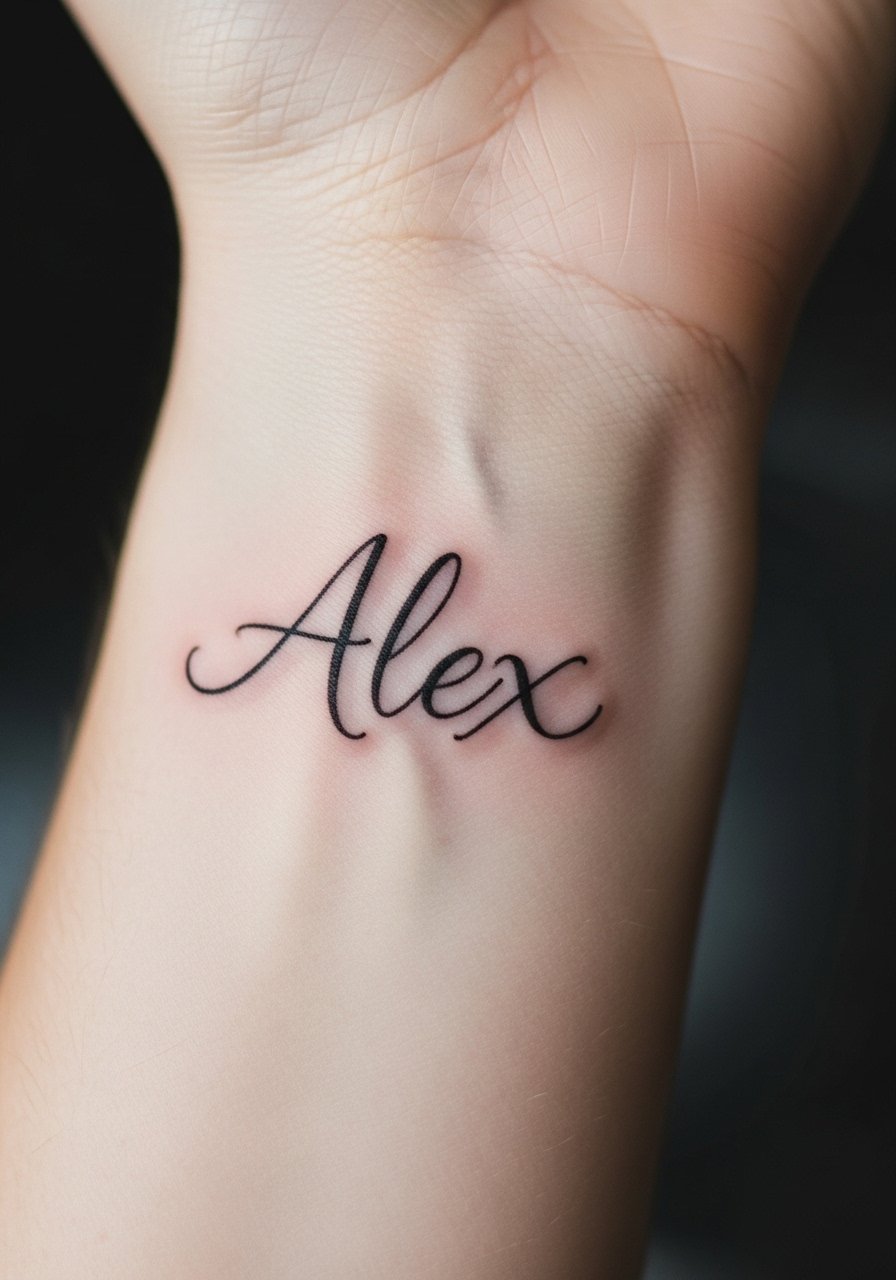
I recommend exact phrasing in consultations, so the artist gets spacing right. For a name ribbon, plan for 20 to 40 minutes. Pain is minimal. The mistake I see is requesting letters too narrow. That makes names smear over time. Tell your artist you want legible lowercase loops and slightly open counters. A touch-up at one year can correct any softening. If you plan matching names with a partner, bring both samples so line weight matches across both pieces.
12. Coordinate Tattoo on Inner Wrist

I used coordinates for a special place once. Small numbers need spacing. Expect 20 to 30 minutes. The common mistake is tiny typography with letters and commas too close. Ask for a monospace or very readable serif and space the elements. Over time the commas and decimal points can blur, so make digits slightly larger than you think. This style works well when you want a discreet memory that reads clearly with a glance. Keep it out of direct sun for long-term legibility.
13. Tiny Zodiac Glyph on Outer Wrist
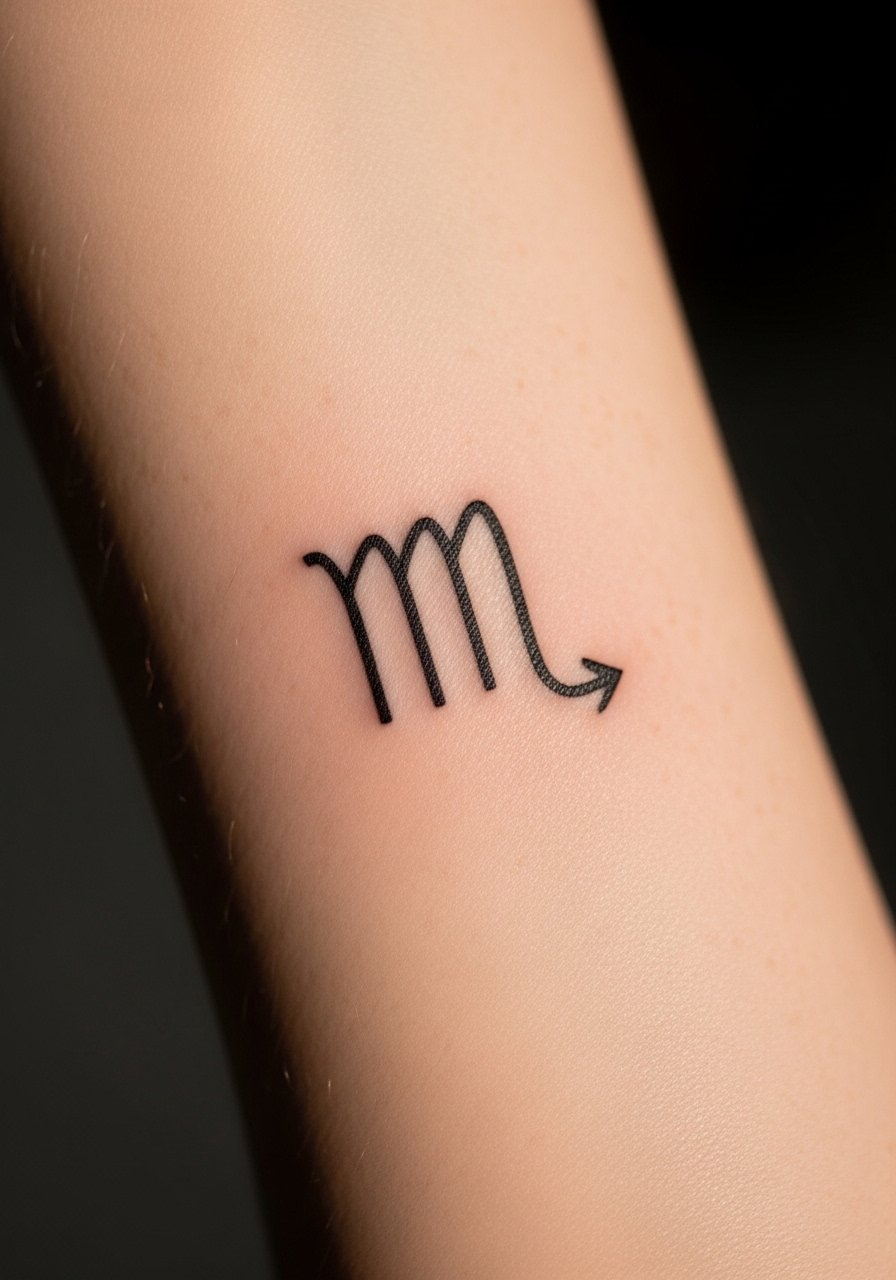
I noticed zodiac glyphs are popular for a reason. They are symbolic and compact. The outer wrist is a stable spot and reads well. Sessions are short. Avoid ordering an ultra-thin glyph. You need enough line weight for the symbol to hold. I tell artists I want bold edges where the glyph turns, so it keeps shape as it settles. Healed, it keeps identity even as lines soften. If you prefer a color variant, be ready for slightly more maintenance.
14. Soundwave Band on Inner Wrist

I once recorded a voice and had it inked. Soundwave tattoos are personal and modern. The wrist shows the waveform cleanly. Pain is low. You will be in for 20 to 45 minutes depending on length. Make sure the artist prints the exact waveform to scale, not smoothed. Smooth curves can lose the intended pattern after healing. A mistake I see is stretching waveform art to fit a small area. Keep it compact so details survive. When healed, the waveform looks like a fingerprint of sound.
15. Minimal Compass Rose on Inner Wrist
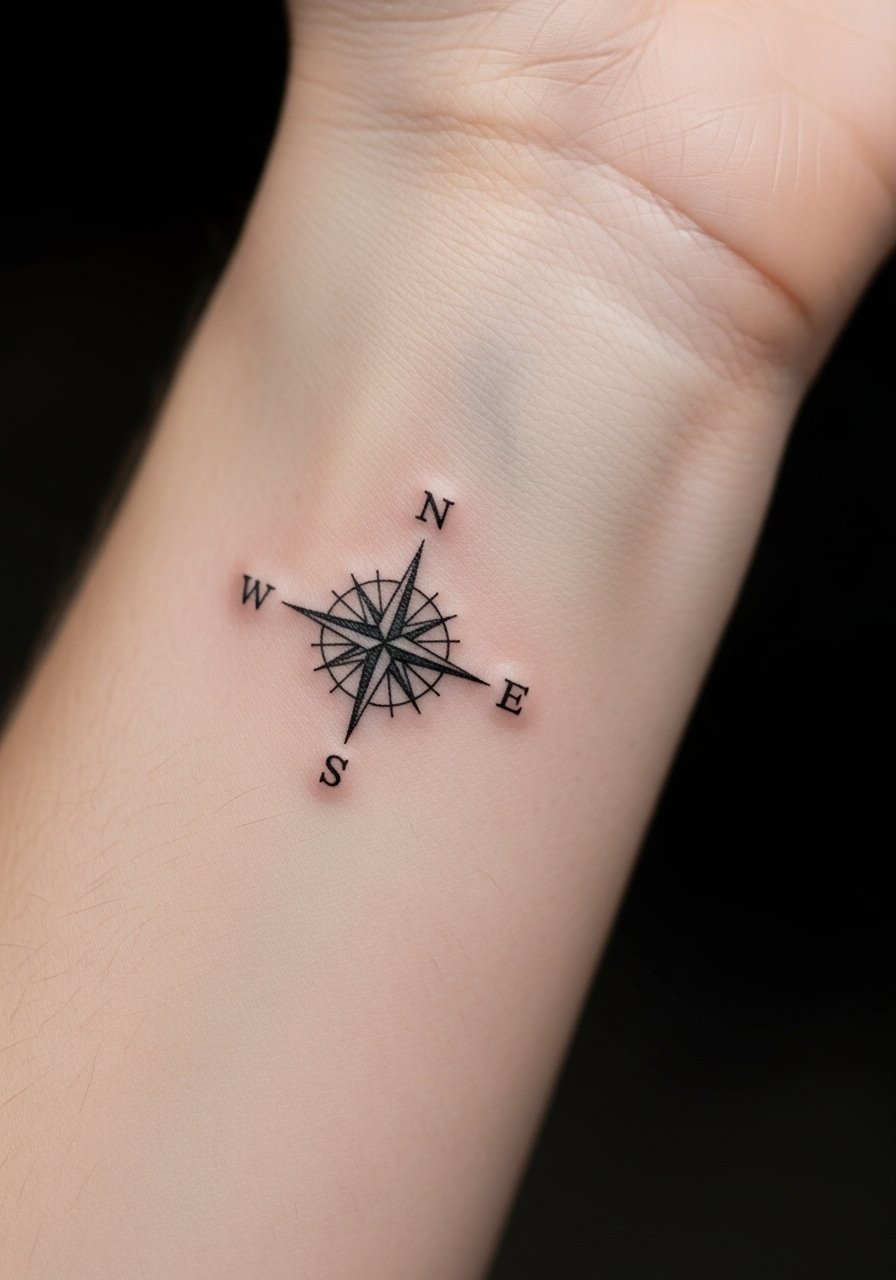
I chose a tiny compass when I started traveling more. The inner wrist placement helps orientation motifs read as hints, not statements. Sessions run 20 to 30 minutes. Ask for definite north marker and slightly heavier cardinal points. Artists often make all points identical, which leaves the symbol ambiguous after a year. This one ages well if structure is clear. Use SPF to prevent the central dot from fading faster than the arms of the rose.
16. Blackwork Arrow Along Side of Wrist
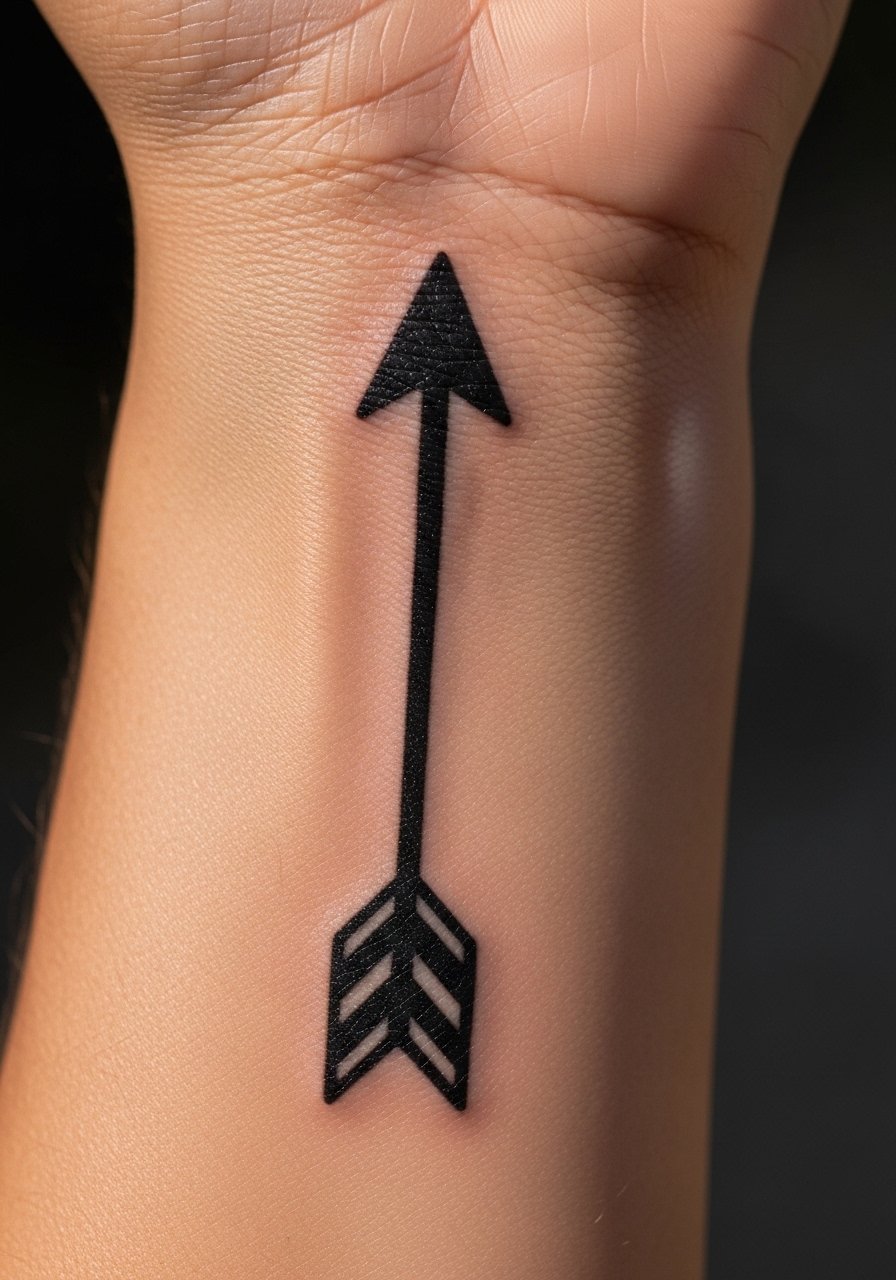
I saw an arrow like this used as a directional piece, pointing towards a scar. Side-of-wrist tattoos sit close to bone and sting more. Expect a 20 to 40 minute session. The common error is making the shaft too narrow. Narrow shafts blur into a gray line. Tell the artist to keep a consistent 2 to 3 mm thickness. Healed, arrows remain graphic. For longevity, ask for solid fills rather than stippled interior shading.
17. Watercolor Feather on Inner Wrist
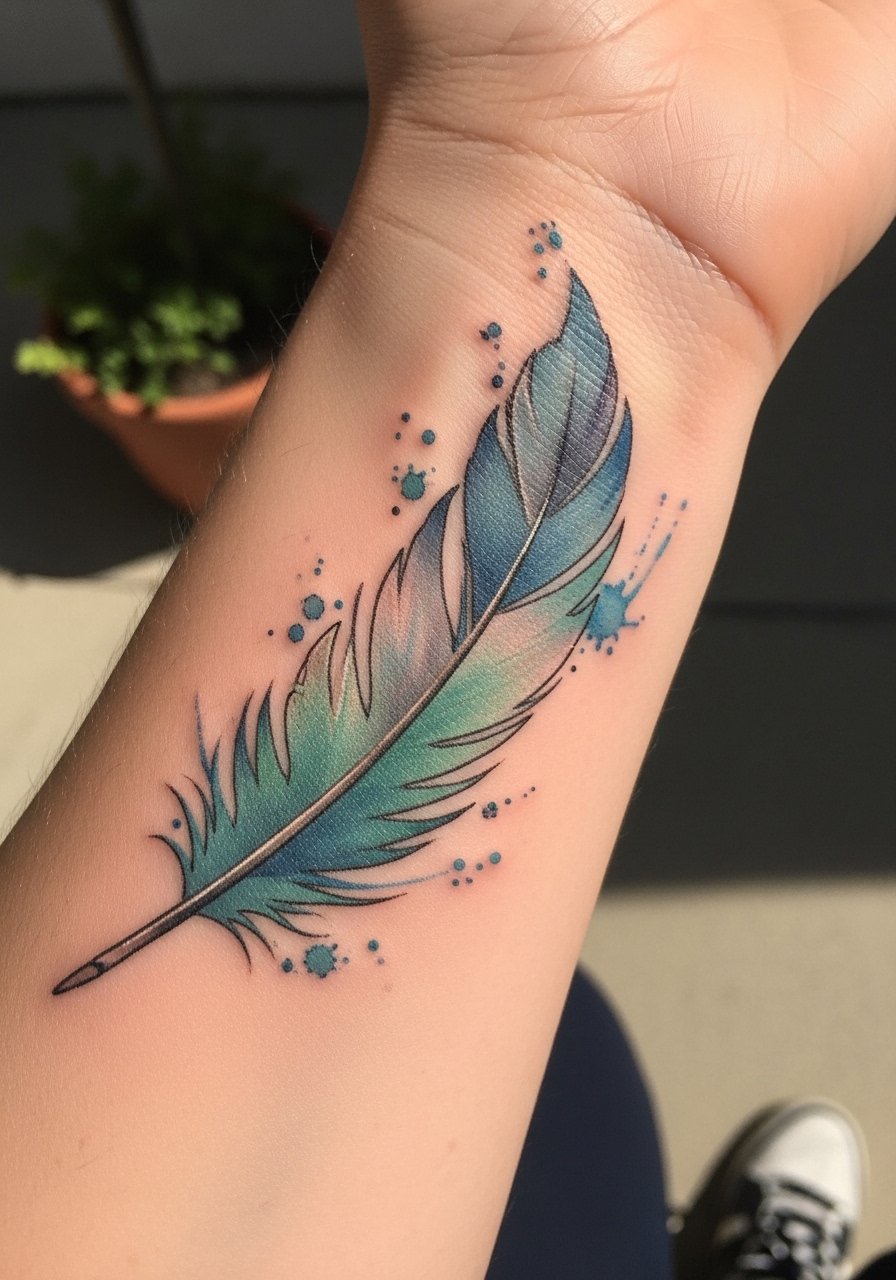
I learned that watercolor needs disciplined anchors. For a feather, request a thin outline or a set of tiny quill lines to keep the wash readable. Session time is about 45 minutes. Without anchors, watercolor spreads and looks like a bruise after some time. Ask for strategic saturation under the washes for longevity. Heals soft but retains the feathered motion if treated with sunscreen. Avoid lots of tiny strokes in ultrathin pigment.
18. Roman Numeral Date on Inner Wrist
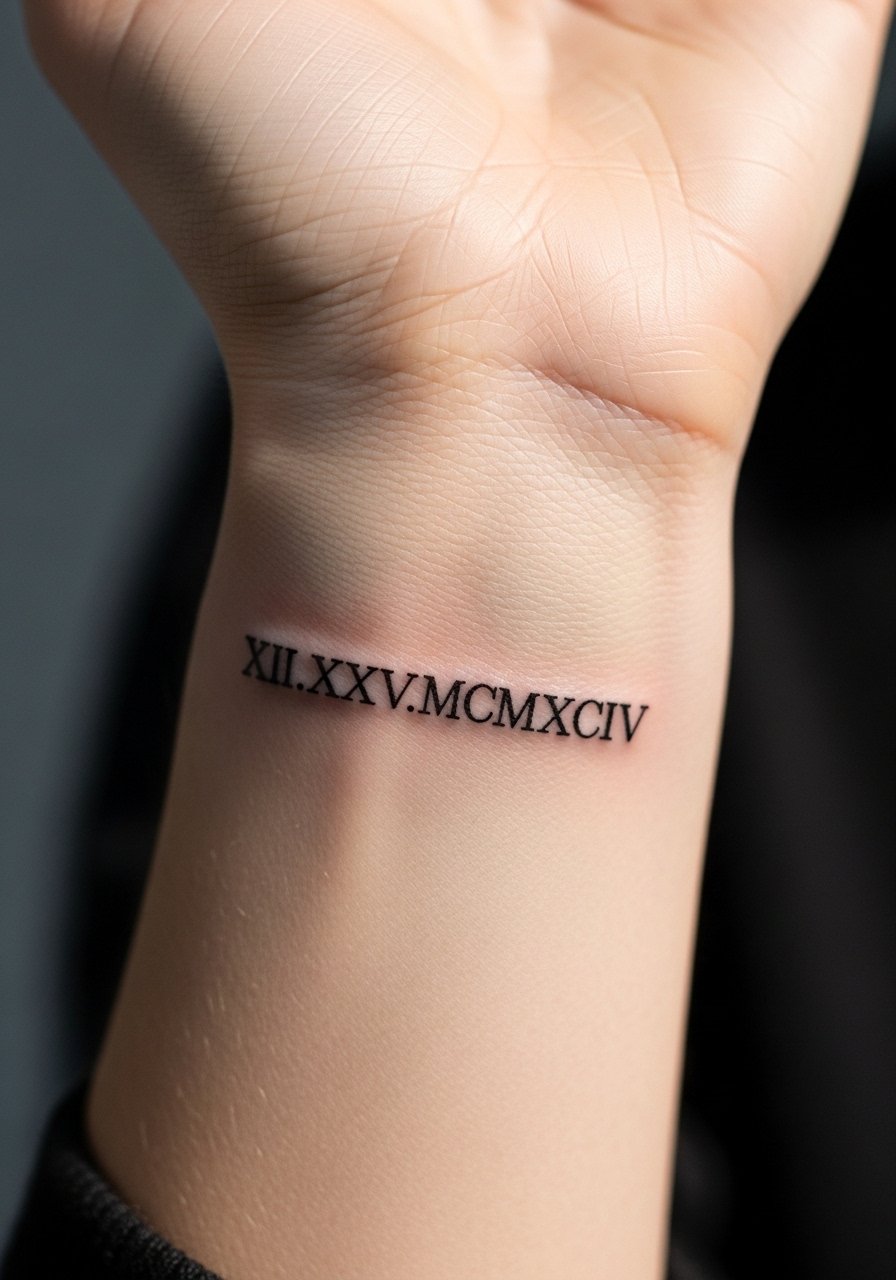
Memorial dates in roman numerals read timeless. I made one mistake once by using a condensed font. It cramped the numerals. Go with clear serif or monospace numerals spaced apart. Expect 20 to 35 minutes. The inner wrist is forgiving, but dots and periods can vanish if too small. Ask your artist to keep numerals bold enough to survive two to three years without heavy blurring. Recheck the translation at the consultation. I always bring printed examples.
19. Minimal Morse Code Bracelet on Wrist

I recommended Morse to someone who wanted privacy in meaning. It reads as subtle jewelry. Sessions are quick, around 20 minutes. The error most people make is spacing dots and dashes too tightly. Ask for consistent spacing and slightly larger dots. Over time the dots can pucker into small ovals. If you plan to wear a watch, place it so the bracelet remains visible when you want it to be. Heals to a delicate dotted line that ages nicely with minimal maintenance.
20. Botanical Vine Wrap in Fine Line
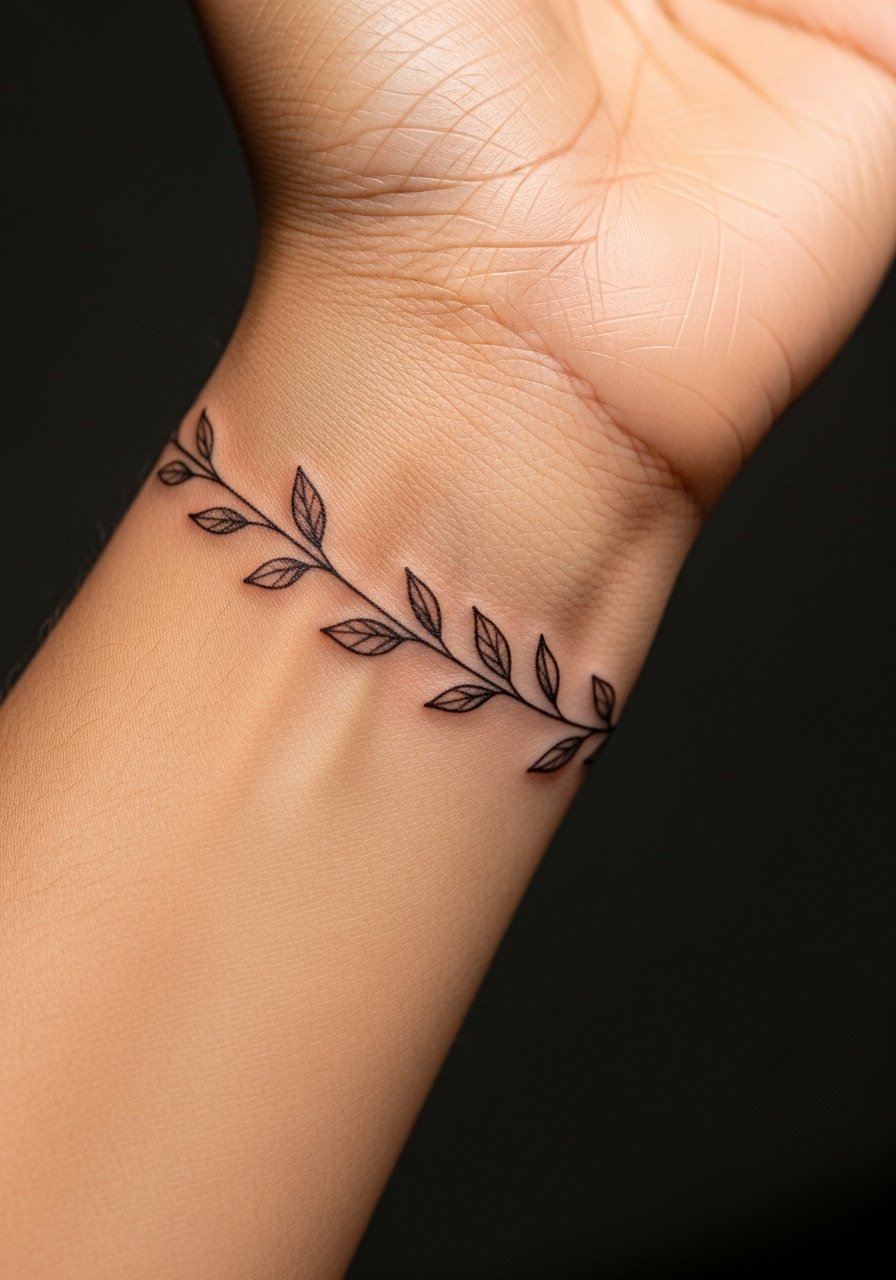
I once covered a faded band with a vine and it became more readable than the original. Vines wrap like jewelry and look delicate. Pain is moderate when wrapping under skin folds. Sessions vary, typically 45 to 90 minutes for more coverage. The common mistake is adding too many tiny leaves. They merge. Ask your artist for larger leaf shapes and purposeful breaks. Healed, the vine reads as a soft bracelet. Keep it moisturized and avoid scrubbing during healing.
21. Tiny Paw Print on Inner Wrist
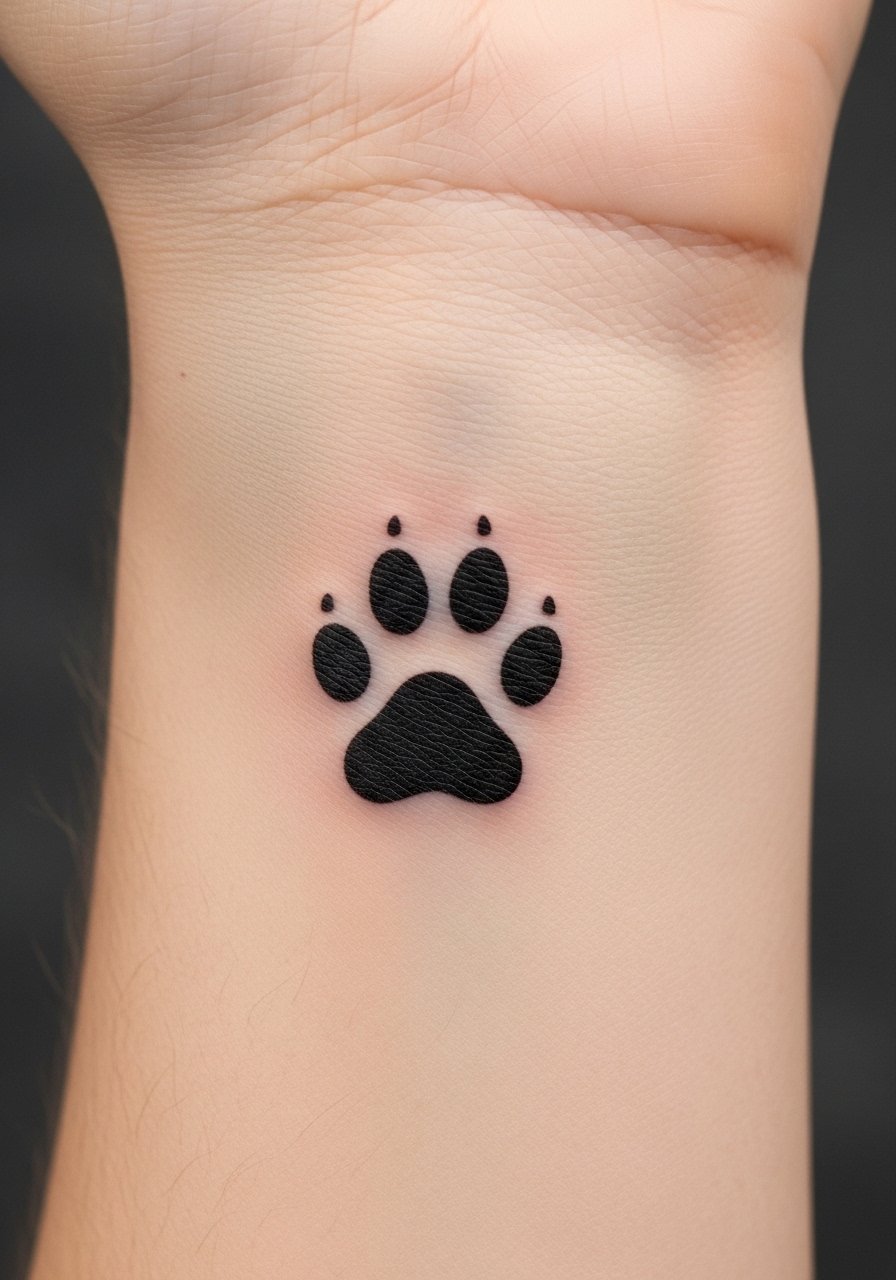
Pet memorials are everywhere. A tiny paw is quick and low pain. Ten to twenty minutes for a single small print. The mistake is asking for ultra-fine toes. Those dots need to be at least 2 mm. I always tell artists to slightly over-proportion pads so they stay recognizable after a year. If you want color, muted browns work but require more sun care. Heals into a cute, legible icon if sizing is right.
22. Minimal Soundwave with Tiny Heart Accent
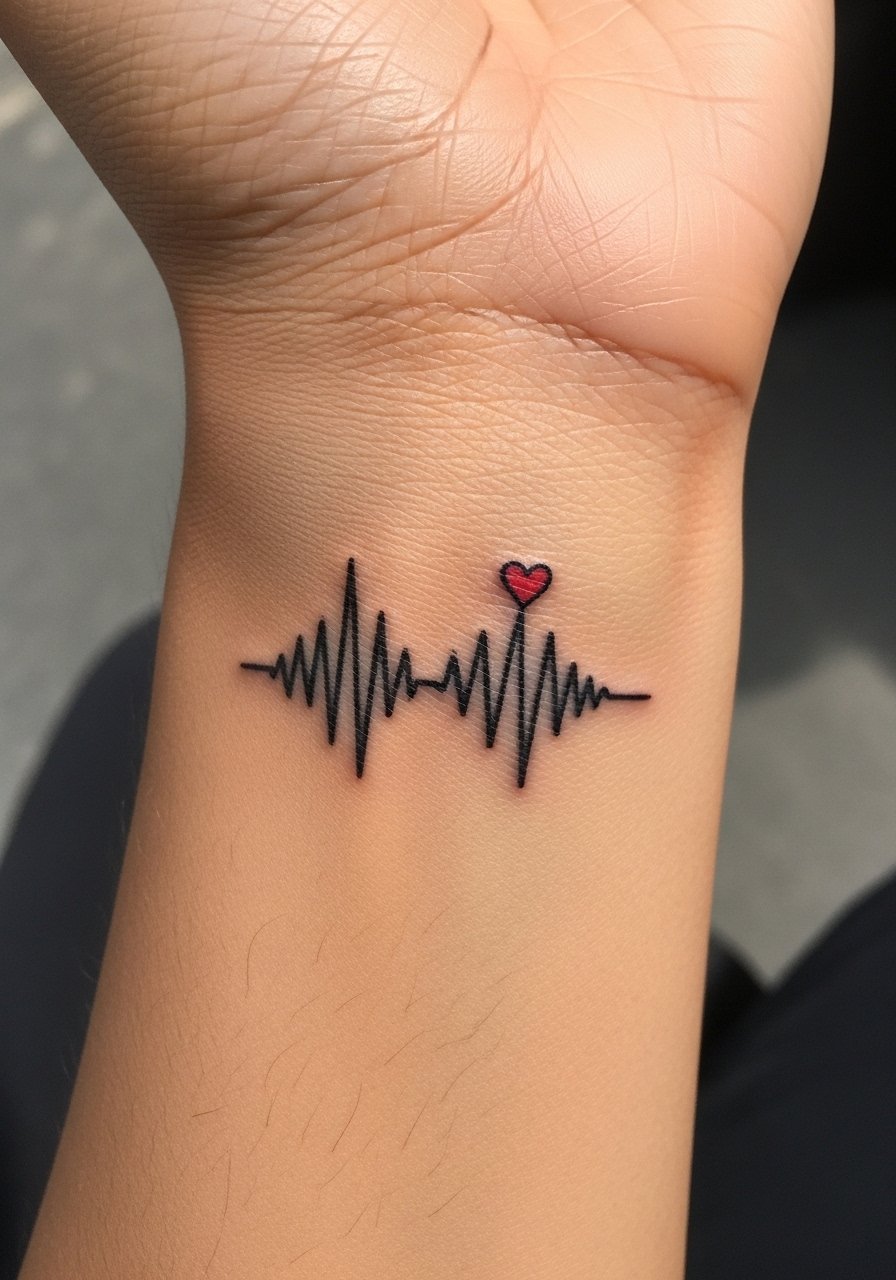
I saw this combo when someone wanted a loved one’s laugh paired with a symbol. The small heart anchors the waveform visually. Session time is 20 to 40 minutes. Tell your artist to keep the heart slightly larger than the waveform peaks so it remains distinct. The error I see is tiny hearts that smear into color patches. Healed, the contrast between black waveform and a small color accent holds if you protect it from sun. This one reads as a tiny story of sound and love.
23. Lock-and-Key Micro-Realism on Outer Wrist
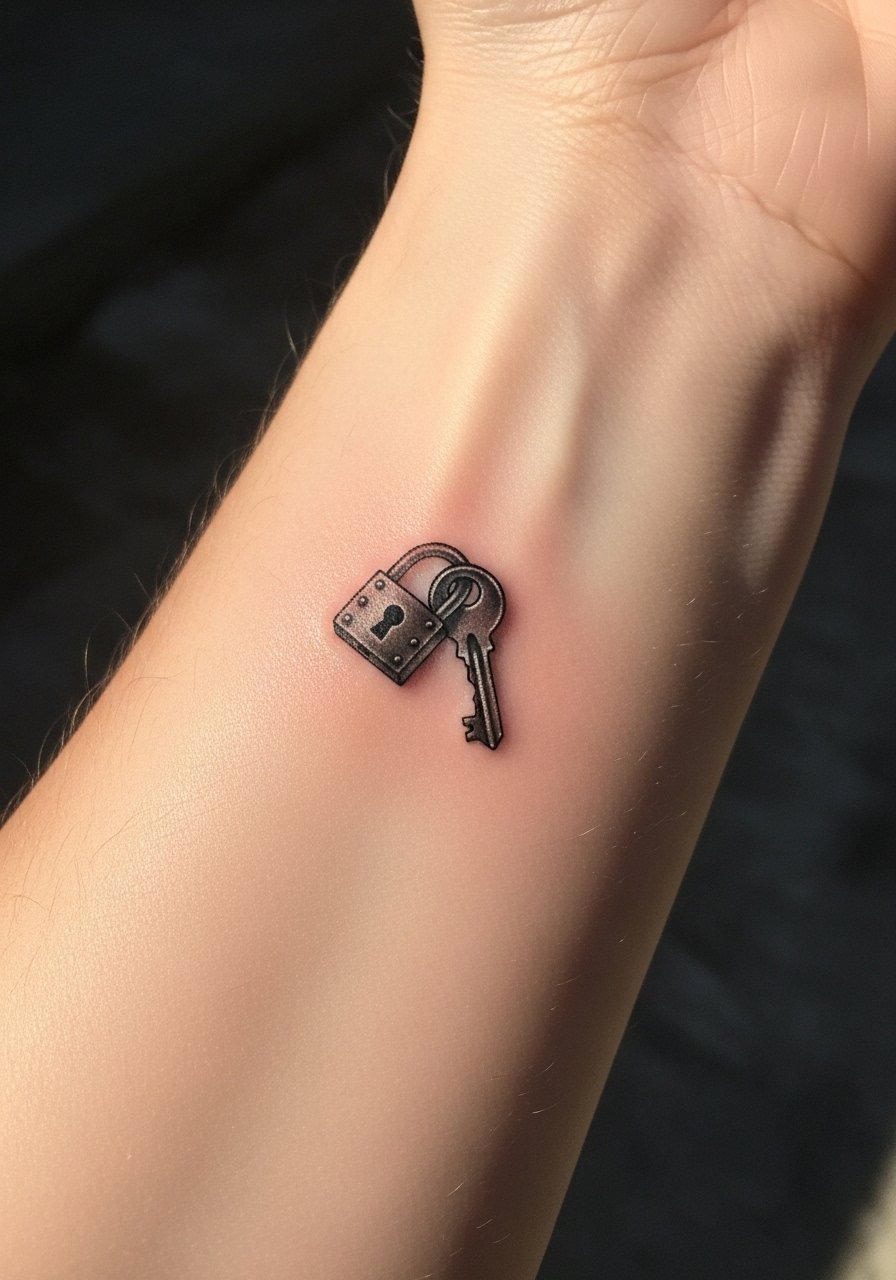
I noticed lock-and-key pairings on collectors who travel. Outer wrist shows metallic shading well. Expect 45 to 75 minutes for realistic highlights. The usual mistake is over-detailing the key teeth in a small area. Simplify. Ask for key silhouette with a few defined teeth rather than tiny engraving. Healed highlights will soften, so tell your artist to plan stronger contrast to begin. This keeps the metal feeling intact after a year.
24. Interlocking Hearts on Paired Inner Wrists
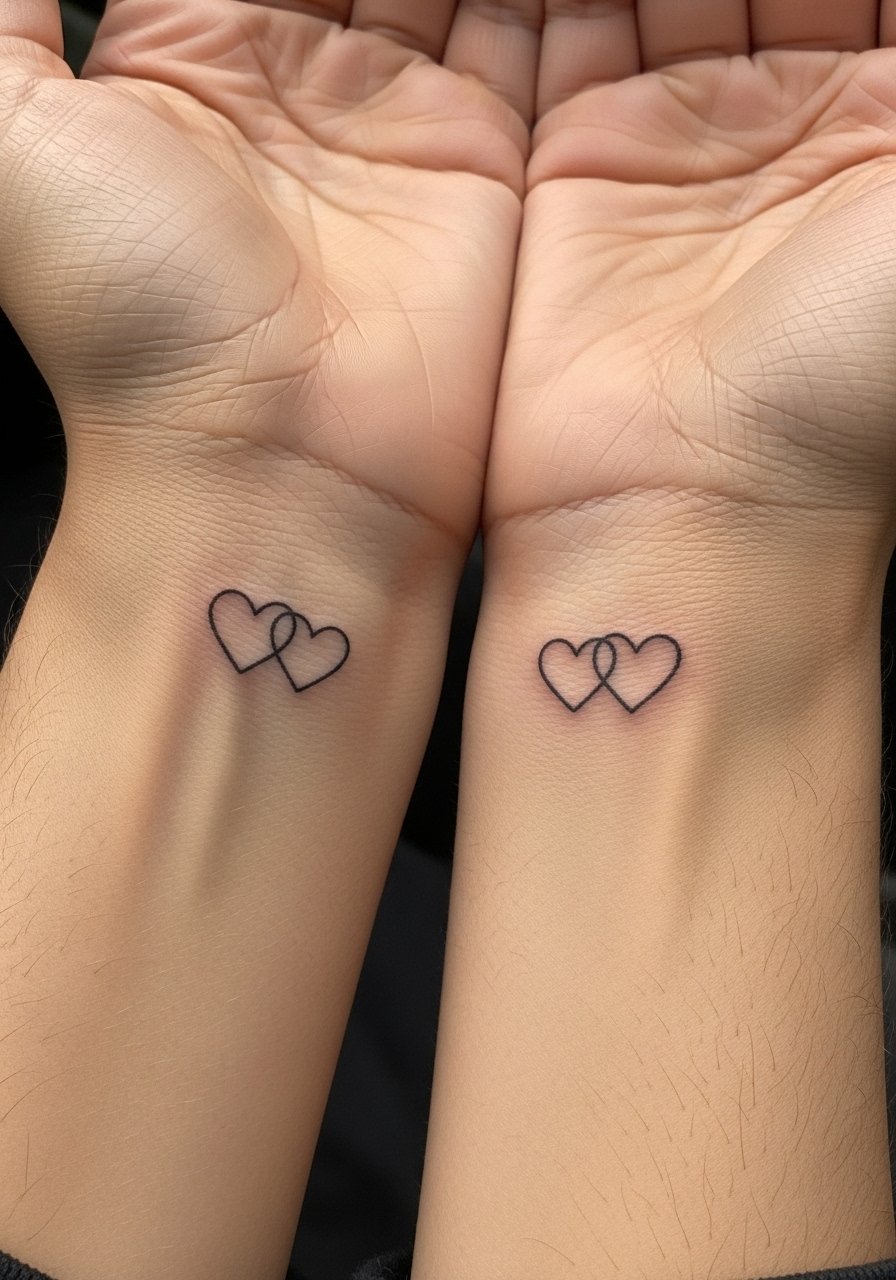
I did matching interlocking hearts with a friend, and alignment mattered. If you plan paired pieces, bring both wrists to the consultation. Sessions are short. The common mistake is misalignment across the two wrists, which reads off when your hands meet. Ask the artist to mark placement on both wrists and ensure size parity. Healed pieces maintain the connection visually, and matching heart thickness will age consistently.
25. Minimal Line Mountains on Wrist Edge
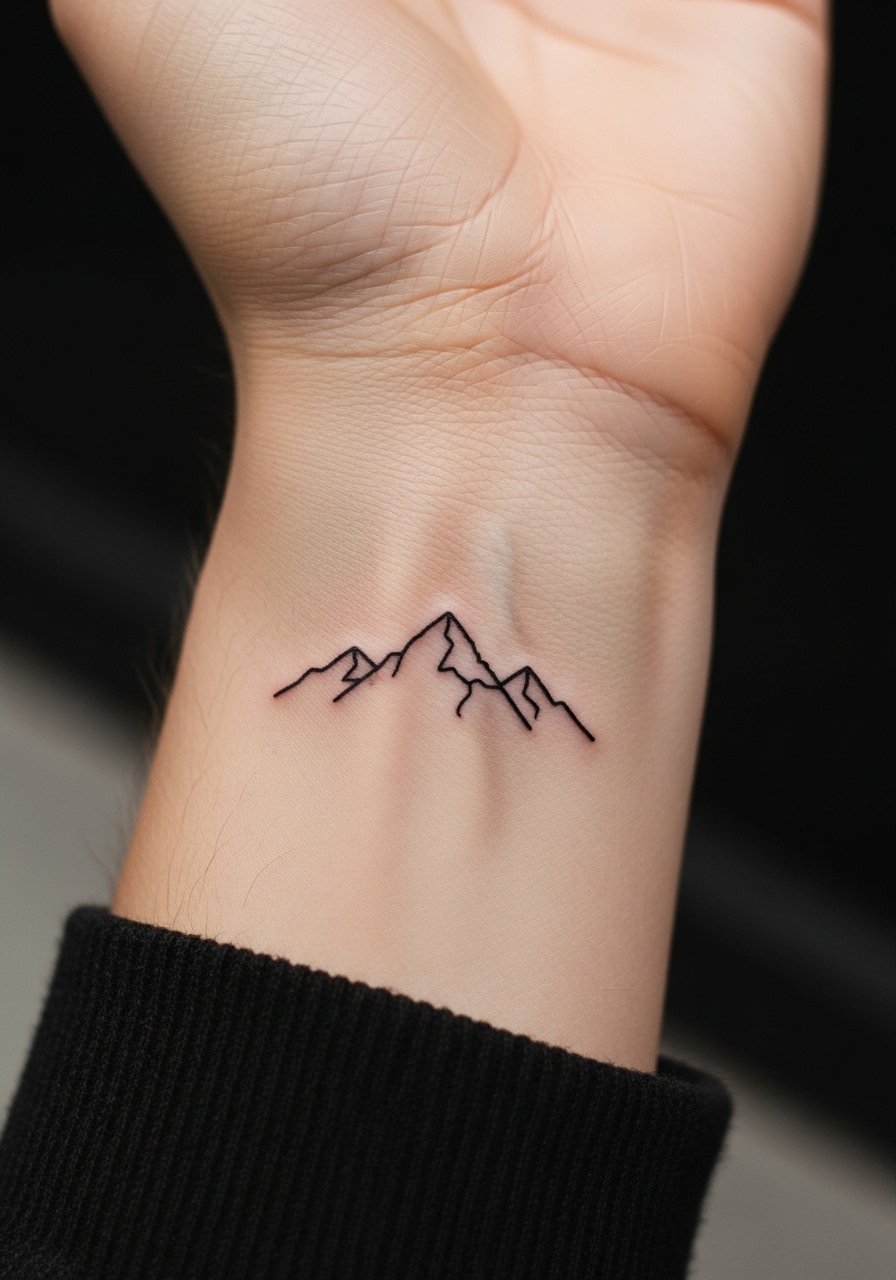
I recommend tiny mountains to people who love subtle outdoors reminders. Edge placement follows the wrist contour and looks dynamic. Sessions are 15 to 30 minutes. The mistake is using zigzag tiny peaks that blur. Ask for slightly rounded peaks and a thicker base line. Healed lines soften, so keep the silhouette readable by avoiding micro-detail. The motif looks like a horizon even after a few years.
26. Tiny Hourglass in Blackwork on Inner Wrist
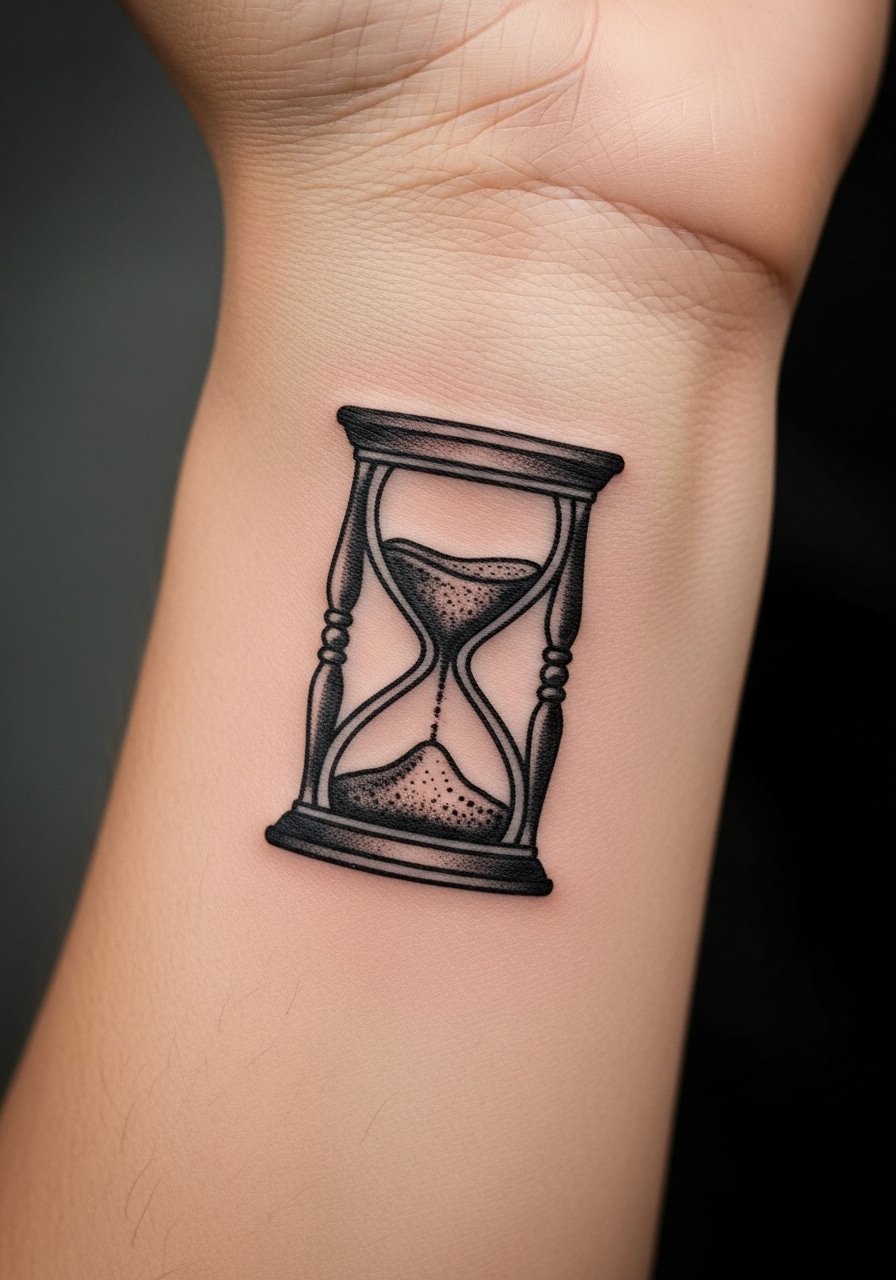
I chose an hourglass when I wanted a reminder to slow down. Inner wrist placement keeps it intimate. Expect 25 to 40 minutes. The error people make is giving too much tiny texture to the sand area. That becomes a gray patch when healed. Request clear negative space within the glass and solid black frames. That preserves shape. Healed hourglasses age well as graphic icons.
27. Minimalist Barcode With Hidden Number

I once used a barcode to hide a lucky number. Make the visible number readable by requesting it slightly bolder. Sessions are 20 to 35 minutes. The mistake is making the bars too thin or too close. That causes adjacent lines to bleed together. Ask your artist for thicker bars and a small clear number beneath. Healed barcodes become abstract stripes but keep the numeric anchor if sized properly.
28. Script Word "Hope" in Lowercase on Inner Wrist
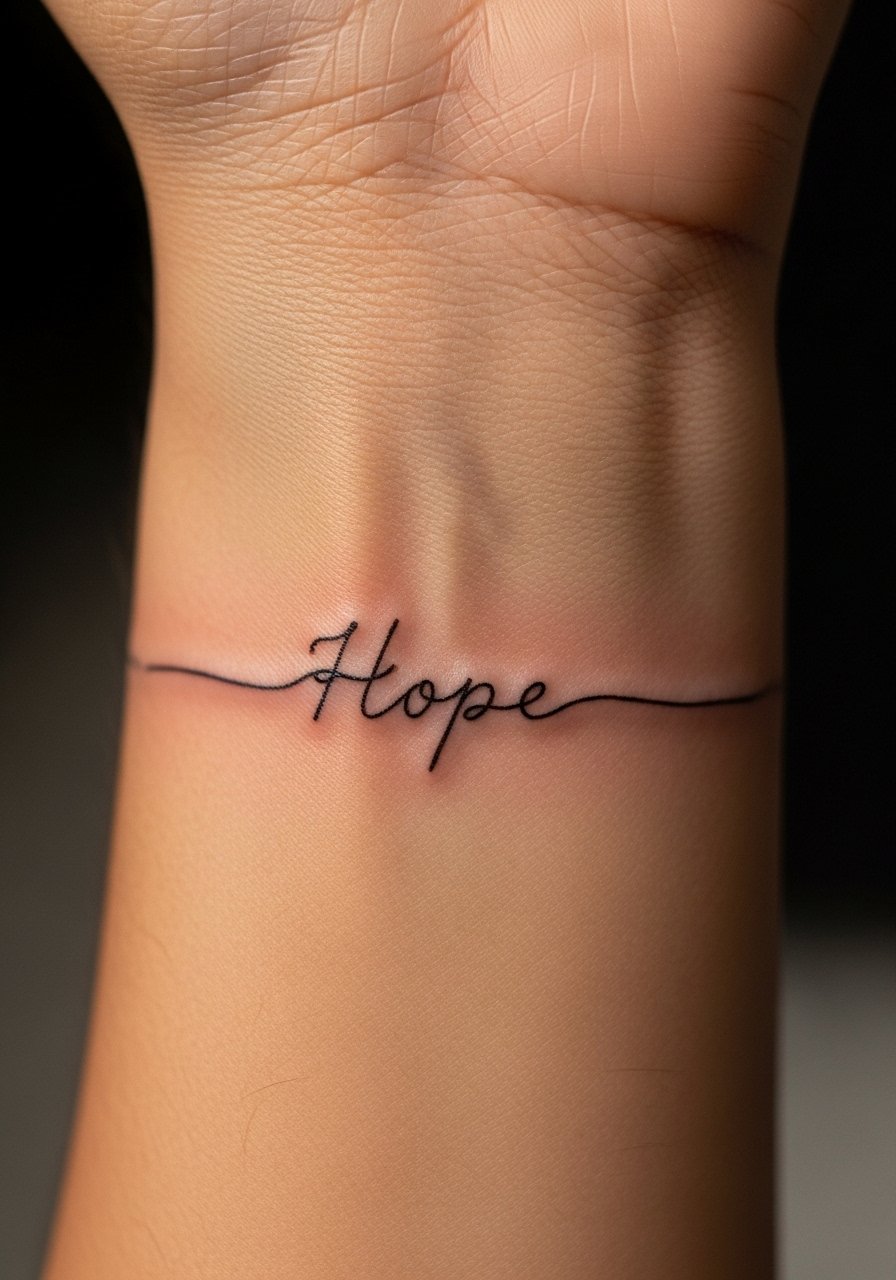
I recommend single-word scripts when you need a steady reminder. "Hope" works on a wrist because you can read it easily. Sessions are 20 to 30 minutes. The common mistake is choosing a font with tight counters. That reduces legibility as the ink migrates. Tell the artist to space letters and keep the baseline steady. Healed words soften but remain legible if the initial stroke has substance.
29. UV-Accent Glyph on Ulnar Wrist
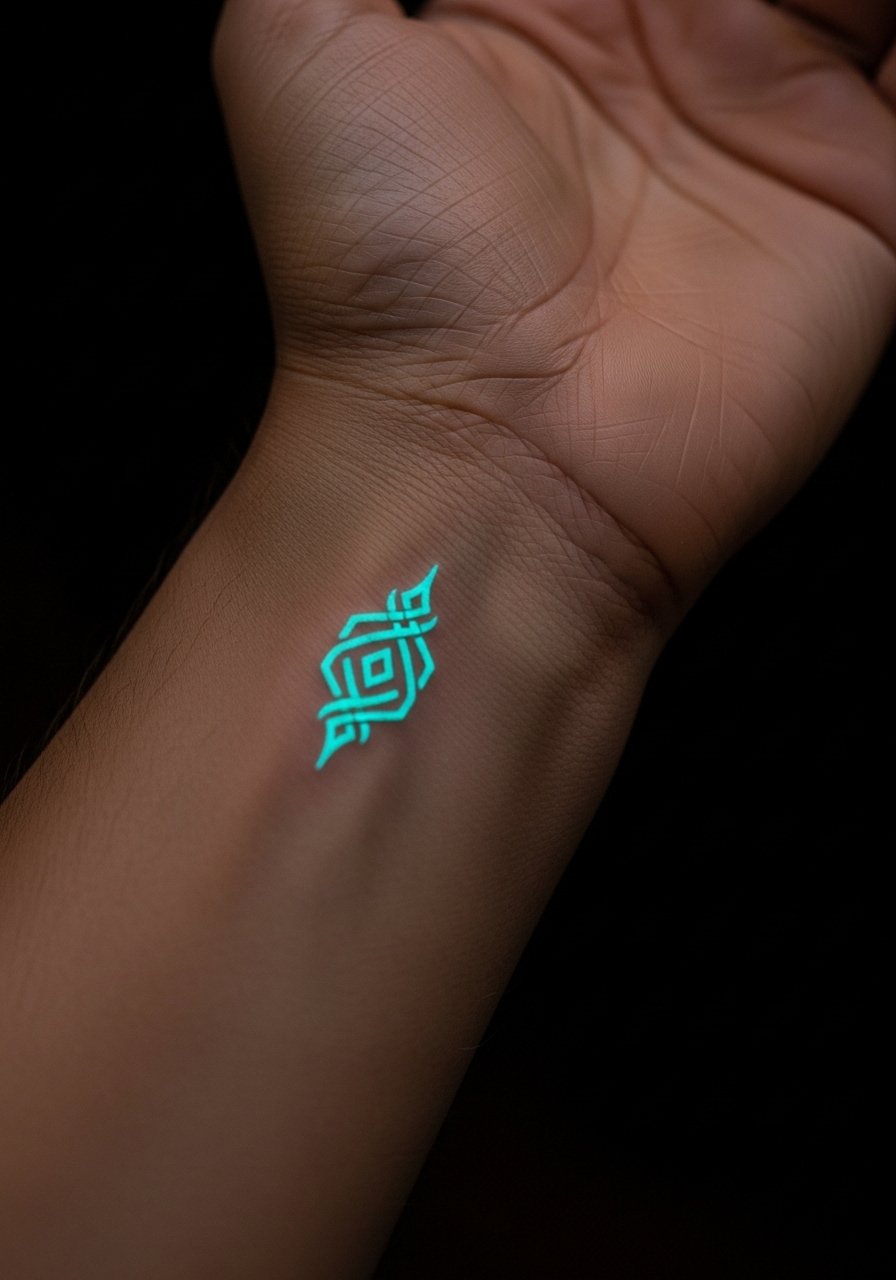
I tested UV accent ink for a discreet sparkle under blacklight. Pain is similar to regular ink. Artists I’ve talked to say UV can fade faster and requires careful aftercare. If you want a long-term pop, pair UV with a tiny black anchor line. The mistake is using UV alone as the only visible element. It can almost disappear in daylight. If you plan shows under UV, ask about ink stability and plan for maintenance. Healed results are subtle in daily life but fun under specific lighting.
30. Solid Black Cuff Band on Wrist
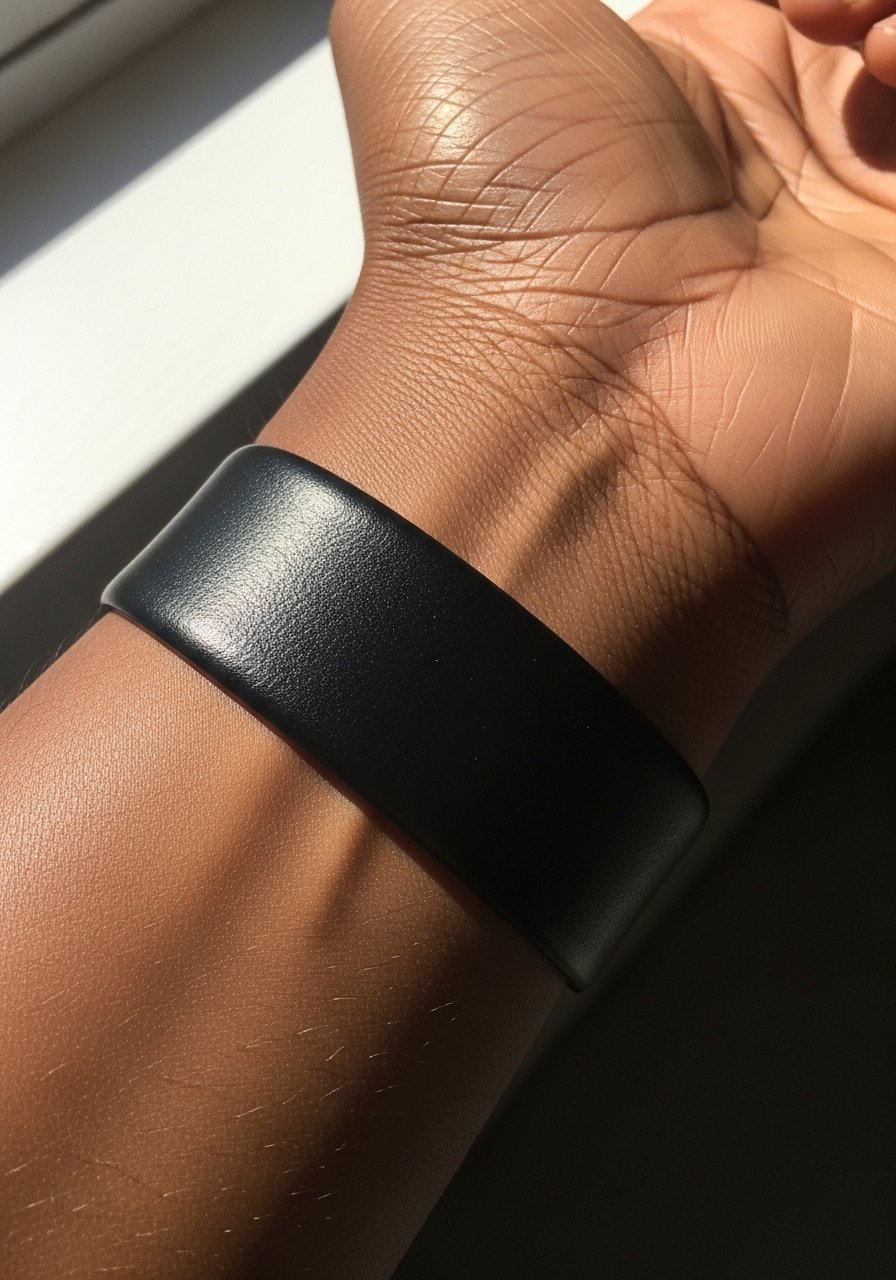
I watched a cuff transform a plain wrist into a strong statement. The wrap hits bone and can sting. Sessions range 30 to 90 minutes depending on width. The biggest mistake is going too thin for a cuff expecting it to behave like jewelry. Thin bands blur. For a crisp band, pick a minimum width and expect some softening at the edges as it heals. Blackwork cuffs age into a softer silhouette but retain the bracelet feel if initially bold.
Tattoo Prep and Aftercare Essentials
Aftercare Essentials:
- Aquaphor Healing Ointment, 14oz tube. Industry standard for first 3 to 5 days. I use a thin layer at night
- Saniderm Transparent Adhesive Bandage, 6-inch roll. Second skin healing method. Every artist I know recommends it for the first 24 to 72 hours
- CeraVe Fragrance-Free Moisturizing Lotion, 12 oz pump. Daily moisturizer for days 4 to 14. I prefer the pump bottle for hygiene
- Dr. Bronner's Unscented Castile Soap, 8oz bottle. Gentle cleanser for rinsing twice a day the first week. Dilute a small drop with water
Before Your Appointment:
- Numbing Cream with 5% Lidocaine, 30g. Apply 30 to 45 minutes before your session only if your artist approves. Some artists prefer no numbing
- Tattoo Stencil Transfer Paper, A4 Pack. Useful if you want to test placement at home before your appointment
Long-Term Maintenance:
- SPF 50 Sunscreen Stick for Tattoos, Travel Size. Use on healed tattoos whenever they see sun. I carry one for beach days
- Mad Rabbit Tattoo Balm, 2 oz. Long-term maintenance for vibrancy. Artists I know recommend it for healed pieces
- Hustle Butter Deluxe, 5 oz. Vegan alternative that works during healing and after. Smells better than most aftercare
Optional Comfort Items:
- Tattoo Numbing Spray, 4 oz. Handy for touch-ups or sensitive areas mid-session
- Hydrocolloid Bandages, Large Size. Good alternative to Saniderm for small to medium tattoos
Frequently Asked Questions
Q: Will fine line wrist scripts like "Breathe" blur into a gray line after two years?
A: From what I've seen, many fine line scripts soften but they do not become unreadable if the artist uses slightly thicker hairlines and spaces letters. Ask for a 1.5 to 2 mm minimum stroke on small script. Use a long-term balm like Mad Rabbit Tattoo Balm, 2 oz after the initial heal. Most artists I’ve talked to prefer a small touch-up window at 12 to 18 months for scripts.
Q: Do watercolor wrist pieces need different aftercare than blackwork?
A: In my experience, watercolors need the same basic cleaning and moisturizer routine, but you must be stricter with sun protection. The pigments used in watercolor washes fade faster in UV. I always recommend an SPF stick like SPF 50 Sunscreen Stick for Tattoos, Travel Size when going to the beach or being outdoors for extended periods.
Q: Can a tiny portrait on the wrist still look like the person after five years?
A: Tiny portraits can lose facial detail over time. I advise clients to focus on silhouette and high-contrast features rather than micro-details. Ask your artist for bold shadow anchors rather than delicate hairlines. Plan for at least one touch-up after the initial healing period. Using a quality moisturizer like Aquaphor Healing Ointment, 14oz tube during early healing helps reduce heavy scabbing that robs detail.
Q: Is Saniderm worth using on wrist tattoos that flex and rub?
A: Every artist I've talked to recommends Saniderm for flat, low-movement spots. For the wrist, it can be excellent if the band is applied without folds. If your band will bend over the joint heavily, a short Saniderm window of 24 hours then switching to gentle soap and moisturizer works better. I carry Saniderm Transparent Adhesive Bandage, 6-inch roll when traveling for touch repairs.
Q: Do UV ink details ruin the long-term look of a wrist tattoo?
A: UV ink alone can fade faster and look faint in daylight. From what I've experienced, pairing UV accents with a stable black outline keeps the design readable while giving you that reveal under blacklight. Ask your artist about pigment stability and expect occasional maintenance. UV accents are fun for events, but plan them as supplemental, not primary, elements.
Q: How painful is a cuff band compared with a tiny inner wrist icon?
A: A cuff band usually hurts more because it often crosses bony areas and requires consistent pressure for solid fill. A tiny icon on the inner wrist is quicker and less intense. For cuffs, bring snacks and expect a longer session. I found that even a 30 minute cuff feels more intense than a 15 minute small symbol. If you want a cuff but need lower pain, consider breaking the session into two shorter sittings.
