
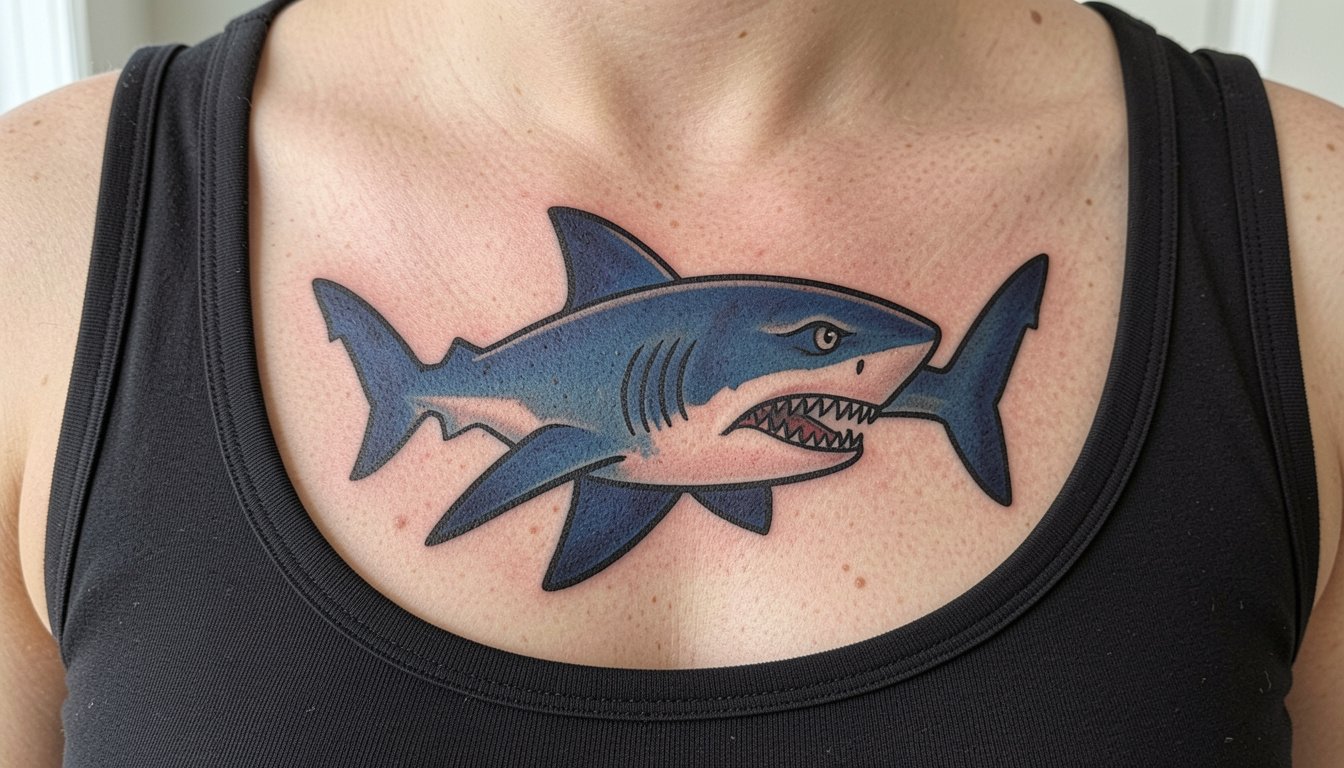
Bold black outlines with heavy saturation hold up better than the ultra-thin shark sketches people repost on social feeds. I have seen small, single-needle shark motifs blur into indistinct shapes after a few years, while a confident traditional piece still reads from across a room once it has healed. Read on for designs that respect how shark motifs age, what to insist on during your consultation, and which placements actually keep that bite crisp over time.
1. Bold Hammerhead on Outer Forearm
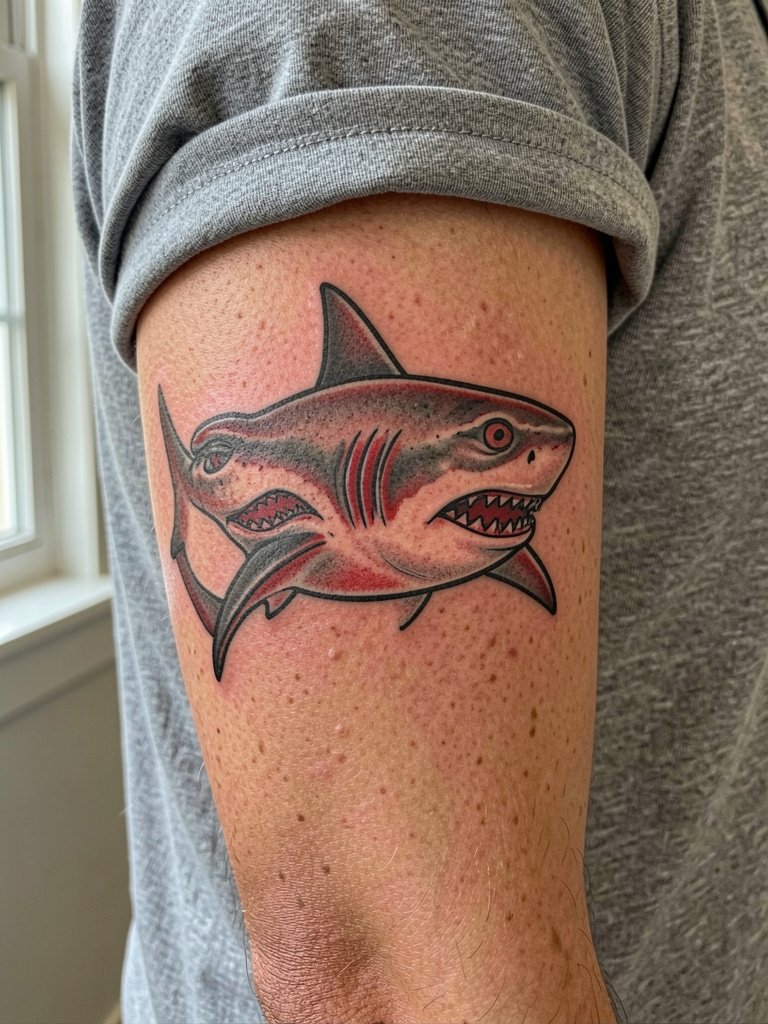
A classic hammerhead rendered in traditional weight reads well on the outer forearm where the skin is relatively flat. I recommend this when you want a bold, legible piece that still looks good in short sleeves. Plan for a one to two hour session depending on color. Request slightly wider linework than your reference so the head stays defined at year three. A common mistake is asking for tiny eye details that disappear during healing. Expect low blowout risk on the outer forearm and a touch-up around year two if you want saturation freshened. For showing it off, roll a sleeve up and pair the piece with short-sleeve linen shirts that keep the forearm visible.
2. Traditional Shark Bite on Inner Forearm
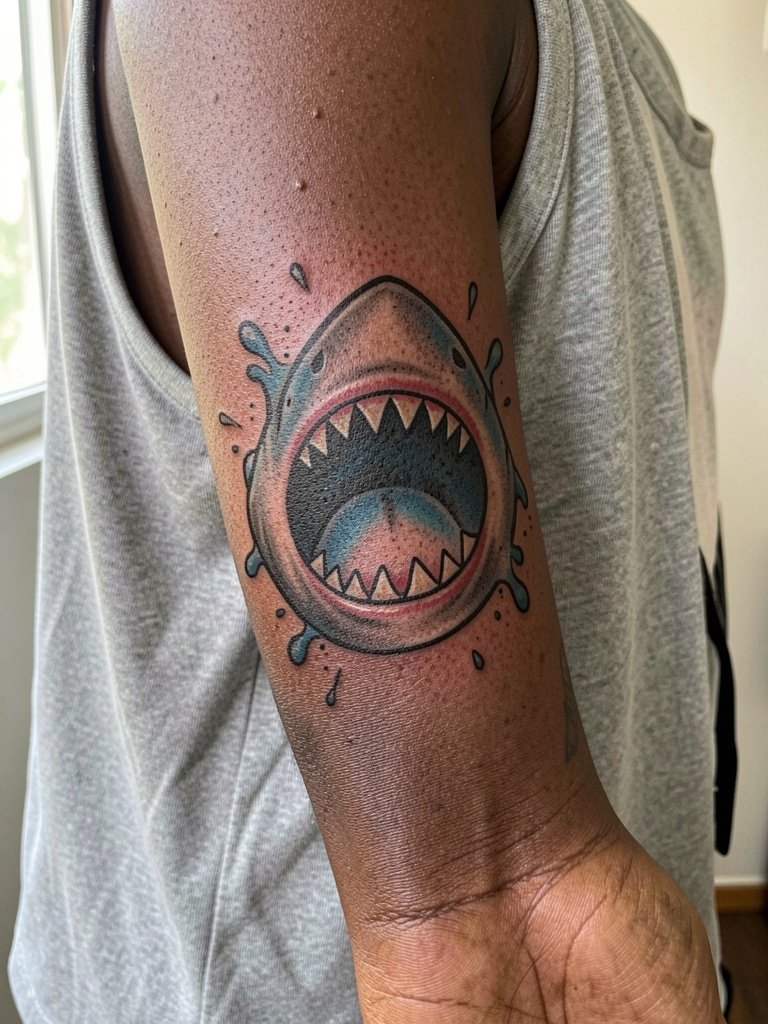
An inner forearm shark with flat color fills keeps detail readable while letting the piece wrap with arm movement. Recommend this for anyone who wants a visible but easy-to-cover spot. When you sit with your artist, bring a photo that shows the forearm at rest so they can map the jaw to how the arm folds. The inner forearm can eat single-needle detail, so avoid ultra-fine teeth lines. Expect medium pain and a one to one-and-a-half hour session for a three to four inch piece. At six months the color will settle, and by two years the outline remains the strongest element. For evenings out, pair the area with rolled-up sleeve shirts to frame the design.
3. Sailor Girl Shark Sleeve Accent on Shoulder Cap
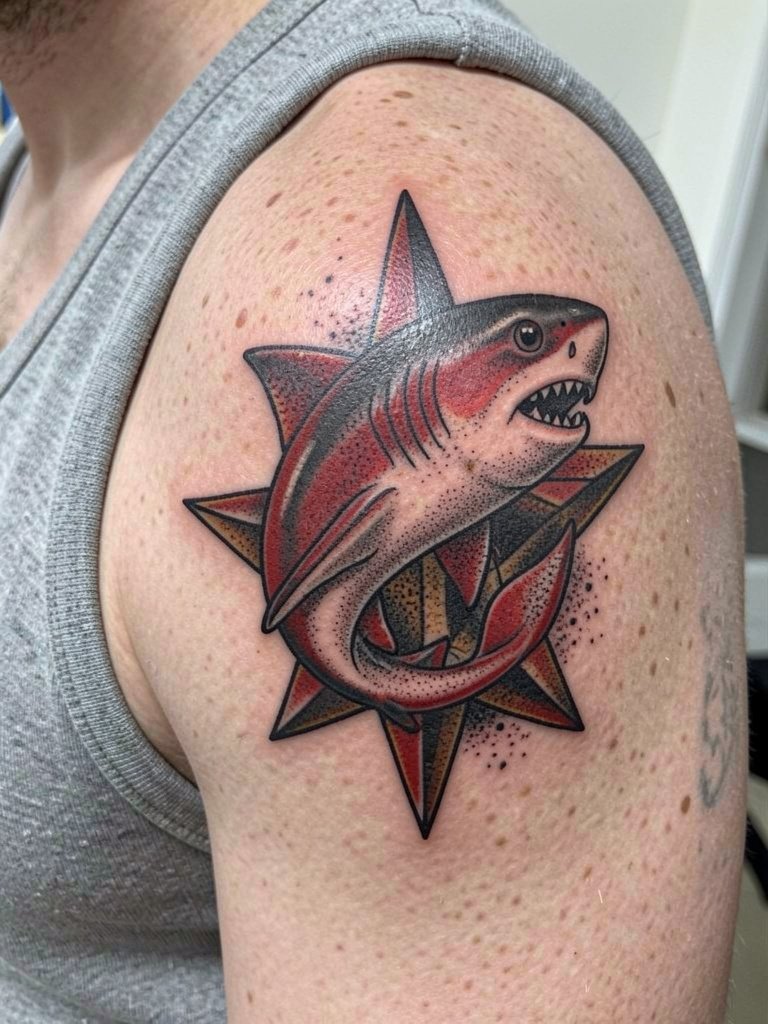
This placement works when you want a piece that flows into a larger sleeve later. I recommend solid black outlines with saturated fills so the shark keeps its form as you add surrounding work. Expect a one-and-a-half to two-hour session and medium pain for the shoulder cap. A frequent mistake is asking for complex stippling too close to the shoulder edge where the skin moves and blotches shading. For show-off outfits, this area pairs well with scoop-neck tanks that leave the shoulder visible. Touch-ups at year three maintain that crisp silhouette.
4. Neo-Traditional Shark with Floral Frame on Calf
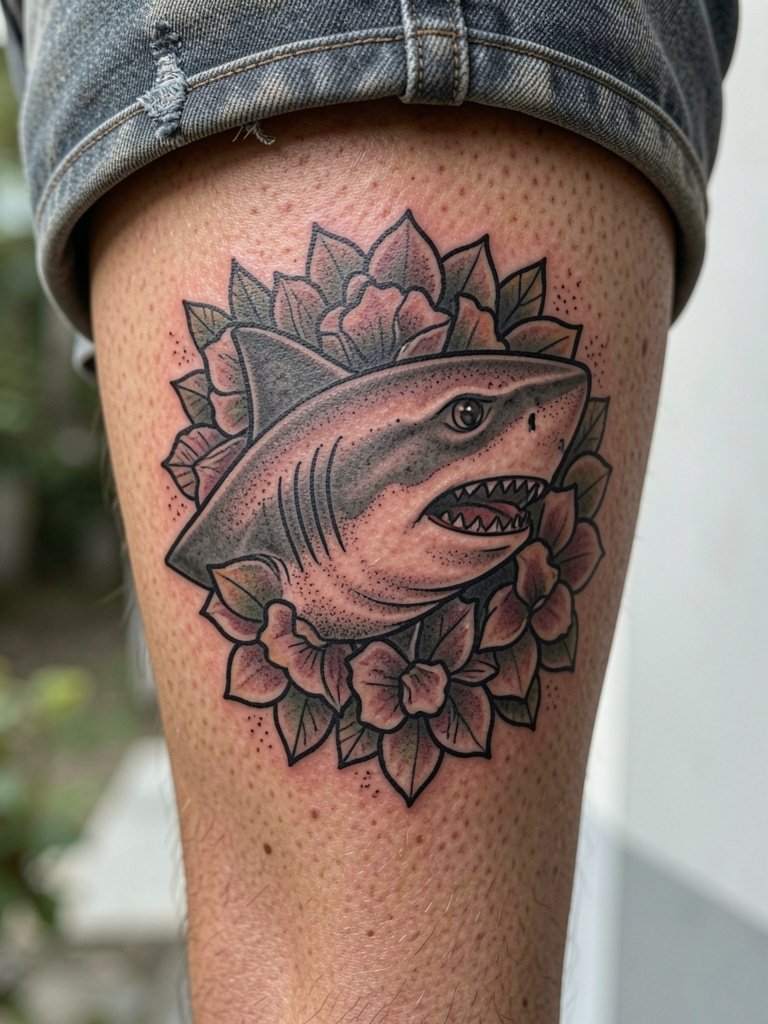
A calf placement gives room for decorative framing without crowding the shark motif. I suggest neo-traditional details when you want softer shading alongside bold linework. Session time is typically two hours and the pain level is low to medium. The mistake I see is sizing the floral elements too small, which causes petals to merge over time. For healing, keep footwear loose while the area scabs. When you want to highlight the piece in warm months, pair it with mid-length shorts that stop above the tattoo and let the frame sit on bare skin.
5. Small Geometric Shark Silhouette on Ankle
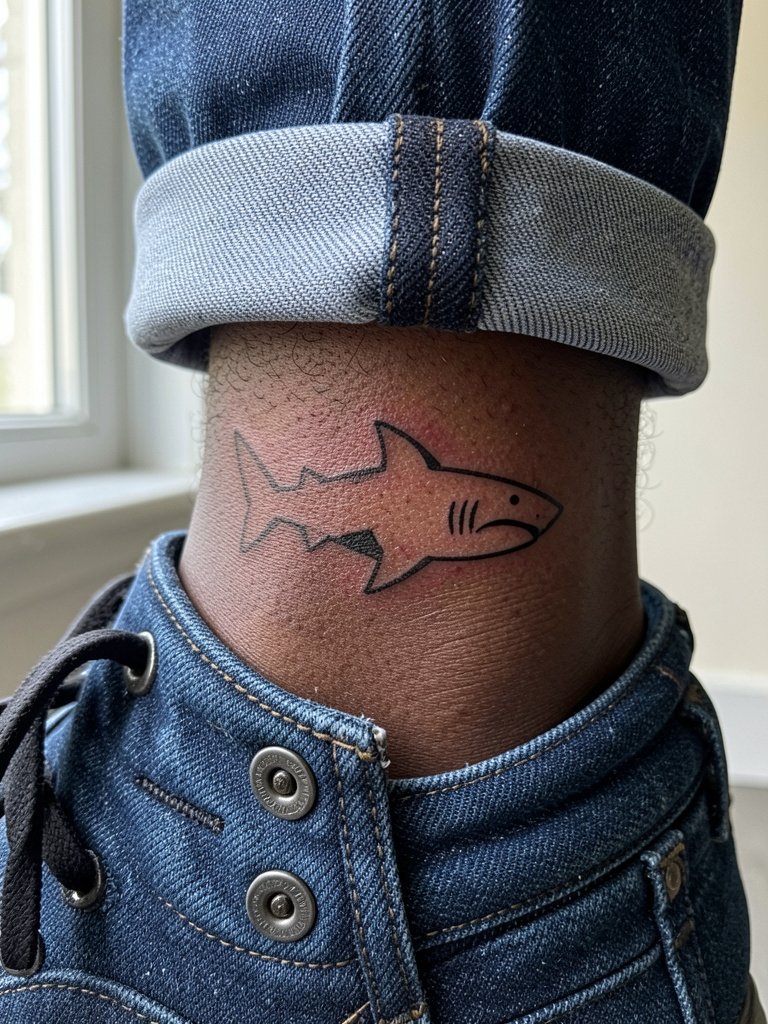
Ankle placements require scale discipline. Keep silhouettes bold and avoid intricate interior lines because the ankle endures friction from socks and shoes. I suggest a single session under an hour for a compact design, and be prepared for higher friction during the first week. The common error is asking for thin negative space cutouts that disappear with swelling. If you want to wear the design, choose footwear that keeps pressure off the area while it settles. For evenings, an ankle tattoo pairs with rolled-cuff jeans to show the motif cleanly.
6. Rugged Back-of-Shoulder Shark Emblem
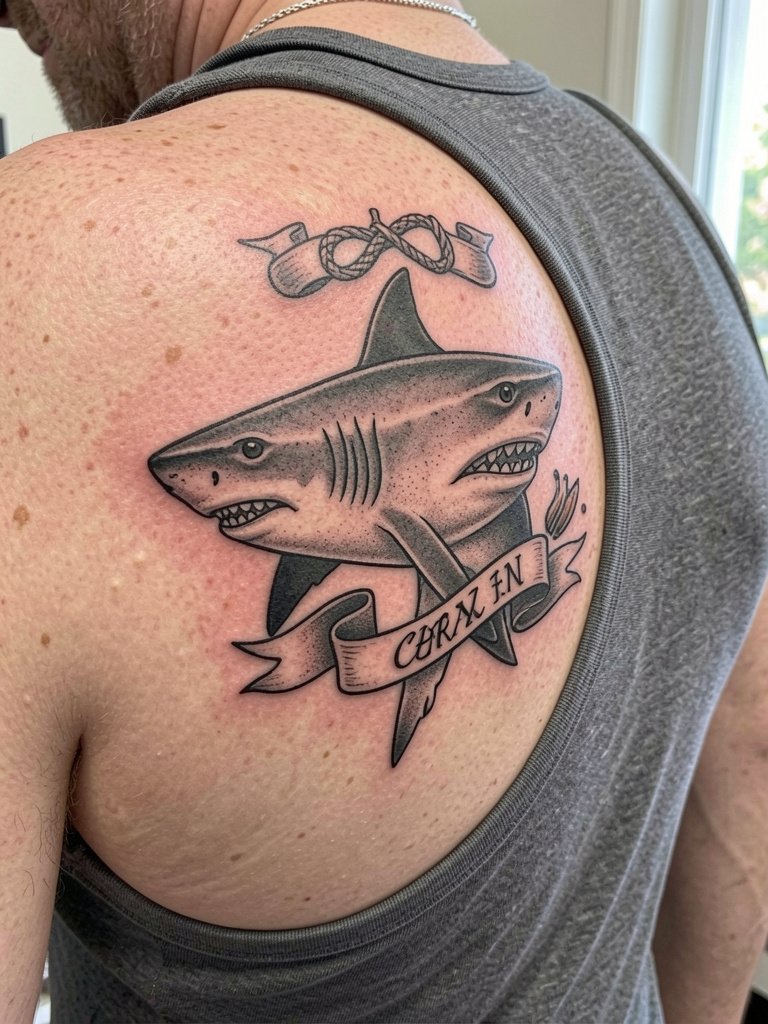
The back-of-shoulder gives a badge-like placement that reads in short sleeves and hides under most shirts. I like this spot for a mid-sized emblem because the skin there is stable and resists blowout. Expect medium pain and one-and-a-half to two-hour session time. A mistake is crowding the emblem with tiny script inside the banner which will soften quickly. Plan to add surrounding work later if you want a full shoulder piece. For outfits, a racerback or tank shows off the emblem best while keeping the area easy to protect during healing.
Pre-Session Essentials
The forearm, ankle, and shoulder pieces above face different friction and coverage issues, so these picks make the session and first week simpler.
-
Disposable stencil transfer sheets. Lets you preview line placement on skin before committing, which is useful for exact jaw position on forearm and shoulder pieces.
-
Topical numbing cream. Applied 45 minutes before eases sensitivity for ankle or inner forearm sessions without changing how the artist lays linework.
-
Thin protective film roll. Keeps small areas like the ankle or wrist clean during the first week of friction from shoes and socks.
-
Fragrance-free gentle body wash. Cleanses healing tattoos without stripping saturation on pieces with heavy blackwork.
-
Aquaphor Healing Ointment. Thin application for the first few days keeps traditional saturation looking vibrant while the skin re-epithelializes.
7. Chest-Facing Shark Crest Under Collarbone
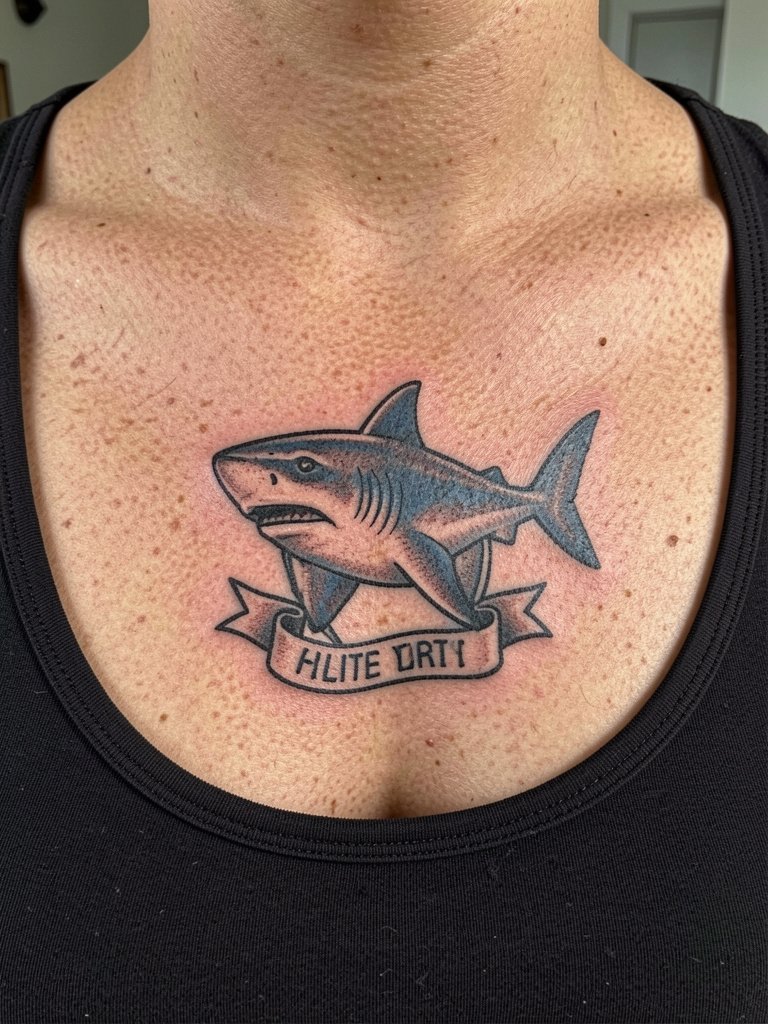
Sternum-adjacent shark crests read like medals when sized to the upper chest. This is best for people who want a central focal piece that can expand into chest work later. The sternum and upper chest have mixed opinions on fine detail. Fine-line supporters say light single-needle work can hold if spaced correctly. The other camp believes the chest skin moves and blurs fine lines fast. Expect medium to high pain and a two-hour session for a mid-sized crest. Avoid packing small script inside thin banners. For show-off looks, pair with a wide V-neck or scoop-neck top.
8. Minimalist Outline Along the Ribcage
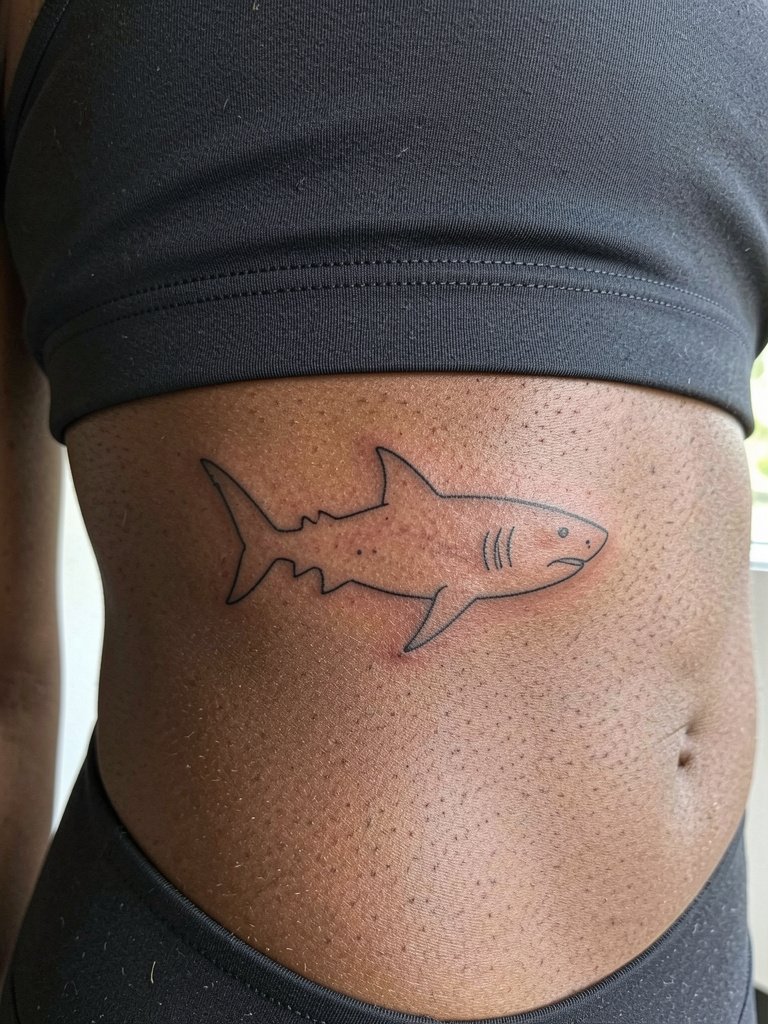
Ribcage placements demand caution with fine-line sharks because the skin flexes and stretches. Fine-line proponents argue careful needle depth and slightly wider spacing lets a ribcage outline settle well. Skeptics counter that the constant expansion and compression blur single-needle lines within two years. If you choose a minimalist rib piece, plan on a session that includes breaks and expect higher pain. The common mistake is going too small. Ask for slightly bolder single-needle work and budget for a touch-up at year two. For the appointment, wear a fitted cropped top that gives access without shifting the area.
9. Traditional Full Jawline Shark on Thigh
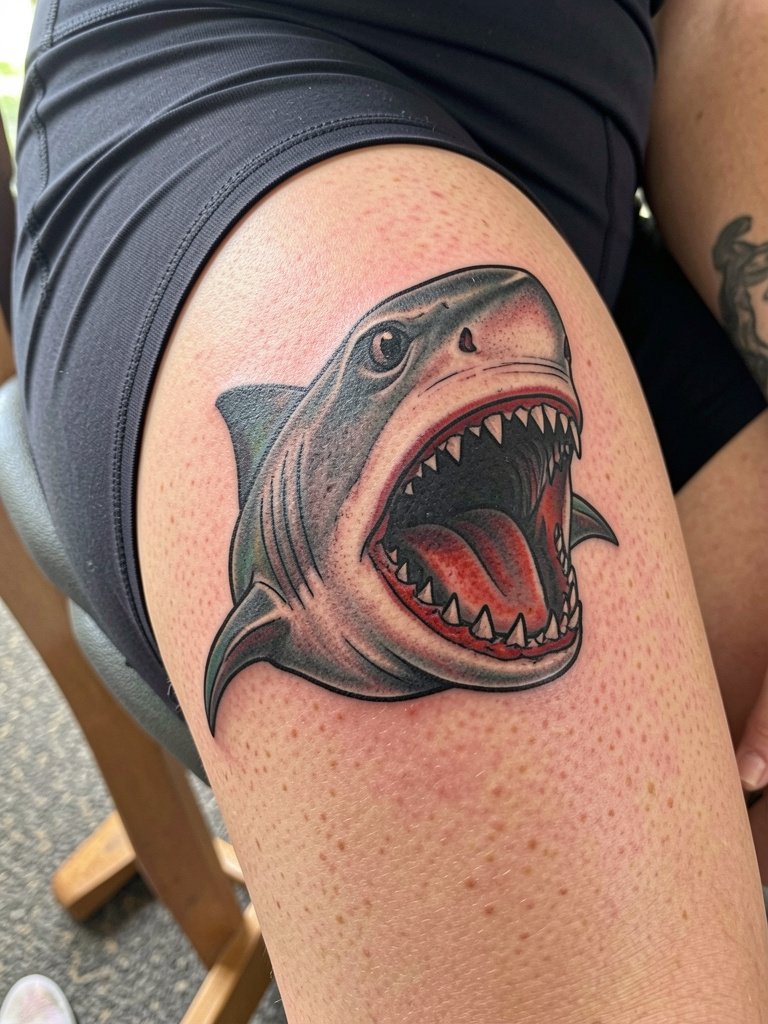
The thigh gives breathing room for a dramatic jawline and keeps pain moderate. I recommend bold linework and solid saturation here because the area takes color readily. Sessions run from two to three hours for a statement piece. People often ask for extreme micro-detail in the teeth, which can look busy on the rounded thigh surface. If you want the shark visible at the beach, pair it with mid-length swim trunks that stop above the art. Expect the piece to soften slightly at two years but retain its silhouette with minimal touch-up.
10. Blackwork Tribal Shark Band Around Upper Arm
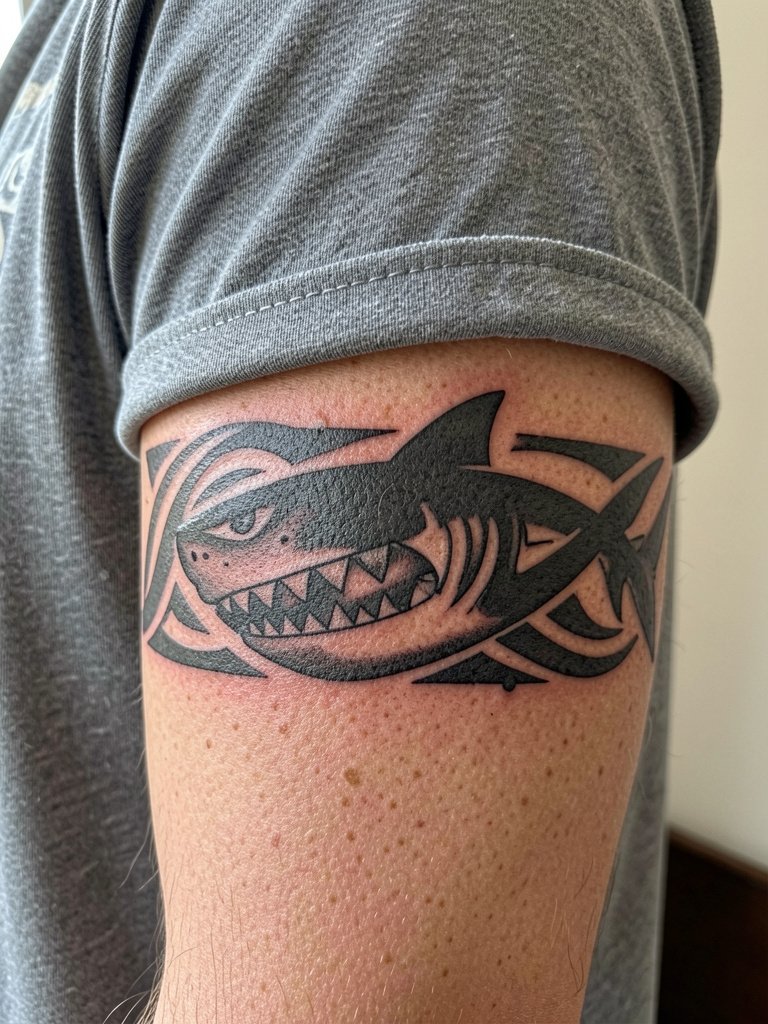
Solid black bands minimize blowout risk when placed on the upper arm. Choose this design if you want a graphic statement that ages into a bold silhouette. Session time varies with size but plan one to two hours. A common mistake is lining the edges too thin which softens into grey margins after healing. For the session wear a sleeve that can be rolled up easily so the artist has clear access. Expect the blackwork to keep its visual weight, with touch-ups only if you prefer the fill to remain pitch-black over time.
11. Whip-Shaded Shark Tail on Outer Wrist
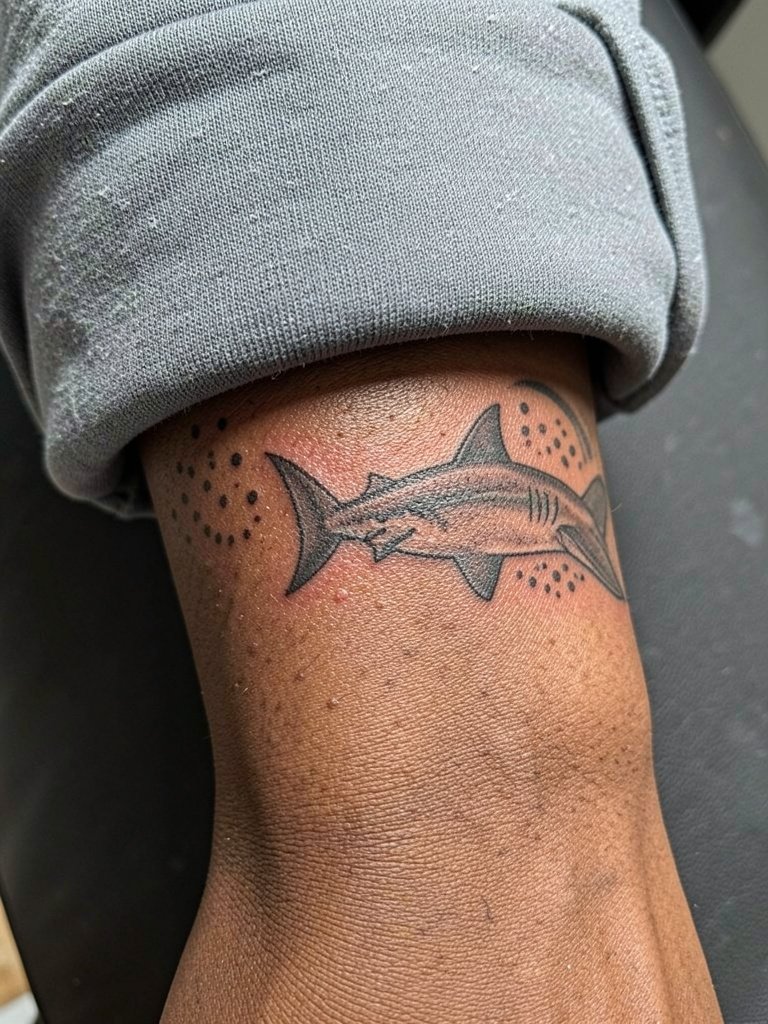
Wrist work is highly visible and endures lots of washing and movement, so prefer compact, bold elements over fragile detail. Use whip shading and dot work sparingly to suggest texture rather than define it. Session time is usually under an hour and pain is moderate. People make the mistake of requesting tiny filigree at the wrist which softens quickly. For appointments wear a loose sleeve you can roll up without tugging on the healed skin. For styling, a watch or bracelet can frame the tail, or try a simple leather bracelet that keeps the area visible without rubbing.
12. Sailor-Fire Shark Head with Wave Base on Lower Leg
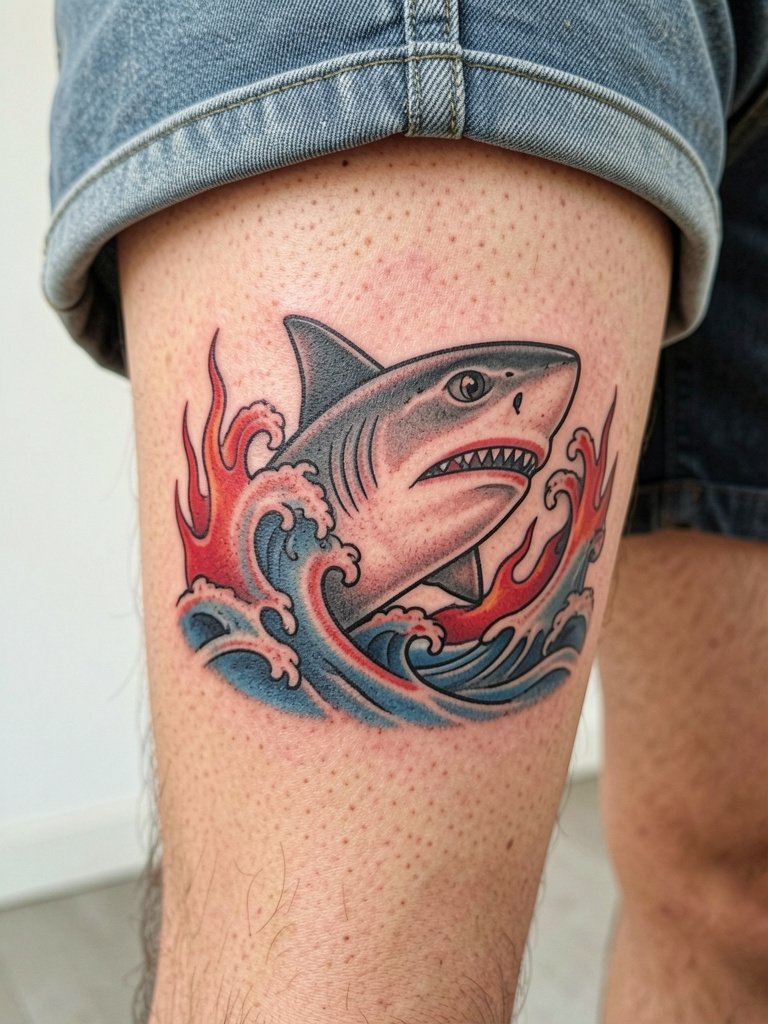
A lower leg shark with wave base gives a narrative feel while avoiding high-movement zones. I recommend saturated fills and clear negative space to keep the mouth readable as the skin ages. Session time is typically around two hours. The mistake is trying to cram too many color gradients into a small lower-leg area which flattens with healing. For casual display wear mid-length shorts or cropped pants that leave the lower leg exposed. Expect minor touch-ups after two years to refresh the most sun-exposed areas.
13. Micro-Realism Shark Eye on Finger Side
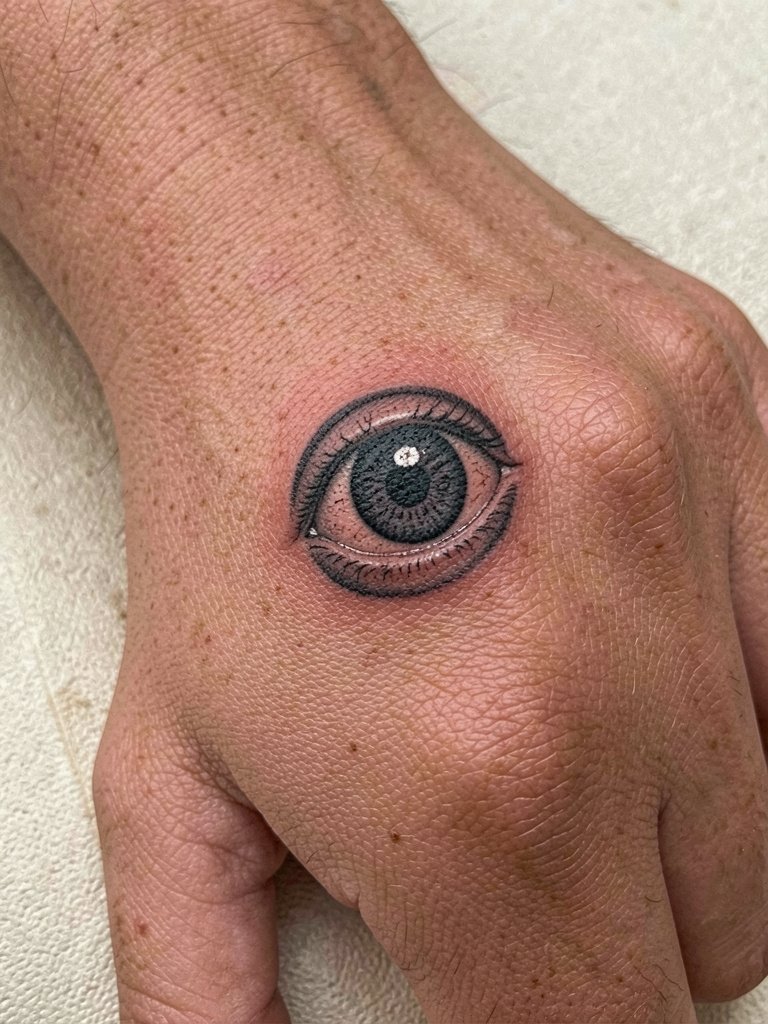
Finger placements demand realistic expectations. Micro-realism can look sharp for the first year, but finger skin and constant washing cause early fading. Choose this only if you accept frequent touch-ups. Sessions are short but painful. The mistake is sizing the detail too small for the coarse skin texture. For day-of wear keep hands free of rings to avoid rubbing while the area seals. If you want to accessorize, thin bands that sit away from the tattoo prevent abrasion.
14. Retro Sailfish-Style Shark on Rib Flank
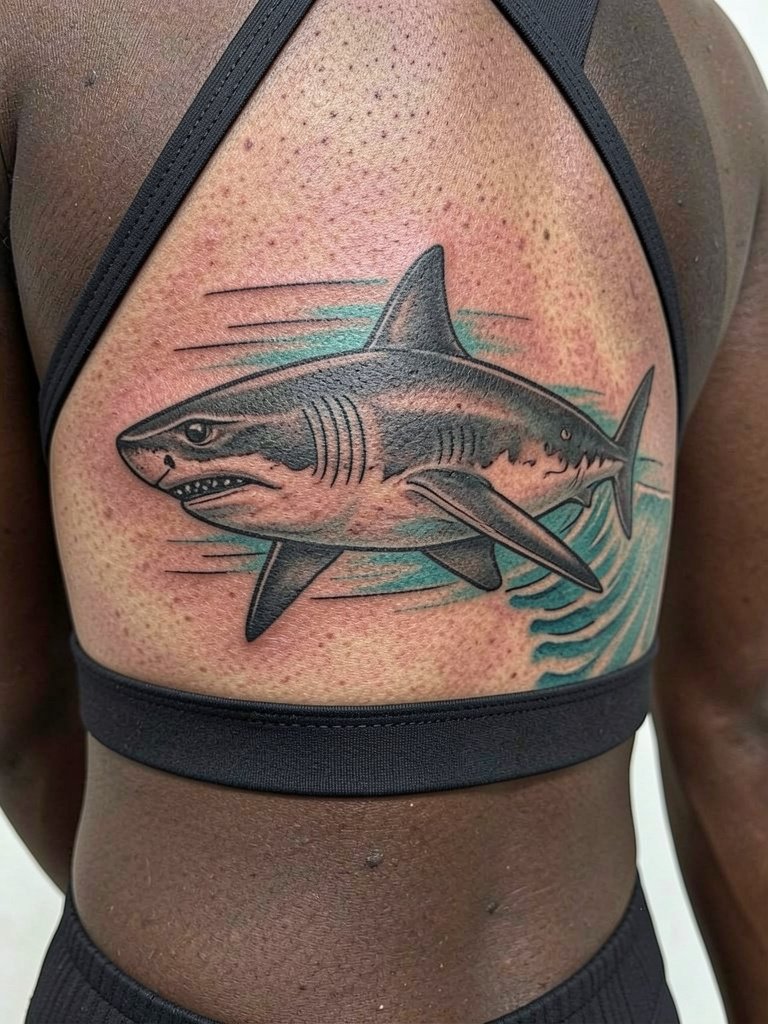
Rib flank motifs need clear spacing and slightly bolder single-needle outlines than people assume. One camp points out ribs blur fine lines within a couple of years because of movement and expansion. The other camp claims that with correct depth and spacing, fine details can remain crisp. If you opt for a retro piece here, plan for a longer appointment with breaks and a possible touch-up at year two. The typical mistake is requesting super-fine motion lines that merge into the shading after swelling subsides. For sessions wear fitted athletic wear that does not shift the rib area.
15. Forearm Compass Shark with Nautical Stars
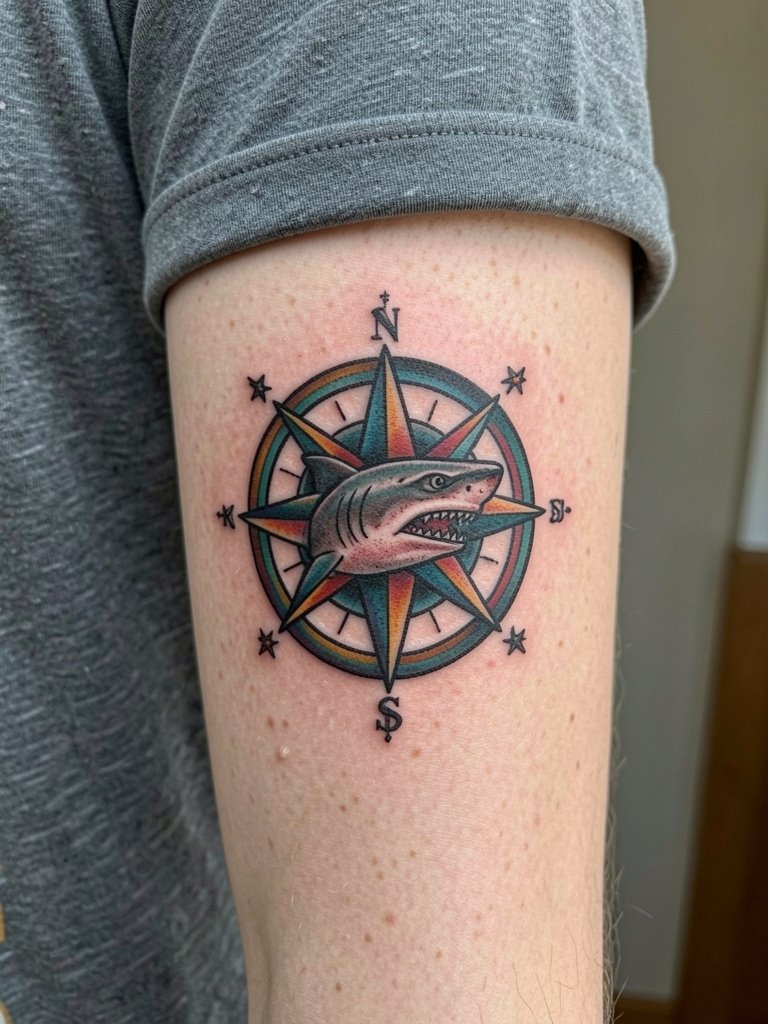
A forearm compass lets you anchor a shark motif into a classic sailor vocabulary. I suggest ample spacing between the compass points so they read even after two years. Session time ranges one to two hours. The mistake is compressing stars and ticks too tightly which leads to smudging along curved forearm surfaces. For showing it off, cuffed shirts work well and maintain an easy protective sleeve during healing. Expect a touch-up if you want high-contrast points refreshed after sun exposure.
16. Collarbone Shark Line with Negative Space
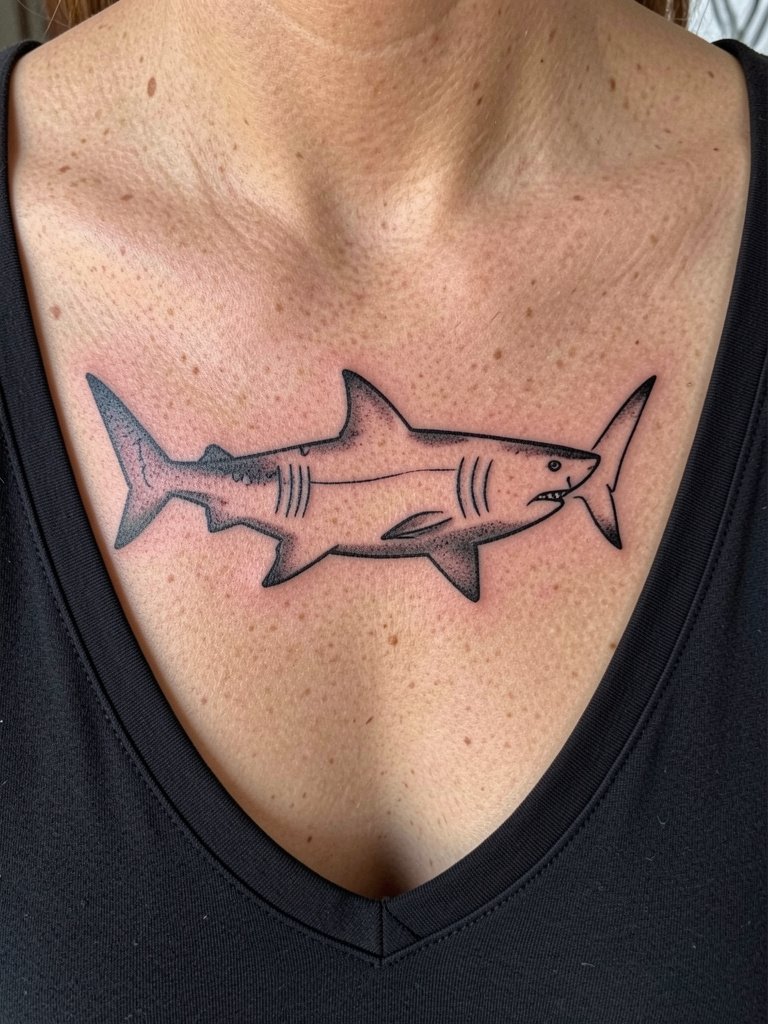
Collarbone pieces demand composition that respects bone structure and clothing lines. I recommend slightly bolder outlines around negative space to guard against softening as the skin stretches. Sessions are medium pain and often require careful stenciling for symmetry. An error I see is centering the design on the bone edge which makes the lower line sit in a crease. For outfits, pair with wide V-neck tops to frame the art and avoid straps rubbing the area.
17. Old-School Shark and Anchor on Upper Back
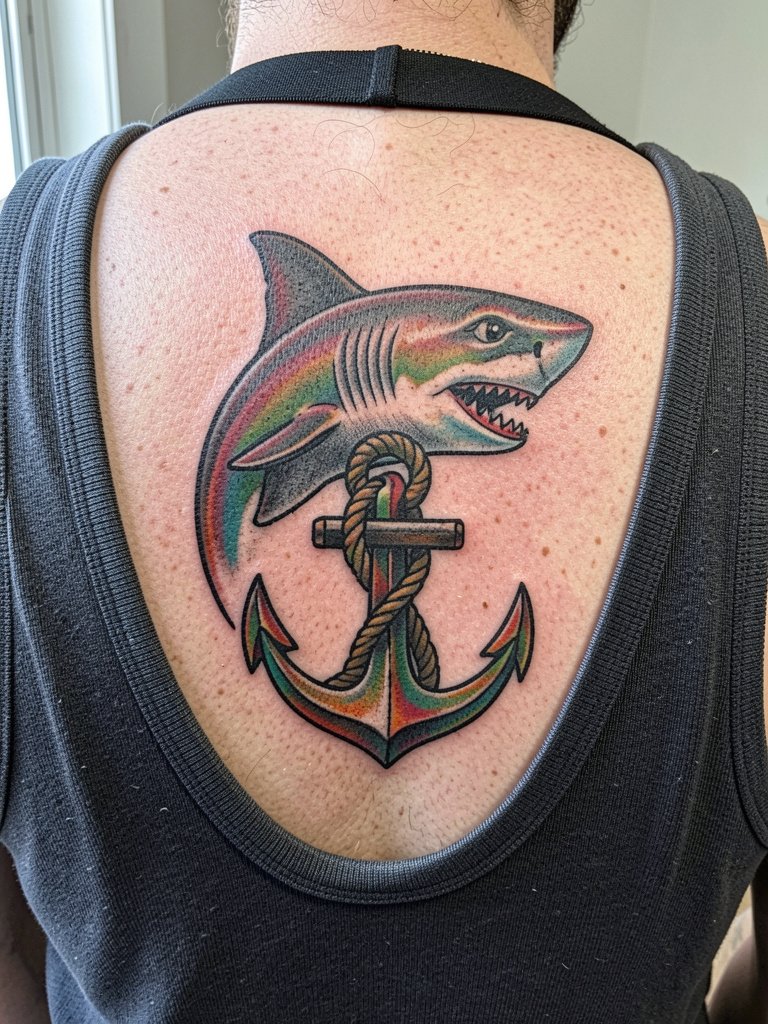
The upper back gives a canvas for larger traditional scenes that age evenly. Choose bold linework and flat fills so each element remains legible over time. Sessions usually last two to three hours and pain is moderate. A typical mistake is over-detailing the rope ends which can merge into the anchor shading. For beachwear, a racerback top or swimwear that leaves the upper back visible complements this placement while minimizing strap abrasion. Expect low blowout risk when the stencil is mapped across the flatter back skin.
18. Tiny Shark Tooth Behind the Ear
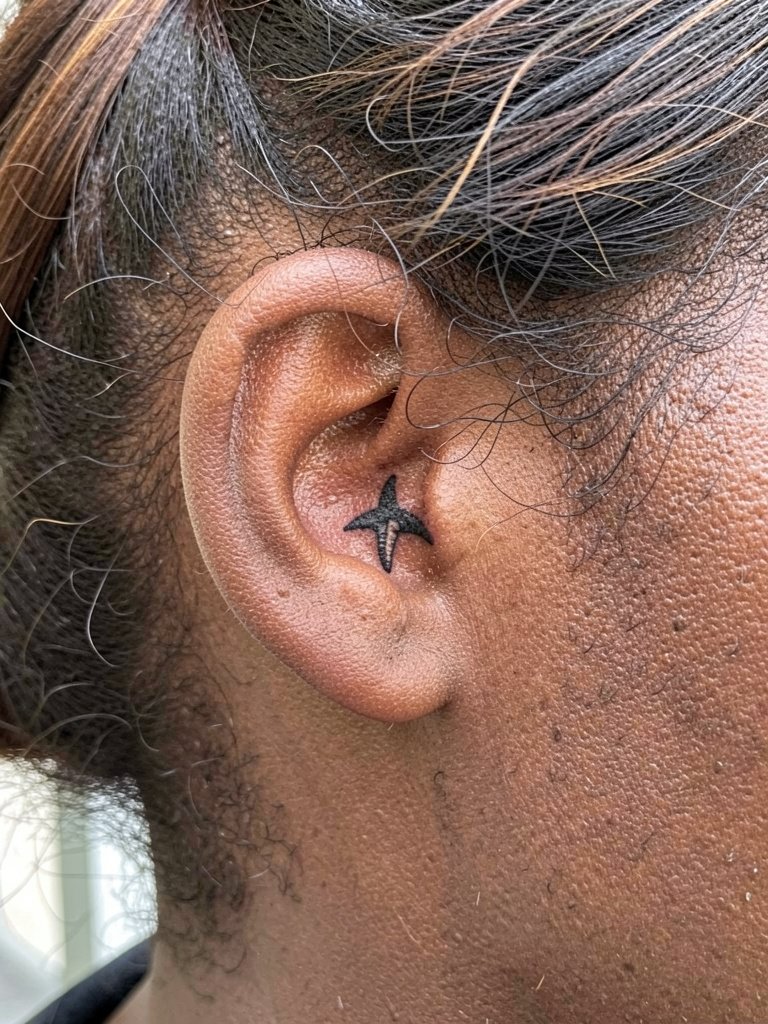
Behind-the-ear tattoos read as intimate markers but need heavy black for longevity. This area is tricky for fine detail because the skin is thin and mobile. I advise a compact solid tooth rather than delicate engraving. Sessions are short and the pain is mild to moderate. People err by requesting faint shading that disappears with hair growth and regular washing. For appointment day, wear hair up so the artist has clear access and the area stays dry while it seals.
19. Black-and-Grey Wide-Mouth Shark on Rib Panel
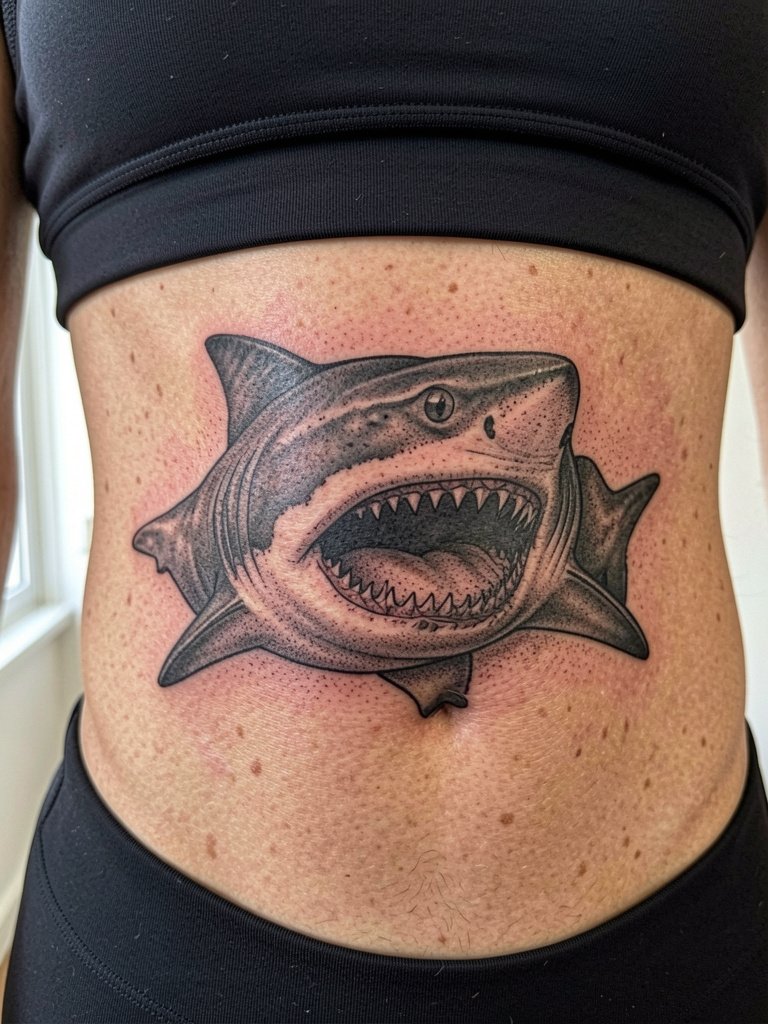
Rib panels let you showcase a dramatic open mouth while giving the artist space to breathe. Pain is high here and sessions should include scheduled breaks. One camp warns that black-and-grey fine detail blurs on ribs because the skin flexes. The opposing camp argues that denser stipple shading and slightly larger spacing preserve contrast. If you want a stable result, request heavier stippling and avoid extremely thin teeth lines. Expect a touch-up at year two if you want the deepest greys refreshed.
20. Sailor-Star Shark Forearm Wrap
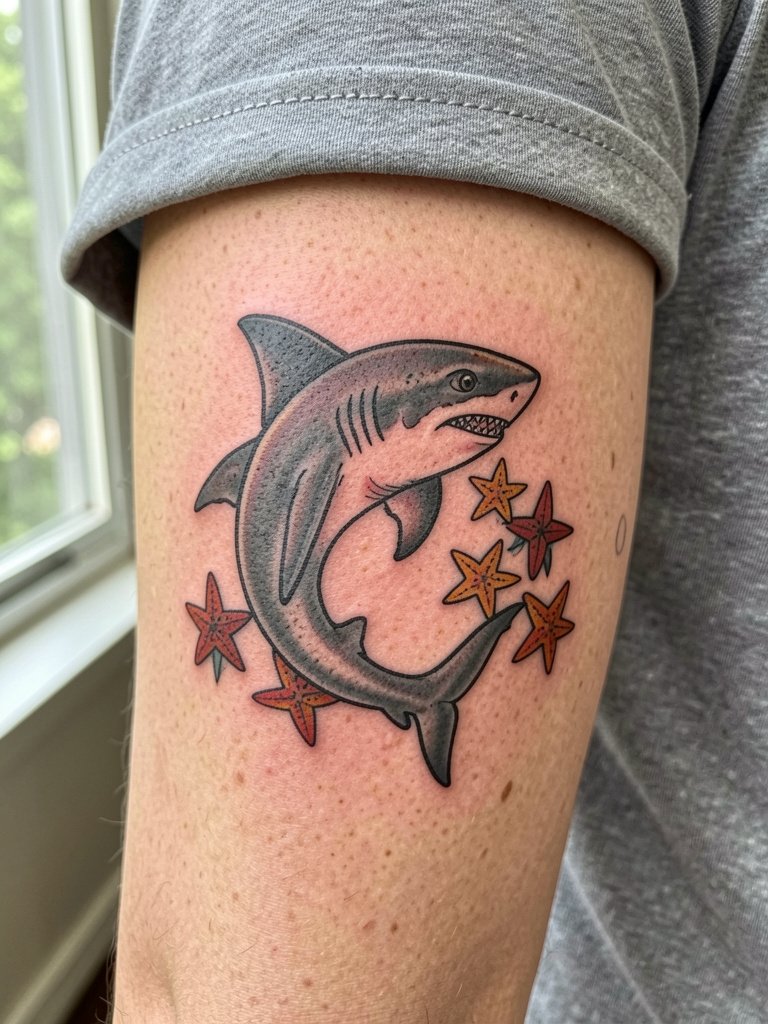
Wrap designs read best when the artist tests how the composition sits when the arm is at rest and while flexed. I recommend mapping the stars so they act as negative-space buffers between sections of the shark to avoid overcrowding. Sessions run two hours or more depending on wrap length. The mistake is treating a wrap like a straight forearm piece without accounting for curvature which causes elements to pinch. For display, cuff sleeves and bracelets draw attention to the wrap without rubbing the healed ink.
21. Fin-Only Minimal Accent on Upper Arm
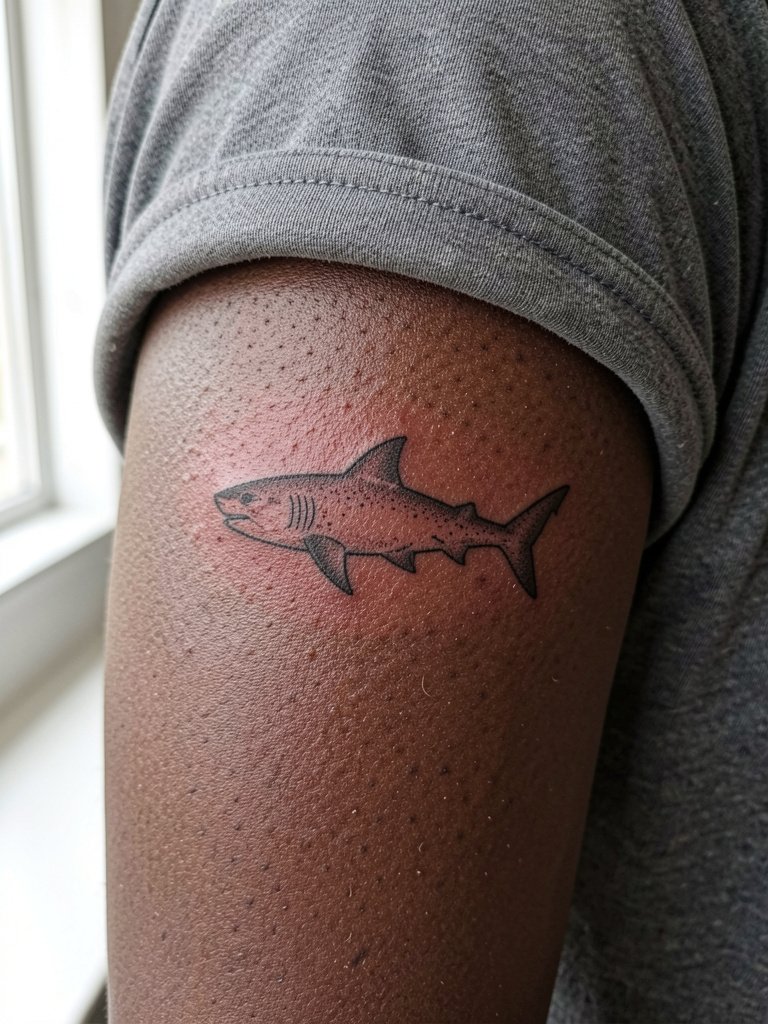
A fin-only accent is an economical way to bring shark iconography into a visible spot while keeping session time short. Keep the fin bold and avoid engraving tiny wave curls that flatten. Session time is typically under an hour and pain is low. A common mistake is making the fin too narrow which causes the tip to blur. For casual styling, short sleeves show the motif cleanly and let you choose accessories without covering the area.
22. Traditional Shark Bite on the Calf Wrap
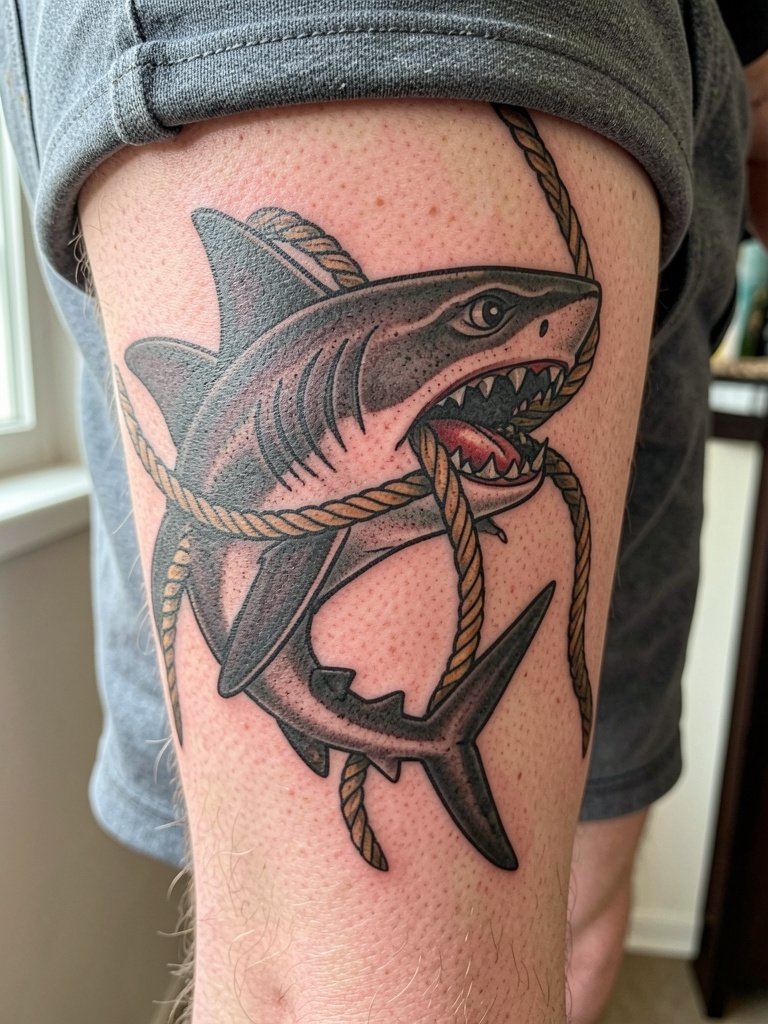
Calf wrap compositions benefit from clear negative space between overlapping elements. I advise bold teeth and rope lines to avoid early blur from muscular movement. Sessions range two to three hours and pain is moderate. The mistake is overcomplicating a wrap so that it reads as muddled from a short distance. For show-off outfits, mid-length shorts let the wrap sit on display without friction from socks or shoes.
23. Bold Back Rib Shark Panel Near Lower Back
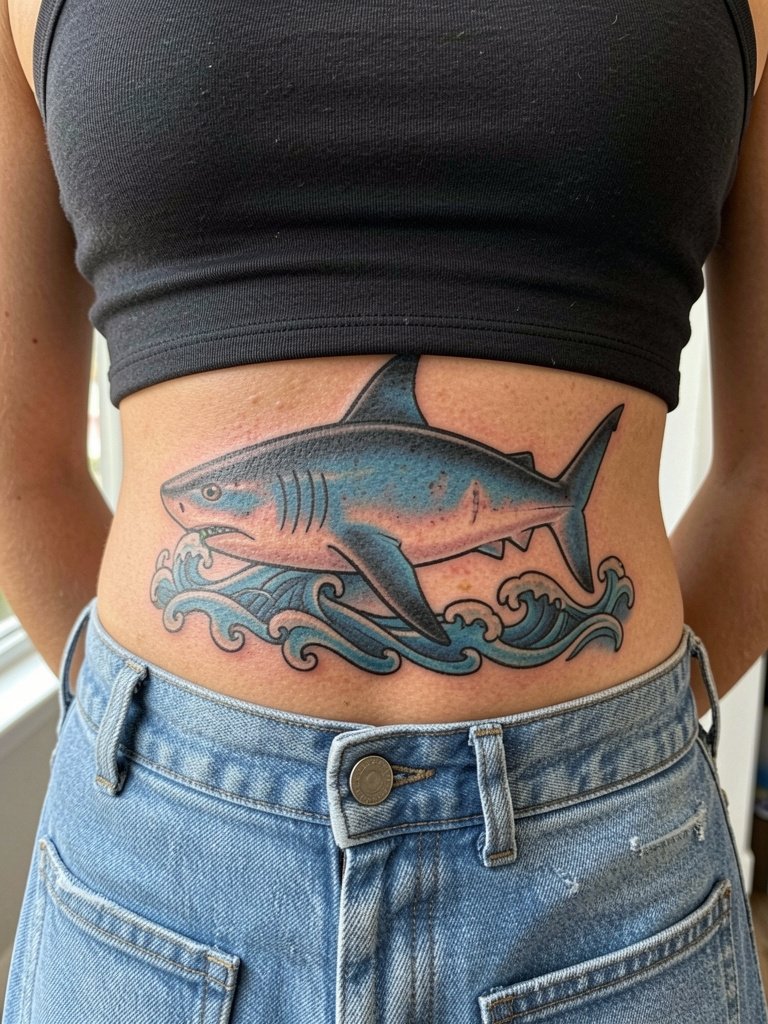
Lower back rib panels provide a sweeping canvas for a full shark scene that remains private under most clothing. Prefer heavy outlines and flat fills when you plan a large lower-back piece that may later connect into a back panel. The common mistake is starting with too many tiny highlights which diffuse over the larger curved surface. Expect a longer session with breaks and medium pain. For appointment day wear low-rise jeans that do not press on the fresh ink and a cropped top that gives clean upper access.
Frequently Asked Questions
Q: How do traditional shark tattoos age compared with fine-line shark designs?
A: In my experience, bold traditional pieces with thick outlines and solid saturation hold visual form far longer than ultra-thin single-needle shark outlines. Some artists argue single-needle work can last if the spacing and depth are adjusted, while others find that chest and rib placements blur fast and prefer heavier lineweight. Plan for touch-ups at year two to keep fine details crisp.
Q: What should I bring to the consultation to ensure the shark composition sits correctly on my anatomy?
A: Bring two reference photos showing the design at different scales and a clear photo of the target area at rest so the artist can map how the shark will read when you move. Point out any scars or stretch marks and note how visible you want the piece to be under your clothing. Practical notes about your daily clothing can change placement choices as much as anatomy does.
Q: Where can I find healed shark tattoo examples and portfolios without naming artists directly?
A: Search tags on social platforms and use location filters to surface healed shots, and check niche tattoo forums for photos grouped by placement and style. Look for phrases like "traditional shark healed" and "shark healed six months" when browsing image boards to get realistic expectations across skin tones and ages.
Q: Are there placement-specific aftercare or clothing tips I should know before booking?
A: For areas like the ankle and wrist, choose footwear or bracelets that avoid constant rubbing during the first week. For rib and lower back pieces, wear fitted tops that do not shift or press on the fresh ink while it seals. A lightweight loose tank for shoulder and back pieces makes the session and early healing easier.
Q: How often do these traditional shark pieces need touch-ups and which placements typically require them sooner?
A: Visible, high-friction placements like fingers, wrists, and ankles often need touch-ups within one to three years. Larger saturated pieces on the back and thigh usually keep their saturation longer and may only need cosmetic refreshes every three to five years depending on sun exposure. If you want long-term contrast, plan on a one to two-hour touch-up at year two for visible spots.
