
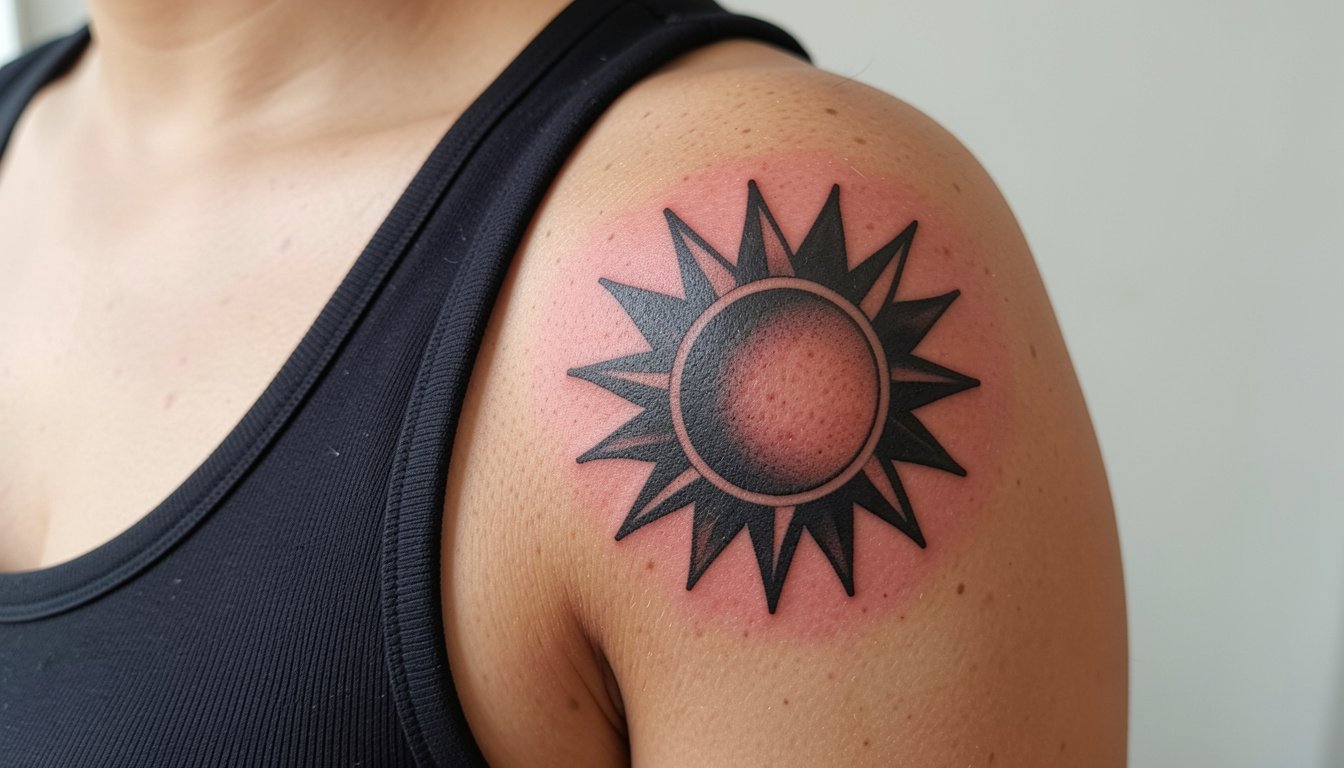
Bright studio photos keep pushing cool materials and sculptural desks, but what most artists end up needing is reliability. Aesthetic tattoo artist workspace designs that photograph well often trade durability for looks. The studios that survive years have layouts that consider client flow, artist ergonomics, and lighting that helps both stencil placement and long sessions. Start here with setups that balance mood and function so the first idea below shows an easily repeatable bench layout that keeps fine-line work tight.
1. L-Shaped Ergonomic Bench for Fine-Line Work
A corner bench that lets an artist pivot between forearm and wrist pieces saves time during back-to-back fine-line sessions. I recommend a low armrest extension that aligns with inner forearm height so the artist can work without overreaching. Smaller benches with fragile padding age poorly because seams split where the client rests the arm; invest in replaceable foam panels instead. For session wear, suggest clients arrive in a loose tank top so the artist has clear access to the inner forearm without fabric bunching. Expect a typical fine-line session here to run one to two hours depending on coverage.
2. Mobile Rolling Cart with Locking Drawers
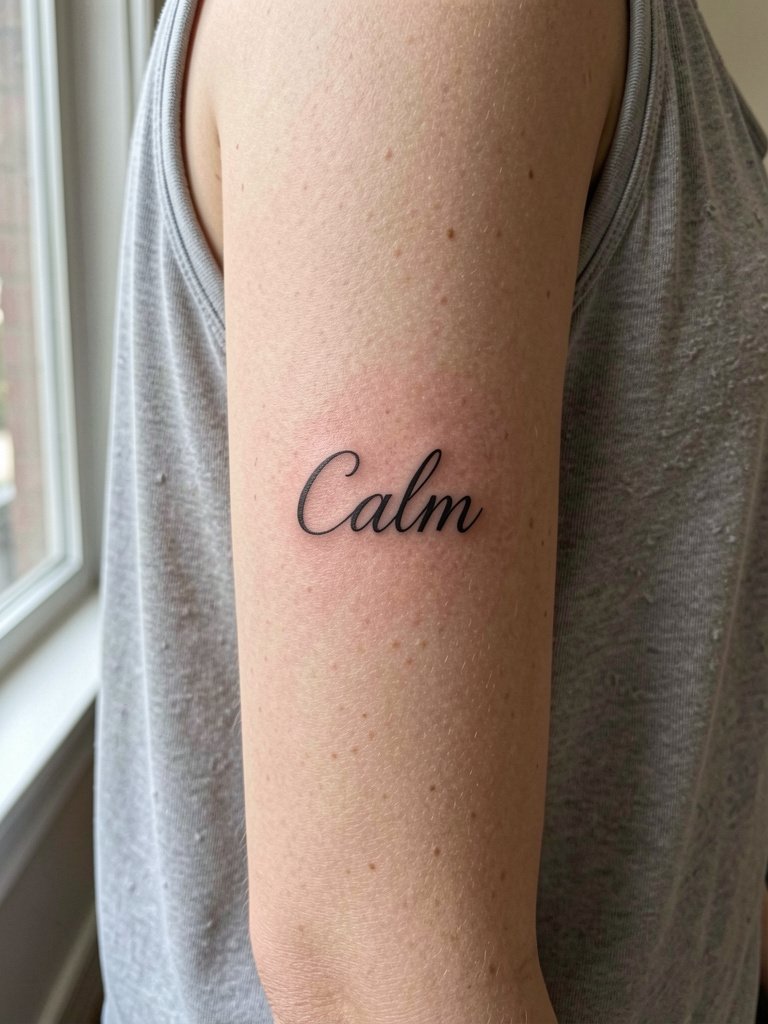
A well-designed rolling cart keeps inks, grips, and disposables within reach and moves with the artist through the chair. Choose full-extension drawers so small items do not hide at the back and label each drawer for quick retrieval. Cheap carts wobble and the casters fail under constant clinic traffic, which causes tool drops mid-session and interrupted workflows. For busy shops, plan for one cart per artist plus one spare for sterilization runs. If you stage a client area near the cart, leave a two-foot clearance so the artist can step behind the chair without creating a tripping hazard.
3. Adjustable Task Lamp Zone for Stencil Precision
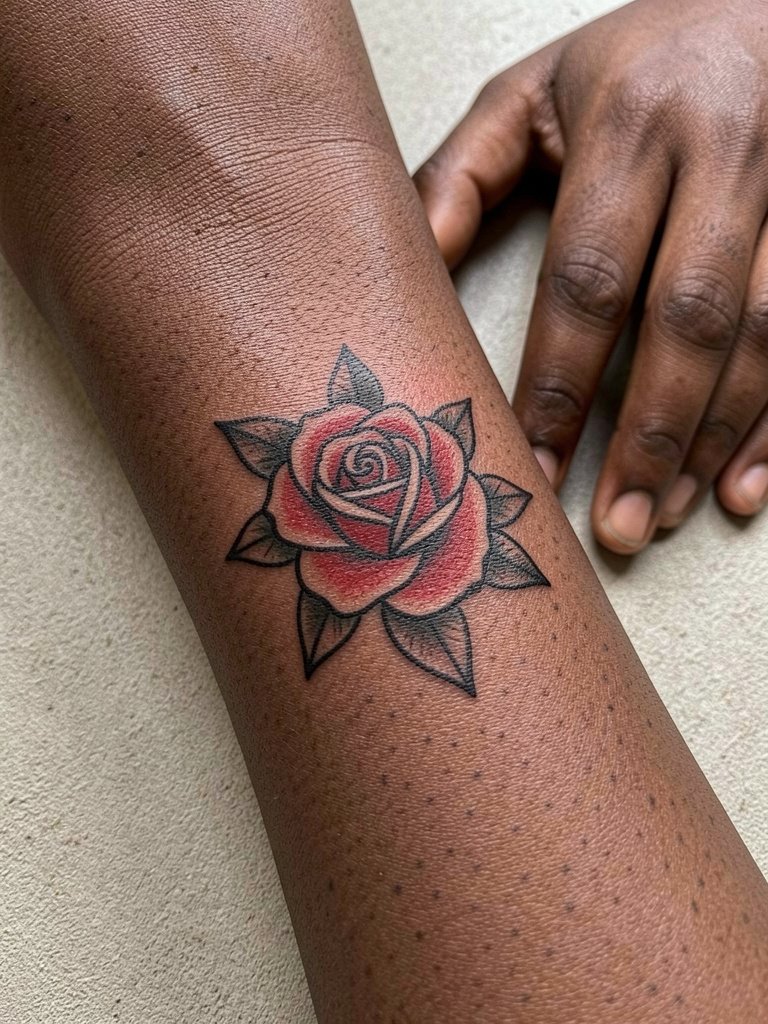
Lighting that lets you dial color temperature helps with both stencil transfer and long shading passes. Install an adjustable LED task lamp that moves with the chair and offers true daylight settings. Shops that commit only to warm ambient lighting find stencils read differently under clinic lamps later, which leads to placement adjustments mid-session. During consultations, specify color temperature and CRI so the lamp matches the bulbs used in client check shots. For a client-facing tip, recommend they wear a wide-brim hat home after a shoulder piece to keep sun off the new ink.
4. Sound-Dampening Panels Around the Piercing Chair
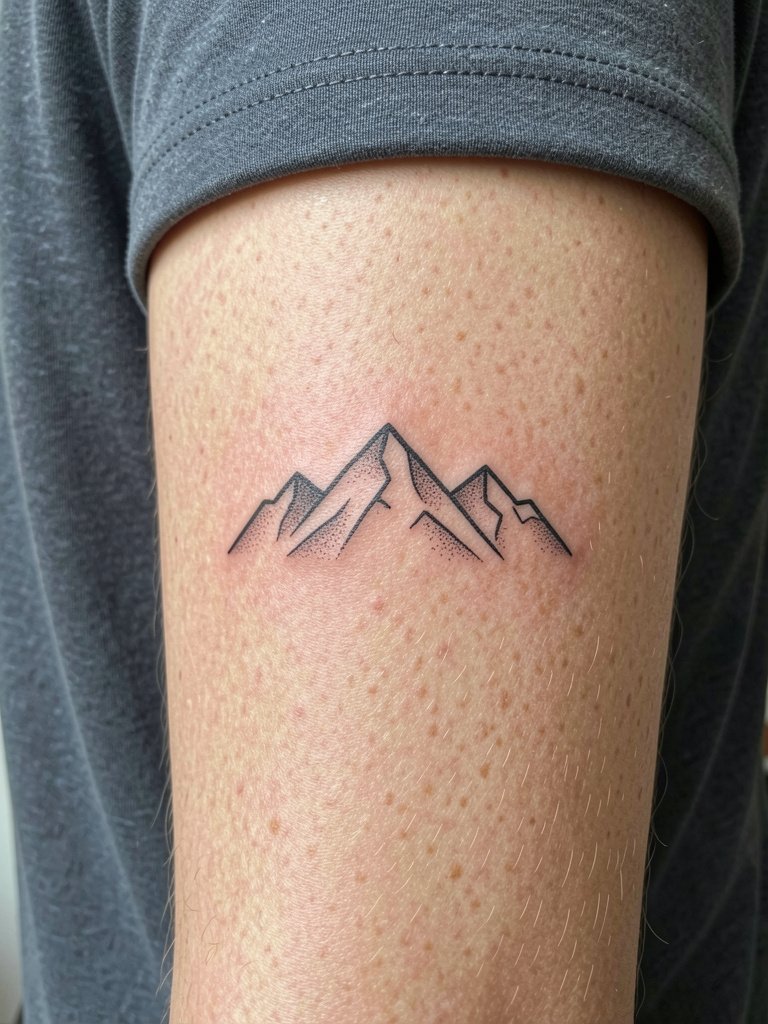
A quieter workspace keeps clients calm during long sessions and helps the artist hear equipment cues. Panels behind the main chair reduce echo and protect privacy for consultations. Many newer shops skip acoustic treatment for aesthetics and then retroactively add foam after clients complain about lack of privacy. Use replaceable panels that clip on and off so you can adjust layout for small events and guest days. A calm room also helps when doing precision shading because artists notice subtle machine feedback better without background noise.
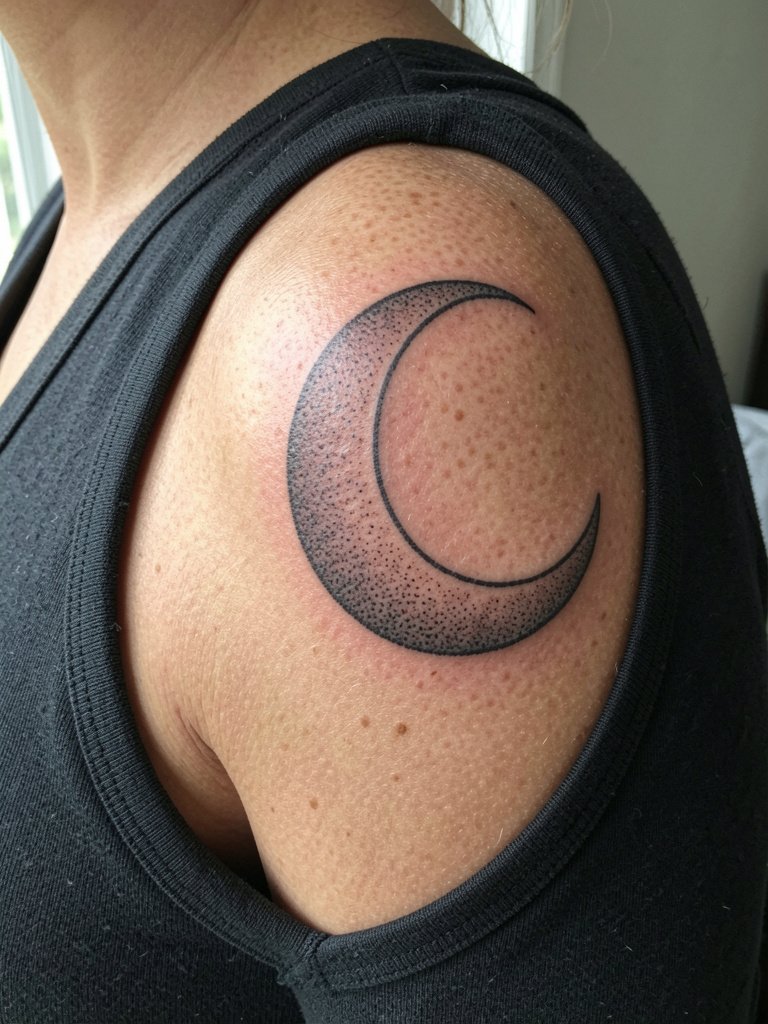
5. Dedicated Photography Nook for Healed Shots
If you document portfolios, a small photo corner with a neutral backdrop and consistent lighting pays off. A fixed backdrop and the same lamp settings keep healed photos comparable over years. Hobby setups using random wall textures fail because colors shift between shoots and the portfolio looks inconsistent. For client handoffs, include a short checklist for shot angles to capture curvature and wrap. Suggest clients wear a fitted linen shirt in neutral tones when modeling a collarbone or shoulder piece for portfolio consistency.
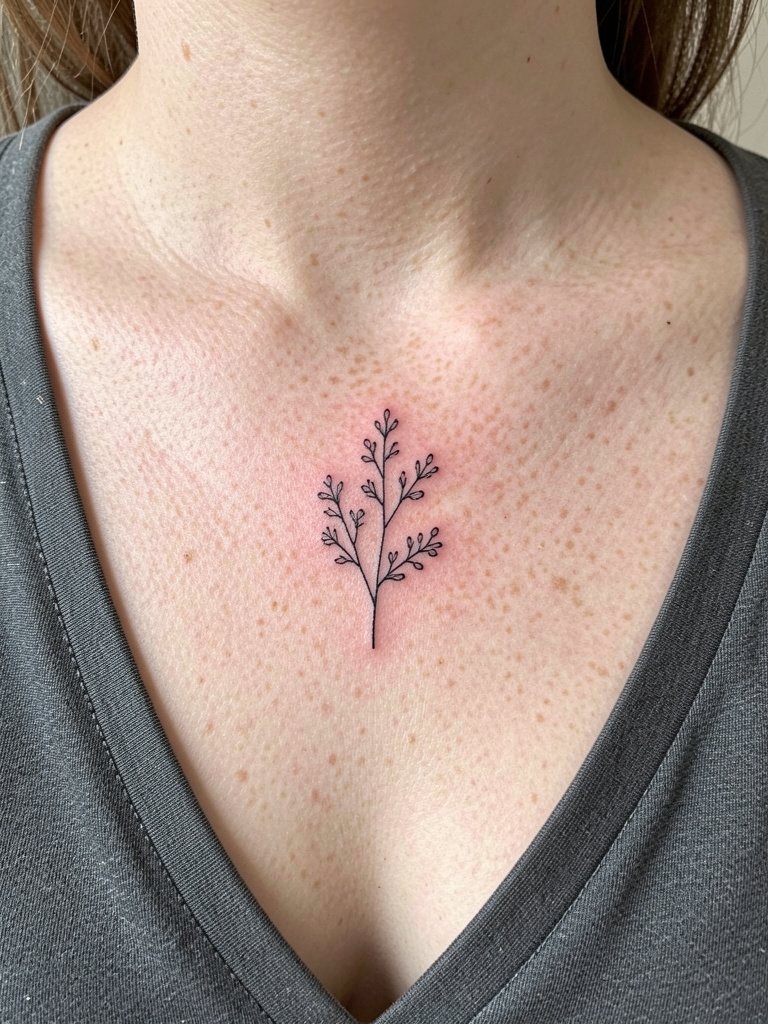
6. Integrated Sterile Supply Cabinet
A cabinet that separates sealed disposables from opened supplies prevents cross-contamination mistakes and speeds setups. Label internal shelves and use transparent bins so artists can visually confirm stock before a shift. Cabinets that are open or mixed with personal items end up with missing disposables and a slower next-session reset. For shops using shared stations, assign a color code to each artist so supplies are not accidentally depleted by others. Keep a one-week buffer of commonly used items to avoid last-minute resupplies.
Studio Day Picks
Those first six layouts focus on precision and flow, so these picks make setup and the first week of sessions less error prone.
- Transfer stencil paper kit. Lets you test stencil placement on skin before committing, which pairs with the L-shaped bench and task lamp ideas above.
- Ergonomic artist stool. Adjustable height and lumbar support reduce fatigue during multi-hour fine-line sessions at the bench or cart.
- Disposable clip cord covers. Keeps wires clean and prevents cross contamination when using mobile carts between stations.
- Daylight LED task lamp. Consistent color temperature helps with stencil verification and photographed healed shots in the photography nook.
- Aquaphor healing ointment. A thin layer for the early days stabilizes scabbing on fine-line and color-packed pieces without clogging pores.
7. Modular Wall-Mounted Tool Stations
Wall stations let artists free up floor space and keep the most used tools within arm reach. Use magnetic strips for metal utensils and sealed racks for single-use items. Wall stations that are too cluttered create visual noise and make quick swaps harder during a session. When planning, map the primary artist reach zone and place most-used items inside that arc. For client-facing style, a clean wall station pairs well with a minimalist apron to keep personal clothes protected and look intentional during consultations.
8. Private Booths Versus Open Floor Layouts
The debate over open floors compared with private booths is active among studio owners. One camp favors open-plan layouts for visitor traffic, cross-promotion, and easier mentorship during walk-ins. The other camp prefers private rooms for client comfort, hygiene control, and better vocal privacy during longer sessions. Both arguments stand up depending on client mix and local regulations. If you choose private booths, plan for ventilation and consistent lighting so healed photos remain comparable across rooms.
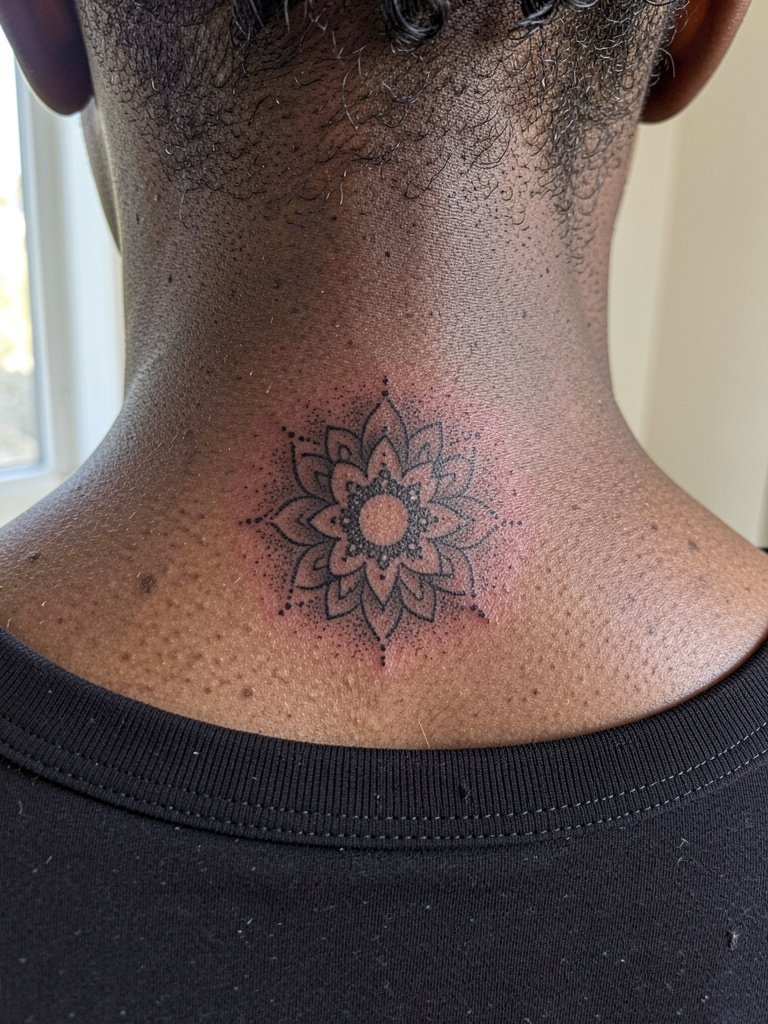
9. Built-In Client Bench with Replaceable Upholstery
A client bench that allows quick panel swaps keeps hygiene standards high and reduces long-term refurb costs. Pick upholstery materials rated for chemical cleaning and design the bench so the top cushion is removable. Benches with glued seams fail first under repeated disinfecting, which creates hidden wear and staining. For appointment day comfort, advise clients to wear stretch drawstring pants for thigh or hip sessions so they can sit naturally without fabric bunching under the area.
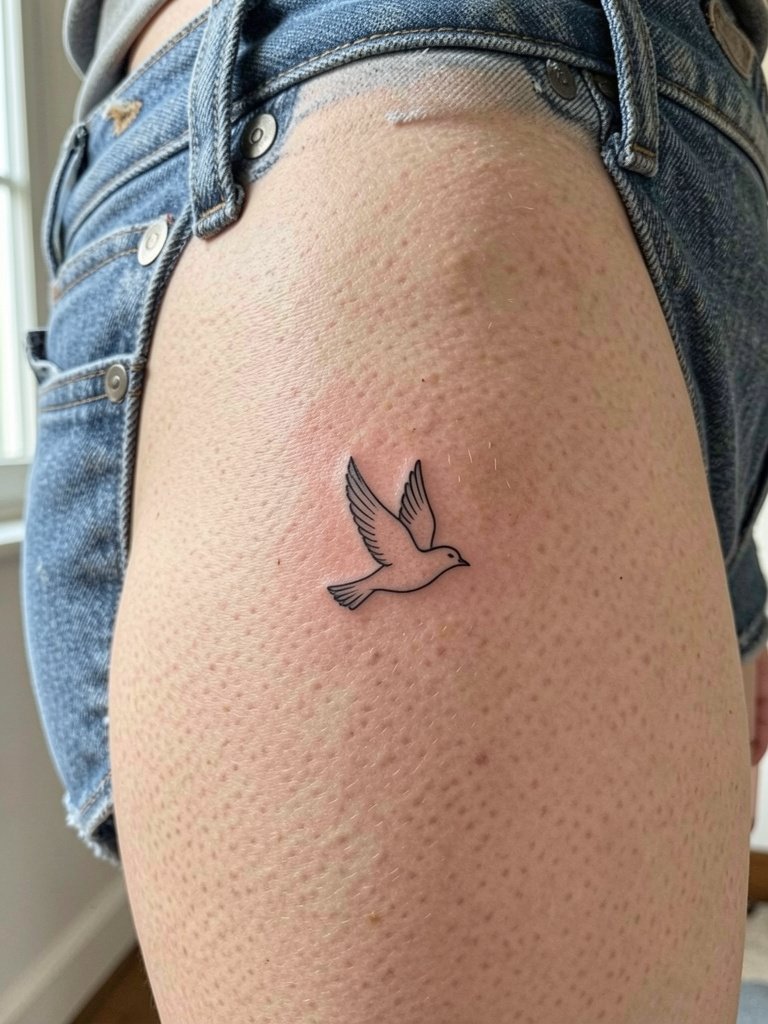
10. Water-Resistant Flooring Around Wash Stations
Choose flooring that stands up to repeated spills of green soap and disinfectant and that is easy to sweep and mop. Seamless materials reduce bacteria traps and are easier to maintain than grout-heavy tiles. Stores that pick porous or textured floors wear faster and develop stains that are hard to remove, which undermines perceived cleanliness. For staff footwear, recommend slip-resistant shoes so artists can stand comfortably for long sessions without a risk of slipping on wet floors.
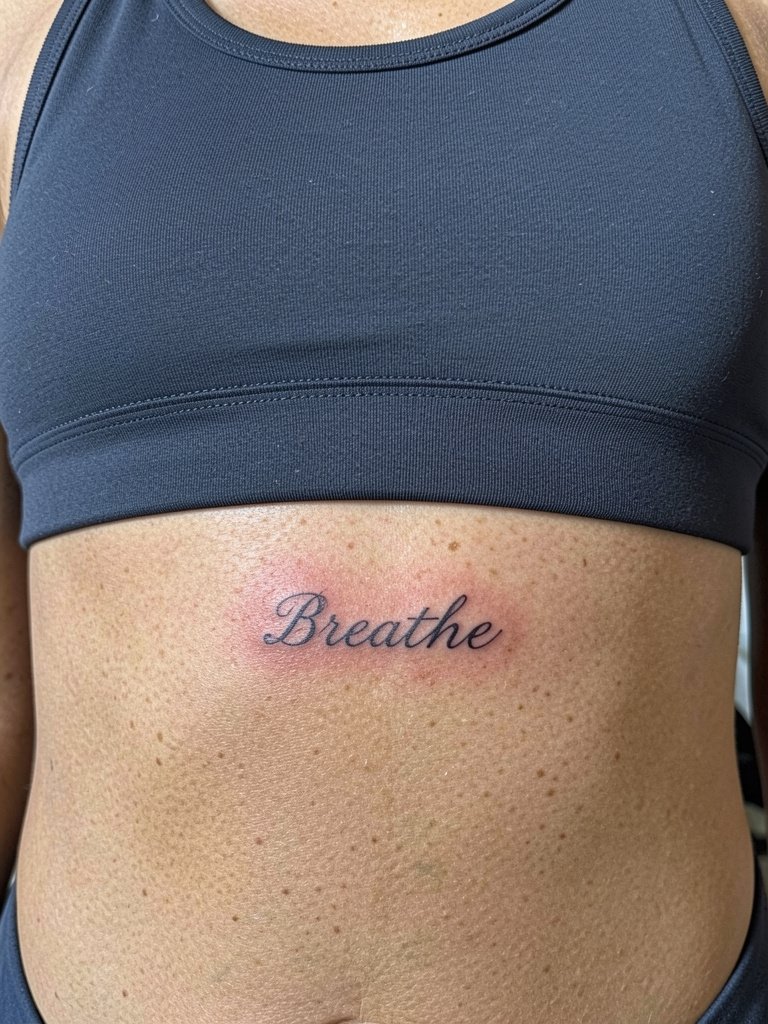
11. Multi-Height Chair System for Full-Body Reach
A chair that tilts and adjusts for calf, thigh, back, and chest work reduces the need to move the client between multiple stations. Look for models with easy-grip handles and 180-degree tilt capability. Simple fixed chairs force awkward positions that make precise linework harder and increase session time. A good chair also improves session comfort for clients with mobility concerns. For client prep, suggest a stretchy wrap dress for chest or rib pieces so they can provide access without disrobing.
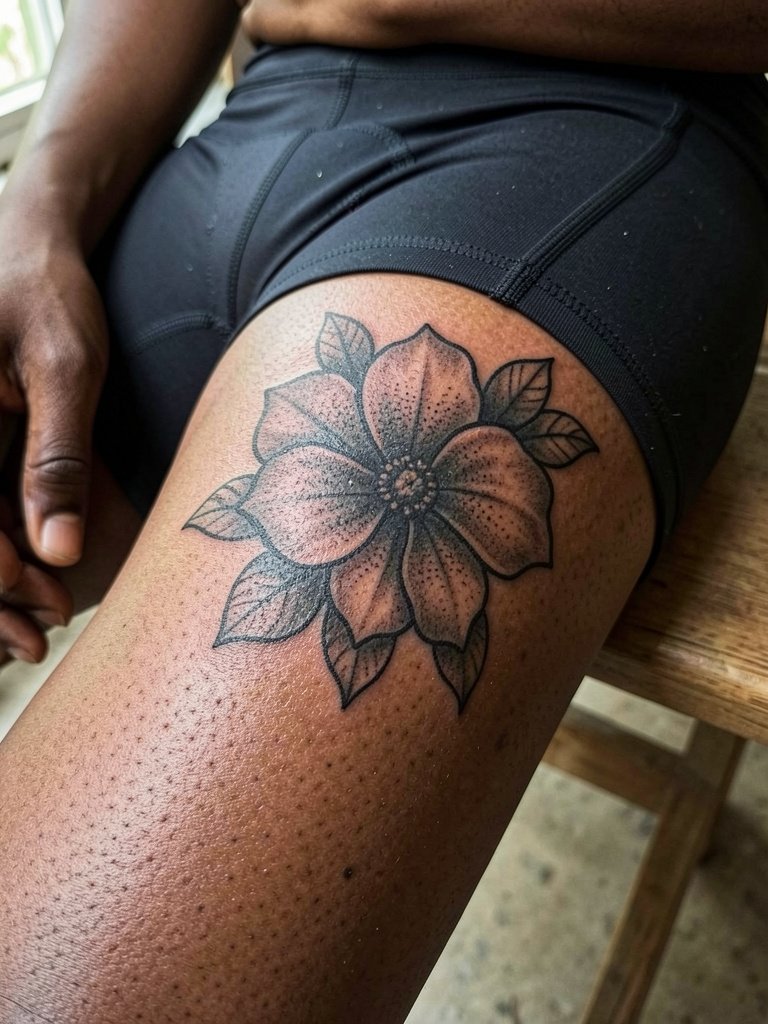
12. Wall-Mounted Drying Rack for Flash Paints and Stencils
A drying rack near the prep sink helps keep stencils and any flash paint organized and off counters. Use labeled trays so finished stencils are stored by artist and not accidentally used by someone else. Open shelving often becomes a catch-all for personal items and loses its utility over time. Keep the rack low enough to reach without stepping on stools so artists maintain posture during quick checks.
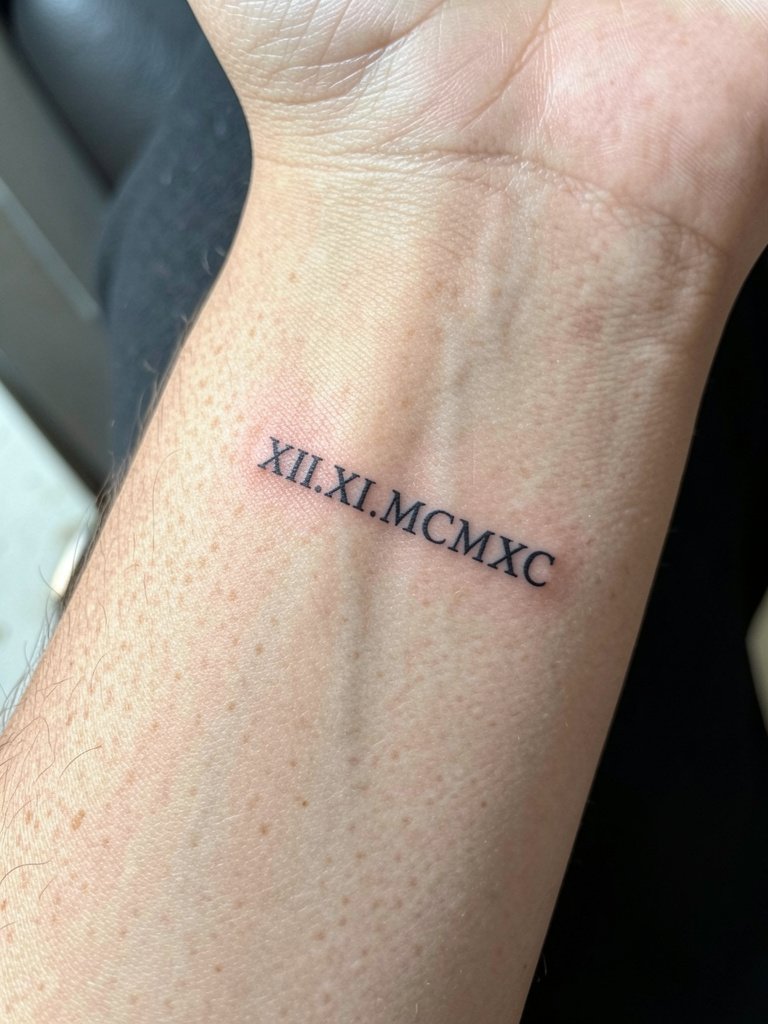
13. Ventilation Zones for Smoke and Odor Control
Proper airflow keeps both artists and clients comfortable during long color-packed days. Install localized extraction near stations rather than relying solely on room HVAC. Studios that underinvest in extraction see lingering odors and faster equipment corrosion. For heavy color sessions, schedule a short ventilation break between clients and use a portable air purifier on low to keep the area fresh without creating drafts that move stencil placement.
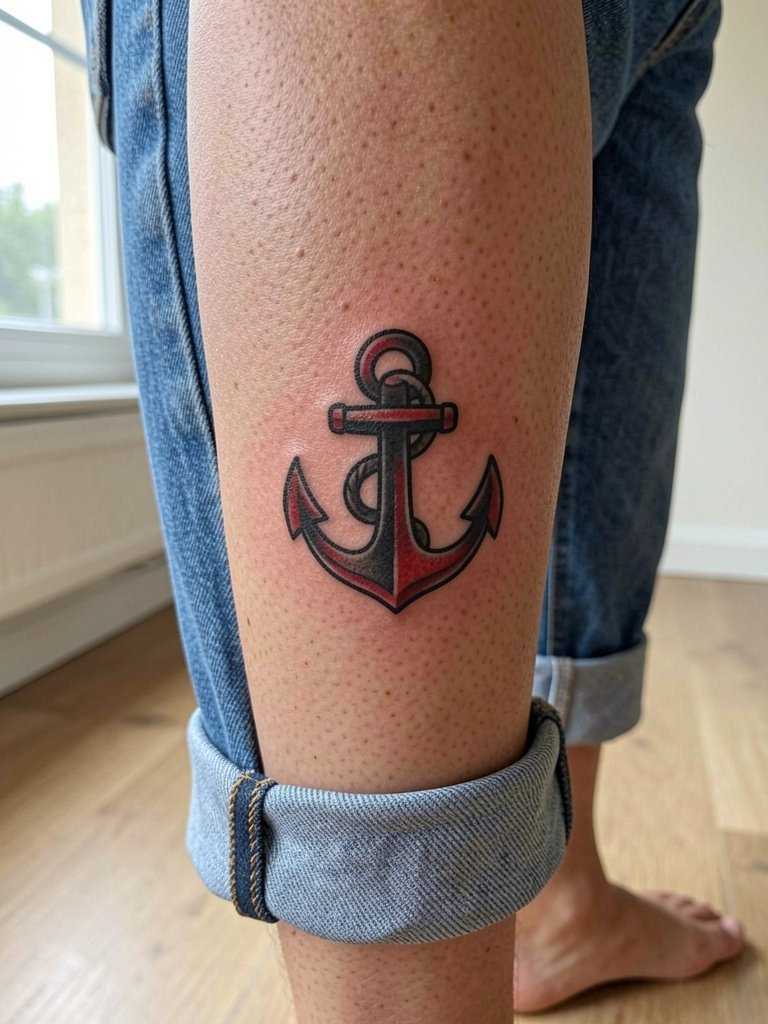
14. Quick-Access Consent and Release Station
Digitize consent forms but keep a paper backup for walk-ins. A dedicated tablet stand with stylus keeps sign-offs tidy and timestamps each session start. Studios that mix consent forms across desks create privacy issues and slow down intake. Place the station near the entry but not directly facing the main work area to respect client confidentiality.
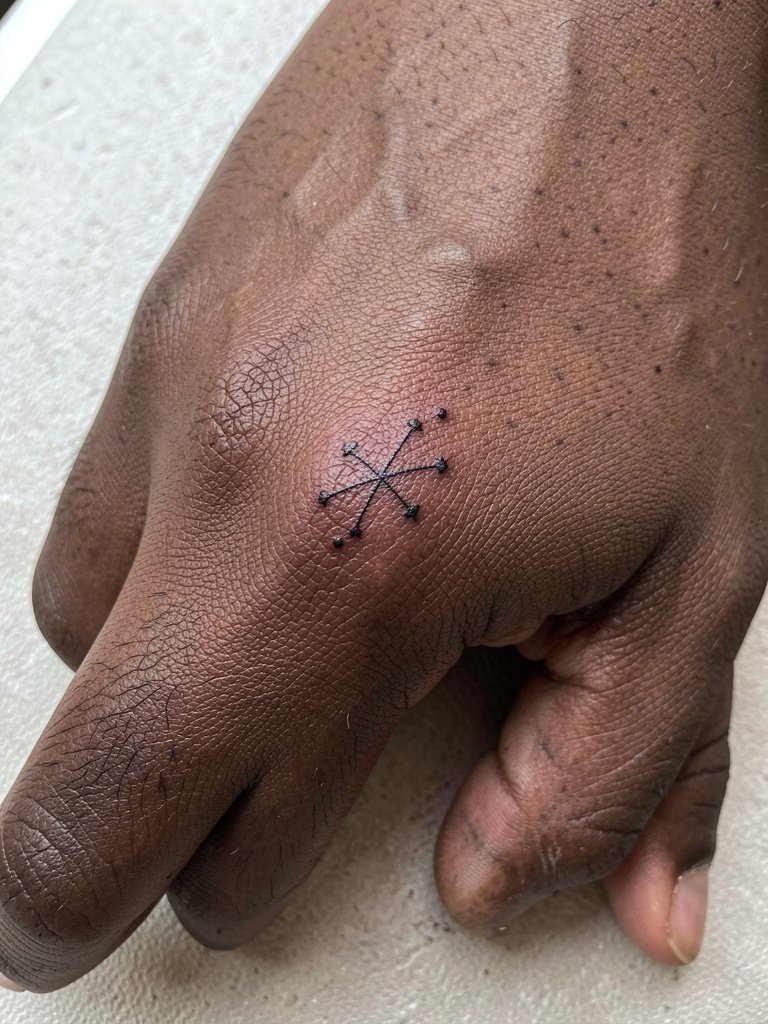
15. Tool Sterilization Sink with Separate Rinse Basin
A sink designed for incoming contaminated items and separate rinsing prevents cross-contamination and keeps autoclave prep faster. Include color-coded bins for clean and used gear to enforce workflow. Simple single-basin sinks force artists to juggle rinses and slow down turnaround during busy weekends. Train staff on a single-step layout so everyone knows where each item belongs during autoclave cycles. For durability, choose corrosion-resistant fixtures rated for clinic disinfectants.
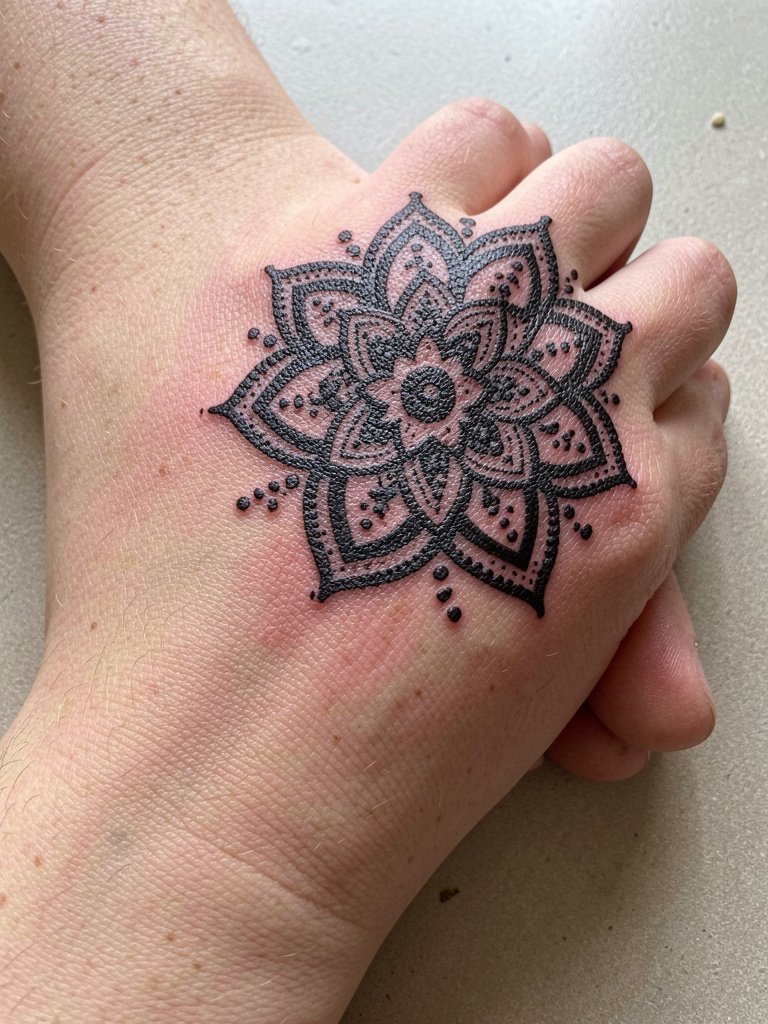
16. Client Comfort Kit Station
A small cabinet with disposable socks, cleansing wipes, and non-scented lotion smooths the client journey and reduces last-minute excuses. Keep single-use blankets and pillow covers for longer sessions. Kits that are over-styled with scented products cause irritation and allergic reactions for some clients. Label items that are single use and restock nightly to avoid shortages during weekend marathons.
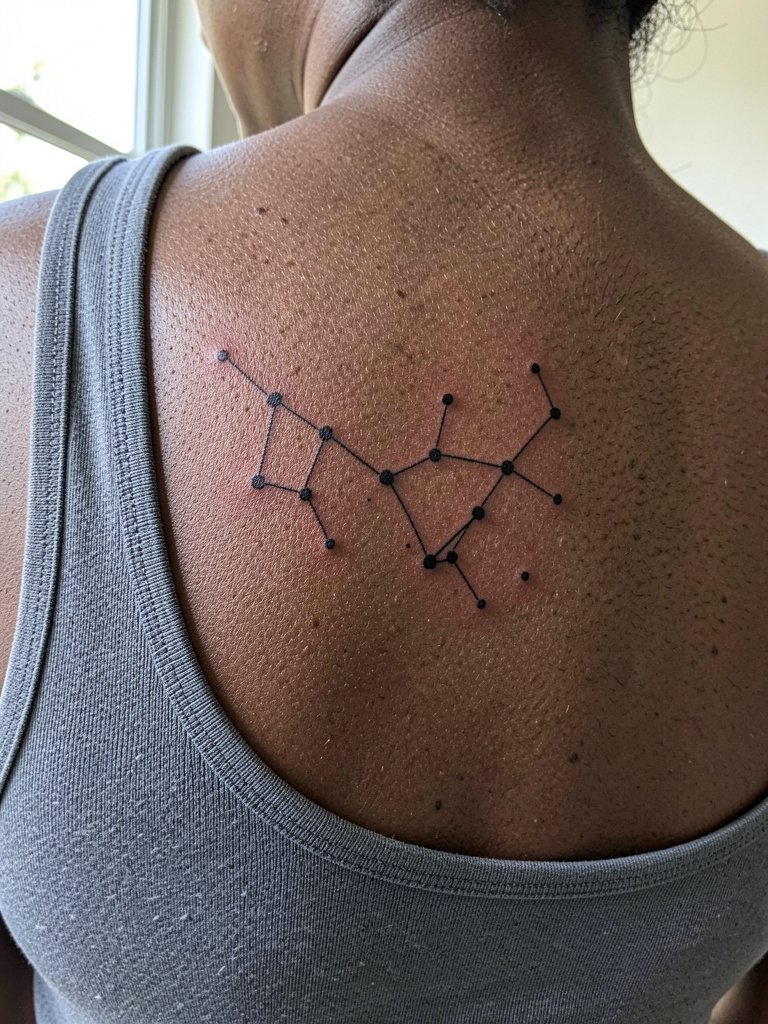
17. Dedicated Guest Artist Corner
If you host guest artists, give them a dedicated small station with their own labeled cart and lighting. Guest setups that borrow random gear from resident artists create friction and slow sessions. A guest corner with consistent lighting and a chair that mimics the main stations brings faster setup and better healed photos for their portfolio. Provide a short orientation checklist to show where backups and disposables live.
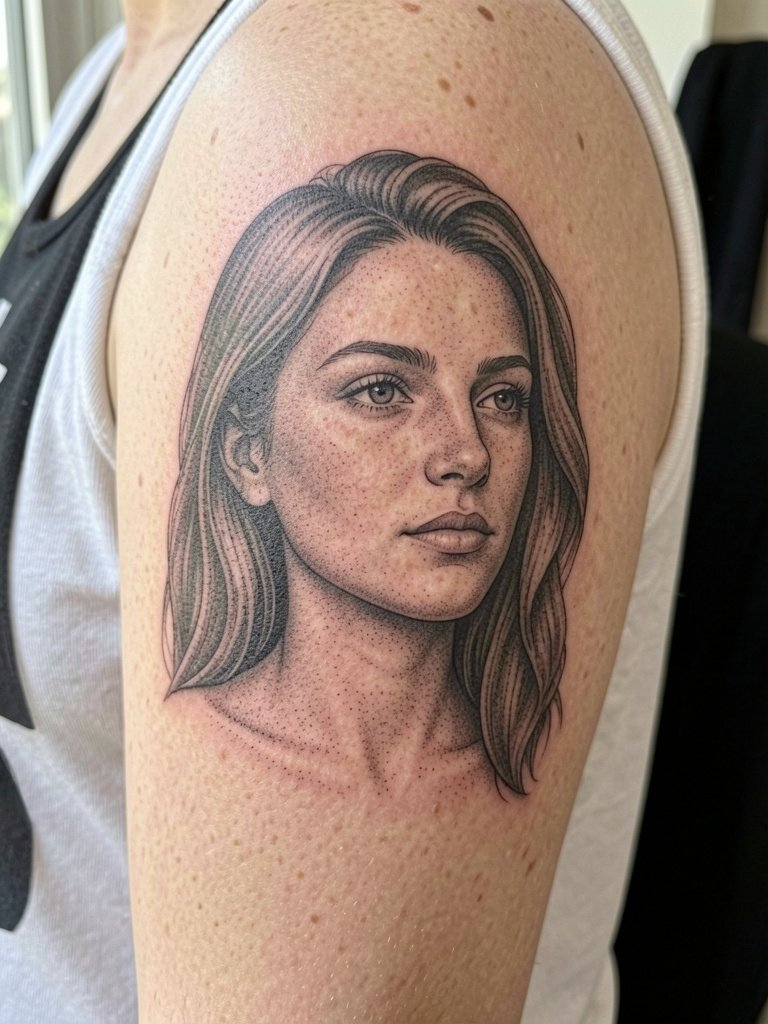
18. Color-Critical Lighting versus Mood Lighting
Artists split into two camps on shop lighting. One group argues for color-critical daylight lamps so color work and saturation decisions are accurate every session. The other group prefers warmer mood lighting because clients feel more relaxed and the studio photos look atmospheric. Both positions have merit so some studios use adjustable fixtures that switch between settings depending on whether it is a packing day or a portfolio shoot. If you pick fixed mood lighting, plan a separate daylight lamp for color verification to prevent surprises at touch-up time.
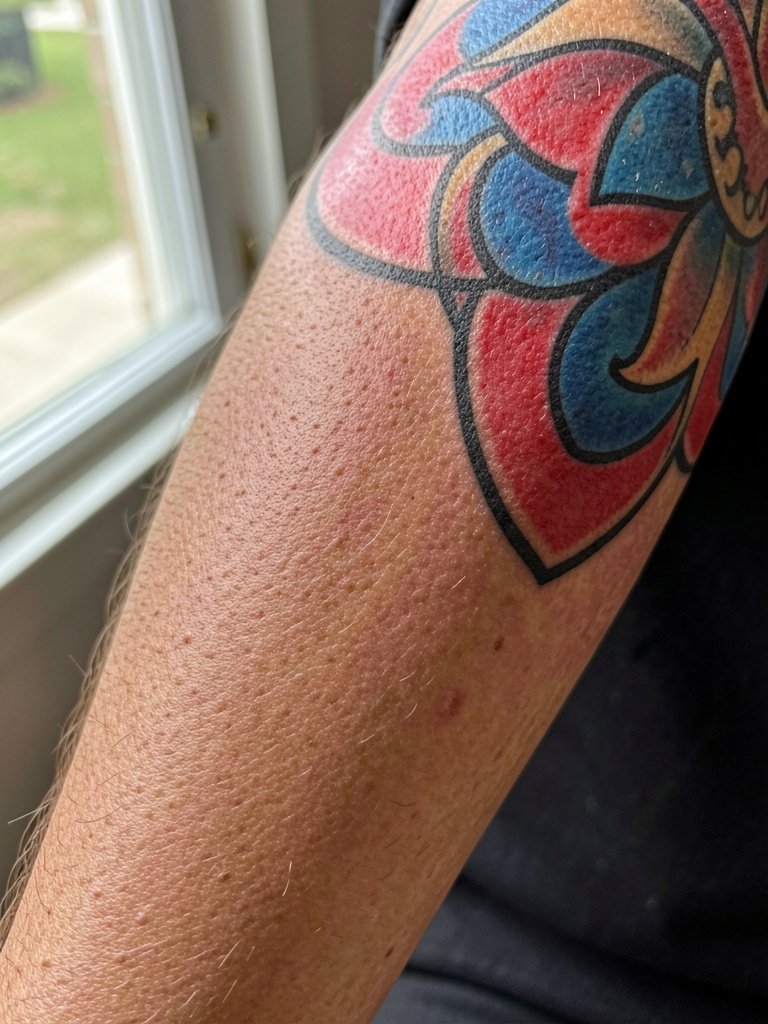
19. Anti-Fatigue Mats at Artist Stations
Standing hours without proper support accelerates lower back and knee pain for artists. Use thick anti-fatigue mats under the main standing stations and under the artist stool to distribute pressure. Thin mats compress quickly and lose effectiveness, which causes artists to stop using them. Pair mats with a footrest for seated work and schedule micro-breaks every hour to reset posture.
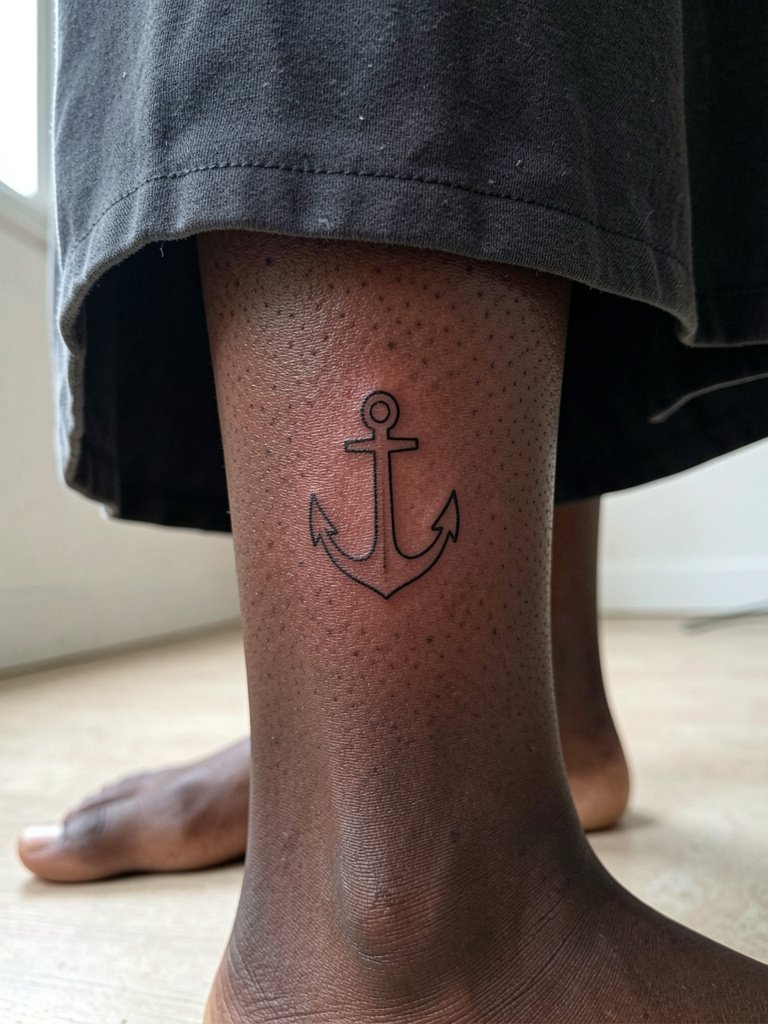
20. Clear Visual Inventory System
A visible inventory board with reorder thresholds prevents last-minute searches for needles or ink caps. Use a laminated wipeable list and mark low items during each shift. Studios that keep inventory only in digital spreadsheets discover shortages mid-week when a line item is missed. Cross-check counts weekly and keep one dedicated supplier for emergency next-day stock to reduce downtime.
21. Ergonomic Foot Pedals and Cable Management
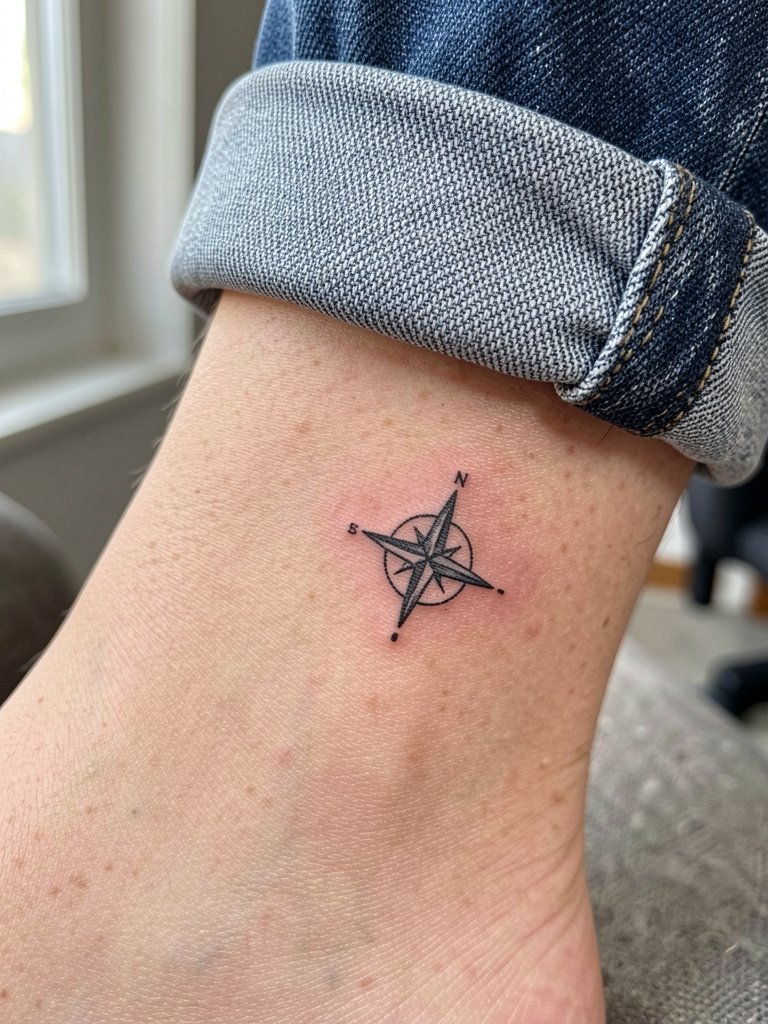
A smooth foot pedal that sits flush and a tidy cable channel reduce accidental machine stops and trips. Secure cables with quick-release mounts so gear swaps remain fast. Loose setups lead to mid-session snags and uneven shading when the pedal slips. For shops with wireless options, keep a wired backup in a labeled drawer to avoid surprises.
22. Backup Power and Surge Protection
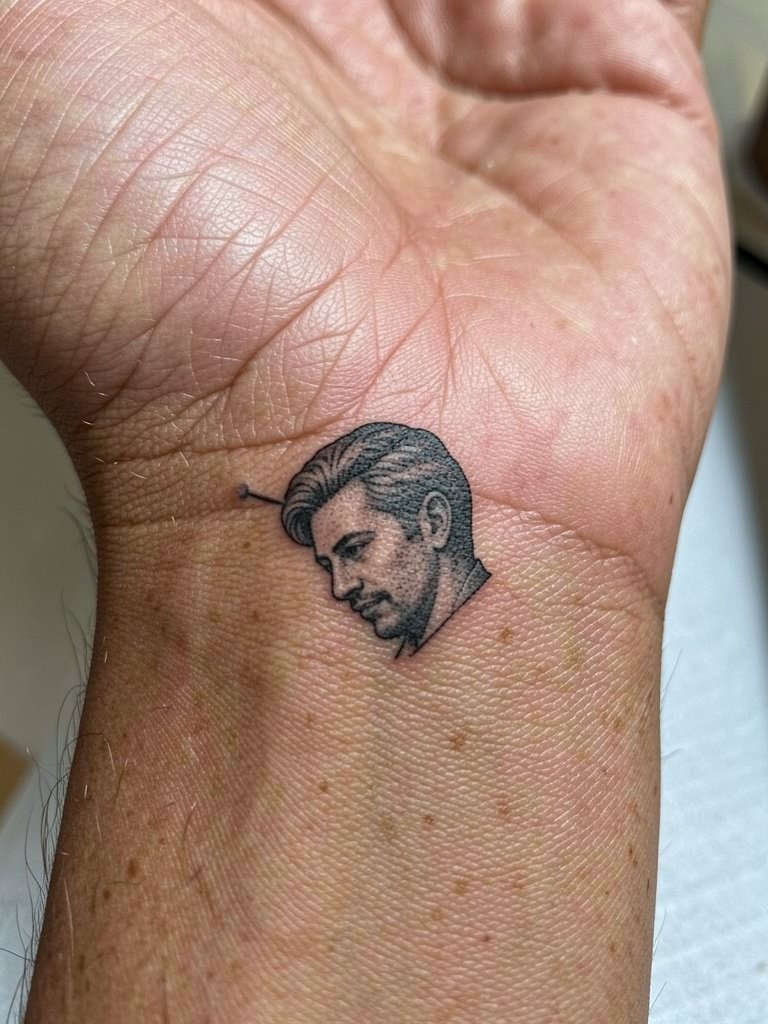
Protect expensive power packs and lights with a dedicated UPS and surge protectors rated for studio loads. Power dips mid-session can ruin a color pack and force rushed finish work. Simple consumer strips fail faster and create a hazard. Keep a labeled emergency kit that includes spare fuses and a secondary battery so you can finish a multi-hour session without disruption.
23. Portable Shade Curtains for Temporary Privacy
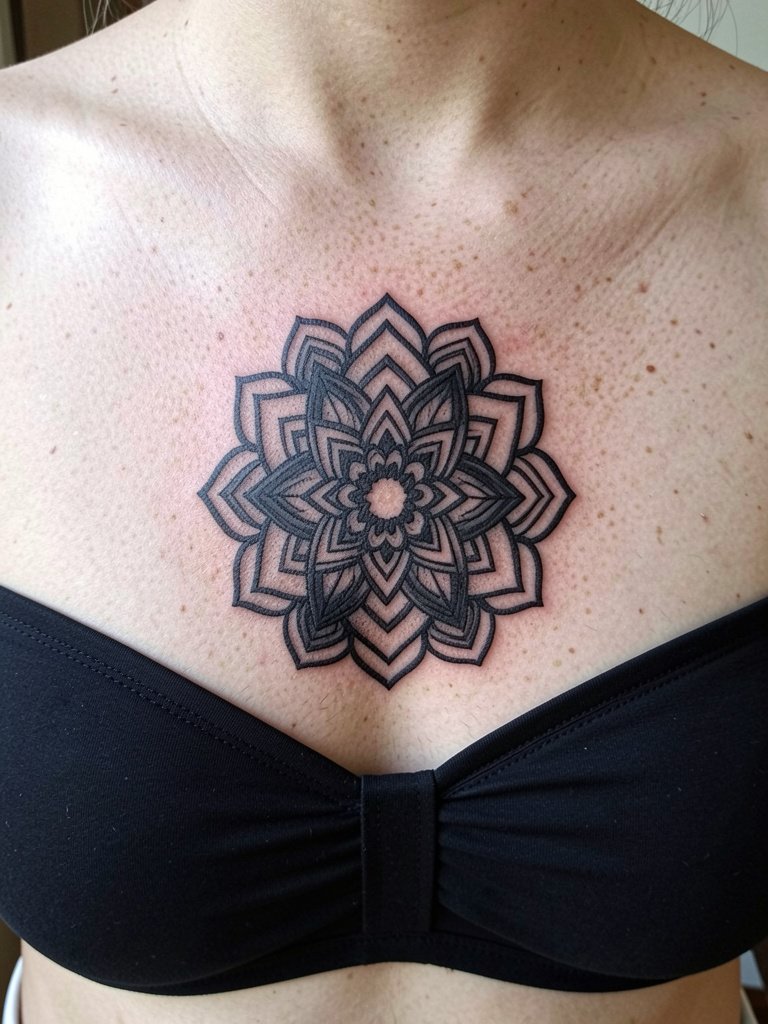
Lightweight retractable curtains let you create private zones for sensitive placements without permanent construction. Curtains that are too thin do not block sound so they only provide visual privacy. Use thicker weave materials on tracks to reduce both light bleed and noise. Store curtain tracks flush to the ceiling to maintain a clean studio aesthetic when not in use.
24. Integrated Charging Station for Phones and Cameras
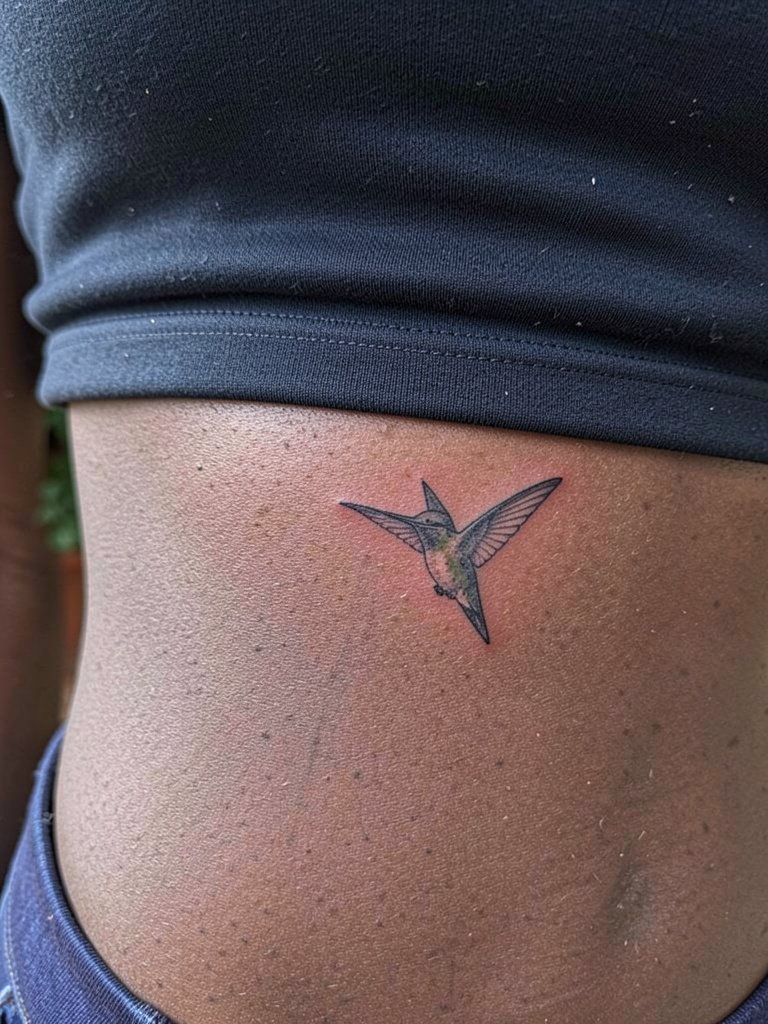
Clients often document new ink on arrival and during touch-ups. A small charging dock near the photography nook keeps cameras and phones from dying mid-shoot. DIY chargers with tangled cords are messy and bleed battery life. Mount a labeled tray for devices to prevent mix-ups and to encourage clients to leave phones in a safe spot during sessions.
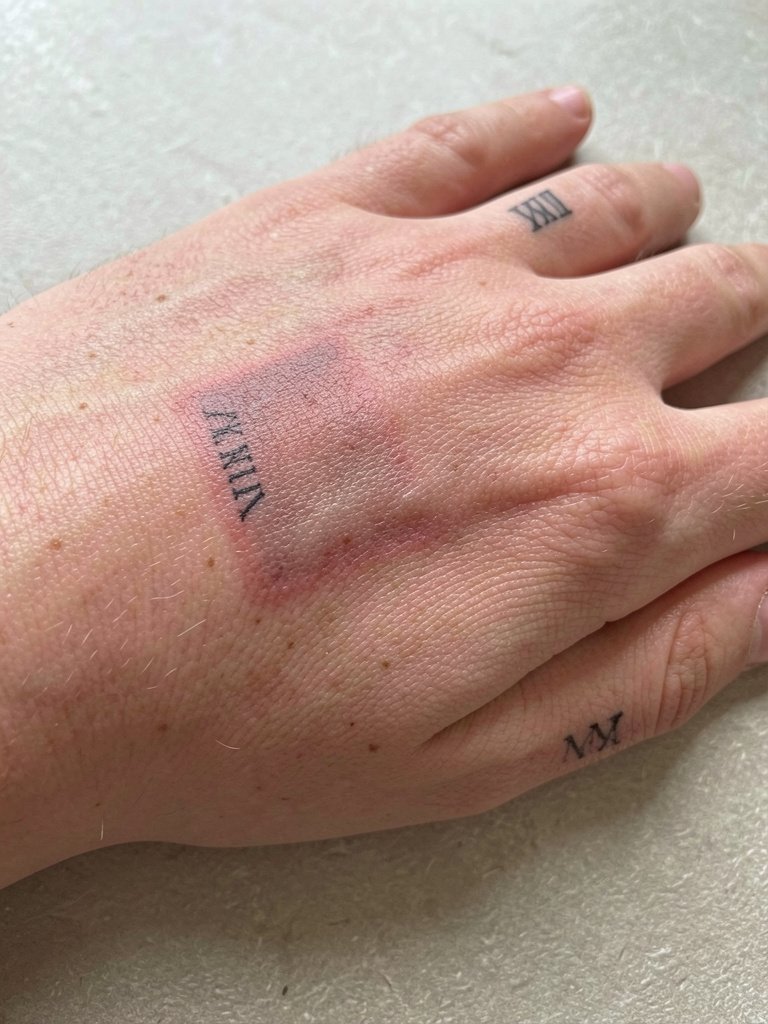
25. Staff Locker Area with Safe Storage
Crew members need a secure place to store personal items separate from supplies. Lockers with ventilation prevent odors and protect devices from cross-contamination. Unsecured personal items left in work zones create clutter and increase the chance of accidental contamination. Assign numbered lockers and a nightly cleaning checklist to keep the area organized. For staff comfort, include a small shelf for shoes and an outlet for phone charging.
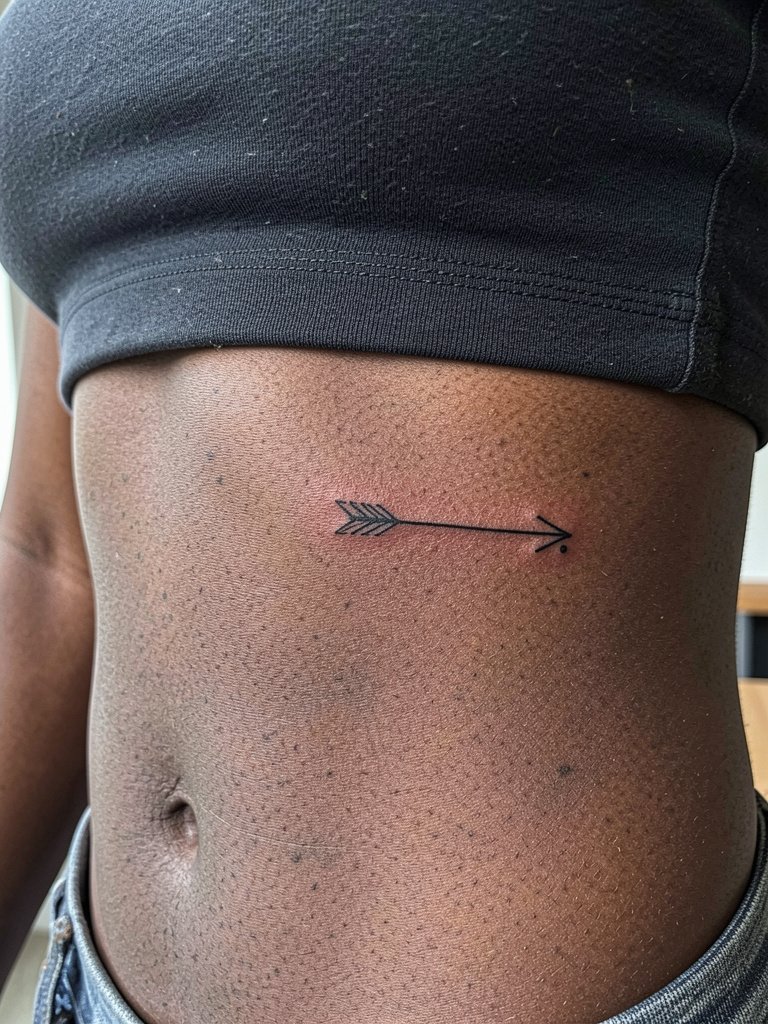
26. Client Intake Bench with Adjustable Lighting
A bench by the intake desk with neutral adjustable lighting gives you a controlled place to check reference photos against skin tone. Portable lights allow accurate color previews without disrupting the main chair setup. Intake areas that rely on overhead fluorescent lights fail to reveal how pigments will sit on different skin tones. When running color tests, use a small hand mirror and a neutral-toned scarf so clients can evaluate placement naturally in ambient light.
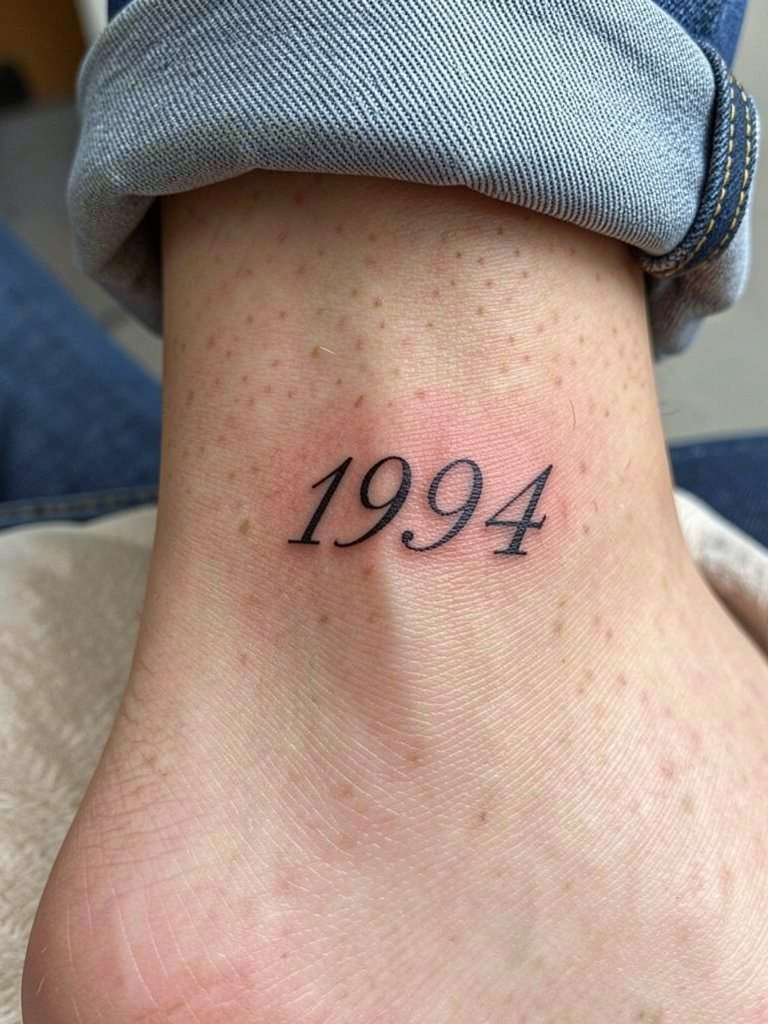
27. Long-Term Maintenance Plan Board
Plan a visible calendar for touch-ups, supplies reorder, and machine servicing to keep workflows steady. Shops without a maintenance cadence tend to react to problems rather than prevent them. Set realistic touch-up windows for common work types and note expected fading behaviors so clients understand timelines. For staff training, keep a short checklist for end-of-week machine cleaning and a log for autoclave cycles so nothing is missed.
Frequently Asked Questions
Q: How do I choose between open floor and private rooms for my studio?
A: Evaluate your client mix and intake volume. Open floors help visibility and mentorship while private rooms improve confidentiality and comfort for long sessions. Consider a hybrid model with a few private booths and an open row of chairs so you can test demand without a full remodel.
Q: What lighting should I buy if I do both color packing and photography?
A: Get an adjustable LED lamp with variable color temperature and a high CRI rating so you can switch between daylight for pigment checks and warmer settings for client comfort. A consistent lamp in the photography nook keeps healed shots comparable. A daylight task lamp near the chair for color verification is a useful backup.
Q: Where can I find portfolio discovery pathways without naming artists directly?
A: Search platform tags and keywords like #AestheticTattooArtistWorkspaceDesigns, #HealedTattooShots, and location filters on short-form video apps to find local healed examples. Browsing community forums and portfolio aggregators with search terms for placement and style helps you compare lighting and chair setups without contacting artists directly.
Q: What should I include in a client comfort kit for long sessions?
A: Include non-scented wipes, disposable socks, a pillow, and a thin blanket. Keep single-use items clearly labeled and stored in sealed bins to avoid cross contamination. A small shelf for phone charging helps clients stay put during long finishes.
Q: How often do chairs and benches need servicing or replacement?
A: Expect high-use chairs to need minor repairs every one to two years depending on material and cleaning frequency. Replace upholstery panels sooner if seams split under frequent disinfecting. Logging a quarterly inspection helps catch wear early and reduces emergency replacements.
