
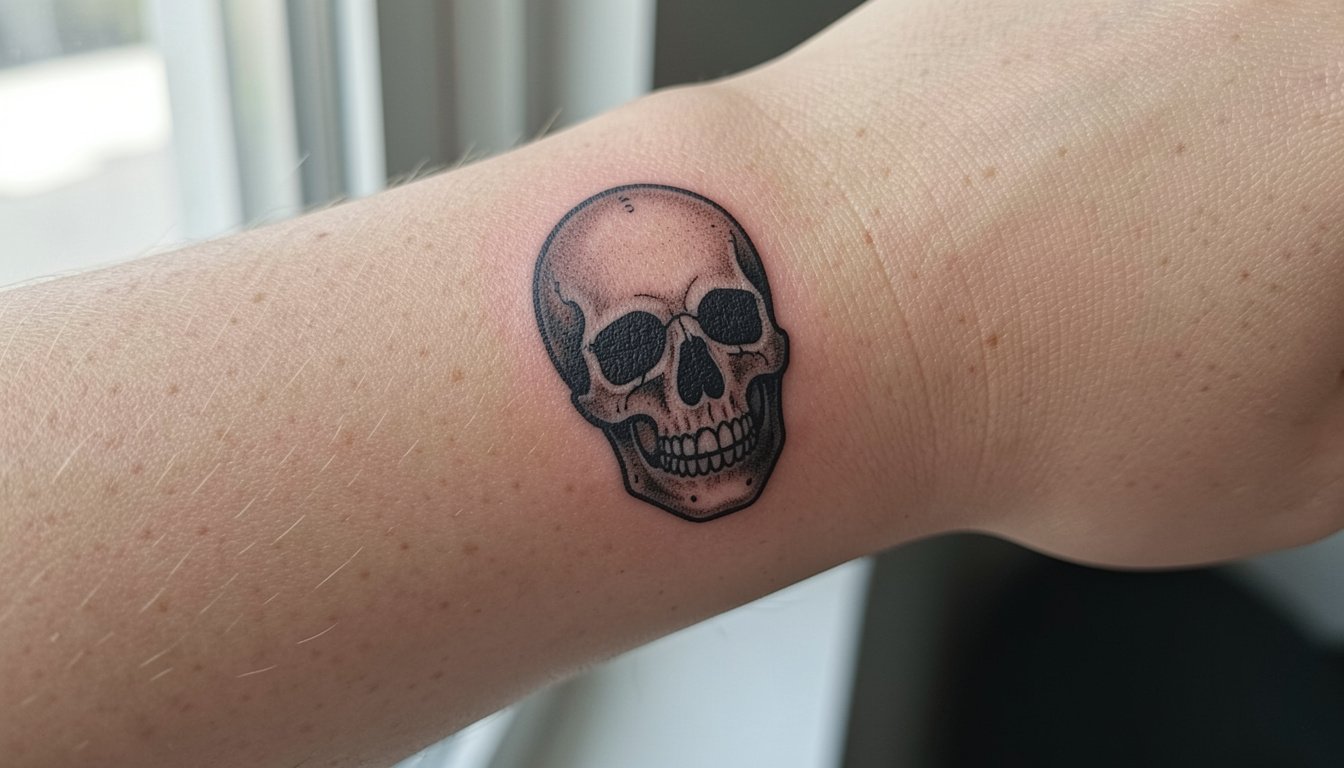
Small hand tattoos for men look effortless when the artist plans for the long game. Tiny lines that sit on the skin too shallow or too close to joints blur within a couple of years. Pick designs that respect movement, pick placements that avoid constant scrubbing, and bring clear scale references so the design reads at arm's length and after several heals.
1. Fine-Line Compass on the Side of the Index Finger
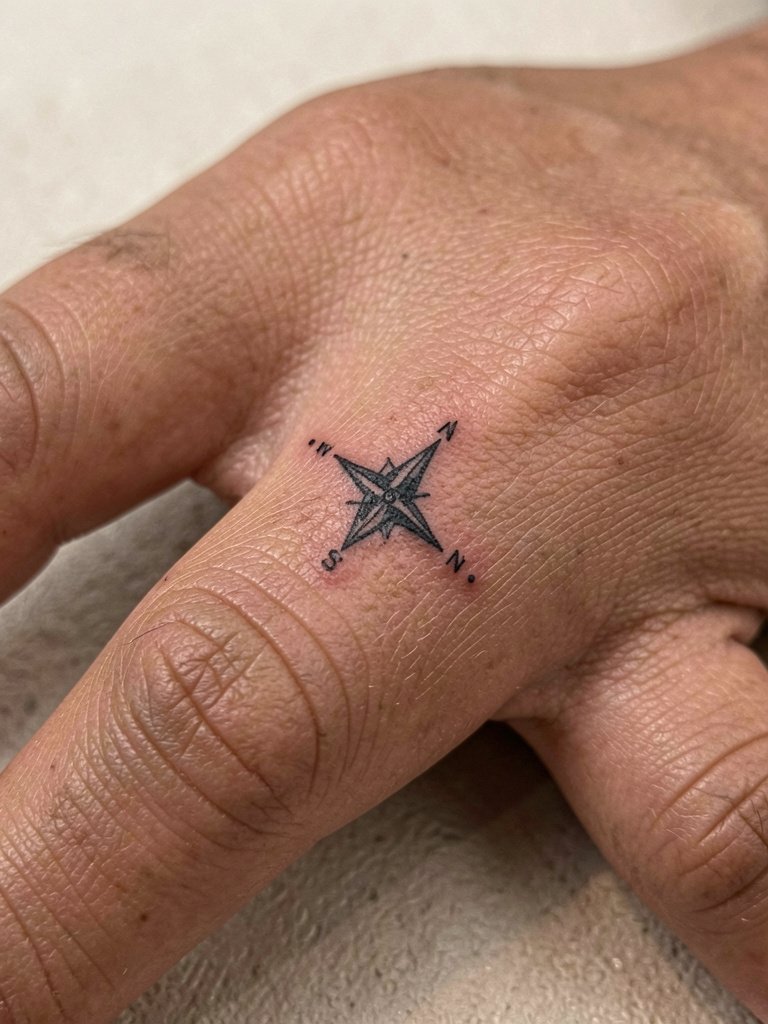
Tiny designs on fingers need scale planning. I recommend making the compass needle slightly thicker than your reference photo so the point keeps shape after a year. Discuss with your artist how the knuckle crease will interact with the design where the finger bends. Expect the session to be short but sharp, and plan for a touch-up around the six to twelve month mark because fingertips move and wash a lot. For showing it off, a slim matte signet ring or a low-profile bracelet frames the finger without covering the artwork. Try pairing it with a minimalist silver ring when you want the compass to read as part of an accessory stack.
2. Micro-Realism Eye on the Side of the Thumb
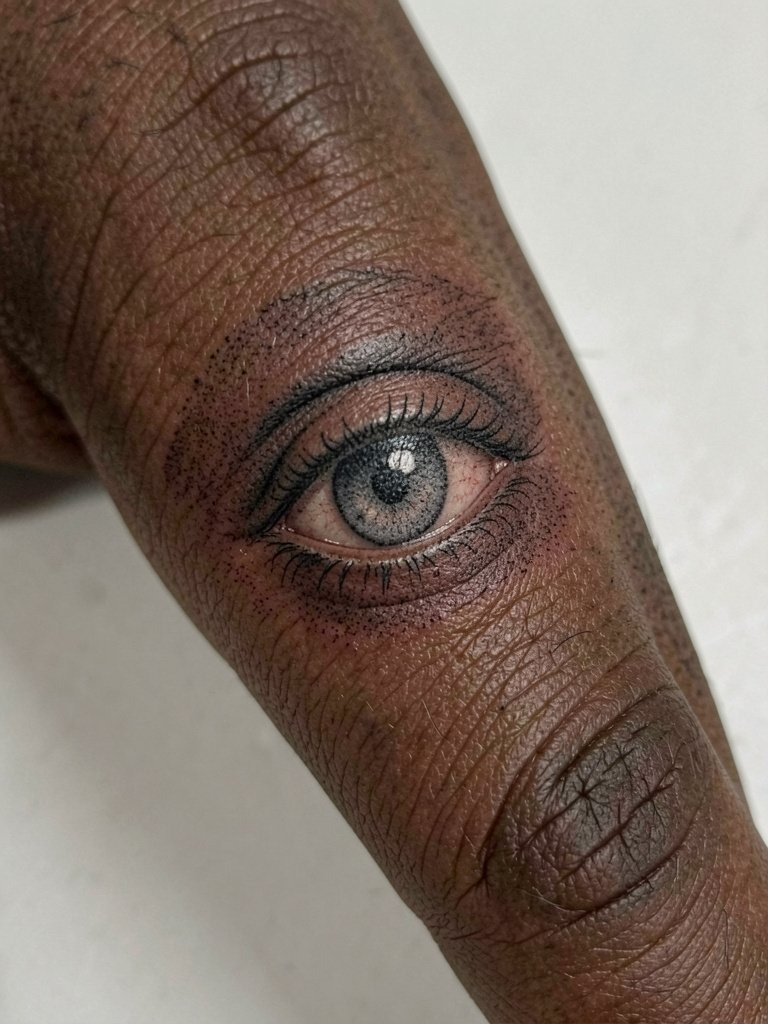
Micro-realism can read delicate on day one and muddy by year three if the shading is too soft for the placement. For thumbs, ask the artist to slightly boost contrast in the first session so small highlights survive the natural wear. The tip of the thumb gets constant friction from phone use and pockets, so expect a one-hour sitting that is tingly rather than deeply painful. The main mistake is asking for ultra-soft grey without accounting for texture. Swap the pale cotton cuff of a fitted tee for a short-sleeve linen shirt when you want the thumbnail eye visible during casual outings.
3. Single-Word Script Along the Side of the Ring Finger
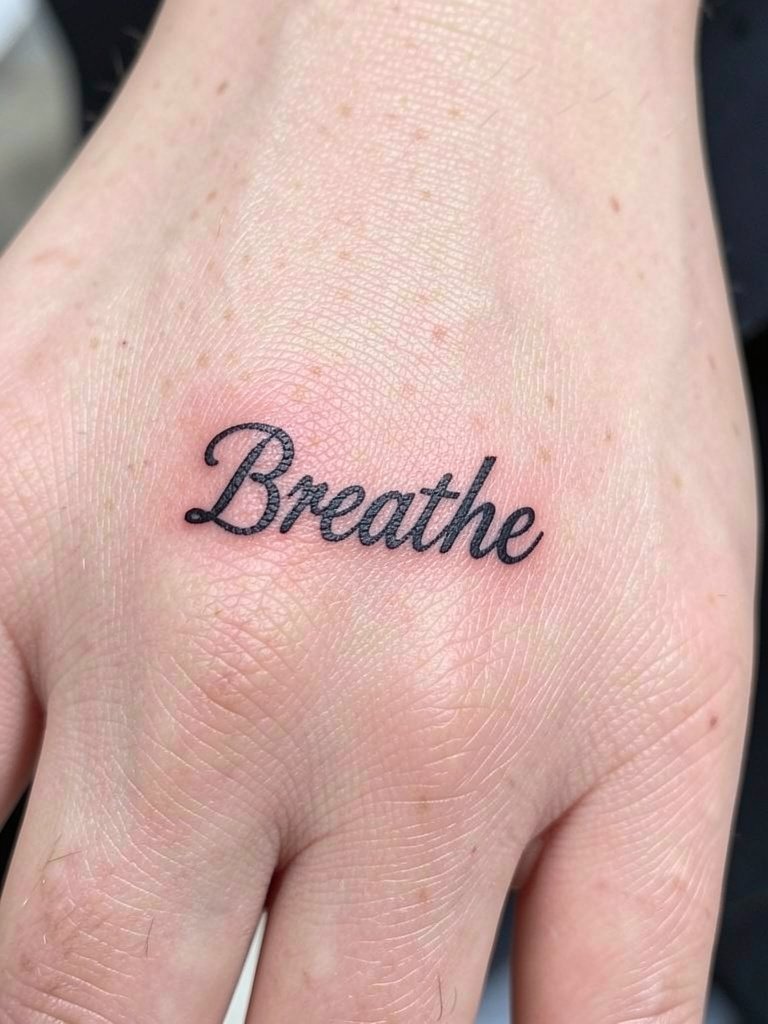
Script on narrow fingers looks elegant when the letterforms are spaced to breathe. Bring two scale references to show how three letters read at one inch versus two inches. Fingers fade fastest, so expect a touch-up window at six to twelve months. A common error is requesting heavy flourishes that merge into the knuckle lines. If you want the script to tuck into a ring, try a thin band on the same finger so the typography reads as intentional. Match the look with a thin matte ring for evenings out.
4. Tiny Anchor on the Side of the Wrist
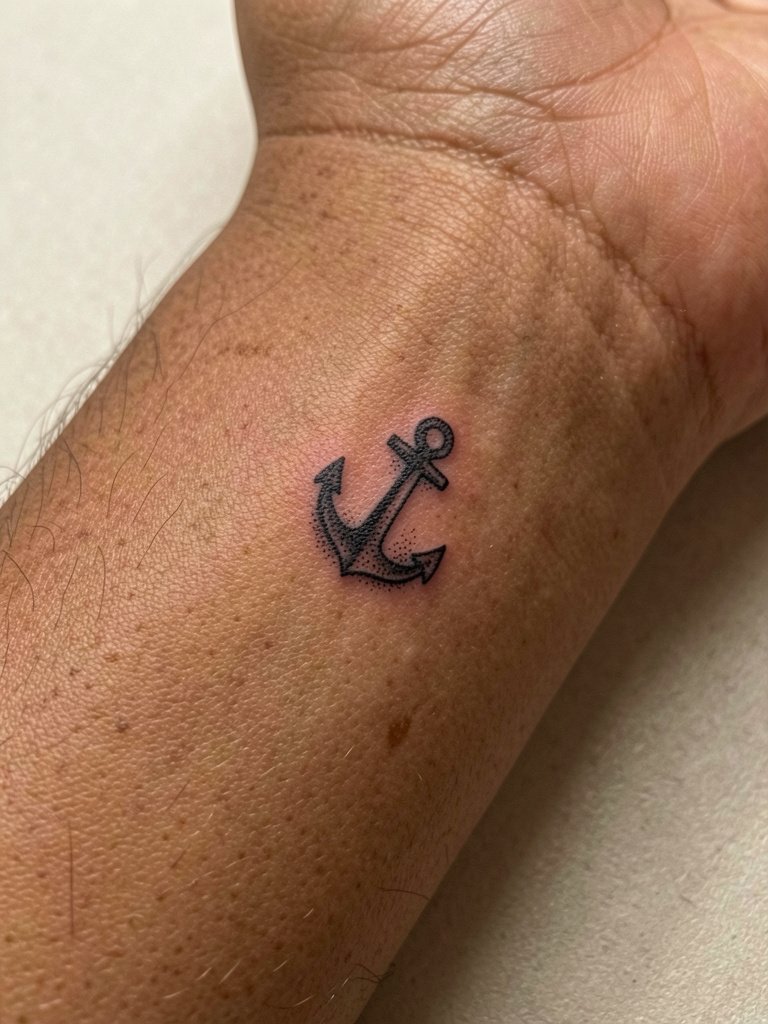
Wrist pieces are visible and take lots of sunlight and wrist flex. Opt for cleaner silhouettes rather than filigree to avoid early blur. During the consult bring a wrist-on-surface photo so the artist can show exact placement in relation to the wrist crease. Sessions feel like a persistent vibration with short sharp spots. The usual mistake is placing a design too close to the crease. When you want to show the anchor, roll the sleeve slightly and wear a short-sleeve linen shirt or a slim watch that complements the scale.
5. Geometric Triangle Trio on the Back of the Hand
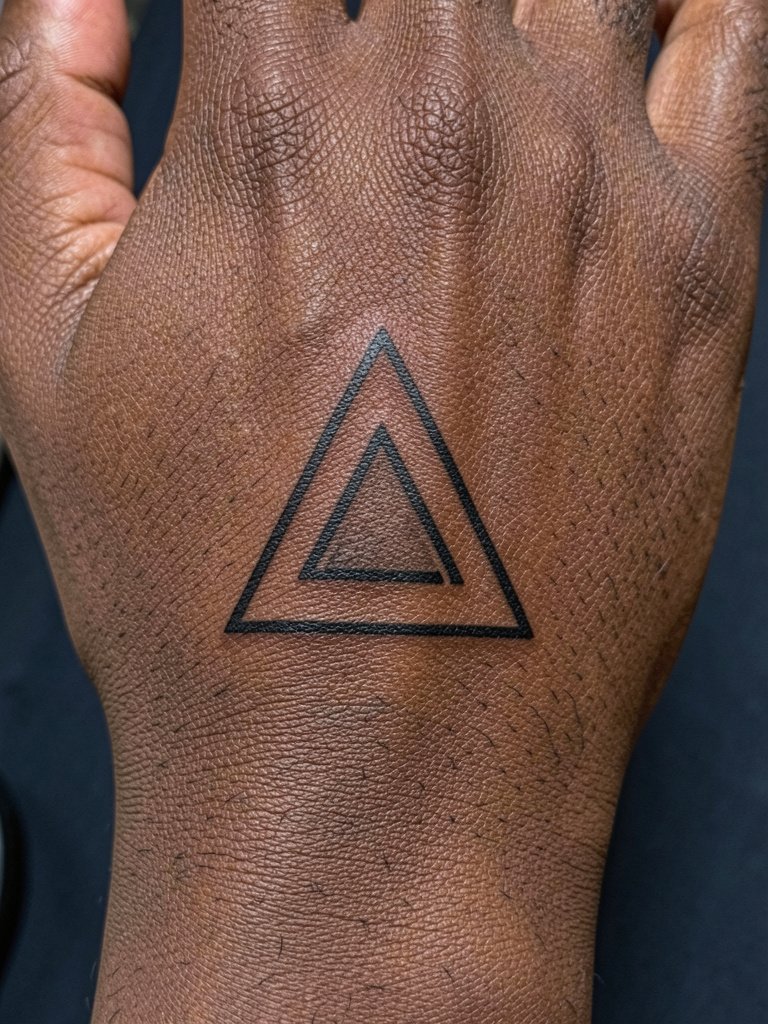
Geometric work impresses when the lines are honest and not squeezed. Tell the artist the exact distance you want between shapes so the negative space holds up. Hands are high wear zones so expect a touch-up in the first year. The main visual mistake is using ultra-fine lines that the skin cannot keep on the back of the hand. For daytime styling pick a slim watch or a leather bracelet that frames the geometry. Try a minimal leather bracelet when you want a balanced wrist stack.
6. Tiny Dagger Knuckle Cluster
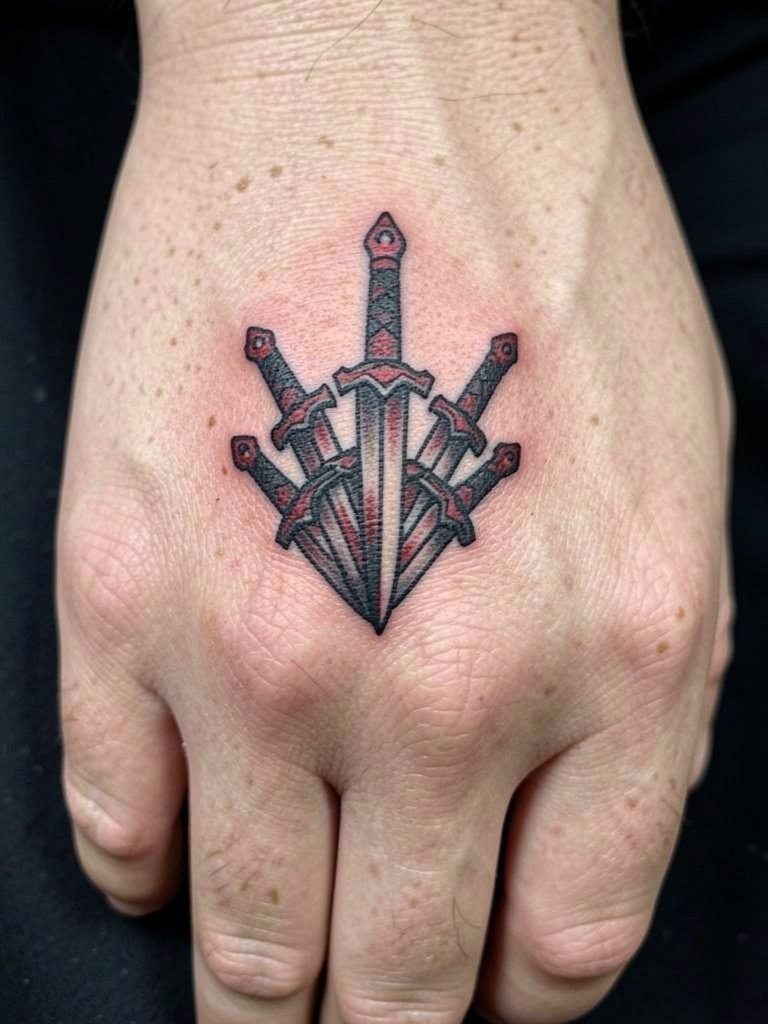
Knuckle pieces are a commitment because skin there is thin and frequently impacts work filters. One camp says knuckles read as professional risk in many industries. Another camp points to creative roles where knuckles are part of the look and thus acceptable. Both statements exist in conversations I hear at shops. If you choose knuckles, make the outlines bold and compact so the forms do not spread into the creases. Expect higher touch-up frequency and be ready for slight fading between two and five years.
Session Day Picks
A few small tools smooth the session and the first week, especially for finger and knuckle work covered above.
-
Stencil transfer paper kit. Lets you preview line placement on curved areas like fingers and wrists before the needle starts, which helps avoid last-minute shifts.
-
Topical numbing cream. A thin application 30 to 45 minutes before most hand sessions eases the sharp surface discomfort without heavy numbness that can interfere.
-
Thin protective film roll. Useful for finger and back-of-hand pieces during the first two days of frequent washing.
-
Travel-size gentle body wash. Mild cleansers keep fresh ink clean without stripping the area of necessary moisture.
-
Aquaphor healing ointment. A widely used ointment for the initial sealing days that many clients report helps protect delicate single-needle linework.
7. Micro-Tribal Dot Work Along the Thumb Base
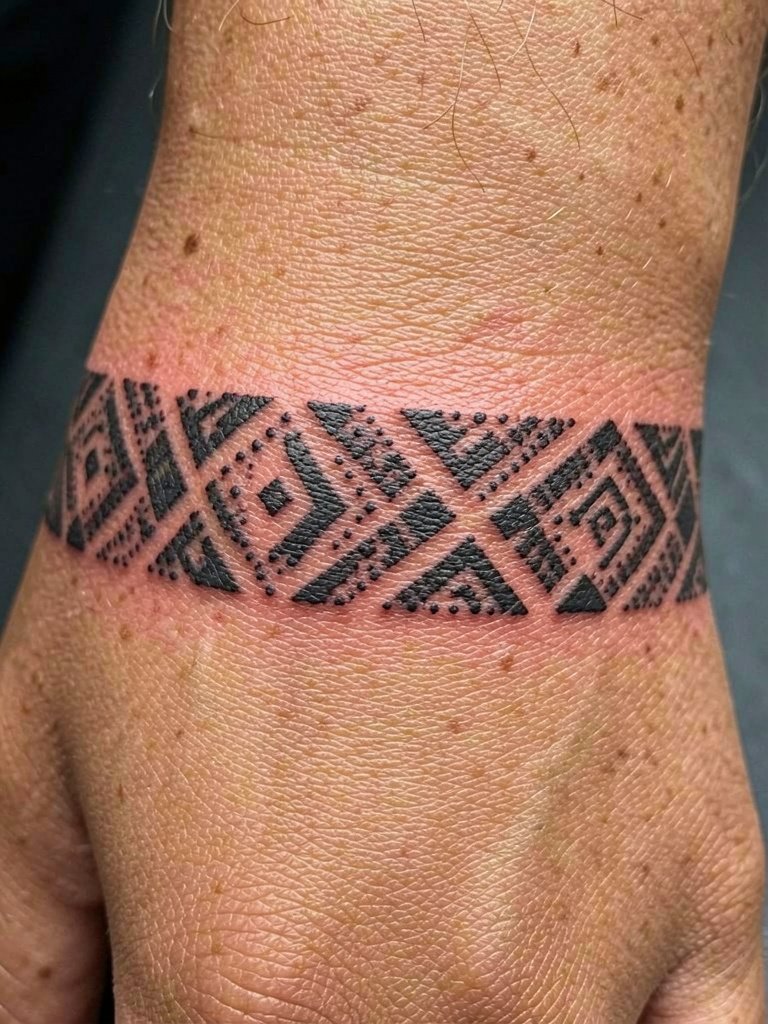
Small dot work reads sophisticated if given space to breathe. For the thumb base ask the artist about spacing between dots and how negative space will help the pattern survive motion. The session is brief and feels similar to gentle scratching. A mistake is crowding motifs too close to the palmar crease. This placement pairs well with short-sleeve shirts that show the thumb area. Consider a fitted short-sleeve tee when you want the pattern visible without layering.
8. Minimalist Keyhole on the Side of the Palm
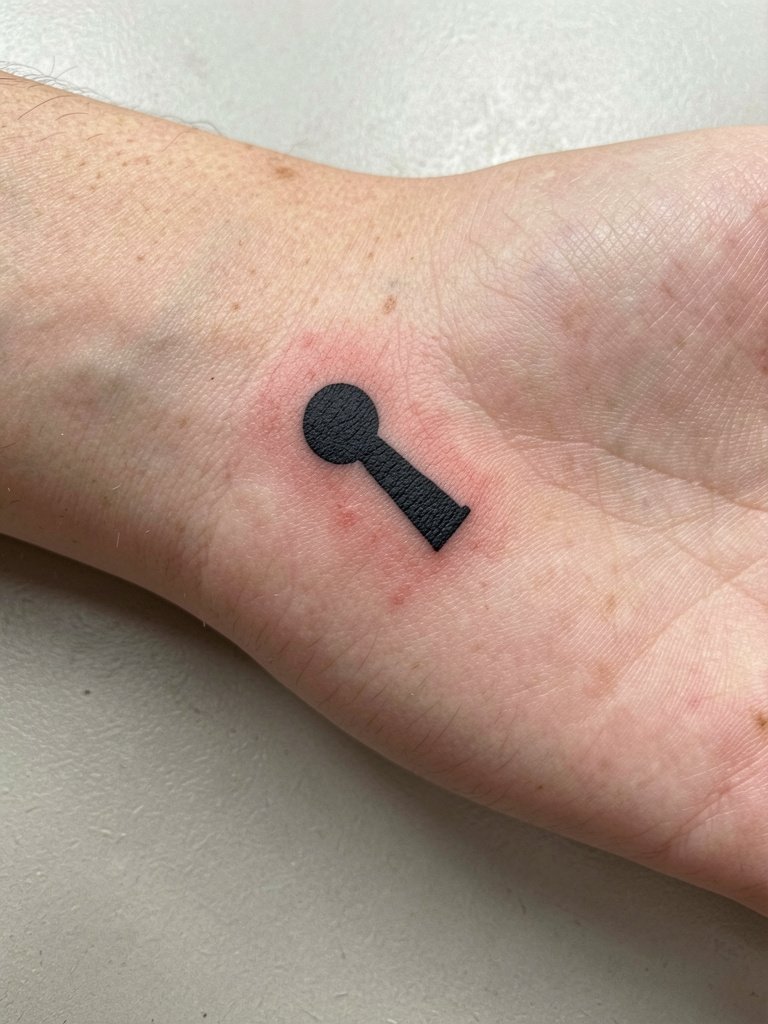
Palm work blurs faster than other hand areas because the skin renews constantly. One camp argues palm tattoos rarely hold beyond a year. Another camp highlights techniques that add saturation and layering to extend longevity. Both perspectives are common in studio conversations. If you want a palm keyhole, expect a dense first session and likely a touch-up sooner than other hand placements. During the session wear a shirt with mid-length sleeves so your forearm rests comfortably on the table.
9. Tiny Wave Line Along the Wrist Crease
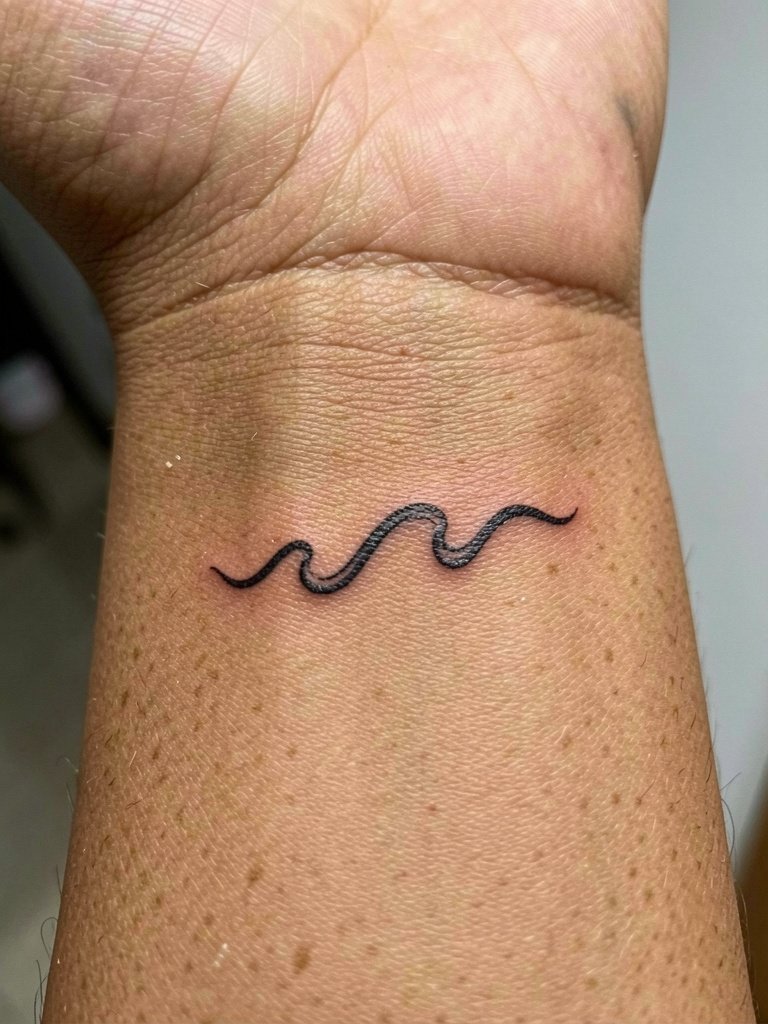
Inner wrist lines age differently than back-of-hand work because the skin is thinner and more exposed. Ask for a slightly heavier start line and a plan for a light touch-up at nine to twelve months. The common error is picking an ultra-fine single-needle wave that disappears when the skin stretches. For daytime looks wear a slim watch with a low-profile strap to complement the curve. A minimalist watch strap frames the wrist without covering the art.
10. Tiny Anchor on the Side of the Pinky Knuckle
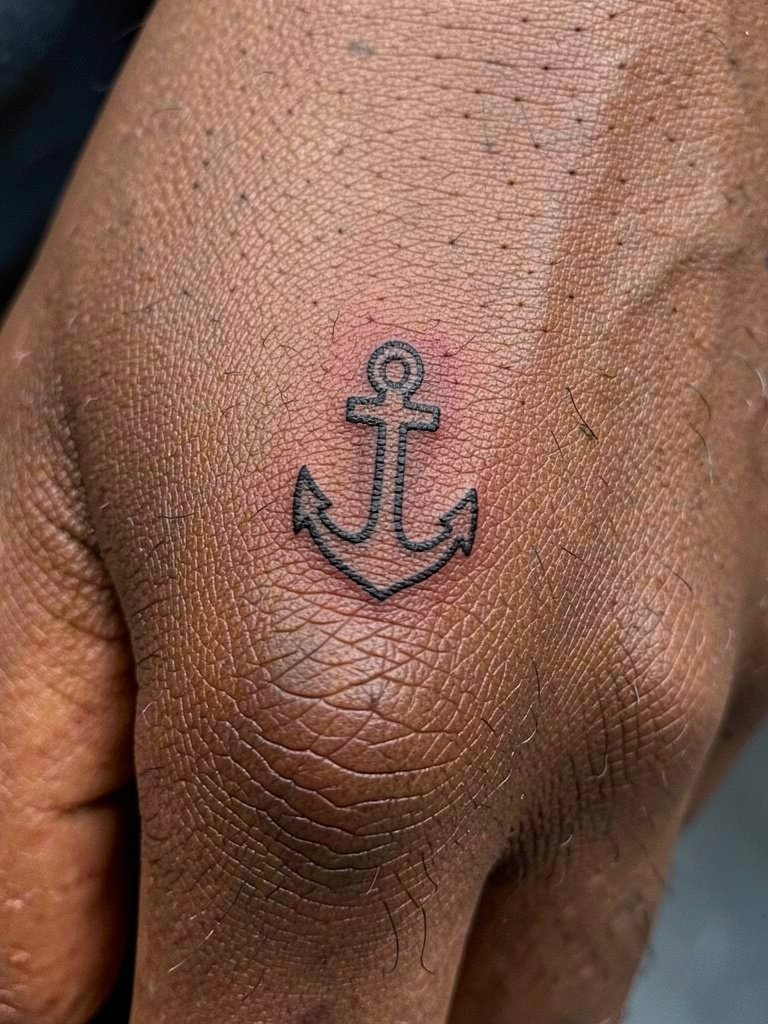
Pinky knuckle placements are subtle but high maintenance. Have the artist show a healed example at similar scale because knuckle skin behaves differently than flat hand skin. Sessions are quick and feel pinprick sharp. A common mistake is spacing the icon too close to the knuckle crease. Keep contrast high so it reads from a short distance. A narrow band ring on the adjacent finger keeps the hand balanced for nights out.
11. Tiny Ship Wheel on the Back of the Thumb
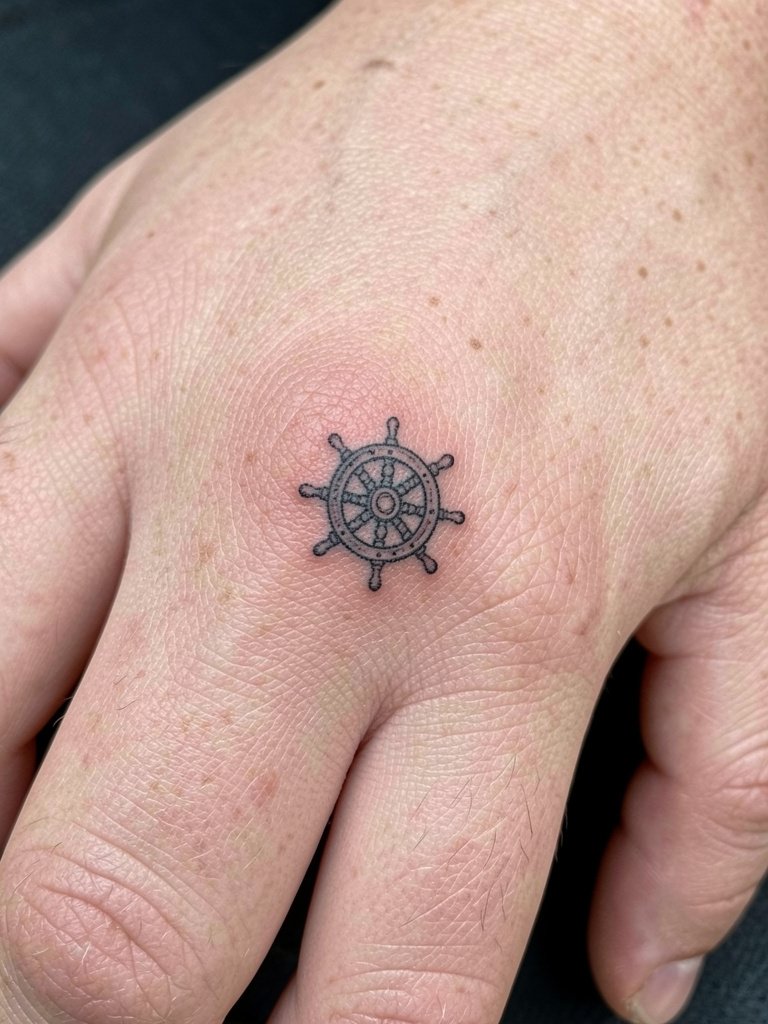
Back-of-thumb designs are great for little symbols that sit in plain sight. Request reference photos that show how the piece reads when the hand is open and closed. Expect frequent surface friction from pockets and phone edges, so plan for a touch-up. The common mistake is requesting too many internal details in a tiny emblem. When you want to display the wheel, short sleeves or cuffed shirts help keep the thumb visible without exposing more of the arm.
12. Micro-Anchor Row Along the Finger Sides
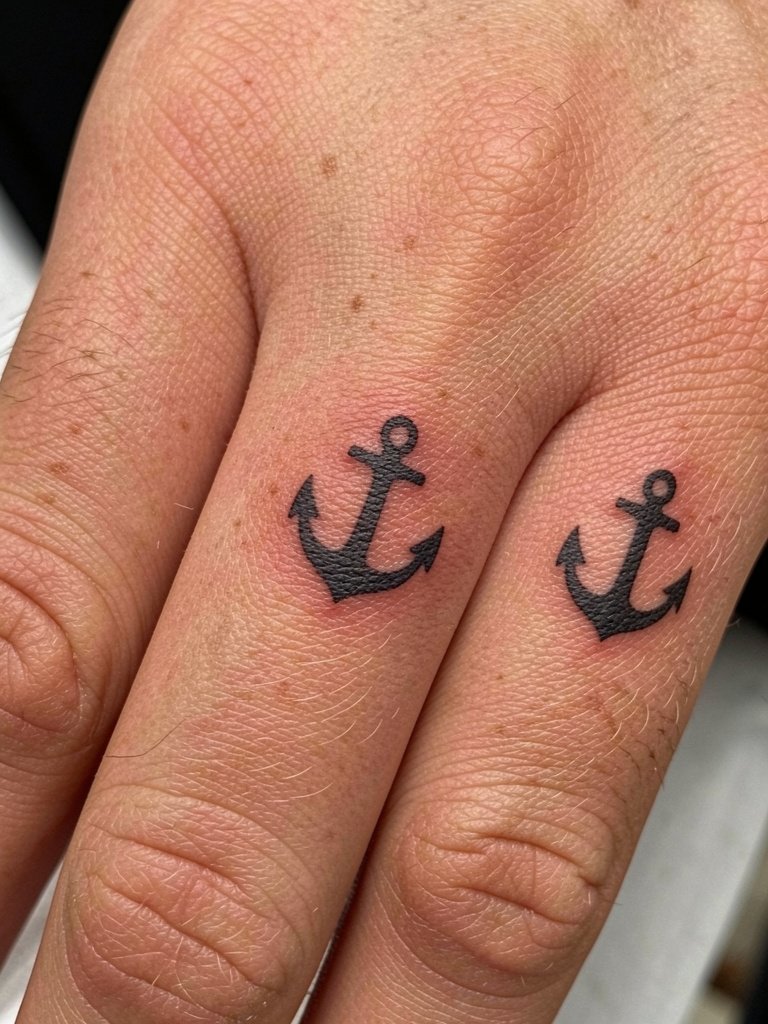
Repeated small icons along a finger create rhythm, but they must allow for knuckle movement. Ask the artist to map how each anchor will sit when the finger flexes. Sessions are segmented and can be done in one visit with breaks. A typical mistake is underestimating how washing accelerates fading. If you want to show the row, cuff a denim jacket or wear an open-collar shirt that keeps the hands visible.
13. Miniature Compass Rose Behind the Thumb
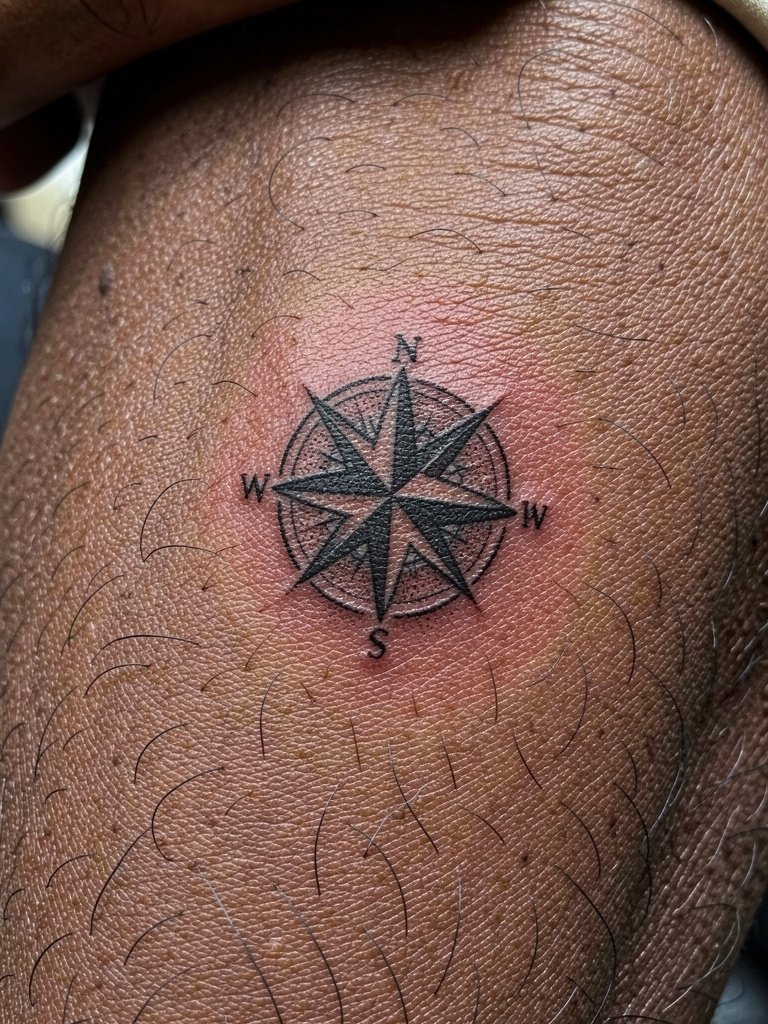
Web-space tattoos see a lot of movement and hand washing. When planning a compass rose here, ask the artist for slightly stronger black saturation in the first session so the negative space survives. The web area can feel tender when tattooed. The common mistake is using tiny spokes that vanish with skin renewal. For showing the piece pair with short sleeves and low-profile rings so the back of the hand remains in view. A slim band ring complements web-space work.
14. Tiny Crescent Moon on the Outer Edge of the Hand
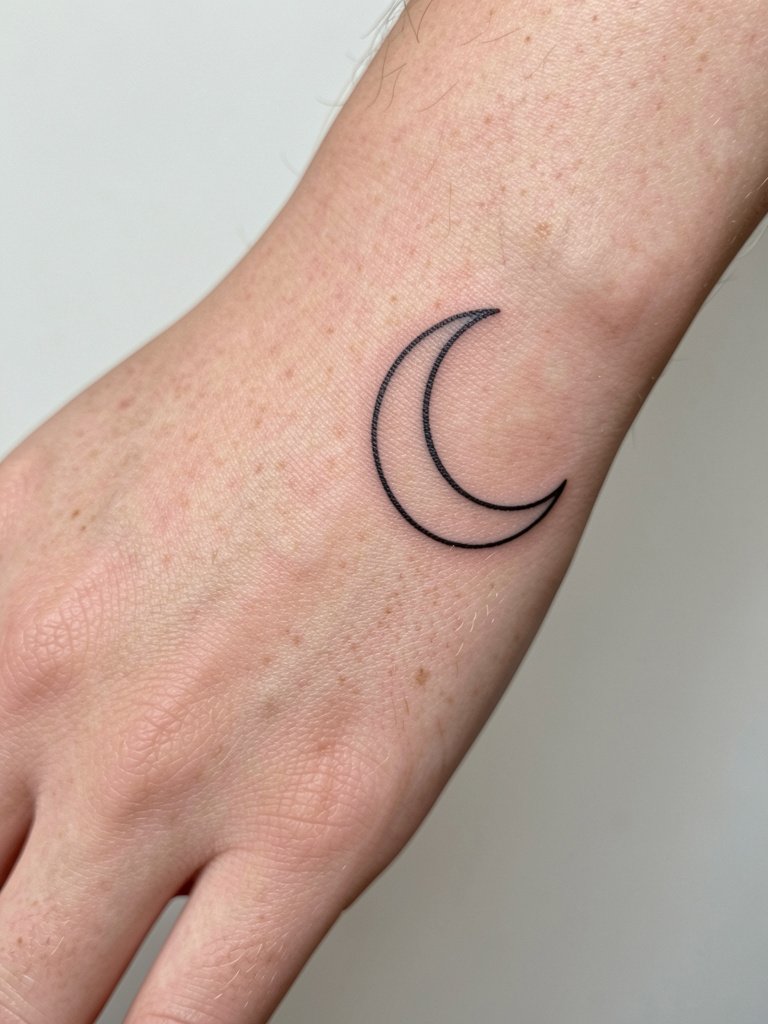
Edge-of-hand placements are discreet and age more predictably than exposed knuckles. Discuss with the artist the exact lateral position because a few millimeters change how it catches light and wear. Sessions are fairly quick and feel like steady pressure. A mistake is choosing a design with internal shading that the edge skin cannot hold. For casual show-off, cuff your jeans slightly and wear a watch so the lateral moon peeks as you move.
15. Single Seedling Sprout on the Side of the Pinky Finger
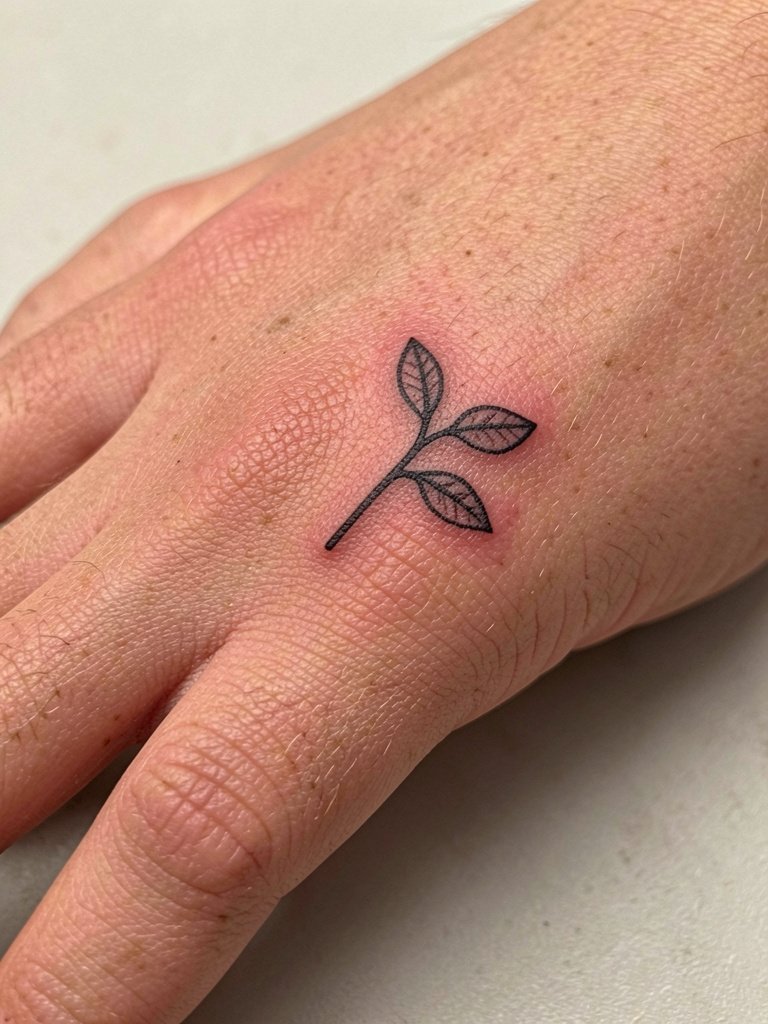
Small botanical motifs are charming on fingers but need simplified leaf shapes to last. Bring photos of leaf scale you like and ask the artist to show how the sprout reads at normal conversation distance. Sessions are fast and tingly. The usual mistake is over-detailing leaves with tiny veins that vanish. Pair this with a casual ring stack and a slim cuff bracelet that keeps the hand feeling intentional. Try a slim cuff bracelet to balance the look.
16. Tiny Arrow Across Two Fingers
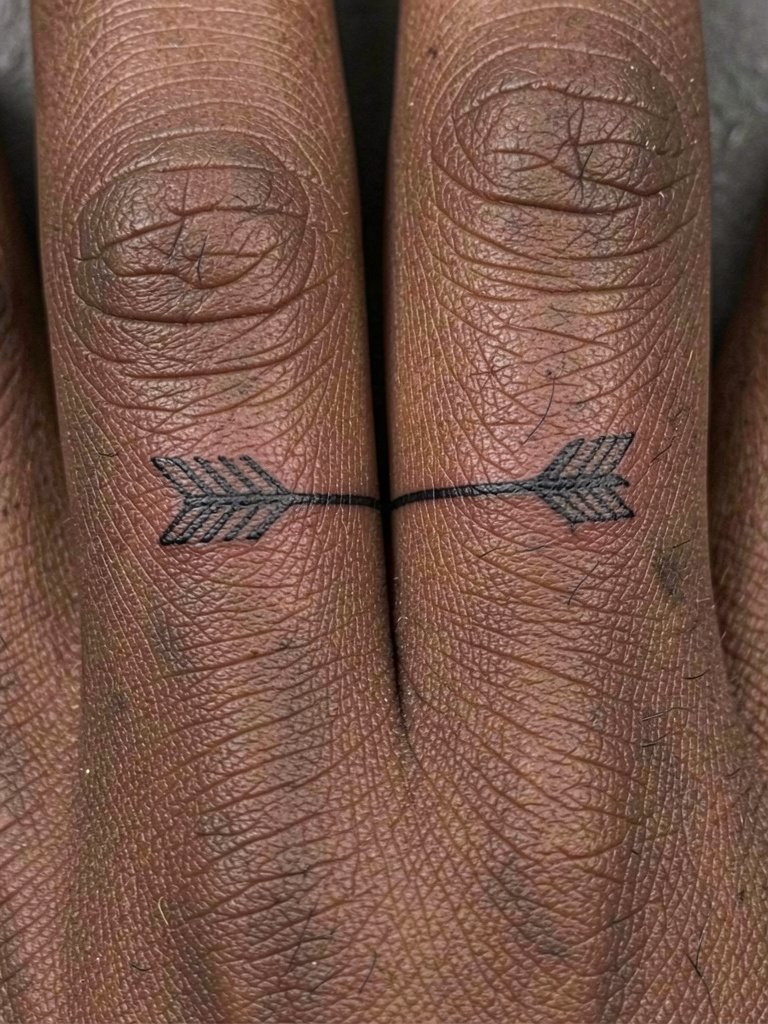
Designs crossing two fingers need alignment checks. Ask the artist to position a stencil and try a fist to see how the arrow reads closed and open. The session may require small adjustments between passes. The common mistake is ignoring how the join between fingers will distort the shaft. For showing it off, a knit sweater with short sleeves or cuffed shirt sleeves keeps the hands visible without noise.
17. Tiny Lock Symbol on the Side of the Palm
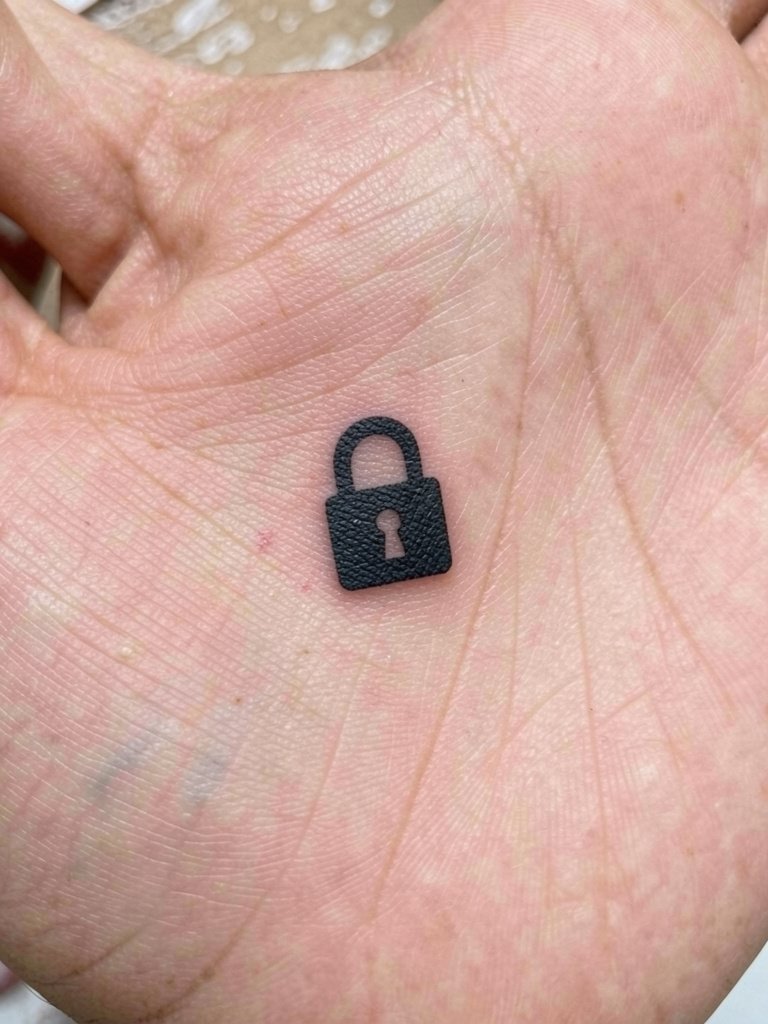
Palm placements are among the fastest fading areas. One group of artists advises against palms entirely. Another group suggests dense saturation and regular touch-ups as the practical path forward. Both viewpoints come up in consults. If you choose the palm lock, expect a first dense session and a maintenance plan. Wear a short-sleeve shirt to keep the palm visible while minimizing the need to adjust clothing during the heal.
18. Tiny Cross on the Inside of the Wrist
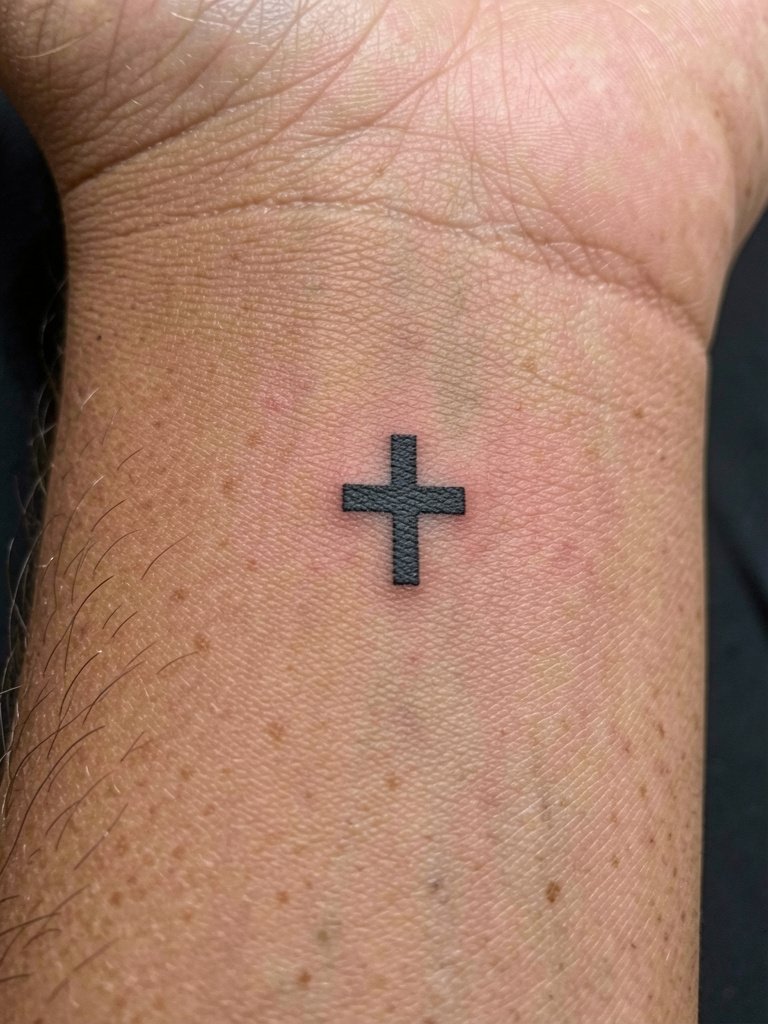
Simple religious or symbolic crosses work well when the lines are confident. Tell the artist the exact vertical placement so it sits comfortably above the wrist fold. Sessions are short and feel like a persistent scratch. The typical mistake is crowding the cross with nearby script or symbols. When showing it off, wear a minimalist watch strap on the opposite wrist or a slim bracelet that complements the cross.
19. Tiny Morse Code Row Along the Side of the Finger
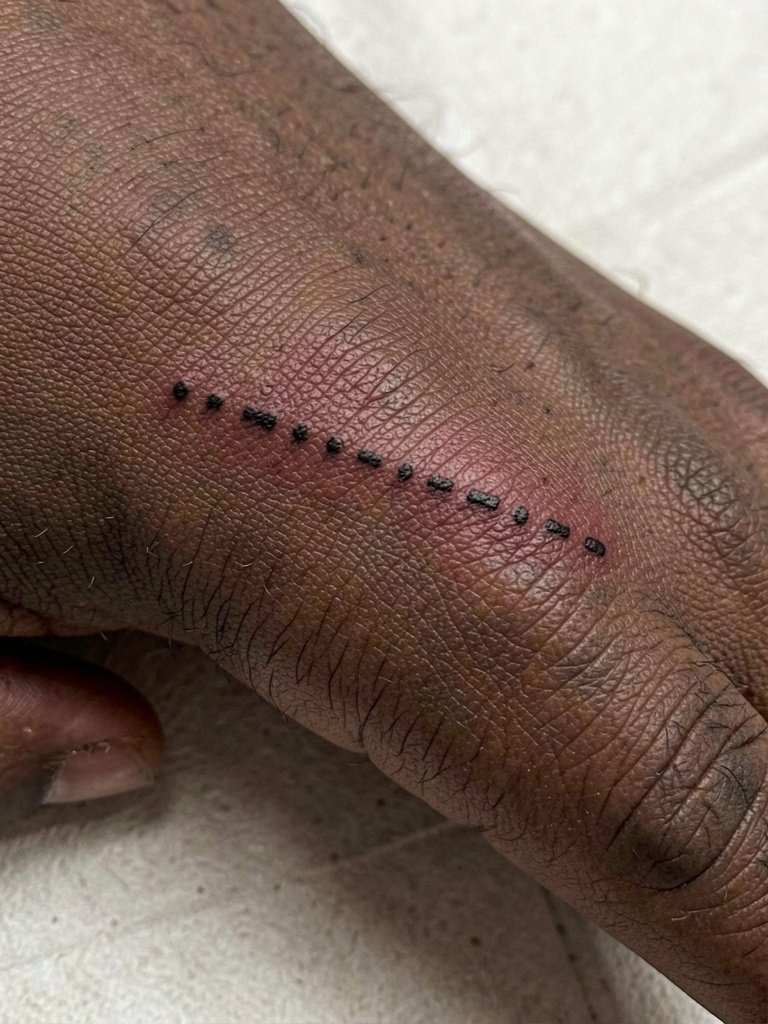
Morse code rows reward careful spacing and consistent dot sizes. Bring the exact sequence typed out so the artist can stencil it precisely. Sessions are brief and the sensation is sharp for small dots. The common mistake is inconsistent spacing that reads noisy after healing. Pair it with a slim ring and a simple cuff when you want the sequence visible without being loud.
20. Tiny Shield Emblem on the Side of the Hand
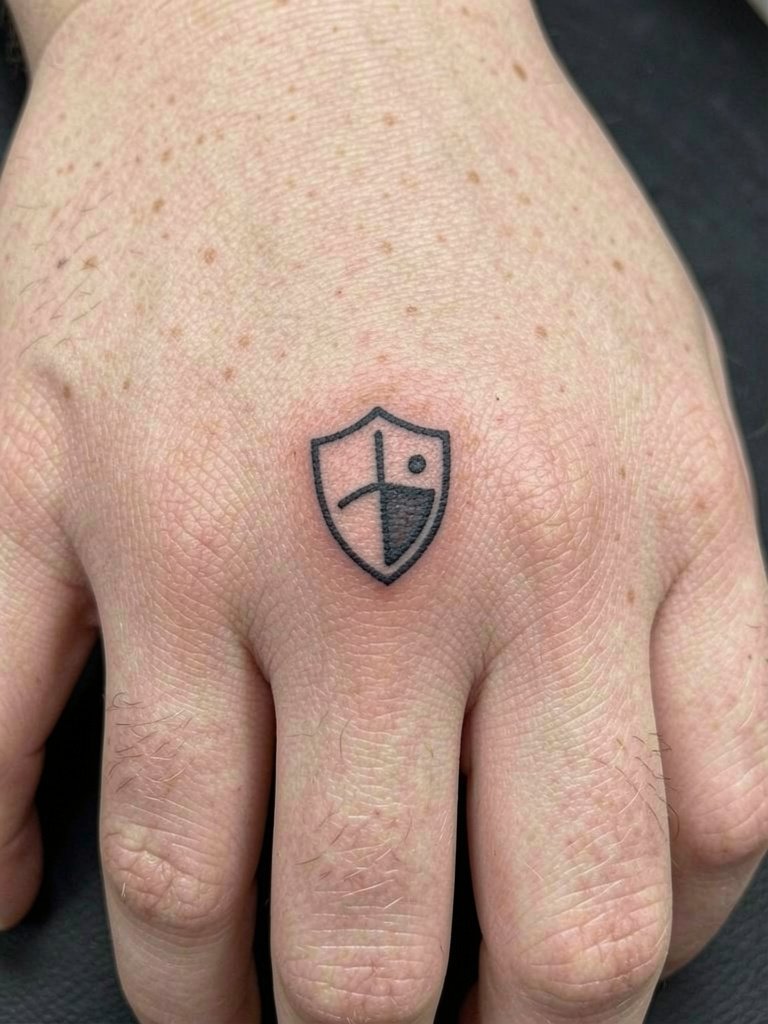
Shield emblems need bold contour to survive hand wear. Ask the artist to show a healed example of a similar emblem at the same size. Sessions are straightforward but you should plan for the first-year touch-up. Designers often overcomplicate the interior details which then blur, so simplify internal elements for longevity. When you want to accent the emblem, a cuffed denim jacket or a slim leather bracelet keeps it visible and balanced.
21. Tiny Geometric Dot Triangle on the Finger Pad
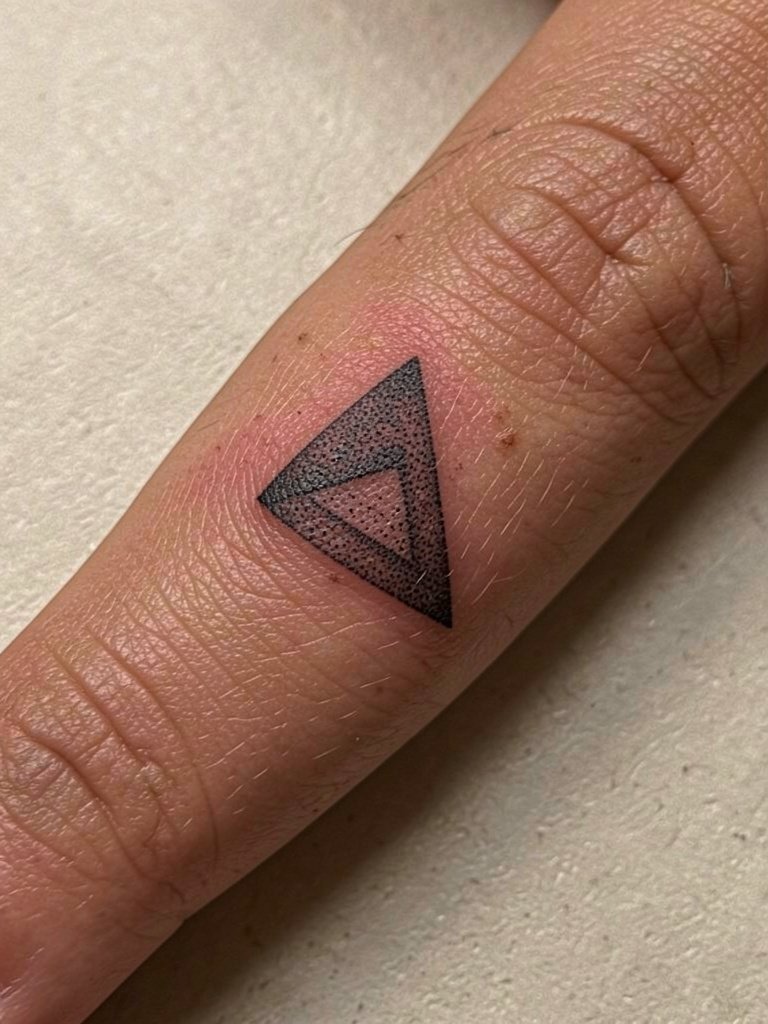
Fingertip pads wear fastest among hand locations. Use this place for bold simplified geometry rather than delicate lines. Talk with the artist about expected fade patterns and a realistic touch-up cadence. The session feels sharp and the skin heals with more scabbing than other hand areas. For discrete display pair with short sleeves and a subtle ring to draw attention to the finger pad when you want it noticed.
22. Tiny Lightning Bolt Near the Thumb Webbing
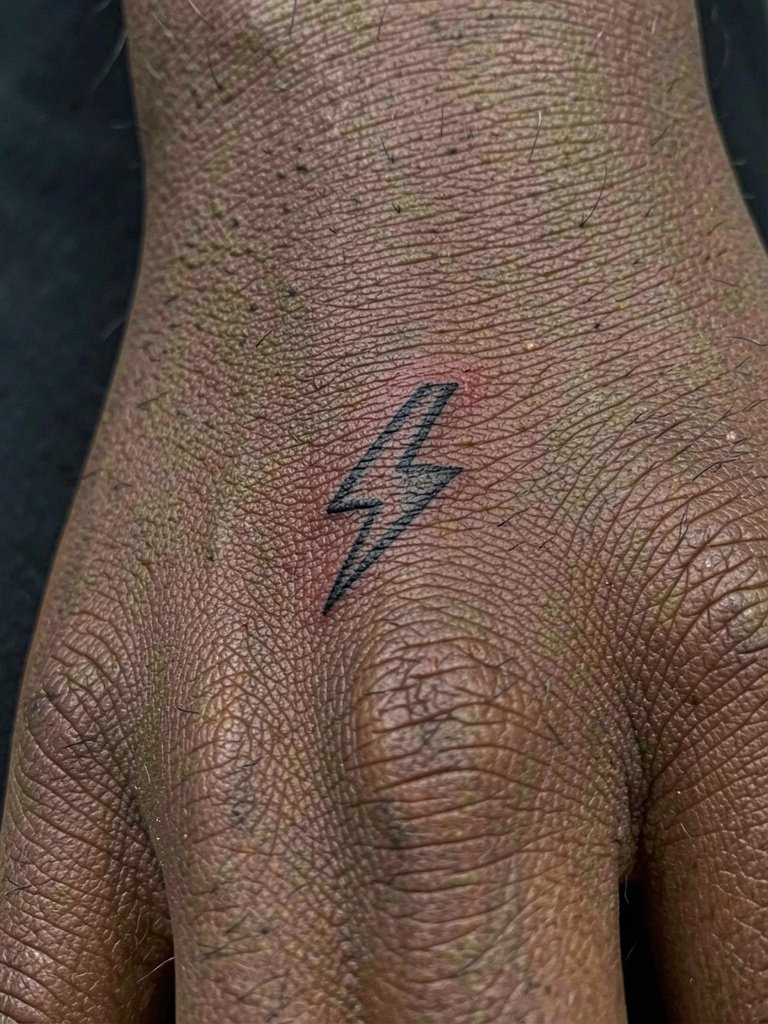
Sharp symbols in the webbing area work when kept simple. Request a placement mock-up while your hand is relaxed and while making a fist so you can see distortions. Sessions are short but hit sensitive spots. The common mistake is adding interior shading that does not hold in this area. For showing it off choose sleeves you can roll to the elbow or wear a casual short-sleeve shirt.
23. Tiny Coordinates Script Along the Thumb Side
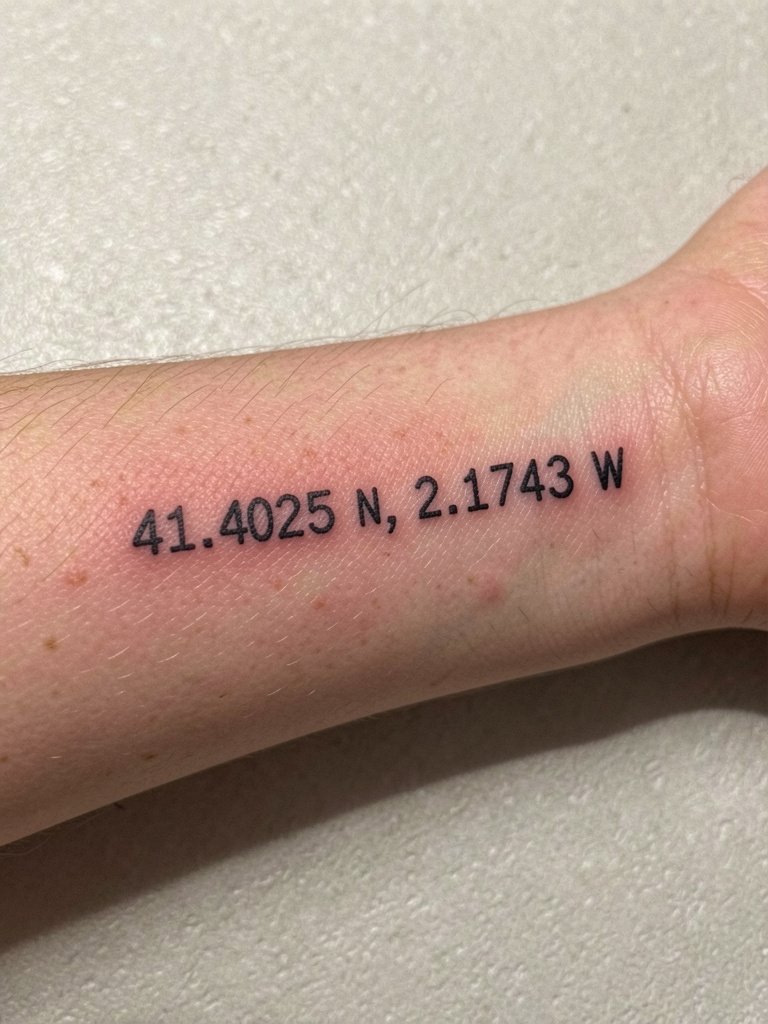
Text on narrow thumb surfaces must use a font that survives stretching. Provide the exact coordinates typed out and ask for a stencil to verify spacing. Sessions are short and feel needle-bright. The frequent mistake is choosing a condensed script that fills and blurs. When you want to reveal the coordinates, wear short sleeves or roll up a long sleeve so the thumb side is visible without fuss.
Frequently Asked Questions
Q: Will tiny hand tattoos affect job prospects?
A: Hand tattoos still carry stigma in some workplaces and are accepted in others. One camp argues visible hand ink reduces chances in conservative corporate settings. The other camp points to creative and trade professions where hand tattoos have become commonplace and accepted.
Q: How often do tiny hand tattoos need touch-ups?
A: Expect a touch-up window anywhere from six months to two years depending on placement and daily abrasion. Fingers and palms typically need earlier retouches while lateral hand placements tend to last longer. Your artist can show healed examples to set a realistic schedule.
Q: How should I find healed portfolio examples without naming specific artists?
A: Search platform tags and keywords for healed shots and location filters. Try hashtags like #HandTattooHealed, #MicroHandInk, and #FingerTattooHealed. Use TikTok and Instagram location filters to see studio portfolios in your city and browse subreddit threads for photos from multiple skin tones.
Q: What should I wear to a hand tattoo session?
A: Pick clothing that gives clear access and keeps you comfortable during breaks. For wrist and hand work a short-sleeve or rolled-sleeve top is ideal. A fitted short-sleeve tee is a practical choice that keeps the area exposed without needing adjustments.
Q: Are there design types I should avoid for long-term clarity on hands?
A: Avoid ultra-fine single-needle filigree in zones that see constant friction like fingertips and palms. Heavy detail and tight lettering are common regrets because minute elements swell or fade. Aim for simplified forms and slightly bolder line weight in those spots.
