

Someone I know spent eight months saving reference photos and still felt unsure at the consult. The real issue was not picking the prettiest sketch. It was figuring which henna style would survive life on a high-movement canvas like the hand. After visiting five shops across Brooklyn and talking to an artist who specializes in fine line, I settled on designs that read well fresh and stay readable healed.
1. Intricate floral mandala on back of hand

Someone I know got this after a wedding and kept saying the symmetry reads like wearable jewelry. Tell your artist you want slightly thicker primary linework with stipple shading instead of micro hairlines. That combo gives the pattern room to breathe as it ages, and it lowers the blowout risk on the back of the hand. Expect a medium pain level and a single long session or two shorter ones. A common mistake is asking for ultra-thin spokes that merge after a year. This pattern traces to mehndi traditions, so many people opt for a personal spin rather than a direct replica.
2. Fine line paisley vines wrapping fingers
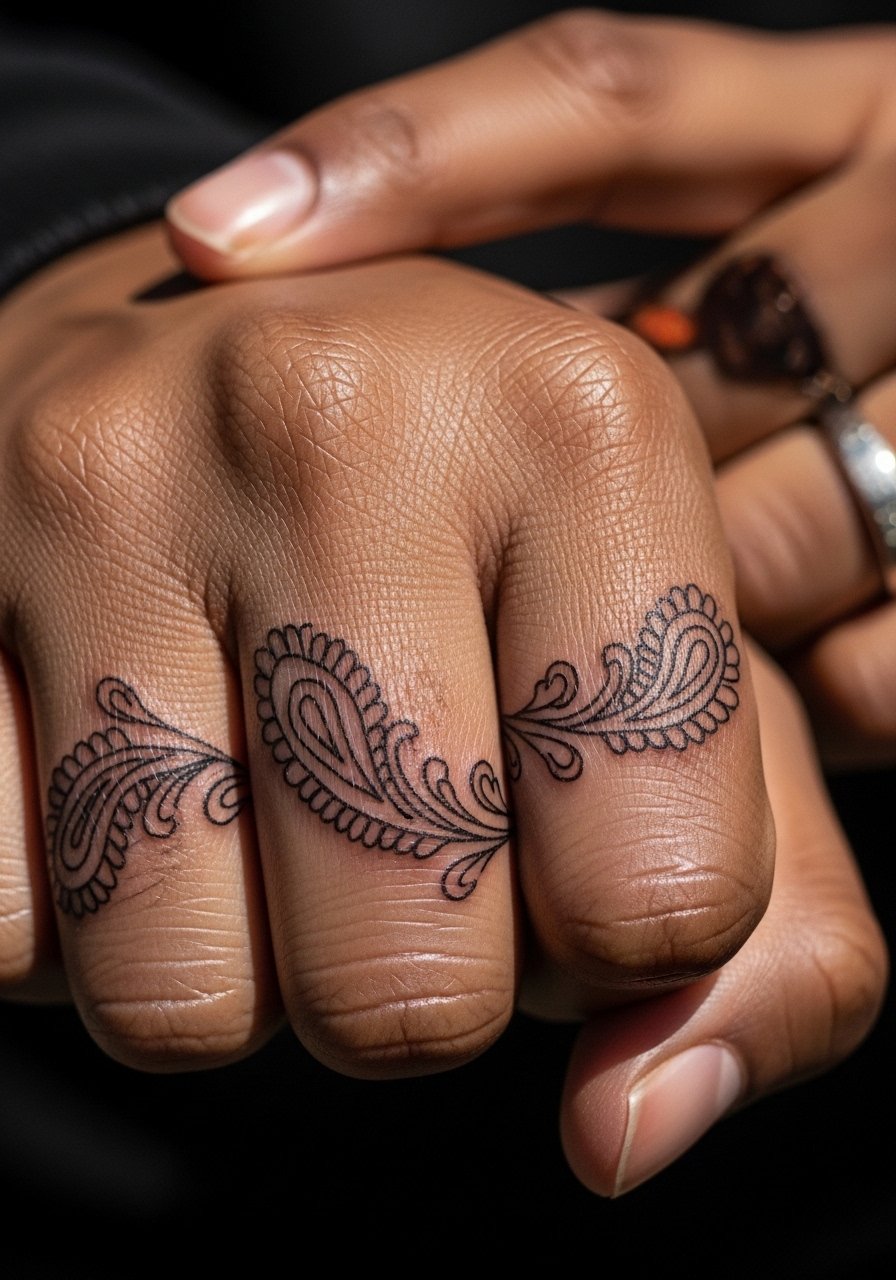
Fair warning, fingers are unforgiving. Lines there sit close to joints and flex constantly. When you book this, ask the artist to space paisley elements and use slightly heavier outline points at bend zones so the design does not blur into a band. Pain is higher on knuckles than on finger pads, and sessions are usually short but precise. Many people make the mistake of requesting full micro-detail on tiniest spaces. For longevity, plan on touch-ups earlier than you would for a forearm piece.
3. Geometric henna-inspired lotus on palm

Palms take ink differently and heal with quicker surface wear. I have heard two camps argue about palm work. One group says palm tattoos rarely hold crisp detail beyond a year because of constant abrasion. The other group says bold, simplified geometry can last if the artist places ink deeper and leaves bigger negative spaces. My recommendation is to favor simplified lotus geometry, expect faster fading, and schedule an early touch-up. Sessions here feel stiffer because you cannot relax the palm the same way as other areas. Mention your daily hand use at the consult.
4. Swirling vine and leaf pattern on wrist
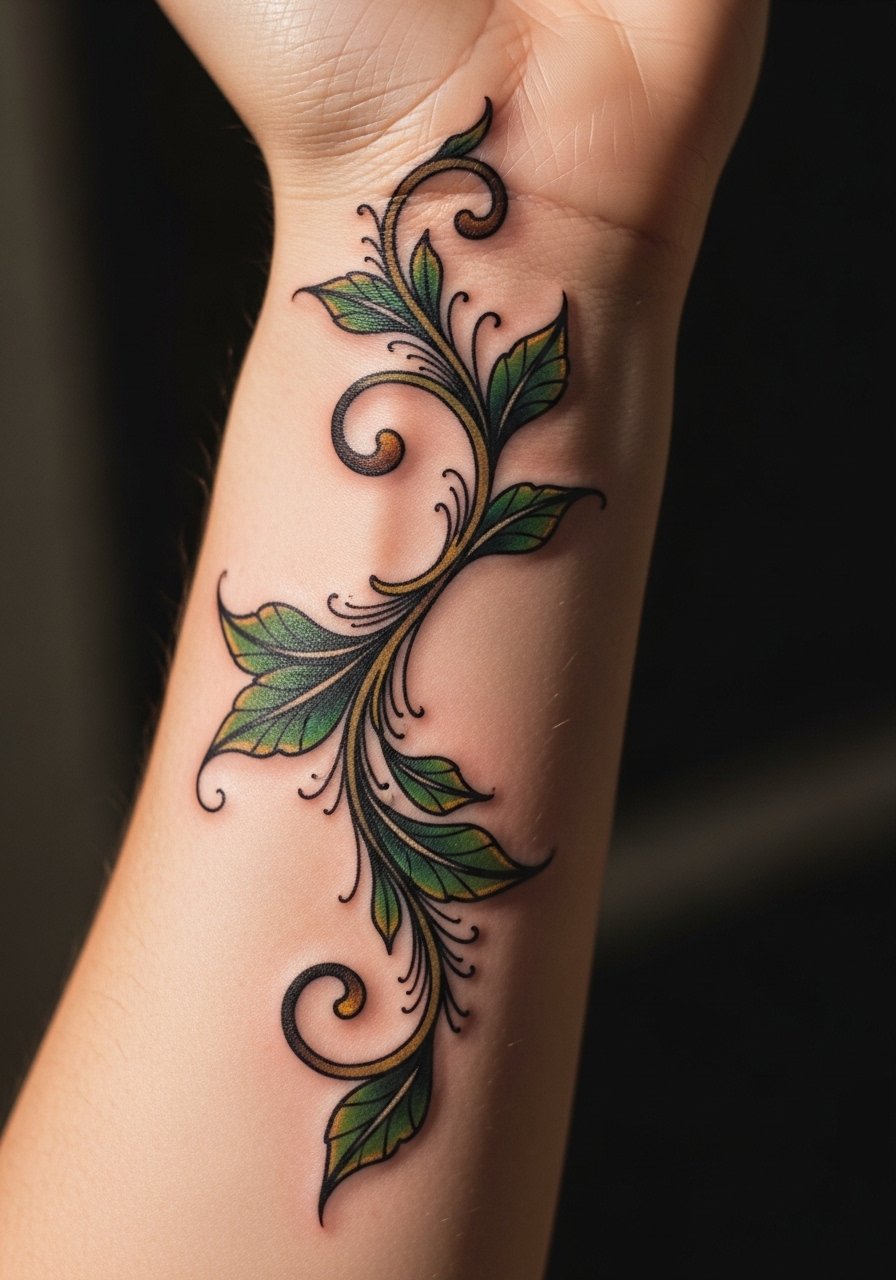
This is a forgiving placement that transitions well into forearm work later. When you show references, point out where you want the vine to breathe into negative space so it does not look crowded. Pain is mild on the wrist compared with fingers. One common mistake is wrapping the vine too tightly around the wrist which makes the motif disappear when viewed straight on. For a longer-lived result, ask for slightly bolder anchors at key points and lighter secondary leaf veins that will soften instead of blur.
5. Dotted moon and stars on top of hand

If you want small henna-style symbols, dot work reads very naturally. Tell your artist you prefer clustered dots rather than single pinpoint details. That makes fading look intentional rather than patchy later. This placement has low session time and moderate pain. A mistake I see is asking for micro-dots with no larger anchors. At six months the dots may diffuse slightly, and at two years you will likely see the primary shapes but with softer edges. Plan to touch up the main moon or star if you want crisp contrast long term.
6. Peacock feather motif with eye detail on knuckles

Knuckles are showy and unforgiving in equal measure. Ask for the eye detail to be slightly larger than your reference so it keeps definition through wear. Expect sharp hits of pain on the knuckle bone and short, intense sessions. Artists differ on employing color there because color fades faster on exposed skin and can muddy. If you want color accents, accept earlier touch-ups. The design carries cultural echoes in some communities, so consider a subtle personal tweak rather than an exact cultural emblem.
7. Abstract swirl fillers on fingertips

Finger tips are perfect for micro fillers that read like rings. When you consult, ask for single-stroke swirls with a clear spacing plan between each finger. These are quick sessions and tend to be higher pain due to thin skin. A common error is cramming too many elements into a tiny surface. Expect these to lose crisp edges within a year, but the overall pattern can still read as a textured accent. Consider them flexible, low-commitment spots if you like frequent refreshes.
8. Full hand mehndi lacework covering palm and back
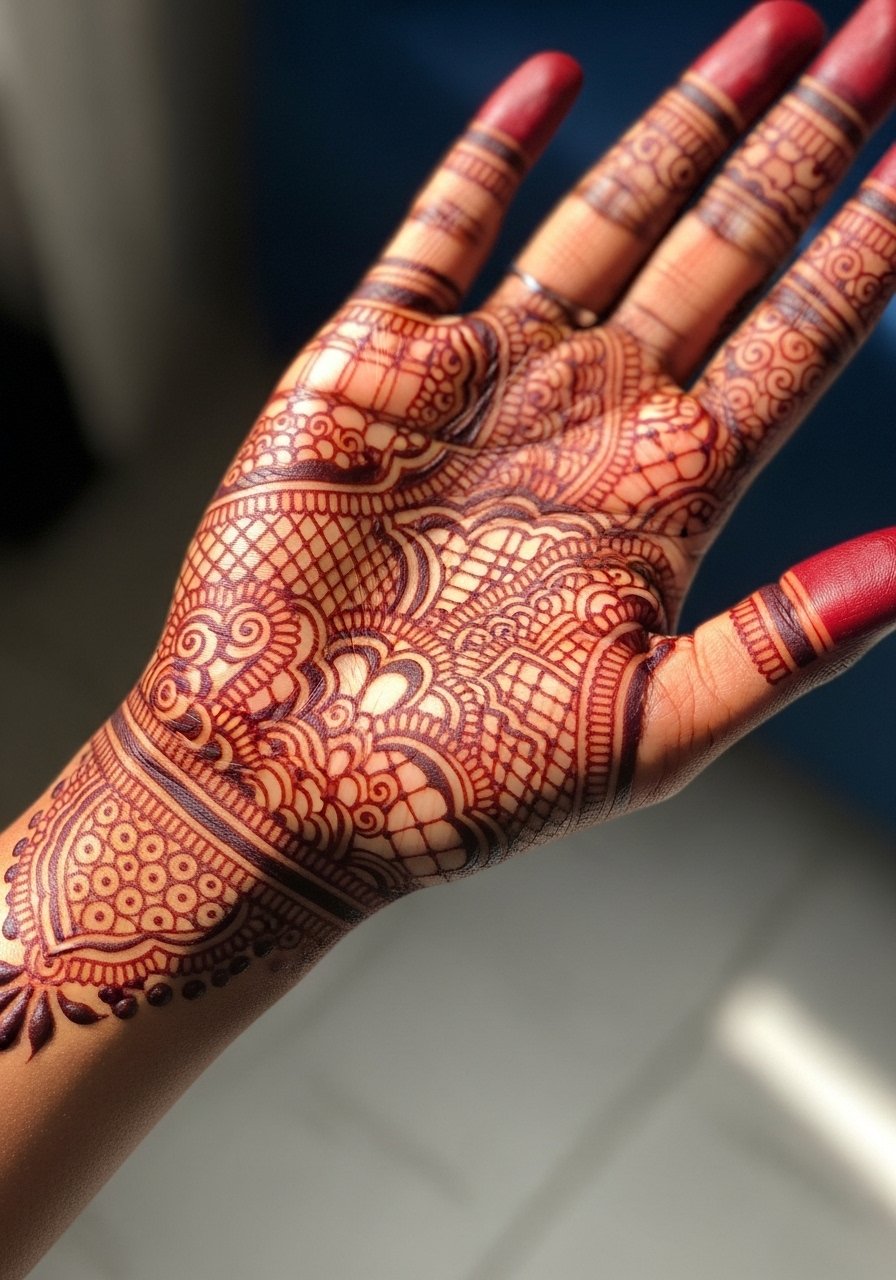
This is the bridal-inspired option that photographs dramatically. When you book this, bring a comprehensive set of references showing both palm and back compositions. Most artists will split the work into multiple sessions which helps manage pain and healing. The mistake is asking for micro lace on every millimeter. Leave negative corridors so the eye can focus. Expect substantial touch-up work over the years if you want to maintain crisp lace. Cultural origin is central here, so discuss respectful adaptation rather than replication.
9. Leafy dip-dye effect on hand edges

Dip-dye edges are a newer henna-inspired twist that plays with gradient saturation. Tell the artist you want a graded fade so the darkest saturation sits at the tips and the pattern thins toward the wrist. Pain is low on soft edge regions and the session often runs medium length for shading. A frequent misstep is too abrupt a gradient which looks like uneven healing instead of a deliberate fade. When done in blackwork, this approach tends to age better than diluted color washes.
10. Floral bracelet encircling wrist with hand extension
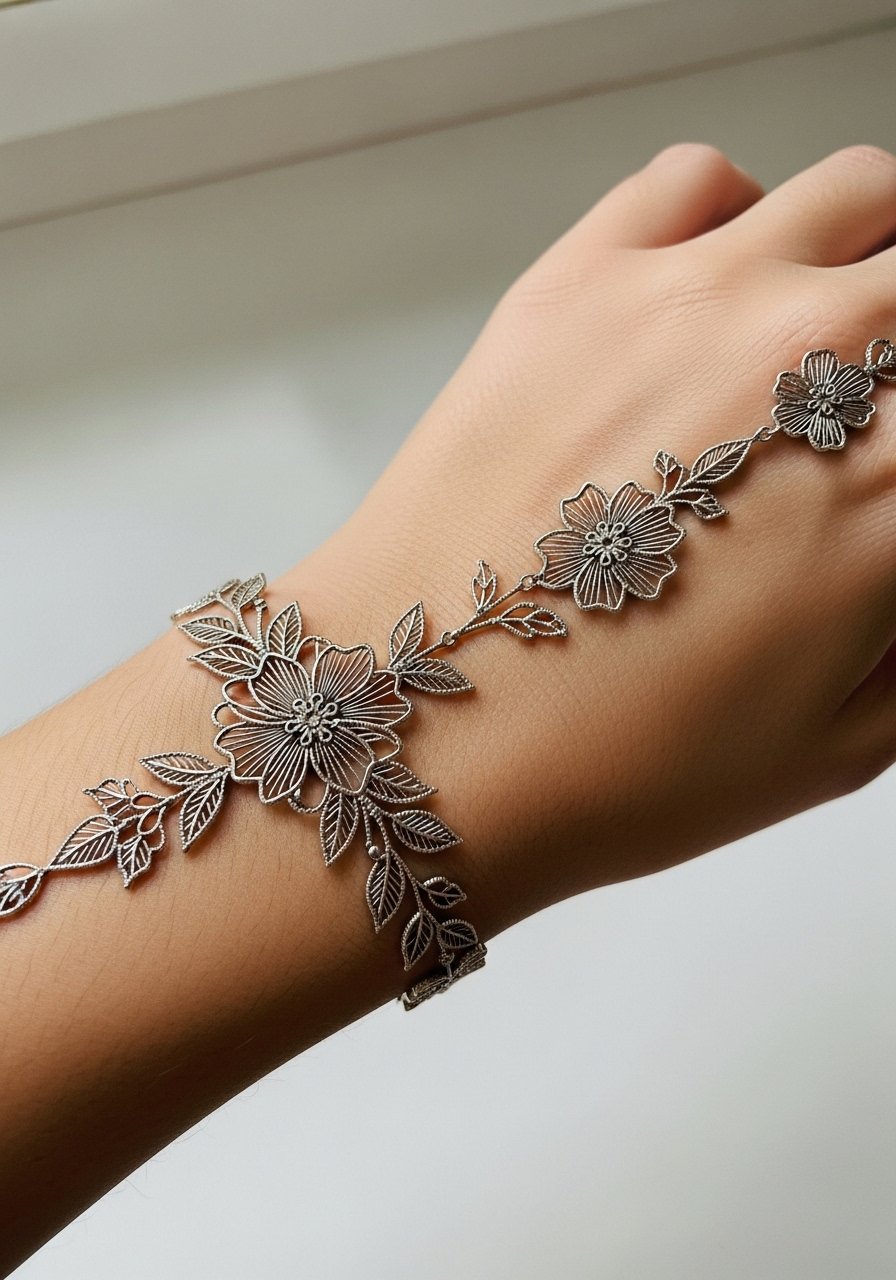
This wearable band reads like jewelry and is a common first-hand tattoo. Say you want the bracelet to sit slightly loose and not form a closed dense band. That prevents the band from shrinking visually as lines soften. Pain at the wrist is mild to medium and sessions are generally short. People often request dense petals that collapse over time. Ask for negative space inside floral clusters so the band breathes and stays legible as it heals.
11. Mini stipple sunburst behind thumb
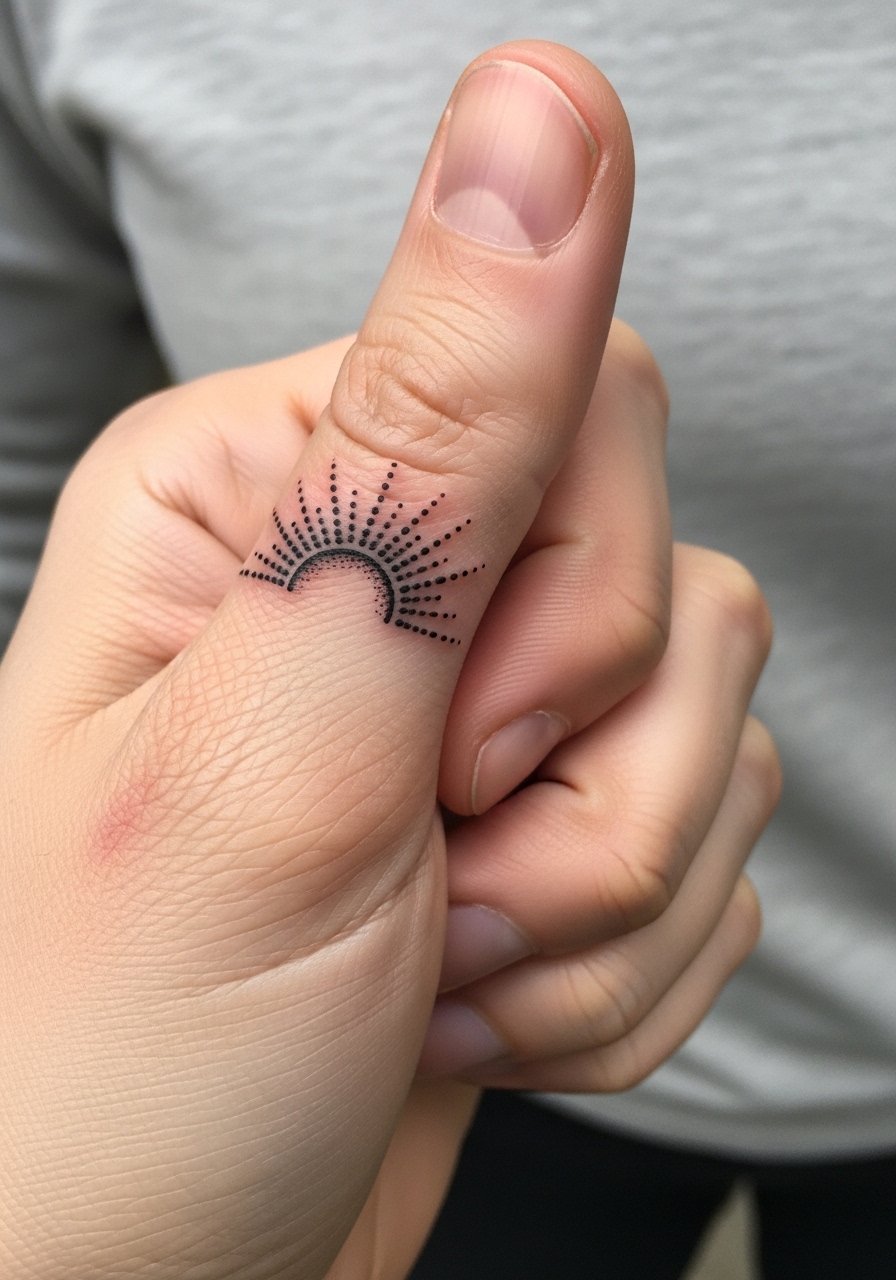
Small stipple sunbursts are a subtle nod to traditional motifs. When you describe this at the consult, specify a clear central anchor and graduated stippling outward. Placement behind the thumb means occasional rubbing from pockets and gloves, so expect some early surface wear. Sessions are short and pain is low to moderate. Common mistakes include requesting ultra-fine dot radii that merge. For durability, ask for a stronger central dot and softer outer stipples.
12. Knuckle lace band inspired by bridal mehndi

This cuff blends bridal lace with knuckle visibility. Tell the artist you want the lace to sit above the knuckle instead of directly on the joint. That reduces the chance of distortion from bending. Pain is higher on the knuckle, but sessions are fast. A common error is placing the densest detail on the joint which breaks down quickly. If you work with your hands, know that repeated wear will soften the pattern sooner, and plan a possible touch-up at year two.
13. Negative space mandala cuff

Negative space lets the skin do design work, which can age gracefully. In consults I ask artists to sketch the negative veins first so live skin shapes stay integral. Pain is mild on the outer hand and session time depends on how much blackwork you want. The mistake I see is overfilling with black that swallows the negative shapes later. If you want a lasting crisp contrast, choose larger negative cutouts and avoid excessively tight dot framing.
14. Waterfall dot cascade from index to wrist

This cascade plays well with motion and gestures. Ask for a clear plan of graduation so the largest dots anchor near the wrist and the smallest trail to the finger. Expect medium session time and moderate pain near the finger base. Common mistakes include random dot placement that looks amateur rather than intentional. At six months the cascade softens into texture, and at two years the flow will read as a subtle shadow without defined edges unless you refresh key dots.
15. Top-of-foot henna shift for modern visibility
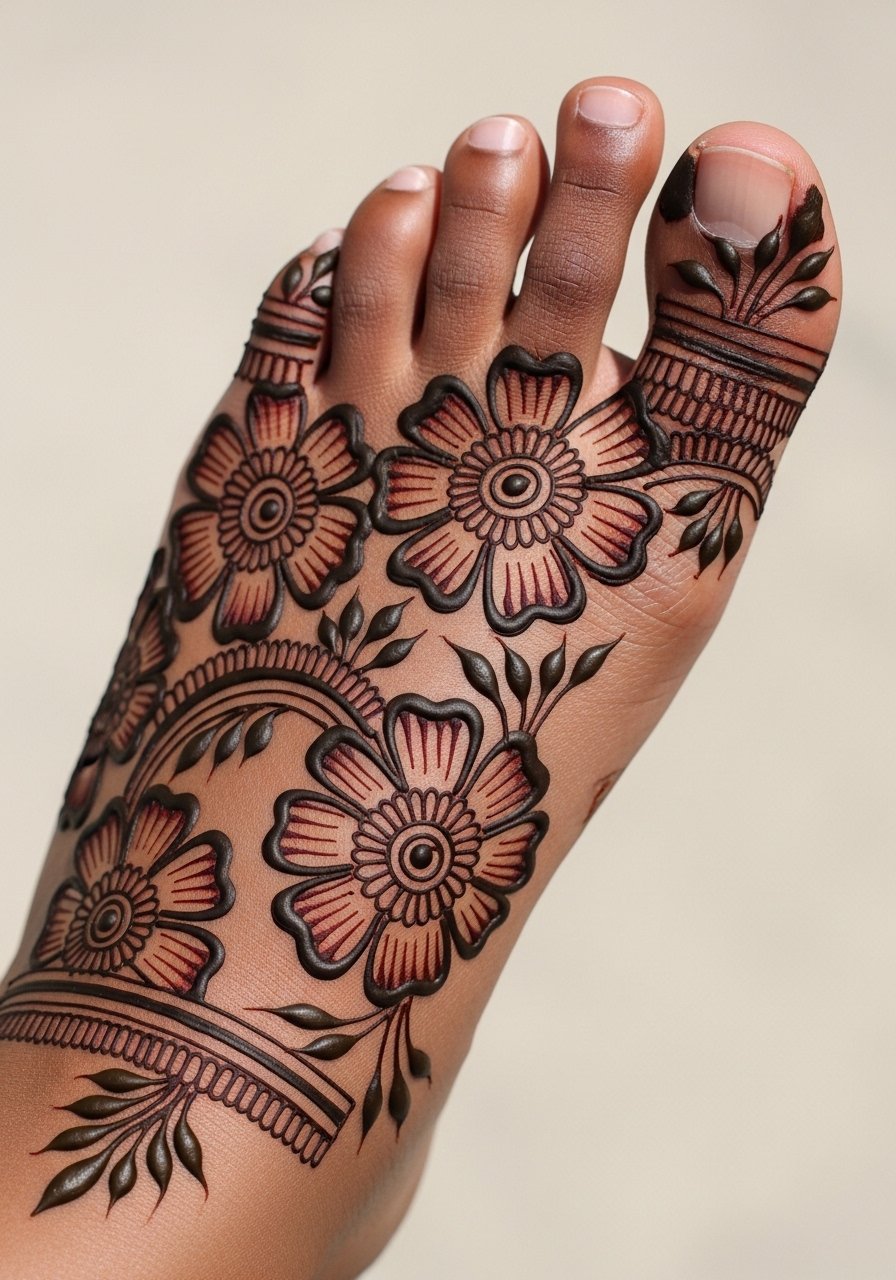
Top-of-foot placements are a practical move for visibility without hands-on public scrutiny. If you want a mehndi aesthetic, request designs that align with natural foot contours and avoid tiny inner-sole detail. Pain is moderate on the foot and healing can be tricky because shoes rub the area. A common mistake is planning heel-proximal details that never heal well. For longevity, wear booties or loose shoes while the piece heals and expect potential touch-ups after the first healing cycle.
Tattoo Prep and Aftercare Essentials
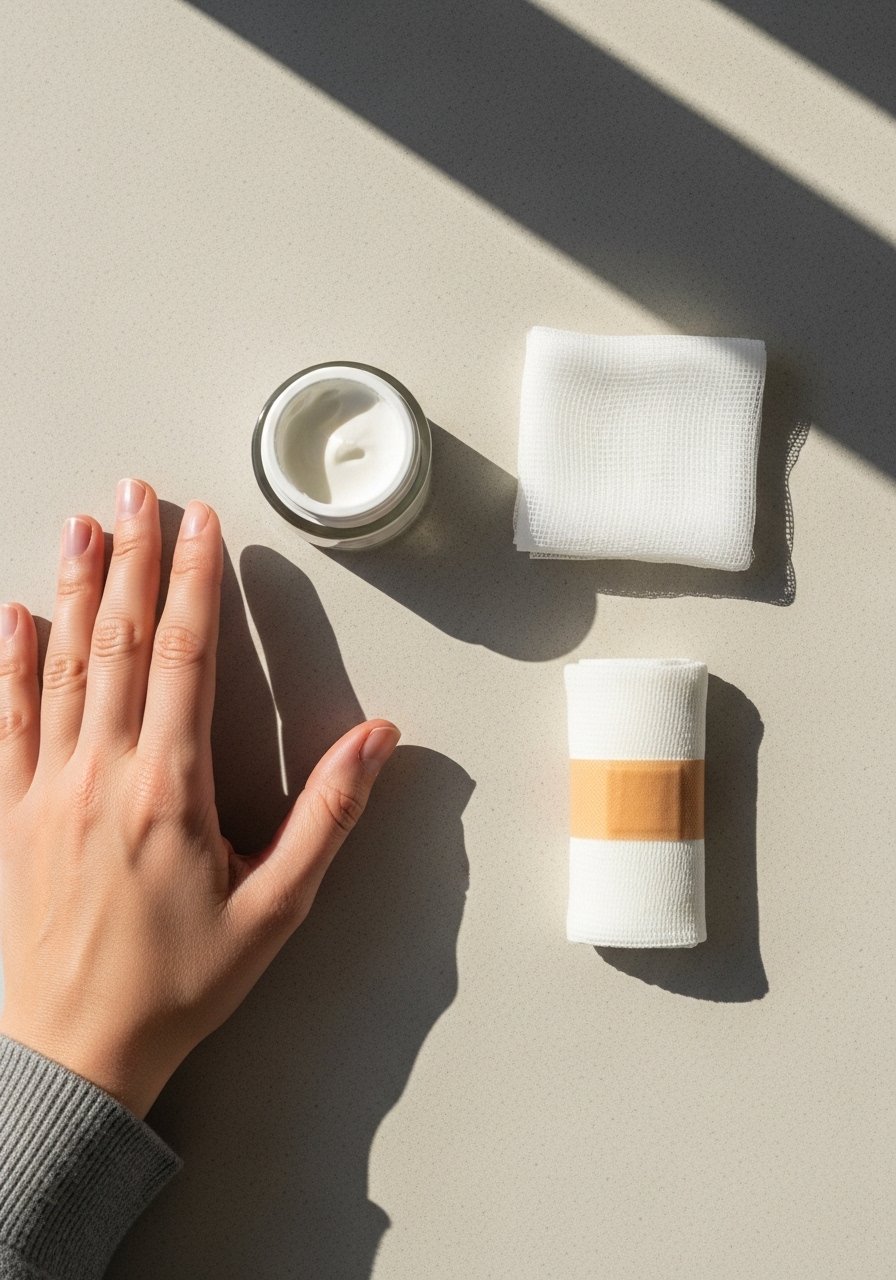
Prep is often overlooked and it shows fast on hand tattoos. Clean skin free of oils before your consult. Bring references and a plan for lifestyle downtime like glove or shoe choices. Aftercare matters more with hands because they wash and flex constantly. Below is a practical shopping list focused on gentle, non-irritating items to use immediately after a hand tattoo and for the first few weeks.
Fragrance-free gentle foaming cleanser for tattoos. Use this for the initial cleanings to remove blood and plasma without stripping natural oils. Use sparingly and pat dry.
Lightweight fragrance-free balm for daily moisturizing. Apply thin layers as directed to keep skin supple during the first two weeks.
Medical-grade second skin bandage, small size pack. Useful for short-term occlusion on the palm or high-friction spots.
Breathable adhesive gauze strips, hypoallergenic. Handy for protecting knuckles and fingers during sleep.
Silicone scar-reducing sheet, small patches. Use later in healing if raised texture appears and you want to smooth edges.
Mineral-based SPF stick for healed tattoos. Sun protection is crucial for long-term saturation after full healing.
Aquaphor Healing Ointment, single tube. This is the mainstream option included for heavy initial scabbing phases. Use sparingly and follow your artist's timeline.
Reusable non-abrasive tattoo aftercare cloths, pack. Gentle cloths help during the first week when you must dab and avoid rubbing.
Every tattoo is different. Always follow your artist's specific aftercare instructions. Consult a dermatologist if you have skin concerns or unusual healing issues.
Frequently Asked Questions
Q: Will fine line paisley on the fingers blur into a single band after a year?
A: It depends on size and spacing. From what I have seen, closely packed fine details on fingers tend to soften into broader marks sooner. Ask your artist to space motifs slightly and use small anchors so the pattern keeps its identity. Plan for a touch-up timeline at around year one to two if you want the original sharpness restored.
Q: How long does a geometric lotus on the palm stay crisp compared with the back of the hand?
A: Palms wear faster because they encounter more friction. A simplified lotus with larger negative space will keep its shape longer on the palm than a highly detailed one. Most people I know expect noticeable softening within a year on palms, while backs of hands can hold detail longer if the linework has room.
Q: Do dip-dye blackwork edges need different care than standard linework?
A: Yes. Gradient shading can show patchy loss if you scrub or over-moisturize. During the first two weeks use a gentle foaming cleanser and thin balm layers from the shopping list. After healing, protect the gradient from UV exposure to prevent uneven fading.
Q: Are knuckle and top-of-foot henna-style pieces likely to need earlier touch-ups?
A: Expect earlier touch-ups for both spots. Knuckles flex and show blowout risk when details sit too close to joints. Top-of-foot tattoos face shoe friction while healing. Schedule a consult about realistic touch-up timing before you get inked.
Q: What should I tell my artist at the consult to avoid common mistakes for full-hand lacework?
A: Bring multiple references showing palms and backs separately and say you want negative corridors for visual rest. Explain your daily hand use and whether you need the piece to be more robust or more delicate. Ask how many sessions they recommend and what their touch-up policy is.
Q: Can I test a henna-style idea with markers first and will that help the final outcome?
A: Marker testing is practical. Use non-toxic skin-safe markers to map placement and flow. Clean skin and test for smudging in typical motions like typing or holding mugs. That live test informs spacing decisions and helps the artist place elements where they will actually sit when you move.
