
I spent months bookmarking gaming tattoos before I realized I was asking the wrong question. It wasn't just "what looks cool"—it was "what will still look good healed, fit my lifestyle, and feel meaningful in five years." These 29 designs focus on styles that age well and actually work on real skin.
This list leans into fine line, traditional, micro-realism, and blackwork interpretations of gaming motifs. Placements range from sleeve-friendly forearms to low-visibility ribcage pieces. From what I've seen in 2026 trends, minimalist and meaningful game ink with intentional aging is the direction artists are pushing.
1. Fine Line Cartridge Icon on Inner Wrist
Style/Technique: Fine Line / Minimalist
Pain Level: Low-Medium (3/10)
Session Time: 1 hour
Best For: First tattoo, discreet gaming nod
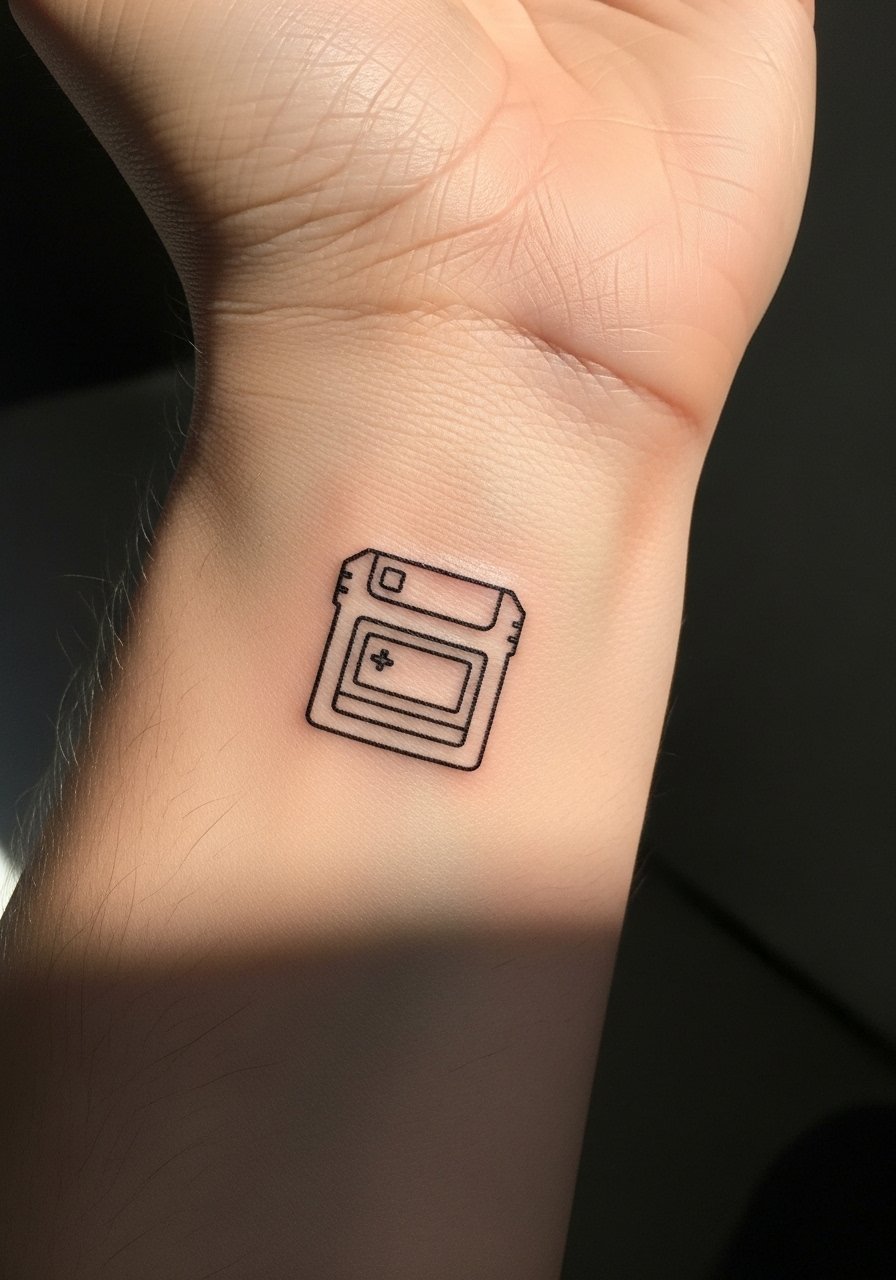
I like this for a subtle, timeless nod to retro gaming. It reads crisp healed if linework is spaced well. Pain is modest on the wrist but constant—expect tenderness a few days. Ask an artist who specializes in fine line and minimalist tattoos. Common mistake: lines too tight—give the design breathing room.
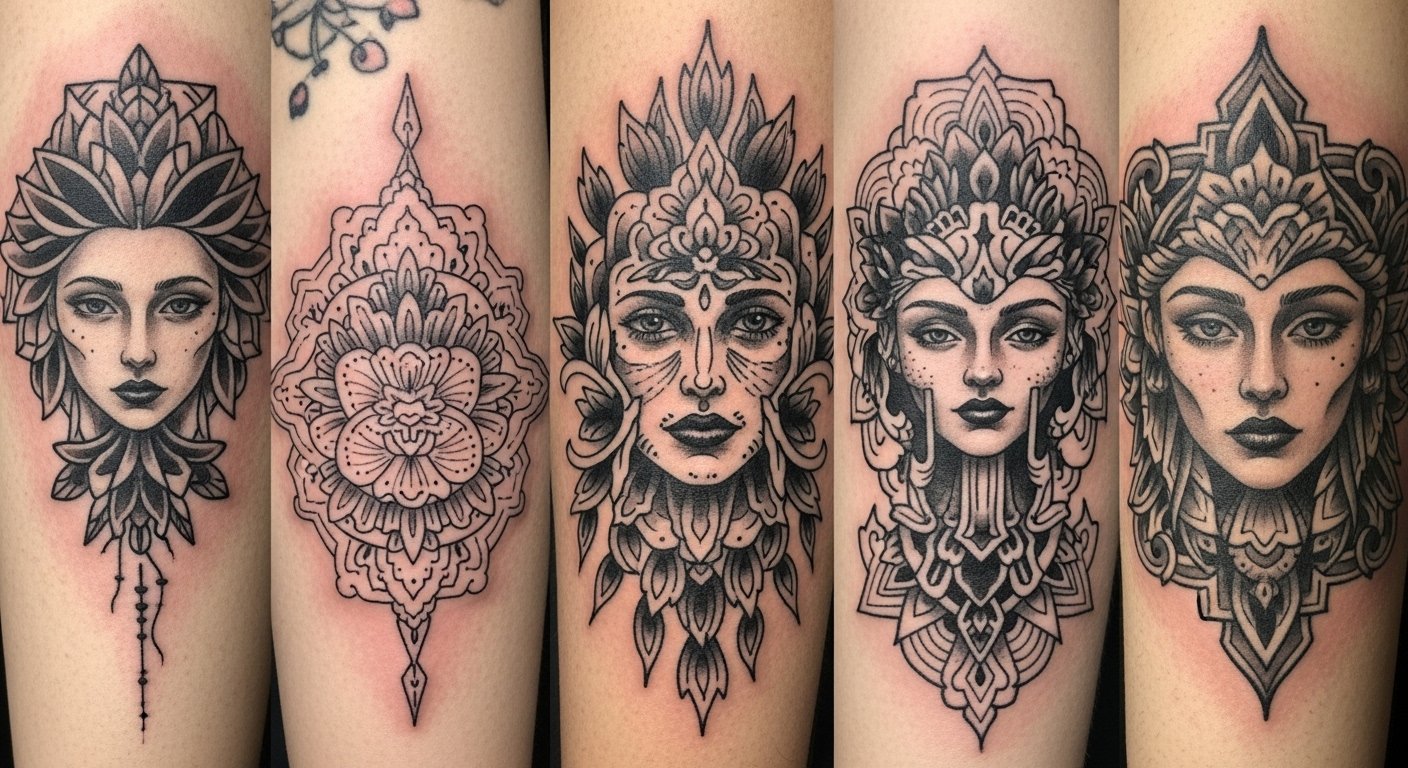
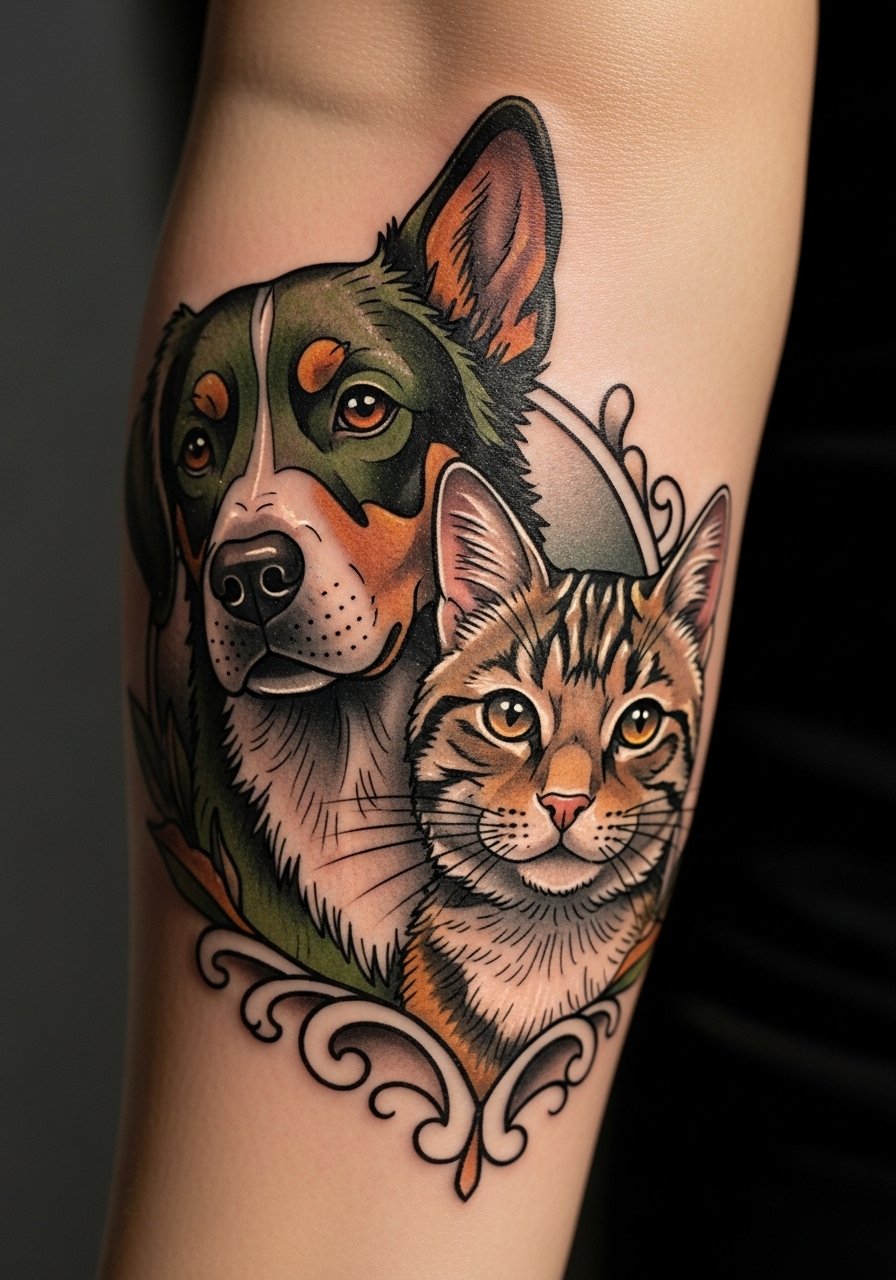
2. Micro-Realism Pet Companion on Thigh (Game Mascot)
Style/Technique: Micro-Realism
Pain Level: Low (2/10)
Session Time: 2-4 hours
Best For: Statement piece, easy to conceal
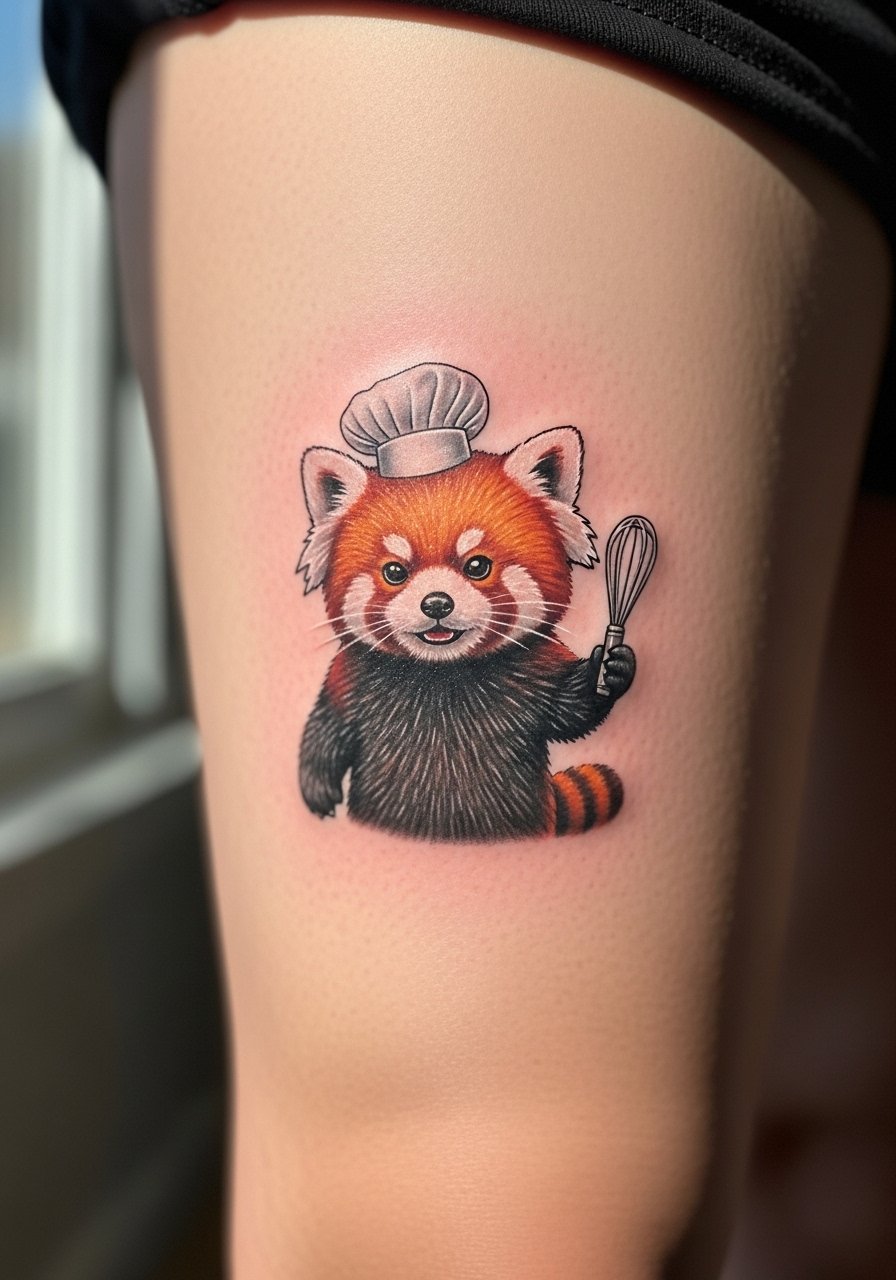
A tiny, highly detailed mascot or pet portrait looks surprising on skin and ages well when saturated properly. Thigh is forgiving for pain and touch-ups. Healed texture softens hyper-detail, so ask for slightly bolder contrast than a fresh photo would suggest. Avoid overly tiny features that blur.
3. Bold Traditional Controller on Upper Arm
Style/Technique: Traditional / Bold
Pain Level: Low (2/10)
Session Time: 1-3 hours
Best For: Timeless, holds color well
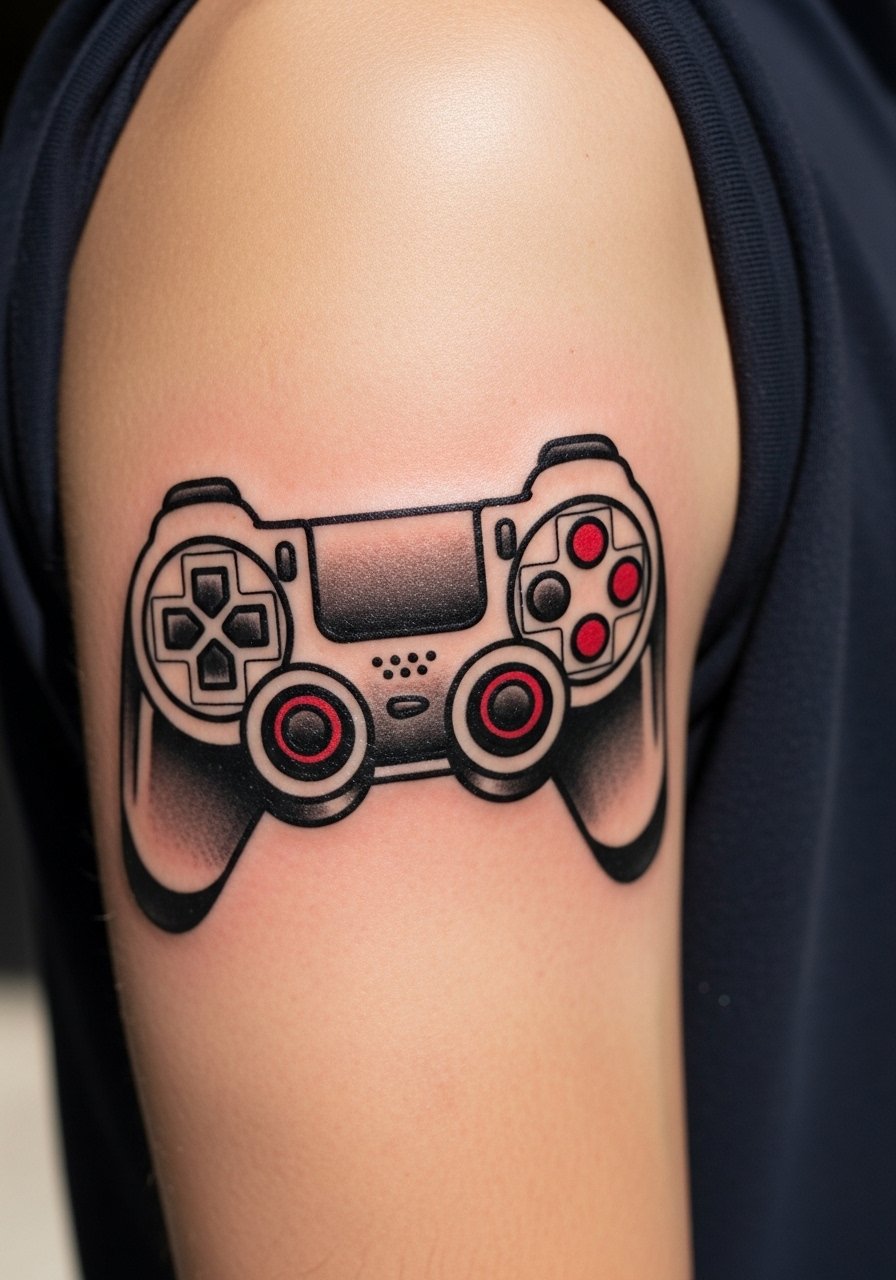
Traditional linework is a safe bet for longevity. The upper arm offers low pain and good sun protection with clothing. Colors hold up if you maintain sunscreen. Artists who do neo-traditional work translate game motifs into readable, classic designs. Avoid tiny shading that looks muddy when healed.
4. Blackwork Boss Silhouette on Ribcage
Style/Technique: Blackwork / Silhouette
Pain Level: High (7/10)
Session Time: 2-4 hours
Best For: Dramatic, hidden piece
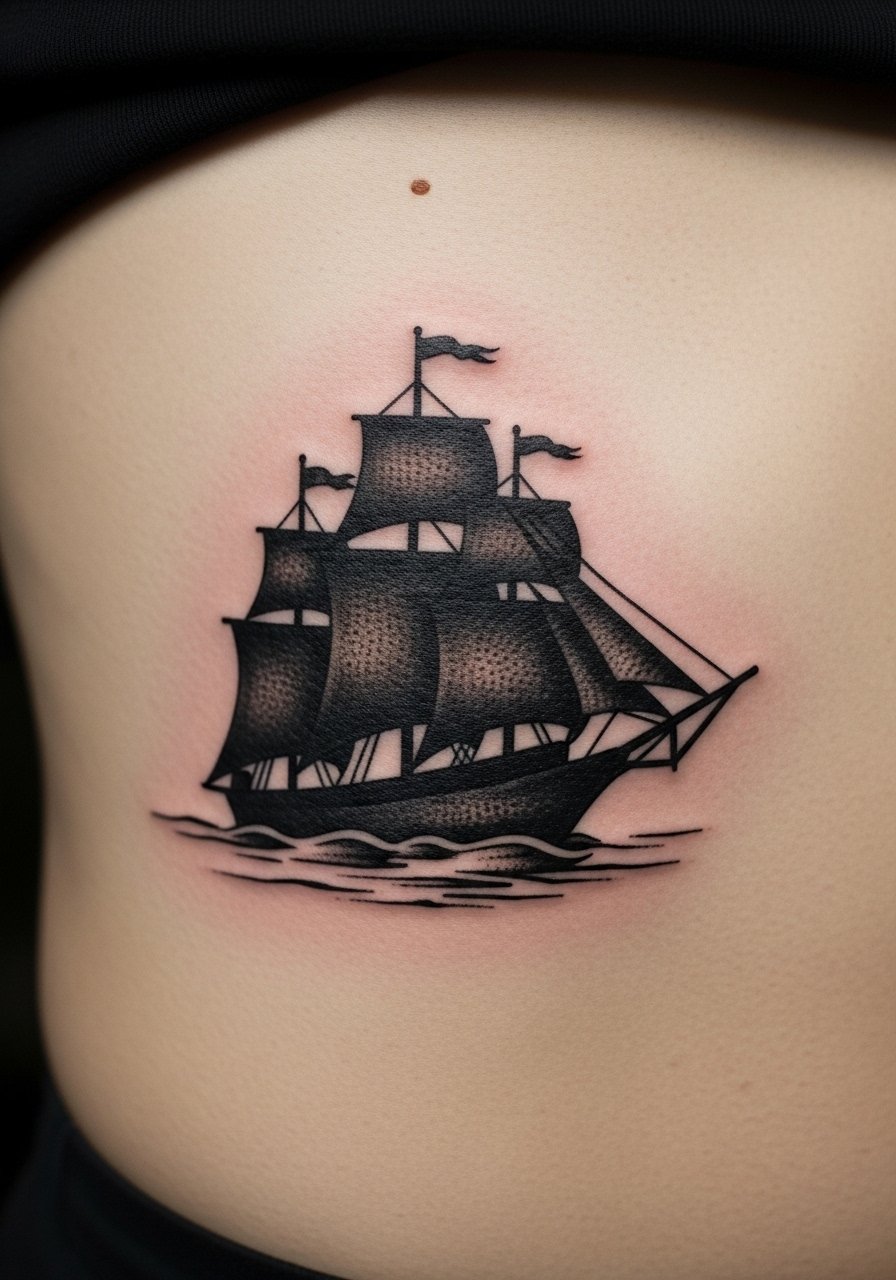
Ribcage blackwork reads bold and ages predictably. Pain is higher on ribs, and healing needs careful aftercare because of movement. Ask for strong solid fills from an artist experienced in large black areas to avoid patchiness. Common mistake: not accounting for breathing/motion during healing.
5. Pixel Art Heart on Ankle (Minimalist)
Style/Technique: Minimalist / Pixel Art
Pain Level: Medium (5/10)
Session Time: 1 hour
Best For: Cute, low-commitment spot
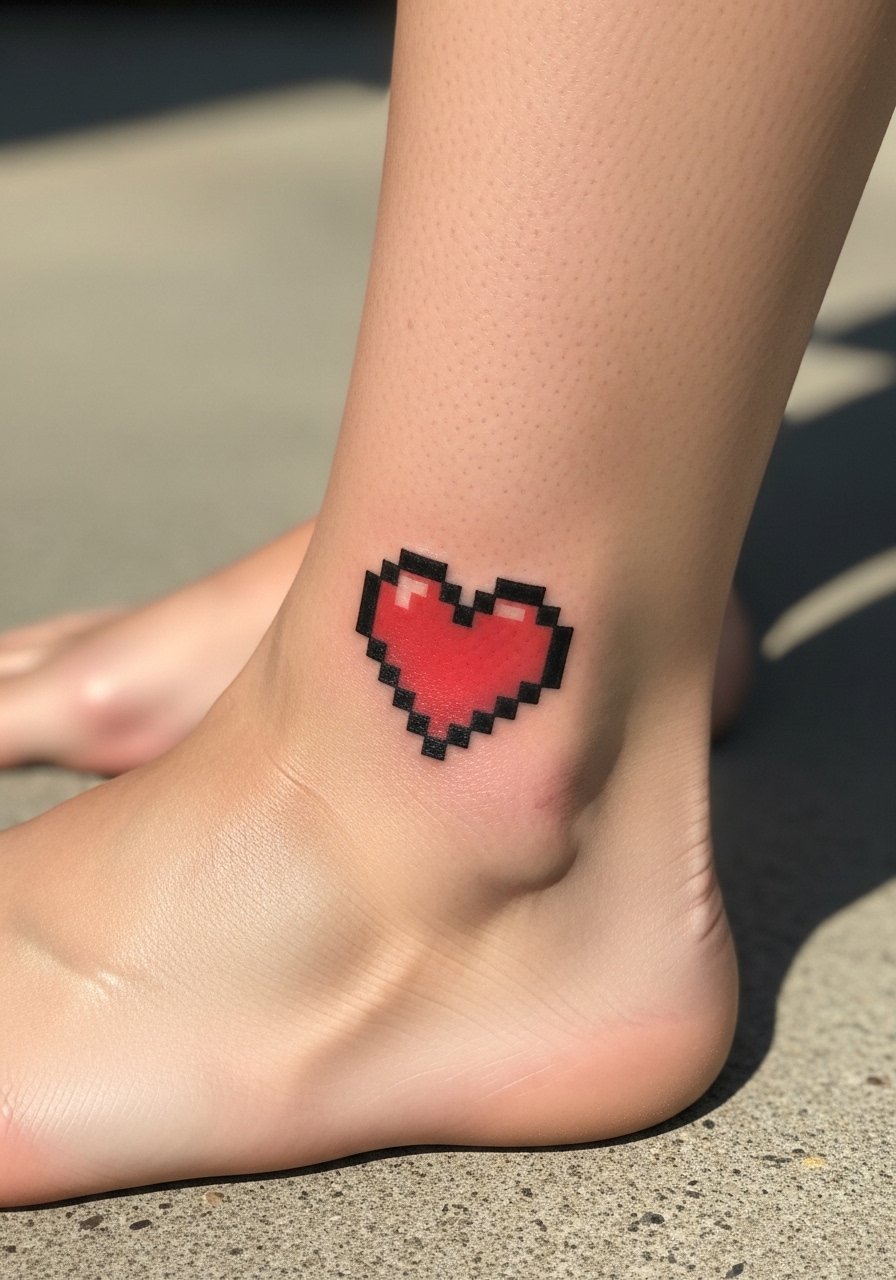
Pixel tattoos are charming and simple. Ankles are finicky—pain and rubbing from shoes can slow healing. Keep the squares slightly larger than screen pixels so they don't blur together over time. Ask an artist familiar with geometric and dotwork line weights.
6. Neo-Traditional Game Creature on Thigh
Style/Technique: Neo-Traditional / Color
Pain Level: Low-Medium (3-4/10)
Session Time: Multiple sessions
Best For: Statement, color longevity
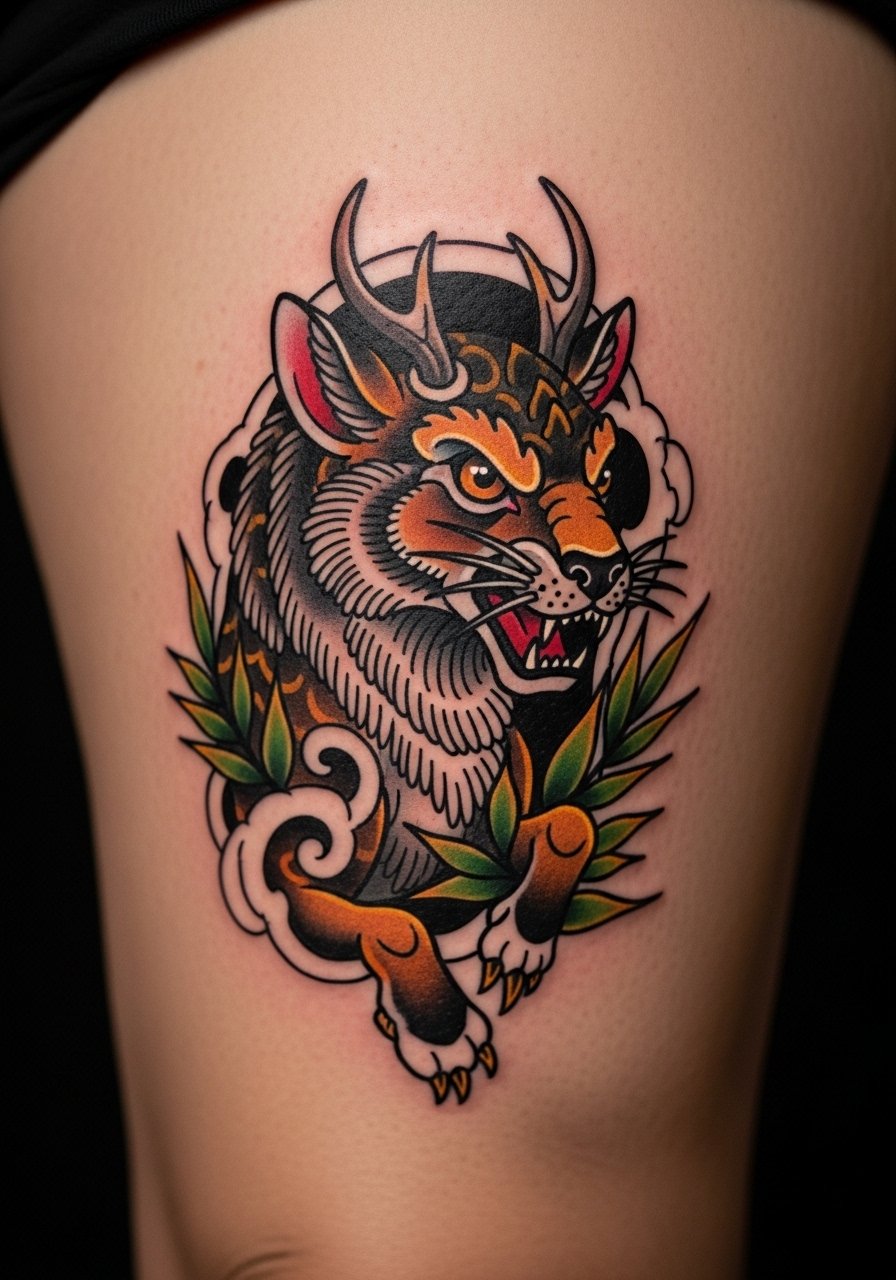
Neo-traditional gives gaming creatures personality while preserving bold lines that age well. Thighs tolerate larger sessions and are easier to hide. Colors can look dull during healing—expect brightness to return after a few months. Avoid tiny line details within color blocks that won't stand the test of time.
7. Micro Line HUD Elements Behind Ear (Subtle)
Style/Technique: Fine Line / Micro
Pain Level: High (6-7/10)
Session Time: 30-60 minutes
Best For: Ultra-discrete, symbolic
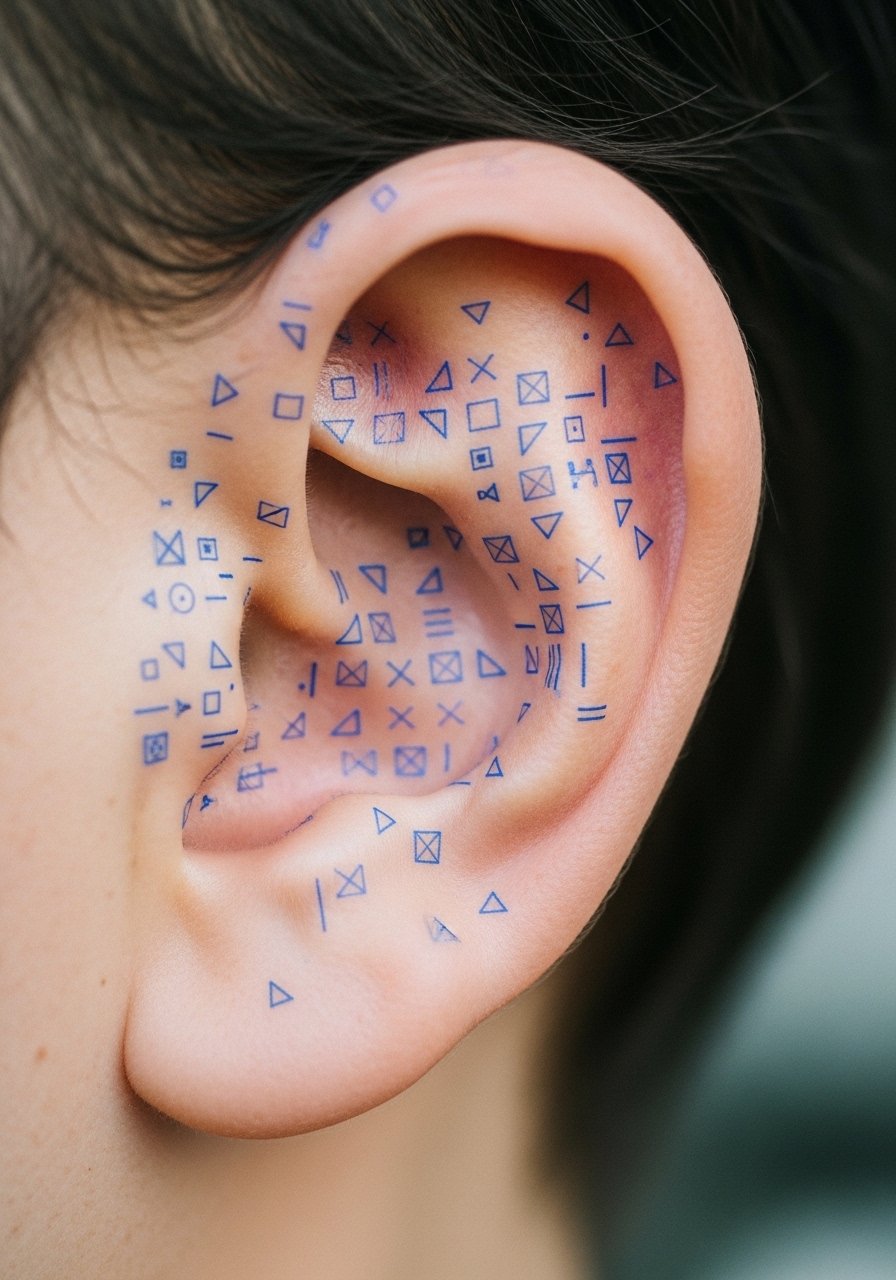
Tiny HUD elements can be a unique gamer's signature. Behind-the-ear pain is higher and touch-ups are common. Scale is everything—too small and it heals into a smudge. Find an artist skilled in micro realism and be ready for a possible follow-up.
8. Watercolor Spell Effect on Forearm
Style/Technique: Watercolor / Painterly
Pain Level: Medium (4/10)
Session Time: 2-3 hours
Best For: Expressive color, visible display
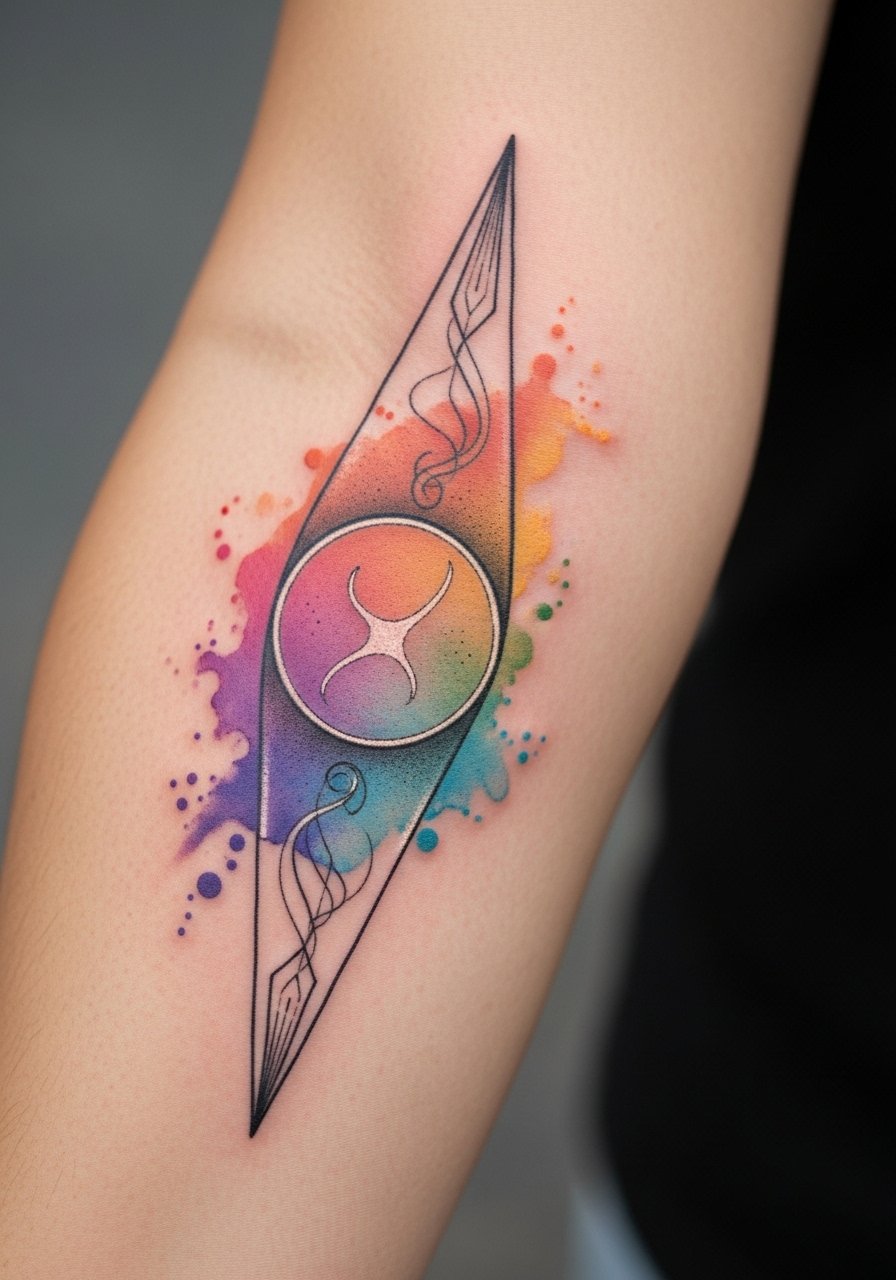
Watercolor creates a magical in-game spell look, but it can fade faster than solid black. Forearm is a practical placement for visibility and touch-ups. I tell people watercolor needs regular sunscreen and occasional refreshes—ask artists who blend color without relying on white ink. Avoid overly diffuse edges that disappear healed.
9. Micro-Realism Game World Map Slice on Rib/Side
Style/Technique: Micro-Realism / Map Fragment
Pain Level: High (7/10)
Session Time: 3-5 hours
Best For: Personal lore, narrative piece
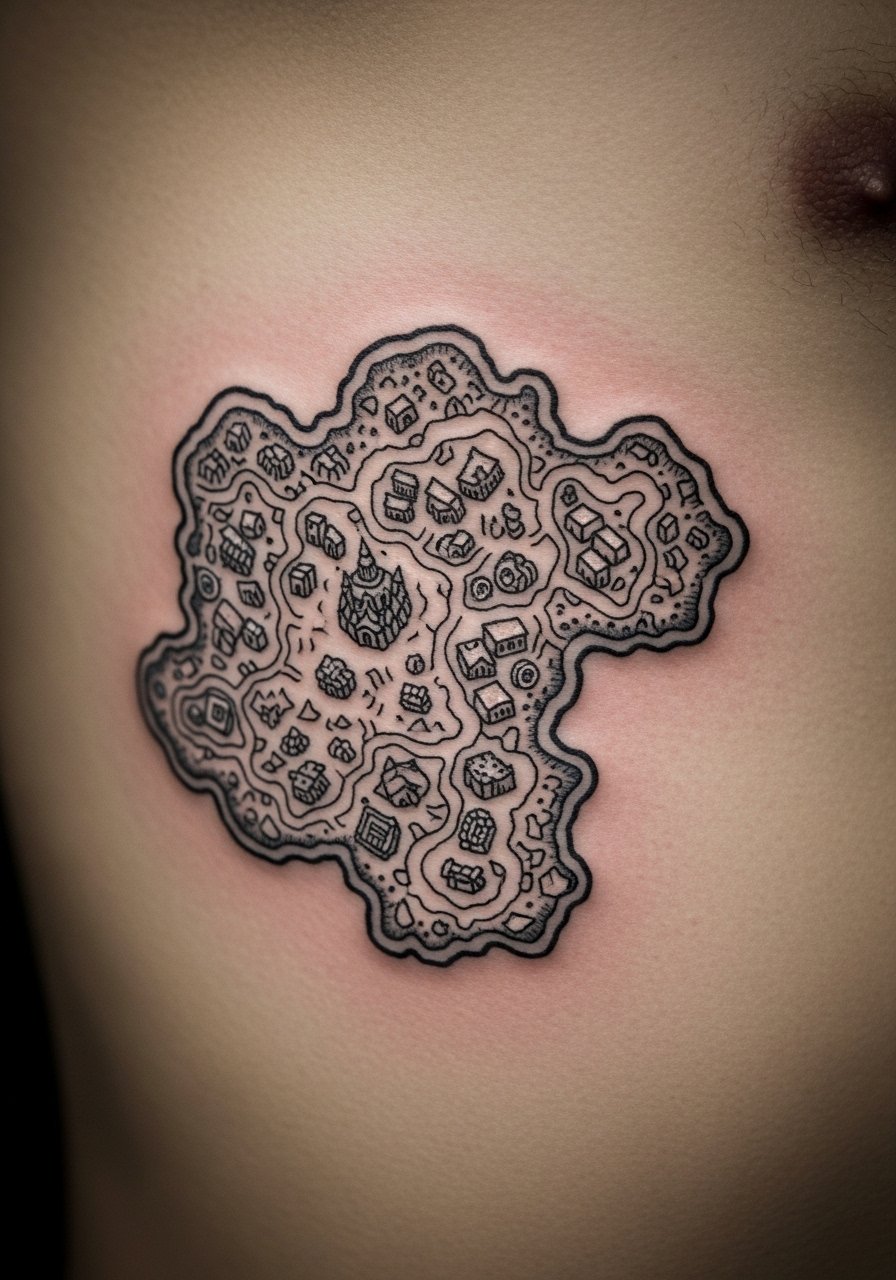
A map fragment is personal and story-driven. The ribs give canvas but are painful and require staged sessions. Healed map detail softens, so prioritize contrast and slightly bolder landmark lines. Don't cram too much detail into a small area.
10. Linework Skill Tree on Upper Back
Style/Technique: Fine Line / Geometric
Pain Level: Medium (4-5/10)
Session Time: 1-3 hours
Best For: Storytelling, expandable piece
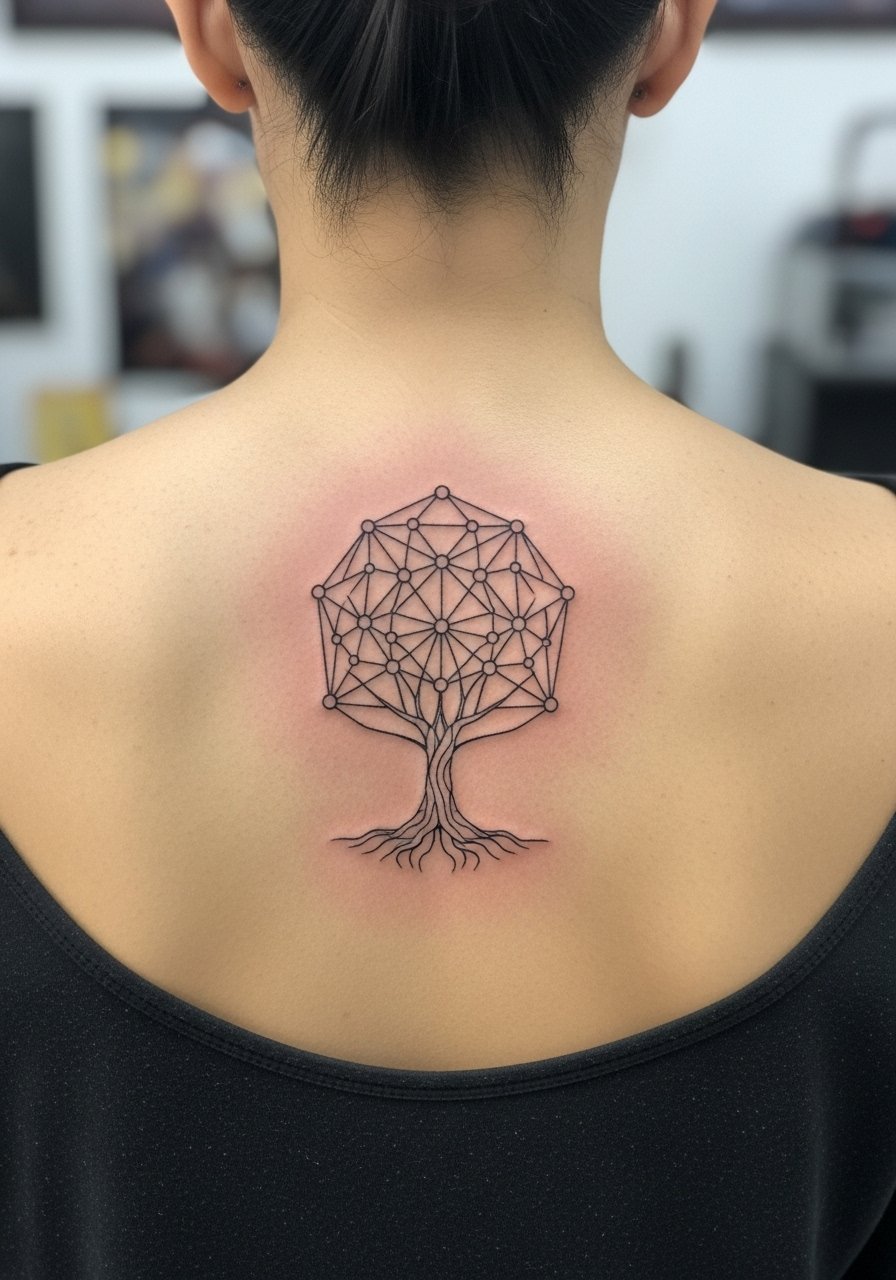
A skill tree diagram feels meaningful and scales nicely. Upper back is moderate pain and easy to hide. Fine lines can blur—space nodes apart and use slightly thicker connectors. Request healed examples from artists working in linework and geometric styles.
11. Retro Arcade Machine on Calf (Traditional)
Style/Technique: Traditional / Neo-Traditional
Pain Level: Low (2-3/10)
Session Time: 2-3 hours
Best For: Nostalgia, visible leg piece
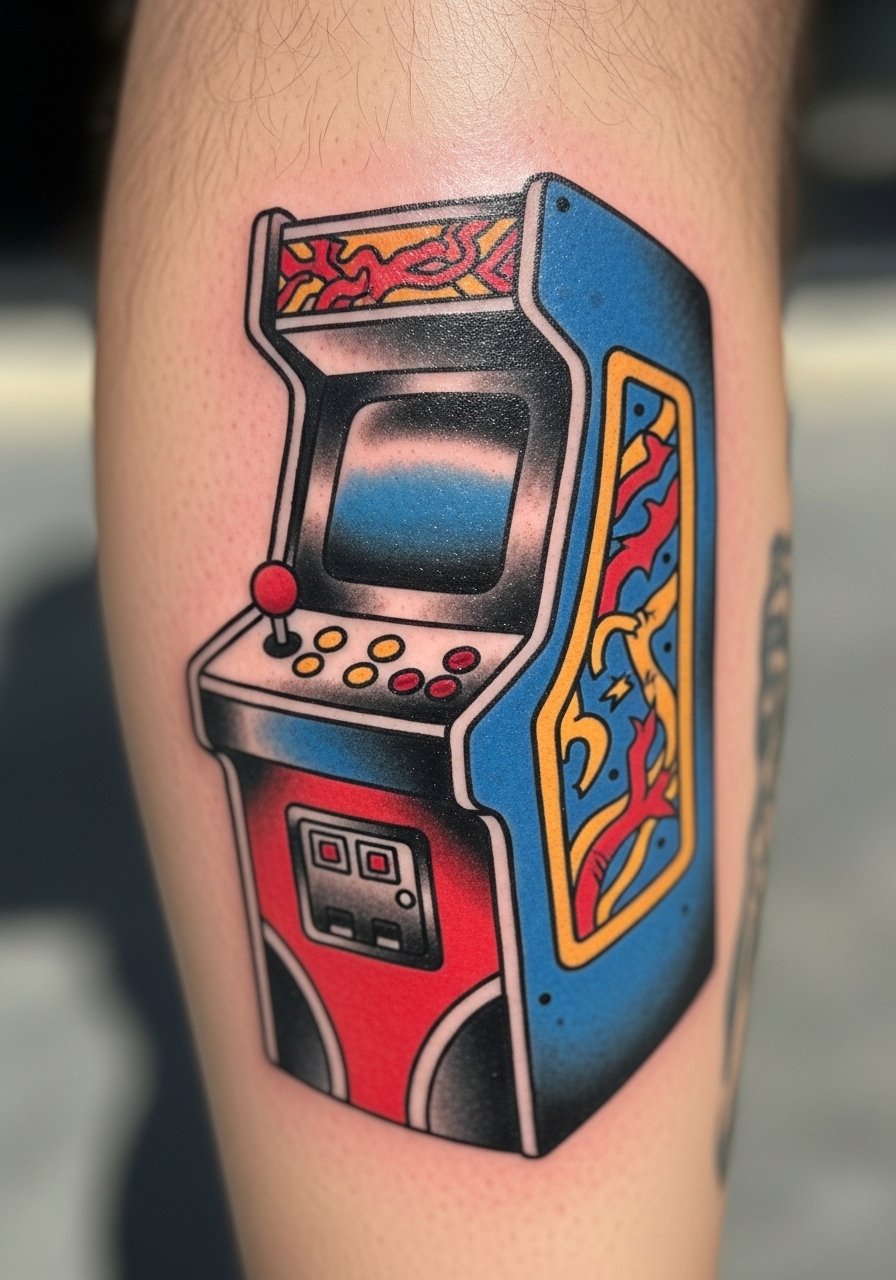
Calf pieces heal well and tolerate bold color. This style keeps its look through years if lines and color packing are solid. Avoid overly fine interior detail that disappears. Ask for contrast and bold fills for longevity.
12. Blackwork Emblem Down Spine
Style/Technique: Blackwork / Emblematic
Pain Level: High (7/10)
Session Time: Multiple sessions
Best For: Dramatic centerline piece
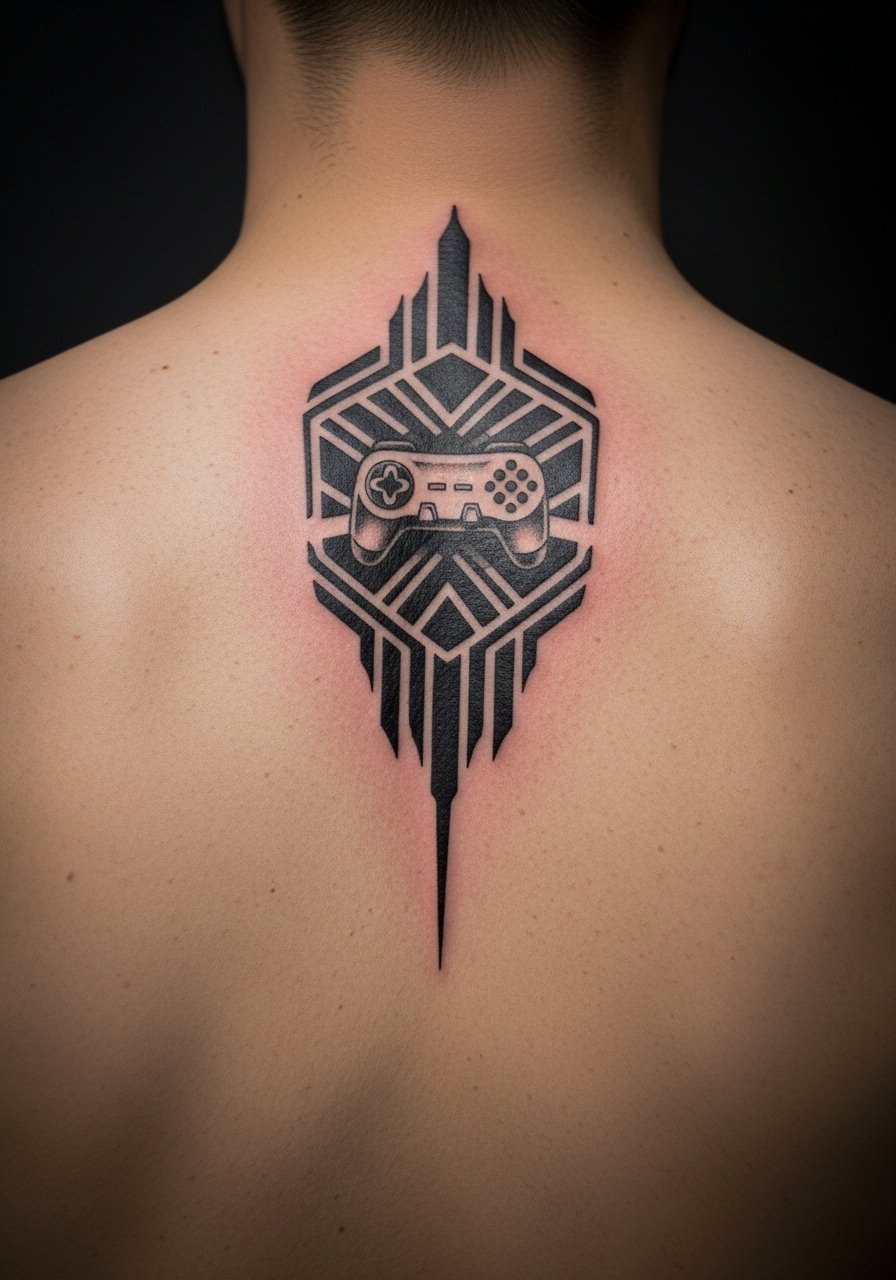
Spine pieces are intense but central and iconic. Solid black ages predictably when applied by artists accustomed to full fills. Ensure structured aftercare—movement and friction from clothing can cause scabbing. Avoid overly fine cross-hatching that becomes patchy.
13. Minimalist Quest Marker on Collarbone
Style/Technique: Minimalist / Single-Line
Pain Level: Medium (4/10)
Session Time: 30-60 minutes
Best For: Chic, visible but small
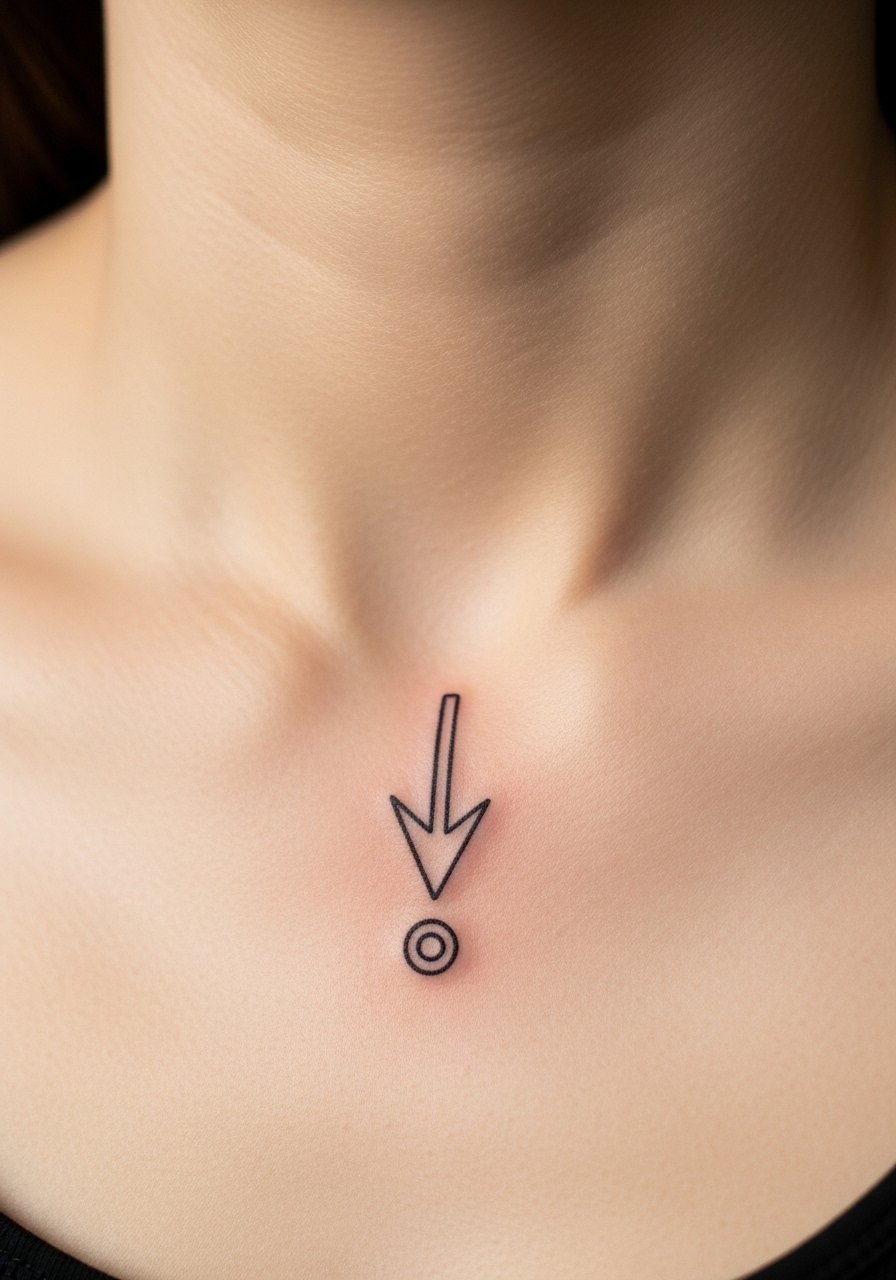
Collarbone is stylish but can be sensitive. Minimalist icons show up clean if lines are slightly bolder than screen icons. Heals faster with proper care. Common mistake: placing too close to the bone causing extra pain and distortion during movement.
14. Color-Pop Weapon Silhouette on Forearm
Style/Technique: Neo-Traditional / Color Block
Pain Level: Low-Medium (3/10)
Session Time: 1-2 hours
Best For: Bold statement, visible
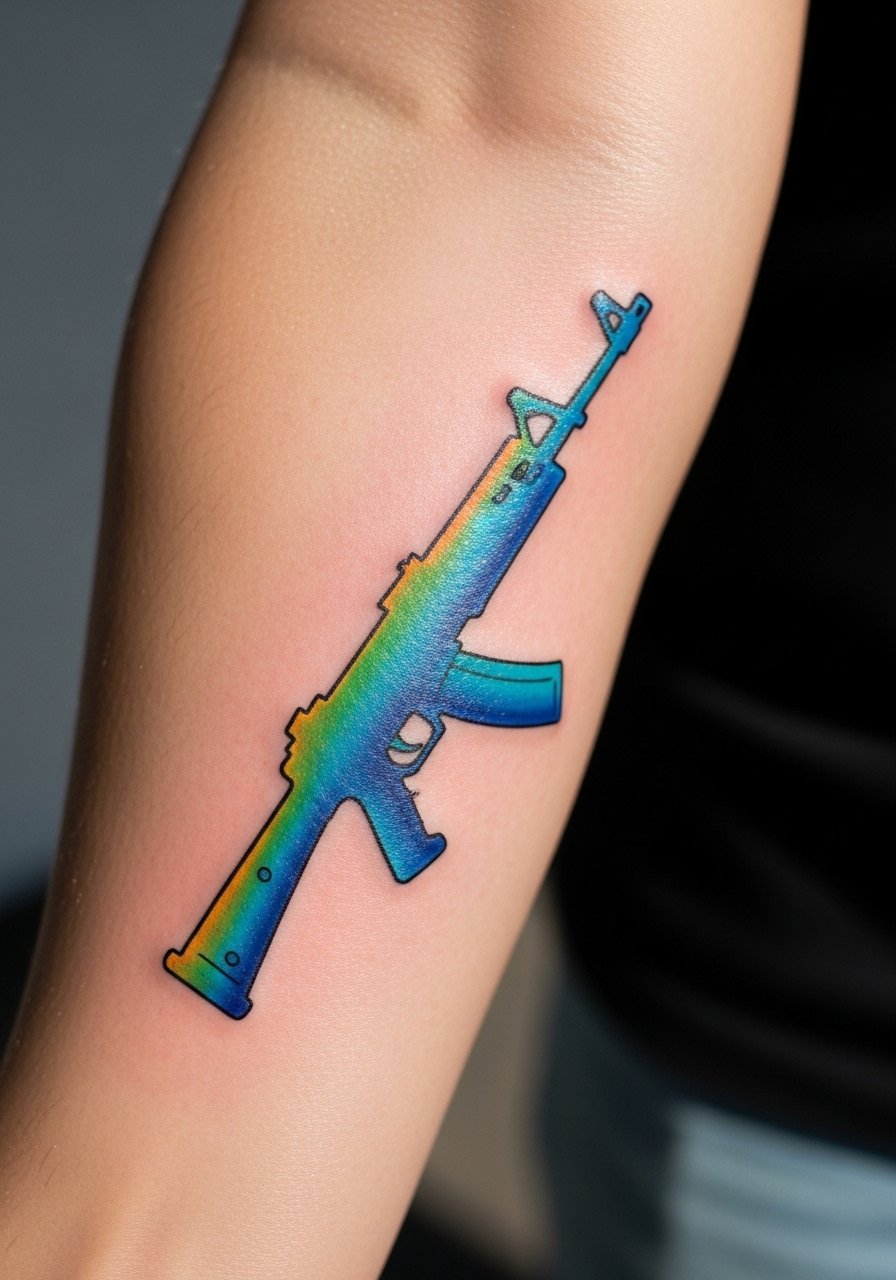
A silhouette with a single pop of color reads great healed. Forearm allows daily display and decent sun protection with clothes. Avoid tiny gradients that fade unevenly—ask for solid color packing and crisp edges.
15. Monochrome Achievement Badges Stacked on Wrist
Style/Technique: Blackwork / Badge Set
Pain Level: Medium (4/10)
Session Time: 1-2 hours
Best For: Collectible vibe, expandable
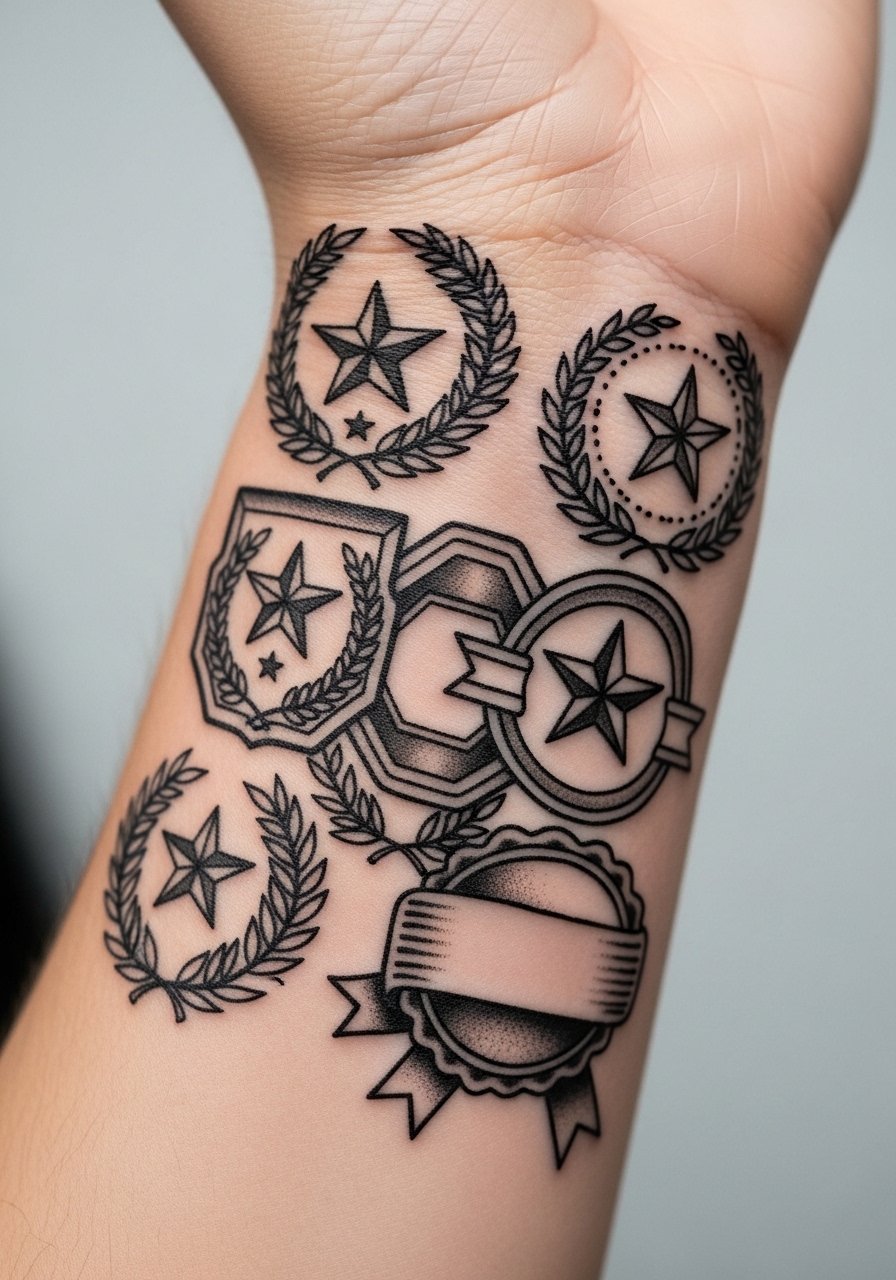
Badges let you add pieces over years. Wrist is visible and experiences abrasion, so expect touch-ups. Keep icons bold and simple to avoid blurring. Artists who do iconography or logo work excel here.
16. Watercolor Aura Around Portrait on Chest
Style/Technique: Watercolor + Portrait
Pain Level: Medium-High (5-6/10)
Session Time: Multiple sessions
Best For: Emotional centerpiece
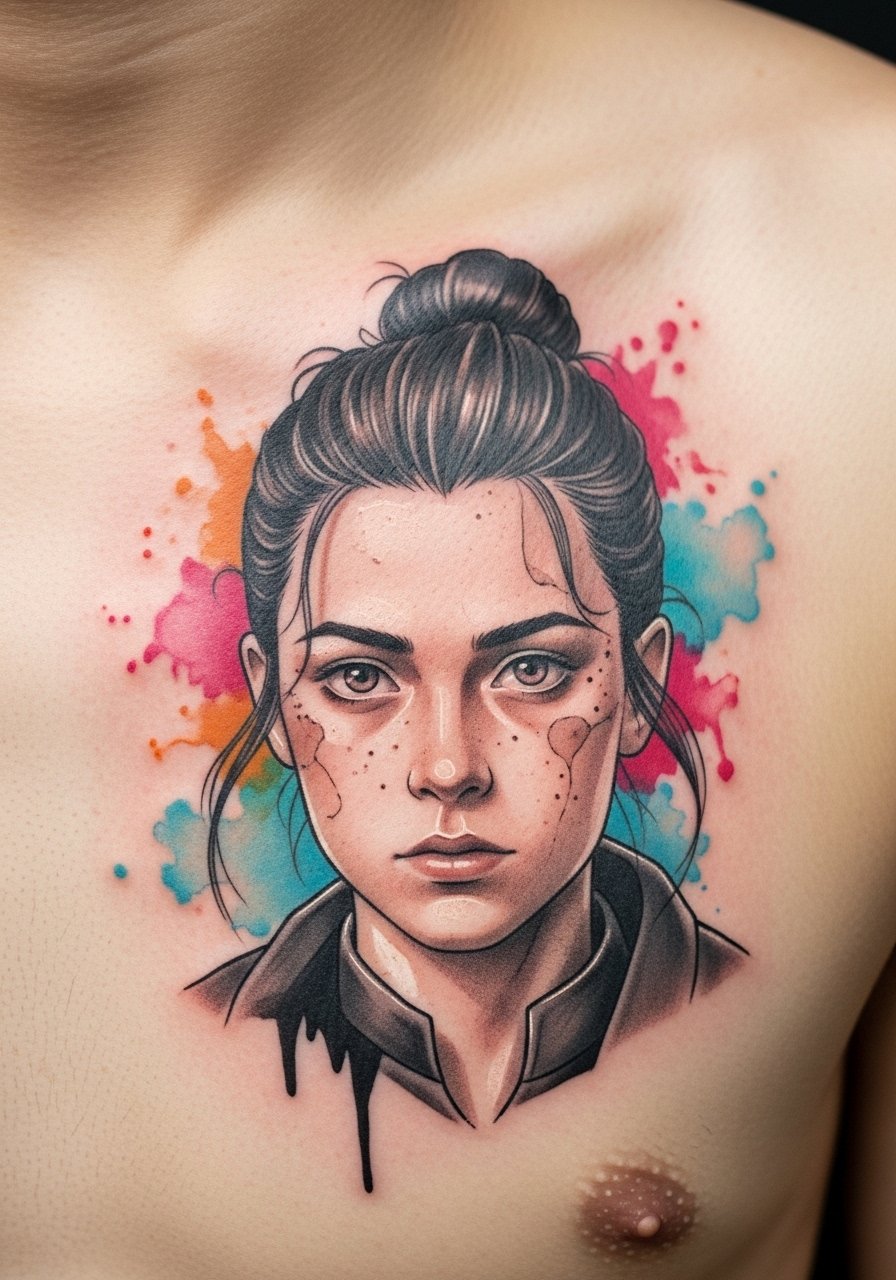
Combining portraiture with watercolor creates atmosphere but requires experienced artists. The chest moves with breathing—plan sessions accordingly. Healed color returns but needs regular SPF. Avoid white highlights as primary contrast; they fade fast.
17. Fine Line Loot Icons Along Finger Side
Style/Technique: Fine Line / Micro Icons
Pain Level: High (6-8/10)
Session Time: 30-90 minutes per finger
Best For: Tiny, playful accents
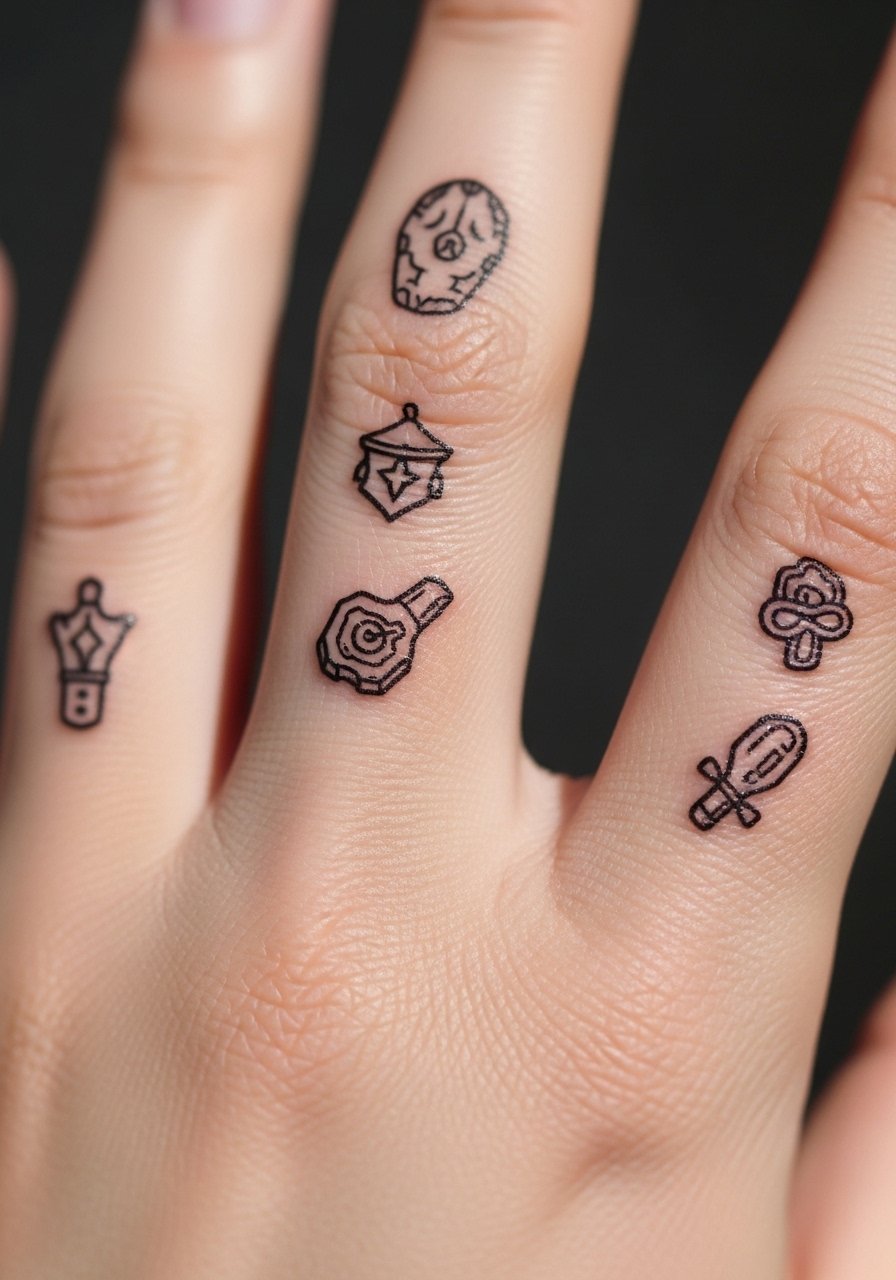
Fingers are notorious for fading and touch-ups; I warn friends about that. If you love small glyphs, keep designs bold and accept maintenance. Artists who specialize in hand and finger work can recommend spacing and depth.
18. UV Ink Neon Pixel Sleeve Peel (Glow Under Blacklight)
Style/Technique: UV Ink / Pixel Motif
Pain Level: Medium (4-5/10)
Session Time: Multiple sessions
Best For: Party-goers, club visibility
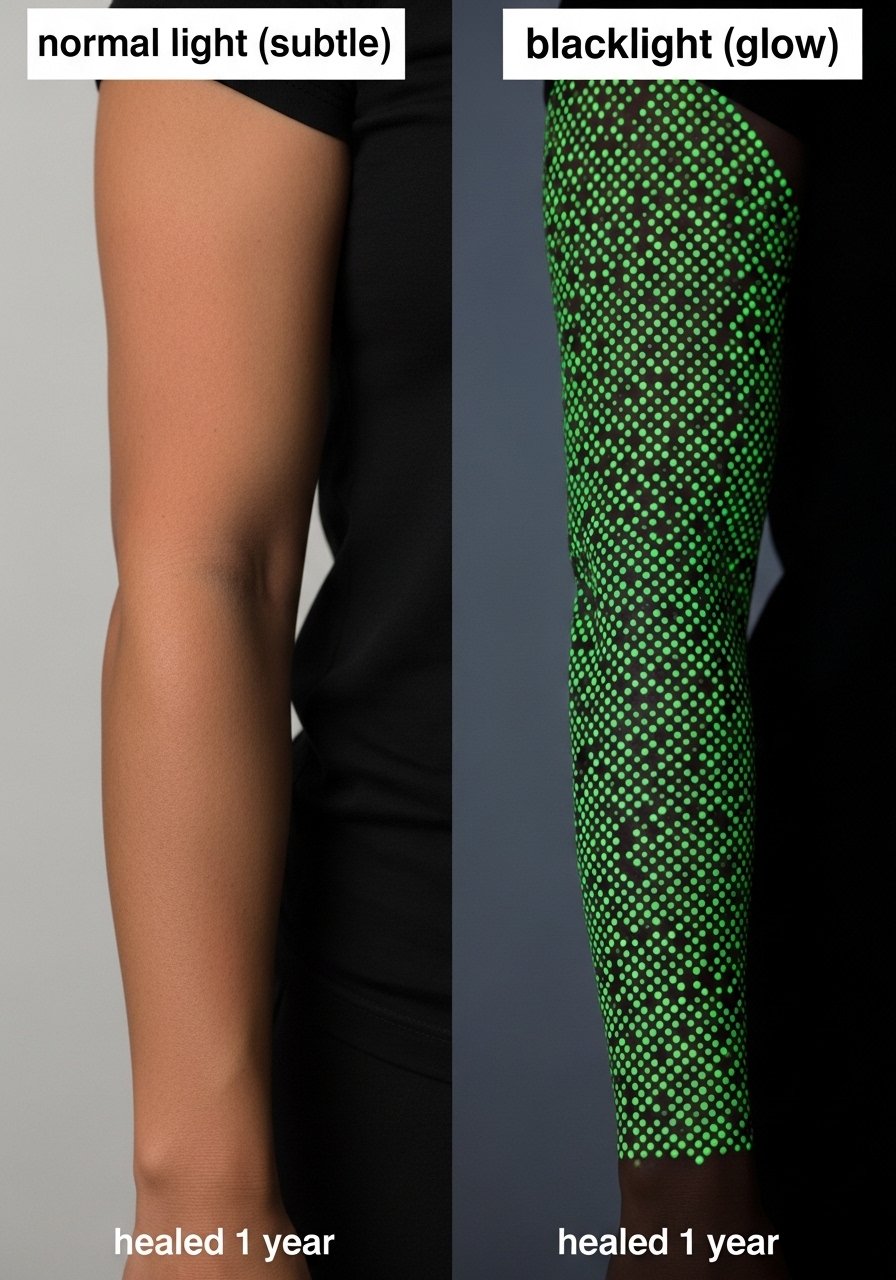
UV ink can add a secret glow, but some inks behave differently healed. I advise testing small patches. UV effects are best in combination with solid black outlines. Artists experienced with UV tattooing can advise on longevity and placement to avoid heavy sun exposure.
19. Minimalist Companion Weapon on Ankle
Style/Technique: Minimalist / Line Art
Pain Level: Medium (5/10)
Session Time: 1 hour
Best For: Low-profile gamer nod
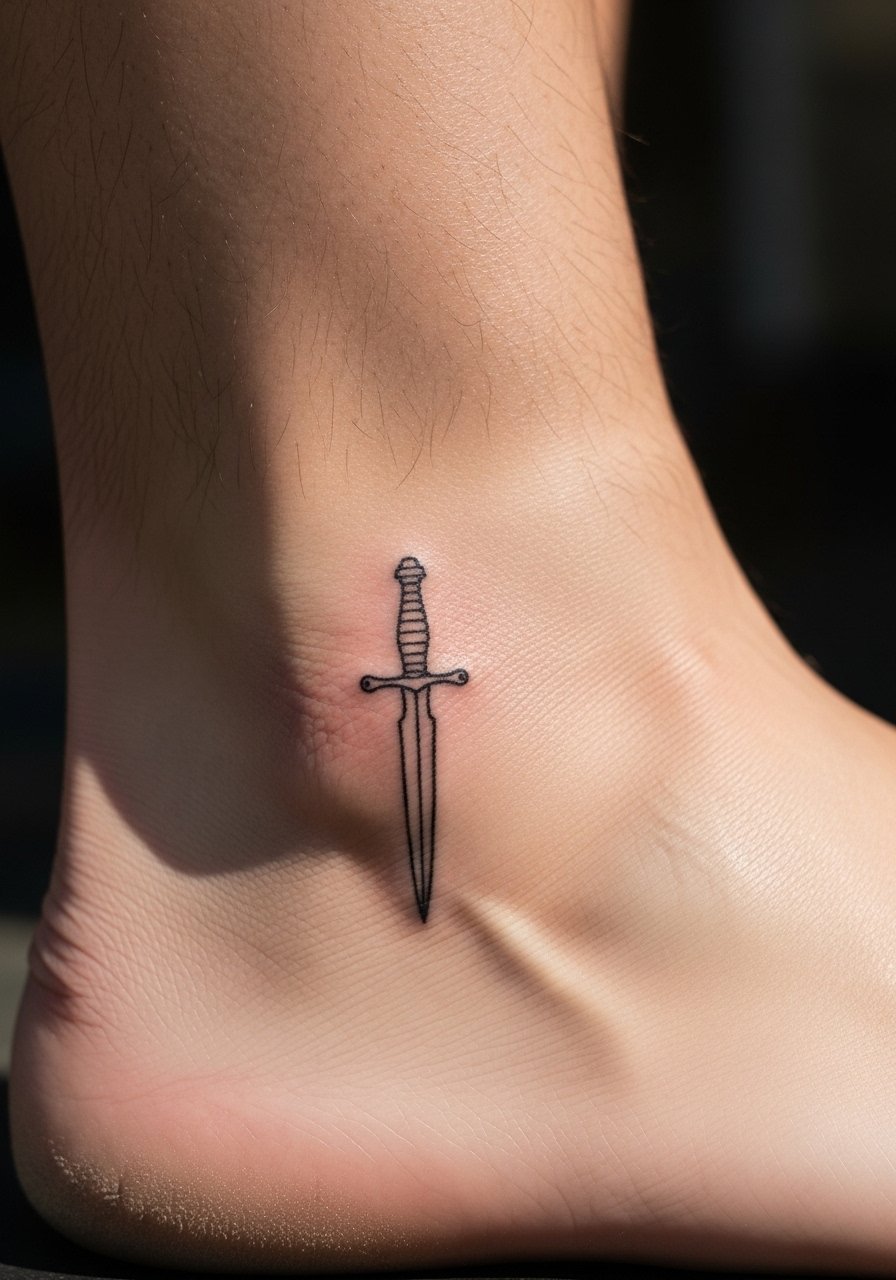
Ankle tattoos rub against shoes; expect slower healing. Keep designs slightly thicker than screen art. If you want a simple piece that ages gracefully, prioritize confident lines and consistent ink depth.
20. Micro-Realism Character Face on Upper Arm
Style/Technique: Micro-Realism / Portrait
Pain Level: Low-Medium (3-4/10)
Session Time: 2-4 hours
Best For: Collector piece, visible
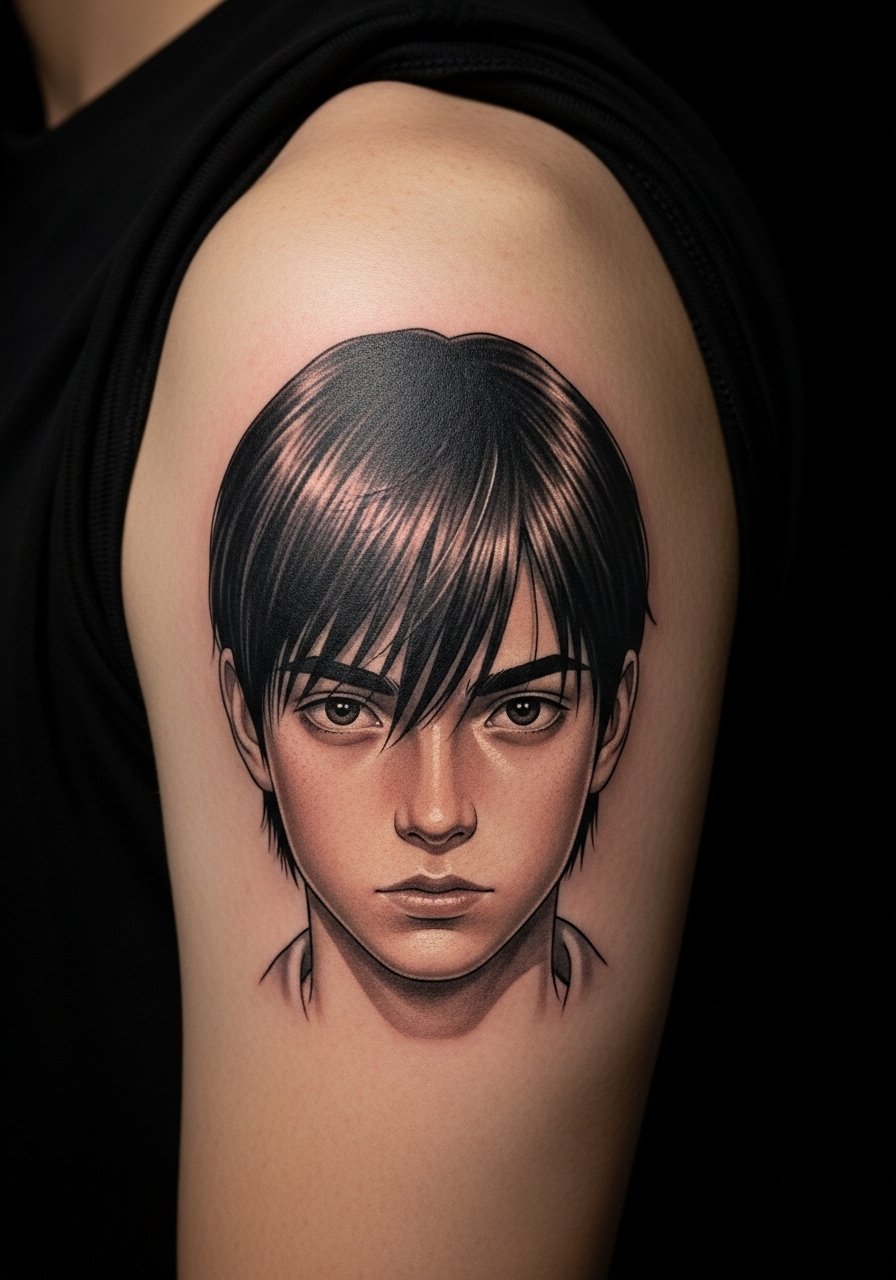
Portraits require a steady, experienced hand. Upper arm offers comfortable sessions and good healing. Healed portraits soften—ask your artist to emphasize contrast. Avoid over-detailing tiny features that will blur.
21. Barcode/QR Easter Egg on Side Rib
Style/Technique: Fine Line / Functional Design
Pain Level: High (7/10)
Session Time: 1-2 hours
Best For: Novelty, interactive ink
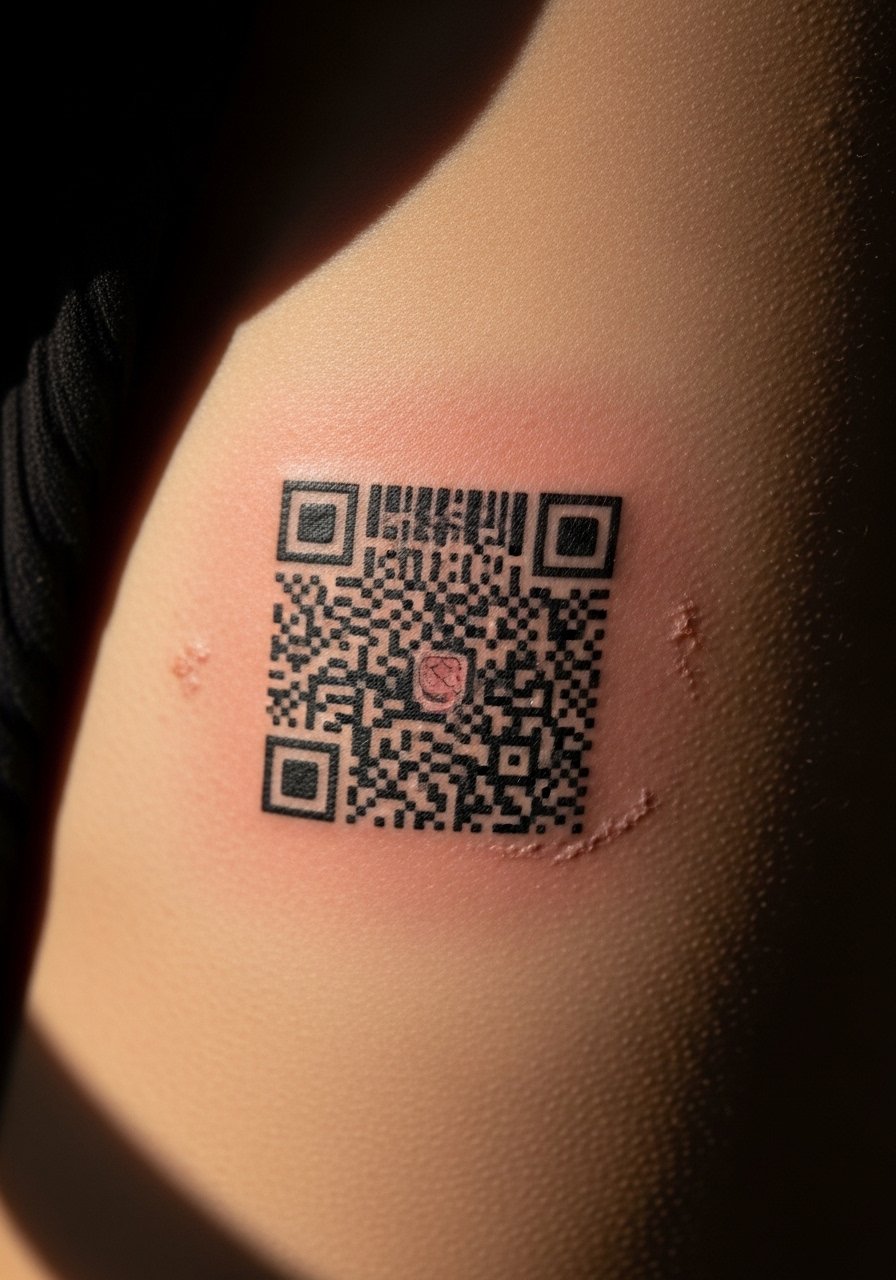
Functional-looking codes are a fun under-covered angle, but true scannability after healing is tricky. If you want this, accept it may become symbolic rather than machine-readable. Keep lines crisp and spaced; consult an artist with experience in linear designs.
22. Blackwork Dungeon Map Band on Bicep
Style/Technique: Blackwork / Band
Pain Level: Low-Medium (3-4/10)
Session Time: 1-2 hours
Best For: Wrap-around narrative
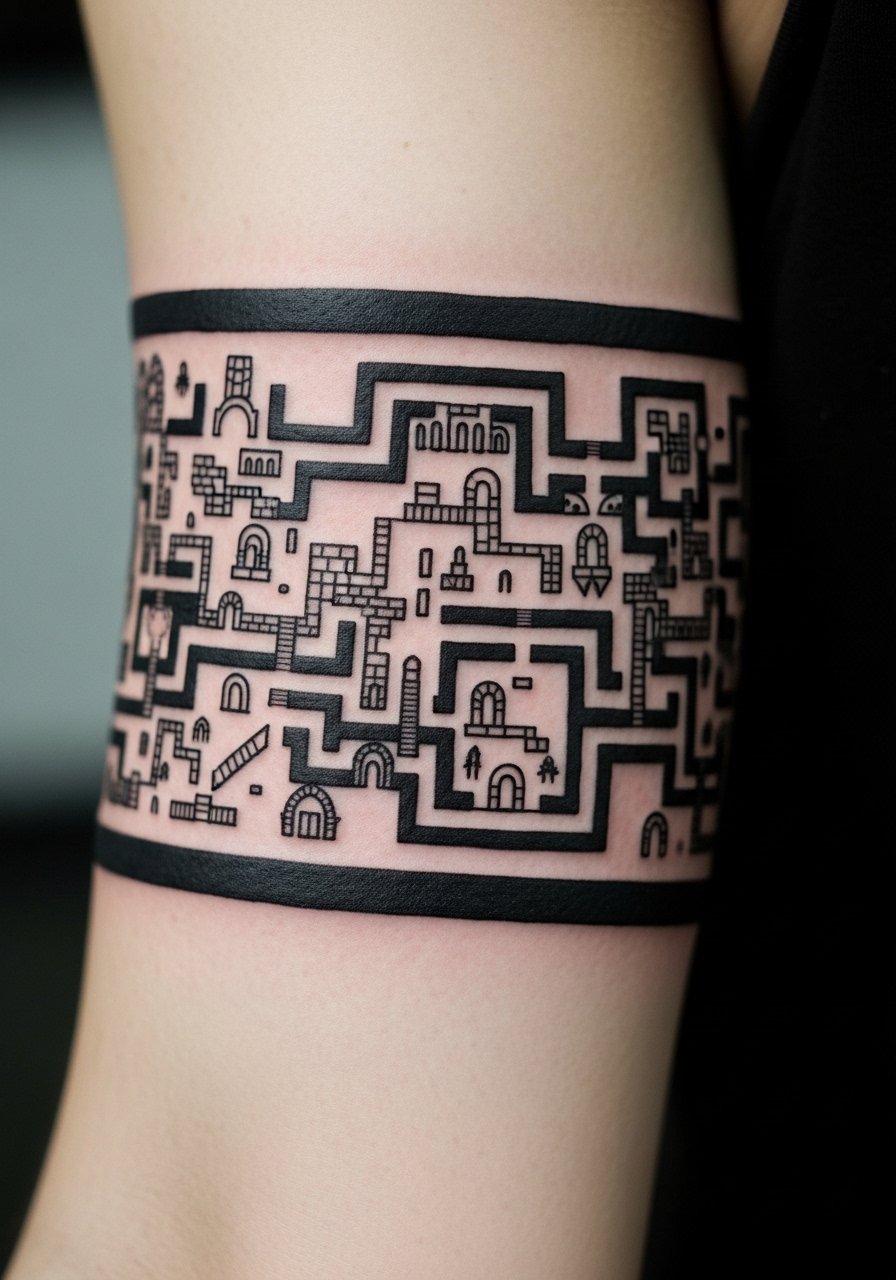
A map band wraps nicely and can be expanded. Biceps heal well and tolerate heavier black. Still, movement can affect edge crispness—avoid minute hatchwork inside the band.
23. Minimalist Save Icon on Sternum
Style/Technique: Minimalist / Icon
Pain Level: High (7/10)
Session Time: 30-60 minutes
Best For: Centerpiece with privacy
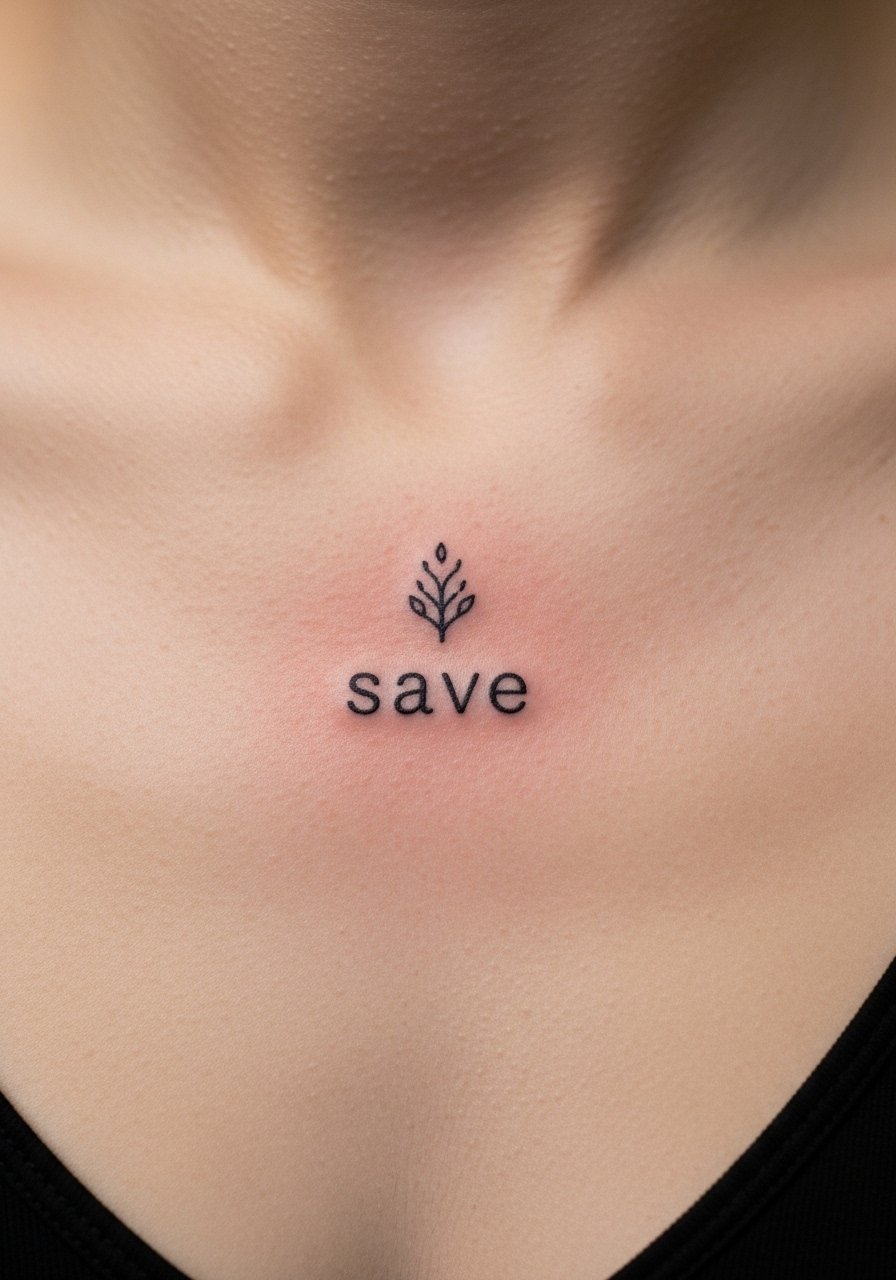
Sternum placements are intimate and painful. Icons here look great but require thoughtful sizing to avoid distortion when the chest moves. Choose an artist comfortable with sternum placements and topical aftercare.
24. Neo-Traditional Companion Portrait on Forearm
Style/Technique: Neo-Traditional / Portrait
Pain Level: Medium (4/10)
Session Time: 2-3 hours
Best For: Expressive, narrative display
Neo-traditional portraits combine character and clarity—great for beloved in-game allies. Forearm offers visibility and reasonable healing. Avoid pastel washes alone; request stronger shading for healed definition.
25. Fine Line Quest Phrase on Ribcage (Script)
Style/Technique: Fine Line / Script
Pain Level: High (7/10)
Session Time: 1-2 hours
Best For: Personal mantra, hidden text
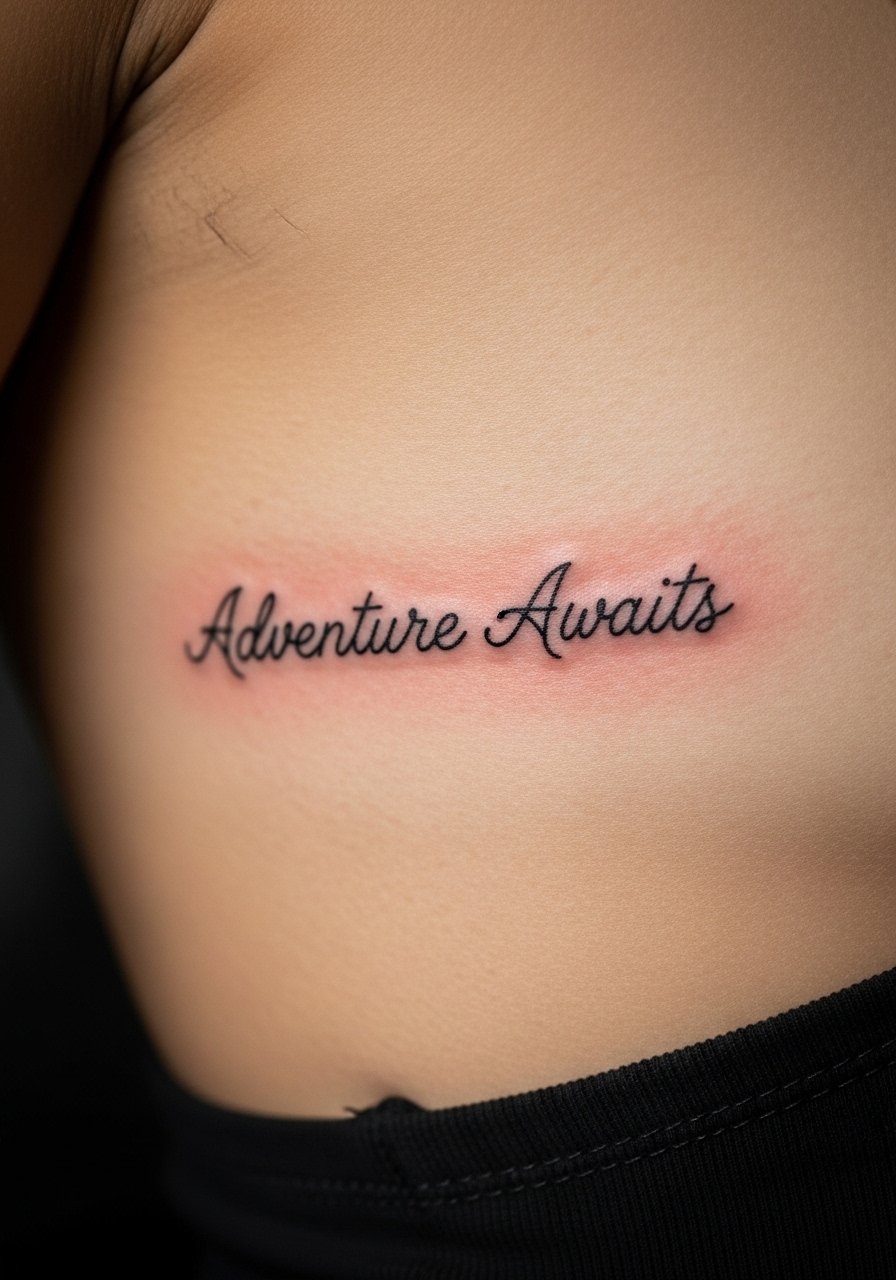
Script on ribs reads intimate but is subject to motion-based distortion. Choose fonts with a bit of weight; ultra-thin script blurs. Ask an artist who does lettering and request healed examples.
26. Blackwork Shield on Shoulder Blade
Style/Technique: Blackwork / Symbol
Pain Level: Low (2-3/10)
Session Time: 1-2 hours
Best For: Armor-themed, durable
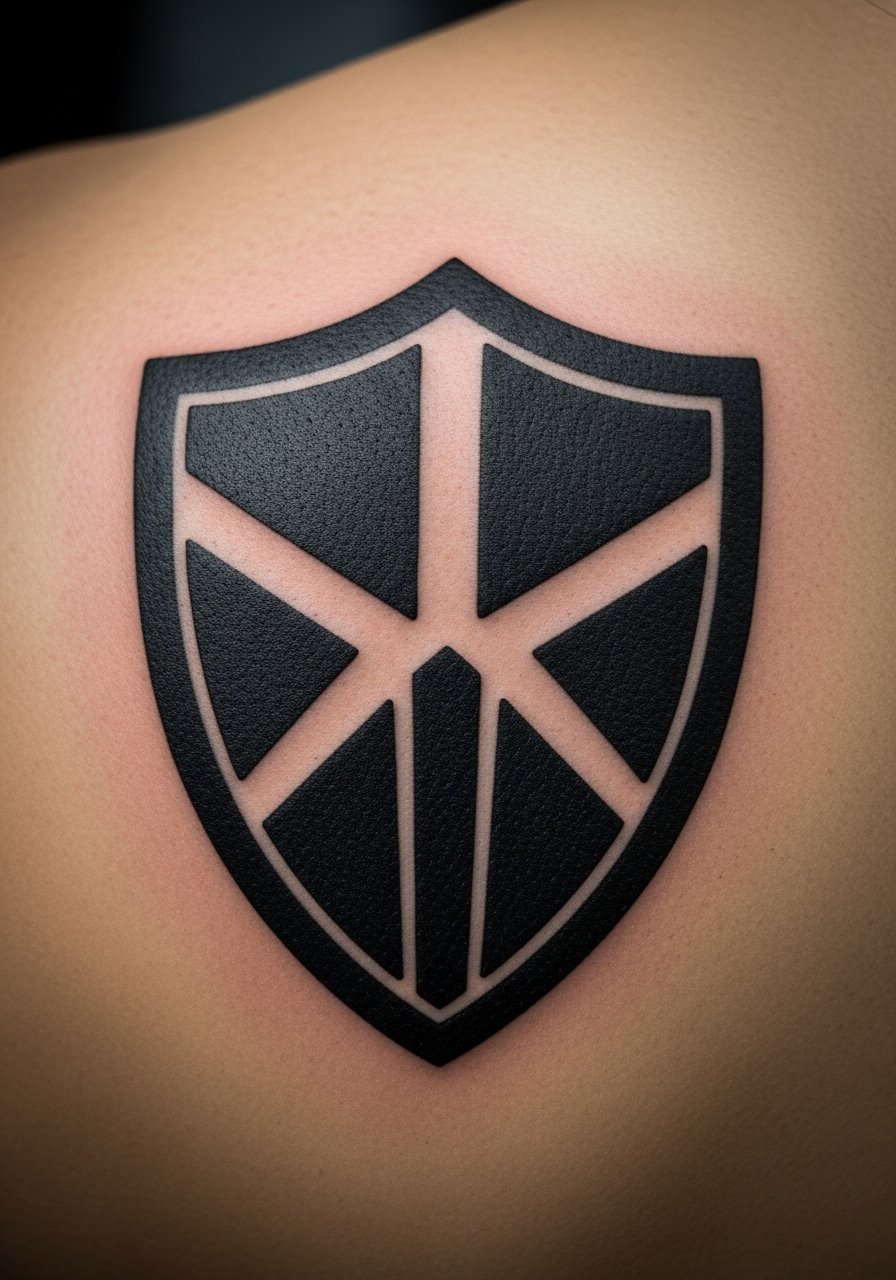
Shoulder blades are forgiving and low-pain. Solid black shields last well and require minimal maintenance. Avoid intricate interior textures that can break up during healing.
27. Pixel Portrait Sleeve Accent Around Elbow
Style/Technique: Pixel Art / Accent
Pain Level: High (6-7/10)
Session Time: Multiple sessions
Best For: Retro-modern sleeves

Elbow areas deal with movement and scabbing. Pixel blocks can survive if scaled up and combined with solid outlines. Expect elbow-specific touch-ups and discuss placement with your artist.
28. Glowing Rune in UV on Inner Forearm
Style/Technique: UV Ink / Rune
Pain Level: Medium (4/10)
Session Time: 1 hour
Best For: Subtle by day, glow by night
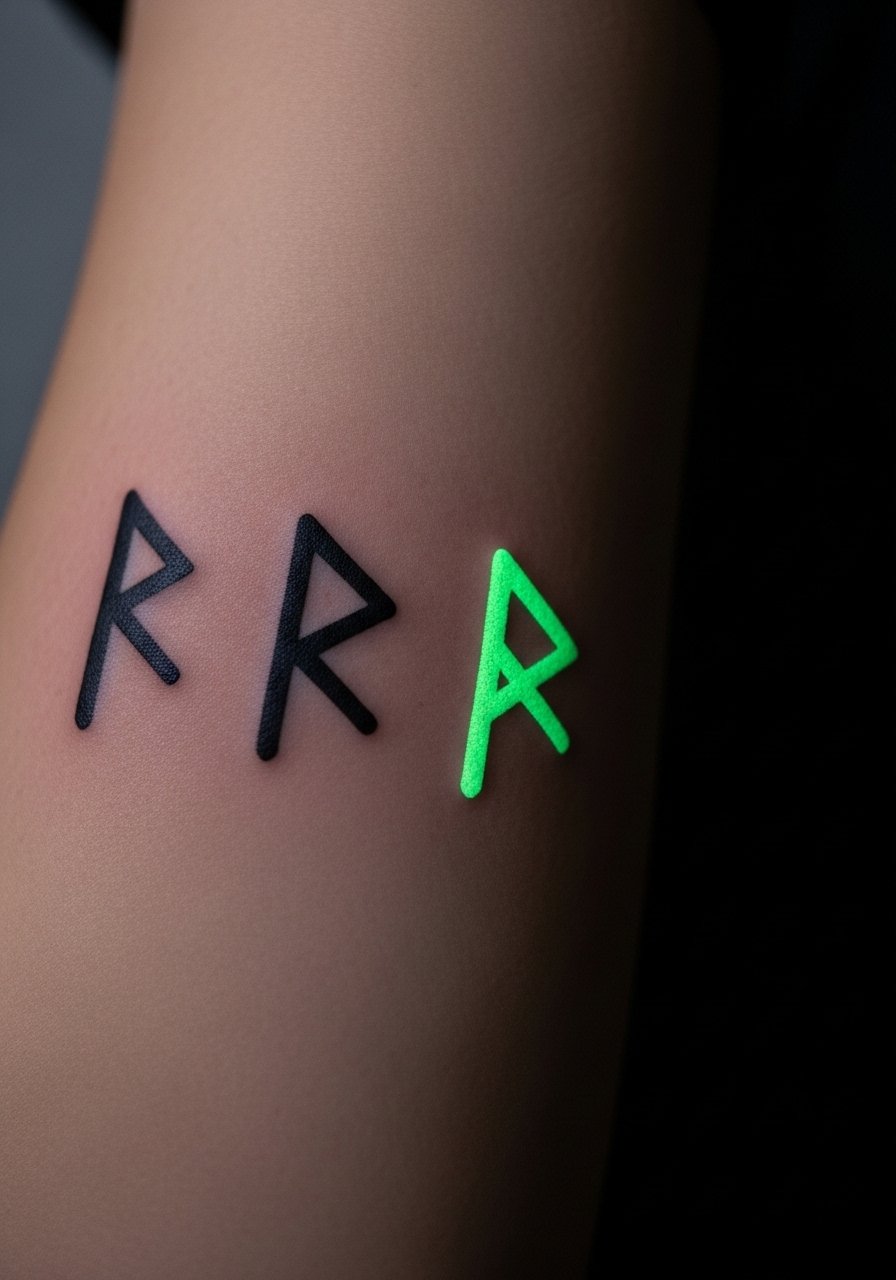
UV runes are a fresh angle I've seen more of—fun but higher maintenance. Healed glow varies; choose an artist experienced with UV to set expectations. Avoid making UV the only contrast driver.
29. Minimalist Controller Outline Behind Ear (Tiny)
Style/Technique: Minimalist / Micro
Pain Level: High (6-7/10)
Session Time: 30 minutes
Best For: Tiny visible gamer stamp

A tiny behind-ear controller is playful and low-visibility. Pain is sharp in that area and the design may need occasional refreshes. Keep lines confident and slightly thicker than screen icons to keep readability.
Tattoo Prep and Aftercare Essentials
Aftercare Essentials:
- Aquaphor Healing Ointment, 14oz tube — Use first 3-5 days for heavy ointment care
- Saniderm Transparent Adhesive Bandage, 6-inch roll — Second-skin protection for first 24-72 hours
- CeraVe Fragrance-Free Moisturizing Lotion, 12oz — Daily moisturizer after initial ointment phase
- Dr. Bronner's Unscented Castile Soap, 8oz — Gentle cleaning for first 2 weeks
Before Your Appointment:
- Tattoo Numbing Cream 5% Lidocaine — Apply 30-45 minutes before session if your artist approves
- Disposable Razors Pack (skin prep) — For clean stencil placement if needed
Long-Term Maintenance:
- SPF 50+ Sunscreen Stick For Tattoos — Daily protection to prevent fading
- Mad Rabbit Tattoo Balm, 2oz — Keeps healed tattoos vibrant
- Hustle Butter Deluxe, 2oz — Vegan aftercare alternative for long-term moisturizing
Optional Comfort Items:
- Tattoo Numbing Spray — For touch-ups or extra-sensitive sessions
- Hydrocolloid Bandages, Large — For spot protection on small tattoos during active healing
Frequently Asked Questions
Q: How bad does a tattoo actually hurt?
A: Pain depends on placement and your tolerance. Outer arm/thigh = low (2-3/10). Ribs, spine, elbow = high (7-8/10). It feels more like scratching and burning than sharp stabbing. For sensitive spots, consider an approved numbing cream and talk to your artist.
Q: What if I regret a tattoo later?
A: I tell people to sit with designs for months and pick meaningful motifs. If it's visibility you're worried about, choose placements that can be covered. Laser removal exists but is a commitment—design thoughtfully to reduce regret.
Q: How do I keep gaming tattoos from fading?
A: From what I've seen, sunscreen is the single most effective step. Use an SPF 50+ stick on exposed ink daily. Keep skin moisturized with fragrance-free lotion too.
Q: Can I work out after getting a tattoo?
A: Wait at least 48-72 hours before light activity; longer for high-movement areas. Sweat can trap bacteria and pull ink out. For the first week, avoid heavy sweating and use gentle cleaning like castile soap.
Q: Should I get a small tattoo first to test pain?
A: Only if you genuinely want the design. Size doesn't always predict pain—placement does. If you're nervous, pick a low-pain area (outer arm, thigh) and a small, meaningful symbol.
Q: How long does a tattoo take to heal?
A: Surface healing is usually 2-3 weeks; full healing can take 2-3 months. The first week is critical—clean gently, moisturize, and avoid picking scabs. I rely on Aquaphor for initial days and switch to a fragrance-free lotion.
Q: Do tattoos look different on different skin tones?
A: Yes. Black and gray designs read well across tones. Bright colors can behave differently—discuss color saturation with an artist who regularly tattoos your skin tone and ask to see healed portfolios.
Q: What are common mistakes new people make?
A: Going too small for complex detail, picking ultra-thin script, and ignoring aftercare. Also, relying on white ink for contrast—white fades faster. I always recommend asking to see healed work similar to your idea.
