
I spent months scrolling through anime fan accounts, conventions, and tattoo shop portfolios before I realized the real question wasn't which character to ink—it was which style and placement would actually age well and still look like you five years from now. These 27 anime tattoos are the ones fans respect because they balance fandom, longevity, and real-life wear.
This list focuses on anime-themed designs that hold up: clean linework, color-saturated pieces, and minimalist symbols. Placements range from wrist and behind-ear spots for subtle tribute, to sleeves and back pieces for full scenes. From what I've seen in 2026 trends, fans are choosing designs that are meaningful, timeless, and easy to maintain.
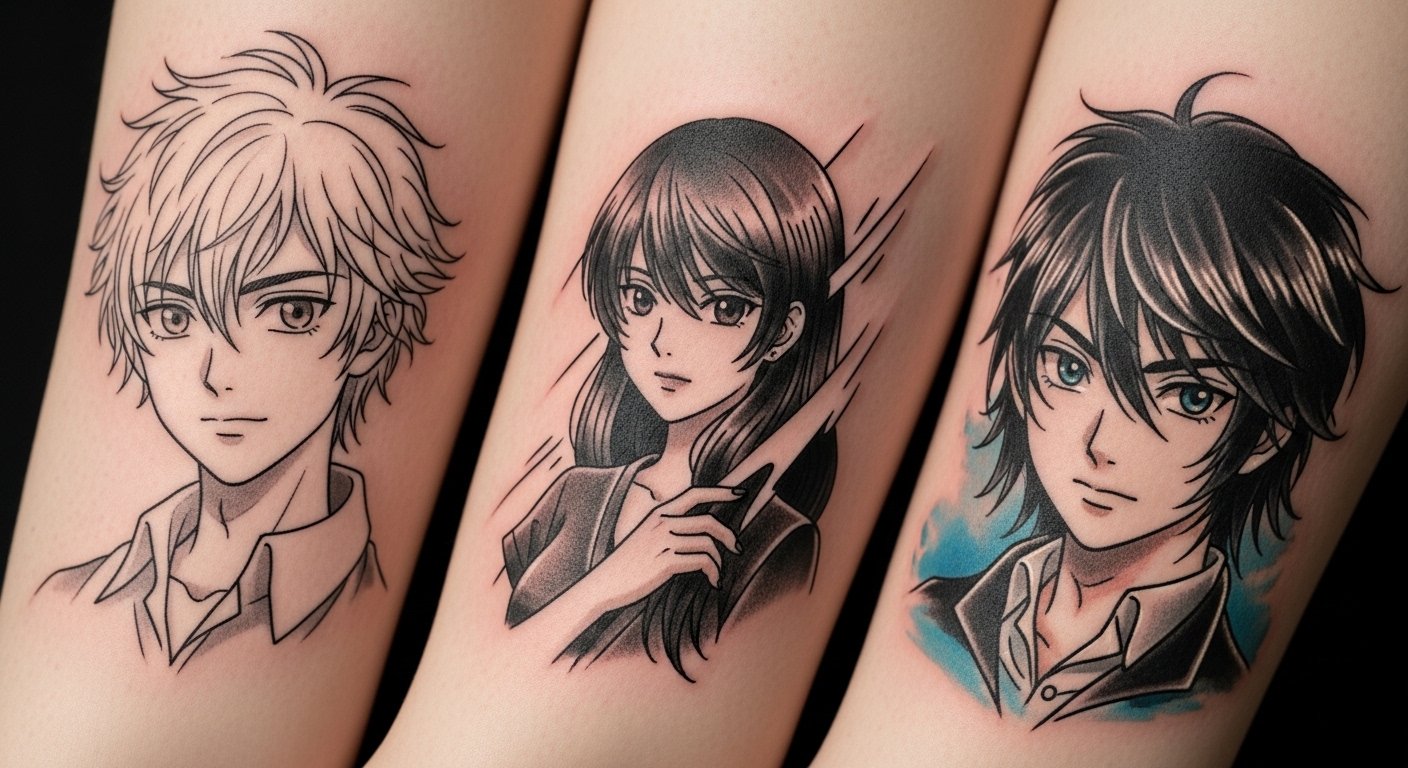
1. Fine Line Anime Silhouette on Inner Forearm
Style/Technique: Fine Line / Minimalist
Pain Level: Low-Medium (3/10)
Session Time: 1-2 hours
Best For: First tattoo, subtle fandom
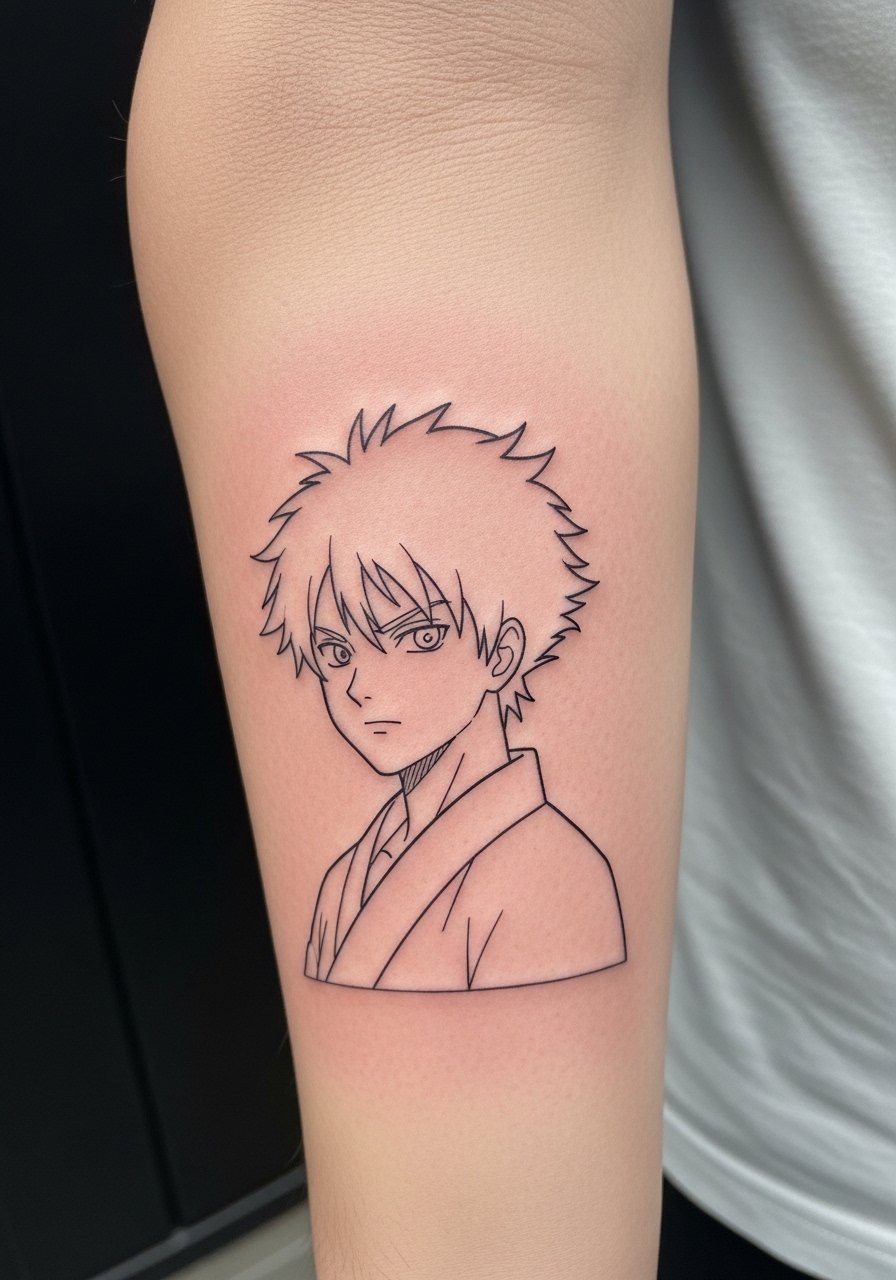
I love silhouettes for anime tattoos because they read instantly to fans but stay understated for daily life. On the inner forearm the lines lie flat and show well healed, though fine-line work can blur a bit over years if the artist uses shallow needles. Expect mild discomfort; the forearm is forgiving. Healing is straightforward—keep moisturized and avoid direct sun for months. Common mistake: asking for lines too thin without checking the artist’s healed portfolio. Ask for examples of healed fine-line anime pieces and request slightly bolder lineweight if you want longevity.
2. Micro-Realism Character Portrait on Thigh
Style/Technique: Micro-Realism / Portraiture
Pain Level: Medium (4/10)
Session Time: 3-6 hours (may need touch-ups)
Best For: Statement piece, private placement
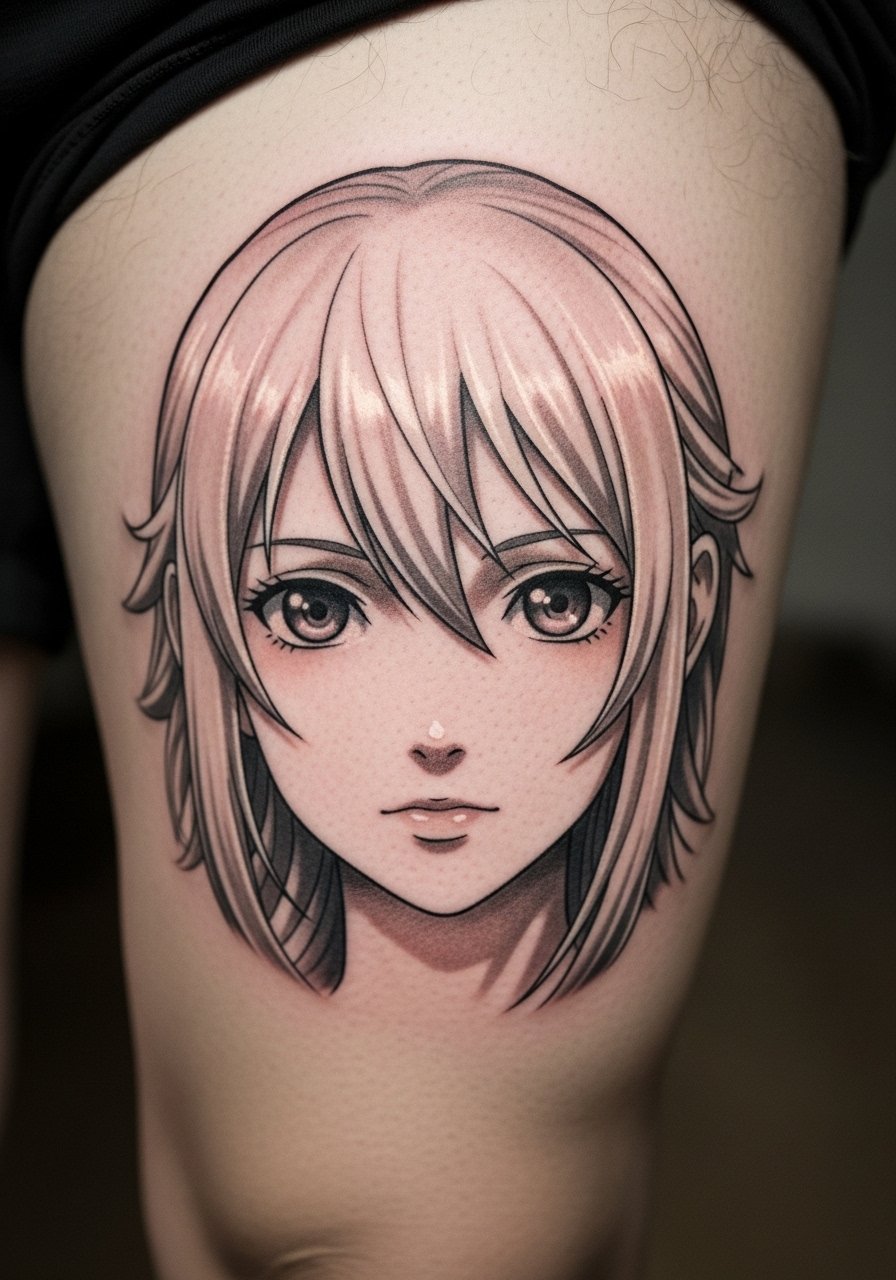
A thigh portrait lets artists include facial detail and subtle color shifts—great for beloved characters. Thigh flesh tolerates long sessions, so pain is moderate but manageable. Healed micro-realism looks softer than fresh work; contrast settles and small highlights may dim. Avoid over-saturating tiny details—ask your artist about healed close-ups of their portrait work. Keep the area moisturized during healing; friction from clothes can irritate fresh ink. This style demands an artist experienced in micro-realism and anime facial anatomy.
3. Watercolor Totoro Scene on Calf
Style/Technique: Watercolor / Painterly
Pain Level: Medium (4/10)
Session Time: 2-4 hours
Best For: Color lovers, mid-size pieces
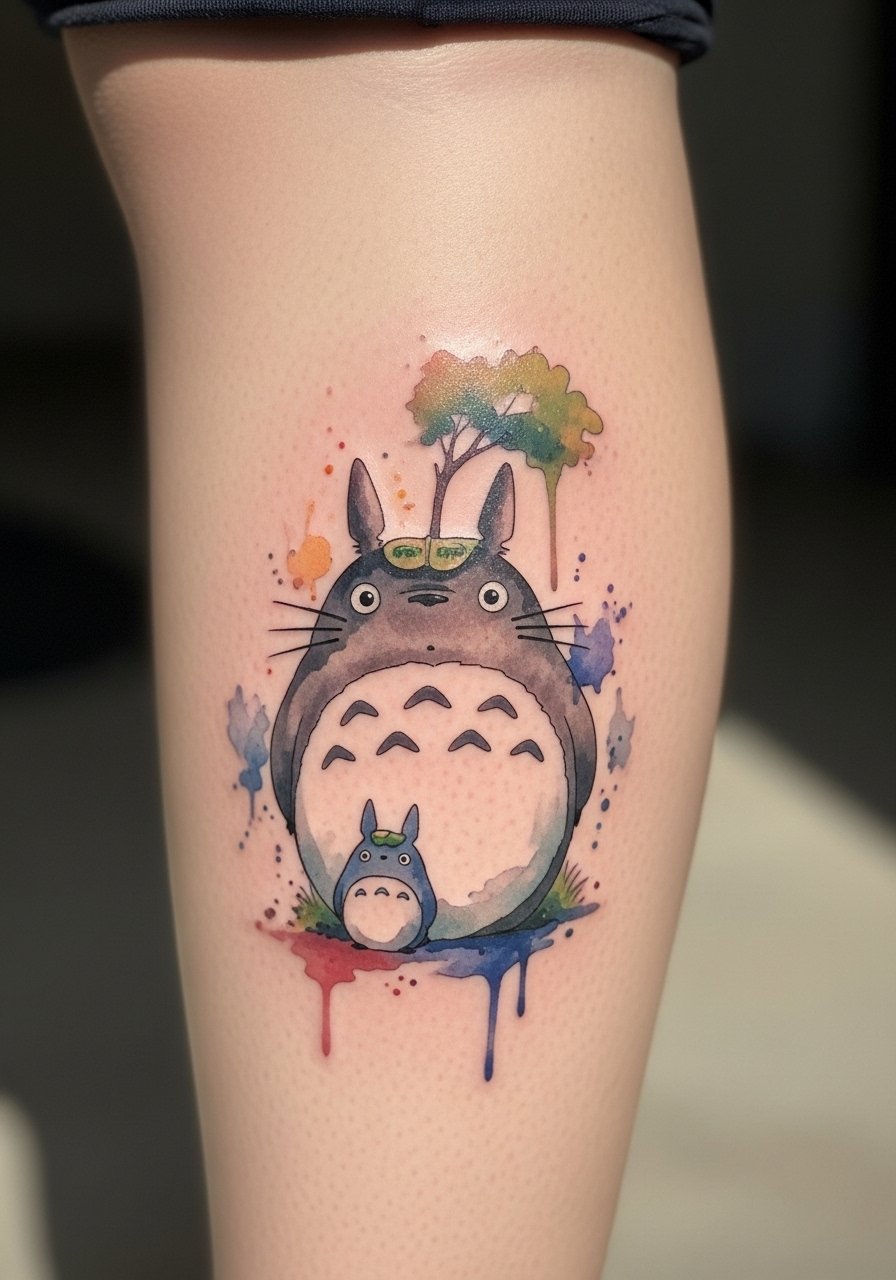
Watercolor brings anime whimsy to life—loose color washes and minimal outlines give a storybook feel. On the calf, color holds nicely because sun exposure is limited. Pain is moderate; calves are forgiving. Healed watercolor appears less saturated than fresh, so artists should plan for built-in softness. Common mistake: asking for extremely soft washes that won’t read once healed—ask for intentional contrasts (a few solid outlines) to keep the design clear. Look for artists who blend traditional watercolor technique with solid outline control.
4. Bold Traditional Anime Rose on Upper Arm
Style/Technique: Traditional / Neo-Traditional
Pain Level: Low (2-3/10)
Session Time: 2-3 hours
Best For: Timeless tribute, holds up well
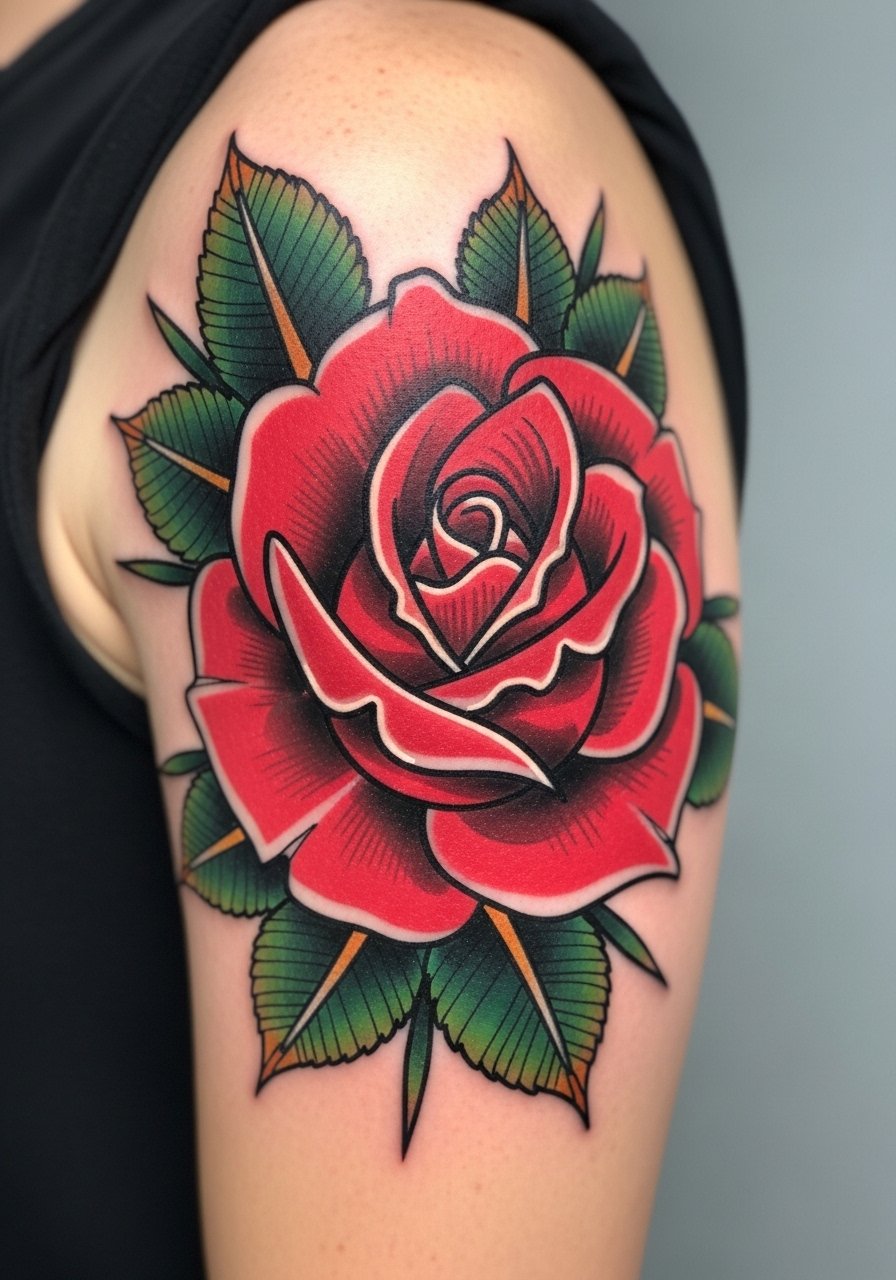
Merging traditional tattoo roots with anime iconography gives a bold, lasting look. Thick lines and saturated color resist blurring better than fine detail. Upper arm pain is low and healing is steady. This works if you want an unmistakable anime nod without a photo-real character. Watch out for overly intricate shading inside tiny petals—traditional pieces need defined shapes to age well. Ask for artists skilled in both traditional and illustrative anime styles.
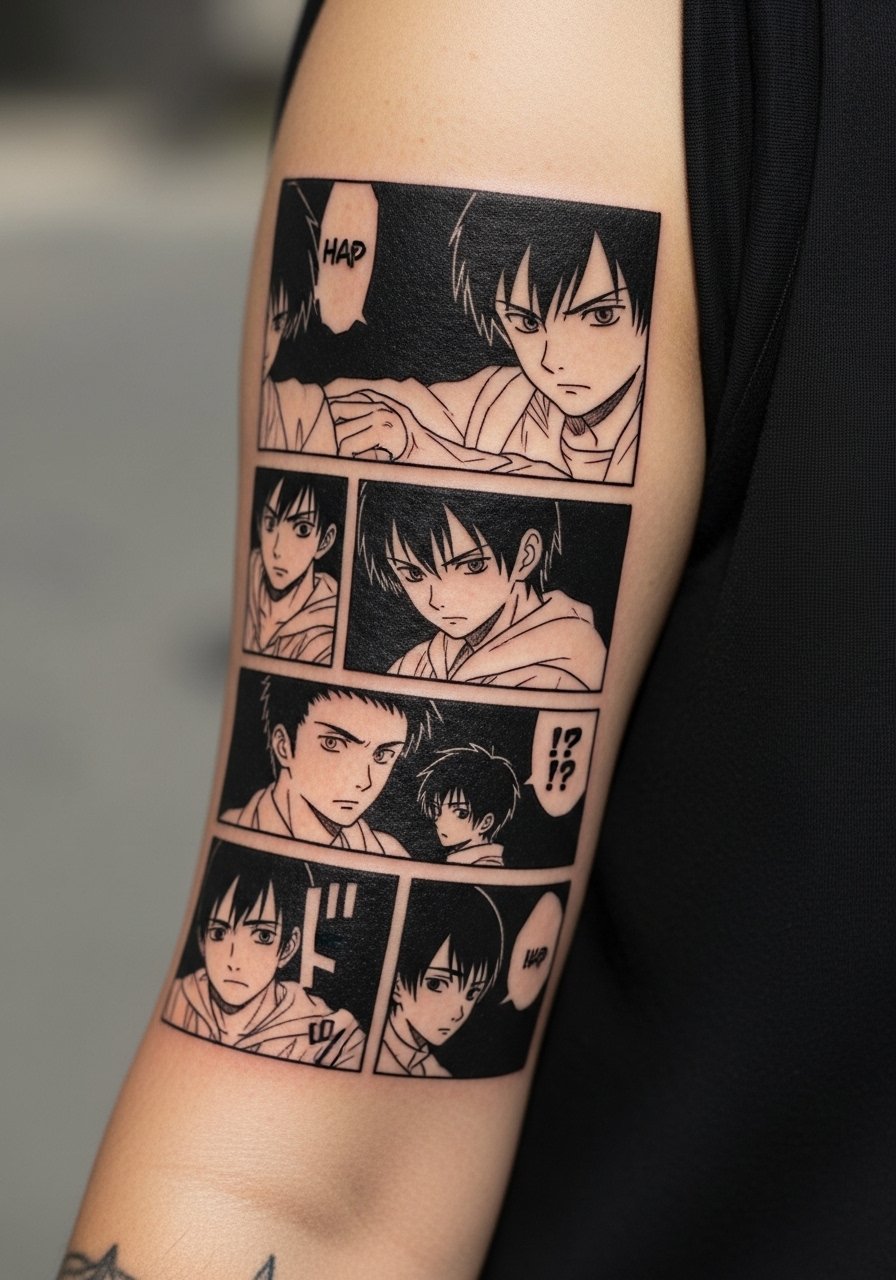
5. Manga Panel Sleeve Wrap on Outer Arm
Style/Technique: Blackwork / Graphic Paneling
Pain Level: Medium (4/10)
Session Time: Multiple sessions
Best For: Storytelling, sleeve collections
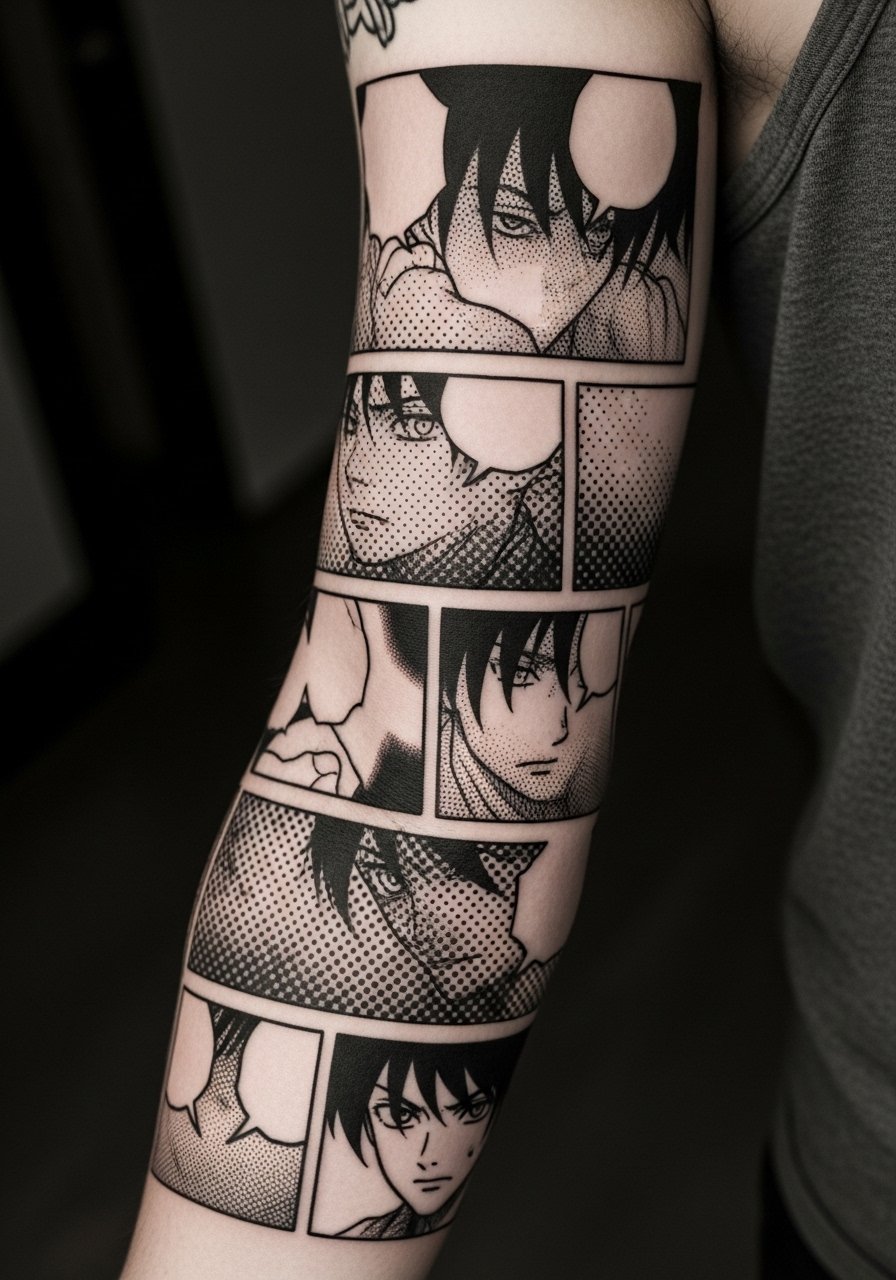
Panel sleeves mimic manga pages and look amazing when designed to flow with the arm. Blackwork and dot shading age predictably—black holds well. Expect several sessions and moderate pain. Keep in mind movement areas (elbow) can crack lines while healing, so plan breaks. A common misstep is stacking too many tiny panels—larger readable panels read better healed. Look for artists who use halftone techniques and can show healed manga-style sleeves.
6. Minimalist Kawaii Behind-Ear Chibi
Style/Technique: Minimalist / Cute Line Art
Pain Level: Low (2/10)
Session Time: Under 1 hour
Best For: Tiny, hidden fandom accents
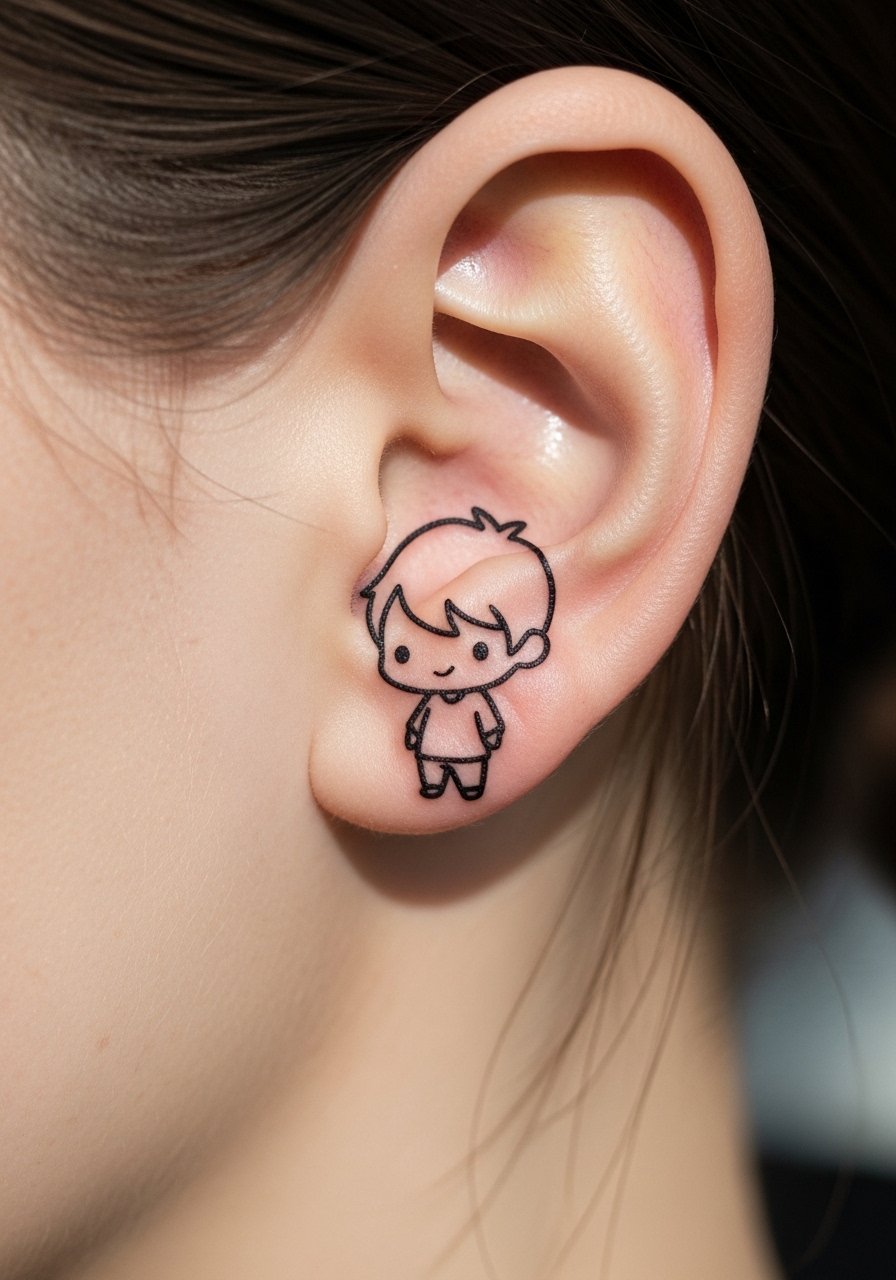
Behind the ear is subtle and adorable for chibi designs. Pain is low but placement is sensitive due to thin skin. Healed tiny lines can blur, so slightly bolder outlines are smarter than ultra-fine. I’ve seen fans regret extremely small faces that lose clarity after healing. Ask for a slightly larger scale and artist examples of healed tiny anime tattoos. Keep hair away while healing to avoid irritation.
7. Blackwork No-Face Ribcage Silhouette
Style/Technique: Blackwork / Solid Fill
Pain Level: High (7-8/10)
Session Time: 1-2 hours
Best For: Dramatic, hidden pieces
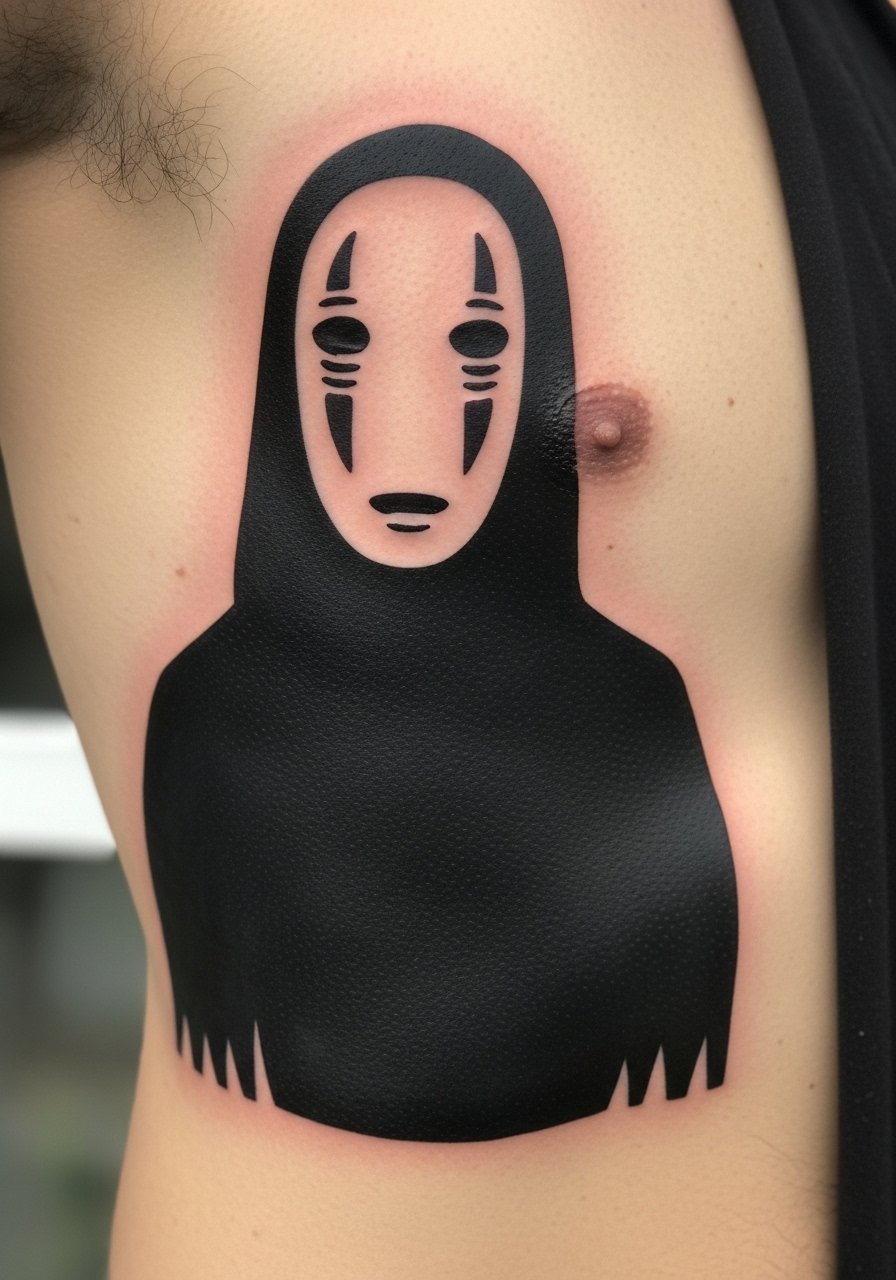
Ribcage pieces look striking and feel meaningful, but they hurt. Solid blackwork ages well and holds contrast, making iconic anime symbols pop. Expect intense session discomfort and longer surface healing. Keep movement minimal during the first week—breathing and side-sleeping can irritate the area. A common mistake is underestimating the pain and choosing a tiny, detailed piece; bold silhouette reads better over time. Ask for artists experienced in heavy black saturation.
8. Anime Eye Micro-Realism on Inner Forearm
Style/Technique: Micro-Realism / Detail Work
Pain Level: Medium (4/10)
Session Time: 2-3 hours
Best For: Symbolic, highly detailed focal point
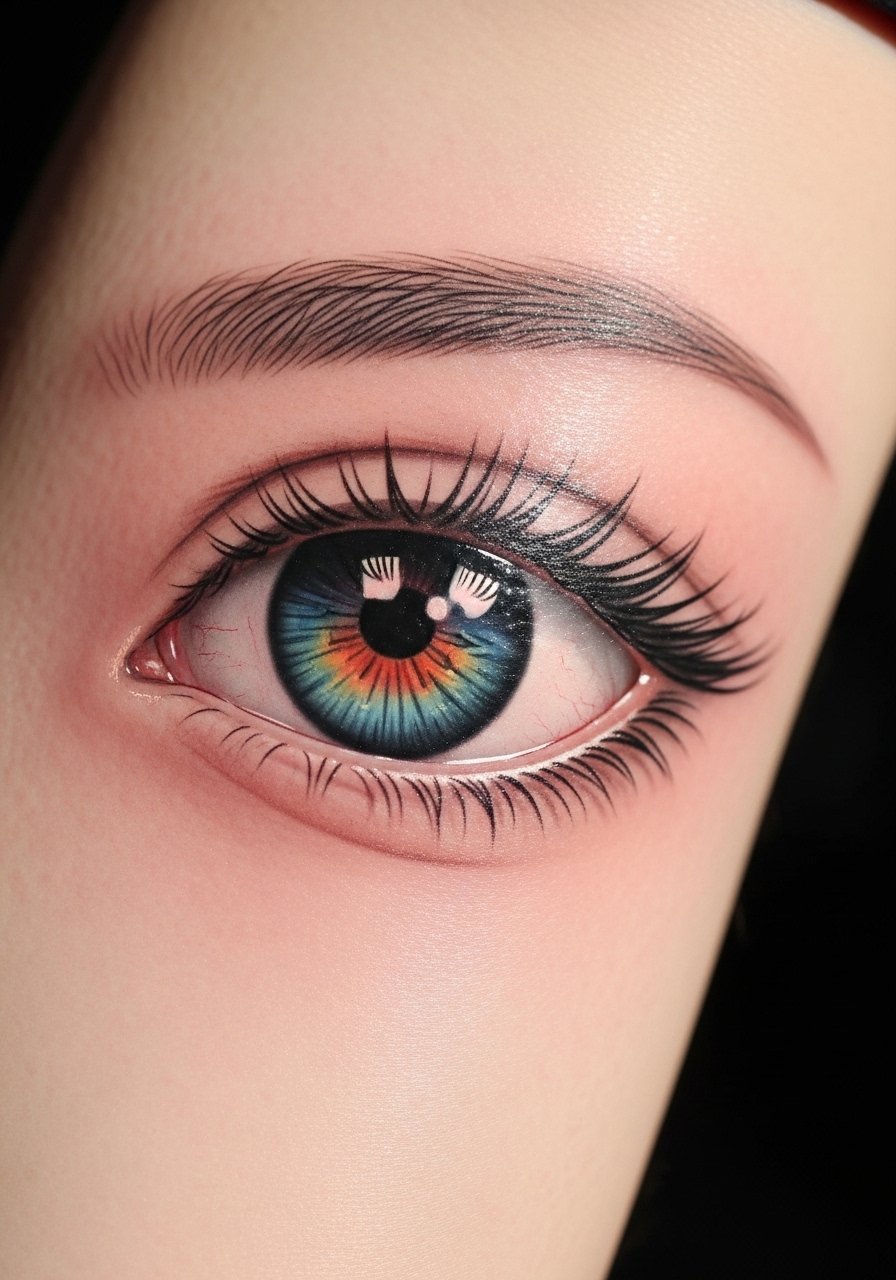
An anime eye can be an emotional centerpiece. Inner forearm gives visibility and enough space for detail. Micro shading settles softer healed, so expect some contrast loss. The risk: tiny whites/highlights can vanish—ask for slightly larger highlights and good contrast planning. Pain is moderate; healing is straightforward. Look for artists with macro photography of healed eyes in their portfolio.
9. Watercolor Sakura Petals Down Spine
Style/Technique: Watercolor / Flowing Composition
Pain Level: High (6-7/10)
Session Time: 2-4 hours (may split)
Best For: Feminine, vertical placements
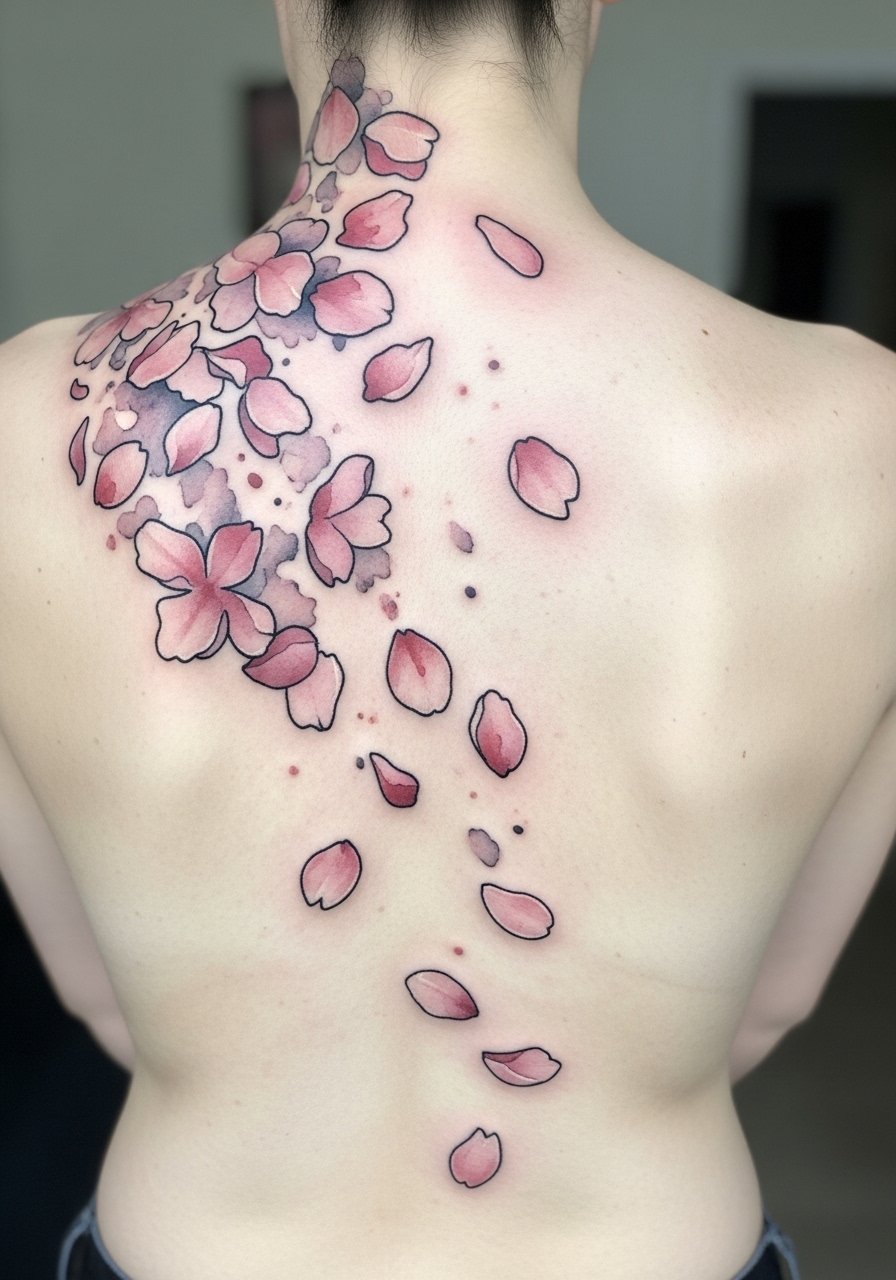
Spine work reads beautifully with vertical motifs. Watercolor sakura feels delicate and moves with the body. Spine tattoos can be painful, especially near vertebrae. Colors mellow with time, so ask your artist how they plan saturation for long-term visibility. Common mistake: too faint petals that disappear—request strategically placed darker nodes. Plan healing carefully because friction from clothing can be rough.
10. Neo-Traditional Mecha Shoulder Cap
Style/Technique: Neo-Traditional / Bold Color
Pain Level: Medium (4/10)
Session Time: 3-5 hours
Best For: Statement shoulder piece, armor-like look
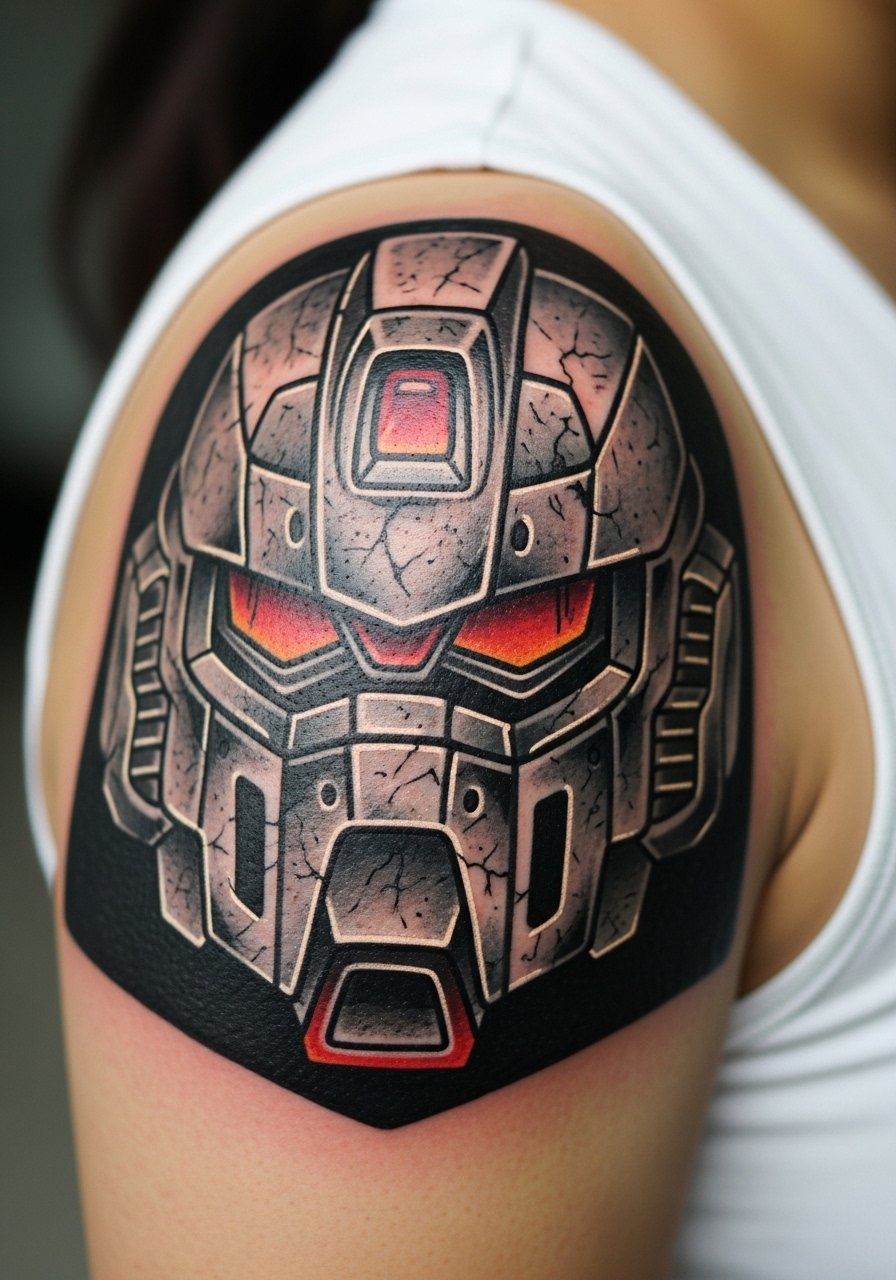
Combining anime mecha with neo-traditional weight gives a stylized, robust look that stands up to time. Shoulder placement benefits from rounded canvas and low sun exposure. Expect moderate pain and a solid session. The trick: keep mechanical detail broad—too many tiny gears can blur. Artists who mesh illustrative shading with bold outlines are ideal. Ask to see healed neo-traditional mechanical pieces.
11. Minimalist Anime Symbol on Wrist
Style/Technique: Minimalist / Iconic Linework
Pain Level: Low-Medium (3/10)
Session Time: Under 1 hour
Best For: Discreet, daily-visible tribute
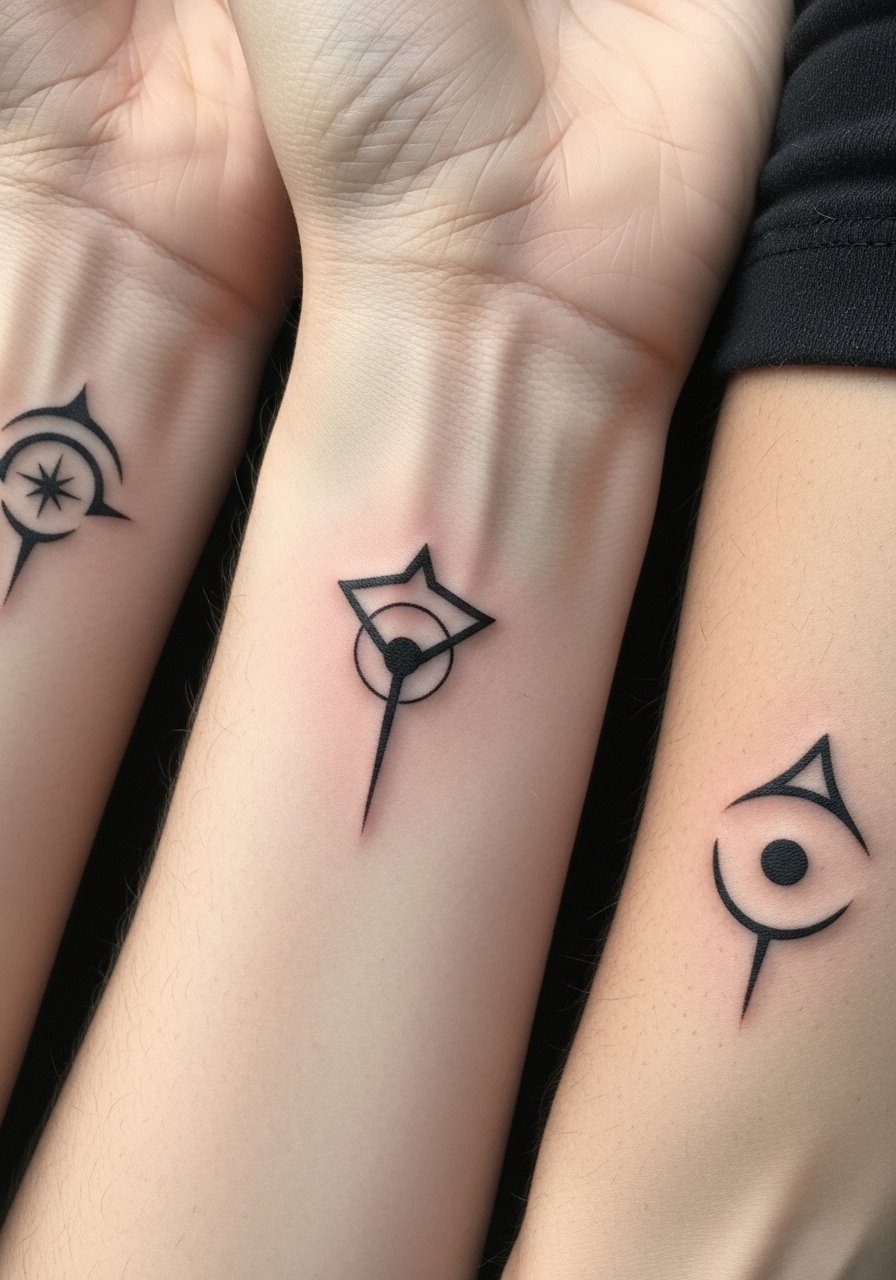
Wrist symbols are expressive and easy to show or hide with a watch. The wrist sees lots of movement, so lines should be bold enough to remain crisp. Pain is tolerable. Common mistake: choosing extremely thin detail that fills in over time. I've seen the best results when fans scale icons slightly up and ask for bold single-line interpretations. Protect with SPF long-term.
12. Full-Back Anime Action Scene Mural
Style/Technique: Full-Color / Large-Scale Composition
Pain Level: High (8/10 cumulatively)
Session Time: Multiple long sessions
Best For: Collectors, big statements
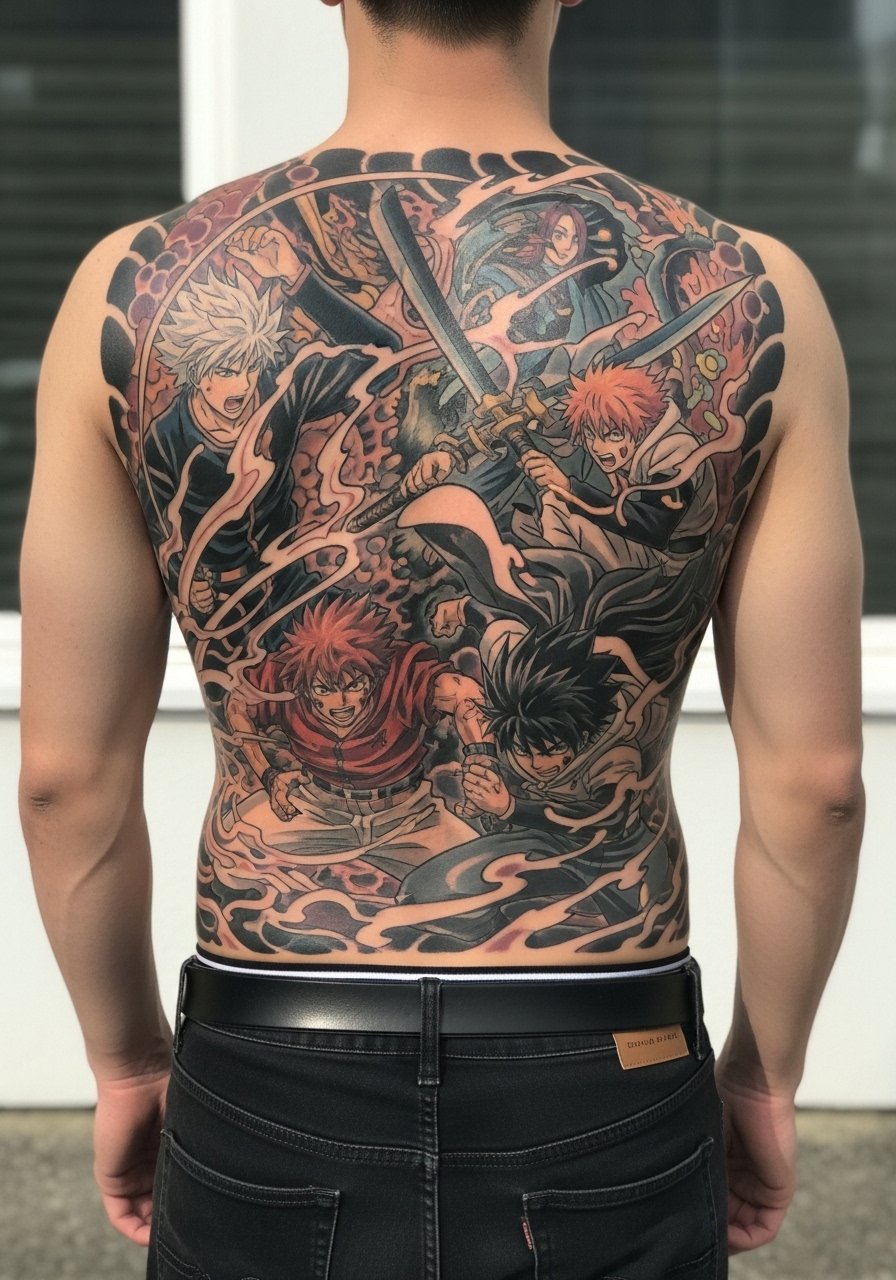
Full-back scenes allow for storytelling, depth, and movement—fans adore these for epic character moments. Expect several long sessions and intensive aftercare. Healed large-color areas look cohesive, but bright colors may soften and need occasional touch-ups. Plan negative space and contrast to avoid muddying. A common error is cramming too many characters; focus on composition and main focal points. Seek an experienced color-composition artist.
13. Dotwork Spirit Creature Sternum
Style/Technique: Dotwork / Geometric Shading
Pain Level: High (7/10)
Session Time: 2-3 hours
Best For: Centerline symmetry, mystical vibe
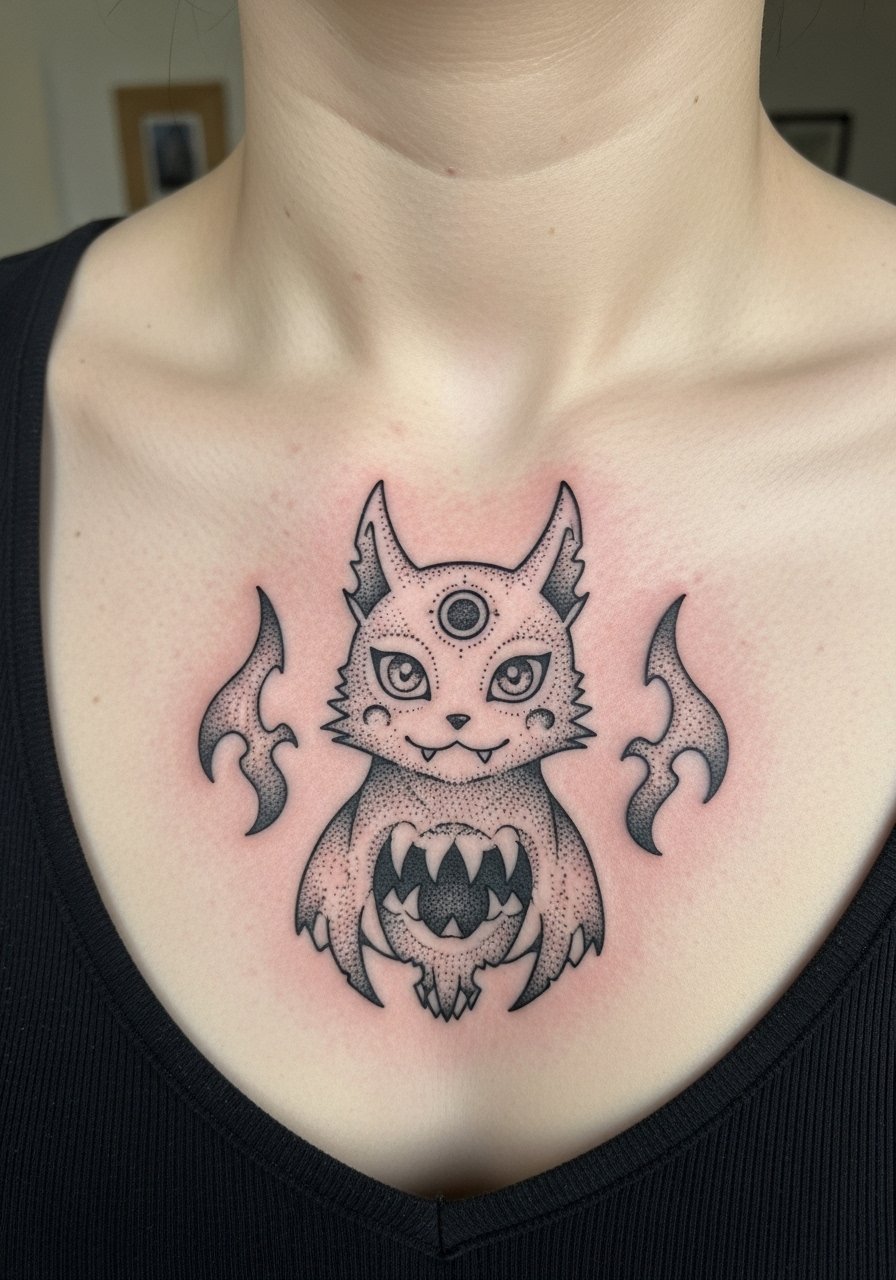
Sternum dotwork creates a meditative, textured look. It's painful because of the thin skin, but the stippled shading ages beautifully if evenly applied. Risk: inconsistent dot density can leave patchy healed areas. Artists who understand dotwork rhythm produce the best outcomes. Keep the area dry and avoid chest straps during healing.
14. Color-Splash Anime Crest on Shoulder Blade
Style/Technique: Color-Splash / Illustrative
Pain Level: Medium (4/10)
Session Time: 1-3 hours
Best For: Vibrant yet easy-to-hide tattoos
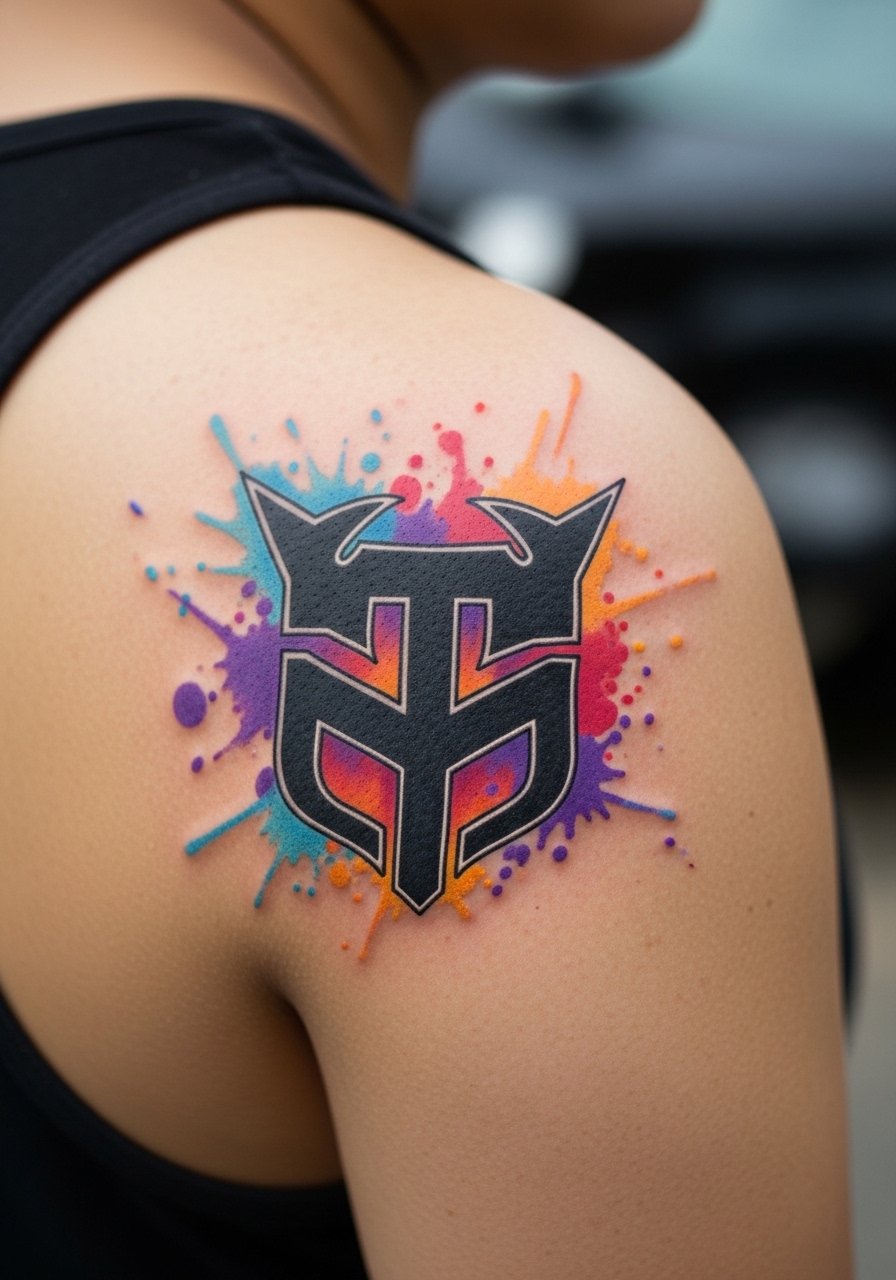
Pairing a crisp emblem with color splash gives anime imagery a modern twist. Shoulder blade placement avoids constant sun and clothes friction. Healed contrast between black emblem and watercolor backdrop looks great. Avoid watercolor floods that overwhelm the emblem—ask for defined edges where needed. Artists who mix solid ink with painterly backgrounds do this best.
15. Micro-Realism Pet in Manga Style on Thigh
Style/Technique: Micro-Realism / Manga Stylization
Pain Level: Medium (4/10)
Session Time: 2-3 hours
Best For: Personal tributes, private placements
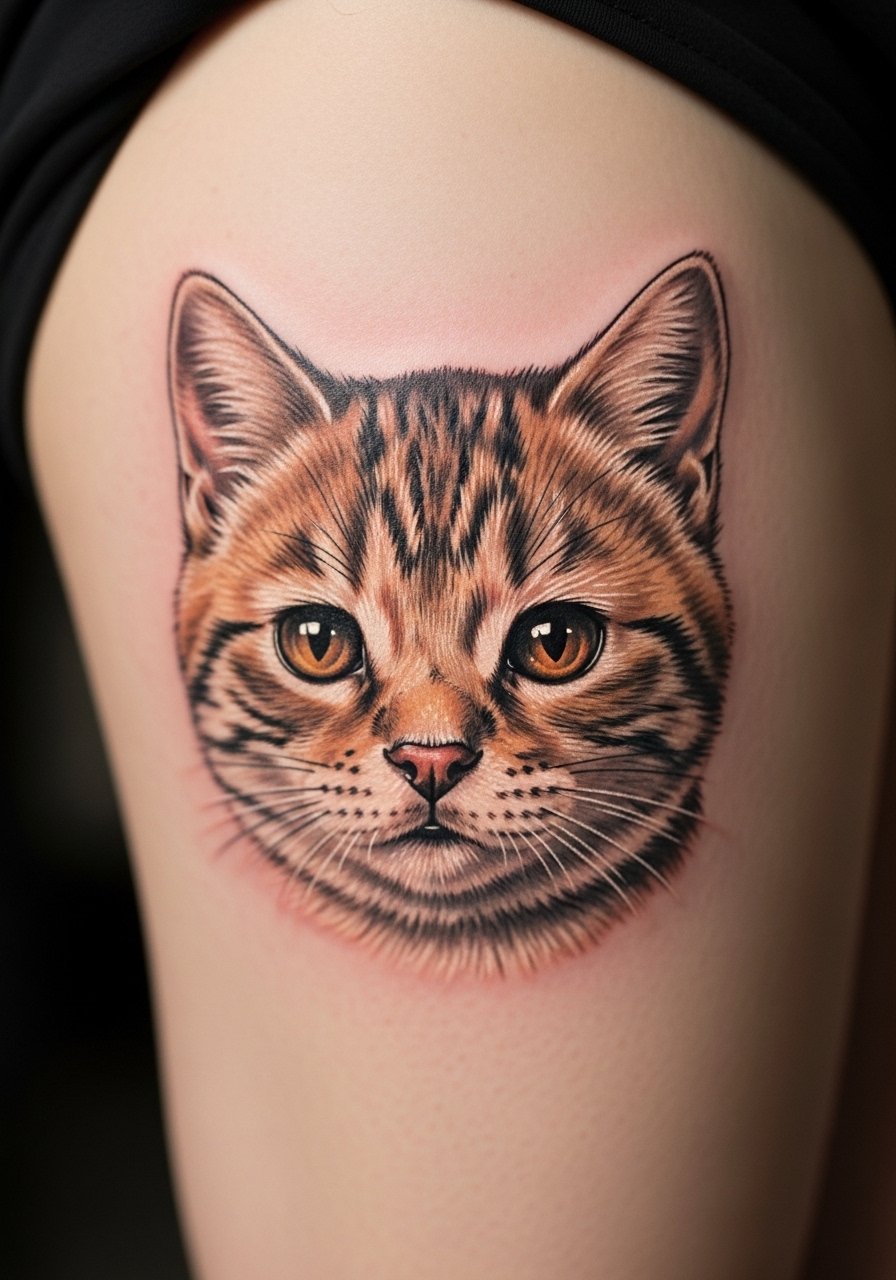
Turning a real pet into manga-style micro-realism blends sentiment and fandom. Thigh placement lets you pick size and detail with manageable pain. Healed texture softens; highlight areas can fade, so discuss saturation for fur and eyes. Artists who specialize in pet portraits and illustrative manga are gold here. Keep the area moisturized and avoid tight clothing while healing.
16. Blackwork Anime Crest on Calf
Style/Technique: Blackwork / Emblem
Pain Level: Medium (4/10)
Session Time: 1-2 hours
Best For: Sturdy, long-lasting tattoos
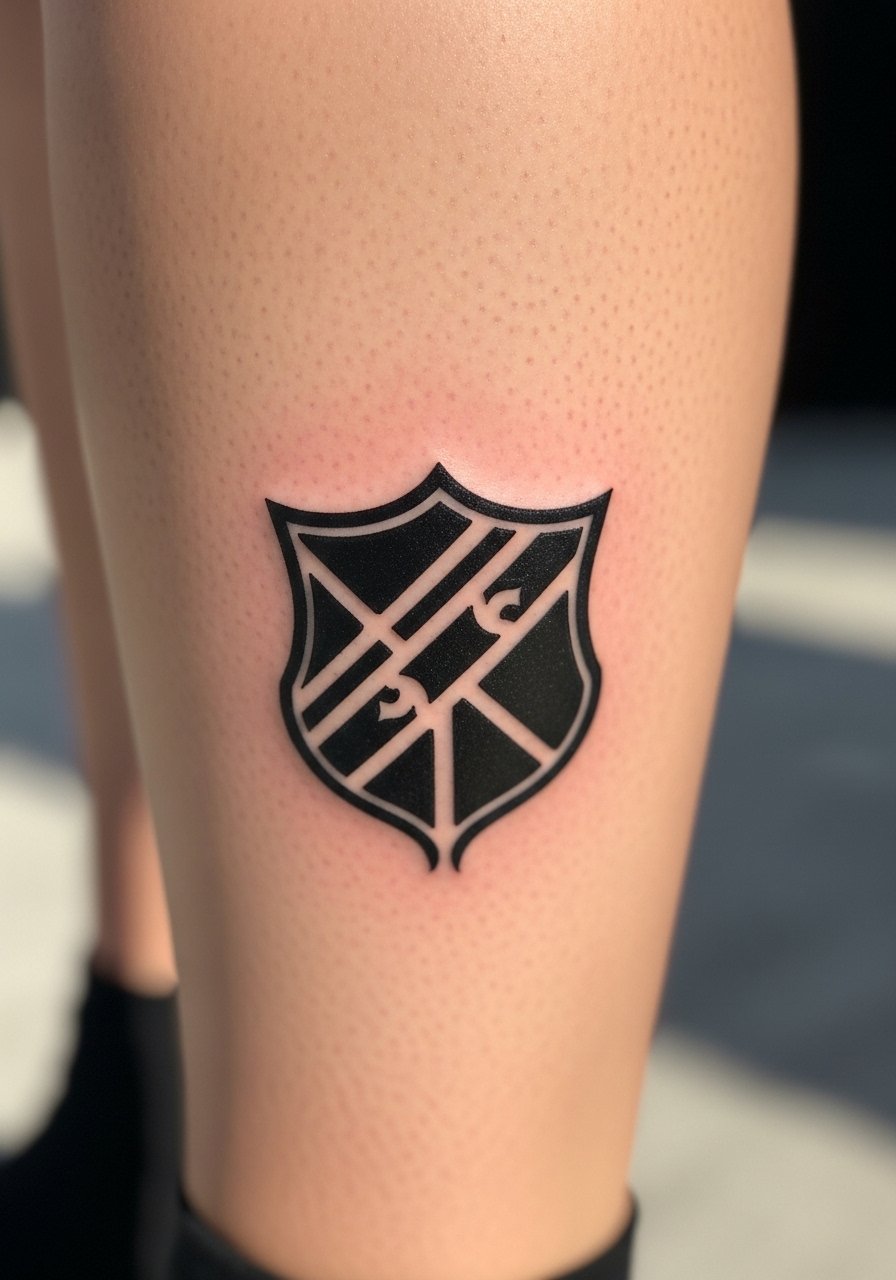
Crests and emblems translate well into blackwork—solid fills age predictably and require less maintenance. Calf placement shows well and tolerates larger black areas. Pain is moderate. Avoid tiny internal details that vanish against solid black. Ask artists for healed close-ups of heavy-black emblems to ensure even saturation.
17. Line Art Anime Dragon Down Rib Side
Style/Technique: Fine Line / Illustrative Flow
Pain Level: High (7/10)
Session Time: 2-4 hours (may split)
Best For: Elegant vertical pieces
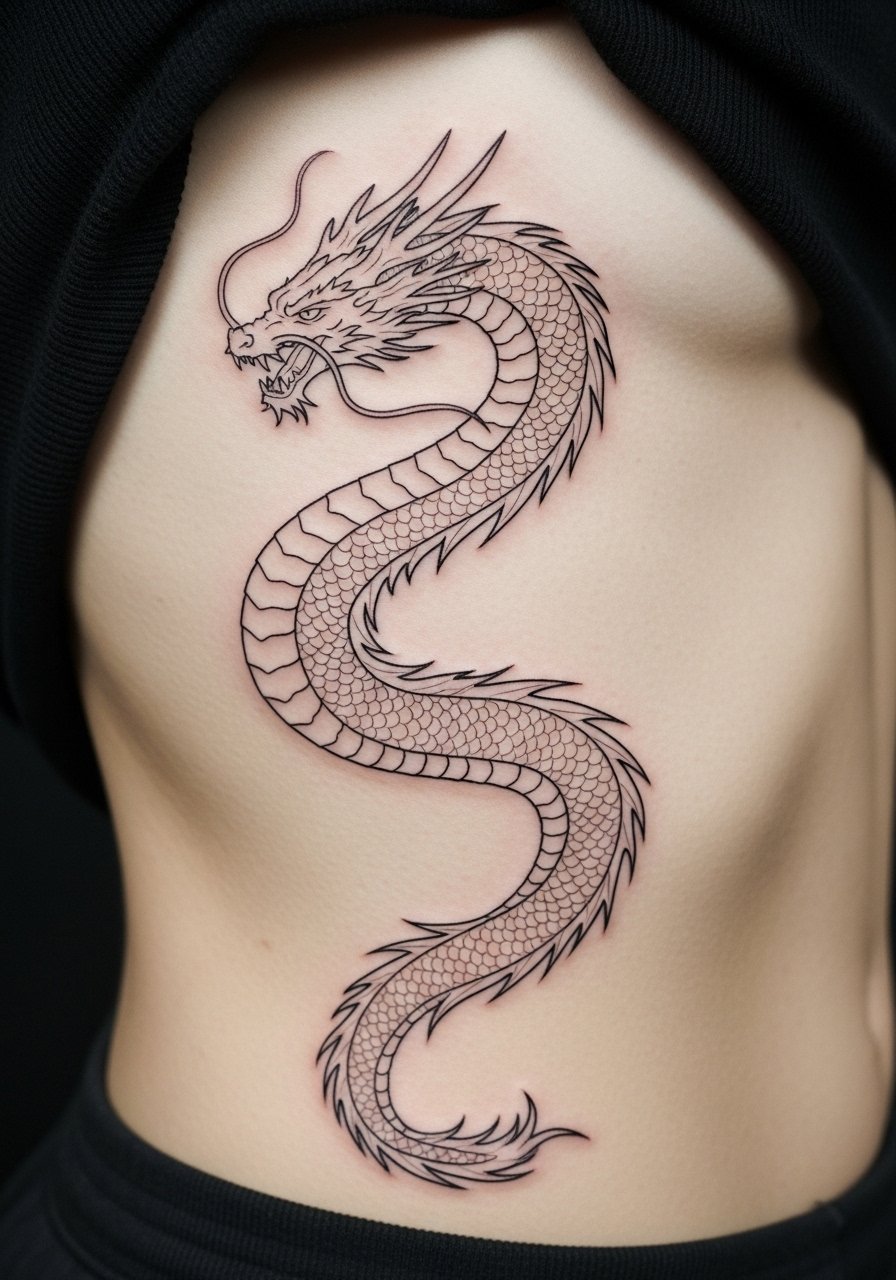
A flowing dragon matches rib contours perfectly. Rib pain is high, so short sessions or breaks help. Fine line dragons can blur—ask for slightly increased lineweight and strategic negative space to preserve form. Healing requires careful clothing choices to avoid rubbing. Seek artists proficient in long, continuous linework.
18. Retro VHS Anime Logo Upper Arm
Style/Technique: Retro / Graphic Color Blocks
Pain Level: Low-Medium (3/10)
Session Time: 1-2 hours
Best For: Nostalgic fans, bold visuals
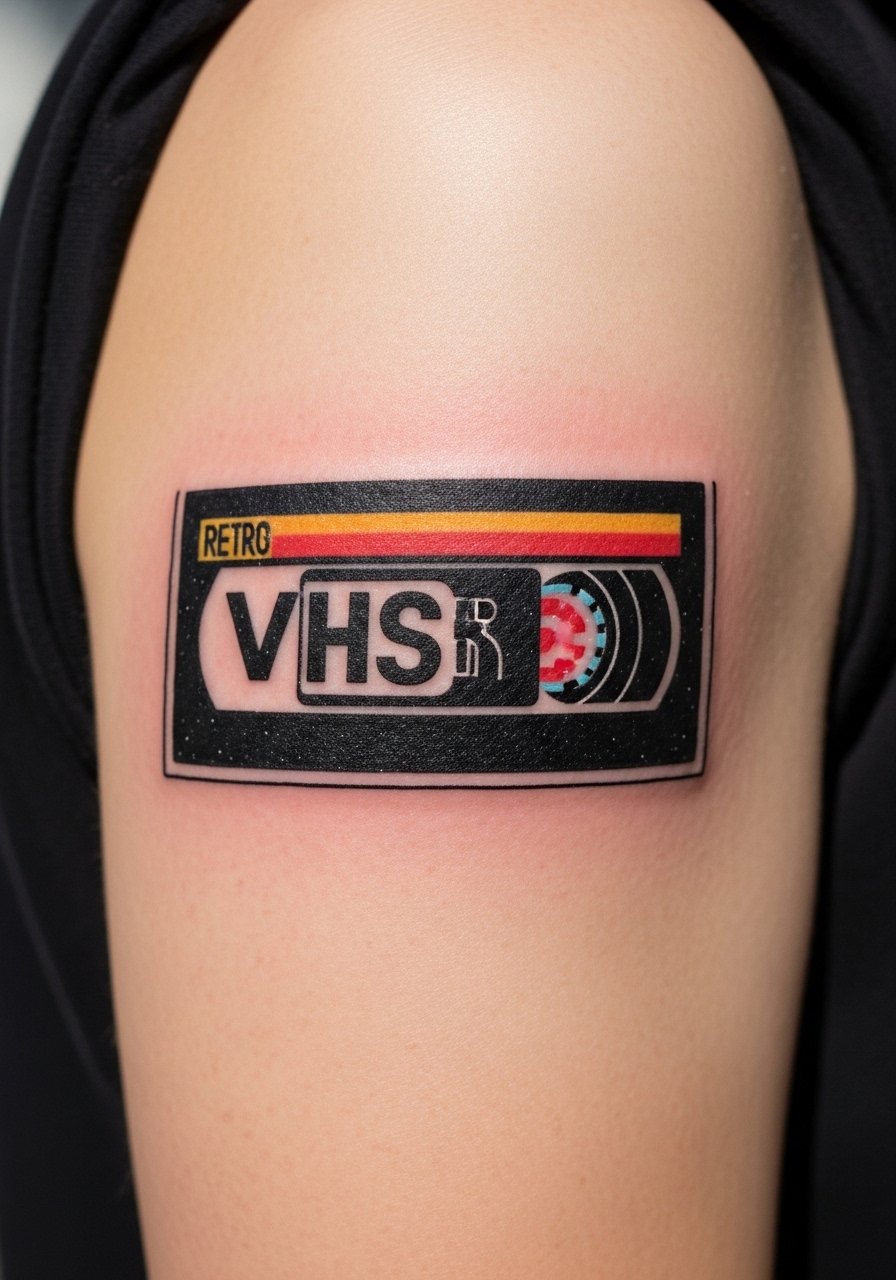
Retro VHS aesthetics bring nostalgia with graphic clarity. Upper arm placement keeps exposure low and healing straightforward. Colors may mellow slightly with time; plan for bold contrast. Common mistake: asking for super-fine grain that disappears—ask for stylized grain that reads healed. Artists who do graphic/retro work deliver crisp outcomes.
19. Negative-Space Manga Panel on Bicep
Style/Technique: Blackwork / Negative Space
Pain Level: Medium (4/10)
Session Time: 1-3 hours
Best For: Bold, high-contrast statements
Negative-space manga panels pop and age well because they rely on contrast. Biceps are comfortable spots with low movement during healing. Plan large black areas carefully—uneven saturation shows. Avoid overly intricate negative shapes that can blend. Artists who master high-contrast compositions offer the best results.
20. Tiny Sailor Moon Crescent on Finger
Style/Technique: Minimalist / Micro Icon
Pain Level: High (5-6/10) due to finger placement
Session Time: Under 1 hour
Best For: Super subtle, symbolic tattoos
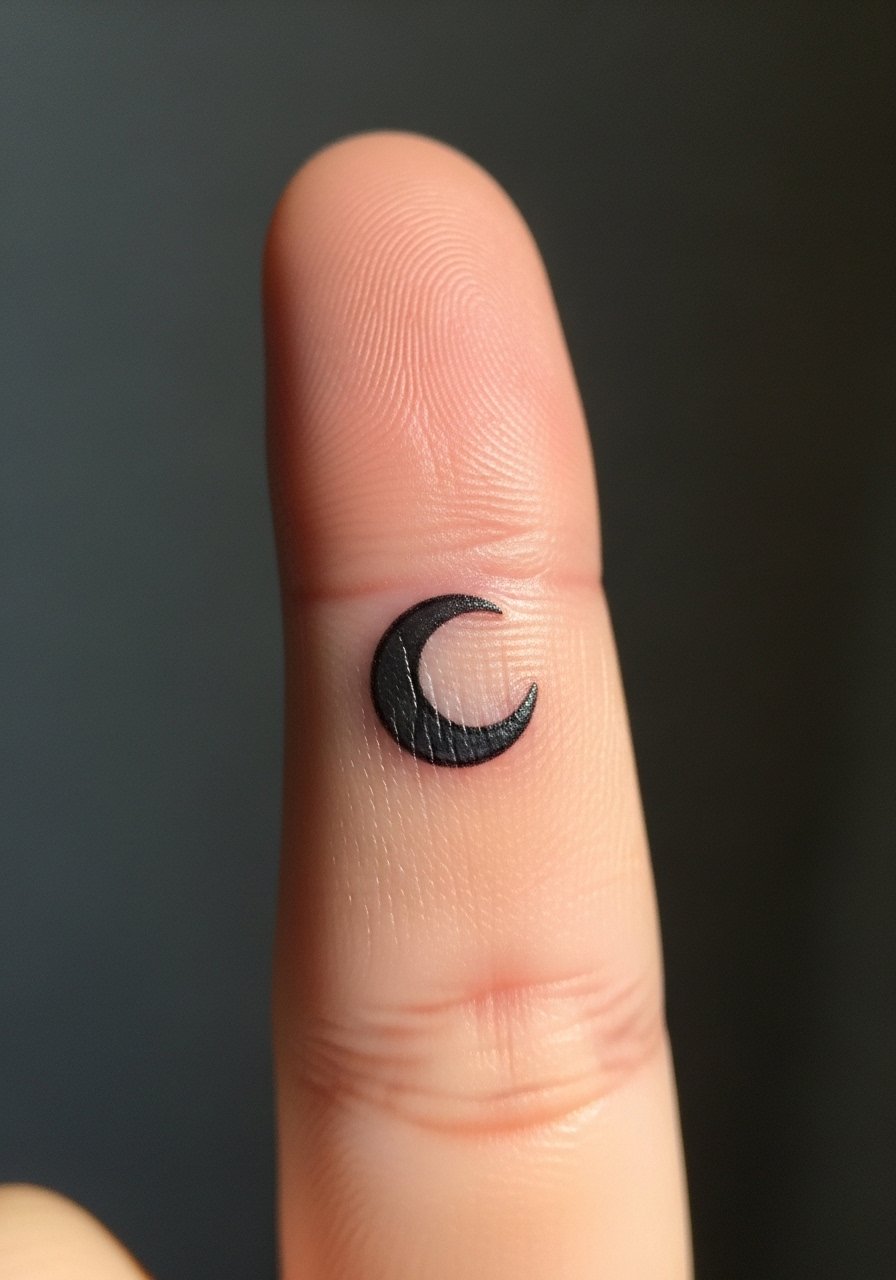
Fingers are fun but notorious for fading and blurring because of constant use and skin turnover. A crescent moon finger tattoo looks lovely at first; expect more frequent touch-ups. If you want lasting clarity, consider moving to the wrist or behind the ear. I’ve seen best outcomes when artists use slightly bolder lines for finger micro-icons.
21. Monochrome Killua Silhouette on Chest
Style/Technique: Black & Gray / Silhouette
Pain Level: Medium (5/10)
Session Time: 1-2 hours
Best For: Emotional, chest-centered pieces
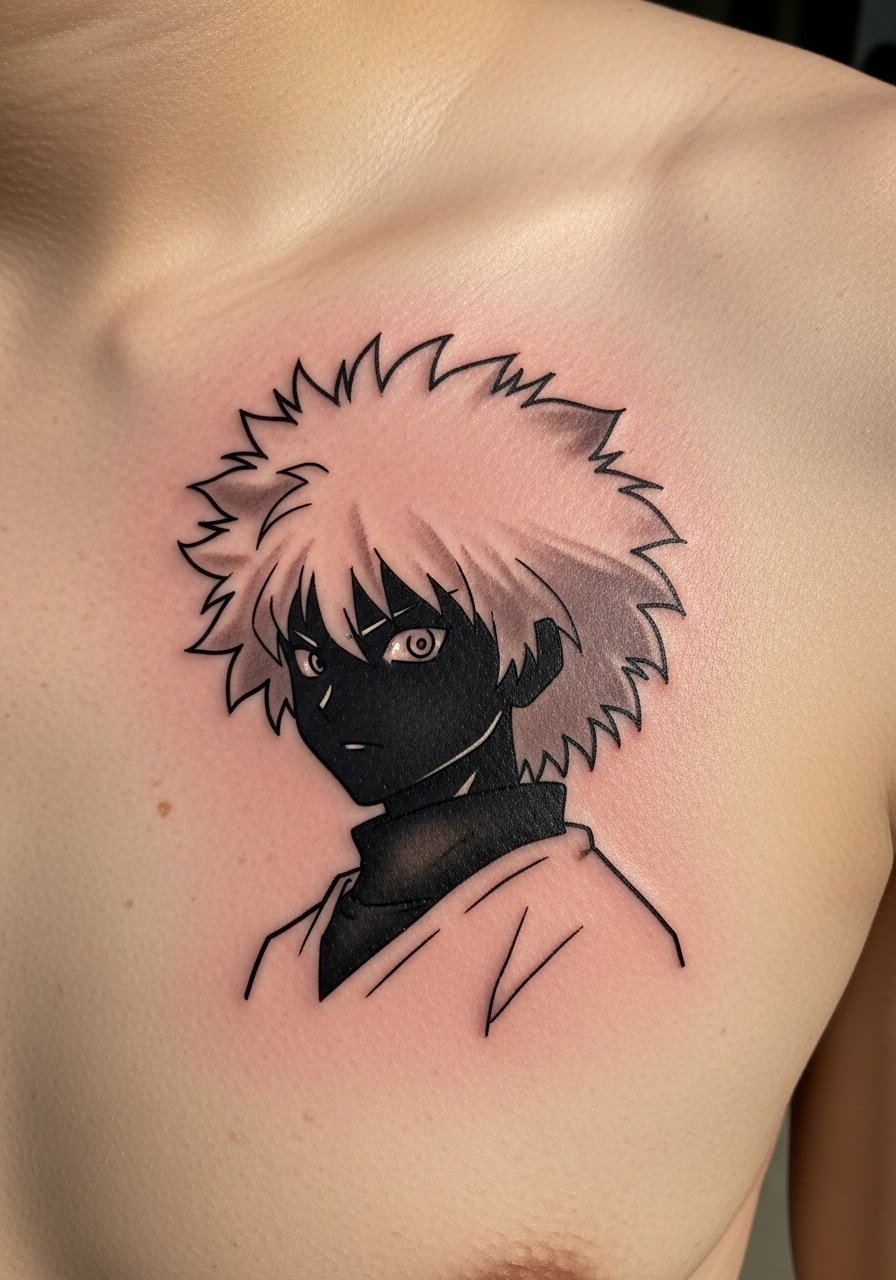
Chest placements convey closeness and meaning. Monochrome silhouettes age gracefully and keep focus on form over fine detail. Chest movement from breathing can affect healing—plan for slower aftercare. A common error is cramming too much detail into a silhouette; keep it clean and let the negative space speak. Artists who balance soft shading with bold contours are great picks.
22. Anime Koi With Linework Twist on Calf
Style/Technique: Illustrative / Linework & Color
Pain Level: Medium (4/10)
Session Time: 2-3 hours
Best For: Traditional meets anime motifs
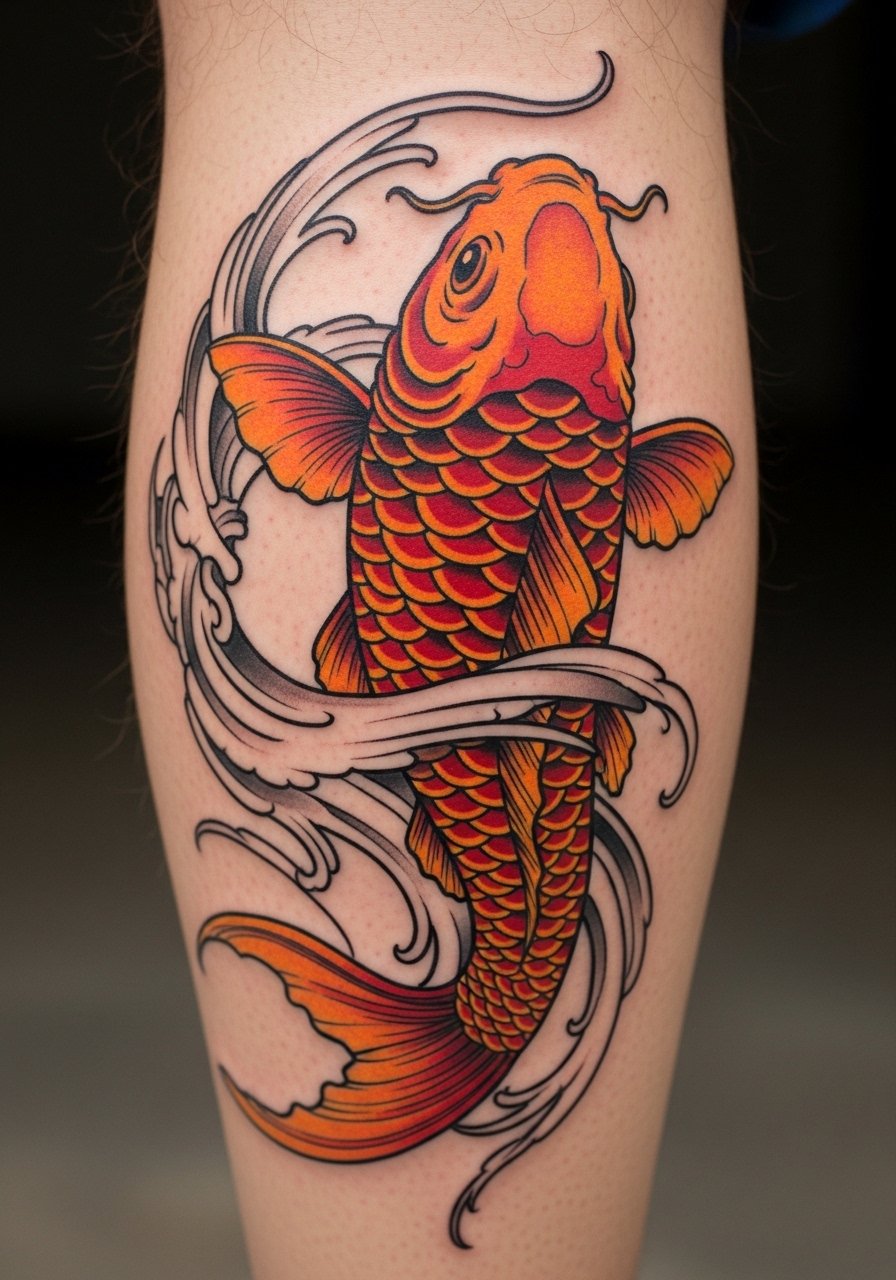
Koi are timeless and adapt well to anime stylization. Calf placement protects color and keeps lines crisp. Colors hold up unless regularly sun-exposed. Avoid tiny scale details that soften; ask for scale suggestion rather than full micro-detailing. Artists who blend Japanese traditional with anime illustration excel here.
23. Small Ghibli Forest Thigh Patch
Style/Technique: Illustrative / Storybook Color
Pain Level: Medium (4/10)
Session Time: 1-2 hours
Best For: Fans of nature, narrative snapshots

Tiny forest patches capture atmosphere without a full scene. Thigh flesh keeps colors vibrant and healing is forgiving. Healed colors may soften slightly; artists should plan mid-tones carefully. A mistake is over-complicating a small area—focus on a single mood and strong focal point. Look for artists who can create depth with minimal elements.
24. Geometric Anime Crest Sternum Accent
Style/Technique: Geometric / Blackwork
Pain Level: High (7/10)
Session Time: 1-2 hours
Best For: Symmetry lovers, centerline tattoos
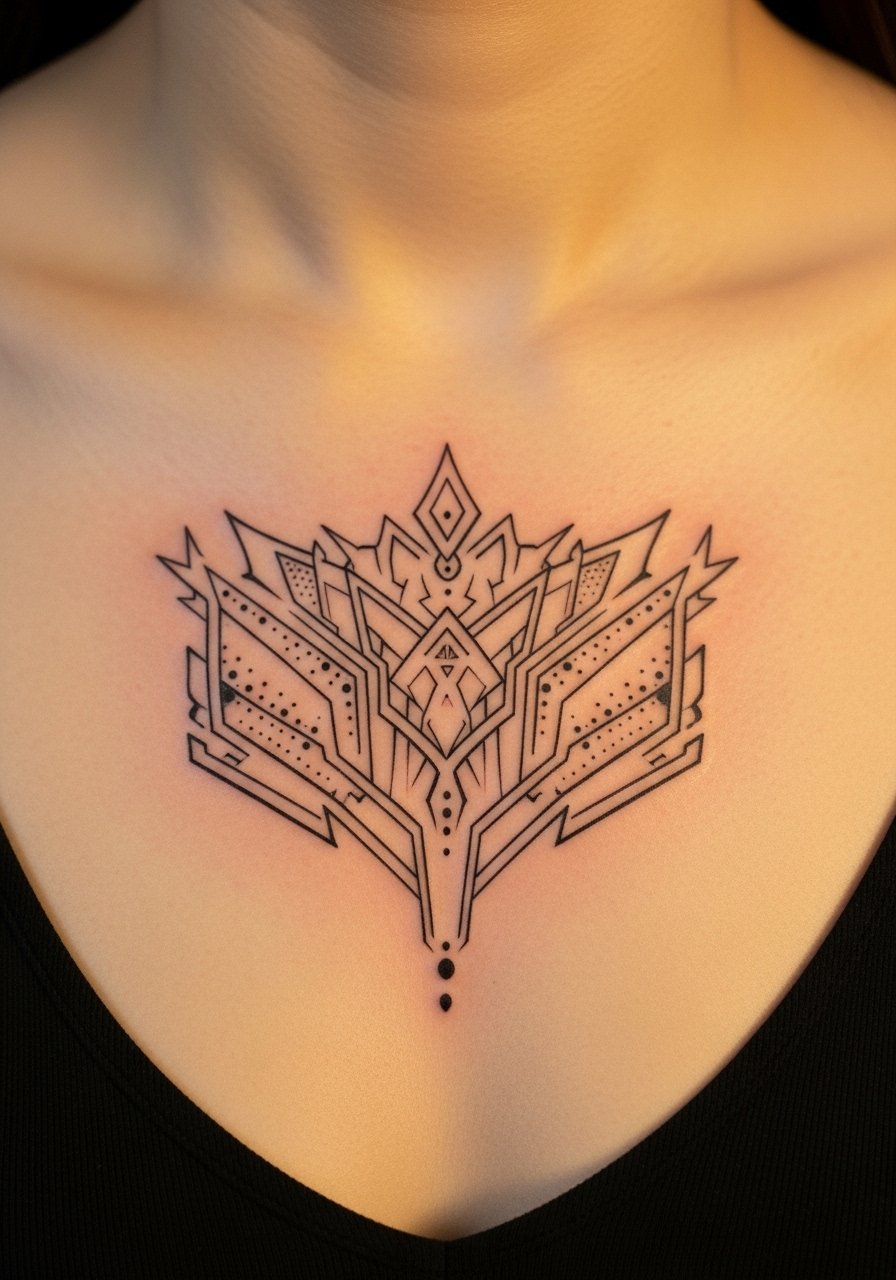
Geometric crests on the sternum are visually striking but painful. Precision matters—tiny asymmetry is obvious, so choose an artist who photographs healed symmetric work. Dotwork accents add texture. Expect tender healing; avoid chest straps and heavy exertion early on. Ask to see healed symmetry examples from the artist.
25. Anime Pet Chibi Ankle Tattoo
Style/Technique: Chibi / Cute Color
Pain Level: Medium (4/10)
Session Time: Under 1.5 hours
Best For: Playful, portable tributes
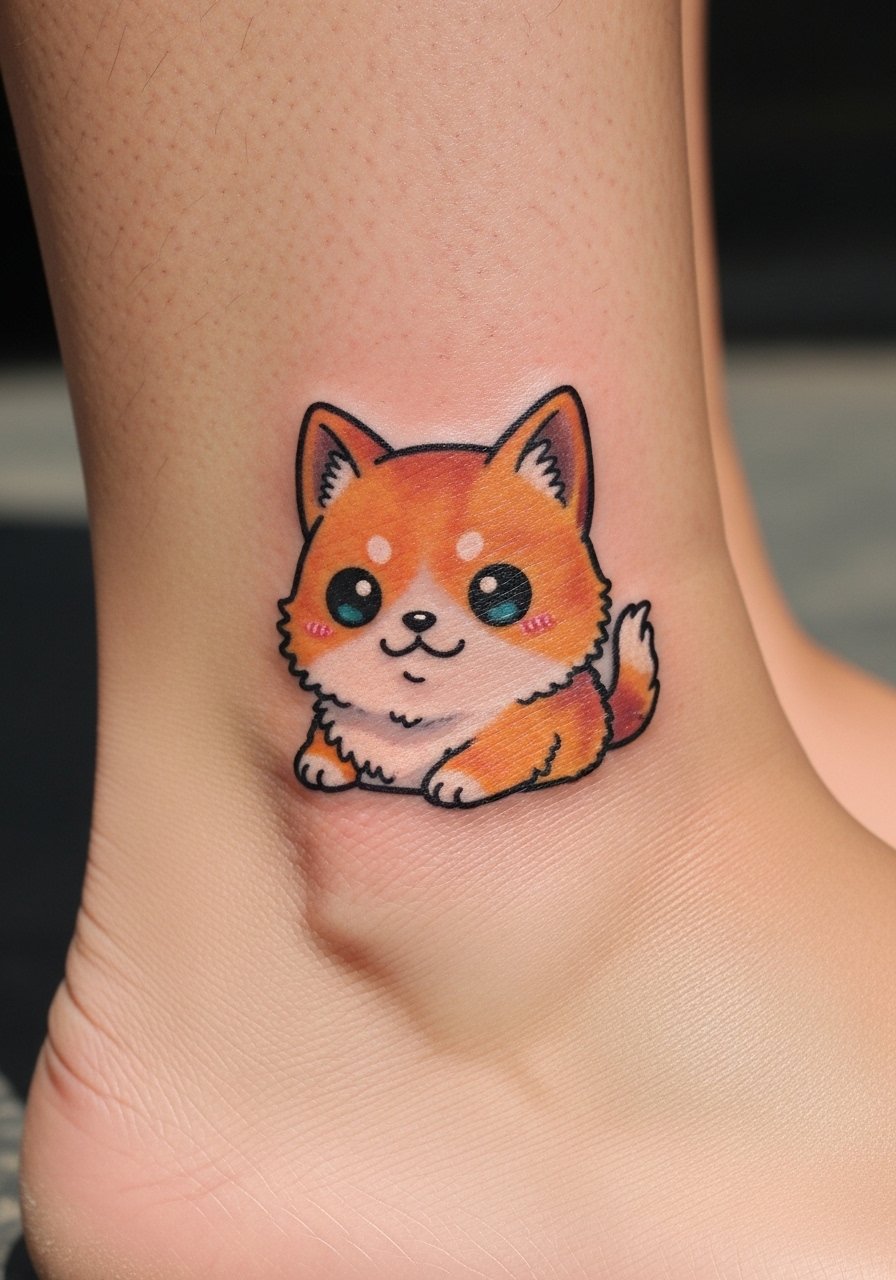
Ankle chibis are adorable and easy to conceal with socks or shoes. The ankle sees shoe friction; plan boots and socks carefully during healing. Colors may dull where rubbing happens—place slightly higher if you wear boots often. Artists who work well at small color pieces can make chibis read nicely healed.
26. Anime Quote Ribbon on Ribcage
Style/Technique: Script / Illustrative Ribbon
Pain Level: High (7/10)
Session Time: 1-2 hours
Best For: Sentimental quotes, hidden messages
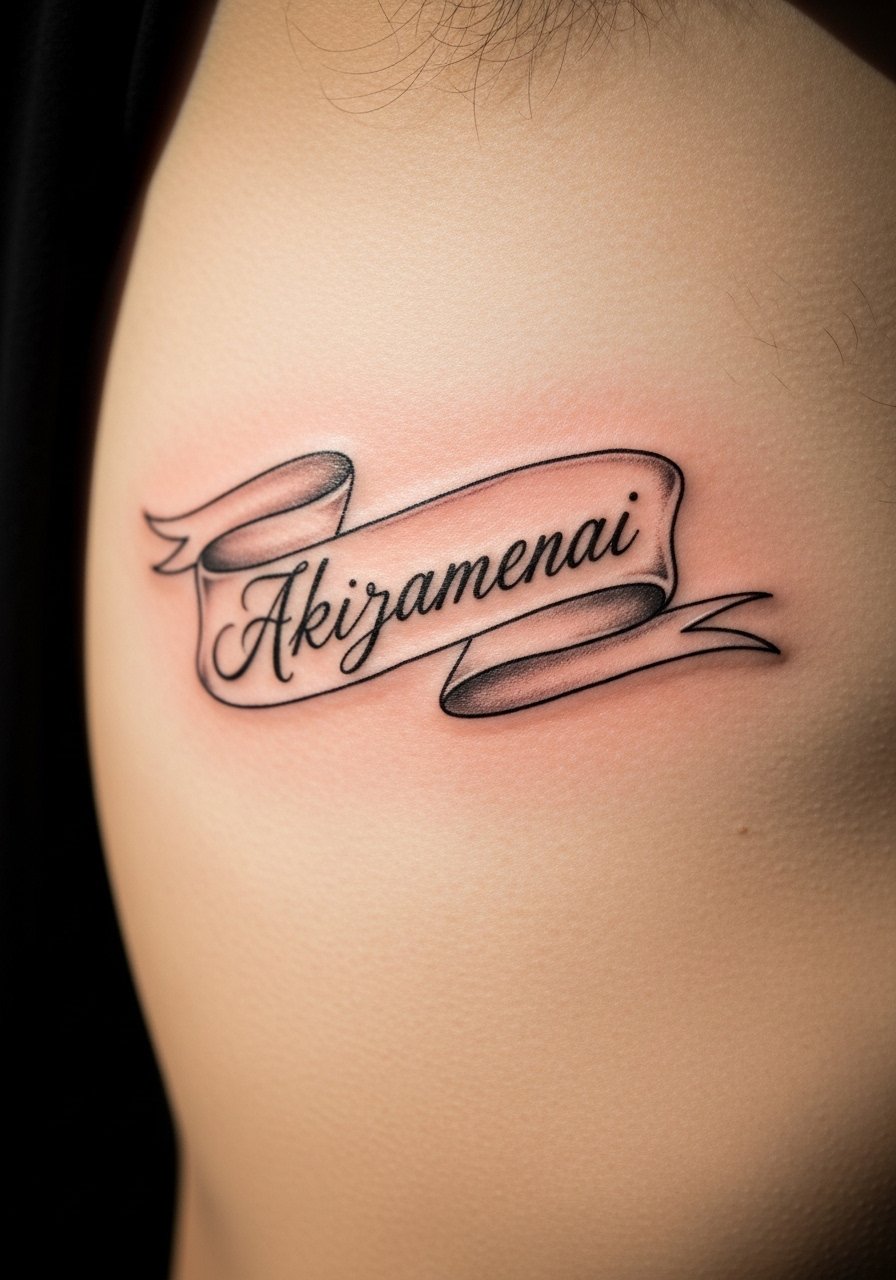
Script tattoos on the ribs look intimate but hurt. Choose clear, readable fonts and ask to see healed script samples—tiny script can blur. Keep the quote length short for readability. Plan for longer healing and avoid stretching the area. Artists who specialize in clean script and illustrative ribbons give the best long-term clarity.
27. Pixel-Art Chibi Ankle Band
Style/Technique: Pixel Art / Minimal Color Blocks
Pain Level: Medium (4/10)
Session Time: Under 1.5 hours
Best For: Retro gamers, subtle fandom bands
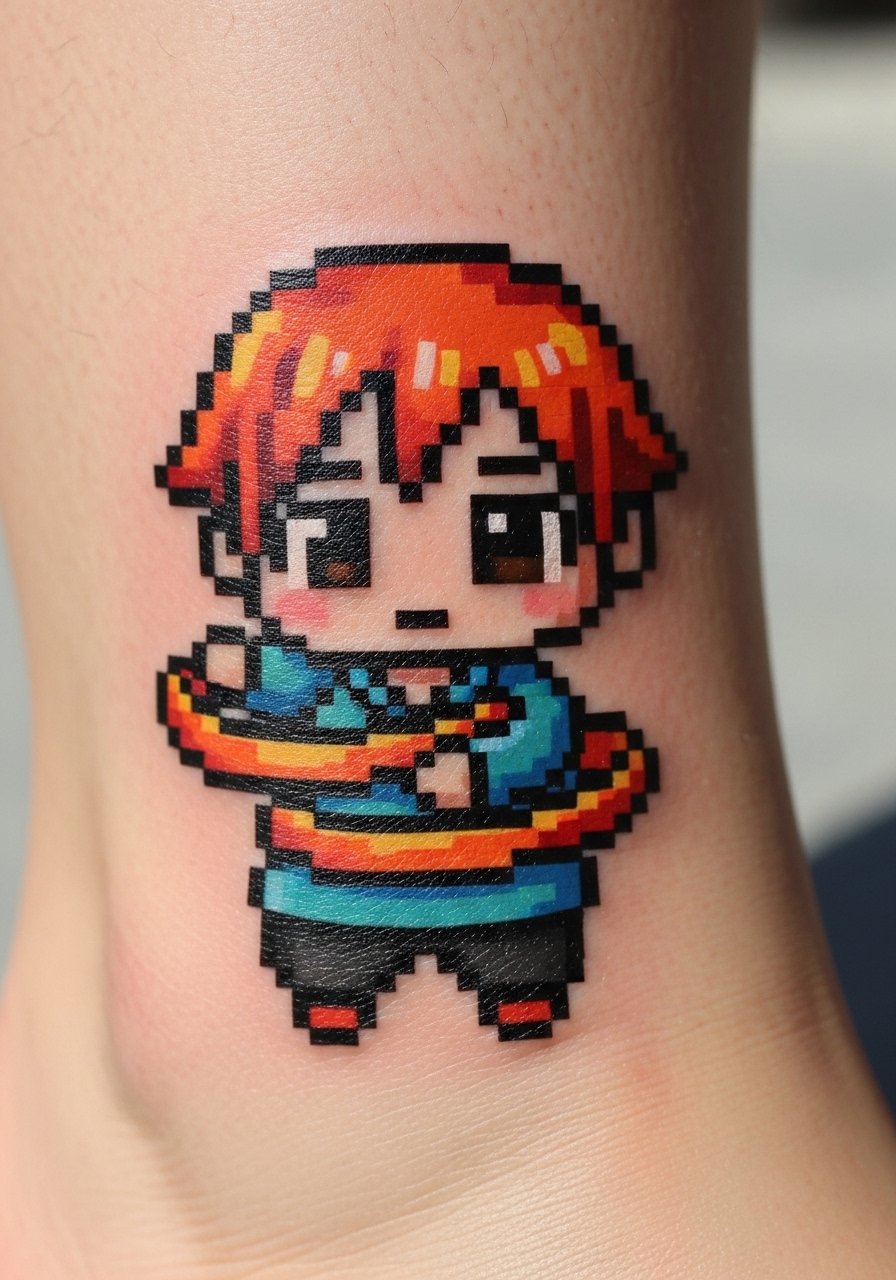
Pixel-art chibis are charming and age well when pixels are kept slightly larger. An ankle band reads like jewelry and is easy to hide. Tiny pixels can blur, so plan for slightly larger blocks and bold outlines. Artists who do retro pixel pieces and can show healed work are ideal. Keep the area dry and avoid shoe abrasion while healing.
Tattoo Prep and Aftercare Essentials
Aftercare Essentials:
- Aquaphor Healing Ointment, 14oz tube — Industry standard for first 3–5 days
- Saniderm Transparent Adhesive Bandage, 6-inch roll — Second-skin method for initial protection
- CeraVe Fragrance-Free Moisturizing Lotion, 12oz — Daily moisturizer for weeks 2–6
- Dr. Bronner's Unscented Castile Soap, 16oz — Gentle cleanser for daily washing
Before Your Appointment:
- Tattoo Numbing Cream 5% Lidocaine — Use only if your artist approves, 30–45 min before session
- Disposable Razor Pack for Pre-Tattoo Shaving — Only shave if instructed by your artist
Long-Term Maintenance:
- SPF 50 Sunscreen Stick for Tattoos — Daily sun protection to prevent fading
- Mad Rabbit Tattoo Balm, 1.7oz — Healed-skin maintenance for vibrancy
- Hustle Butter Deluxe, 2oz — Vegan-friendly long-term care
Optional Comfort Items:
- Tattoo Numbing Spray — For touch-ups or sensitive areas (ask first)
- Hydrocolloid Bandages Large Pack — Good for small scabs or pressure points
From what I've seen, artists commonly recommend Saniderm or a thin layer of Aquaphor for the first few days, then switching to a fragrance-free lotion like CeraVe. Sunscreen is non-negotiable for long-term color retention. If you're testing numbing, run it by your artist first.
Frequently Asked Questions
Q: How bad does a tattoo actually hurt?
A: Pain is placement-dependent. Forearm/upper arm tends to be a 2–4/10—more annoying than punishing. Ribs, sternum, and spine often hit 7–8/10. Fingers and ankles vary because of thin skin and bone. If you’re nervous, consider a less sensitive placement first and ask about a 5% lidocaine numbing cream.
Q: How long does a tattoo take to heal?
A: Surface healing happens in 2–3 weeks; deeper layers settle over 2–3 months. The first week is most important—cleaning, light moisture, and avoiding sun and heavy sweating. Use Saniderm or a thin layer of Aquaphor initially, then switch to a fragrance-free lotion.
Q: Will colors fade fast?
A: From what I've gathered, UV exposure and poor aftercare are the main culprits. Black and dark colors last longest; bright yellows and pastels fade faster. Daily use of an SPF 50 sunscreen stick after healing keeps colors vibrant.
Q: Can I work out after a tattoo?
A: Wait at least 48–72 hours for low-sweat activity, longer for high-sweat. If your tattoo is on a flex area (elbow, knee), give it a week or more. Sweating can introduce bacteria and cause scabbing that pulls ink out.
Q: I regret my tattoo—what now?
A: Sit with it for a few months before deciding. If it’s about placement or visibility, cover-up options exist but depend on the tattoo’s color and size. For peace of mind, start with smaller, less-visible placements if you’re unsure.
Q: Do tattoos look different on darker skin tones?
A: Yes. Blacks and deep grays show consistently across tones. Bright colors may appear more muted on deeper skin, and white ink often reads differently. I always recommend looking at healed work on the artist’s portfolio that matches your skin tone.
Q: How do I avoid blurred fine-line anime tattoos?
A: Pick an artist who shares healed fine-line examples—healed photos are the best indicator. Ask for slightly bolder lineweight than what looks perfect fresh. Keep the tattoo protected from sun and moisturized, especially in the first months.
Q: What aftercare items should I buy before my appointment?
A: At minimum, grab a tube of Aquaphor Healing Ointment, a roll of Saniderm if your artist uses it, a gentle soap like Dr. Bronner's Unscented Castile Soap, and a fragrance-free lotion such as CeraVe.
