
Turning an idea into a tattoo doesn’t have to feel overwhelming. Whether you’re planning your first tiny symbol or sketching a custom piece, the journey from concept → design → stencil follows the same creative backbone. With a few beginner-friendly techniques—and a little help from modern AI tools—you can shape your inspiration into a clean, simple tattoo that actually works on skin.
Start With Rough Thumbnails (Your Tattoo’s Blueprint)
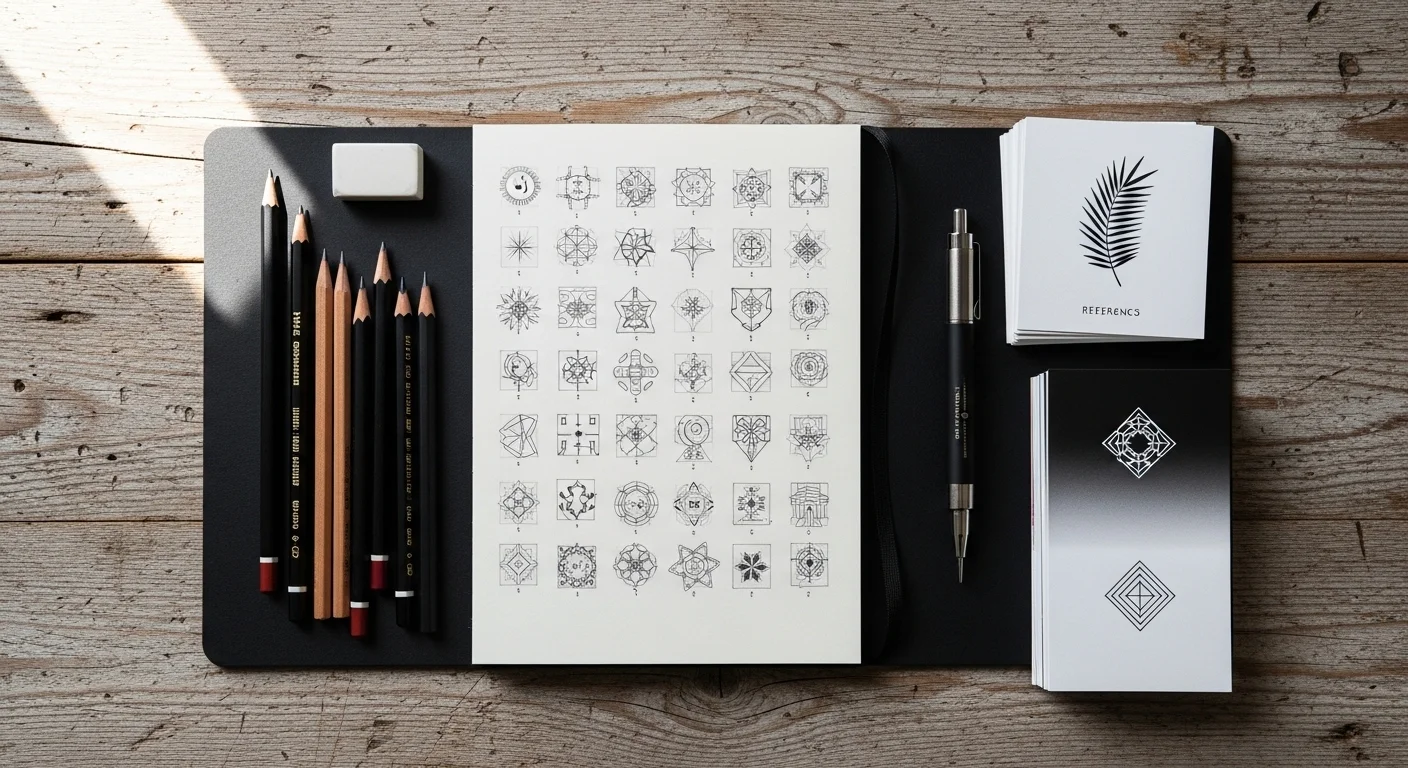
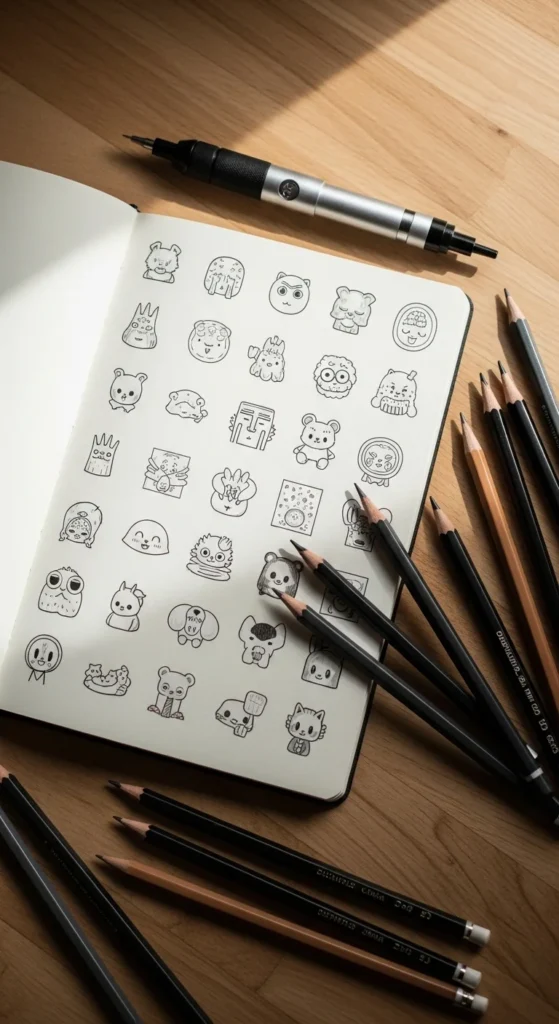
Every great tattoo begins with something small: quick, messy thumbnails. These 10–15 tiny sketches help you explore shapes, layouts, and balance before committing to any details.
Why thumbnails matter:
- They stop you from overthinking early.
- They help you test multiple compositions fast.
- They show you which ideas “flow” and which look stiff.
Some artists even call this the “Thumbnail Hack” phase—your chance to experiment without pressure.
Tips for better thumbnail sketches:
- Work tiny: 1–2 inch boxes only.
- Limit each to 10–20 seconds.
- Focus on shapes, not detail.
- Try a horizontal, vertical, and diagonal version of the same idea.

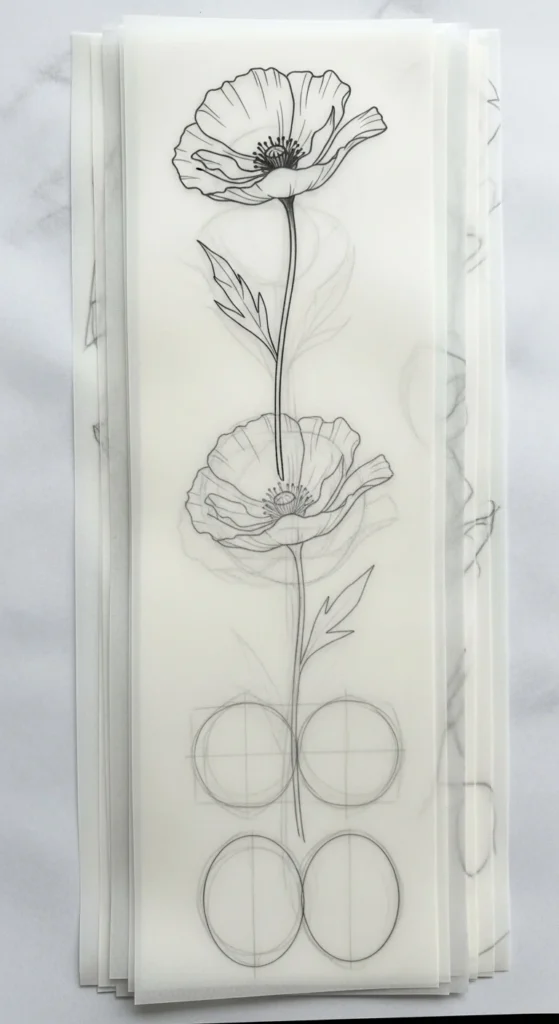
Build Your Design Using the 4-Layer Sketch Method
Once a thumbnail clicks, it’s time to refine. Beginner artists swear by the 4-Layer Sketch Method—a simple, structured way to evolve your drawing from rough idea to tattoo-ready outline.
The four layers:
- Basic Shapes
Circles, triangles, boxes—just structure. - Detailed Sketch
Add petals to flowers, facets to crystals, or curves to waves. - Clean Outline
Use smooth, confident lines. This is your tattoo linework. - Stencil Layer
Remove shading. Keep only essential shape and flow lines.
This layered process works on both paper and digital apps like
Procreate or
Adobe Illustrator Draw.
It also trains your eyes to think like a tattoo artist: clean lines, clear silhouettes, and strategic negative space.
Use Digital & AI Tools to Explore Variations Instantly
Simple tattoos thrive on clean lines—and modern tools can help you find them fast.
AI generators like
VEED.io,
Inker.ai, and
Canva AI
make it easy to turn prompts into dozens of variations in seconds.
Try prompts like:
- “Minimalist wave wrist tattoo”
- “Tiny star constellation linework”
- “Cute heart outline with clean symmetry”
- “Fine-line floral tattoo with negative space”
Why AI helps:
- You get instant layout ideas.
- You can test balance and symmetry quickly.
- You can generate “what if” versions you wouldn’t think of manually.
For artists, this is a shortcut to inspiration—not a replacement for craftsmanship. You can combine AI concepts with your thumbnails and sketches to evolve a design that’s uniquely yours.
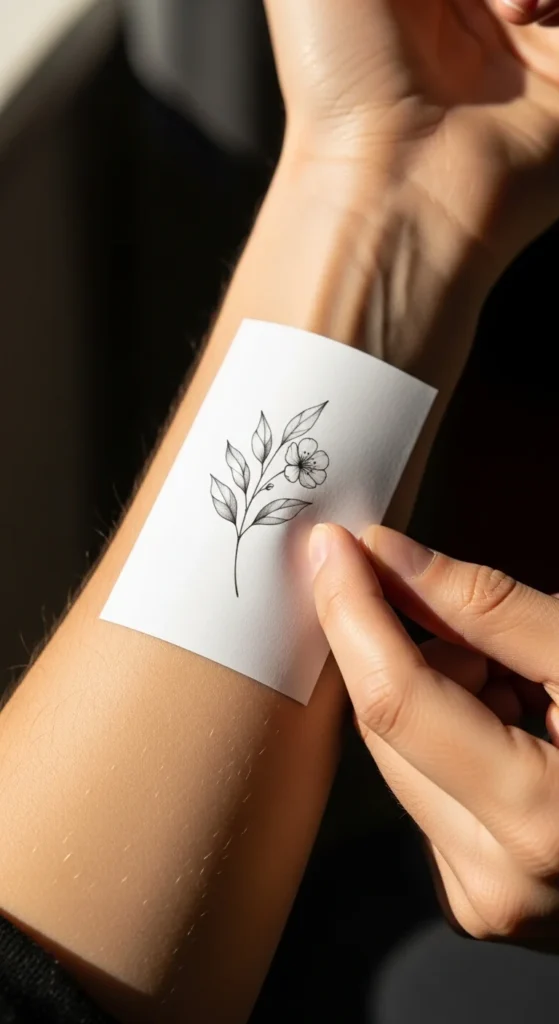
Check Body Flow: The Most Overlooked Tattoo Step
A design that looks great on paper doesn’t always look great on skin.
Body flow—the way a tattoo wraps around natural anatomy—is everything.
To test flow:
- Print your design at the exact tattoo size.
- Tape it to the arm, collarbone, ankle, or rib.
- Photograph it from the front, side, and angle.
- Adjust curves or tilt based on the body’s shape.
Design apps like Procreate allow you to trace directly over body photos, shaping the design to match curves naturally. This prevents stiff, flat tattoos that look stuck onto the skin instead of part of it.
Common flow adjustments:
- Curving petals around a forearm.
- Adjusting wings to wrap slightly on a shoulder.
- Tilting stars or symbols to follow collarbone angles.
- Thickening lines for areas that fade faster (hands, feet).
Build a Simple but Effective Mood Board
Before committing to a final design, create a small, focused mood board. This step helps you refine your style, clarify details, and avoid overcomplicating a simple tattoo.
Include:
- 5–10 reference images (Pinterest, Instagram, flash sheets)
- Body placement ideas
- Linework inspiration (thin, bold, mixed)
- Negative space examples
- Style notes (minimalist, geometric, floral, symbolic)
Mood boards pair perfectly with your thumbnails—they guide decisions without locking you into one look.
Refine Using Size, Scale & Line Weight Tests
Simple tattoos rely on crisp lines and smart scale choices. Even tiny changes can make or break your design.
Scale Testing Tips:
- Print the design at 1″, 1.5″, and 2″.
- Check which version keeps clarity.
- Reduce tiny details that get lost on small tattoos.
- Strengthen line weight for long-term visibility.
Remember:
- Hands & feet need bolder lines.
- Ankles & wrists need simplified details.
- Rib tattoos need flowing curves to prevent distortion.
Finish With a Clean Stencil-Ready Outline
Your final outline should be:
- Smooth
- Confident
- Minimal
- Clear
- Free from shading
This is the version that becomes your tattoo stencil—your design in its purest form.
A beginner-friendly trick: retrace your final linework with a pen or Apple Pencil in one slow, deliberate motion. This builds clean, steady lines—exactly what a tattoo needs to heal beautifully.
Final Takeaway
Turning your ideas into simple tattoos isn’t magic—it’s a process.
Start with small thumbnails. Build with layers. Explore with AI. Shape the design to real anatomy. Test scale. Finish clean.
Save this guide for later and return to it anytime—your next tattoo idea might be a thumbnail away.
