

Getting a small, simple tattoo is exciting… until you realize you have no idea where to put it. Forearm? Wrist? Ankle? Hidden under your bra line? Placement decides pain, healing, how often people see it, and how it will look years from now—so it deserves a bit of thought, not a coin flip in the studio lobby.

Below is a friendly guide to help you pick a spot that fits your lifestyle, pain tolerance, and vibe.
Step 1: Decide How “Public” You Want Your Tattoo To Be
Before pain charts and healing time, ask yourself: Who should see this tattoo most of the time?
Think in three levels of visibility:
- Always visible – outer forearm, hands, fingers.
- Sometimes visible – wrist, outer upper arm, shoulder, collarbone, ankle.
- Mostly hidden – inner upper arm, thigh, underboob, rib area, upper back.
If you’re worried about work, parents, or clients:
- Go for outer upper arm, inner forearm, thigh, or upper back. A T-shirt or blouse hides them instantly.
- Behind-the-ear and underboob designs are great if you want something almost secret.
If you love showing your ink:
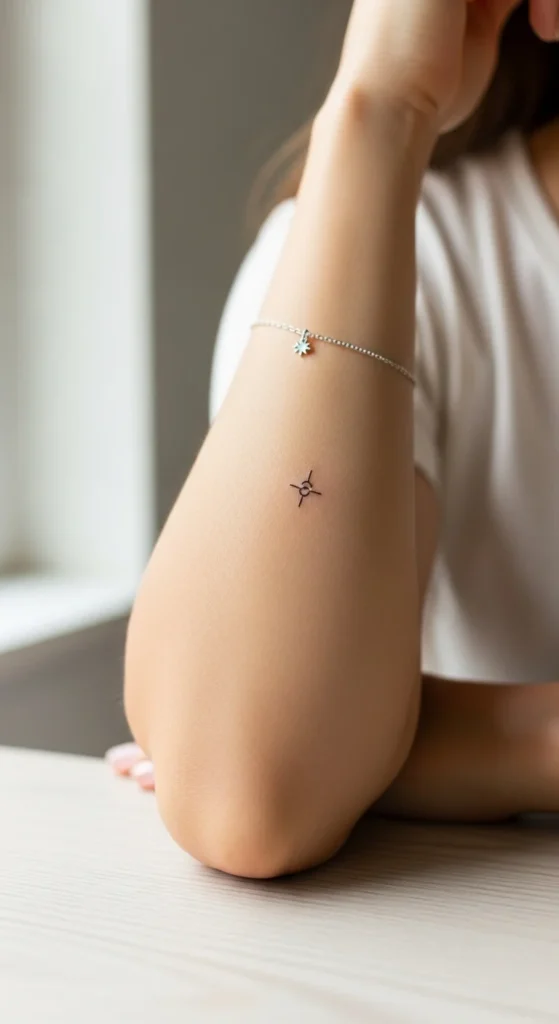
- Outer forearm is the classic starter spot. Low pain, easy to heal, and easy to photograph.
- Collarbone and ankle look especially pretty with minimal designs like tiny hearts, stars, or single words.
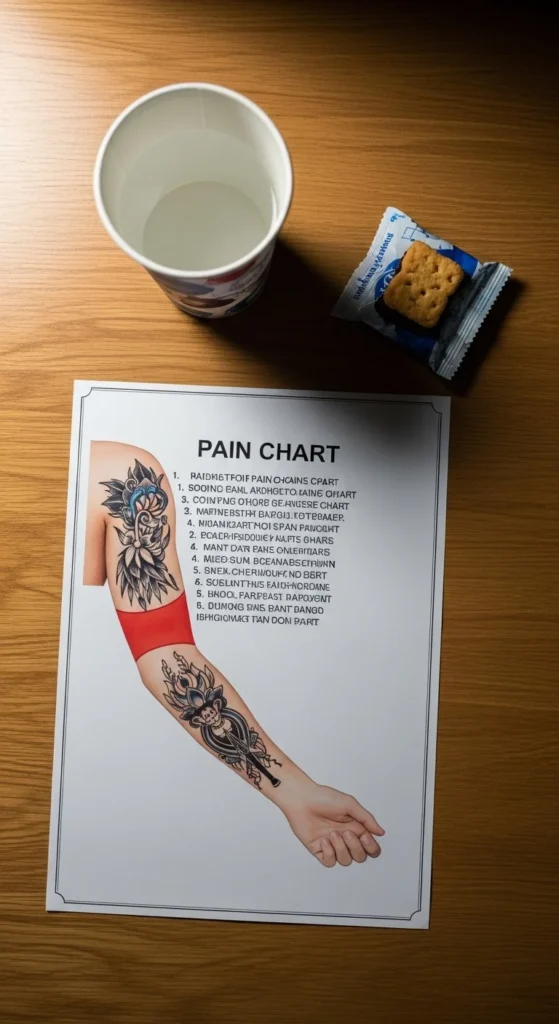
Step 2: Match Pain Level To Your Comfort
You don’t need a superhero threshold to get a tattoo, but it helps to know which spots hurt less.
General rule:
- Low pain (great for first tattoos):
- Outer forearm
- Outer upper arm/bicep
- Calf
- Upper outer thigh
- Medium pain (manageable but spicy):
- Wrist
- Ankle
- Shoulder
- Collarbone
- High pain (for when you’re sure):
- Ribs
- Spine
- Fingers
- Elbows and knees
If you’re nervous, aim for a simple design (1–3 inches) on a low-pain spot like the outer forearm, upper arm, or thigh. You still get something cute and meaningful without shaking in the chair.
Tip:
- Sleep well, eat a solid meal, and hydrate before your appointment. This alone can make the pain feel more manageable.
Step 3: Think About Healing & Your Daily Routine
Some areas heal faster because clothing doesn’t rub them all day. Others stay irritated from waistbands, bras, or tight shoes.
Quicker, easier healing (about 7–14 days for top layer):
- Outer forearm
- Outer upper arm
- Shoulder
- Calf
Longer and fussier healing (clothing friction or movement):
- Ankles (socks, shoes)
- Ribs/underboob (bras, sports bras)
- Fingers and hands (constant washing, use)
Ask yourself:
- Do I wear skinny jeans, tight sports bras, or high socks often?
- Will I be working out, running, or doing contact sports while it heals?
If your schedule is busy and you don’t want to baby a tattoo for weeks, stick to arms and shoulders for your first simple piece. They’re easy to clean, easy to cover, and less likely to get rubbed raw by clothes.
Step 4: Plan For Aging & Long-Term Look
Simple tattoos have thin lines and small shapes, which makes placement even more important for how they age.
Places that tend to keep tattoos crisp longer:
- Outer forearm
- Outer upper arm
- Shoulder
- Upper back
- Thigh
Places that blur or fade faster:
- Fingers
- Hands
- Feet/ankles
- Inner wrist (more movement, sun, friction)
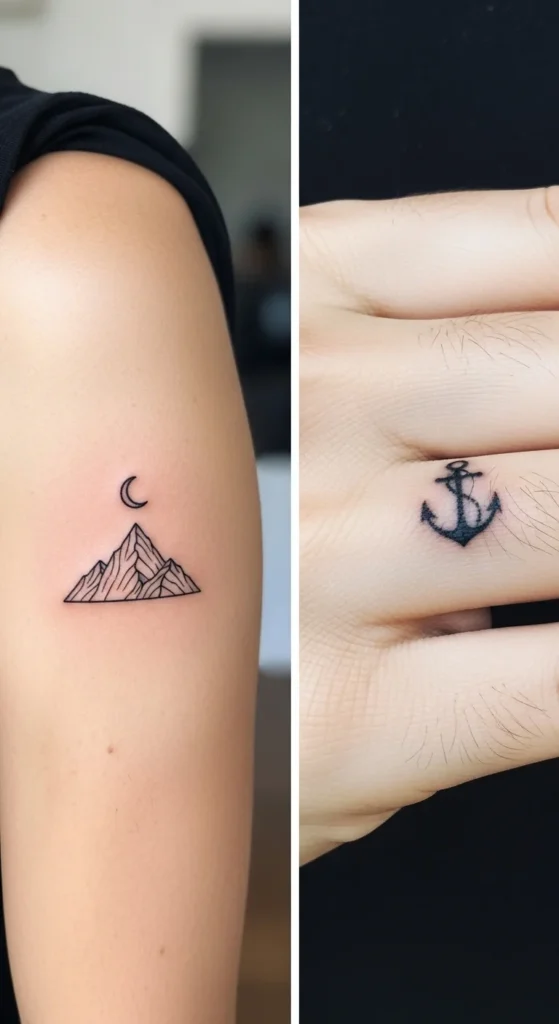
If you’re dreaming of a tiny word, symbol, or dainty outline, choose a low-friction zone so it still looks cute in five or ten years.
Small ideas that age well:
- Simple symbols on the outer forearm
- Tiny designs on the upper arm or shoulder
- Line art on the thigh, hidden most of the time
Step 5: Test Your Placement Before You Commit
Before anything permanent, treat your body like a live mockup:
Try these easy methods at home:
- Temporary tattoos:
- Order simple designs online or print your own water-transfer sheets.
- Place them on your forearm, wrist, ankle, collarbone, or thigh.
- Wear them for a few days and see how you feel.
- Marker or eyeliner test:
- Use a fine-tip brown or black eyeliner to draw your simple design.
- Check it in different outfits—work clothes, gym wear, going-out looks.
- Mirror + phone photos:
- Place a rough sketch with tape, then take photos from different angles.
- This helps you notice if the design tilts weirdly or looks off-center.
- AR apps:
- Some apps let you “place” a tattoo on your body through your phone camera.
- Try your design on several spots to compare.
If a placement feels annoying or “too loud” after a few days, move it. Better to change now than regret it later.

Final Thoughts: Let Your Style Lead the Spot
Choosing where to place a simple tattoo isn’t just about pain—it’s about how you live and how you like to show up in the world.
Quick recap:
- Want low pain and easy healing? Try outer forearm, outer upper arm, shoulder, or thigh.
- Want something more private? Think inner arm, thigh, underboob, or behind the ear.
- Want it to age nicely? Pick low-friction spots and avoid hands and fingers for your first tiny design.
- Still unsure? Test with temporary tattoos, eyeliner, and AR apps until it feels right.
When your placement matches your lifestyle and style, your tattoo feels less like a random decoration and more like a quiet part of you.
Save this guide for later before your consultation, and use it as a mini checklist while you decide where that simple tattoo should live.
