
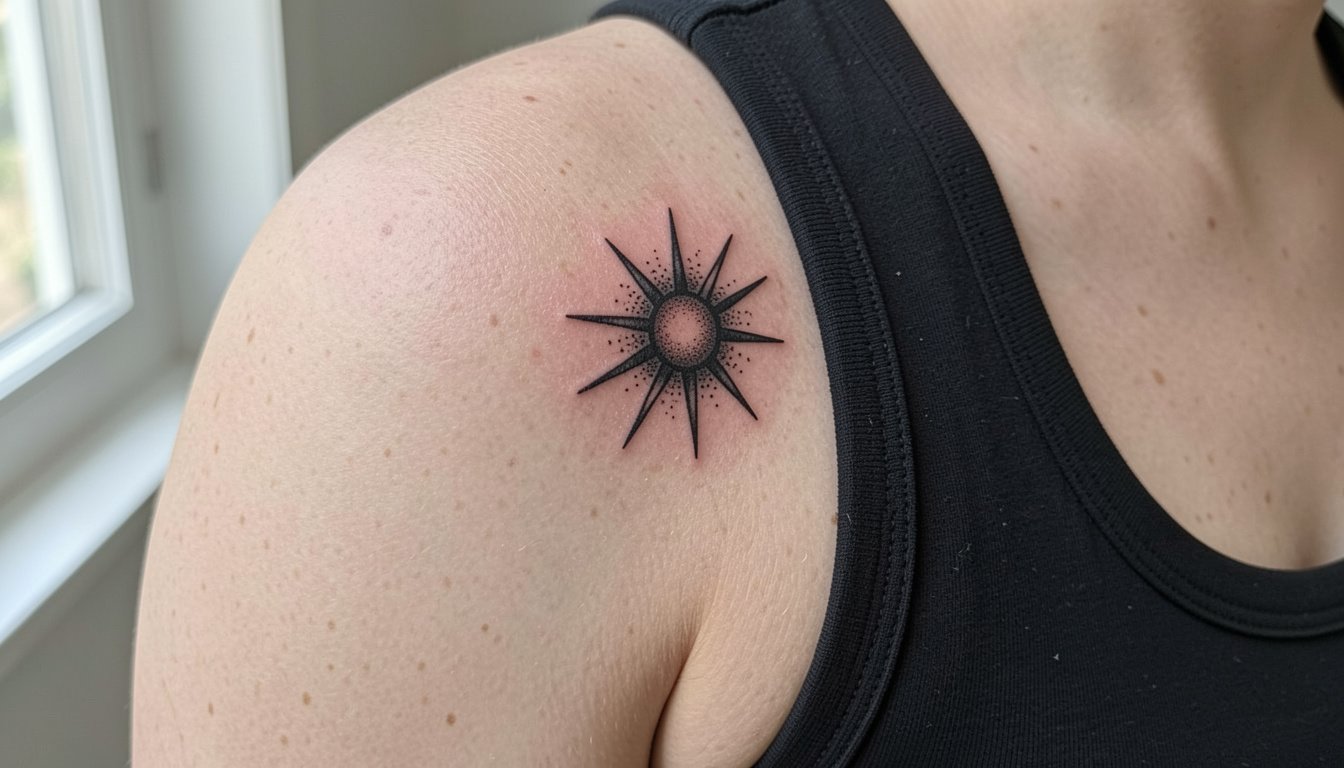
Small, first tattoos often age better when they start with intention. Thin single-needle scripts look delicate in the first month and tend to blur into soft smudges by year three. Compact black icons, geometric marks, and slightly bolder linework hold contrast longer and make touch-ups simpler. Below are small designs chosen for clear aging, easy sessions, and wardrobe pairings that help you show them off.
1. Fine Line Arrow on Inner Forearm
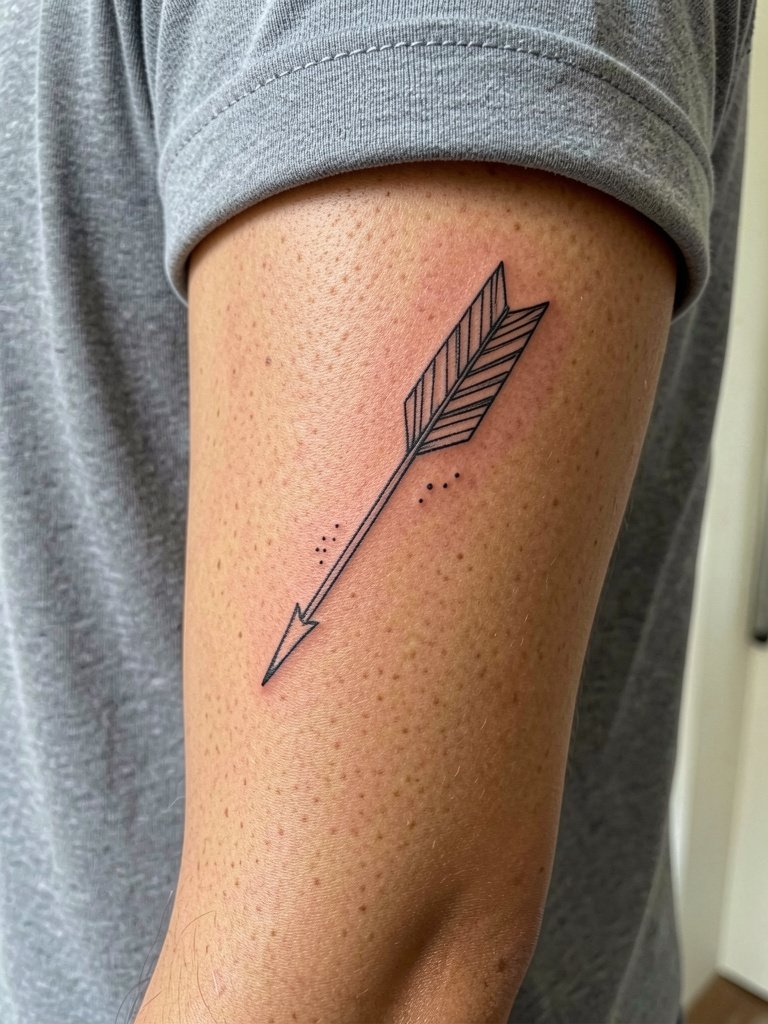
An inner forearm arrow is a classic first piece because it reads clearly in a small footprint and the placement is easy for artists to work on. Choose a slightly heavier single-needle contour than the reference image so the shaft does not blur into a soft line by year two. When you consult, bring one close-up photo at actual scale and one showing the arm at rest so the artist can map how the arrow will sit when you hold a cup or reach. Expect mild discomfort, a short session under an hour, and a likely touch-up after the first year for crispness. Pair with a rolled linen shirt when you want to show it off.
2. Tiny Black Anchor on Wrist
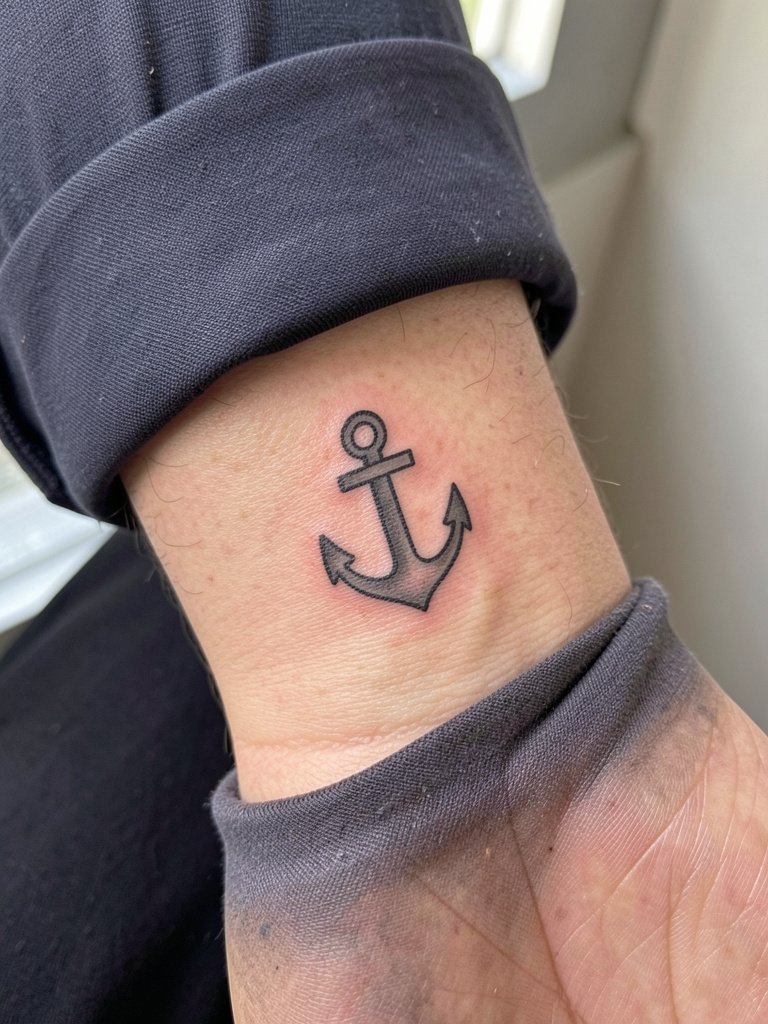
A small solid anchor on the wrist is low session time and high visual clarity. The classic mistake is asking for ultra-fine detail inside the anchor, which fills in after healing. For longevity pick a clear silhouette with a hint of negative space, and have the artist leave slightly thicker outer lines. Wrist skin moves and gets frequent washing, so expect the first six months to show crisp lines and slight softening by year two unless you get a small touch-up. The session feels brisk but the area is sensitive near the bone. Wear a minimal leather bracelet to frame the piece without rubbing it.
3. Geometric Triangle Cluster on Upper Arm
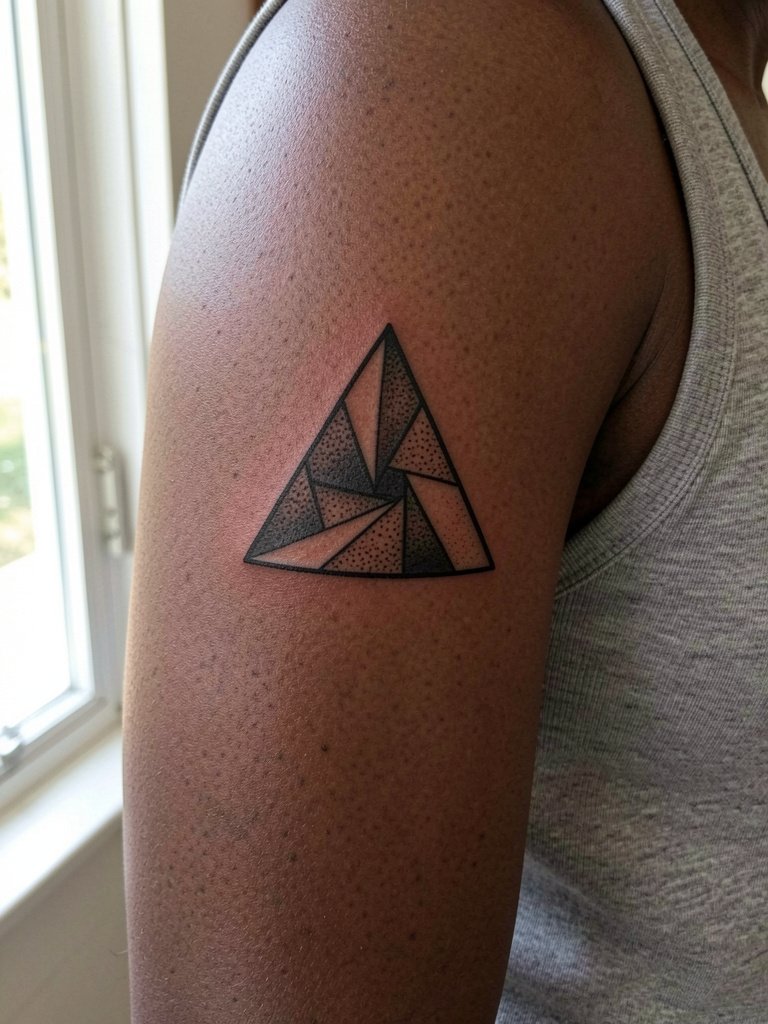
Geometric clusters are forgiving in small sizes because the eye reads shapes more easily than micro-detail. Recommend asking for slightly wider spacing between lines so the triangles keep their angles as the skin shifts over time. Mention during your consult that you want the negative-space overlaps preserved, not filled, and ask the artist to show a mockup at both two and three inches so you can judge scale. The outer upper arm is one of the least painful places, so many men add a second tiny piece in the same session. For casual show-off style try a fitted short-sleeve henley that rolls at the sleeve without hiding the cluster.
4. Tiny Ribcage Wave Line
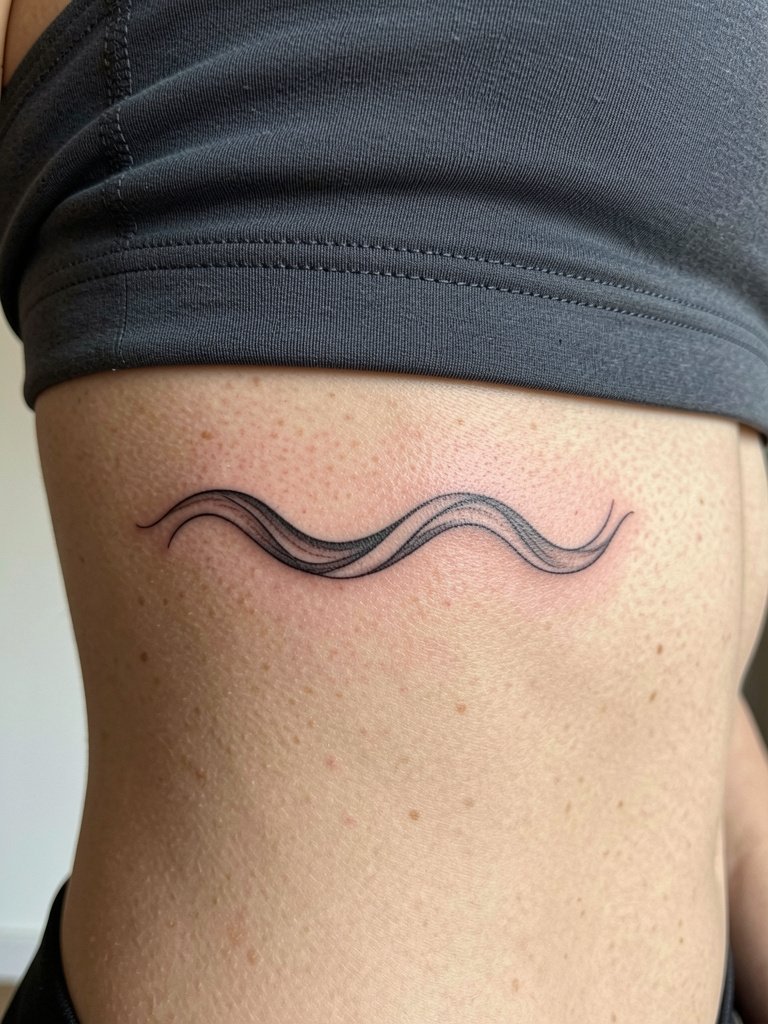
Rib linework divides artists into two clear camps. One group says the skin there stretches and flexes, so ultra-fine line blurs within two years and the spacing collapses. The other group says that with controlled needle depth and slightly wider spacing the same placement can hold fine detail, and they point to healed photos as proof. If you pick the ribcage, plan for a slightly bolder contour than your Pinterest reference, and budget for a touch-up at 12 to 18 months. Pain is higher here, so bring a support person and wear a fitted sports bra or compression top for the session.
5. Minimalist Dot-Work Planet on Ankle
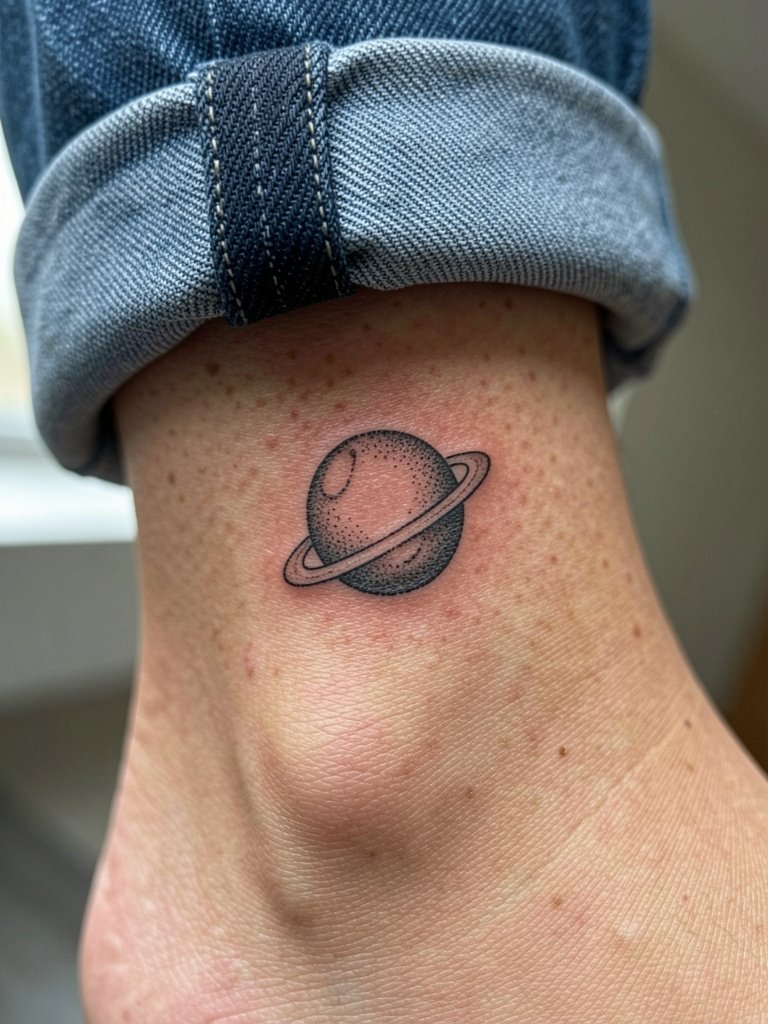
Ankle dot-work reads clean when the composition is compact and high-contrast. The common mistake is making the dots too sparse, which makes the planet look unfinished after healing. Ask the artist to show the stipple density at actual scale so you know how it will age. Expect more friction during the first week from socks and shoes, and plan footwear accordingly. Session time is short but the area is bony and sensitive. If you want to highlight the piece in warm months, wear low-top sneakers or roll your jeans and complement it with a canvas slip-on shoe.
6. Micro-Realism Pine Tree on Calf
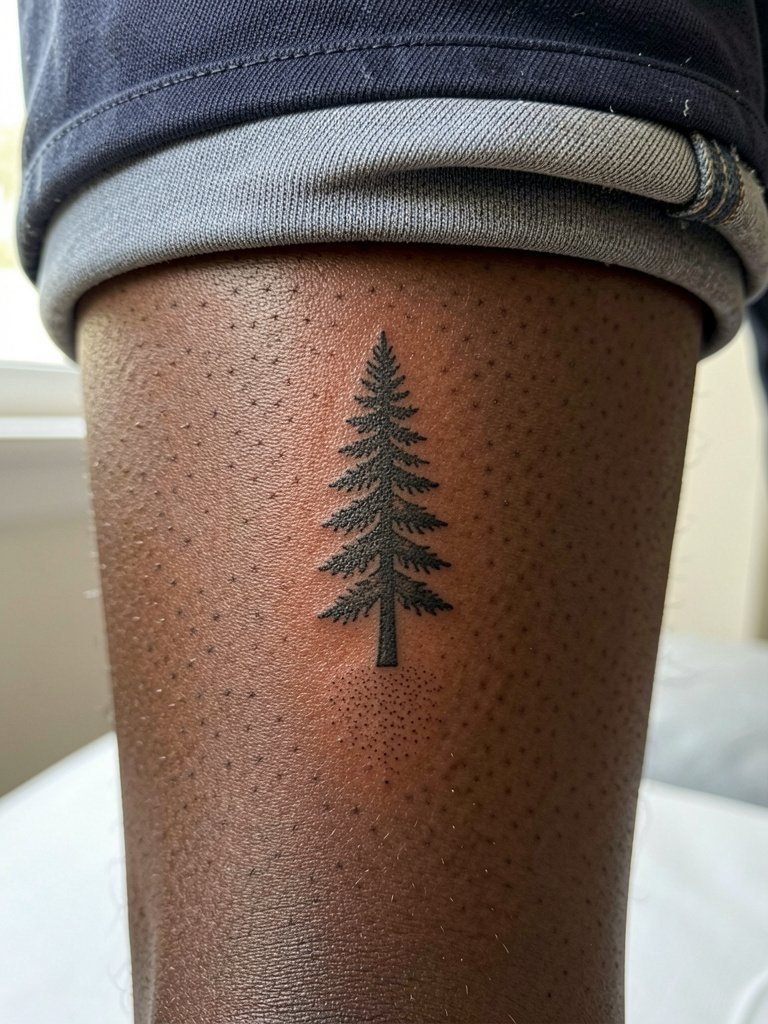
A tiny micro-realism tree on the calf reads well because the calf offers a flat enough canvas for crisp vertical detail. Avoid asking for ultra-fine needles with near-zero contrast, because shading will soften into blotches over years. During the consult, bring a three-inch reference and ask the artist how the stipple will look at two-year and five-year intervals. Calf sessions are moderate in pain and often allow you to sit comfortably for the whole appointment. For showing it off around town, pair with mid-length running shorts.
Pre-Session Essentials
Those small wrist, forearm, and ankle ideas above share common session-day needs, so keep a compact kit that helps the artist and speeds your comfort.
-
Disposable stencil transfer paper kit. Lets you preview the exact placement on skin and confirm size for the arrow, anchor, and triangle pieces before any needle work starts.
-
Topical numbing cream. Applied 30 to 45 minutes before the session eases wrist and ankle sensitivity with minimal impact on the artist's linework.
-
Thin protective film roll for small areas. Keeps ankle and wrist tattoos cleaner during the first week, especially useful for the planet and anchor pieces.
-
Fragrance-free gentle body wash. Cleanses healing skin without stripping the ink or irritating newly tattooed areas.
-
Aquaphor healing ointment. A mainstream balm option for the first 48 to 72 hours that many artists recommend for thin-line work when used in a thin layer.
7. Tiny Barbed Wire Ring Around Finger
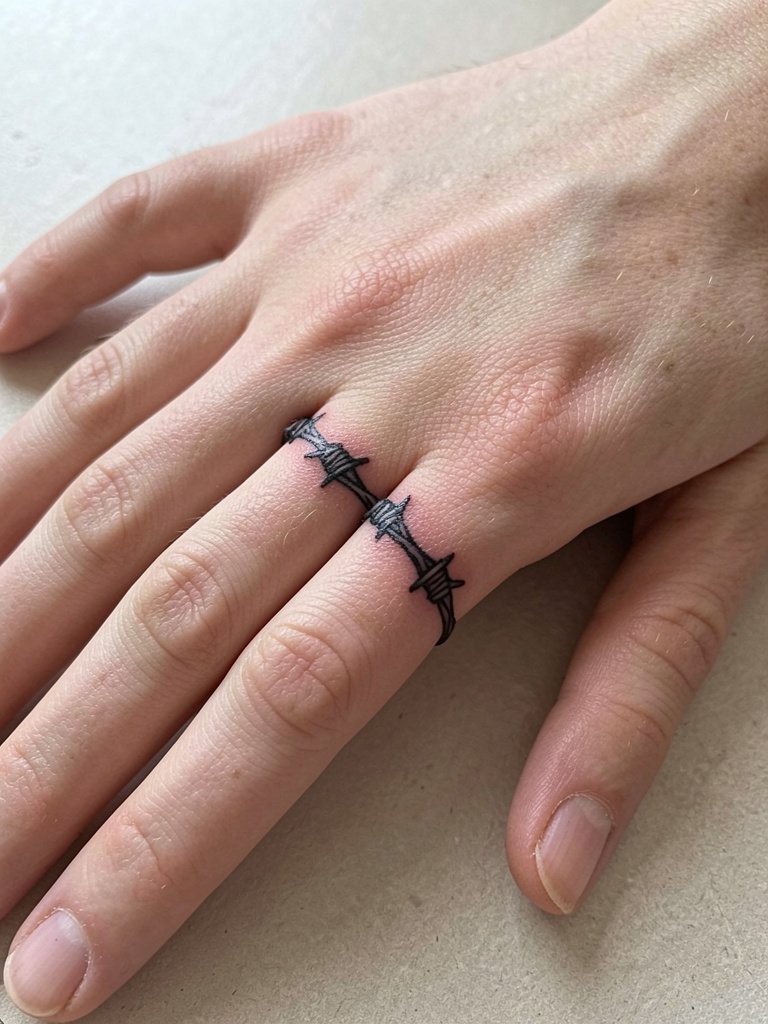
Finger rings are high visibility and higher maintenance because the skin there regenerates quickly. The typical error is requesting ultra-thin knots that vanish with frequent hand washing. For a finger ring choose slightly bolder knots and plan a touch-up at six to twelve months. Expect the session to sting more than a wrist piece and to finish in under 30 minutes. If you plan to show the ring casually, a simple accessory like a thin stainless steel signet ring complements without covering the tattoo.
8. Single-Needle Script on Collarbone
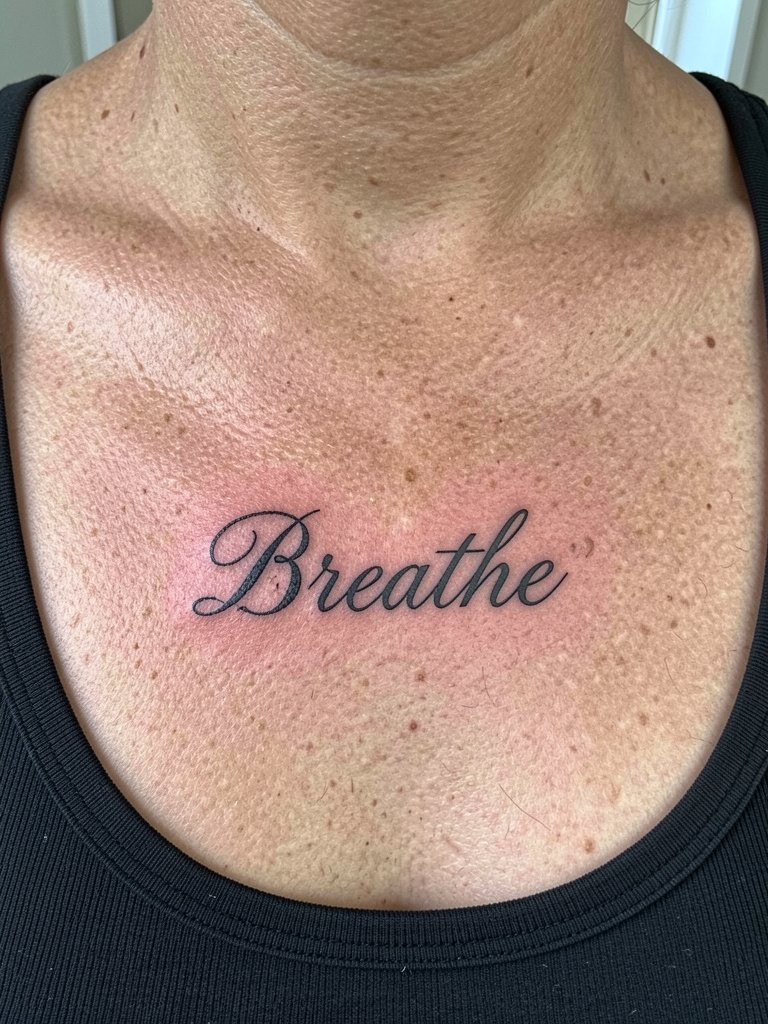
A single-word script along the collarbone looks elegant but it has aging risks because the area receives sun and friction from straps. The common mistake is choosing hairline strokes identical to a full-size calligraphy reference. Ask the artist to thicken key downstrokes and to space letters slightly wider so the script keeps legibility at year three. Collarbone sessions are moderate for pain and short in duration. During the session wear a wide-neck shirt so the artist has clear access and you stay comfortable.
9. Tiny Traditional Rose on the Inner Wrist
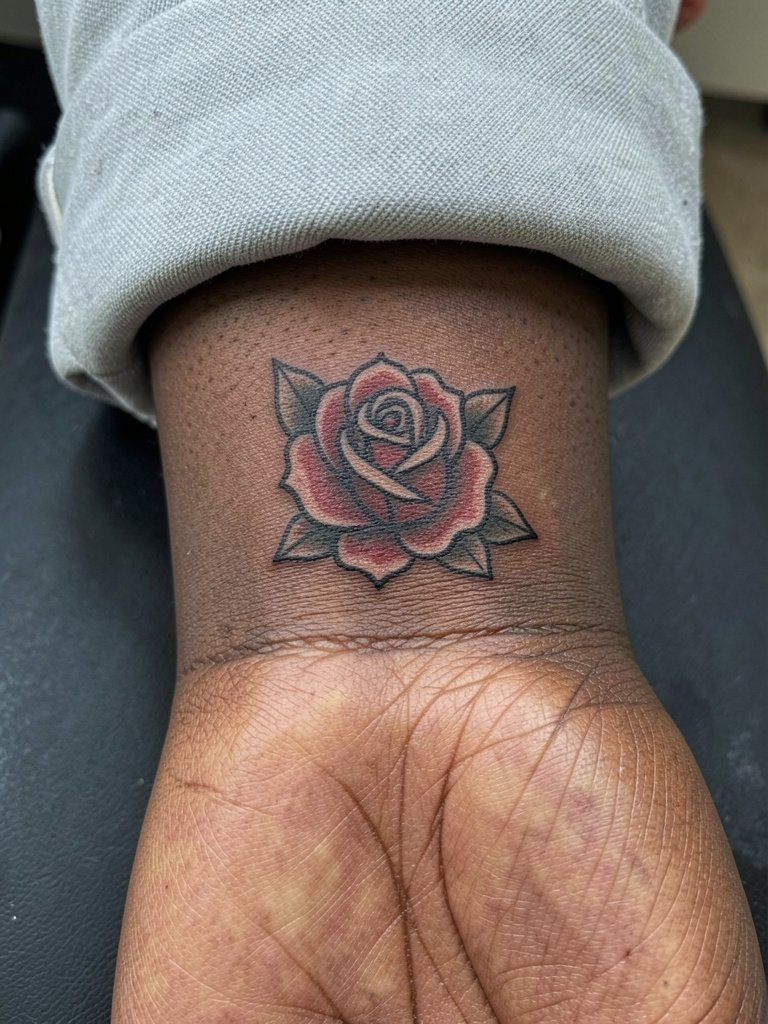
A tiny traditional rose benefits from confident black outlines that age into a readable shape. Avoid requests for tiny shaded petals that will blend into a single block. Ask the artist to map out color saturation and show a healed simulation if possible. The inner wrist is more prone to rubbing from watches and bracelets, so plan to remove metal accessories for several weeks. Sessions are short, and touch-ups at 12 to 18 months are common for the red saturation. Show it off with a thin canvas cuff strap that sits nearby but does not rub the tattoo.
10. Minimal Compass on Upper Chest
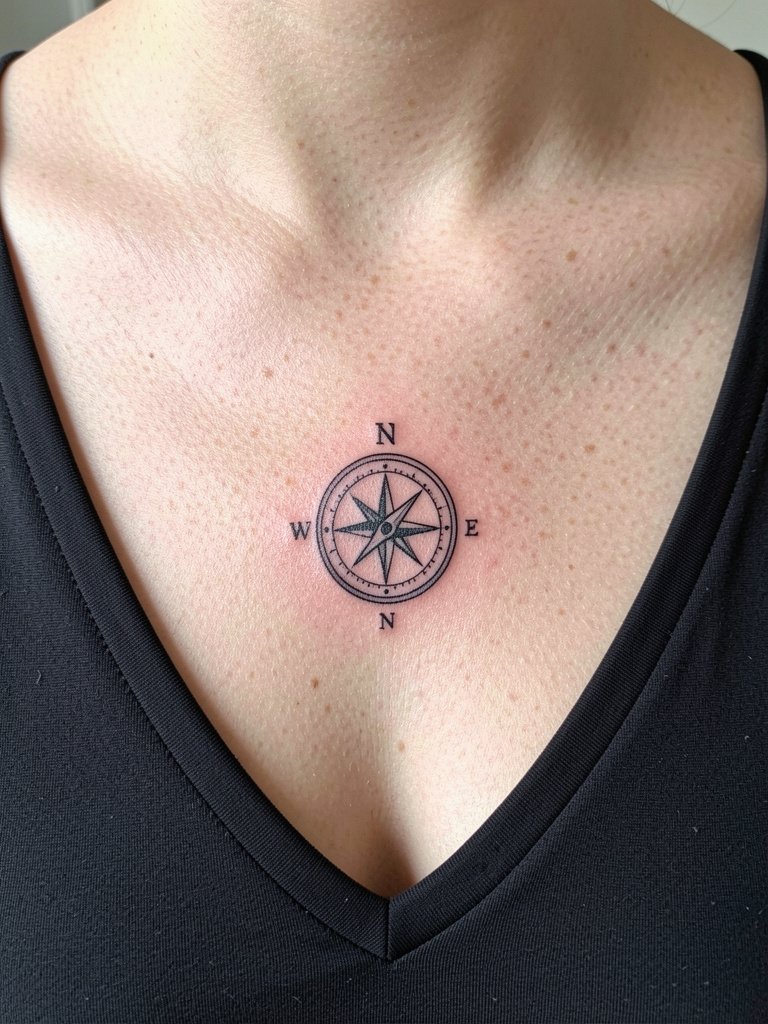
A small compass reads clearly when the cardinal points are slightly emphasized. The common mistake is packing too many decorative flourishes that erode legibility over time. Request the artist map the north point at scale so the tiny arrow remains distinct at two and five years healed. Chest skin moves with breathing and sun exposure, so keep sun protection in mind. Session time is brief and discomfort is low to moderate. When you want to show it casually, pair with an open-collar linen shirt that frames the neckline.
11. Micro Mandala Behind the Ear

Small mandalas behind the ear can be striking but they touch on cultural origins. Respect the design's background and avoid copying sacred symbols without understanding their meaning. Artists are split on whether the skin quality behind the ear supports ultra-fine radial detail. One camp says the thin, irregular skin there causes lines to blur rapidly. The other camp points to micro-work examples that have held for years when spaced slightly wider and tattooed by artists used to small-scale placements. Session time is very short but precision matters, so choose an artist experienced with small geometric pieces.
12. Tiny Mountain Silhouette on Upper Thigh
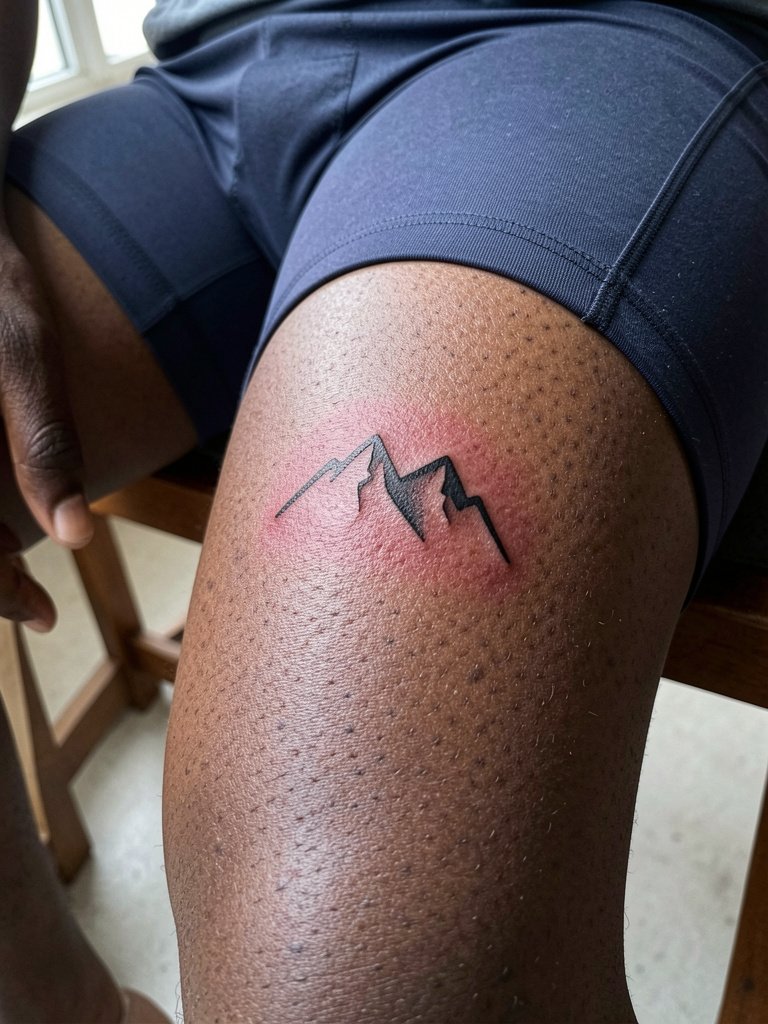
Upper thigh silhouettes are forgiving because the skin is relatively stable and low-friction. The common mistake is placing too much tiny detail into the peaks, which loses definition once healed. When you consult, show how the piece will look under shorts and how it sits when standing and seated. Thigh sessions are low pain and comfortable to recline for. Expect the first year to keep excellent contrast and schedule touch-ups only if lines soften. For sharing in warmer months, a pair of athletic bike shorts frames the placement without covering it entirely.
13. Small Anchor Chain on Collarbone Edge
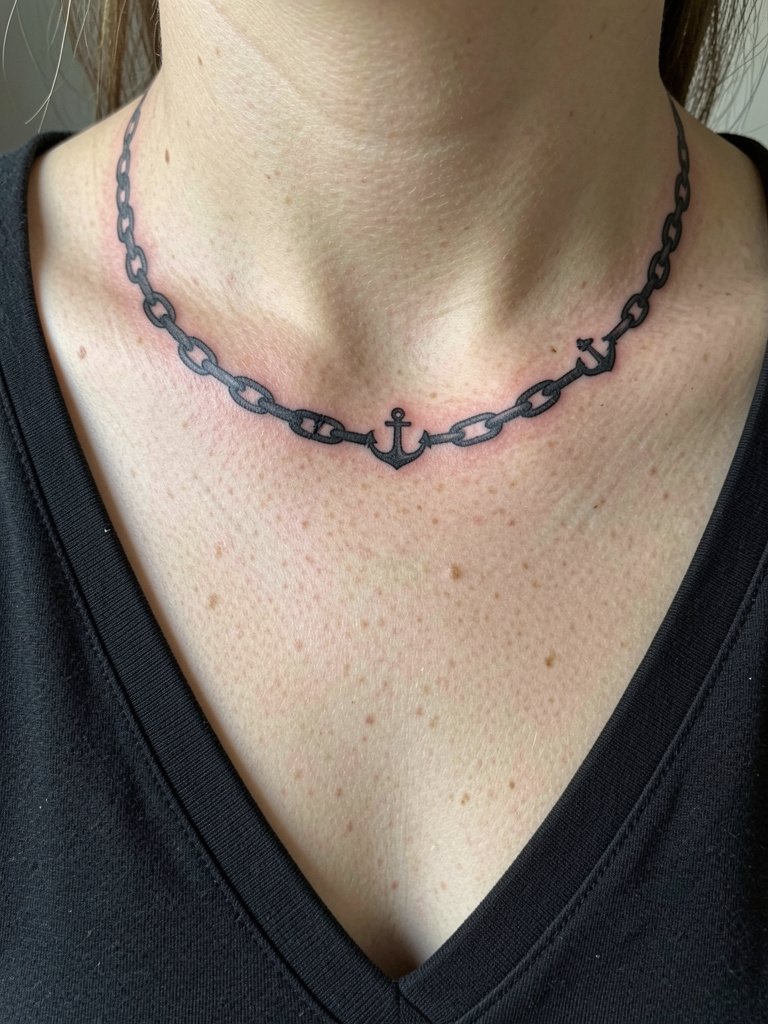
A tiny chain along the collarbone reads as a deliberate accent when the links are bold enough to separate after healing. Avoid tiny interlocking links that fill in. Ask the artist to space the links so each stands alone at two inches. Collarbone is exposed to sun, so keep a sun-protection plan and expect a quick session with moderate sensitivity. This placement pairs with open-neck shirts that show the chain when you want a subtle reveal.
14. Compact Compass on Inner Bicep
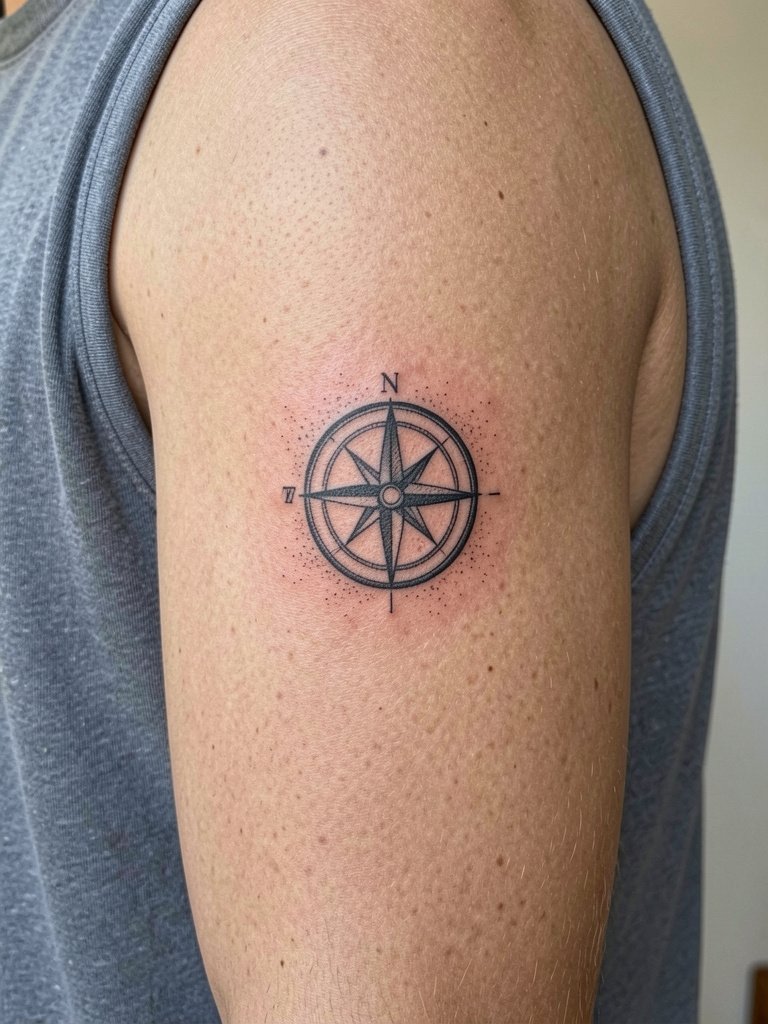
The inner bicep is a good spot for a compact compass because it sits flat and is easy to conceal. The mistake people make is insisting on hairline thin radial markings that the inner arm will soften. Ask the artist to show some weight on the outer ring and a lighter interior so the compass still reads at year three. Pain is medium and sessions are comfortable since the arm rests naturally. When you want to show the piece, a rolled sleeve or a sleeveless denim vest frames it without covering.
15. Small Stipple Lotus on Lower Sternum
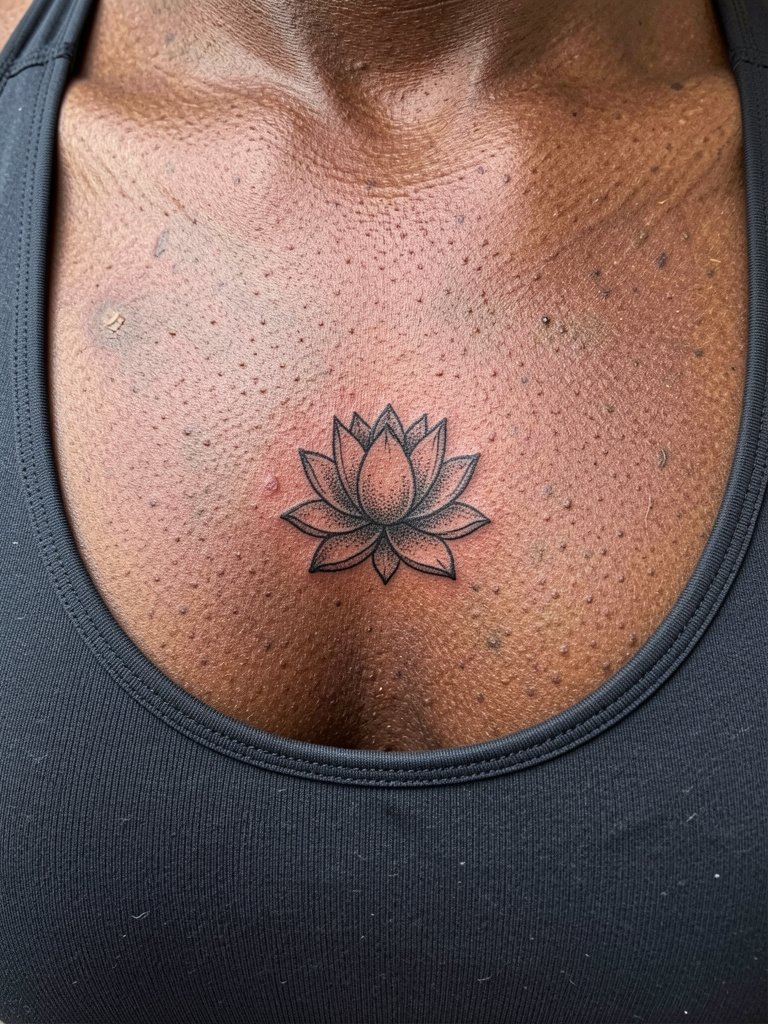
Sternum placements require an artist experienced with tight contours and sensitive areas. The common aging problem is placing very thin stipple too close together, which can create muddy shading in a few years. Discuss exact spacing of dots and request a simulation of the stipple density at five years. Sessions here are higher on the pain scale and may need breaks, so schedule accordingly. Because of the placement, mention that you are seeking an artist used to chest work and comfortable with sternum sessions.
16. Minimalist Anchor on Side Wrist
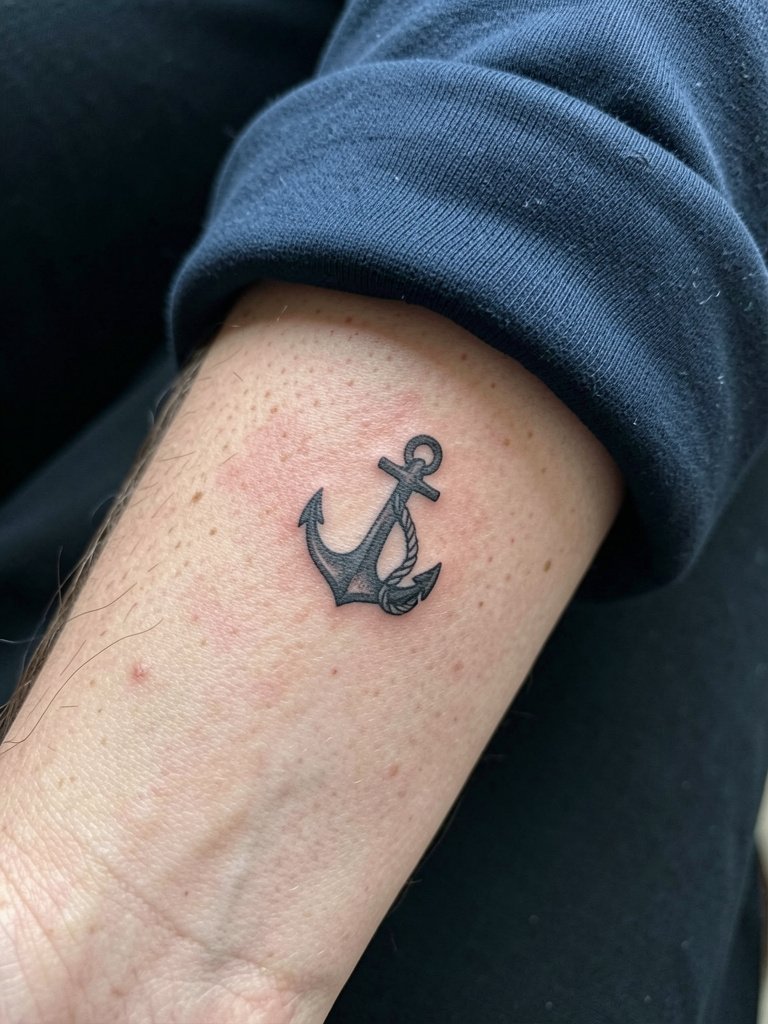
A side wrist anchor works well when the outline is slightly stronger than a micro-detail approach. The error to avoid is squeezing rope twists into a two-centimeter space. Ask the artist to map the rope as a single line with a tiny knot, and to show how it reads when your wrist flexes. The session is quick but sensitive. For everyday wear that showcases the anchor without rubbing, try a slim woven fabric bracelet.
17. Small Nordic Rune on Thumb

Thumb runes are distinct but prone to wear from frequent use. The common mistake is choosing narrow strokes that disappear within months. Ask for slightly bolder strokes and a plan for a six-month touch-up. The session is short and sharp because of the bone proximity. Be mindful of cultural context with runic symbols and pick something you understand. For casual display, a low-profile rubber thumb loop ring keeps the area visible without heavy wear.
18. Small Crescent Moon on Side Neck

Side-of-neck pieces are visible and demand a confident shape. The biggest mistake is trying to cram delicate shading into the small crescent, which turns into a speckled patch. Ask the artist to give the moon a clean silhouette with a subtle highlight area for depth. Sessions are more intense because of proximity to nerve endings and thin skin. If visibility is a concern at work, discuss placement slightly lower toward the shoulder. For styling, an open-neck shirt frames the area.
19. Tiny Keyhole on Upper Back Near Shoulder
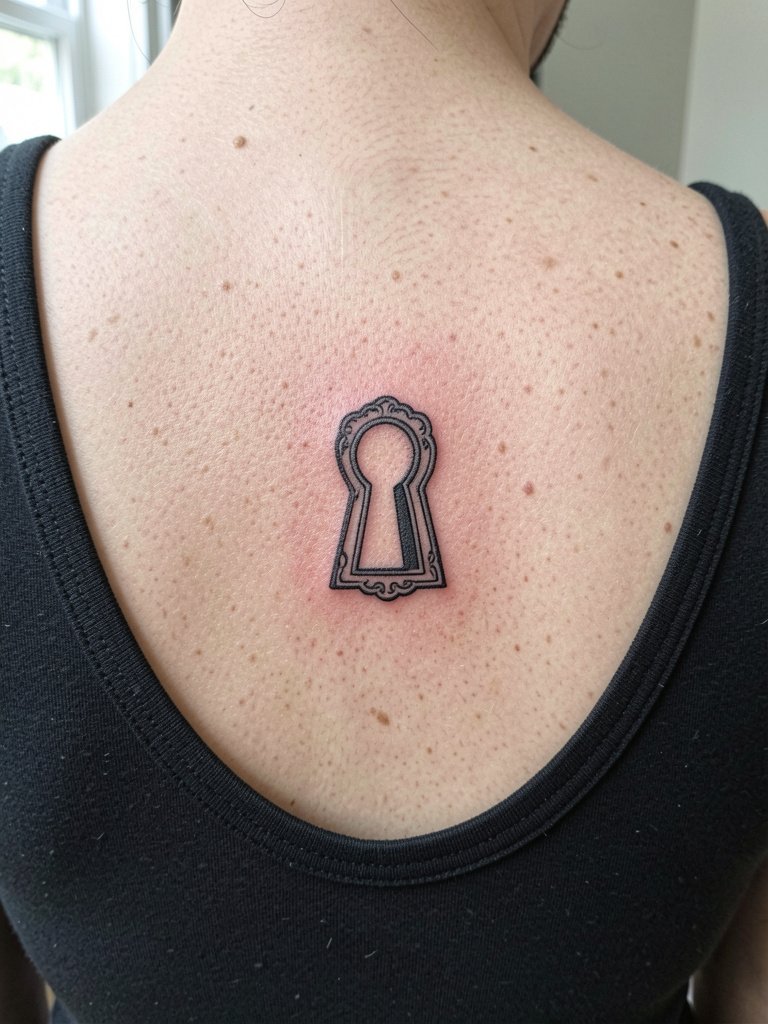
Upper back keyholes sit on a low-movement area that preserves crisp edges. The common request that backfires is adding ornamental filigree too fine for the small scale. For this placement ask the artist to simplify motifs into bold line features that read from a distance. Sessions are comfortable since you lie face down, and pain is mild. When you want to reveal the piece, a scoop-back shirt or a backless summer tee puts the focus on the design.
20. Small Lightning Bolt on Outer Calf
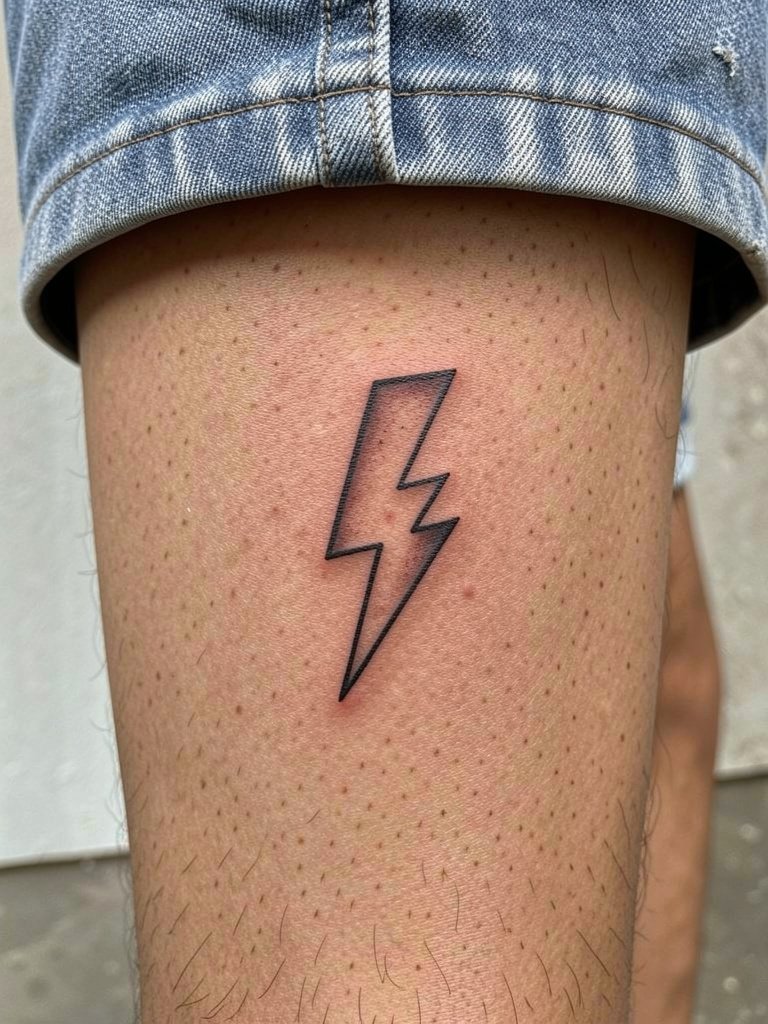
A small lightning bolt benefits from a decisive contour that is slightly thicker at the center. People often ask for hairline edges that vanish after months of wear. Ask the artist to show how the bolt looks while standing and walking since the calf shape changes with muscle flex. Calf sessions are moderate and comfortable, and the placement is low-risk for blowout. For casual display, mid-calf running shorts or low-slung chinos let the bolt peek when you walk.
21. Tiny Winged Key on Side Hip
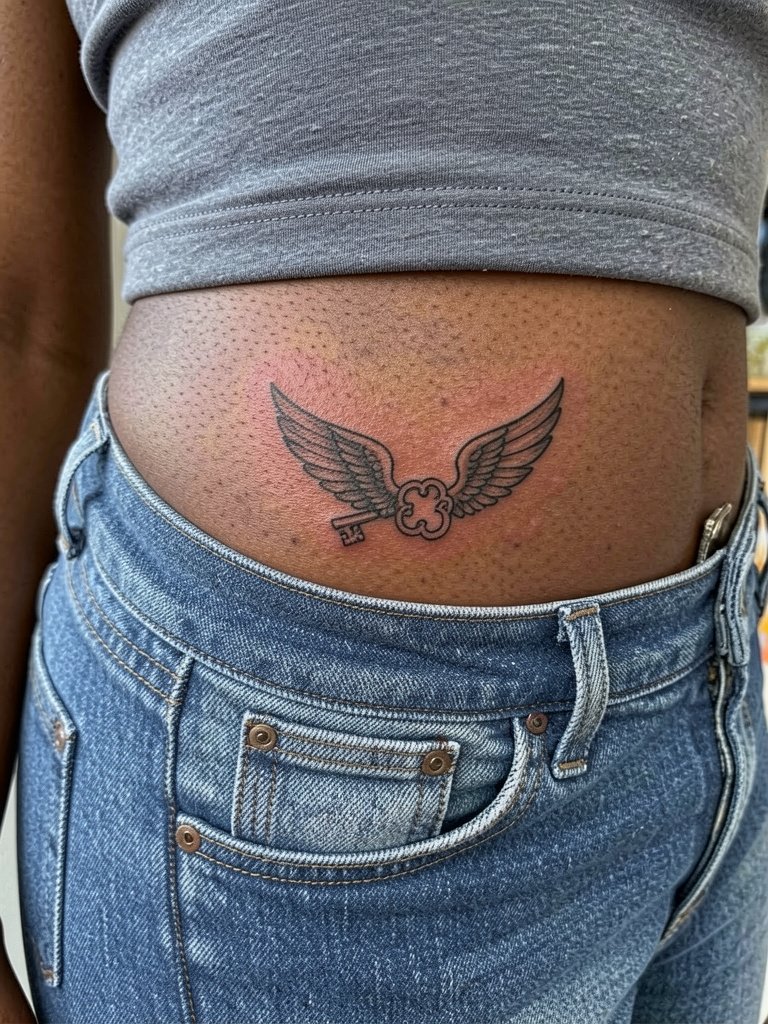
Hip pieces sit on skin that sees little friction from daily wear when placed below the waistband. The common mistake is putting filigree too close to the seam so it rubs and fades. Have the artist place the key slightly higher on the hip than your favorite jeans seam and show a mockup with the waistband in place. Sessions are low to moderate in discomfort and often finish quickly. For occasional reveals, low-rise jeans and a cropped tee complement the location.
22. Small Wave Line on Side Wrist
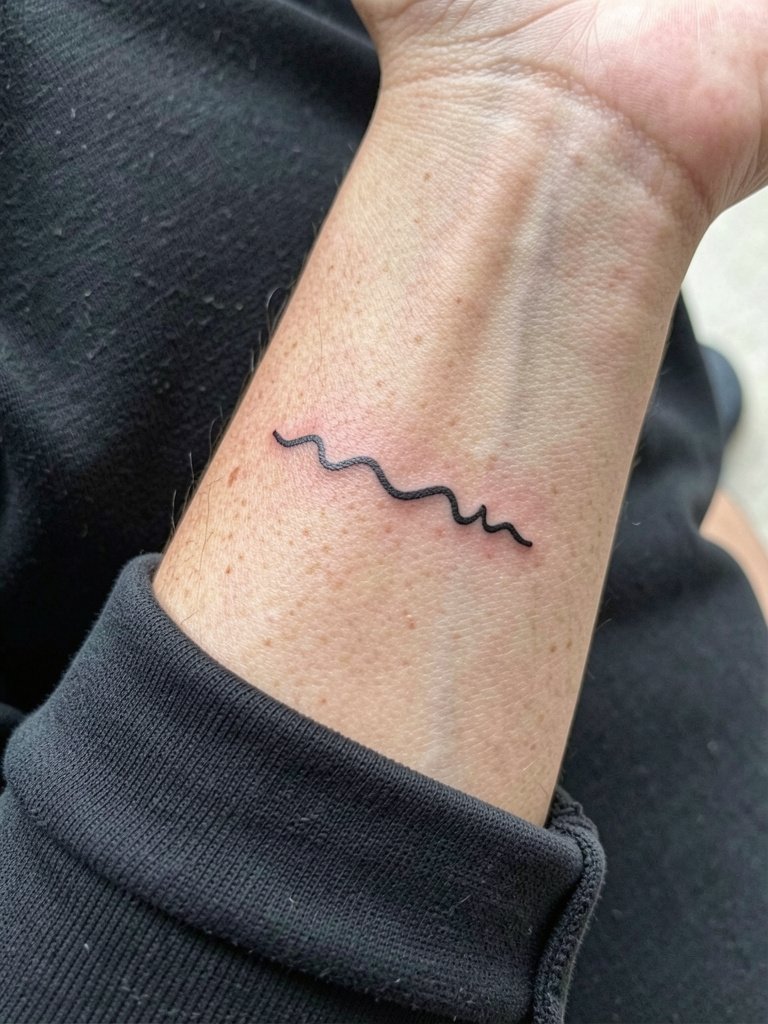
A small wave line is a low-commitment option that looks deliberate when the crest is slightly exaggerated. Avoid micro-shading inside the crest that will blur with frequent hand use. Ask the artist to demonstrate the piece in motion so you know how it will look when you flex. Wrist work is sensitive and frequently touched, so a short session plus a likely touch-up at one year is realistic. To show the line during casual wear, use a simple woven cuff bracelet that sits near but does not rub the ink.
23. Small Scripted Latitude Coordinates on Ribs

Coordinates are a discreet way to mark a place, but rib placements make fine letters vulnerable to distortion. Ask the artist to print the coordinates in a slightly heavier monospace and to show how the spacing looks when you breathe in and out. The ribcage is a painful spot, so expect breaks and a focused session. Touch-up benches at a year can restore crispness if any letters blur. For comfort in the chair wear a fitted top that the artist can move aside without you adjusting it during the session.
24. Small Blackout Band on Upper Arm
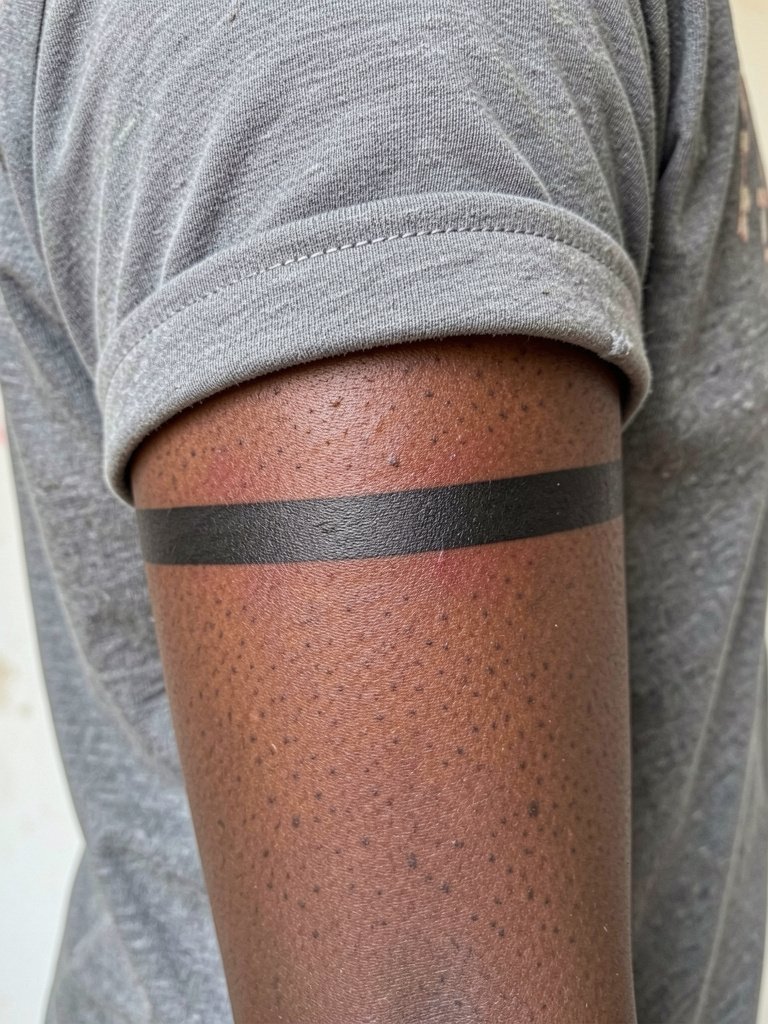
A narrow blackout band is bold in a tiny footprint and ages predictably because it uses solid saturation. The main mistake is making the band too narrow to keep an even edge, which can look patchy after healing. Request the artist check saturation and edge crispness at the start and the end of the session. Upper arm sessions are comfortable and allow for slower, deliberate passes for consistent fill. For a smart-casual look pair it with a short-sleeve button shirt that keeps sleeves above the band.
25. Tiny Paper Plane on Forearm Inner Edge
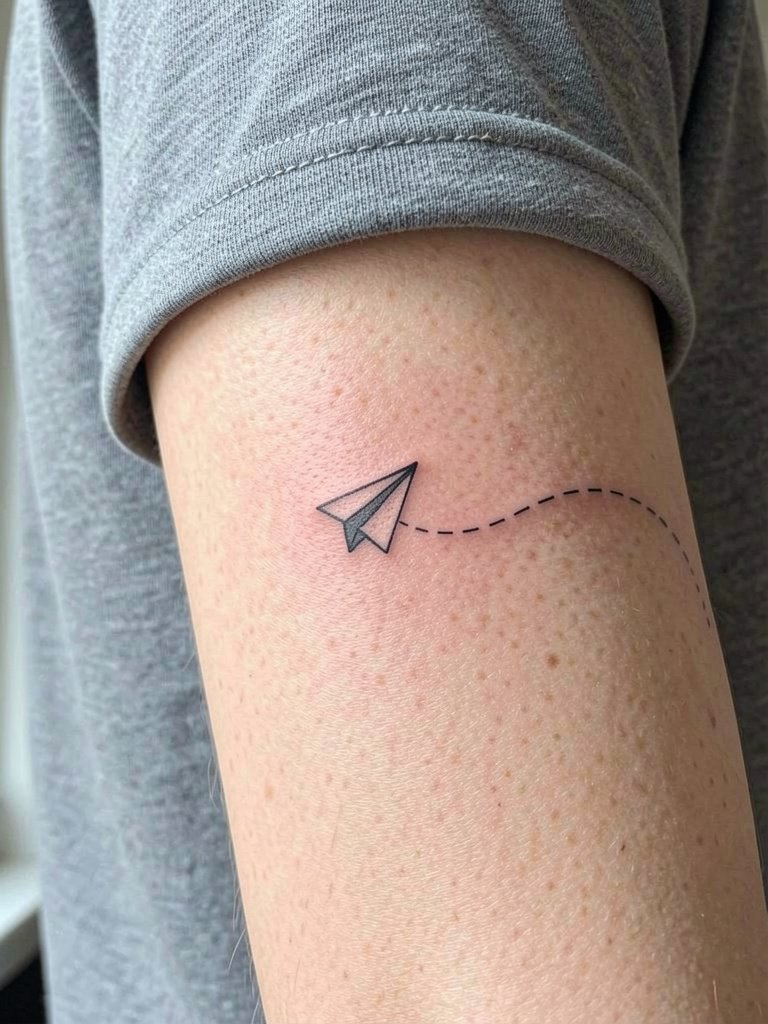
A paper plane is playful and low-commitment. Avoid dashed trails that are too thin because they can vanish under frequent contact and washing. Ask for a slightly denser dash and a bold plane outline so the motif survives regular use. The inner forearm is forgiving and a low-pain area with quick sessions. For everyday wear that frames the design, roll your sleeves or choose a short-sleeve cotton tee with a slightly snug sleeve to keep the plane visible.
26. Small Nautical Star on Back of Hand
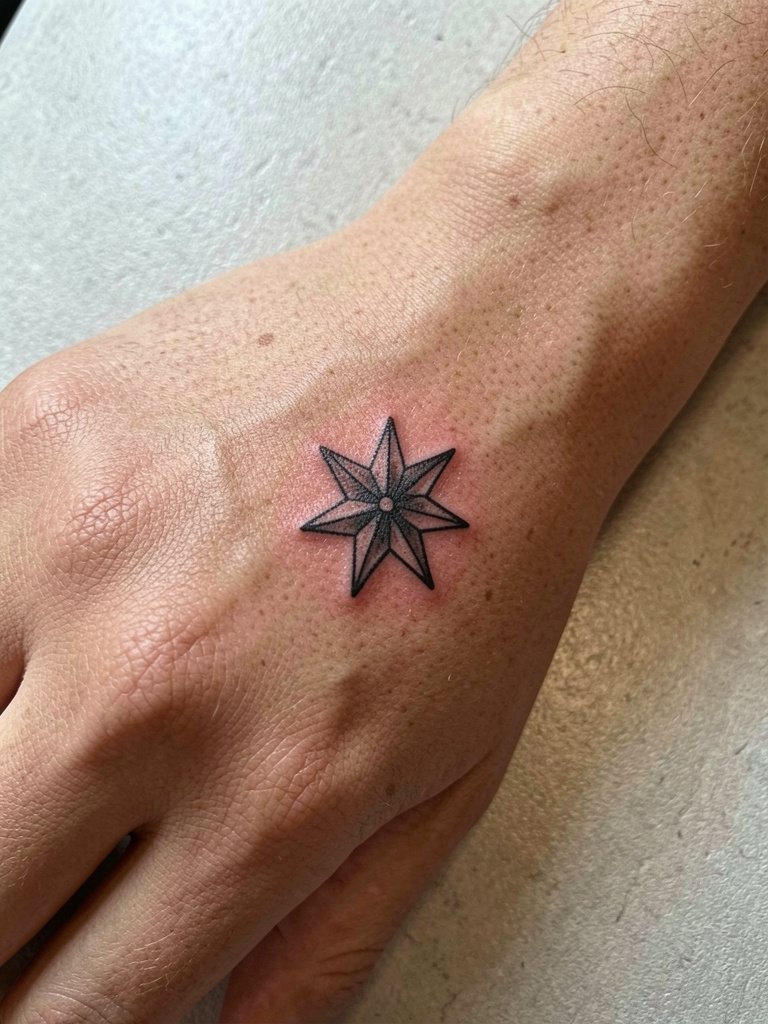
Hand pieces are controversial because of wear from constant use. One camp argues that hand tattoos fade quickly and can look patchy in a year. The other camp counters that a bold star with strong outlines and planned touch-ups can remain intentional and readable. If you choose a back-of-hand star, go for thicker outer lines and plan a maintenance touch-up schedule. The session is sharp and recovery needs careful cleaning. For times you need to soften visibility, a simple ring or bracelet can draw attention away.
27. Small Barcode-Style Linework on Inner Wrist
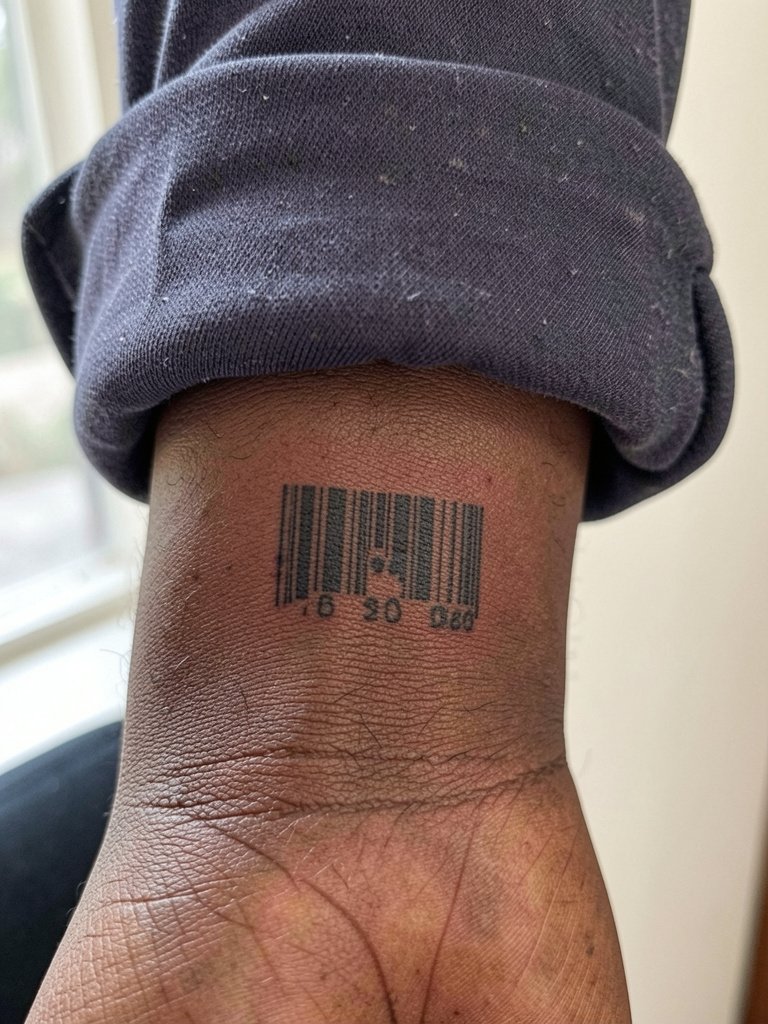
Barcode motifs are graphic and intentional, but tiny adjacent lines can merge as skin shifts. The practical choice is to widen the narrowest bars slightly and to keep the white gaps a touch larger than they look in reference images. Inner wrist sessions are short and sensitive. Expect a likely touch-up at the one-year mark if any lines soften. For an everyday accessory that complements the barcode without rubbing it, consider a slim canvas wrist cuff.
Frequently Asked Questions
Q: Which small placements hurt the most and what helps during the session?
A: Ribs, sternum, and hand areas are typically the most painful because the skin is thin or near bone. Calf, outer arm, and upper back are on the low end for pain. Numbing creams applied 30 to 45 minutes before can help for sensitive spots, and wearing loose or fitted clothing that the artist can easily access reduces fidgeting. Bring a water bottle and an energy snack for longer sessions.
Q: How do I find healed examples and portfolios without naming specific artists?
A: Use platform search filters and location tags on social apps to find healed work. Try searching hashtags like #SmallTattooHealed, #MicroRealismHealed, or #FineLineHealed in combination with a city name. Tattoo community forums and portfolio sites let you filter by placement and style so you can compare how different designs age across skin tones.
Q: Are finger and hand tattoos really a bad idea for a first piece?
A: They are higher maintenance because hands see constant washing and abrasion which accelerates fading. If you want a hand or finger piece first, pick bold silhouettes, expect a touch-up within a year, and be realistic about potential fading. Many people choose wrist or forearm first to learn how their skin heals before committing to hand work.
Q: How often should small black line pieces get touch-ups?
A: For most small black-line tattoos a realistic timeline is a potential touch-up between 12 and 24 months, depending on placement and sun exposure. Wrists, hands, and fingers often need earlier attention. Inner arm, calf, and upper back usually hold longer before a touch-up is needed.
Q: What should I wear to a session for a collarbone, rib, or hip tattoo?
A: Wear clothes that expose the placement without you needing to adjust them mid-session. A wide V-neck or scoop-neck shirt works well for collarbone, a fitted sports bra or bandeau for sternum, and low-rise jeans with a cropped tee for hip work. For an easy session-day outfit consider a wide V-neck tee that gives the artist access while keeping you comfortable.
