
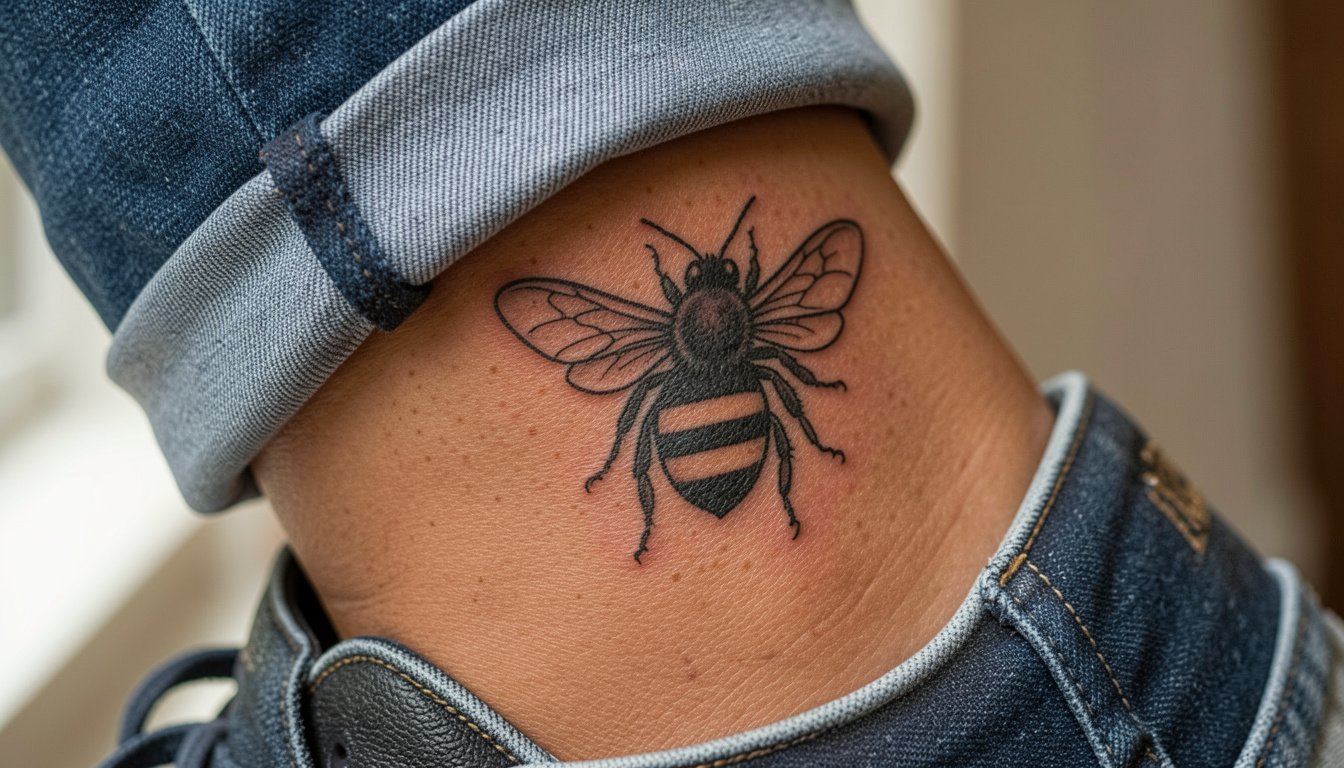
Tiny bumble bee tattoos survive or fade based more on line weight and spacing than on how cute the sketch is. Beginners assume single-needle wings keep things elegant, but a hair heavier contour often prevents early blurring on high-motion spots. The design choices below balance what photographs well now with what still reads at two and five years, starting with a fine-line wrist piece that keeps wing detail without becoming a dot.
1. Tiny Fine-Line Bumble Bee on the Inner Wrist
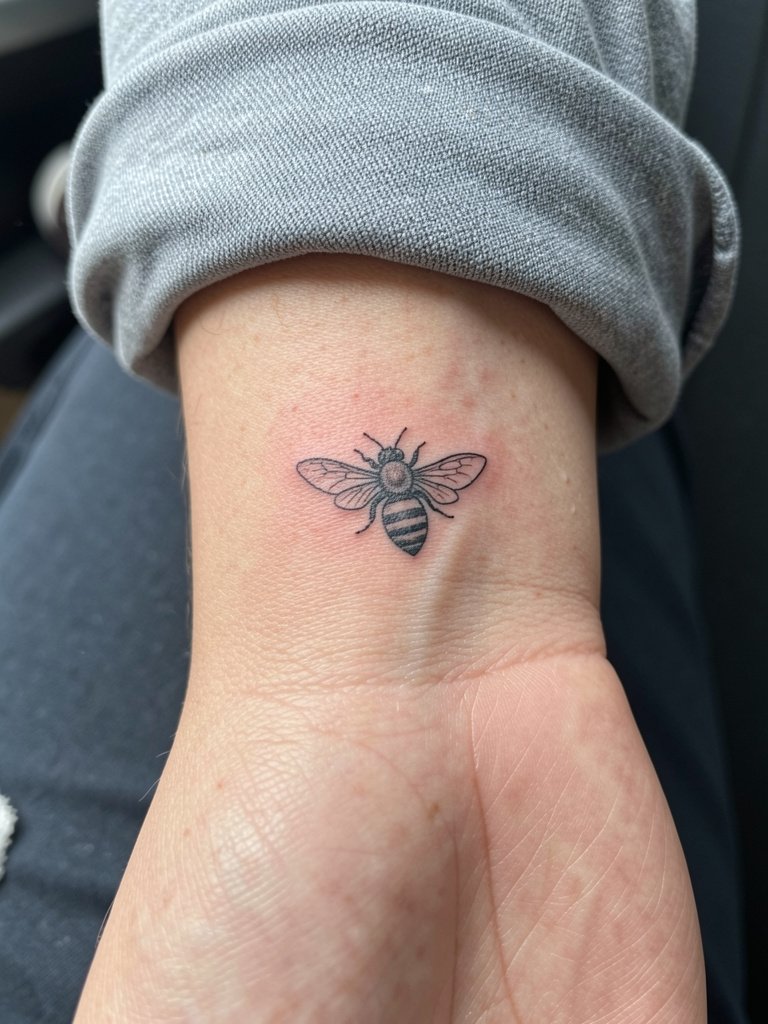
A fine-line bee on the inner wrist looks delicate and reads well in close-up photos, but the wrist flex eats ultra-fine detail quickly. One group of artists favors single-needle finesse and says the visual payoff is worth careful depth control. Another group favors a slightly heavier outline to protect against blowout and early softening. During consultation bring a healed portfolio that shows similar scale on the wrist and ask about line weight in millimeters so the artist can match healed examples. Session time is usually 20 to 40 minutes and pain is low to moderate. To show it off, pair with a thin chain bracelet on the opposite wrist and a minimalist watch on the non-tattoo wrist.
2. Micro-Realism Bee on the Inner Forearm
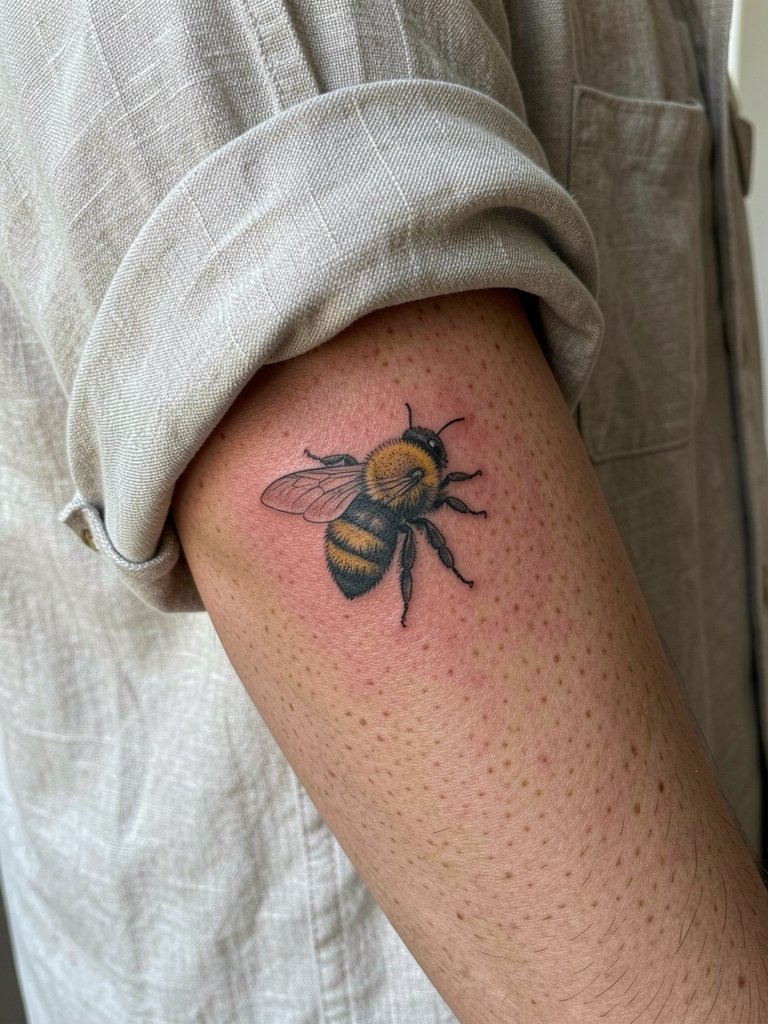
Micro-realism keeps the bee believable at one to two inches by using soft shading rather than tiny lines for texture. For this piece specify that the artist should plan tonal gradients rather than relying on single-needle stripes, and compare healed photos of other micro-realism forearms. Expect a 30 to 60 minute session and a possible touch-up at the one-year mark if yellow accents fade. People often over-detail the wings; leave negative space so the abdomen stripes remain crisp. Style it with a rolled-sleeve linen shirt and a linen button down for casual wear that highlights the palm-up placement.
3. Bumble Bee with a Tiny Flower Accent on the Outer Forearm
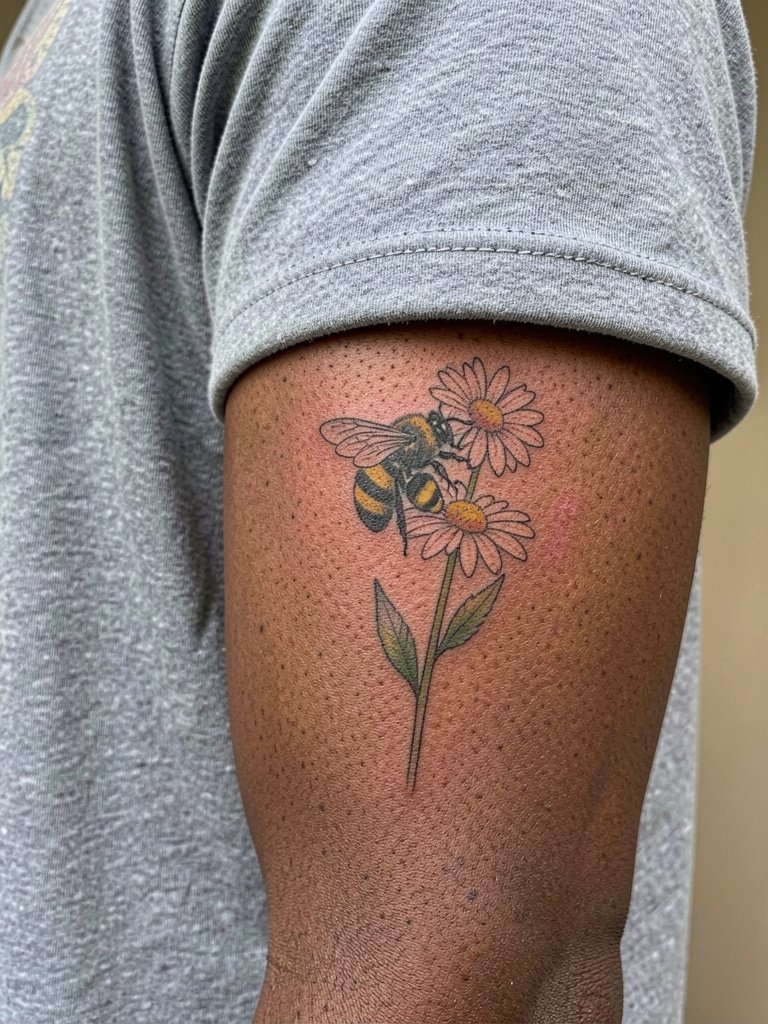
Pairing a tiny bloom with the bee gives the composition an anchor that helps the eye read the piece at small scale. Ask the artist which flower silhouette reads best at one inch and show a reference of the exact petal shape and scale you want. A common mistake is squeezing too many petals into the space, which forces the shading into an indistinct grey. The outer forearm tolerates slightly denser detail and photographs well. Session time is generally 30 to 45 minutes. For outfits, wear a relaxed fit tee or an open overshirt so the motif sits cleanly against solid fabric.
4. Minimalist Queen Bee Icon Behind the Ear
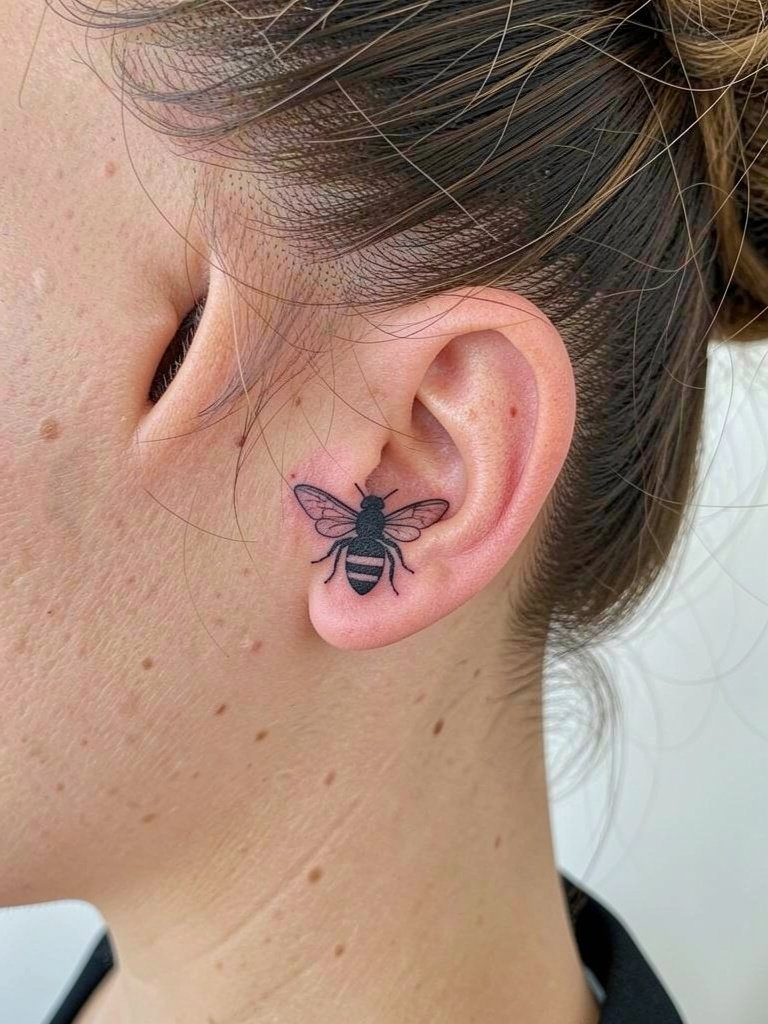
Behind-the-ear placements work best with bold, simplified shapes because the canvas is tiny and experiences minimal friction. Specify a solid silhouette instead of detailed linework so the bee retains identity on short hair days. A frequent error is trying to fit script or tiny stripes into that zone, which blurs quickly. Expect low pain and a short 15 to 25 minute session. This spot is subtle when hair is down and pops with an updo. If you want a delicate accessory, wear a dainty necklace that leaves the area behind the ear visible.
5. Cute Cartoon Bumble Bee Flash on the Calf
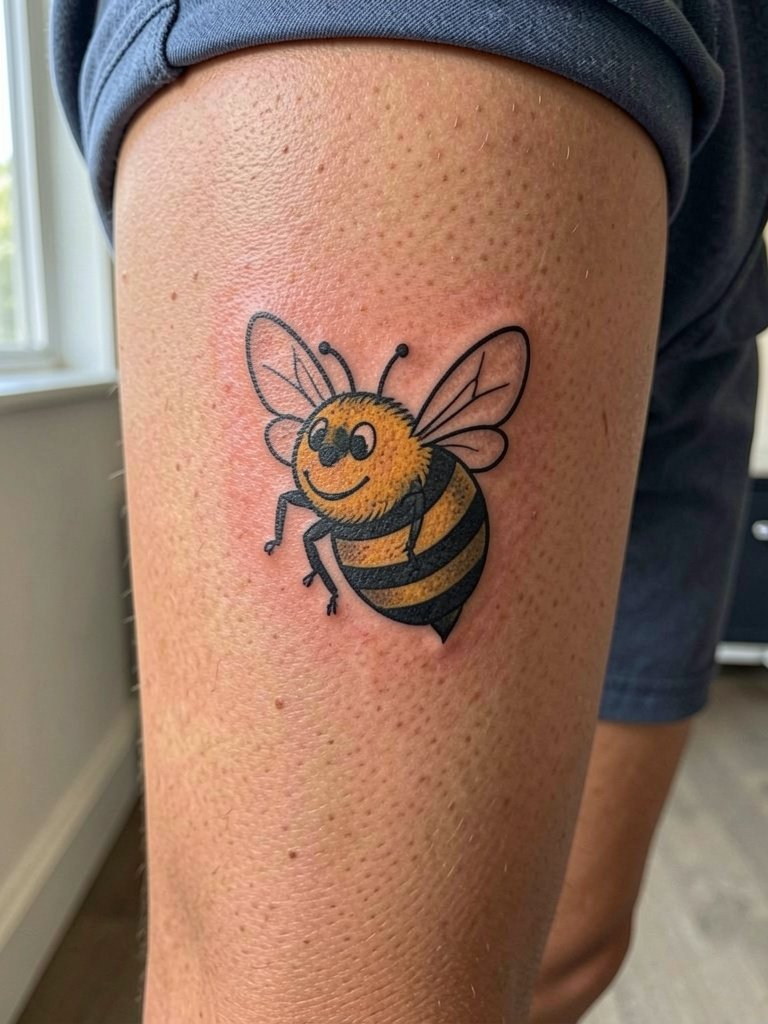
Cartoon flash makes a tiny bee feel playful and reads well on the calf where there is more room to keep proportion. Decide before the session if you want flat comic fills or textured shading, because those choices affect session time and the look at two years. A common mistake is choosing too many facial features that read as clutter at small scale. Calf pieces tolerate saturated color and tend to age better than wrist work. For session comfort and showing off afterwards, wear cuffed shorts so the artist can access the area without tight fabric.
6. Honeycomb Accent with a Small Bee on the Upper Arm
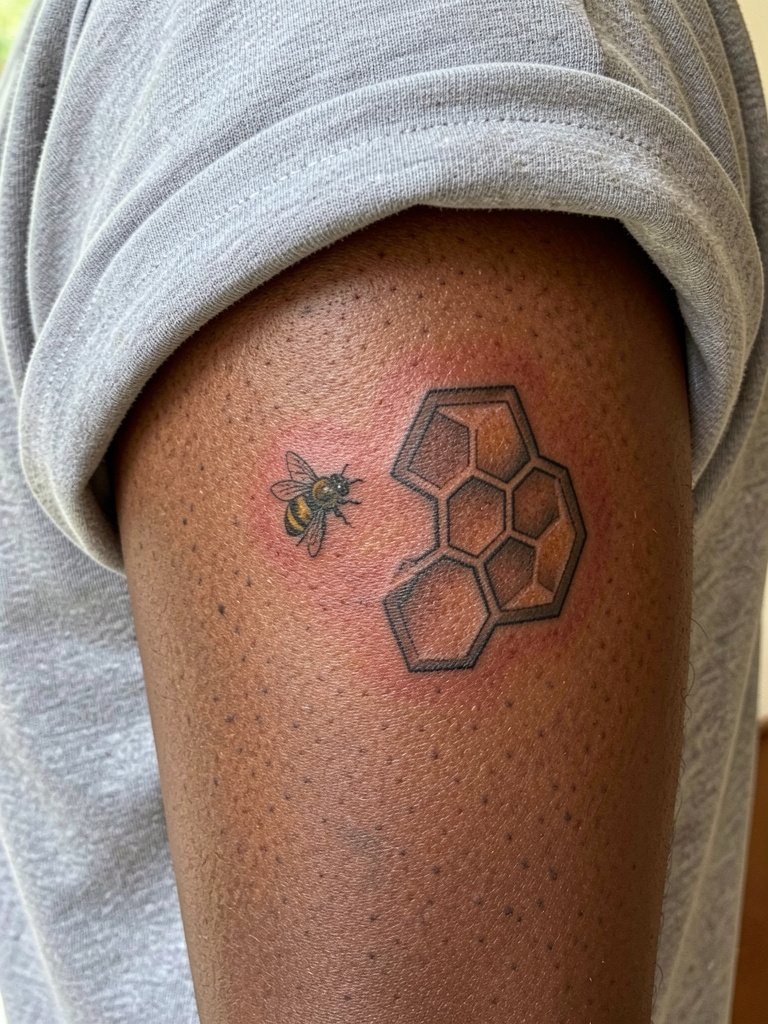
Adding a simple hexagon or honey drip stabilizes the composition and reduces the temptation to micro-detail the bee itself. Tell the artist to reserve the honeycomb as a graphic element with clear negative space so it does not fight with the insect. One mistake is shading each hex too finely, which makes the patch look muddy at small scale. Upper arm skin tolerates slightly firmer needles, and a session runs 30 to 50 minutes. For warm-weather visibility, pair the placement with a short sleeve tee that stops above the upper arm.
Heal Smart
The wrist, calf, and upper arm pieces above each have different first-week needs, so a compact set of session-day and healing aids helps avoid fussing with the fresh ink.
- Stencil transfer paper kit. Lets you test placement and exact line weight on the skin before the needle goes near, which is useful for tiny wing details and wrist wraps.
- Topical numbing cream. Applied per instructions before an ankle or rib session reduces discomfort for sensitive zones without changing the artist’s depth work.
- Thin protective film roll. Useful when a fresh ankle or wrist tattoo will face friction from socks or daily hand washing in the first days.
- Fragrance-free gentle body wash. Cleanses healing skin without added dyes or perfumes that can irritate delicate linework.
- Aquaphor healing ointment. A thin layer during the very first 48 hours keeps fine-line work from crusting excessively and might preserve crisp edges for long-term clarity.
7. Blackwork Bumble Bee on the Ankle
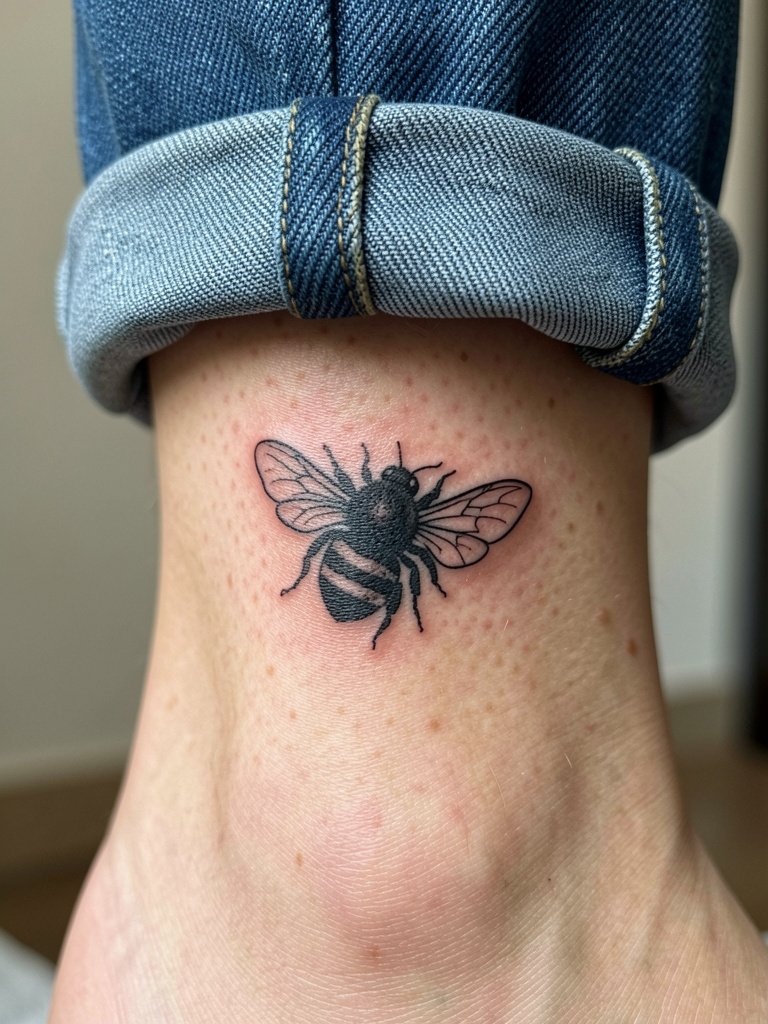
Blackwork is ideal for small pieces on high-friction spots like the ankle because the high contrast resists early softening. If you worry about longevity, request bold fills and crisp outer edge definition. A common error is attempting thin stripes inside the abdomen on an ankle bee, which can bleed into an indistinct patch. The session is short and relatively low pain but plan for a protective sock-free day after the appointment. Styling tip: ankle tattoos look great with ankle strap sandals in summer when you want them visible.
8. Tiny Bee with Memorial Date on the Collarbone
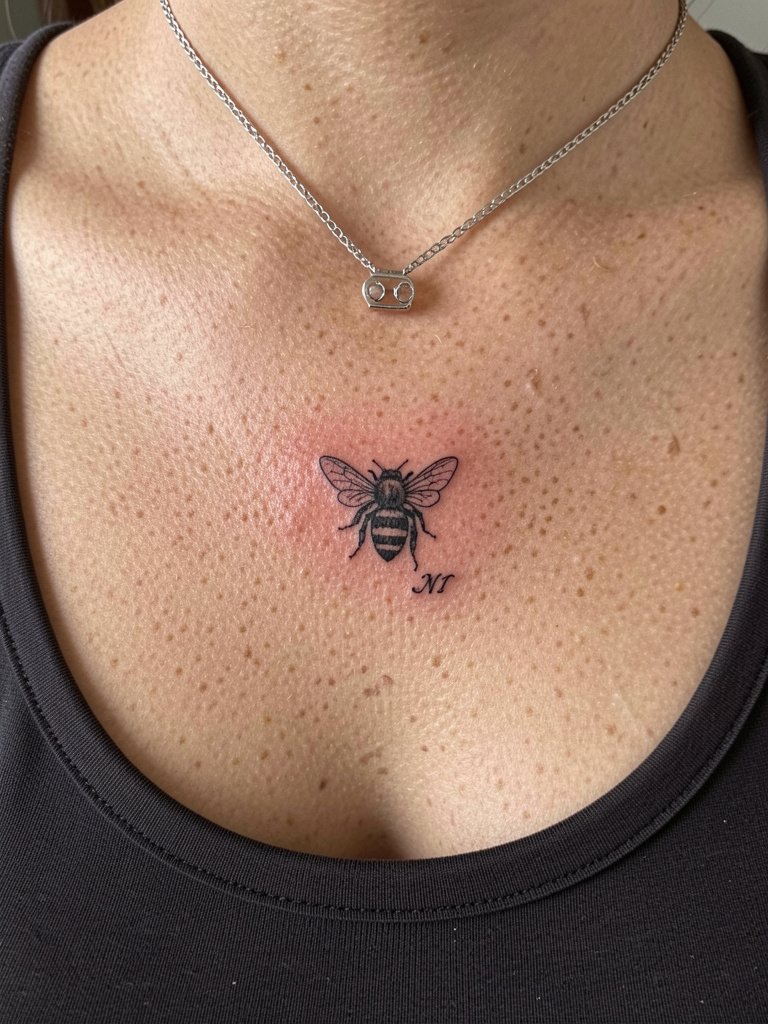
When pairing a small bee with a date, exact letterform choice matters for legibility at tiny scale. Provide the exact numerals you want and ask the artist to show the script scaled to the bee so you can confirm readability. A frequent mistake is using thin micro-script that disappears after a year. Collarbone skin can be slightly more sensitive and a session may run 30 to 45 minutes. For evenings out, wear a scoop-neck top that frames the area while avoiding necklaces rubbing the fresh ink.
9. Watercolor Yellow Wash Bee on the Shoulder Blade
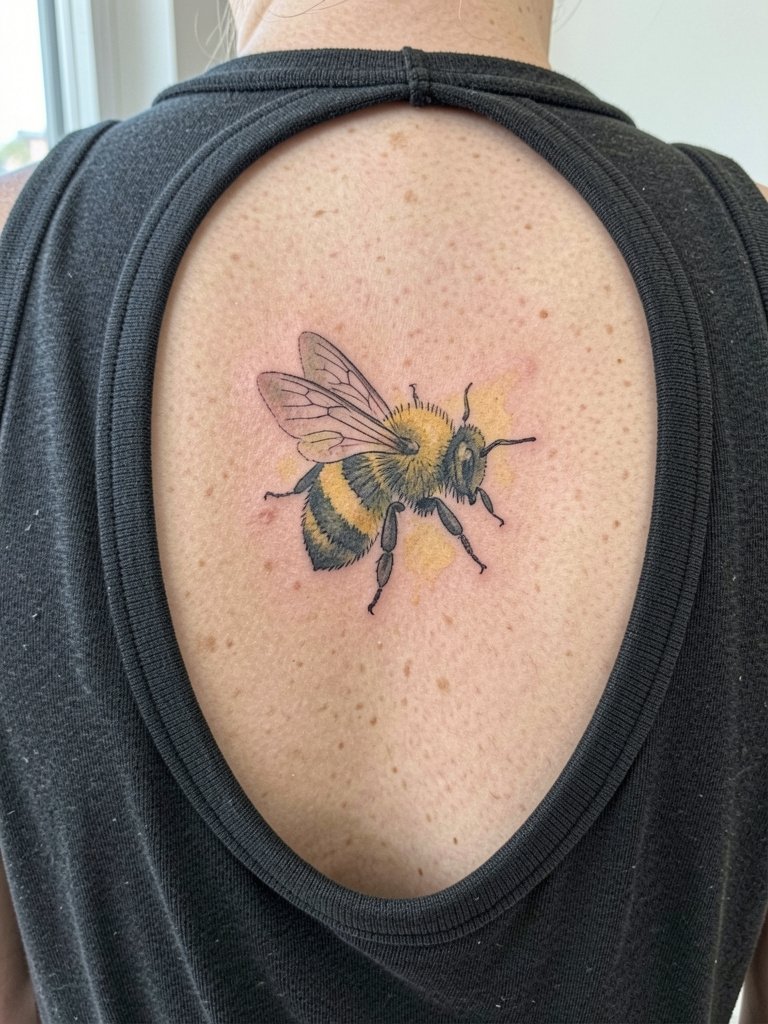
Color on tiny bees is divisive. One camp embraces a little yellow wash because it signals the insect at a glance and keeps the piece cheerful. The other camp prefers black and grey for predictability, noting that tiny yellow can fade or blur faster on certain skin tones. If you choose color, expect touch-ups sooner and ask the artist about pigment saturation and layering. Shoulder blade skin holds color well and allows the wash to breathe. Wear an open-back tank top on the day of the session and show it off later with a wide-back tank.
10. Patchwork Bee Flash with Stars on the Wrist
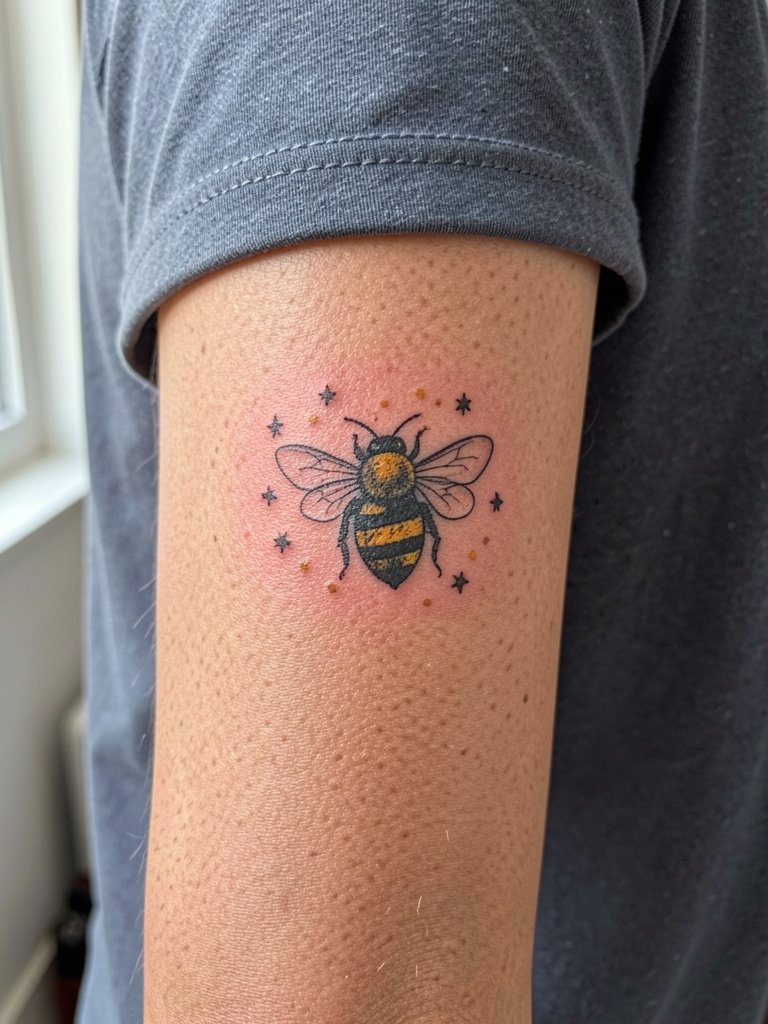
Patchwork and micro-collection styles allow you to add a bee as one of several tiny motifs. Keep the bee graphic and the filler elements sparse so each small motif reads independently. A common misstep is trying to cram too many stars into a one-inch space. The wrist is visible and photographs well, but expect higher wash from wrist motion over years. For daily wear that highlights the patchwork, consider a thin chain bracelet set on the opposite wrist to balance the look.
11. Bumble Bee Perched on a Flower Stem for a Vertical Read
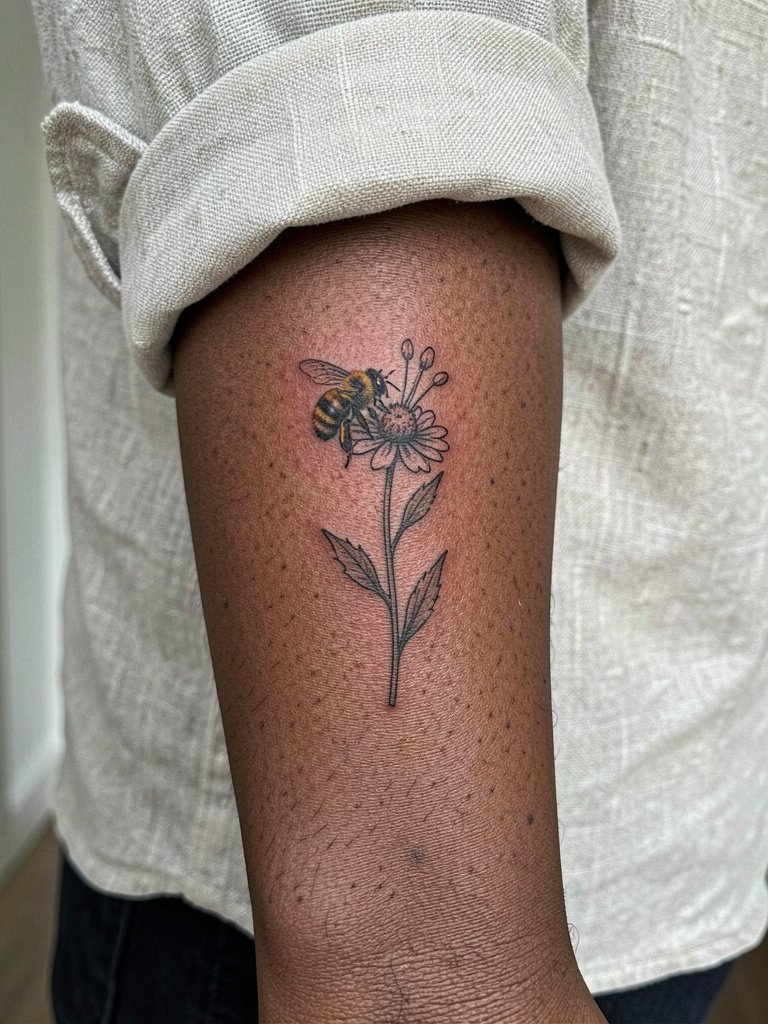
Vertical compositions follow the limb and make a small design feel intentional rather than tacked on. Ask the artist to draw the stem with a slight curve that follows arm flow so the bee sits naturally when the arm rests. The mistake to avoid is forcing a horizontal composition into a narrow vertical canvas. Inner forearm texture preserves detail well and a single session usually finishes this. Style with rolled cuff shirts or linen tops so the floral line is visible.
12. Tiny Cover-Up Bee for Faded Marks
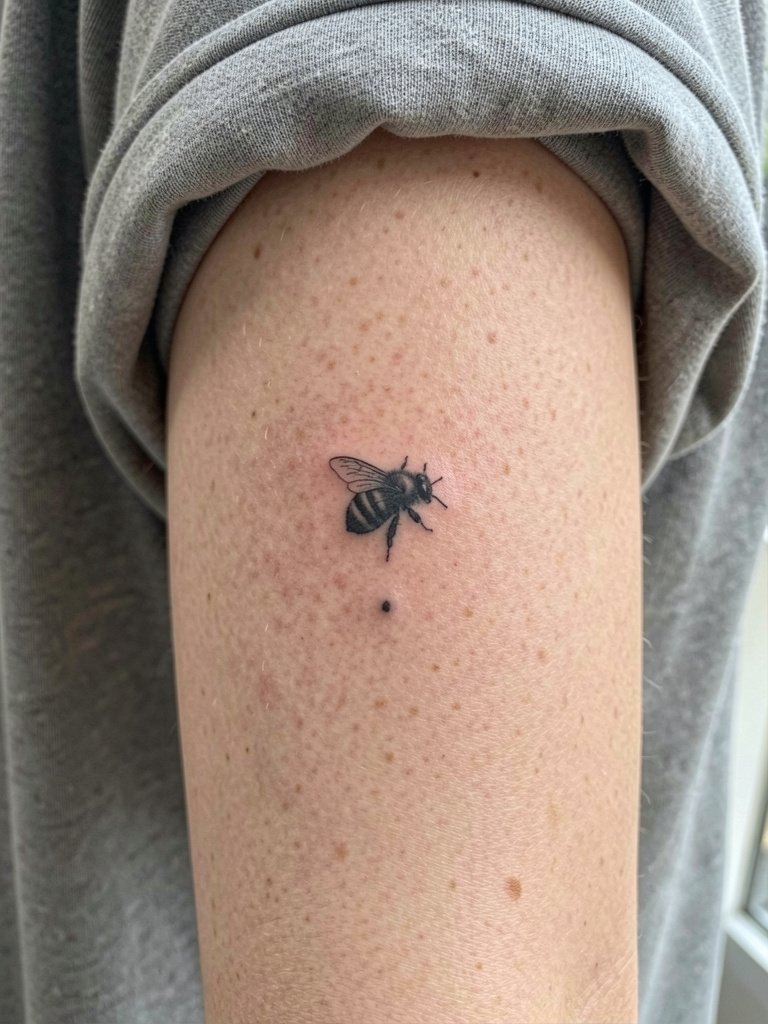
Small bees make practical micro cover-ups for dots and tiny faded symbols because their natural dark zones can mask pigments beneath the surface. During consultation point out the old mark and let the artist map how much darker shading is needed. A frequent error is asking only for a lighter, prettier bee over dark ink; dark shading is often necessary to hide the old colors. Expect a slightly longer session if the artist needs to saturate over existing pigment, and plan a follow-up touch-up if some underlying tones show through.
13. Traditional-Style Bee with Saturated Yellow on the Outer Forearm
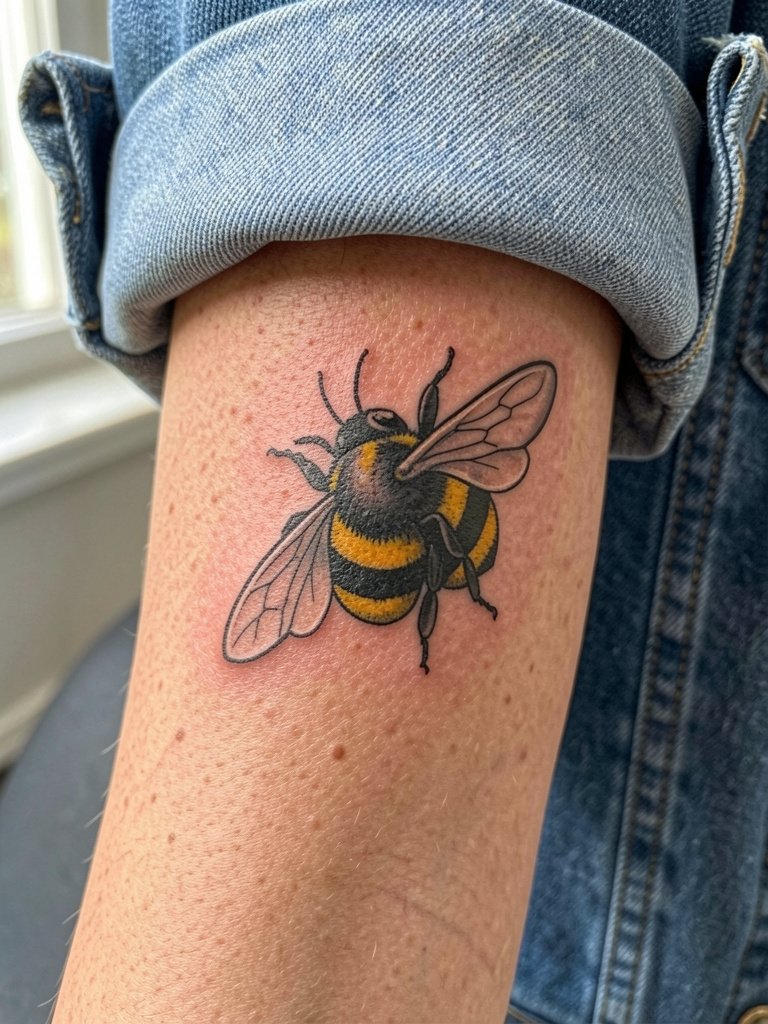
Traditional flash holds up because clear outlines and dense saturation give structure that resists blur. If you prefer this look, request bold outer contours and flat color fills. A common mistake is asking for feathered shading that undermines the traditional readability. Outer forearm work ages predictably and photographs well under solid fabrics. For casual layering, wear a denim jacket open to frame the piece against plain tees.
14. Tiny Bee with Honey Pot Motif on the Lateral Hip Bone
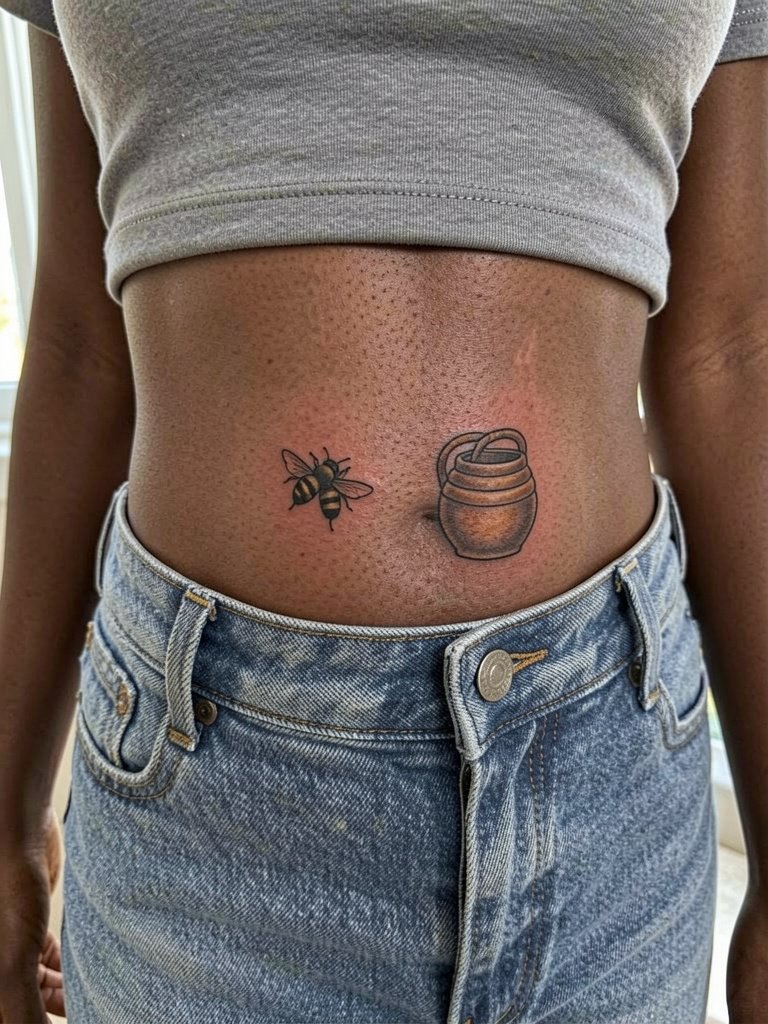
Hip placements let you pair the bee with small props like a honey pot or hexagon frame without cramming the design. Tell the artist whether you plan occasional visibility in swimwear so they size the piece for both modest exposure and private wear. The biggest mistake is placing the bee too close to the waistband where friction causes fading. Session wear should avoid tight waistbands; on appointment day wear low-rise or loose-waist bottoms that can be adjusted easily.
15. Fine Line Bee with Tiny Script on the Inner Forearm

Combining script with a small bee requires exact spacing decisions. Provide the exact word or date and ask the artist to show the script size next to the bee in the stencil so you confirm legibility. A common error is selecting thin, ornate scripts that fade into a line in a year. Inner forearm heals well and keeps detail, but plan for a one-year touch-up on scripts. For a restrained look, wear a minimal bangles set on the opposite arm so the script remains the focal point.
16. Watercolor Wash with Stipple Wing Accents on the Shoulder
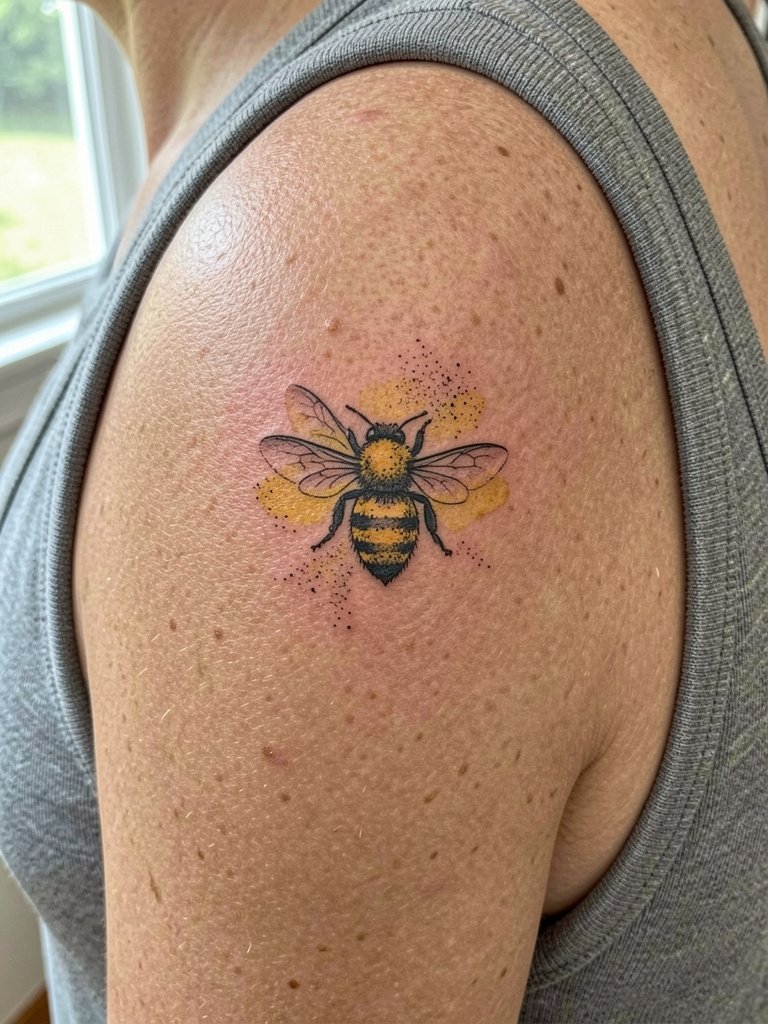
Watercolor accents can be striking on the shoulder where the pigment has a little more room to spread visually. Discuss how saturated you want the yellow wash to be and whether stipple shading will define the wing edges. A mistake is expecting watercolor to behave like solid color; it will soften and sometimes feather. Shoulders are lower risk for blowout and the session is comfortable. For warm weather, style the area with tank tops that leave the shoulder visible.
17. Patch-Style Bee with Tiny Stars on the Ankle
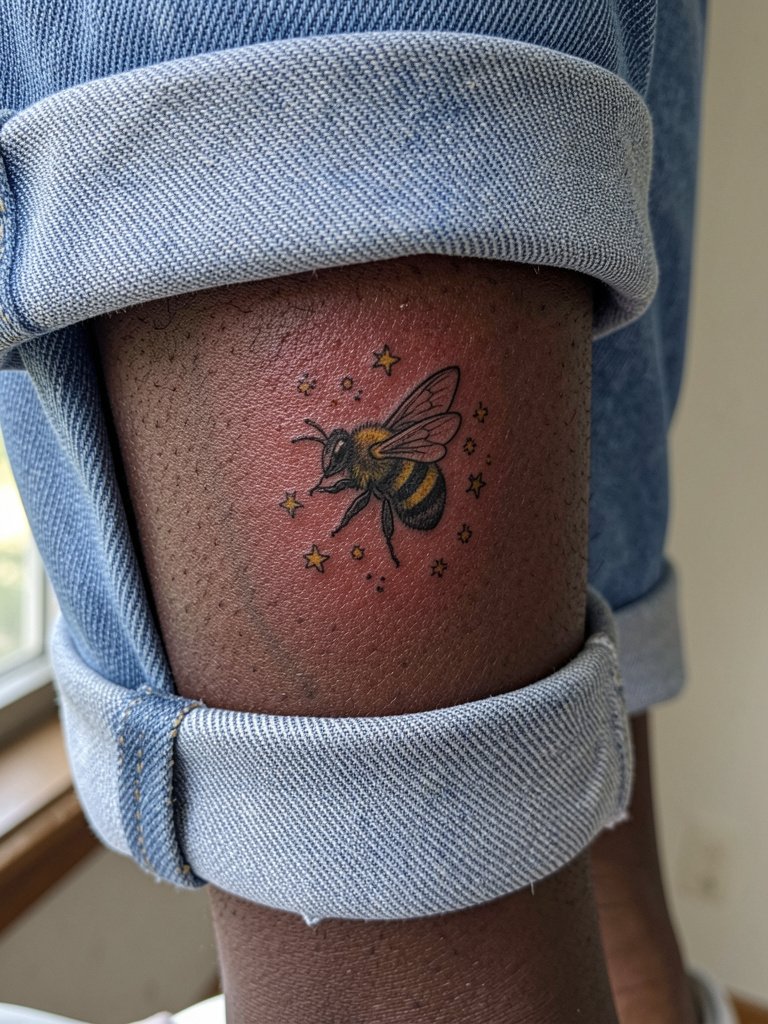
A micro patch with stars reads as a collected motif when viewed alongside other mementos. For an ankle piece, confirm the negative space between the bee and stars so nothing merges after healing. Many people try to add too many filler dots and end up with a grey smudge. Ankle friction means protective overnight habits matter. When you want to show it off, pair with cropped jeans and low shoes like low profile sneakers.
18. Tiny Stipple-Shaded Bee on the Back of the Arm
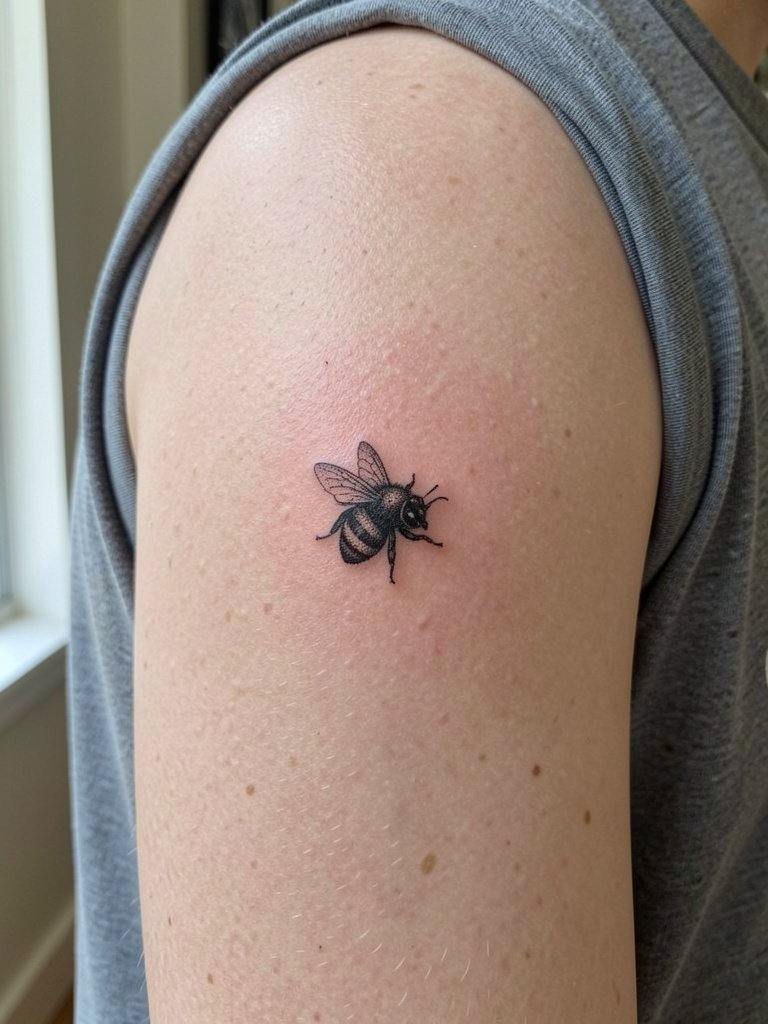
Stipple work gives texture without relying on continuous lines, which can be an advantage when you want tiny tonal interest. Make clear to the artist how dense you want the dots and ask to see healed stipple examples. A mistake is asking for stippling at too small a scale where individual dots merge. The back of the arm experiences occasional rubbing from backpacks, so avoid placing the bee where straps hit. Wear a muscle tee on session day for easy access.
19. Small Geometric Bee Silhouette on the Ribcage
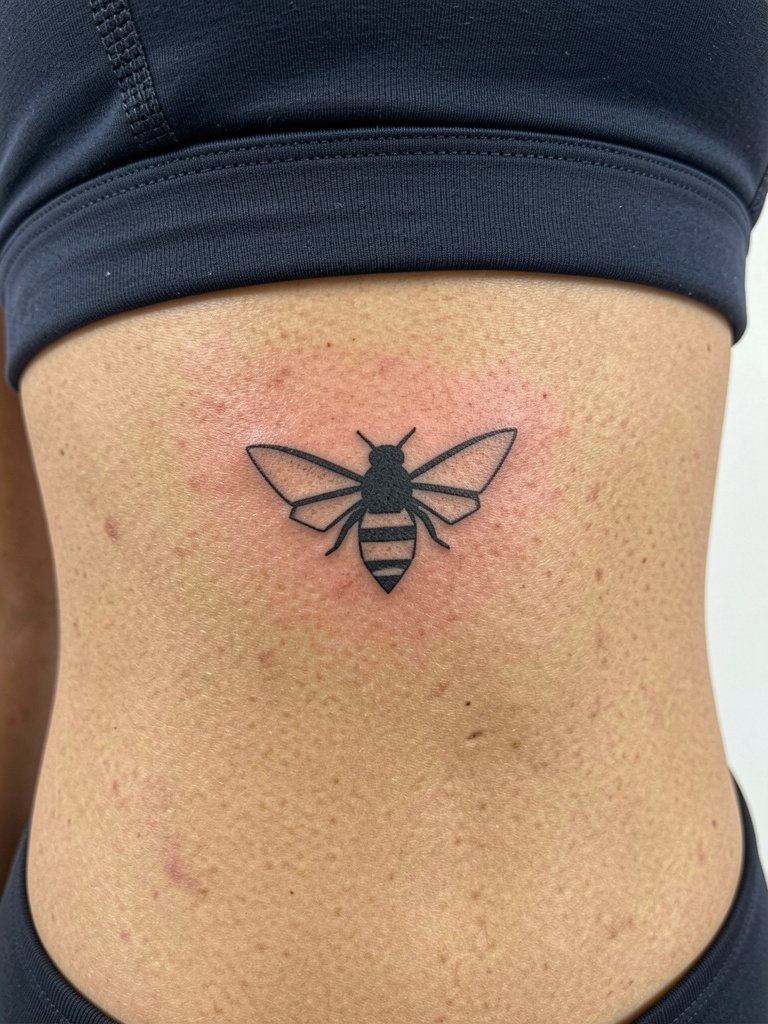
Ribcage skin moves and stretches with breathing, so minimal geometric silhouettes can work if the artist plans spacing properly. Artists split into two camps on this: some say fine-line ribs blur within two years because of skin motion. The other camp says slightly wider spacing and careful needle depth lets fine geometry hold up, and they will show healed photos to support that. If you choose ribs, allow for a longer session and expect higher immediate discomfort. For concealable wear, plan outfits that keep the area covered during the first two weeks.
20. Tiny Bee with Hexagon Frame on the Outer Thigh
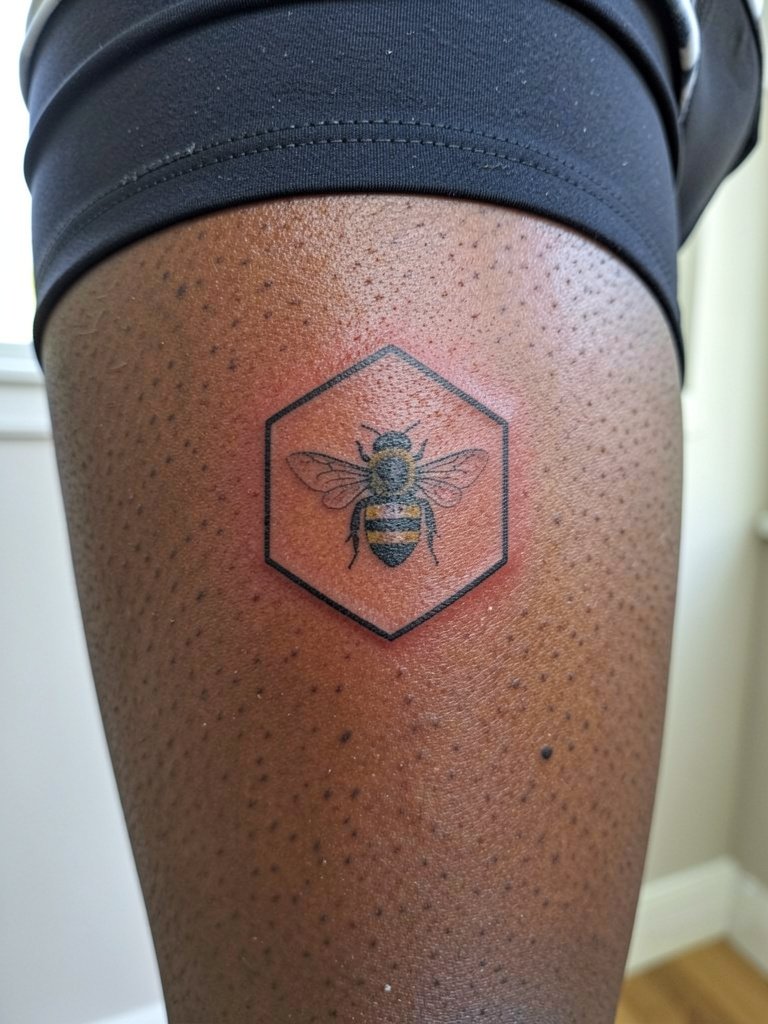
Outer thigh gives you a private canvas to add framing elements like hexagons without crowding the insect. Tell the artist exactly how much negative space you want inside the frame so the bee does not appear cramped when clothed. A common error is shrinking the frame to the point the bee becomes a speck under fabric. Thigh skin is forgiving and the session is comfortable. For occasional reveal, wear midi skirts with a side slit that let the placement peek through.
21. Tiny Bee with Pollen Dots on the Calf
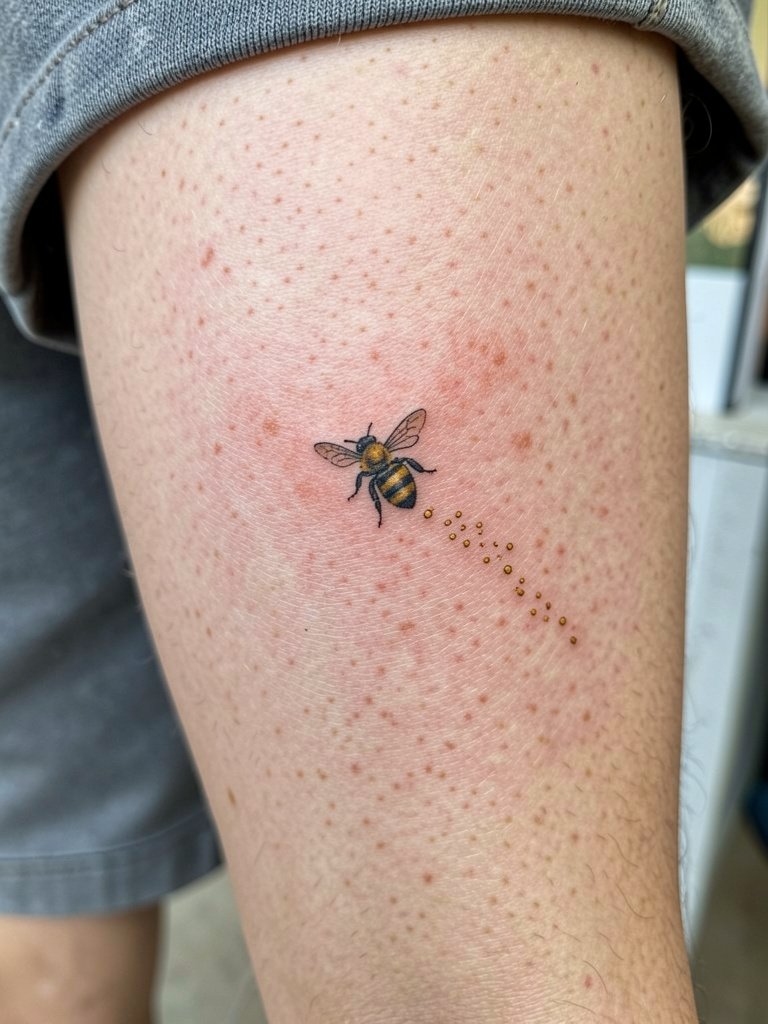
A trail of small pollen dots adds motion and reads well down the length of the calf. Plan the dot spacing so the trail remains visually balanced at small scale. The mistake is scattering dots irregularly, which makes the composition read messy. Calf pieces are more visible with shorts and tolerate color if desired. For visibility, pair with cuffed shorts that stop above the calf.
22. Tiny Queen Bee Icon on the Side Neck
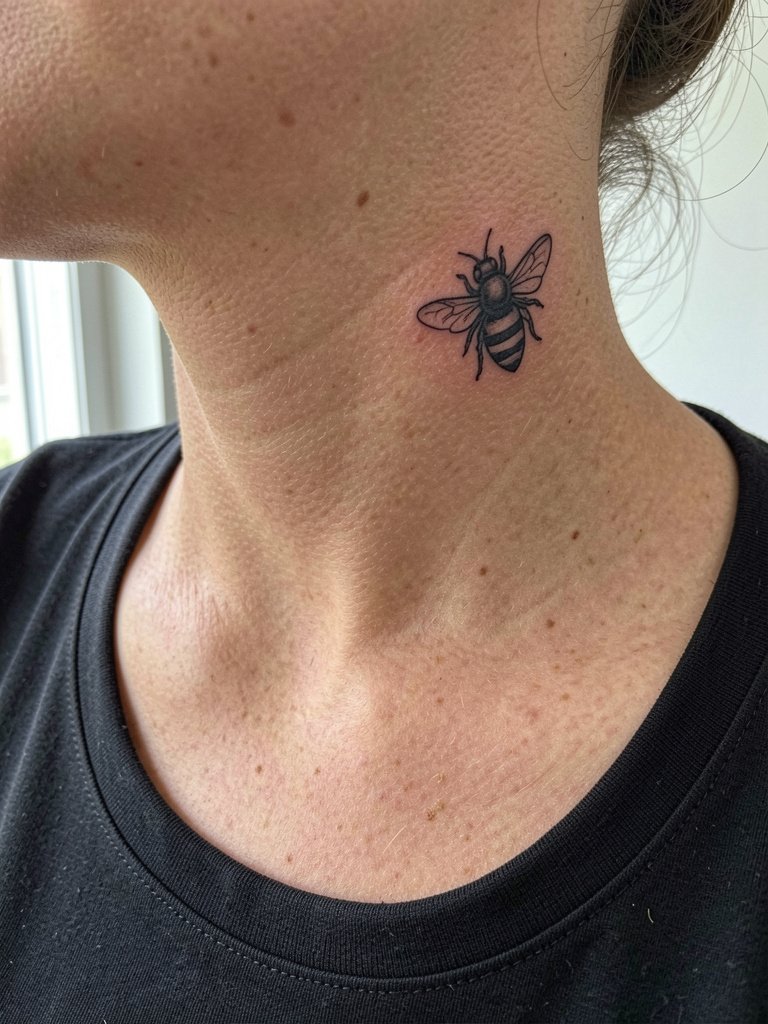
Neck placements show immediately and call for strong, simple forms that hold up. Decide whether you want the piece highly visible or just peeking above collars and make that clear in the consultation. A common misstep is picking overly ornate details that blur on the thin neck skin. Pain is higher here than on the forearm, and the session runs 20 to 40 minutes. For style, wear scoop or wide-neck tops that let the side neck breathe and display the icon, such as a scoop neck shirt.
23. Tiny Bee with Honey Drip on the Upper Arm
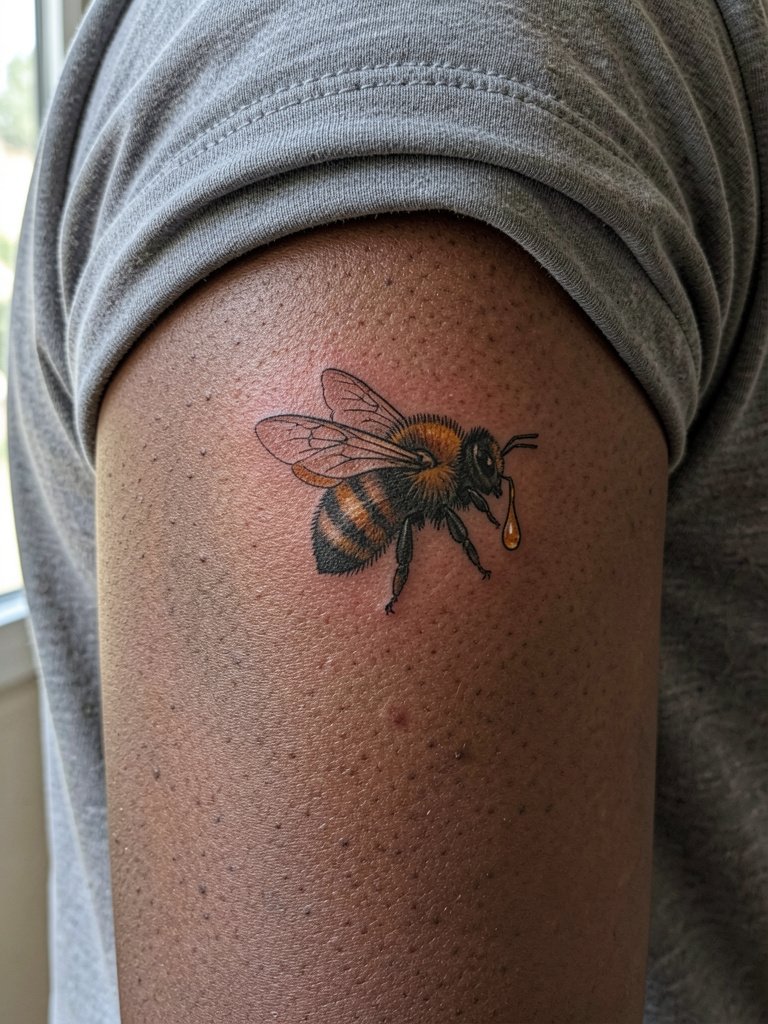
A honey drip adds charm and a vertical read without expanding the piece. Ask the artist to place the drip so gravity looks natural on the limb while keeping the main bee compact. Overdoing the drip length is a common error and can age into a streak. Upper arm offers moderate concealability with a sleeve. For session comfort, choose a short sleeve tee that the artist can slide up easily.
24. Minimalist Black Silhouette on the Ankle with Tiny Pollen Line
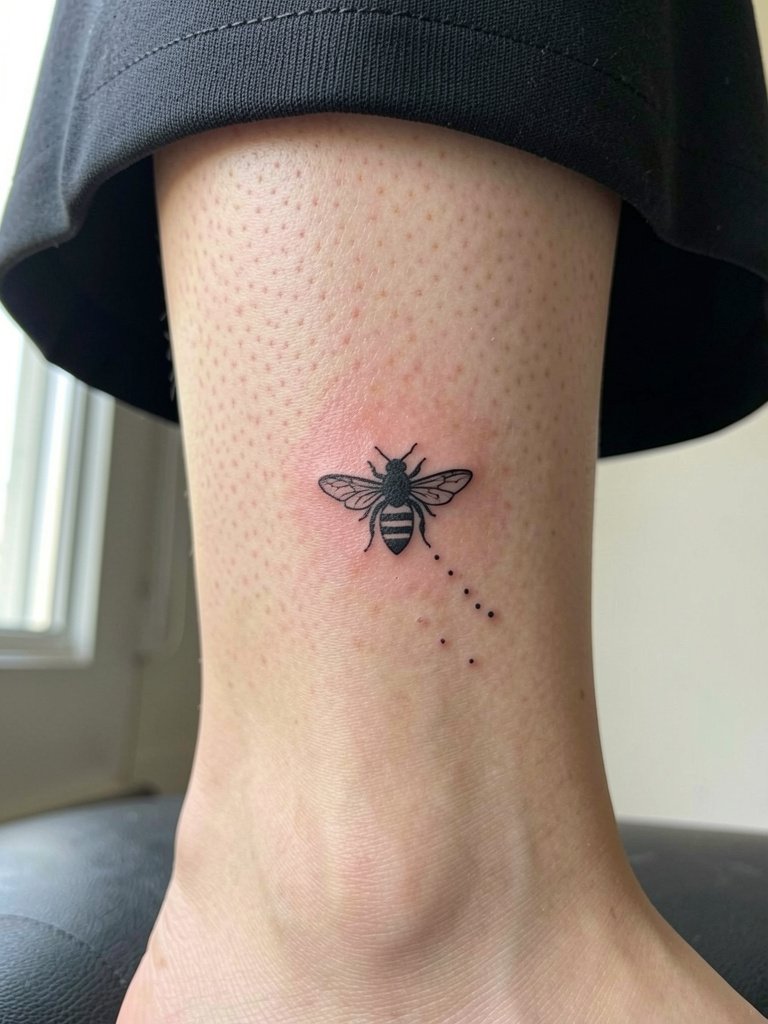
Silhouettes at the ankle are bold choices that read from a distance and age predictably. Confirm that the pollen trail has clear spacing so it does not collapse into a line after healing. The most common mistake is over-refining the silhouette edges; keep the outer contour crisp and slightly thick. Ankle visibility pairs well with ankle strap sandals for summer styling.
25. Tiny Bee with Stipple Flower on the Inner Thigh
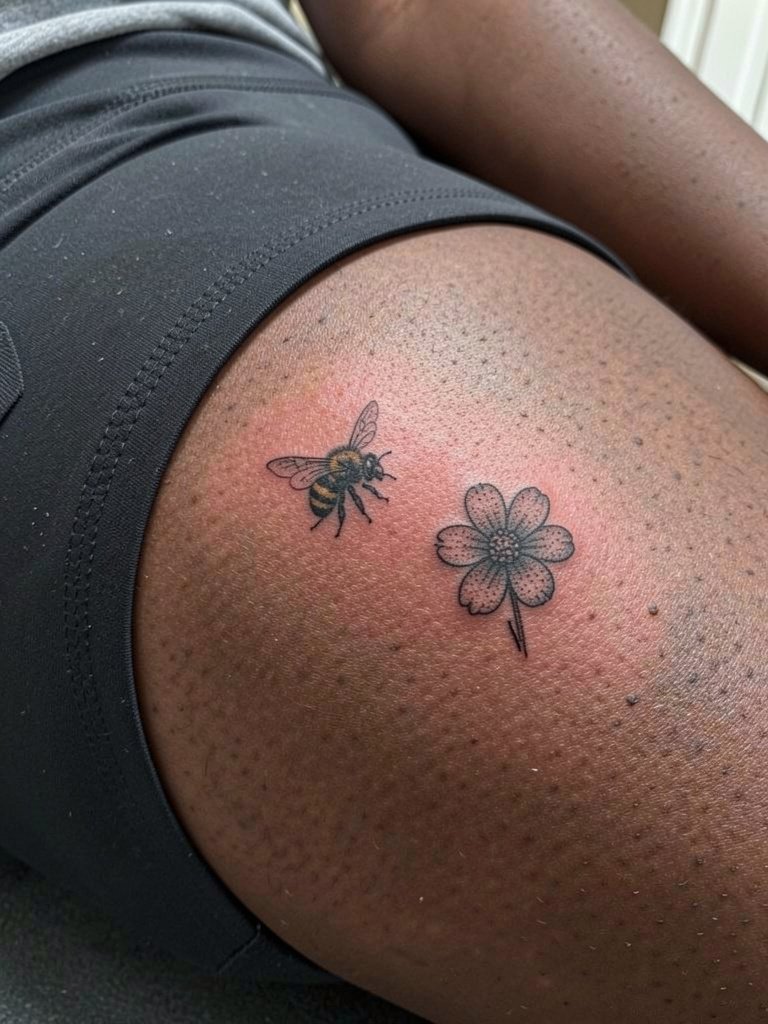
Inner thigh placements are intimate and grant more freedom for texture work like stippling. Make clear whether the design should be private or occasionally visible so the artist sizes it accordingly. A usual error is placing the bee too close to underwear lines, which increases rubbing and fading. Session comfort is good if you wear shorts that allow easy access without shifting fabric.
26. Micro-Realism Bee on the Collarbone Bar
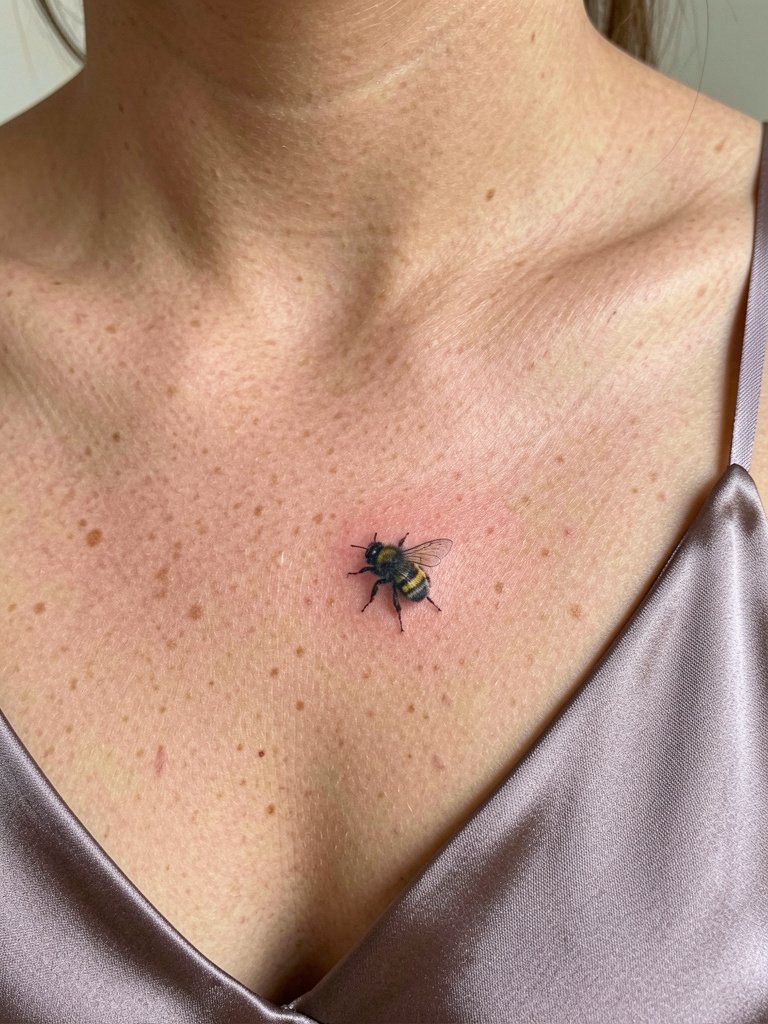
Collarbone bars are flattering places for tidy micro-realism because they catch light and photograph cleanly. Ask to see healed micro-realism chest pieces from the artist to ensure the tonal approach works on that plane. A mistake is compressing too much fine shading into a narrow horizontal strip. Expect higher sensitivity and plan a 30 to 60 minute session. For evening looks, try a satin camisole that frames the area while avoiding necklaces on the fresh ink.
27. Tiny Bee with Geometric Frame on the Outer Wrist
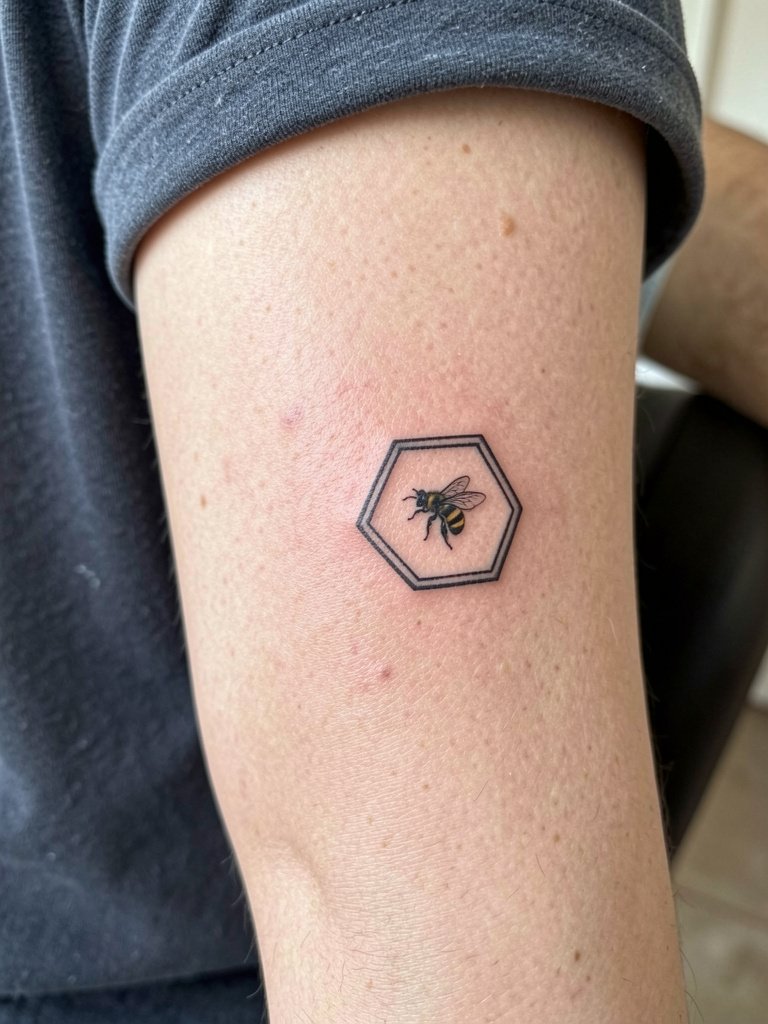
Geometric framing on the outer wrist creates a compact badge effect that photographs crisply and is easier to size than freeform bees. During consultation ask the artist to map the frame at actual wrist circumference to confirm fit. A common error is picking a frame that interferes with wrist motion or sits over a tendon. The session is short and the area is high visibility. For showing this placement, wear a minimalist watch on the opposite wrist so the geometric piece reads as a paired detail.
Frequently Asked Questions
Q: How much does a small bumble bee tattoo typically cost?
A: Price depends on shop minimums and whether the design is custom or flash, but small bee work commonly lands in a range that reflects a shop minimum plus time. Expect a starting range for tiny custom pieces that often falls into a modest bracket and budget extra for touch-ups if color is involved. Tipping in the U.S. commonly runs about fifteen to twenty five percent of the service.
Q: Will a tiny bee with yellow accents fade faster than black and grey?
A: Color pigments, particularly yellows, tend to soften sooner on small work, so clients choosing yellow should expect possible touch-ups earlier than with black and grey. If longevity is the priority, ask the artist to use color sparingly for accents and prioritize strong black contour to preserve the design’s shape.
Q: Where can I find healed examples and artists who actually do clean micro bee work?
A: Search location-filtered hashtags on Instagram and TikTok such as #bumblebeetattoo and #microtattoo, then switch to booking platforms or studio pages to view healed portfolios. Reddit communities like r/tattoos and r/tattooadvice also surface healed shots and practical feedback. Focus on healed images rather than fresh photos when you evaluate an artist’s micro work.
Q: Which placements are easiest to hide for work but still show in summer?
A: Lateral hip bone and upper thigh are highly concealable for most workplaces but visible in swimwear or crop cuts. Ankles and outer calves hide under pants in cool months yet become visible with sandals and shorts. Inner forearm and collarbone are easier to show intentionally and will require wardrobe choices if you need occasional concealment.
Q: How should I dress for a session depending on placement?
A: Wear clothing that gives the artist unobstructed access without pulling or exposing other areas. For wrist or forearm pieces, a rolled sleeve button-down works well. For ankle work, wear loose pants or shorts that can be rolled without tugging the skin. For hip and thigh placements choose low-rise or loose-waist bottoms you can adjust without friction.
Q: When is a touch-up likely needed for tiny bee tattoos?
A: Touch-up frequency varies by style and placement. Fine-line work might need a one-year top-up if lines soften. Color accents often require earlier refreshes. Expect a free or low-cost touch-up at many shops within a specific window, but confirm the shop’s policy before booking.
Q: Will a fine-line bee on the ribs or sternum hold up?
A: Artists are divided on this. One camp cautions that ribs and sternum move and stretch with breath so ultra-fine lines blur faster on those plates. The opposing camp argues that with slightly wider spacing and controlled needle depth fine lines can still settle well and they will produce healed examples to back that claim. If you choose chest placements, review healed photos from the artist and allow for a conservative increase in line weight to protect the design.
