
The ribs reward careful choices, not impulse buys. For men who want a piece that reads strong from a distance and still holds up after sweat, gym sessions, and years of shirts rubbing over it, the trick is scale and line decisions that match your body. Read these 27 side-torso options with an eye for how they sit on the curve, what they feel like in the chair, and which wardrobe moves make them look sharp.
1. Full-Length Japanese Dragon Running the Side Torso

Long vertical compositions are the ribcage's natural friend. Plan this as a multistage project so the artist can map the dragon along your curve and adjust scale to your torso length. The session feel for a full side panel runs long and concentrated, so expect multiple visits and plan for breaks between passes. A common mistake is shrinking the dragon to fit a single session, which flattens details and forces heavy touch-ups later. If you want color, ask for saturated fills and slightly heavier outlines to protect contrast during healing. There is a debate about color on ribs. One camp prefers black and grey for lasting contrast. The other camp says color can hold if the piece is large and saturated.
2. Vertical Koi Swimming Down the Ribs
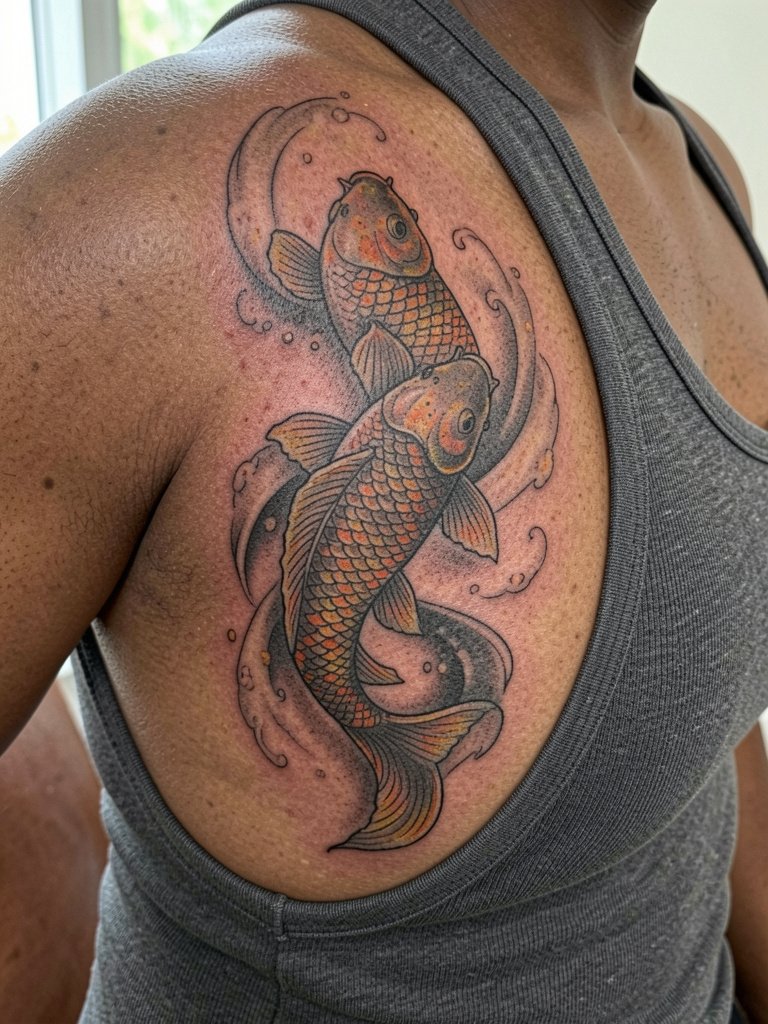
A koi reads as motion when placed vertically on the ribs. For this layout bring reference photos of scale texture you like so the artist can plan scale and spacing. Expect a moderate pain level for the lower rib stretches and plan the first session to cover outline and focal color, with a follow-up for saturation. Small color spots can fade faster under daily friction, so bigger patches of color and deliberate contrast help the design age. For showing it off, pair with oversized black t-shirts for men that let the side peek during summer.
3. Wolf Head in Heavy Black Shading

The rib curve makes a wolf head feel like it is turning toward the hip, which can emphasize mood. This version uses saturated blackwork to preserve strong contrast as it ages. A typical mistake is trying to cram micro-realistic fur into a small rib area. If you want longevity, choose heavier linework and solid blocks of shade, then plan a touch-up in 12 to 18 months. Session time for a medium wolf head is often one to two sessions. For appointments wear a loose button down shirt men you can lift without rubbing the fresh ink.
4. Samurai Mask with Dramatic Contrast
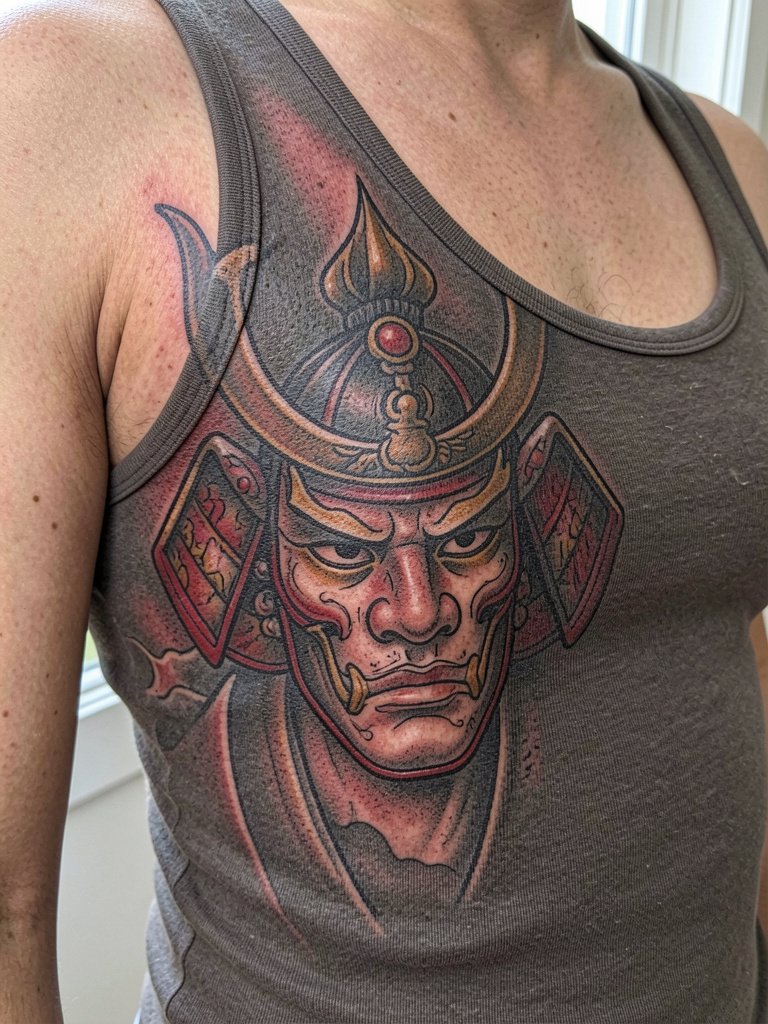
Tall vertical masks follow rib flow well and carry visual weight without needing massive size. During consultation bring reference for contrast and specific color placements so the artist can plan saturation and highlight points. A mistake is asking for tiny ornamental details inside the mask that will blur. Plan the first session for bold outlines and main fills, then a separate session for color layering. For showing off this dramatic piece, a fitted black tee or monochrome layers work best. Try a muscle tank top men on warmer days to let the side torso read cleanly.
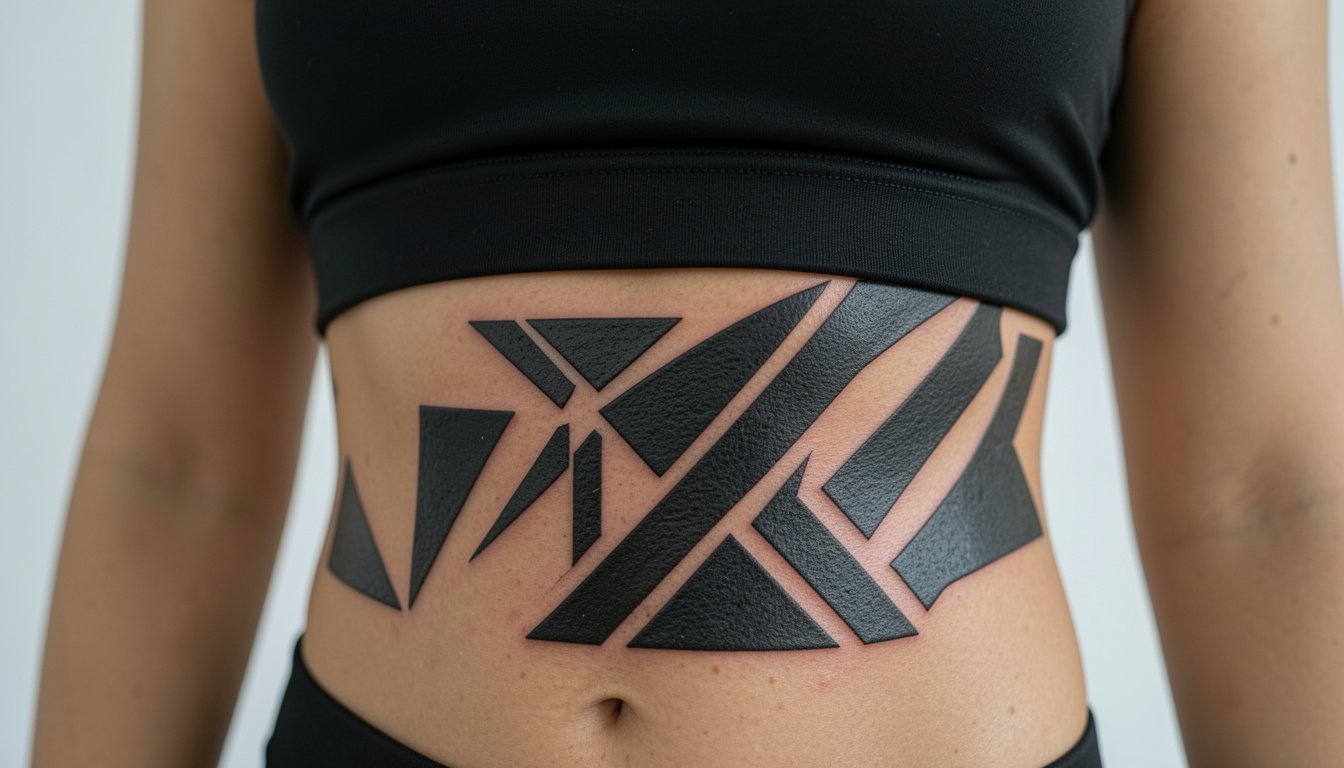
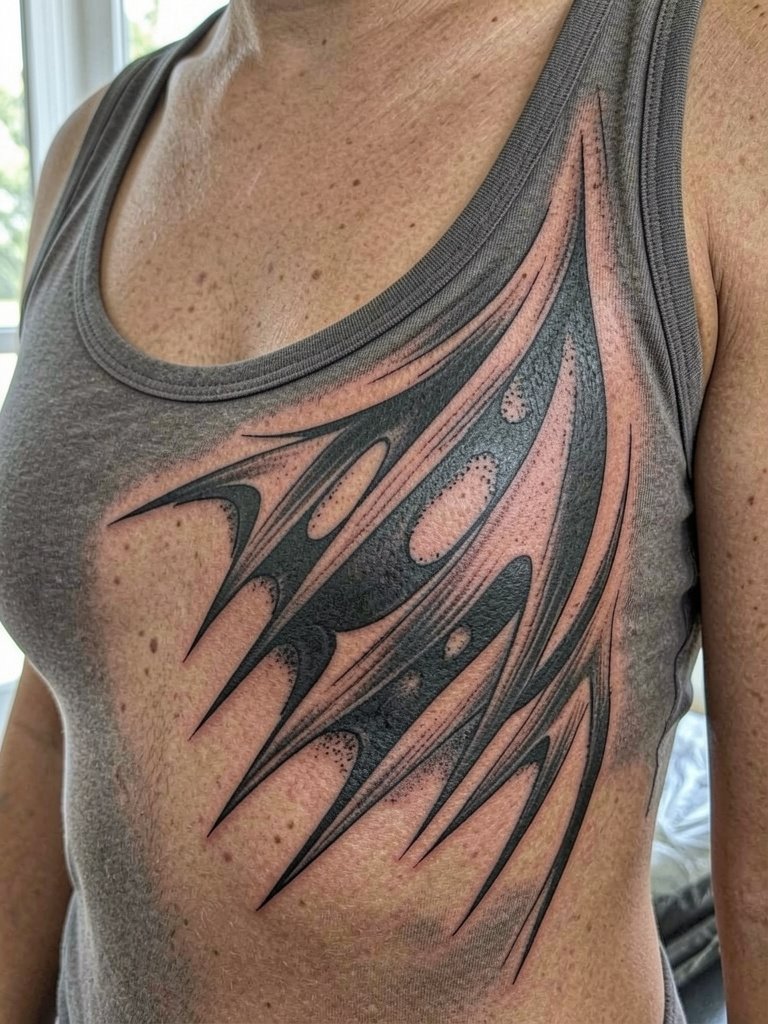
5. Geometric Rib Panel with Sharp Linework
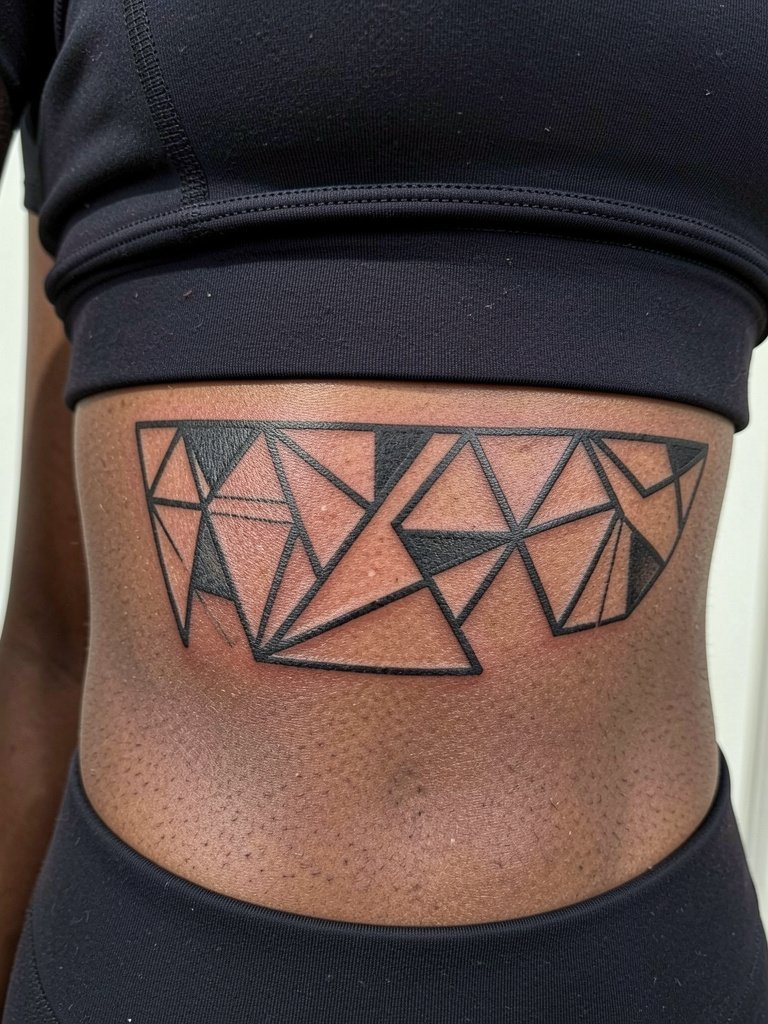
Geometric work demands room. The biggest mistake is going too small, which makes the angles blur as the skin moves. For ribs choose slightly bolder lineweights and let the negative space breathe. Discuss exact line thickness and spacing with the artist using a mock stencil at three different scales so you can see how the pattern reads at two inches and at five inches. For an outfit that frames the structure try oversized black tees men that create a stark backdrop for the crisp geometry.
6. Fine Line Script Wrapping the Ribs
Fine line scripts are intimate on the ribs but they split opinion. One camp argues fine line on ribs blurs fast because breathing and skin stretch fade needle-thin strokes. The other camp says with slightly heavier single-needle work and wider letter spacing it can remain legible for years. If you prefer a script here, bring examples at the exact scale you want and ask the artist to show a healed example in a similar body area. Pain is on the higher side when the needle runs over boney ribs, so plan short sessions and wear a muscle tank top men that allows the artist clear access without fabric rubbing afterward.
7. Coordinates or Date in Narrow Lettering
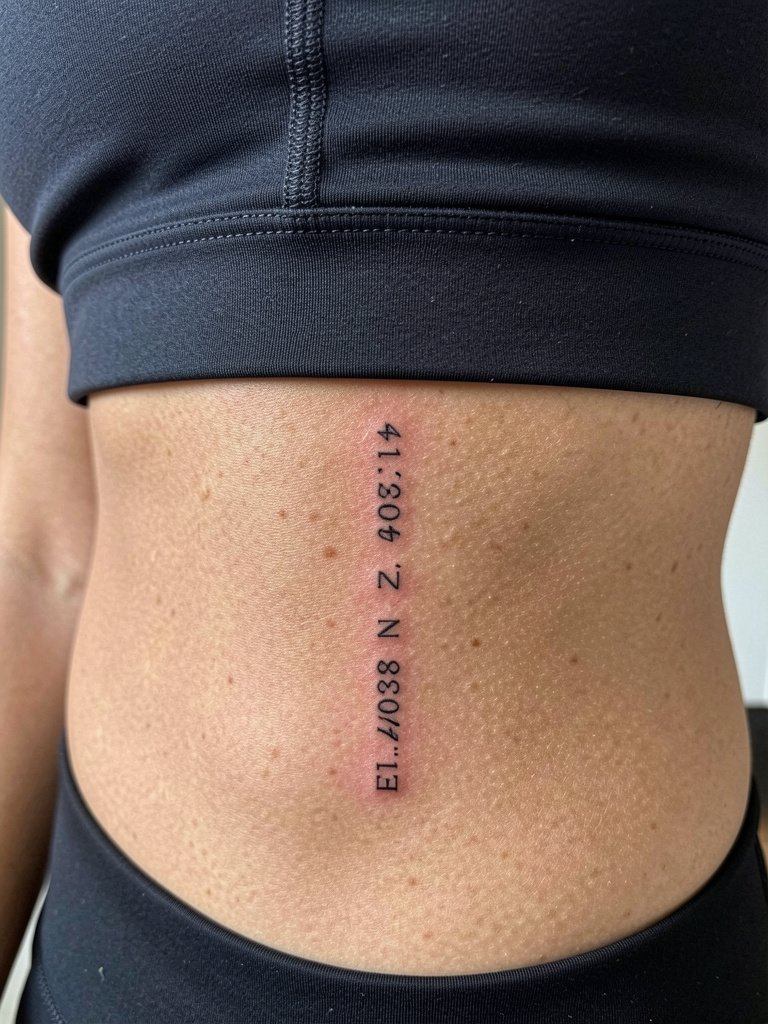
Small data tattoos like coordinates are discreet and private on the ribs. The main aging risk is line weight too thin for the placement. Ask the artist to show a 3-year healed example of a similar font and spacing so you can avoid fragile lettering. For the appointment wear a loose button down shirt men that lifts cleanly and does not rub during the initial healing days. Touch-up needs are common for fine lettering, expect one follow-up within 12 to 24 months if ink settles.
8. Mountain Linework Across the Upper Rib
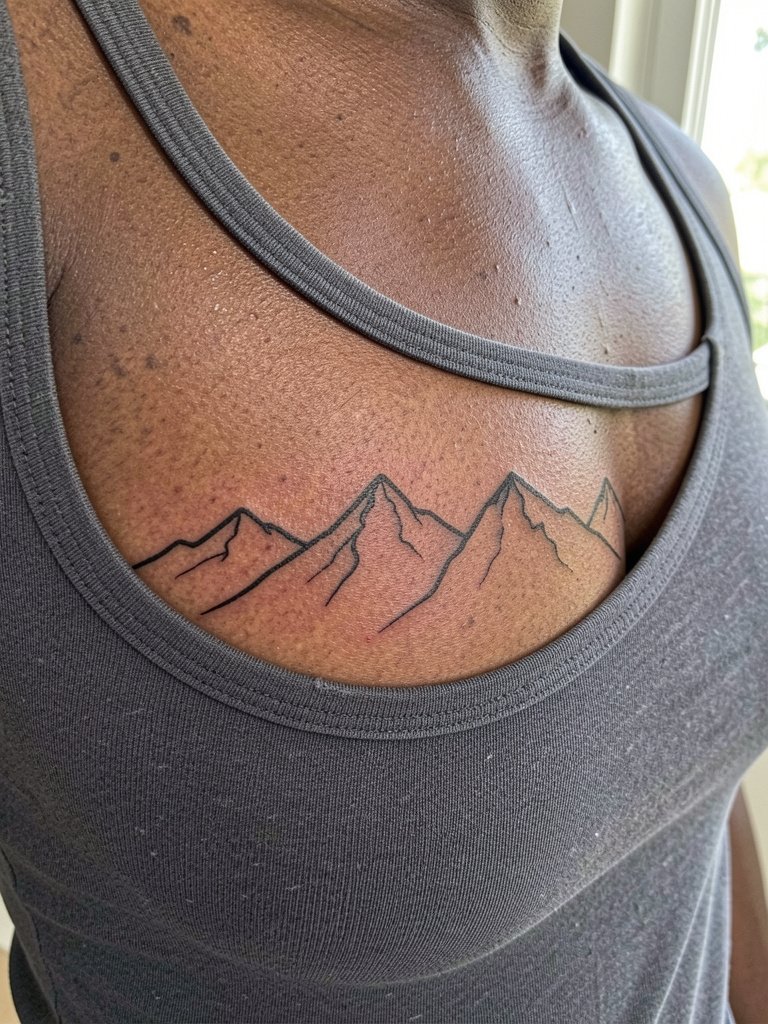
A horizontal mountain band reads clean against the rib line and tucks easily under shirts. This is a low-commitment way to use the area with modest pain and quick healing. The common mistake is making the peaks too fine. Ask for a slightly stronger line weight to mitigate stretching and plan to have the artist show a stencil on your body to check the fit. For layering with clothes, neutral shirts and open overshirts highlight the silhouette. Consider the oversized black tee men as a go-to top for the first few weeks when you want the piece to show without tight seams across the ribs.
9. Crescent Moon and Scattered Star Cluster
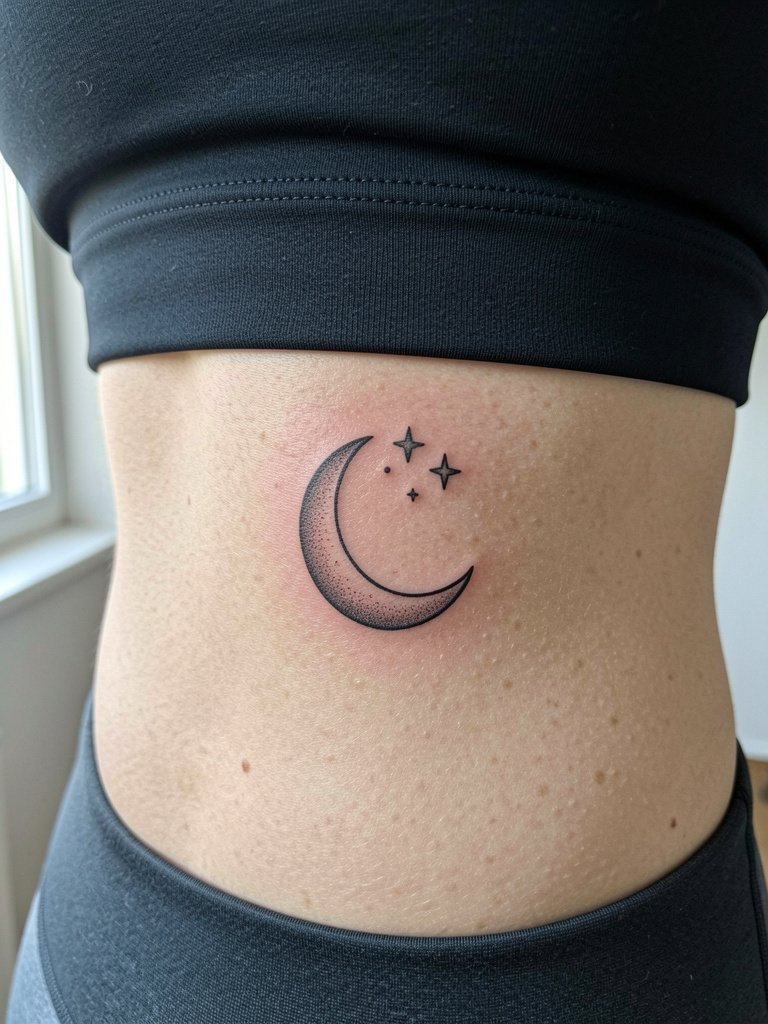
A small celestial grouping on the ribs is subtle and symbolic without asking for a huge session. Dot work and stipple are common here, though dense dot clusters can look muddy over time if placed too small. Ask for spacing that preserves negative space and request a healed photo of the artist's dot work on body flow that matches your ribs. For the session wear a muscle tank top men so the artist can reach the area without fabric contact. Touch-ups may be required for tiny stars after a year or two.
10. Abstract Blackwork with Brush-Like Strokes
Abstract brushwork minimizes representational risk and uses the ribs as a flowing canvas. Because the marks are large and saturated, blowout risk is lower than for tiny delicate details. A real mistake is asking for micro strokes too close together. When planning, ask for a mock stencil to see the composition at full scale on your body. For outfits that frame the art, try a fitted tee with a slightly wider neck to let the side peek, like oversized black tee men styled with a slimmer layer.
11. Ornamental Mandala or Lace-Inspired Panel

Mandala panels look intentional when scaled to match rib width. The most common error is over-detailing the outer filigree at a too-small size. For this placement ask the artist to show how the pattern tapers with your torso and how the center will breathe. The session might be two to three sittings depending on detail. For showing it off, neutral tops that do not have tight side seams look best. Try a loose button down shirt men you can leave open for a casual reveal.
12. Micro-Realism Portrait or Object with Soft Shading
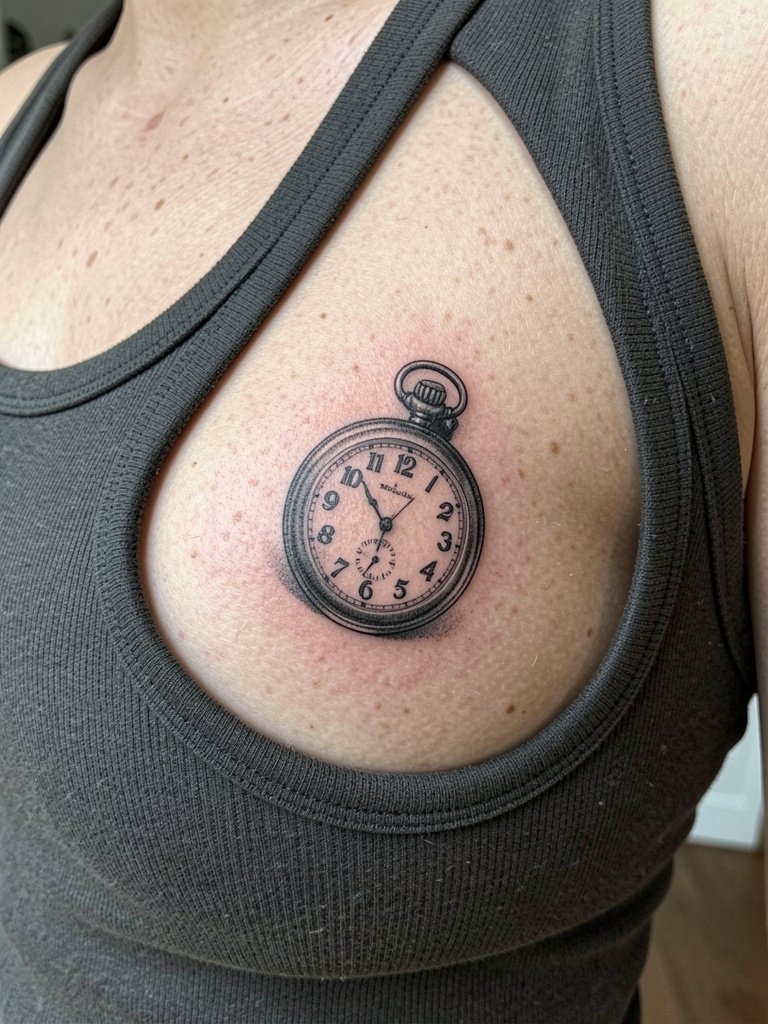
Micro-realism can be striking but is fragile on ribs if you compress too much detail into a small footprint. Ask for a slightly larger version of the subject so the negative space preserves tiny highlights. A smart consultation includes showing healed micro-realism examples on curving body areas so you know what holds up. Sessions for a small portrait usually run one to two hours for outline and shading. For session wear choose a soft tank top so the stencil sits flat and the artist can work without fabric interference.
13. Traditional Bold-Outlined Rib Piece
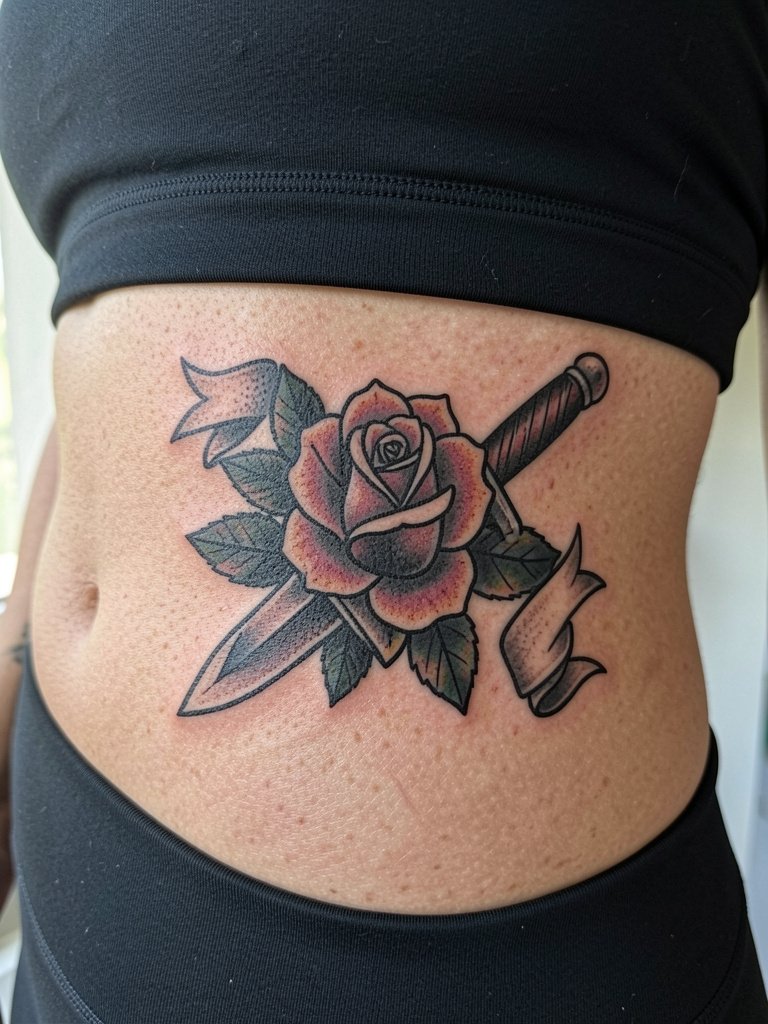
Traditional pieces age predictably on the ribs because bold outlines and simple fills resist blur. If longevity is your priority, this is a safe stylistic lane. The classic mistake is compressing a large traditional design into a tiny rib patch. When in consult, request the artist show you a scale overlay on your torso so the banner and focal elements do not distort. This style usually needs one to two sessions. For casual show-off styling choose monochrome layers that make the saturated reds and greens pop.
14. Script-Only Memorial or Mantra Tattoo

A single-line script is emotionally direct on the ribs, but the placement makes it intimate. To avoid early softening, choose a slightly heavier letter stroke than what looks pristine in photos. Bring multiple font examples and have the artist scale them on your body at different widths. Session pain is moderate to high near the lower rib. For appointments wear a muscle tank top men so the area is exposed without friction from tight side seams. Expect potential touch-up in two to three years depending on healing and sun exposure.
15. Large Illustrative Side Piece with Mixed Elements

Side panels let you combine subjects without crowding. The challenge is planning negative space so each element reads on the curve. Ask for a multi-session plan with clear milestones for outlines, shading, and any color. A mistake is trying to compress multiple focal points into one small patch. Expect multiple sittings and a realistic touch-up schedule. For showing off a large panel, fitted tees or monochrome layers sharpen contrast and let the artwork command attention.
16. Nautical Compass with Rope Framing

Circular motifs work if you give them enough diameter to stay crisp. The rope frame here serves as a protective border so the inner details can be slightly finer without collapsing. Discuss the exact outer ring thickness and request a mock stencil at full size before inking. The session is moderate and often completed in one longer sitting. Try a loose button down shirt men for the first week to avoid side seam friction.
17. Stipple-Shaded Skull with Floral Accents
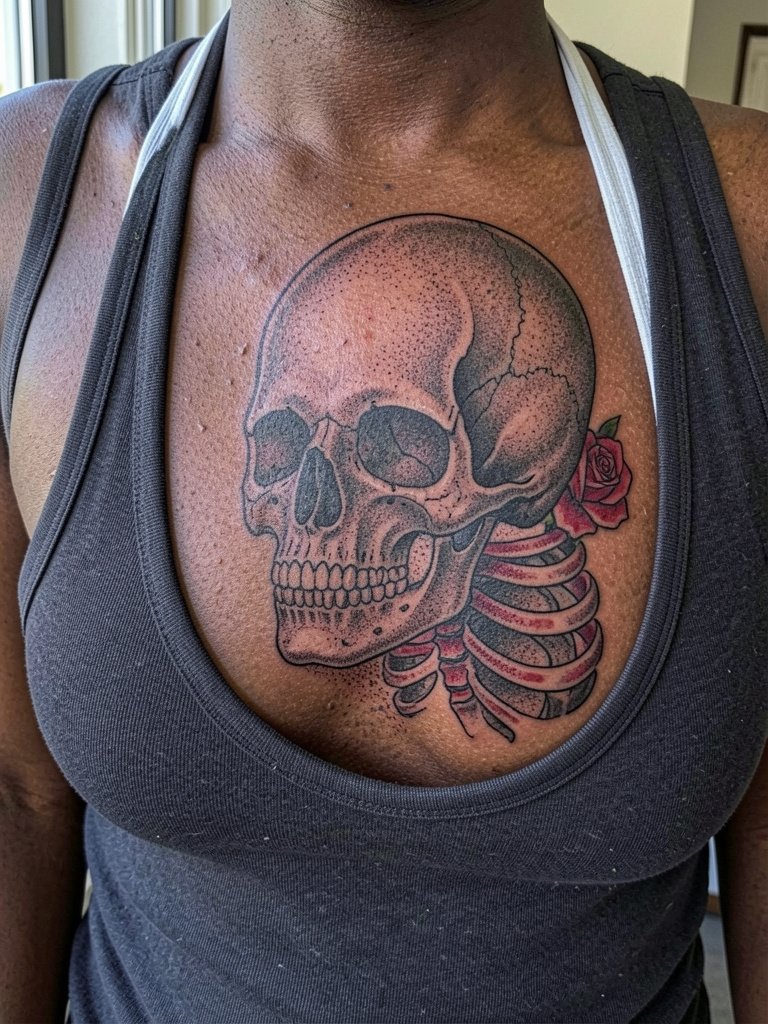
Stipple shading looks great on curving areas when the artist spaces dots to follow muscle flow. Avoid packing tiny stipple work in narrow bands. The artist should show you a healed stipple example on a side-torso area so you understand how depth ages. If you want to show the piece casually, neutral tees with wider necklines work best. Session time varies with detail and can require two visits for full stipple and floral work.
18. Abstract Line Portrait That Follows the Curve

A single-line portrait is contemporary but demands scale. If the line is too thin or the curve too tight, features can lose identity over time. Ask for several stencil placements so you can select the one that flatters your torso. This choice is low on sessions but high on placement sensitivity. For showing the piece, a fitted tee with an open side cut or a scooped neck will let the portrait show without tight seams crossing it.
19. Compass Rose with Map Fragment
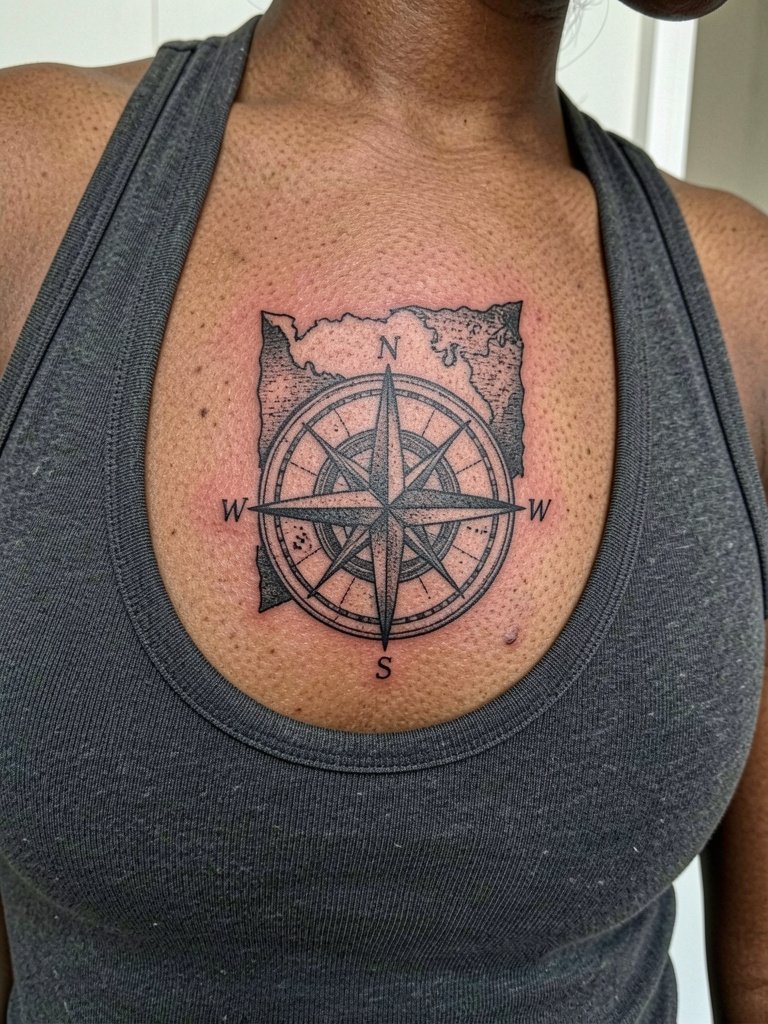
Combining a compass with a map fragment creates a travel-focused panel that works with the ribs' long shape. A common mistake is overcrowding the map detail. Request simplified map lines with key landmarks emphasized so the piece stays legible. Sessions will vary, plan for at least two if you want crisp map texture. For wardrobe, a soft tank top or loose button-down keeps friction to a minimum while it heals.
20. Linear Arrow and Feather Band
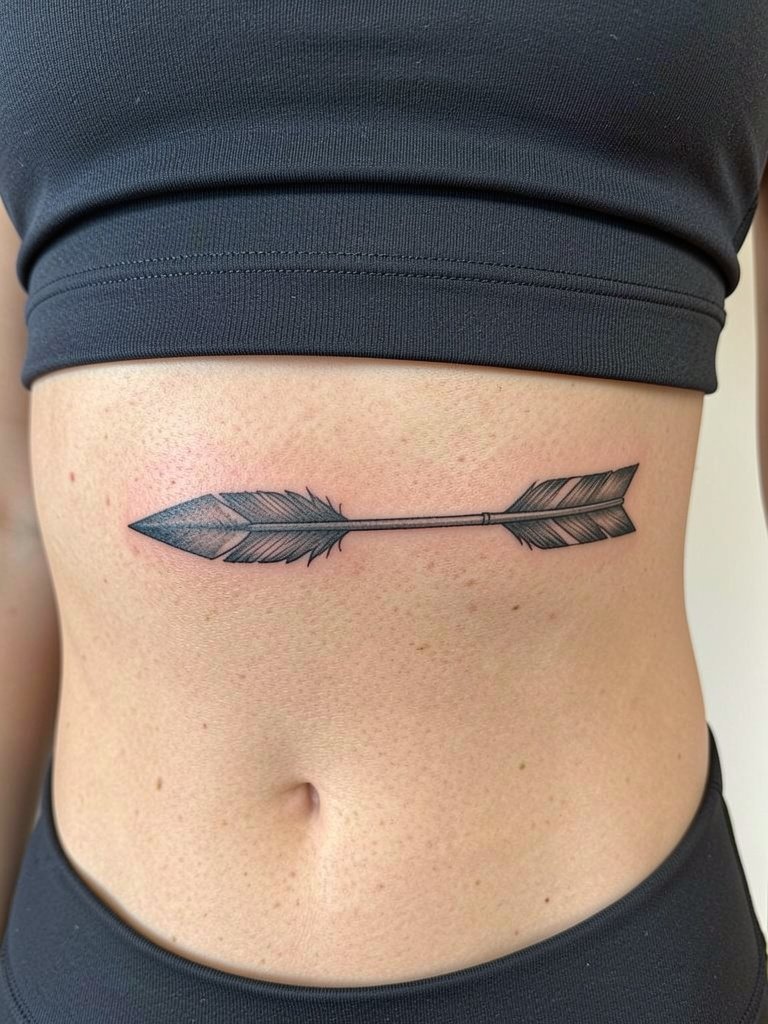
An arrow band reads literal and clean on the ribs. The tip of the arrow should not be a tiny point or it will blur. Ask for a slightly flattened tip and a clear rope or feather texture that survives skin movement. This is a relatively quick session and a low-pain choice for people who want a neat, masculine silhouette. For showing off try a loose button down shirt men left unbuttoned for a casual reveal.
21. Botanical Side Panel with Bold Outlines

Botanical work with bold outlines tends to age well on the ribs because shapes remain legible as skin shifts. Avoid ultra-detailed veining in small leaf areas. Discuss scale for each bloom and make sure the artist stencils the layout along your flank so the tapering feels intentional. For display choose neutral tones in your wardrobe that let the color hits stand out without clashing.
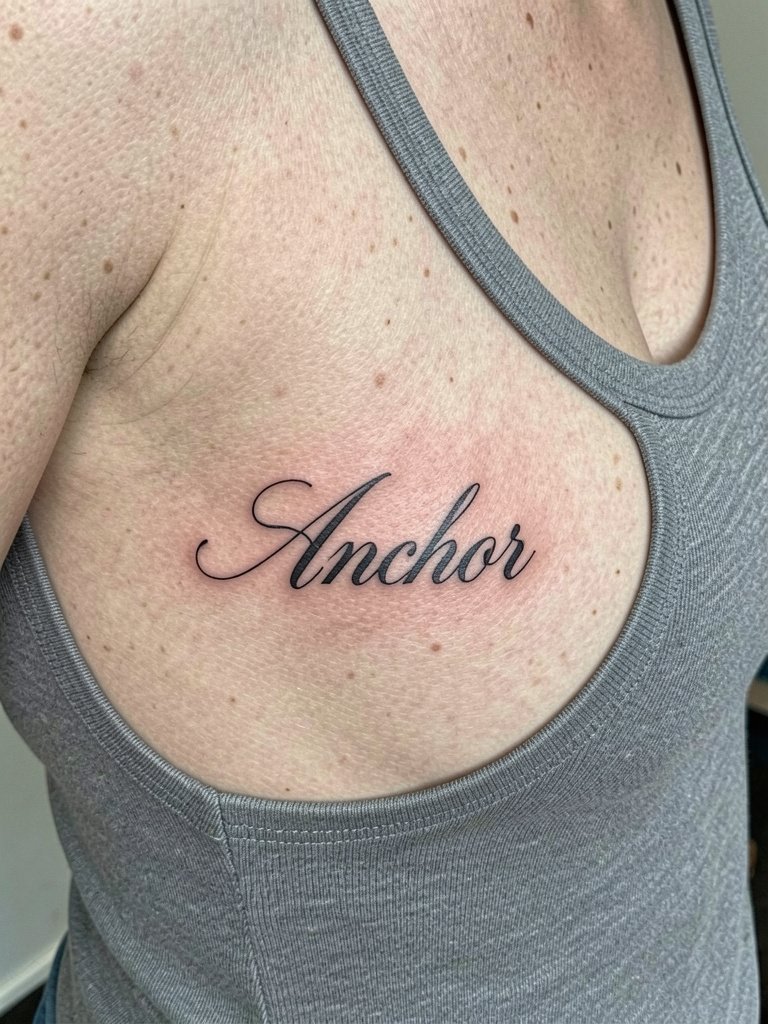
22. Nautical Anchor Framed by Waves
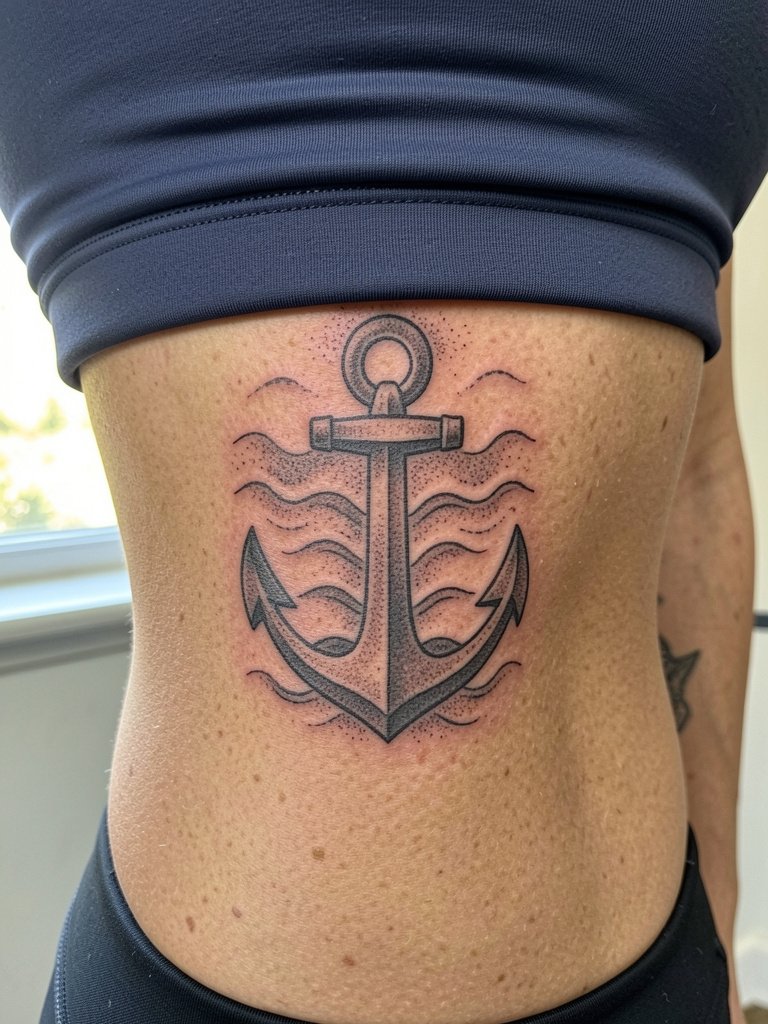
Anchors are a classic rib choice that can be bold without taking the whole side. The usual error is making the anchor too small for the detail. Ask the artist to size the anchor so the flukes read at three years. This design is session-friendly for a medium single visit but may need color-saturation follow-up. For clothes try a fitted tee that does not pull across the ribs so the silhouette stays intact.
23. Shield Emblem with Textured Background

Shield emblems read structured and masculine on the ribs. The trick is to avoid tiny internal heraldic marks and instead use larger fields of contrast. When you consult, ask for a test stencil showing how the shield will sit when you breathe in and out. Session time depends on fill density. For display pair the piece with simple monochrome layers so the crest has visual breathing room.
24. Minimalist Linework Animal Silhouette
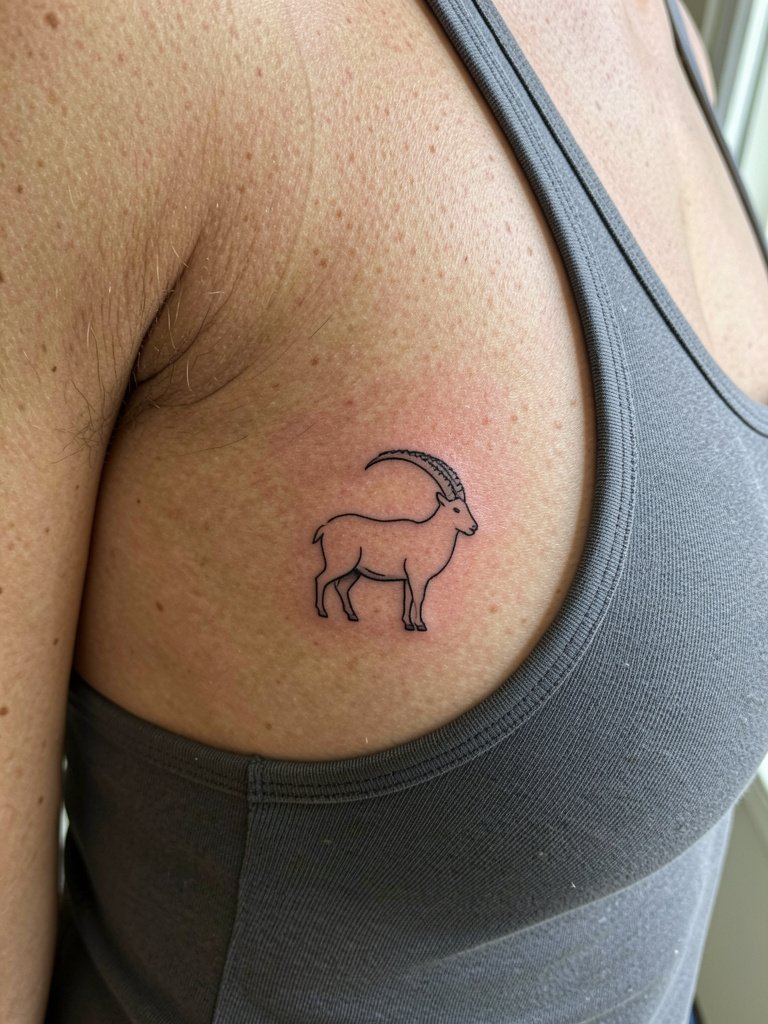
A silhouette can be bold without heavy detail. The main longevity concern is keeping the silhouette size large enough so the negative edges do not soften into blur. Ask the artist for a predictable outline thickness and request a healed example in a similar area. This is a one-session piece for most artists. For showing it off wear a fitted shirt with a wider neckline so the side stays visible without seam pressure.
25. Compass Needle with Concentric Rings

Precision work like concentric rings needs breathing room. The usual mistake is making the outer ring too thin. Ask for a ring width that will remain visible after a couple of years. This is a moderate session and a common touch-up candidate if rings bleed. For outfits, neutral tops with a clean silhouette present the concentric structure without distraction.
26. Abstract Watercolor Accent Panel

Watercolor effects on the ribs look painterly when done large and loose. Small watercolor splashes fade into ambiguous bruising. Make sure the artist plans large fields of color and overlays them with black anchor lines to preserve form. The color versus black and grey debate is alive here. One camp says black and grey keeps contrast longer. The other camp says color can last with dense saturation and larger scale. If you go color, expect an extra saturation session and plan a potential touch-up after one year. For showing off, neutral shirts help the color read properly.
27. Mixed Medium Panel: Geometry Meets Illustration

Combining structured geometry with an illustrative focal point makes a contemporary side piece that reads as masculine and modern. The main tune-up point is balancing line weights so the geometric framing does not overpower the illustration. In consult bring scale references and have the artist mock up proportion options on your torso. This multi-element approach often needs two or more sessions. For the wardrobe, monochrome layers and fitted tees keep the visual focus on the mixed media composition.
Pre-Session Essentials
These first six side-torso ideas ask for careful scaling and session planning, so a few items smooth the appointment and early healing window.
-
Stencil transfer paper kit. Lets you preview the design placement and line weight on your actual skin before permanent work, which is crucial for long vertical layouts like dragons and koi.
-
Topical numbing cream. Applied per product instructions before a longer rib session reduces initial sharp pain so you can get through outline passes without tension.
-
Thin protective film roll. A breathable film helps protect the fresh side torso tattoo from friction with shirts during the first 48 to 72 hours.
-
Fragrance-free body wash. A mild cleanser keeps the healing area clean without irritating sensitive linework.
-
Aquaphor healing ointment. A thin layer in the initial days locks in moisture and supports the surface healing that preserves crisp lines in bold and fine work.
Frequently Asked Questions
Q: How much does a rib tattoo cost for men?
A: Small rib pieces typically start in the low to mid range, medium side panels run in a mid-range bracket, and full side panels are higher tier. Expect small script or coordinates to fall in an entry price band and full Japanese or illustrative side panels to require multiple sessions and a higher total. Exact numbers depend on artist rates in your city and the total hours needed.
Q: Will fine line scripts on the ribs blur faster than bolder work?
A: Artists are split into two camps on this. One camp argues that the rib area moves with breathing and skin stretch, which can soften ultra-thin strokes within a few years. The other camp says that with slightly heavier single-needle depth and wider spacing the line can remain legible, and they will point to healed examples on side-torso skin to back that up. If you lean fine line, ask to see healed examples at a comparable scale and on a similar placement.
Q: Should I pick black and grey or color for a rib panel?
A: There are two clear perspectives. One side favors black and grey for stronger long-term contrast on the ribs. The other side accepts color if the piece is larger and the artist plans saturation passes. If you want color, expect an extra saturation session and a realistic touch-up plan.
Q: Where can I find artists who post healed rib work and real client photos?
A: Search placement and style hashtags like #ribtattoo and #ribtattooideas on Instagram and TikTok and filter results by your city to find local portfolios. Use tattoo directories and booking platforms with placement search filters and look specifically for healed photos rather than only fresh work. Reddit tattoo communities are also useful for comparing healed threads and asking for portfolio suggestions.
Q: What should I wear to a rib tattoo session and how should I dress after?
A: For the session wear clothing that gives the artist clear access without rubbing the area afterward. Good options are a loose button down shirt you can lift, a soft muscle tank, or a cropped athletic top depending on comfort. During the first week, avoid tight side seams and choose soft fabrics that do not chafe the area when moving.
Q: How long before a rib tattoo needs a touch-up?
A: Touch-up timing varies by style. Fine line text often needs a touch-up within one to three years. Bold blackwork and traditional fills tend to hold better and may go longer before touch-ups are needed. Plan an initial check at the one-year mark so your artist can evaluate saturation and place a targeted touch-up if required.
