
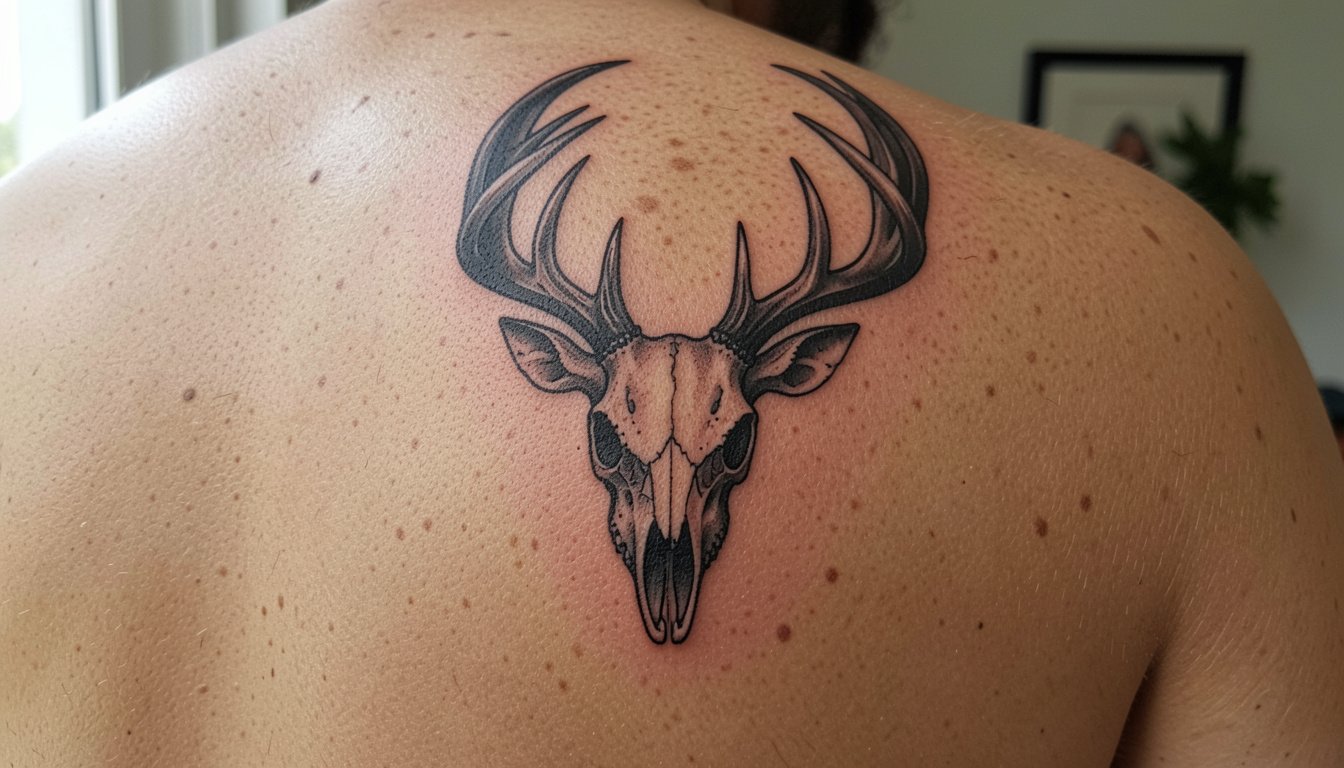
The wispiest animal skulls on social feeds often look delicate until they blur. In practice, realistic skull tattoos that hold detail years later balance crisp linework with measured saturation and breathing space inside the eye sockets. That tightness affects how a design reads on small placements, and it changes your session plan. Read on for concrete design choices, placement trade-offs, and what to bring to the chair first.
1. Micro-Realism Fox Skull on Inner Forearm
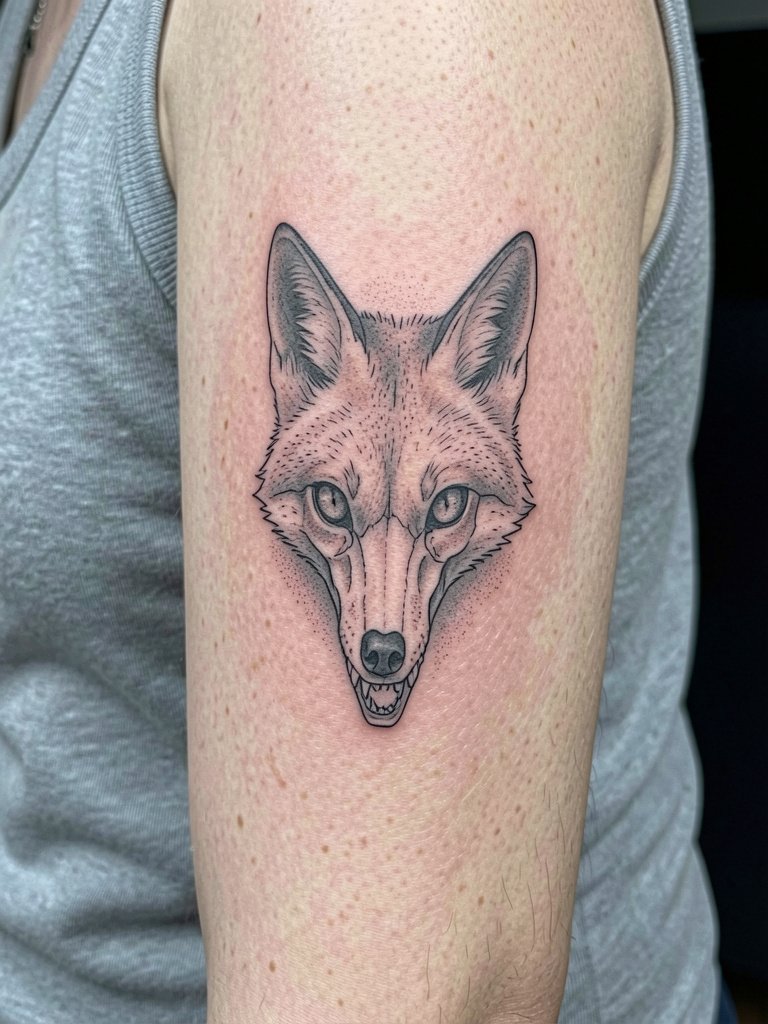
A tiny fox skull in micro-realism reads as a quiet, personal piece on the inner forearm. I recommend slightly thicker single-needle linework than pure micro-flash because the underside of the forearm sees constant friction from sleeves and typing, which softens ultra-fine strokes. Expect a 1.5 to 2 hour session for a three-inch piece, with low to moderate pain. Common mistake: asking for hairline detail with no negative space, which turns into muddled grey by year two. Talk through the scale with your artist using two reference snaps at different sizes so they can show how the eye sockets breathe at three inches versus five. For showing it off, roll sleeves up and try a scoop-neck tank in neutral tones to keep attention on the linework.
2. Full-Size Deer Skull on Upper Arm Cap
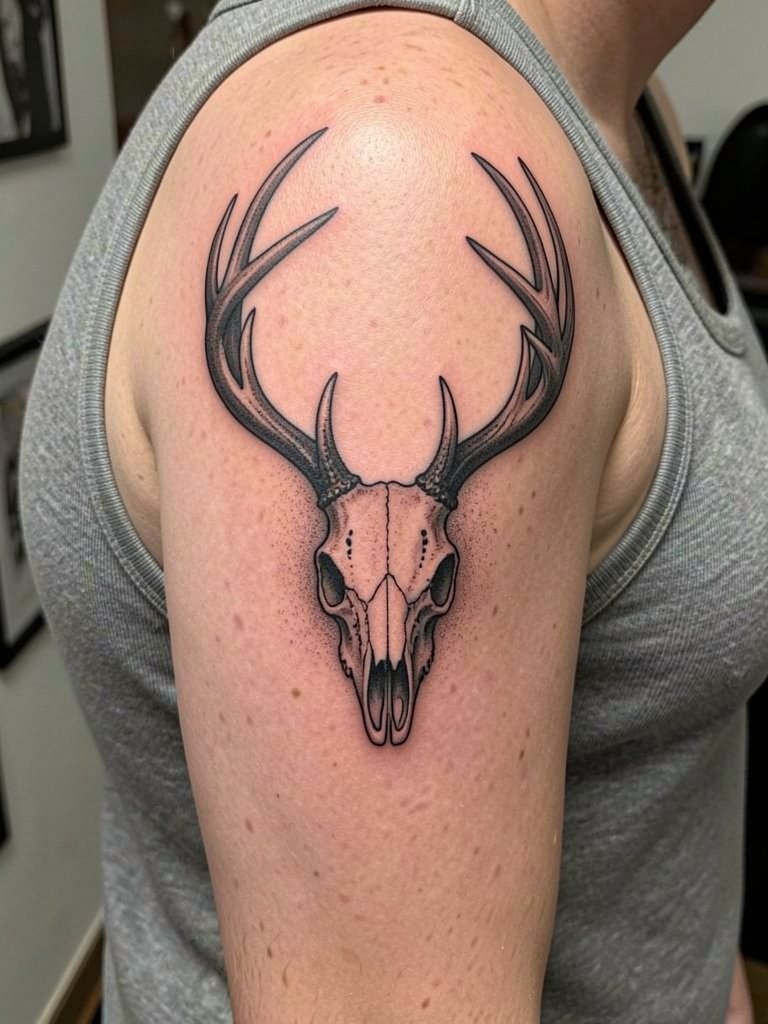
A larger deer skull across the upper arm cap lets artists use heavier linework and saturated shadows so the anatomy reads for years. This placement is forgiving on blowout because the skin is thicker than the inner forearm, but heavy black fills still need staged passes for saturation. Sessions typically run three to four hours. Expect moderate pain, more toward the shoulder joint. People often ask for full antlers with tiny filigree between the tines and then find the fine work fades. Instead, ask for bold anchor lines and stipple shading in the hollows; that approach softens gracefully by year five rather than collapsing. Wearing a muscle tank the day of service keeps the shoulder accessible without rubbing the fresh ink.
3. Small Canine Skull on Collarbone
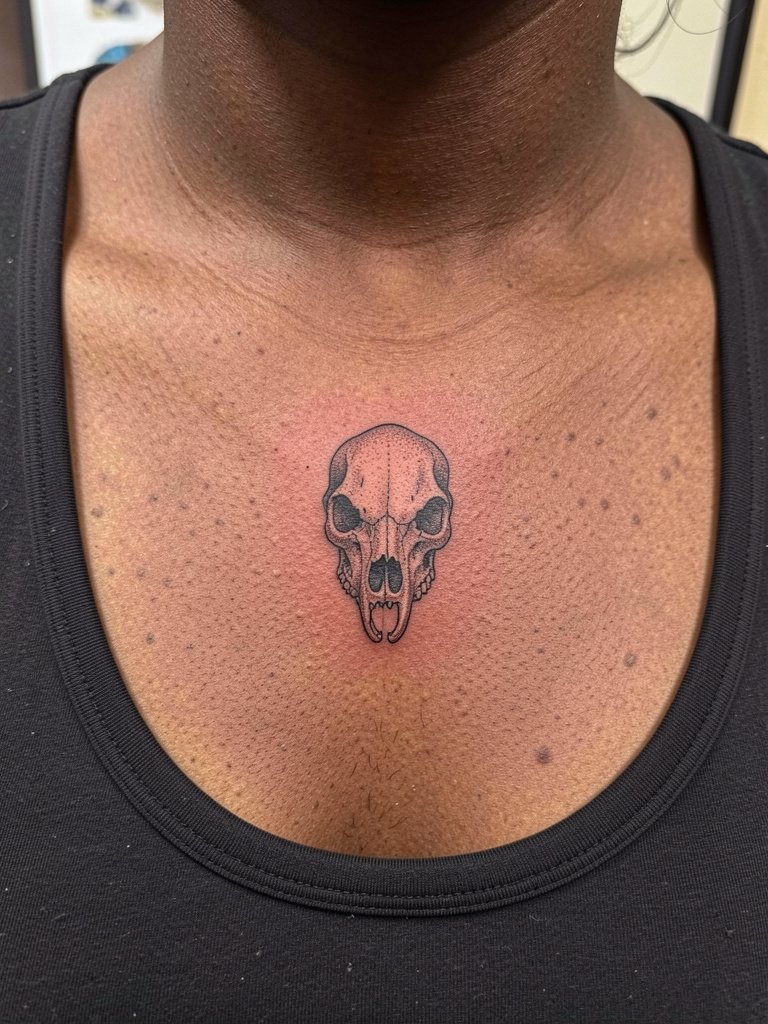
The collarbone is a high-visibility spot that demands purposeful scale. When set too small, the thin skull contour disappears into natural skin texture. I advise a one-hour session for a two-inch canine skull with heavier contour and light stipple in the hollows to preserve contrast. Pain skews higher because the bone is close to the surface. A common error is requesting single-needle detail over the collarbone without accepting the higher touch-up likelihood. For evening wear, pair this placement with open-back or scoop-neck tops; try a wide-v-neck tee in a muted palette to frame the piece without stealing focus.
4. Rattlesnake Skull on Ribcage
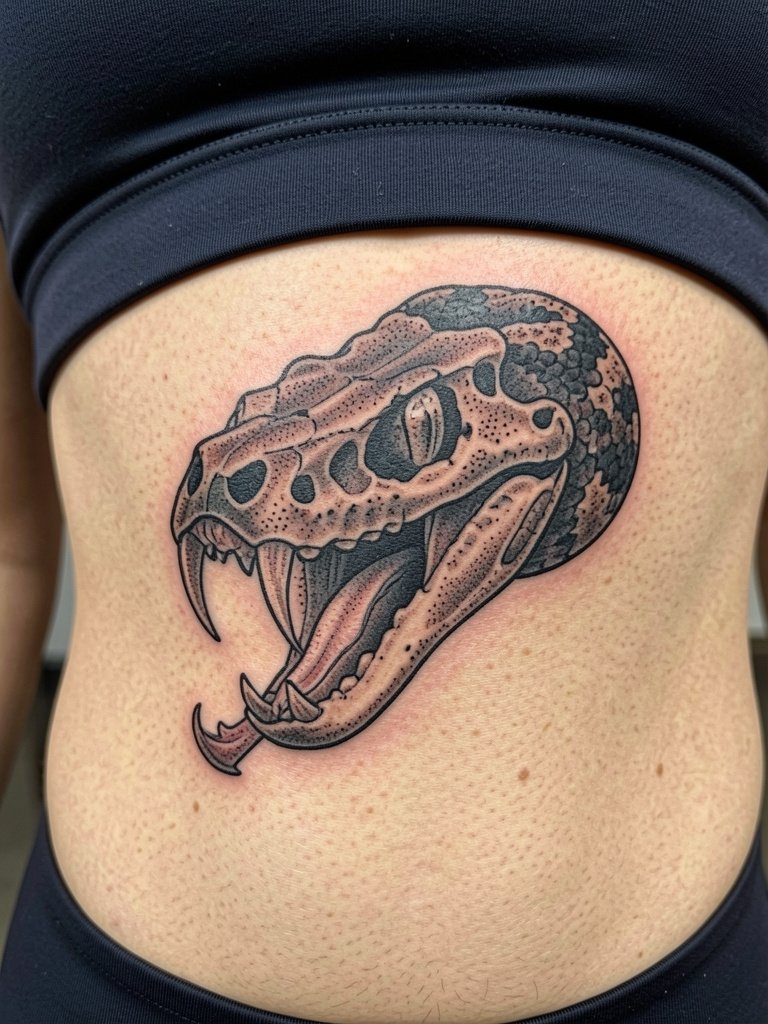
Ribcage skulls spark a real debate in the community. One camp says fine-line work on ribs blurs within two years because the skin stretches and the breath motion moves the needle. The other camp counters that with slightly wider spacing and controlled needle depth, fine line settles perfectly even on ribs and they show healed photos to back it up. Both views matter when choosing how thin your contour should be. Sessions here are longer and more painful, typically two to four hours with breaks. Ask for mockups showing the negative space between teeth and nasal cavities so you know how the piece will age. For the session, wear a fitted cropped top so the artist has clear access without shifting fabric.
5. Badger Skull on Outer Thigh
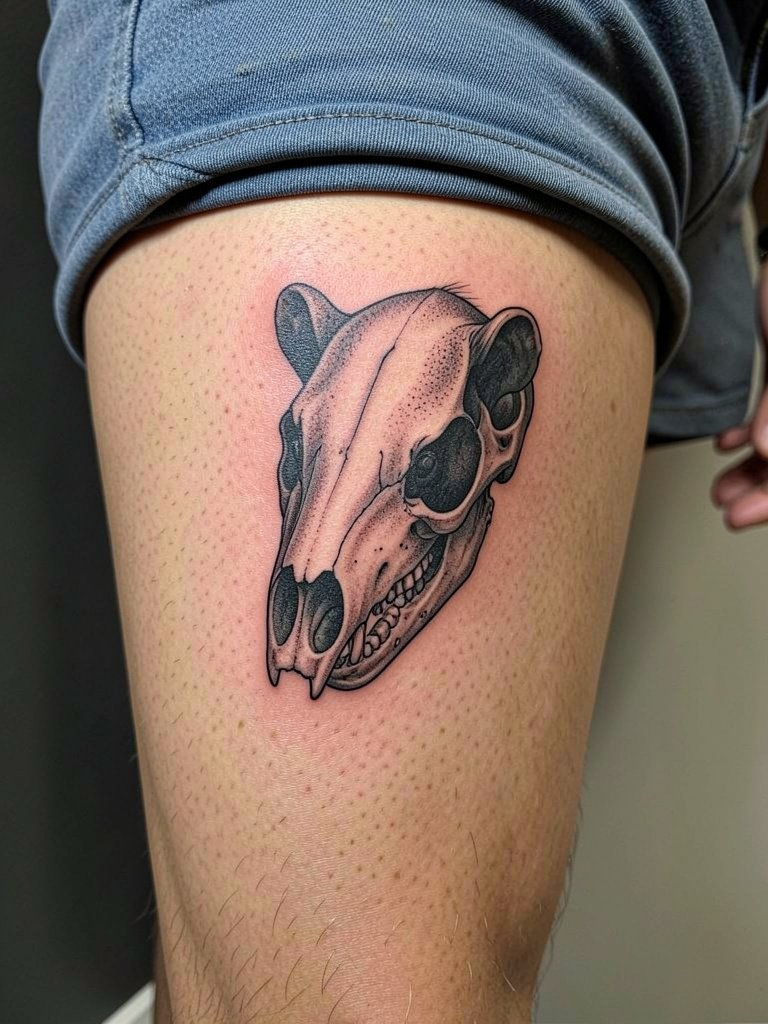
The outer thigh accepts larger negative space and finer mid-tones, which makes it great for detailed skulls with soft transitions. Sessions are comfortable for most people and often split into 90 to 180 minute blocks. The biggest mistake is compressing too much small detail into the jawline; stretch the design vertically to keep hollows readable. At six months you get crisp contrast, at two years expect some softening in light grey fills, and by five years a touch-up often restores those mid-tones. For warm-weather showing, this piece pairs well with high-waist shorts that sit below the tattoo so it remains visible when you sit or stand.
6. Boar Skull Over Sternum
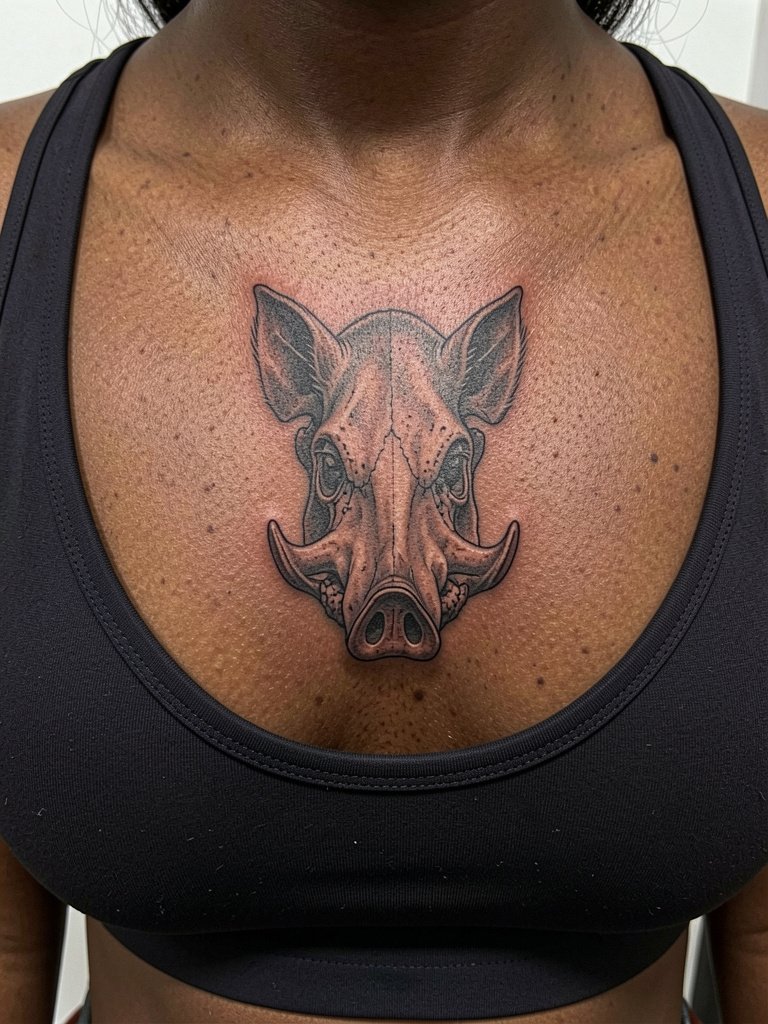
Sternum placements are a commitment and feel different across clients. Pain is high near the breastbone and sessions often require shorter passes with breaks. The visual payoff is dramatic because the midline symmetry reads at a glance when proportioned correctly. Common mistake: compressing the skull width to fit between breasts, which ruins the jaw proportion. Instead, plan the width with your artist during stencil placement so the nasal cavity has room. Expect the first touch-up window at nine to twelve months for saturation in deep shadows. For modest coverage and easy access, wear a fitted sports bra the day of your appointment.
Session Day Picks
The animal skull pieces above include delicate forearm work and larger chest and thigh layouts. These picks help with stencil placement, comfort, and first-week protection for the small to medium skulls covered in ideas 1 through 6.
-
Stencil transfer paper kit. Lets you preview the precise skull contour on skin before the needle touches it, which is crucial for symmetrical skulls on the sternum and collarbone.
-
Topical numbing cream with lidocaine. Applying this 30 to 45 minutes before can ease ribcage sessions and sternum passes without affecting line saturation.
-
Thin protective film roll. Keeps delicate inner forearm and finger-area skulls clean through the first week of friction from clothing.
-
Fragrance-free gentle body wash. Cleanses healed and healing skin without stripping pigments in subtle grey washes.
-
Aquaphor Healing Ointment. A thin layer for the initial days helps with moisture retention on tightly packed skull linework without clogging.
7. Owl Skull With Floral Frame on Upper Back
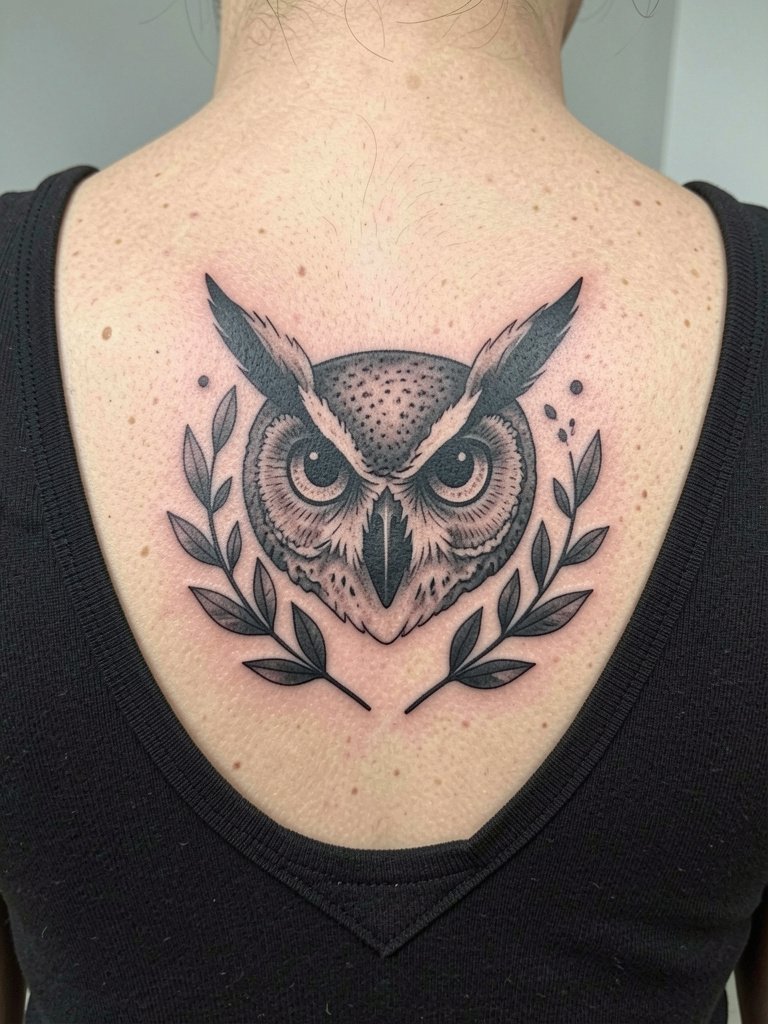
Upper-back skulls benefit from room to breathe and bold mid-tones that survive multiple years. For a detailed owl skull with a floral frame, expect three to five hours depending on botanicals. A common visual mistake is shrinking the skull to make room for decorations, which reduces focal anatomy. Plan the composition with your artist so the eye sockets stay the focal point and the florals act as supporting negative space. Sessions here are moderate in pain. For showing your healed piece, off-shoulder tops and relaxed boat-necks work best. Try pairing with an off-shoulder blouse that keeps the upper back as a visual stage.
8. Small Rodent Skull on Ankle
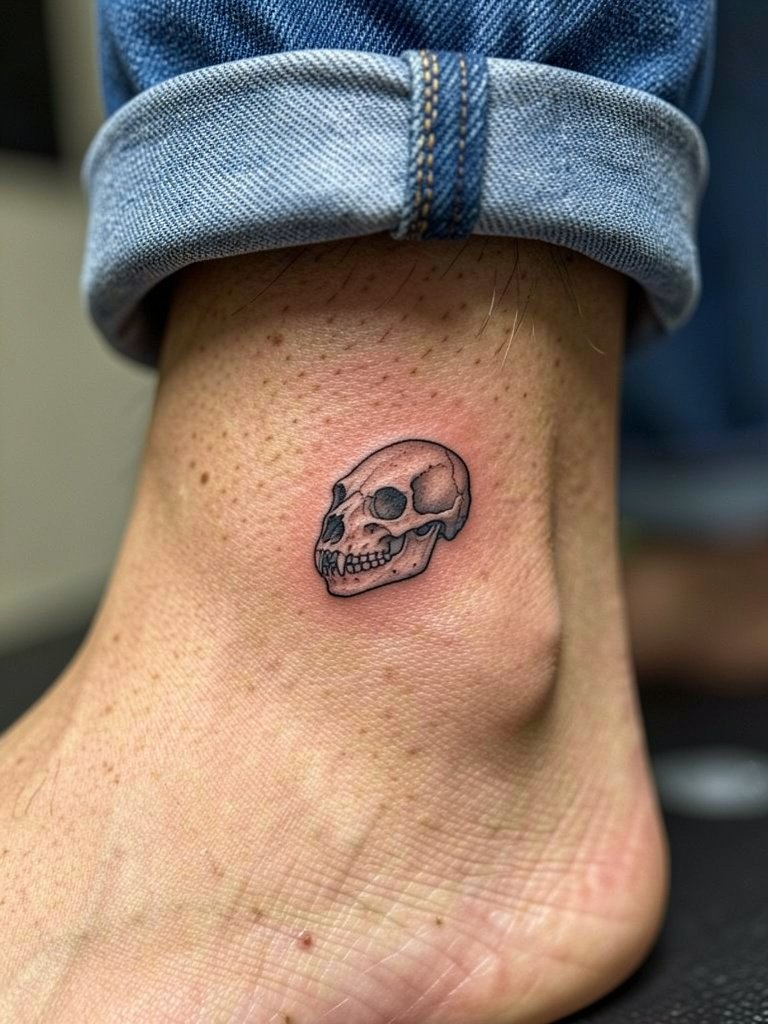
Ankle skulls face lots of wash-and-wear friction from socks and shoes. For a small rodent skull, emphasize a clean silhouette and avoid delicate internal filigree. Session time is short, usually under an hour, but expect a higher chance of early touch-up because of movement and footwear rubbing. The typical mistake is packing fine inner shading into a tiny area. Instead, make the jawline bold and the hollows negative space to keep shape over time. For footwear that actually shows the piece, roll jeans or choose low-cut sneakers. Try a canvas low-top sneaker to keep the ankle visible without excessive rubbing.
9. Wolf Skull Sleeve Accent
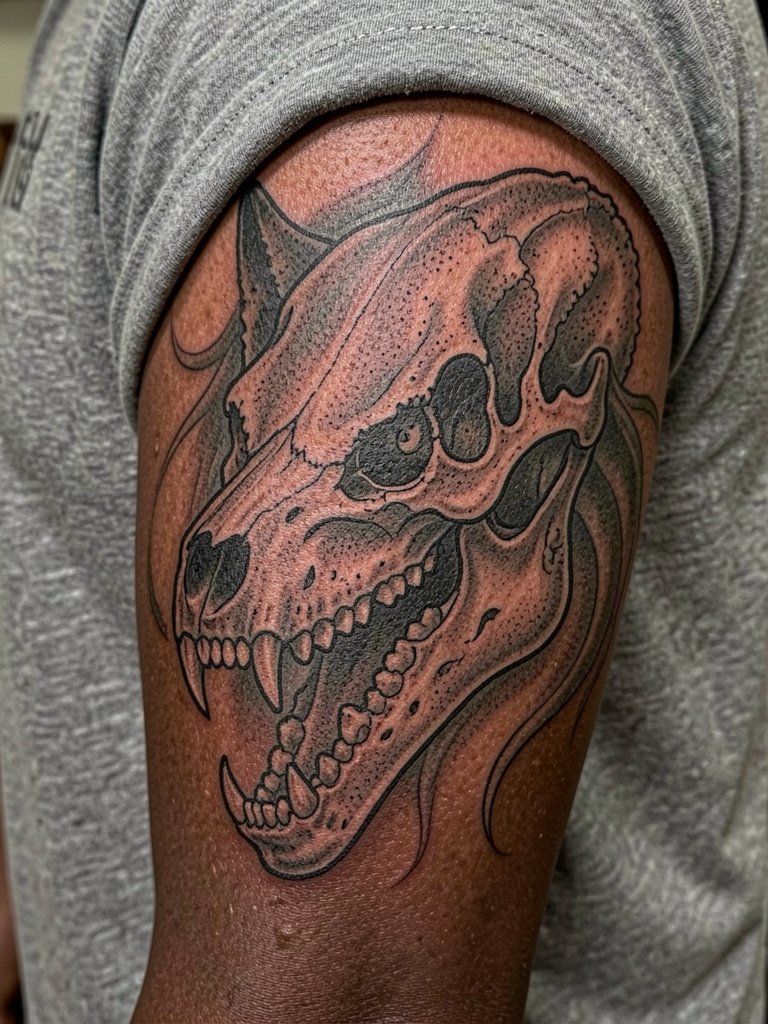
A wolf skull as part of a sleeve benefits from clear hierarchy and strong black anchors. If you want the skull to read from a distance, ask for heavier contour and saturated negative space rather than endless mid-tone gradients. Sessions are long, so plan multiple three-hour slots. A common mistake is requesting equal detail across the whole sleeve, which flattens focal pieces like the skull. Talk with your artist about which parts get saturated black now and which will be layered later. When wearing fitted short sleeves after healing, chunkier textures like a rolled-hem tee let the sleeve edge frame the skull without hiding it.
10. Small Bird Skull Behind the Ear
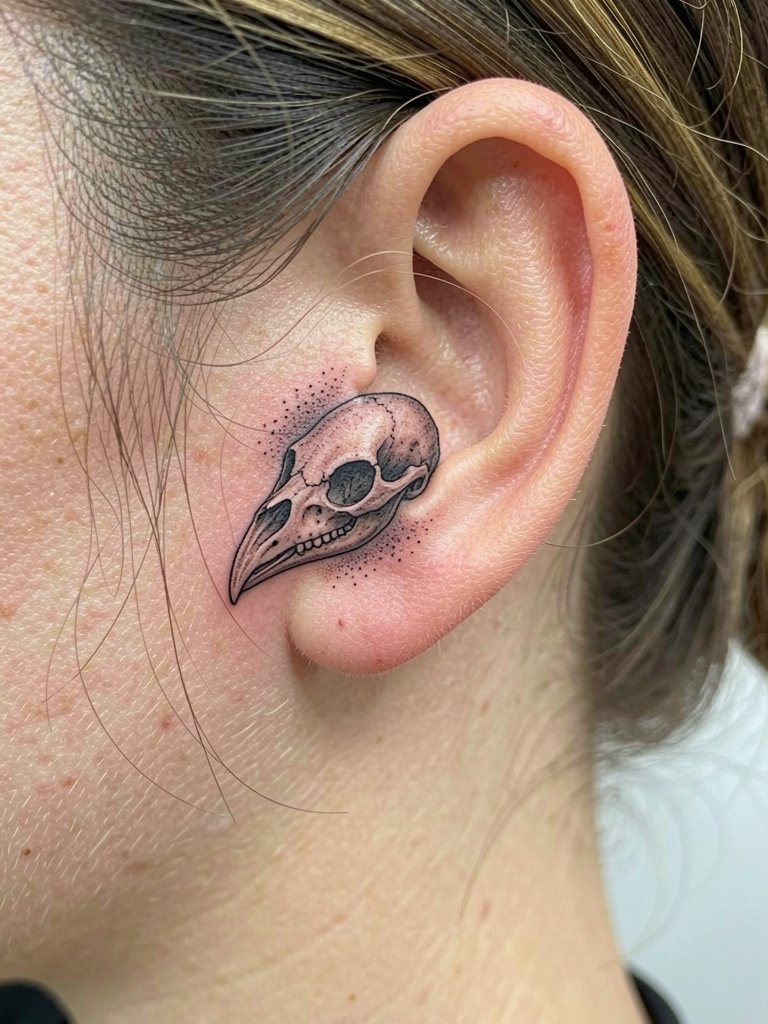
Behind-the-ear skulls are discreet and demand tight contour with limited shading. Pain is low to moderate but color retention can be spotty due to hairline oil and sweat. The usual mistake is asking for heavy grey fills in a space that does best with sparse dot work. A short 30 to 45 minute session often yields the best long-term read. For after-care visibility, rotate simple updos or wear crew-neck tops that expose the nape. A lightweight scrunchie set keeps hair away during sessions without tugging skin.
11. Elk Skull on Calf
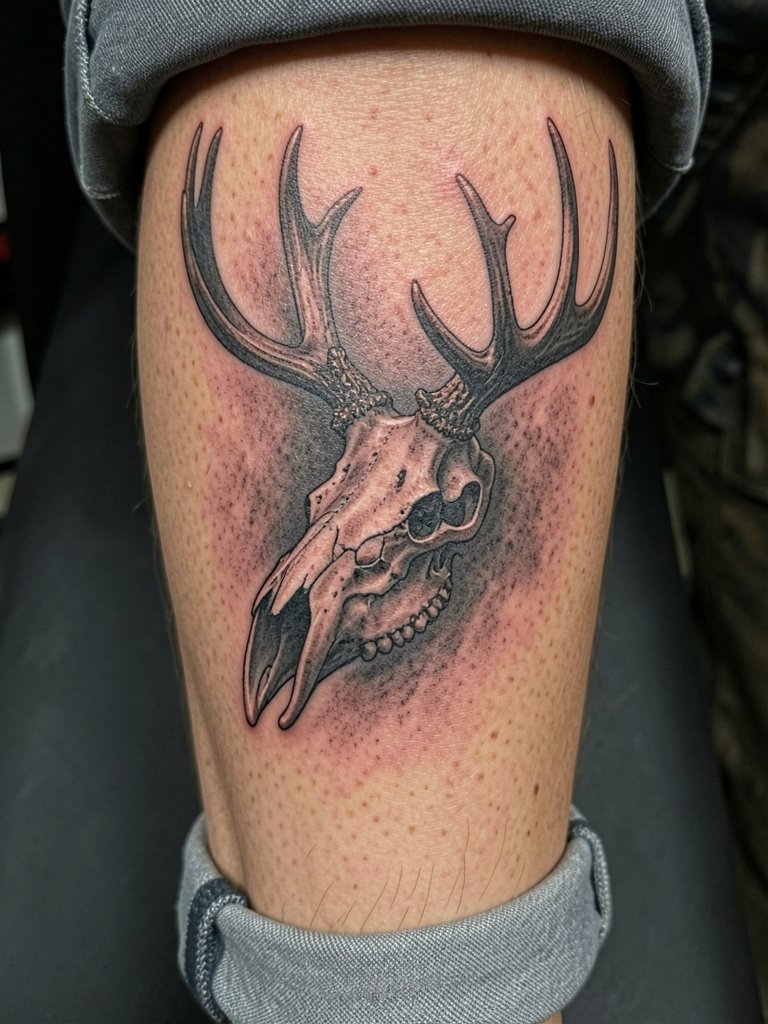
Calf placements hold saturated work well and let artists play with vertical compositions that keep jawlines readable. Sessions are moderate in pain and often one to two hours. A common error is squashing the skull into a narrow band; instead, use the calf's vertical space so the nasal cavity and teeth keep separation. Touch-up timelines are typically at the one-year mark for large grey washes that face regular sun exposure. For summer showing, try pairing with mid-calf boots or rolled chinos. A lightweight hiking sock can protect the fresh calf if you must be on your feet a lot.
12. Miniature Rodent Skull on Finger
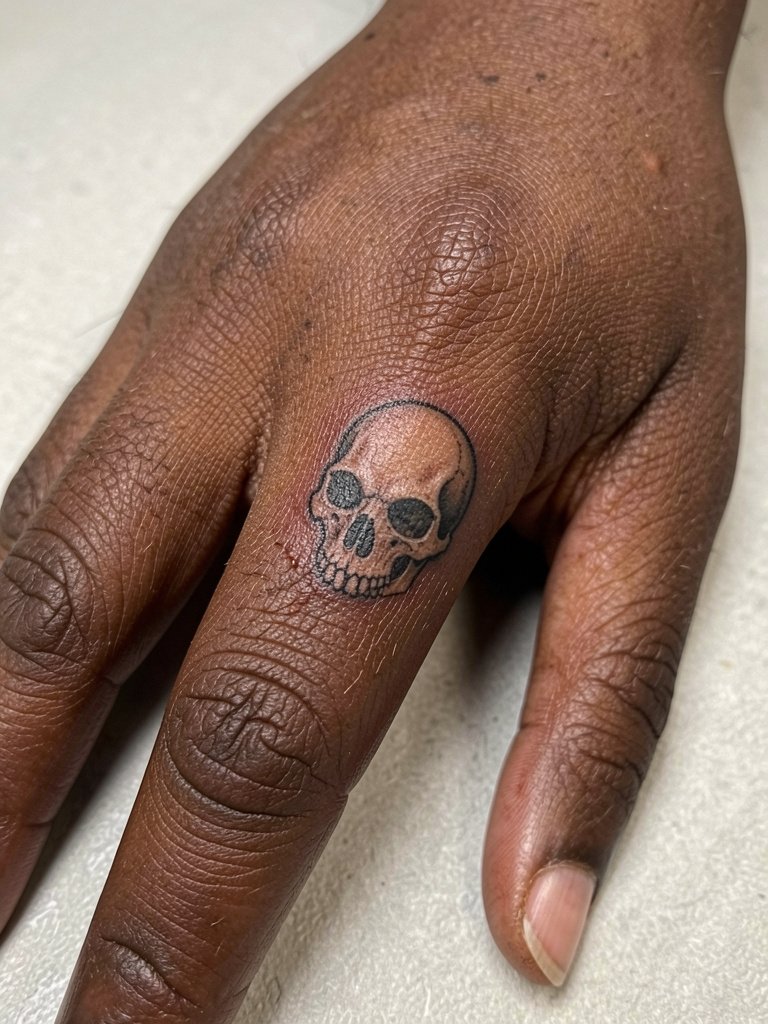
Finger skulls are the most high-maintenance of the bunch. The skin there regenerates faster and pigments migrate, so expect multiple touch-ups within the first year. Pain is sharp and sessions are short. The biggest mistake is insisting on internal detail in a space that only reads as silhouette after healing. Ask for slightly heavier contour and minimal internal shading so the skull does not blur into a grey smudge. For the appointment, wear clothing that allows finger access without rolling sleeves tightly; a simple button-down shirt with cuffs that can be unbuttoned works well.
13. Buffalo Skull Across Lower Back
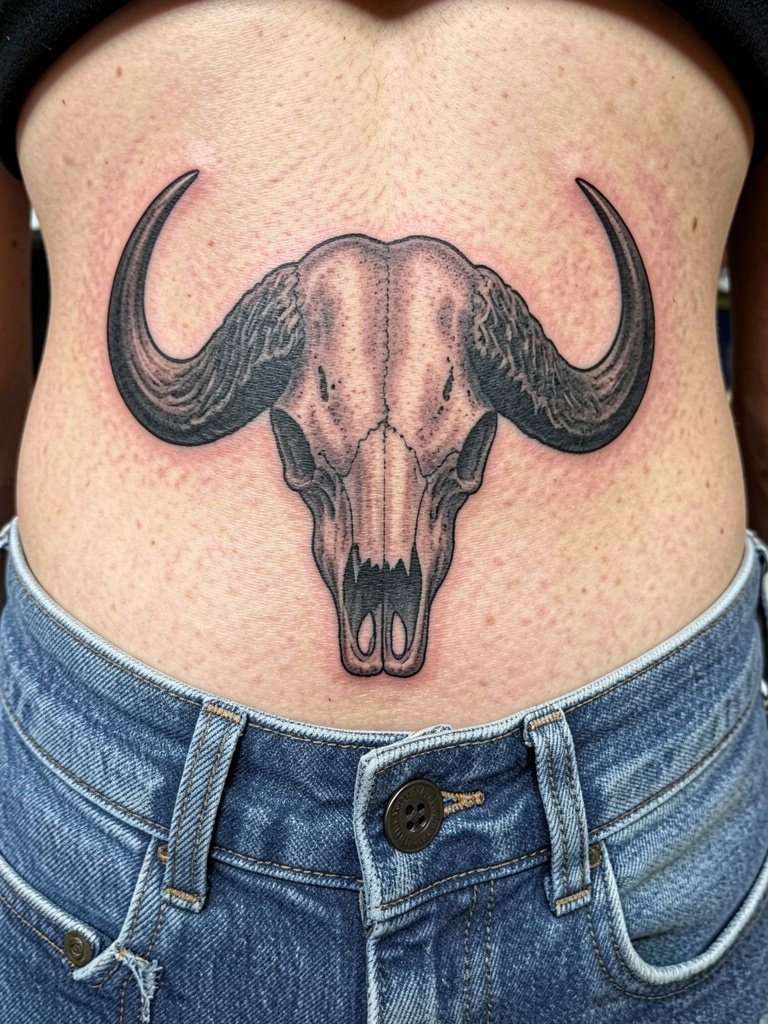
Lower-back skulls take advantage of width to show jaw structure and horn bases. Planning is important so the piece does not sit too low and risk contact with waistbands. Sessions are moderate and often two to three hours. The common error is letting the stencil ride down into the waistband zone where abrasion shortens pigment life. Discuss final placement with your artist while standing so you can see how clothing will frame the piece. For post-healing visibility and comfort, choose low-rise hips or cropped tops when you want to display it.
14. Small Marsupial Skull on Wrist
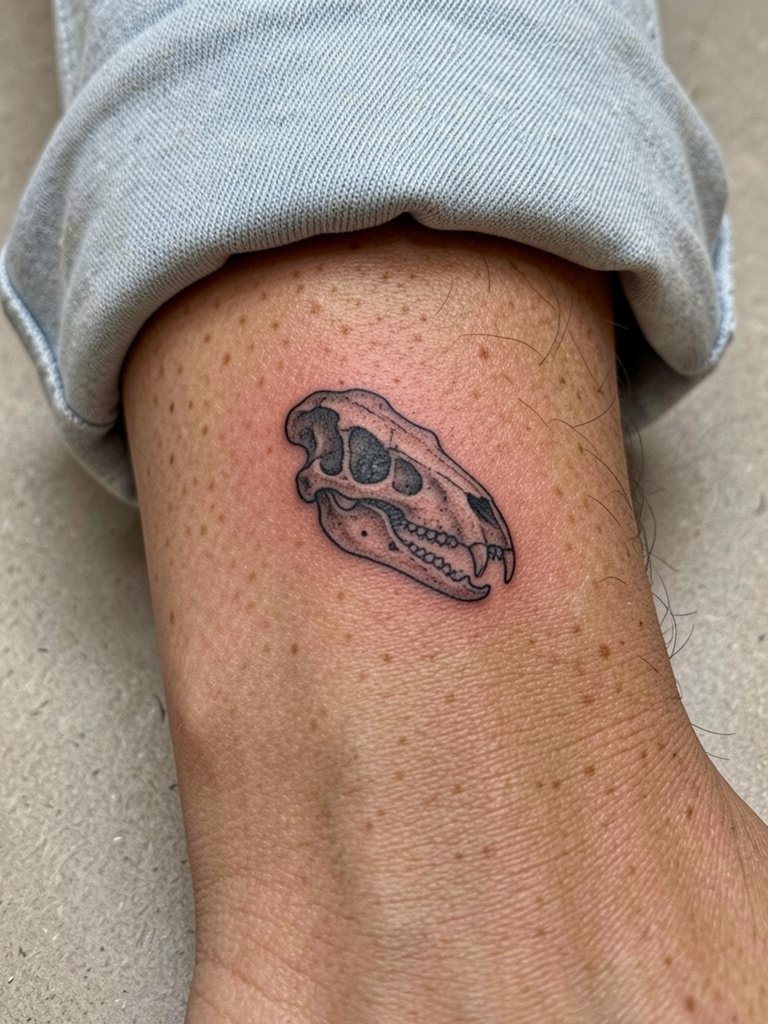
Wrist skulls are instantly visible and need higher contrast to stay legible. The radial artery area is more sensitive, so expect a twinge and a short session time. A frequent mistake is asking for lots of interior grey wash, which fades unevenly with hand washing. Instead, go for bold jawlines and negative space in the eye sockets. Most people arrange a touch-up at six to nine months for small wrist pieces. For styling, bracelets and cuff watches can complement the wrist skull; consider a slim leather cuff bracelet that frames the design without rubbing it.
15. Compact Feline Skull on Nape
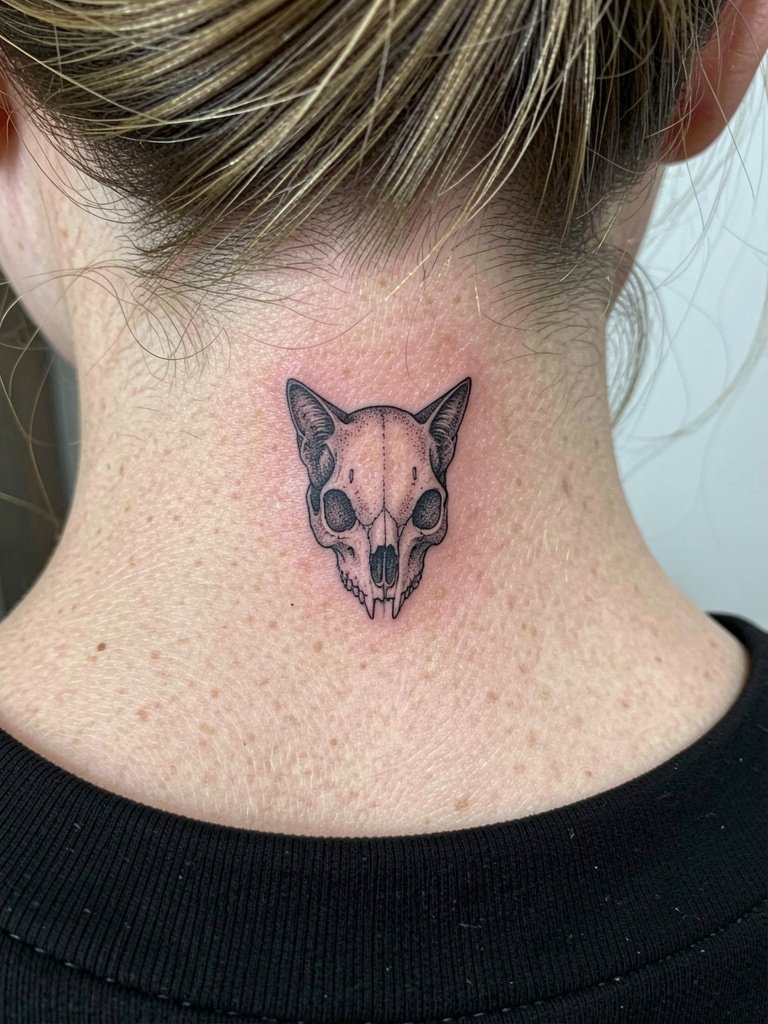
Nape placements are subtle and easy to conceal, but they require careful scaling so the skull reads beneath hair edges. Pain is moderate and sessions are brief. The regular mistake is packing too much fine stipple into a piece that will get hair oil and sweat exposure. Ask for a central saturated contour with light dot shading only where you want long-term separation. For showing off the healed nape piece, a natural updo or crew-neck tops work well. A simple hair claw clip keeps hair off the area without tugging at the fresh skin.
Frequently Asked Questions
Q: How do realistic animal skulls age differently across placements?
A: Smaller placements like fingers, wrists, and ankles lose fine internal detail faster because of friction and thinner skin. Larger areas such as the thigh, upper arm, and back allow for heavier saturation and hold mid-tones longer. Touch-ups at six to twelve months are common for small-to-medium skulls, while larger saturated pieces often go longer between touch-ups.
Q: Where can I find healed examples and portfolios without naming artists?
A: Search platform hashtags like #RealisticSkullTattoo, #SkullInked, and #HealedTattooShots on Instagram and TikTok and use location filters to surface nearby portfolios. Deep-dive forums and subreddit threads often collect healed examples across skin tones and placements, which helps you evaluate long-term reads.
Q: Are single-needle fine-line skulls a bad idea on ribs or sternum?
A: This splits the community. One camp says the skin and motion in those areas blur the hairline strokes within two years, especially where breathing alters the canvas. The other camp says with slightly wider spacing and careful depth the fine-line approach settles fine, and they cite healed work that still reads crisp at three years. Both perspectives are valid; plan for a touch-up window and ask for mockups at the scale you want.
Q: What should I wear to a session for chest, rib, or thigh skulls?
A: Wear fitted pieces that allow access without being pulled or adjusted during the session. For ribs and sternum, a fitted sports bra or bandeau keeps the area exposed in a natural worn state. For thigh work, loose shorts or bike shorts that expose the area without shifting are best. Consider bringing a soft zip-up hoodie to stay warm between passes.
Q: How often will I need touch-ups for a detailed skull on the forearm versus the thigh?
A: Forearm pieces often need a touch-up within one to three years for light grey transitions because of sun exposure and hand friction. Thigh pieces, with less abrasion and sun exposure, typically go longer between touch-ups, often three to five years depending on saturation and aftercare.
