
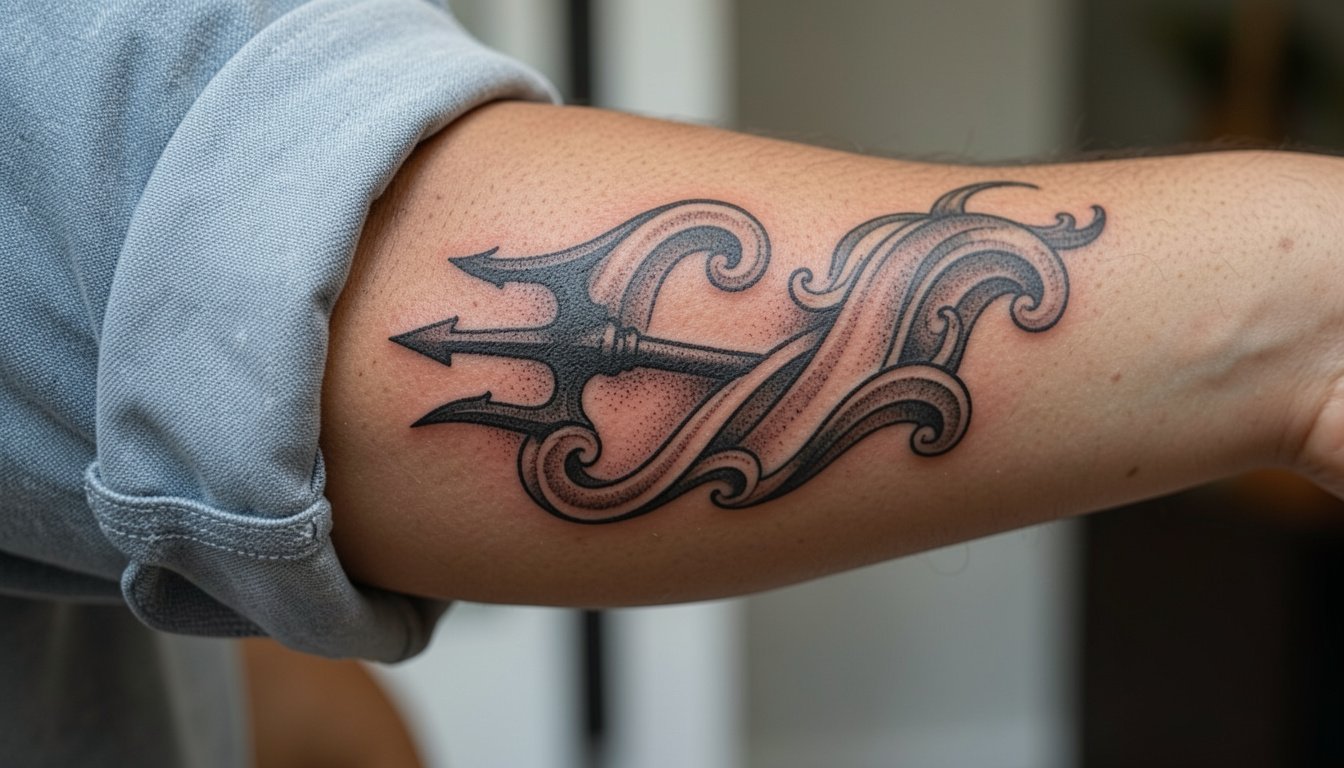
Poseidon sleeves often look best when the hero image reads from across the room, not only under a loupe. Bold silhouettes, a clear focal point, and room for water movement are the tricks I keep telling people who want a mythology sleeve without the muddy fallout. Expect multiple sessions and plan how each panel will join the next so the arm reads like one scene as it heals and ages.
1. Poseidon portrait with trident and wave wrap

This is the anchor piece that makes a sleeve read like a mythic portrait rather than a patchwork of motifs. Expect 2 to 6 sessions and moderate pain on the outer upper arm as the artist moves toward the elbow. For the consultation bring two reference photos that show beard texture at different scales so the artist can translate hair flow into stipple shading and whip shading. The common mistake is trying to cram too much facial detail into a small panel. For longevity choose slightly heavier linework for the jaw and trident silhouette so the main forms do not blur at year three. Show it off with a boxy t shirt men or a rolled sleeve workshirt to keep the shoulder and bicep visible during reveal.
2. Greek mythology forearm panel with Poseidon as the lead figure
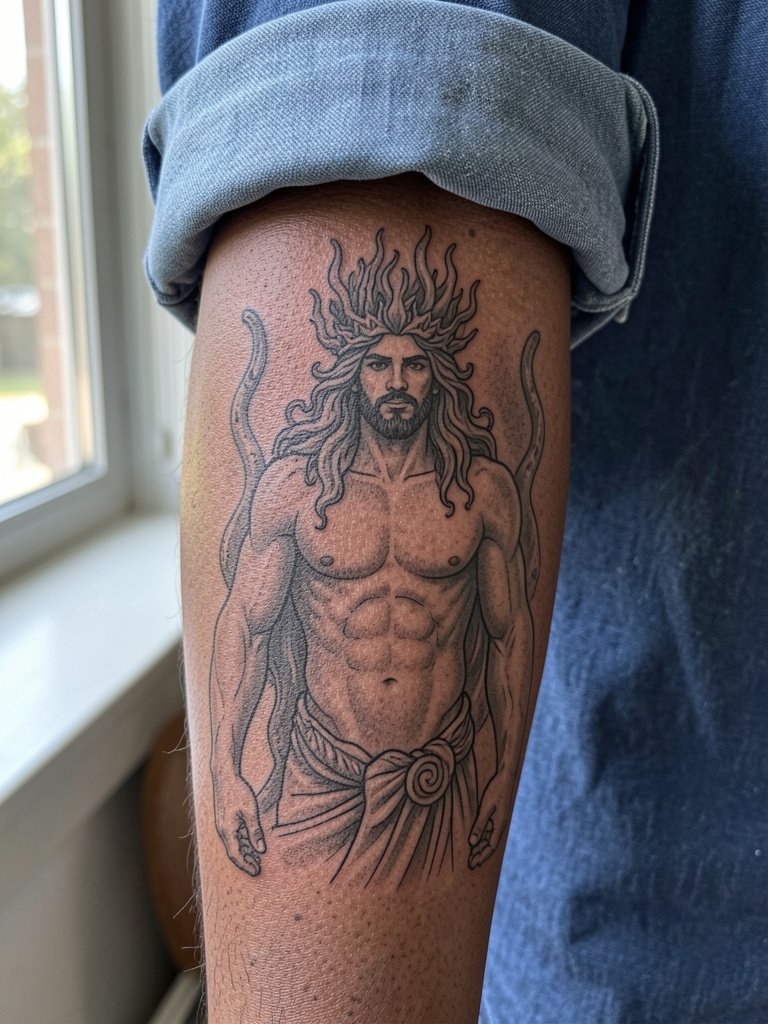
A forearm starter panel makes sense if you want to build a Greek sleeve over time. Session time is usually one long sitting for a medium panel and pain is lower than ribs because the forearm tissue is more forgiving. A frequent error is skipping scale tests. Bring a printout that shows the same portrait at three and five inches so the artist can show how it reads on skin versus on a phone screen. If you plan to expand later, ask for how the background waves will wrap into future panels. For showing off the design, a rolled cuff shirt keeps the forearm clear without hiding the piece.
3. Poseidon with crashing waves and sea foam background

Wave movement is what ties a sleeve together so each panel does not feel separate. Expect 2 to 5 sessions and a medium pain level near the shoulder cap. There is a live debate about color accents here. One camp argues black and gray is the safer choice because large mythological sleeves need readable contrast and they tend to age more predictably. The other camp says selective color accents make the ocean feel alive, and they recommend blue or coral as sparing highlights to keep the overall piece readable. To avoid a design that looks busy at year two, ask for blue to be used only in small saturated punches, not as a full wash across the waves. Wear a vintage wash tee to show how the sleeve reads in everyday clothes.
4. Poseidon bust with crown of seaweed, pearls, and coral details
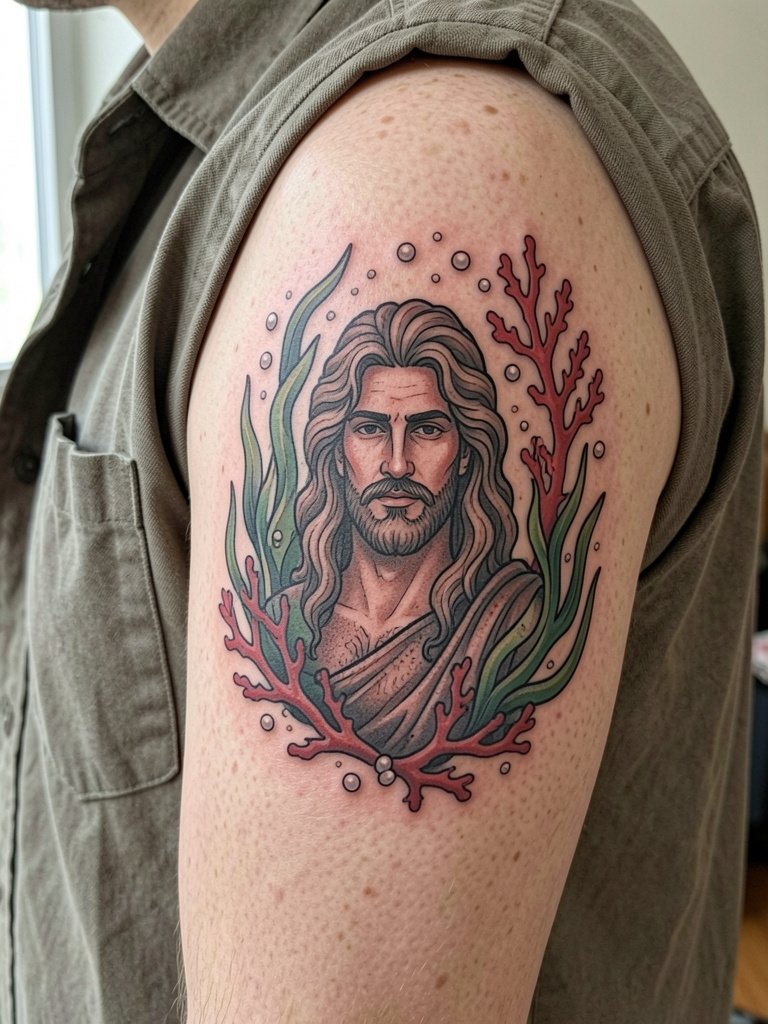
A bust keeps the figure ornamental and works well when you do not want full body proportions on the arm. Expect one to three sessions and moderate pain around the bicep. The most common mistake is loading every inch with tiny coral details. Request that pearls and coral serve as accents only and that the artist leave breathing room in negative space. If you want color, specify which elements receive saturation and why so the artist can plan touch-up expectations. For background-free reveal moments, pair this with an open camp collar shirt to frame the upper arm without covering the piece.
5. Poseidon sleeve project started as a single hero panel
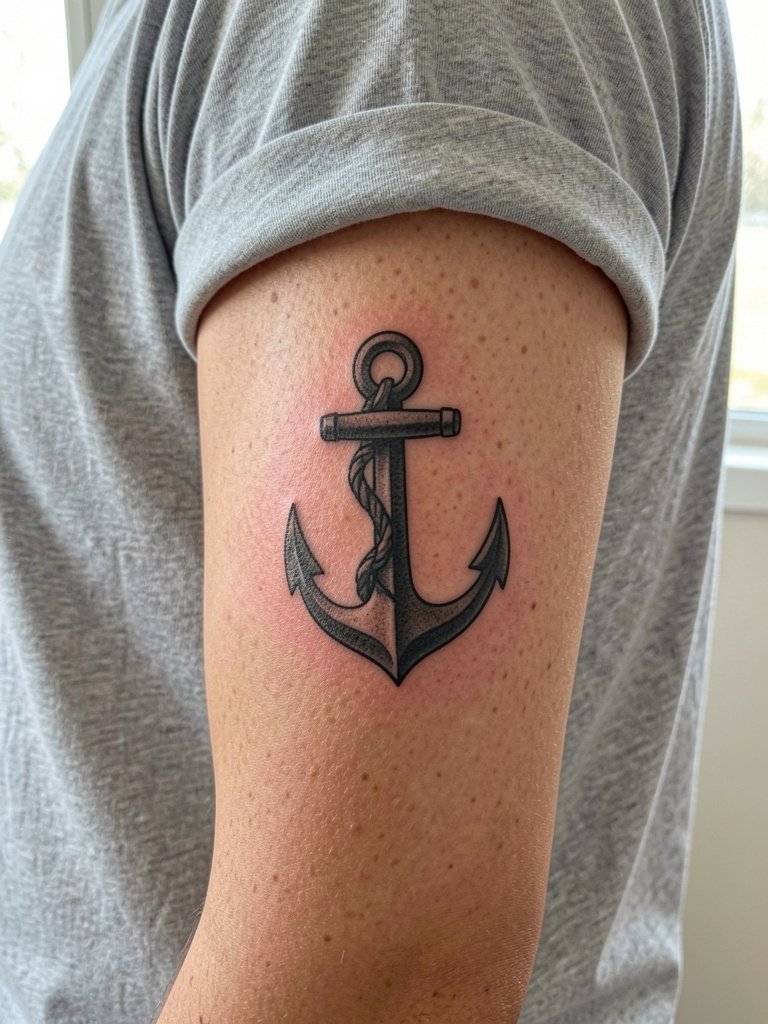
Starting with a single hero panel is how many collectors build mythology sleeves without rushing. Plan for four to eight sessions overall if you intend to fill the arm later. The big consultation item is arm mapping. Bring photos of your arm posture and a rough wish list for companion motifs so the artist can avoid awkward seams. A mistake I see often is leaving no negative space for future background, which forces patchwork fills later. For casual reveal moments choose a plain crew neck tee that keeps focus on the anchor without competing patterns.
6. Poseidon half sleeve with atmospheric water and lightning accents

Storm imagery gives a Poseidon piece cinematic contrast and helps separate foreground figure from background. Expect two to five sessions and higher sensitivity near the elbow crease. Tell the artist you want lightning to be used sparingly so it does not read as clutter after healing. A real mistake is placing too many thin lightning forks into shaded areas where they will lose contrast. For the appointment plan to wear a muscle tank top so the artist can rotate the arm freely around the elbow without fabric getting in the way.
Session Day Picks
These five items smooth the first week for arm work and the kinds of Poseidon pieces above.
- Tattoo Goo original formula. A lighter aftercare balm that some people prefer over heavier ointments for the first few days, helpful if you find greasy products trap sweat near detailed areas.
- Bepanthen healing ointment. Often used in non-U.S. threads as a light occlusive during the initial healing window for small to mid-sized panels.
- CeraVe unscented moisturizer. A bland, non-fragranced lotion many people reach for once the scabbing stage subsides to keep saturation even without clogging pores.
- Lubriderm fragrance-free lotion. A light daily moisturizer that feels less heavy than traditional balms when you are keeping a sleeve hydrated between sessions.
- Fragrance-free gentle cleanser. A basic wash for the first showers that cleans without irritating fresh ink, useful for the initial 1 to 2 weeks.
7. Poseidon sleeve with companion sea creatures

Adding sea creatures turns a god portrait into a narrative sleeve. Plan for two to six sessions depending on how many supporting figures you want. A common mistake is overcrowding every inch with tiny animals. Ask the artist which creatures will remain legible at three inches across so the sleeve does not lose its story in long-term wear. For appearance, this placement reads well with fitted plain tees or a neutral crew neck so the sleeve is the focal point. For session comfort bring a button-up or zip hoodie you can open fully while the artist works along the bicep.
8. Minimal Poseidon trident symbol with wave linework
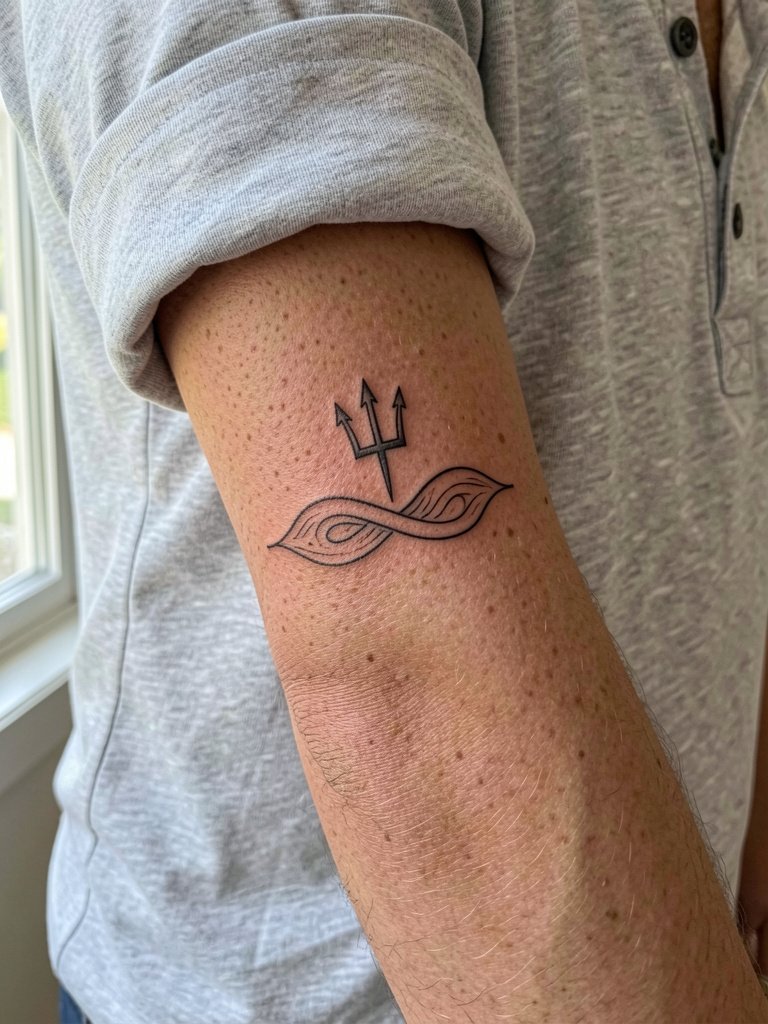
This is the low-commitment option for someone who wants the theme without a full portrait. It is usually done in a single session and the inner forearm is forgiving. There is a debate here as well. One camp favors a trident or wave symbol because it stays subtle and ages with less blur. The other camp prefers a portrait because it gives the sleeve mythic scale and avoids feeling like a mere icon. If you pick minimal, ask for slightly heavier contour lines than the reference so the single-needle work does not blur into fine hairlines at year two. Wear a lightweight henley shirt during reveals to show how the inner forearm looks in everyday layers.
9. Poseidon and Atlantis themed sleeve fragment
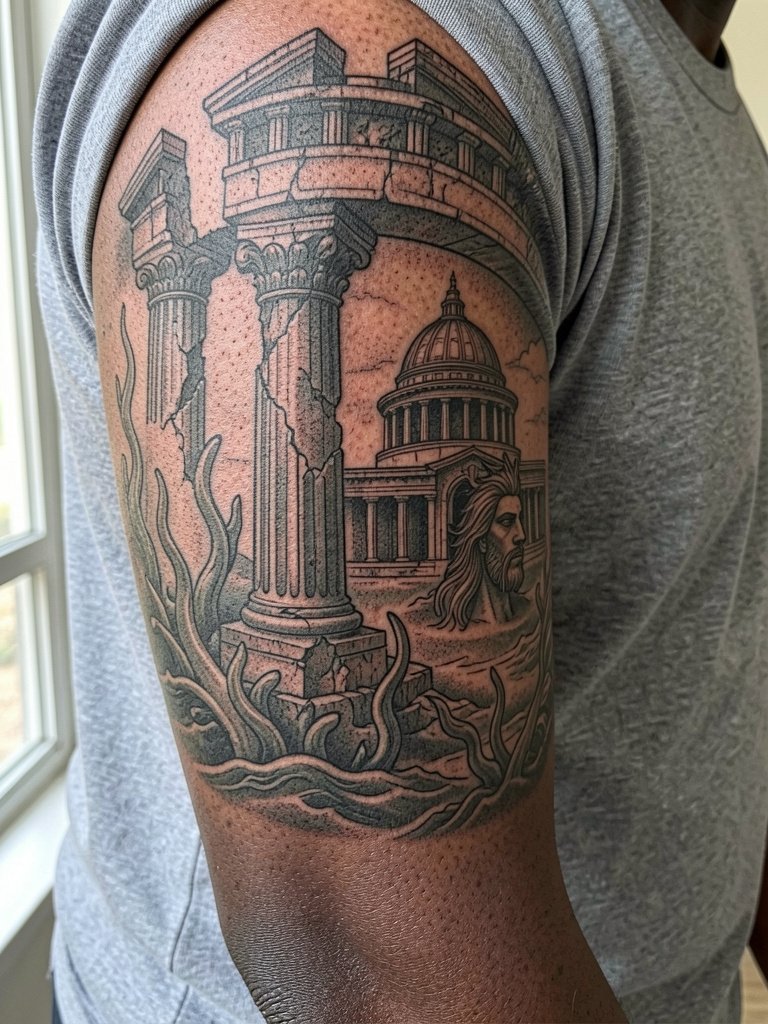
World-building lifts a sleeve beyond a single image. Expect three to six sessions depending on the architectural detail. A practical mistake is pushing too much tiny stonework into areas that will see motion, like the inner elbow. Ask for blocky silhouette shapes in architectural zones so ruins remain readable after healing. If you plan to wear the sleeve under a jacket, the piece reads best with fitted plain tees or neutral long sleeves with the cuffs pushed up for intentional reveals.
10. Greek god portrait sleeve with Poseidon as one chapter
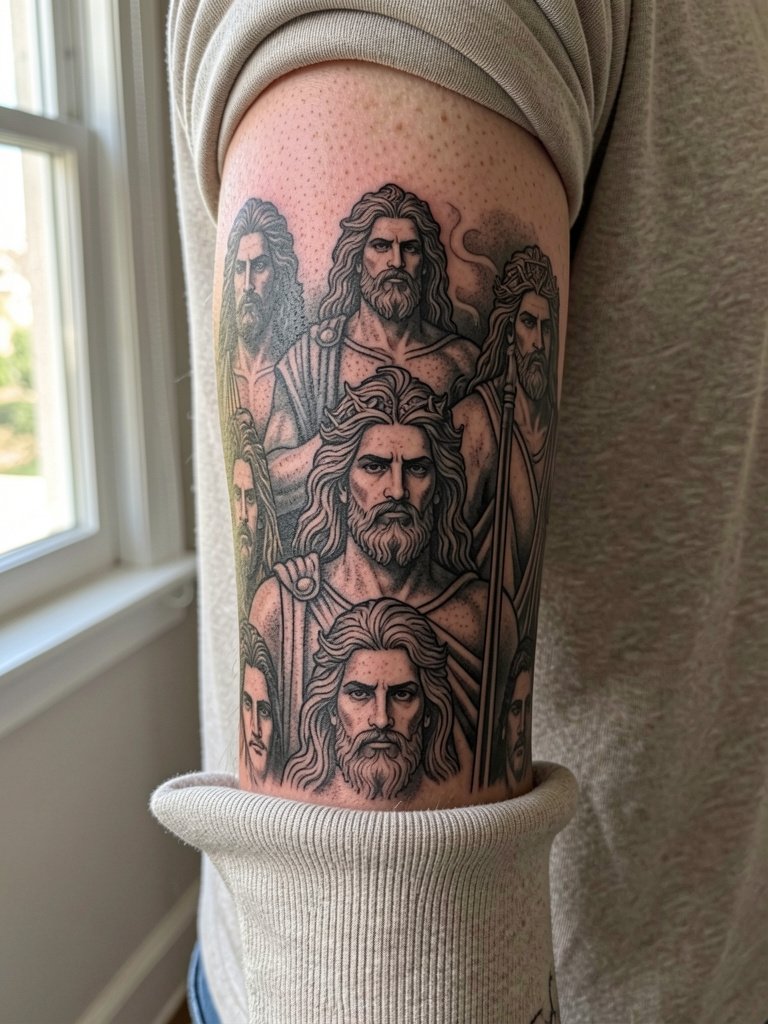
If you want multiple gods, plan the whole arm composition up front where possible. This style requires large-scale thinking about head sizes and background negative space. The common error is mismatched portrait scales that leave awkward gaps. During the consultation bring example sleeve layouts so the artist can suggest consistent eye-line heights across portraits and plan cohesive background flow. Session times are long and touch-ups are more likely when you mix many portrait styles, so plan accordingly.
11. Poseidon with a strong trident silhouette for readability
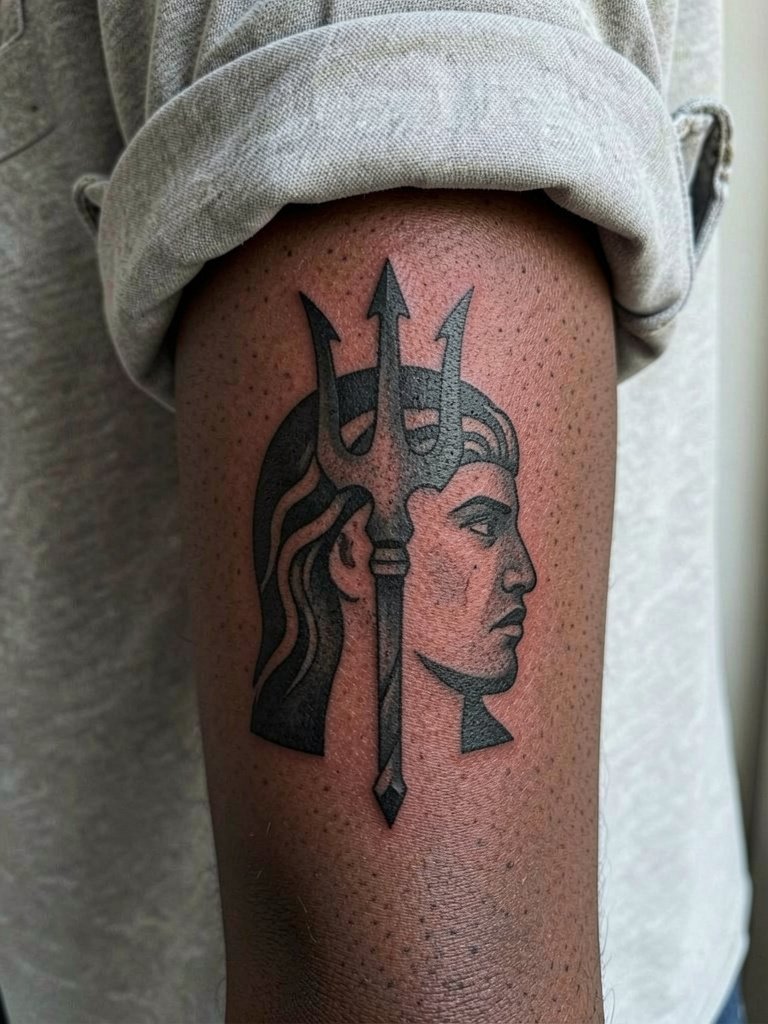
Strong silhouettes protect important elements from blowout and aging. This approach is best for people who want a sleeve that remains readable at year five and beyond. The mistake is trying to apply fine filigree inside the silhouette. State clearly that you want bold black fills with negative space details only. This style is flattering with rolled sleeve oxford looks or a clean boxy tee that keeps the arm visible when you want to show the silhouette.
12. Stormy Poseidon chest-to-sleeve crossover concept

Crossover pieces demand coordinated sessions so the chest and arm read as one composition. Pain around the sternum is higher, and session lengths increase because artists must consider chest breathing and stretch. A frequent mistake is beginning the arm and leaving the chest unplanned, which results in mismatched lighting and scale. If you want the chest to connect, have the artist sketch the crossover lines and show a mockup so you understand how the shoulder cap ties into the upper chest.
13. Poseidon forearm panel with heavy negative space
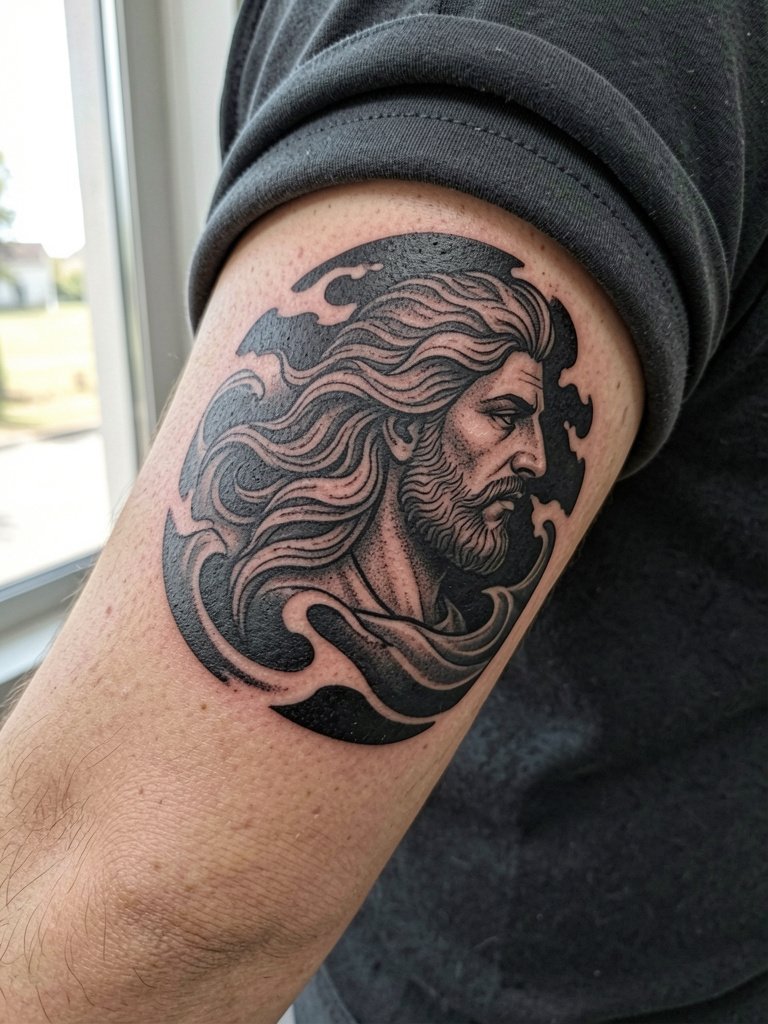
Negative space keeps a sleeve from feeling overworked and helps water effects read clearly. This works well on the forearm for a single-session anchor panel. The common error is filling the negative space later with small filler motifs that break the original rhythm. Ask the artist to mark the negative zones on a printed mockup and agree which areas are reserved for future fills. For casual wear this placement pairs with a half-sleeve tee that shows off the forearm without distraction.
14. Poseidon sleeve with UV ink accents
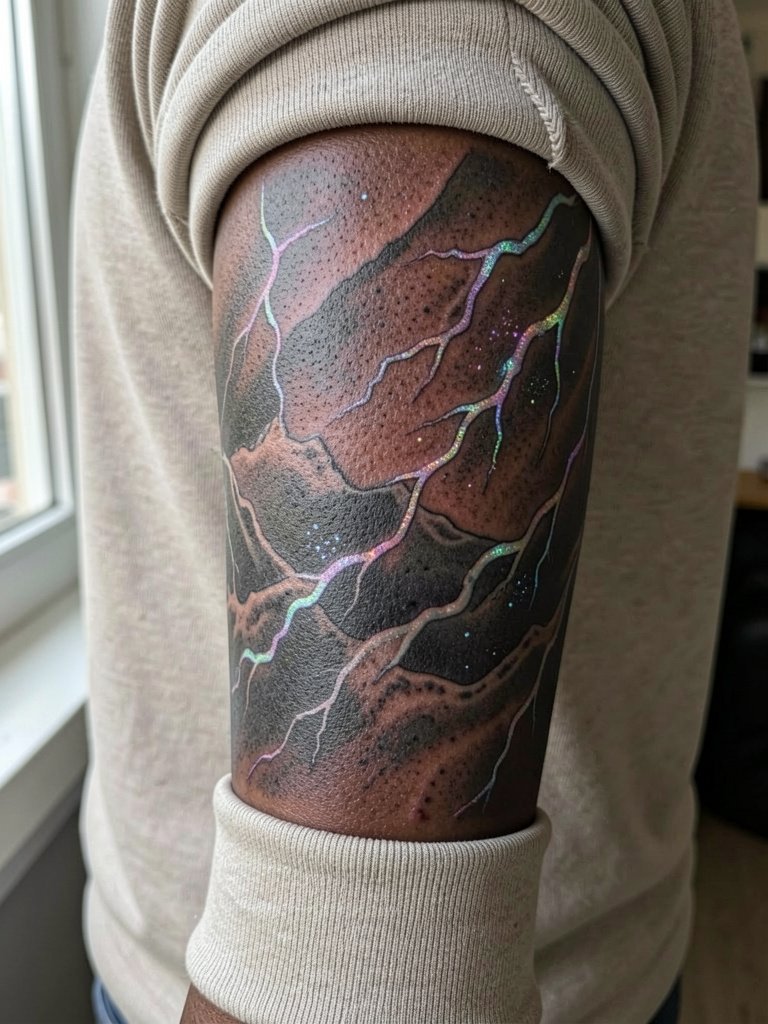
UV accents are a niche that divides collectors. One camp loves the hidden effect and the modern surprise it offers under blacklight. The other camp warns that UV elements can date quickly, complicate healing expectations, and sometimes distract from the core design if overused. If you choose UV, limit it to tiny, audited touches and confirm the product and curing method the studio uses so you understand longevity trade-offs. Session times increase when specialty inks are involved and not every artist carries them.
15. Poseidon hand, wrist, or small-piece ideas to anchor a sleeve
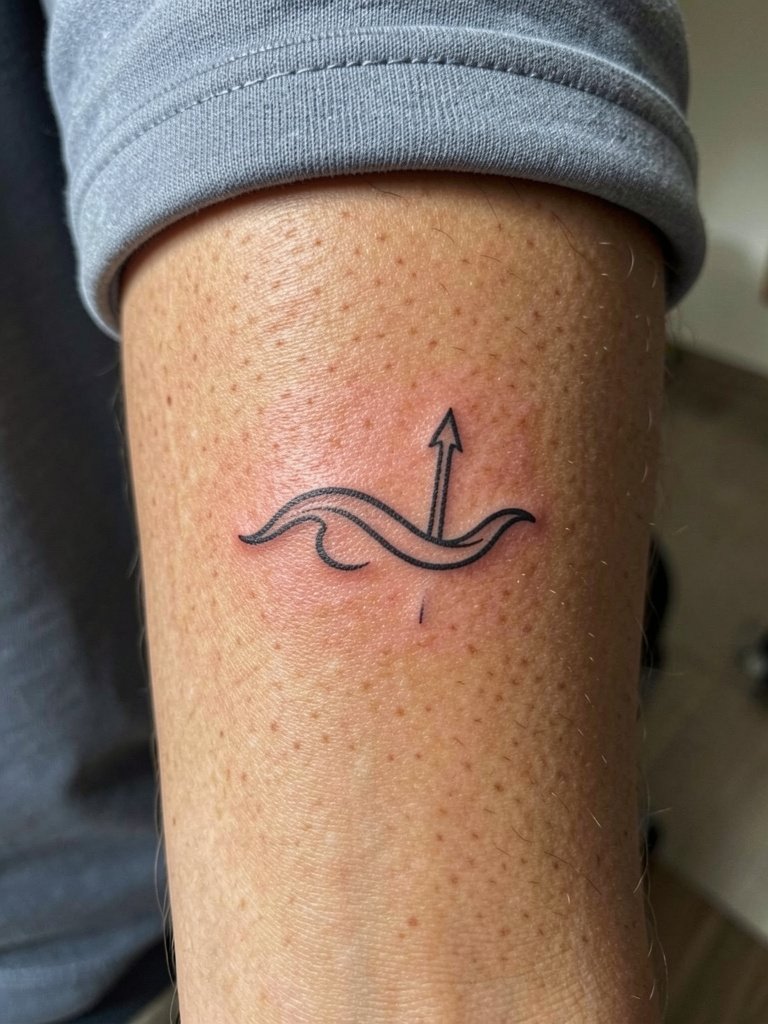
Wrist and hand pieces are statement anchors that must be sized for long-term legibility. The hand is high wear and the wrist sees sun exposure, so bold outlines and retention-aware placement are essential. A common mistake is mimicking a tiny flash from social media without accounting for daily friction. For a wrist anchor choose a slightly larger silhouette and ask about touch-up timelines specific to the hand. During the session avoid wearing a watch on that wrist and plan to display the piece with short sleeves or a minimal bracelet stack.
Frequently Asked Questions
Q: How do I decide between black and gray or adding color accents for a Poseidon sleeve?
A: Black and gray tends to age more predictably on large sleeves and keeps contrast readable as the skin shifts over time. People who want energy often choose small, strategic color punches for coral or lightning instead of full-color washes. If you want both, ask the artist for a mockup that shows where color will be isolated so you can see the long-term hierarchy of forms.
Q: Should I plan the whole sleeve up front or build it in stages?
A: Artists and collectors split on this. One camp says planning the whole arm avoids awkward seams and makes the theme cohesive. The other camp prefers staged builds so you can refine the plan after seeing healed work and spread out the cost. If you choose staged, request an arm map and reserve deliberate negative space so later fills do not fight what you already have.
Q: Where can I find artists who do large Poseidon and Atlantis sleeves without naming anyone?
A: Search platform hashtags and location filters to surface healed portfolios. Try tags like #poseidontattoo, #greekmythologytattoo, #sleevetattoo, and #blackandgreytattoo and filter by your city. Use Pinterest for panel comparisons and Reddit r/tattooadvice for healed-photo threads. Tattoo directories and booking platforms can help you find shops that already show sleeve-scale work in their galleries.
Q: What should I wear to a long sleeve session so the artist has access and I stay comfortable?
A: For upper-arm and shoulder work wear a loose button-down or a zip hoodie that opens fully so the artist can move the fabric out of the way easily. For forearm and wrist work try a short sleeve or rolled cuff shirt so the artist can access the entire arm. A lightweight henley is a good balance when you want sleeves but need wrist access.
Q: How can I tell how a Poseidon portrait will look healed versus fresh?
A: Ask to see healed photos of similar scale and shading from the artist, especially for realism pieces. If healed examples are not available, ask the artist to point out where they usually add stronger silhouettes and where they prefer negative space so you can understand how forms hold up at six months and at two years. A well planned portrait will show bold contrast in the anchor areas that read after the scabbing and settling stages.
