
Bold black shapes hold up in real life far better than the filigree Pinterest pieces most people save. If you want a neo-tribal look that still reads crisp after a few years, start with saturated fields of black, negative-space choreography, and composition that follows muscle and bone. Below the examples you will find practical notes on healing, session wear, and what to ask about spacing so your design keeps contrast as it ages.
1. Full-Sleeve Flow with Geometric Black Bands
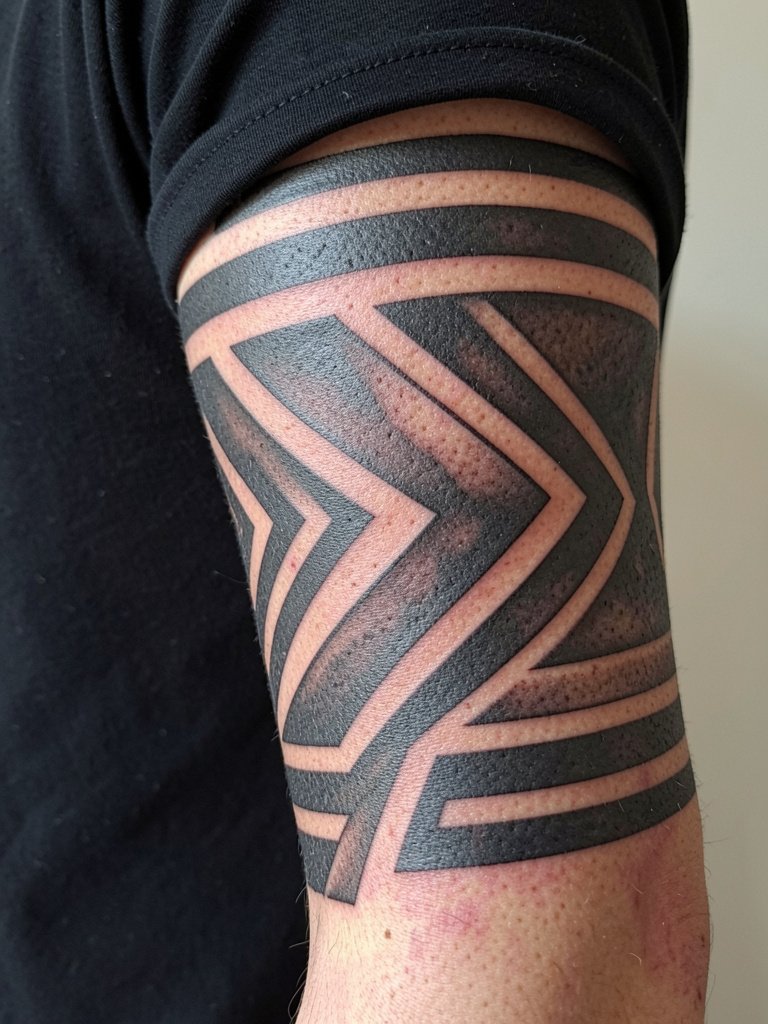
This sleeve is about movement and reading from a distance. Recommend the artist plan 2 to 5 sessions and map the bands to the arm's rotation points so the geometry looks continuous when you bend your elbow. A common mistake is compressing all patterns into one narrow band near the elbow; that area needs taper and breathing room or the composition looks cramped after healing. For the session wear a black boxy t shirt so the artist can roll the sleeve without tugging. Expect a medium pain profile for the outer arm and longer sessions when wrapping the shoulder.
2. Shoulder Cap with Tapering Speed Lines
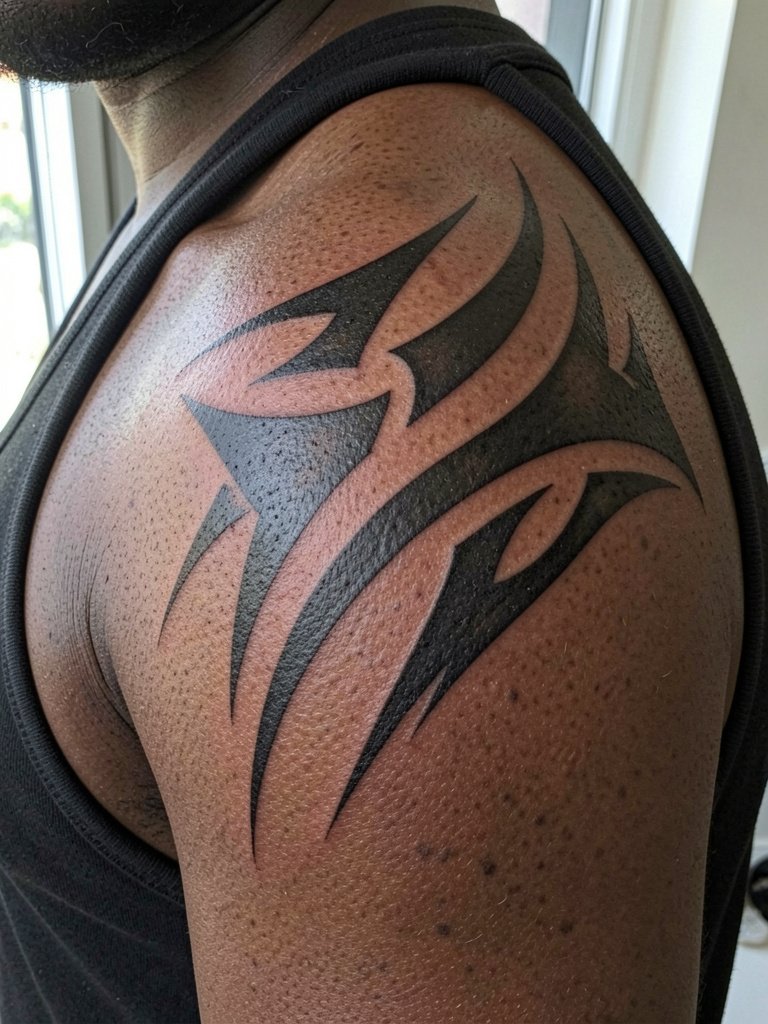
The shoulder cap thrives on curved anatomy so lean into radial forms that follow the deltoid. Tell the artist the sweep must stop short of the shoulder joint to avoid early distortion with heavy movement. This placement pairs nicely with racerback tanks when you want to show it off. Session time is usually one to two hours for a medium cap, and touch-ups are often needed along edges after full settling.
3. Forearm Wrap with Negative-Space Chevrons
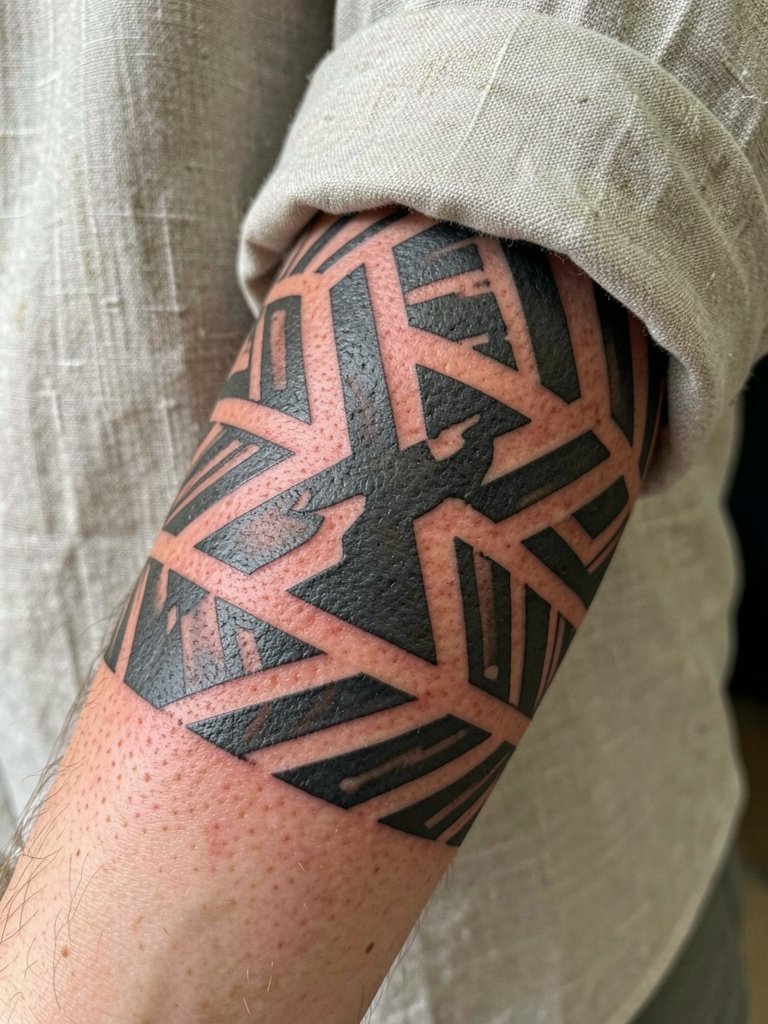
This is a great starter neo-tribal piece because the forearm reads movement and hides minor touch-ups well. For longevity, specify heavier lineweights for key contours so the chevrons keep crisp edges after a few years. A real mistake is asking for ultra-thin chevrons that disappear into skin texture. For session comfort, wear a rolled cuff shirt so you can push sleeves up without strain. Expect one session for a single panel and a touch-up within 12 to 18 months if needed.
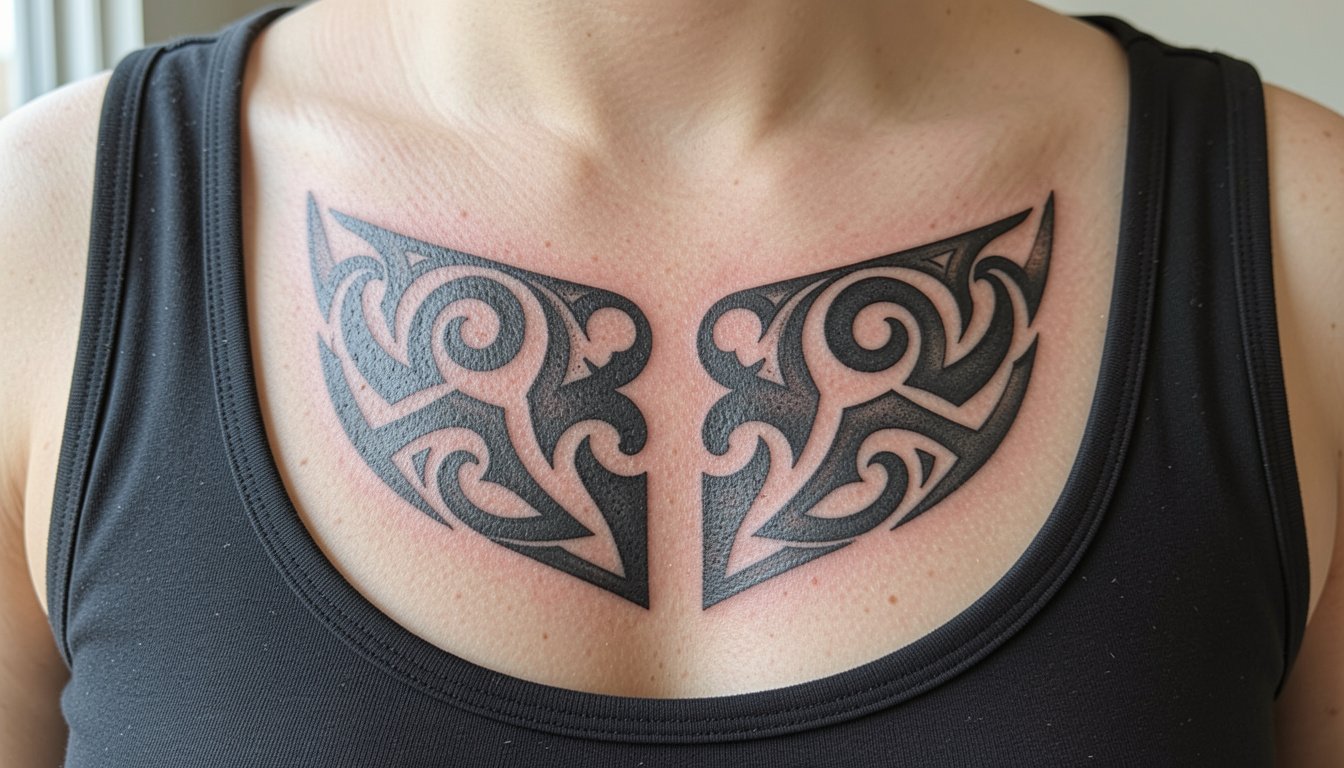
4. Mirrored Chest Panel across the Sternum
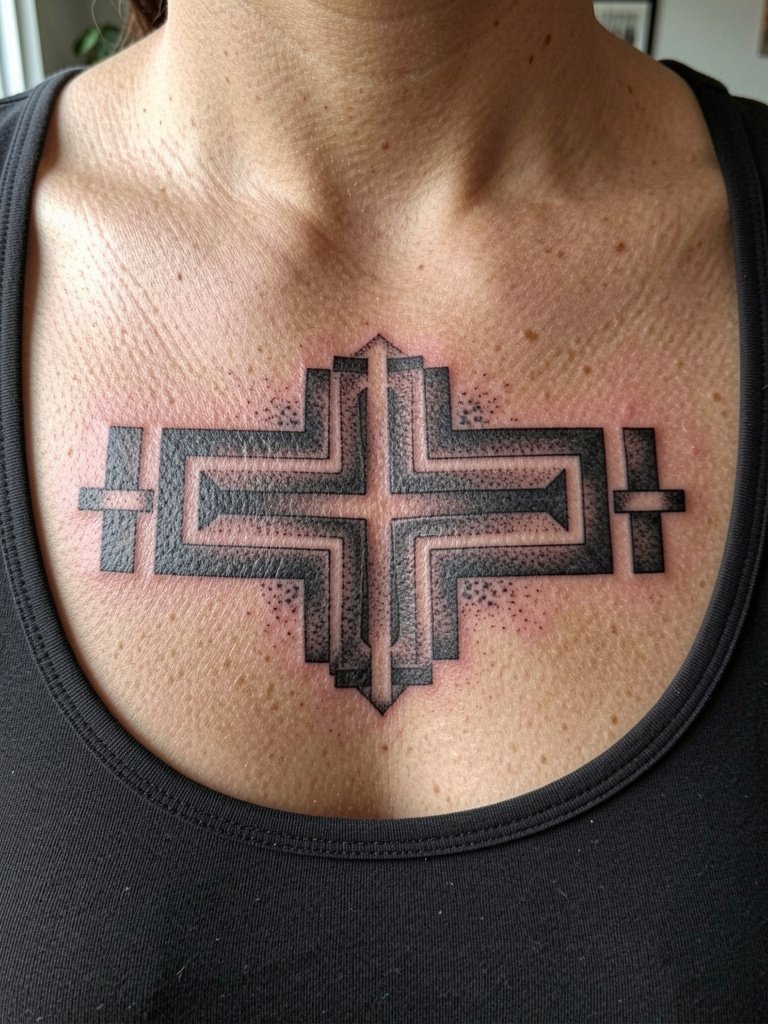
Sternum and upper chest pieces must respect the centerline or the symmetry reads off. One mistake is forcing perfect symmetry over a torso that already has subtle asymmetry. Ask the artist to stencil and photograph the mirrored layout on both sides before committing ink. This placement looks striking with layered chain necklaces that sit above the design. Pain here is higher than an arm panel because of bone proximity, and session length depends on how much of the chest you fill.
5. Ribcage Linework that Follows the Torso Curve
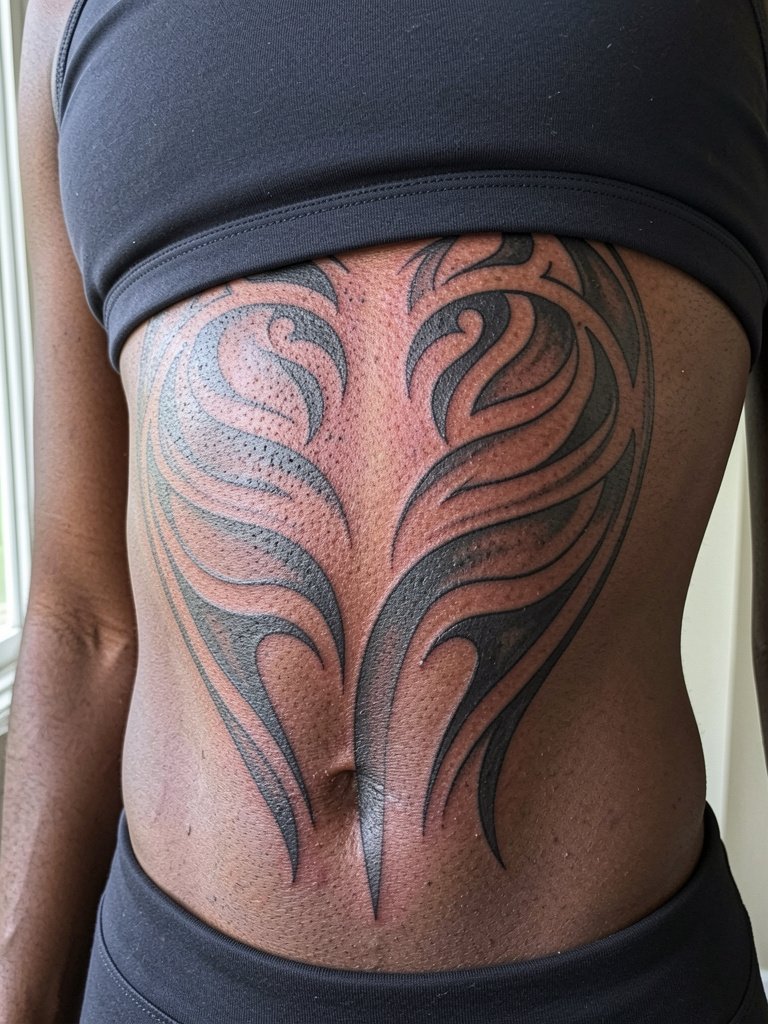
Rib work is high on the pain chart, but it rewards scale and flow. Artists split on fine detail versus bold simplification here. One camp says heavy simplified shapes age cleaner because the skin there moves and blurs thin work. The other camp argues that careful needle depth and slightly wider fine-line spacing can make intricated patterning settle well, and they show healed photos to support that. For this placement, request slightly wider spacing and thicker primary contours so the piece keeps contrast at three and five years. Wear a loose button-up or sports bra that gives access without pressure.
6. Thigh Panel with Angular Fauna Abstraction
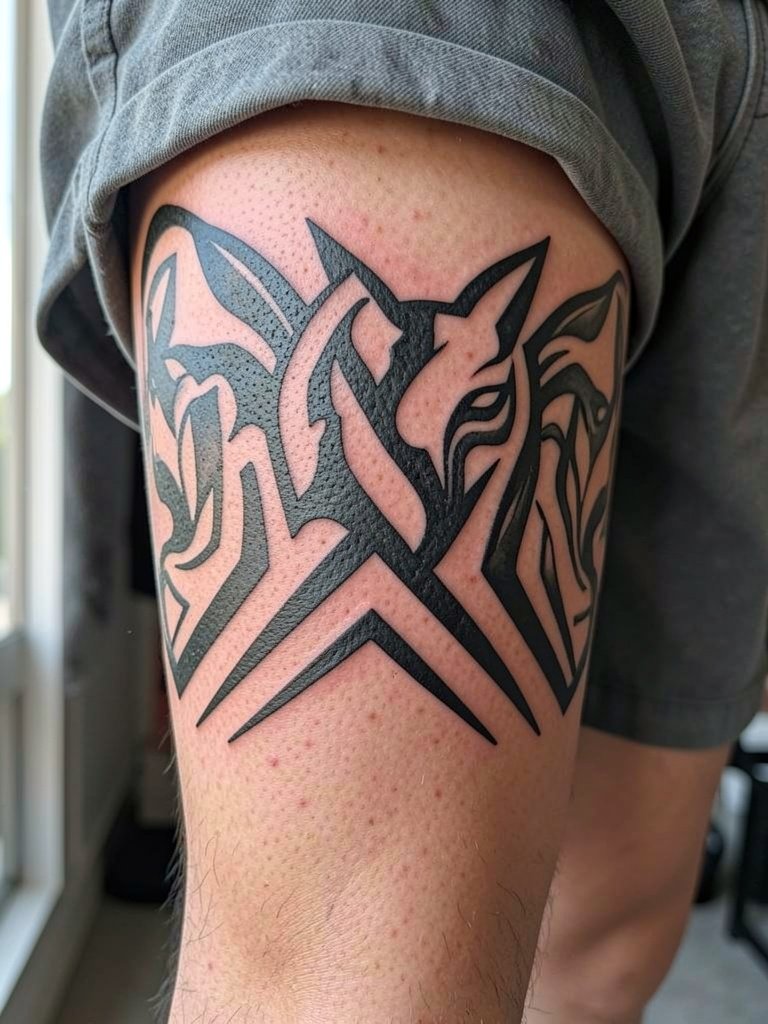
The upper thigh handles larger blocks of black well and gives room for angular motifs that read like fauna without literal depiction. A common mistake is shrinking animal shapes into a tiny, over-detailed motif that loses silhouette. If you plan to show it off, pair it with loose shorts or skirts that reveal the panel. Session times vary by size but expect one to three hours for medium panels and touch-up after settling if shading gets soft.
Session Day Picks
The first six ideas include rib, chest, and thigh work that need clothing choices for both the appointment and the reveal. These five items smooth session flow and protect fresh blackwork.
- Disposable stencil transfer sheets. Useful for double-checking positioning on chest and thigh pieces before the first pass.
- Medical-grade topical numbing cream. Applied according to package directions can reduce discomfort for delicate rib sessions.
- Thin protective film roll for first-week coverage. Keeps large black panels on thighs and arms shielded from friction while you dress.
- Fragrance-free gentle body wash. Mild cleanser avoids irritation during the early healing window.
- Healing ointment balm from a mainstream brand. A thin layer in the first two to four days can help the ink set without clogging.
7. Spine Strip with Stacked Motifs
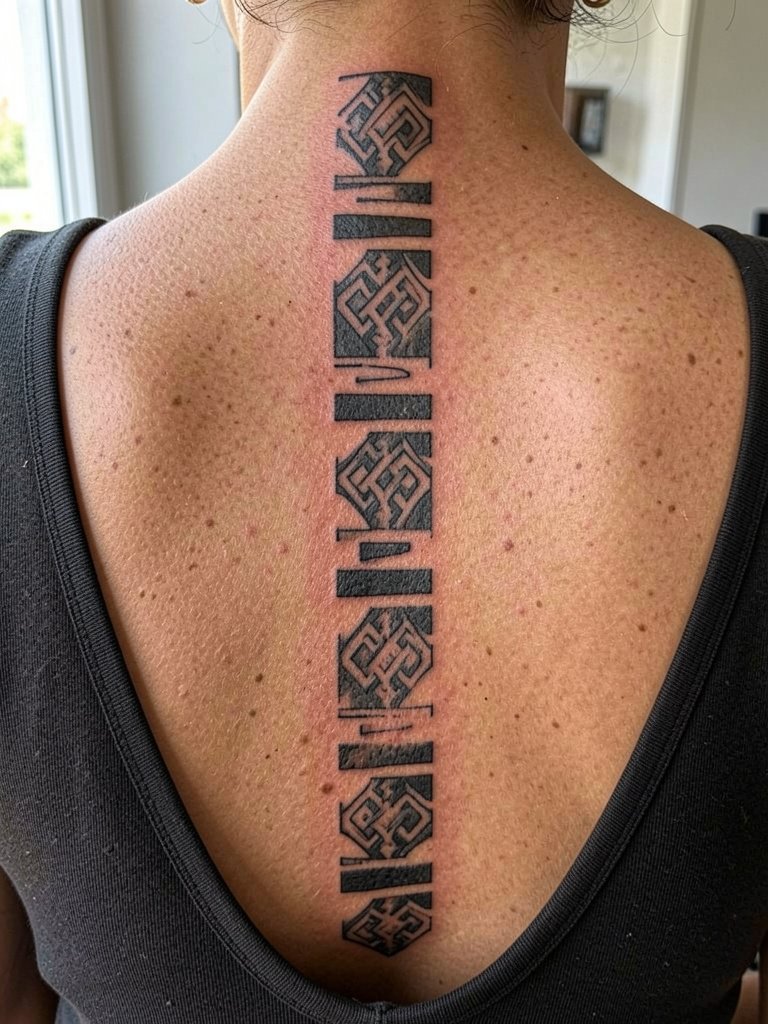
A spine strip benefits from vertical rhythm and spacing that keeps each motif distinct. The lumbar and thoracic areas age differently so ask the artist to plan motif spacing with a photographic mockup of the entire back. For showing the piece, open-back dresses or racerback tops work well and you can reference open-back tops for styling. Pain varies along the spine with higher sensitivity over the vertebrae, and session times are driven by how many stacked elements you want.
8. Calf Band with Wraparound Geometry
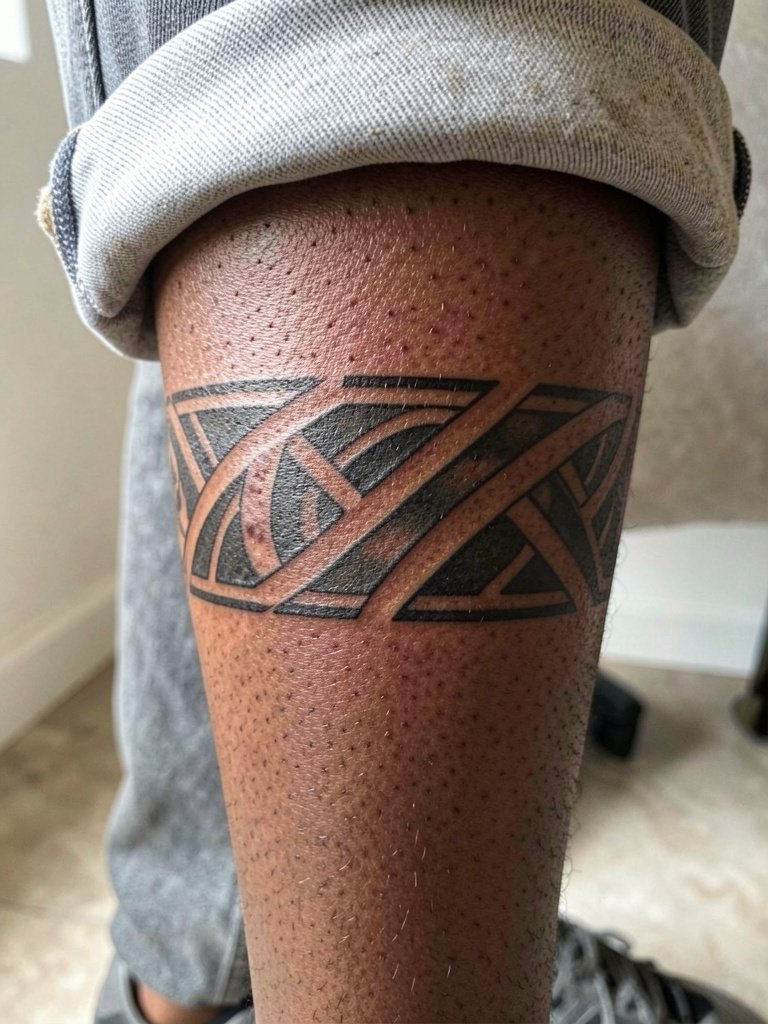
Calf bands are easy to conceal for work but photograph well in cropped trousers. The circular joint near the ankle can distort straight bands so builders often break bands into modules across muscle curves. Wear cropped pants for a clean reveal. One session is typical unless you plan a full wrap with heavy saturation, in which case a two-stage approach reduces skin trauma.
9. Wrist Band Accent, Hand-Adjacent
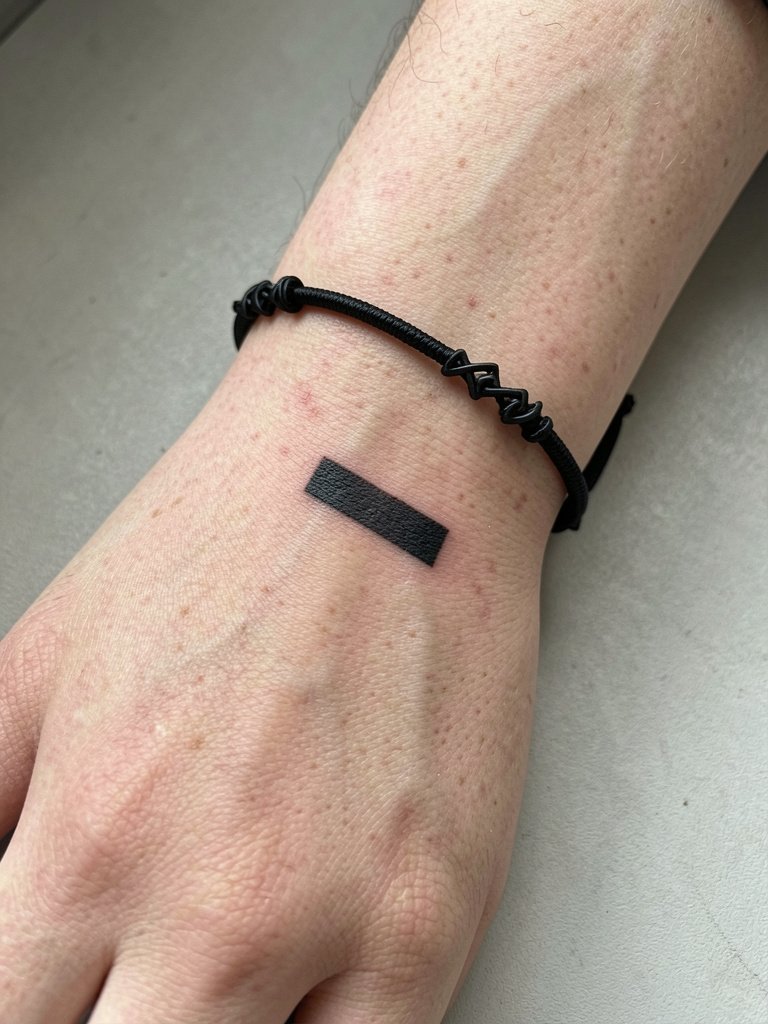
Wrist tattoos face frequent washing and sun exposure, so primary contours need to be bold enough to remain readable over time. A common mistake is asking for ultra-fine ornamental bands that soften within a year. For session wear choose sleeveless or short sleeves and avoid tight bracelets on the tattooed wrist for the first month. Recovery is fast but expect a touch-up if the artist had to navigate scarred or thin skin.
10. Nape and Side-Neck Accent
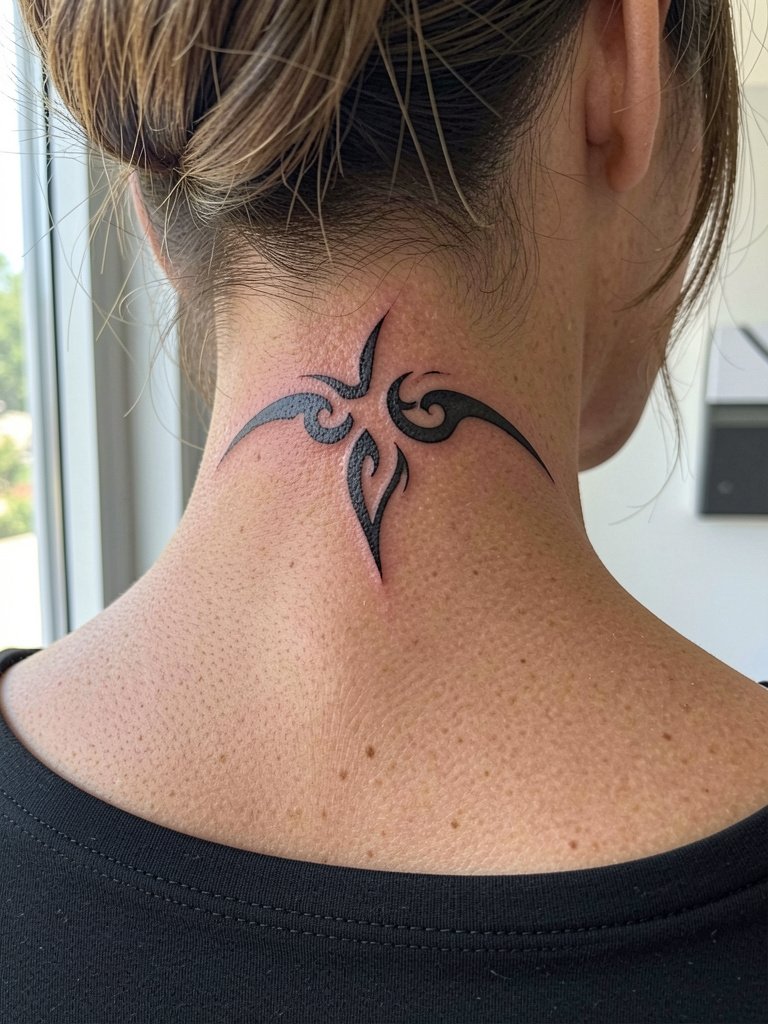
Neck tattoos require artists experienced with shallow, mobile skin. The back of the neck responds differently to movement than the shoulder cap does, and small details can blur faster. For the session wear a loose top that pulls on and off without rubbing the fresh tattoo. If you plan to show it, consider hair-up styles that reveal the nape. Pain here is moderate and the healed look depends heavily on initial saturation and spacing.
11. Inner-Forearm Animal Abstraction
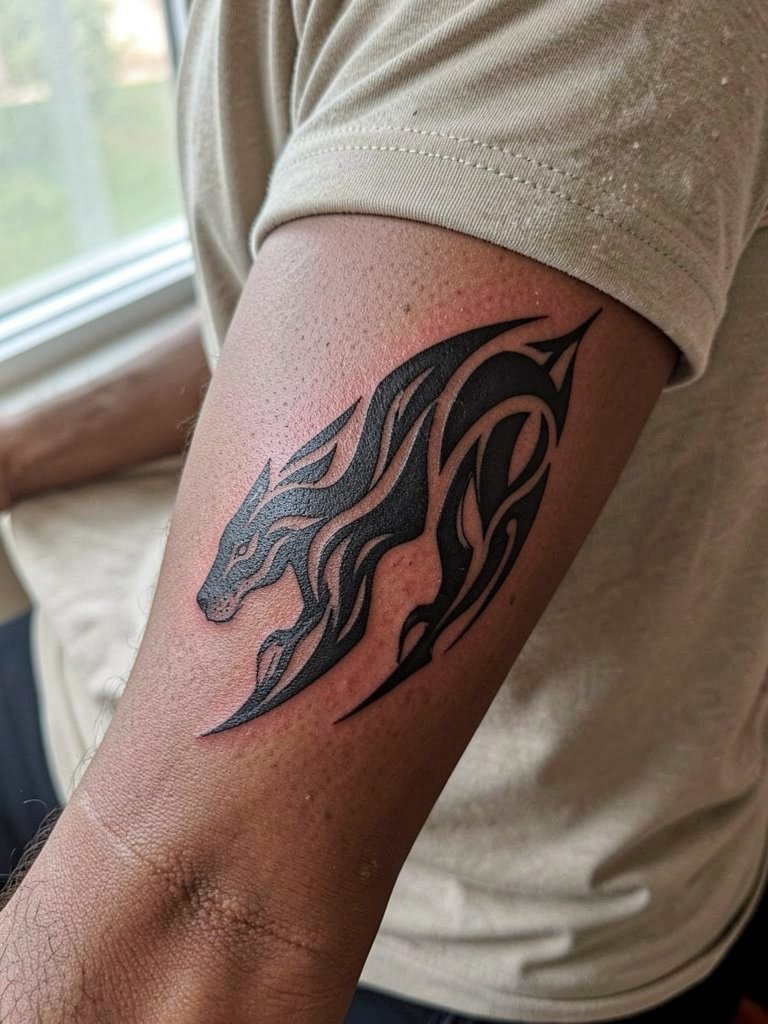
Inner forearm is great for readable silhouettes and personal symbols that avoid tiny detail. A mistake is packing micro-patterns into the palm-up surface where friction and washing accelerate spread. Bring two reference scales so the artist can show you how the abstraction reads at small and medium sizes. Session time is usually one to two hours and touch-up is common if stipple shading loses contrast during early healing.
12. Hip-to-Thigh Sweep That Follows the Curve
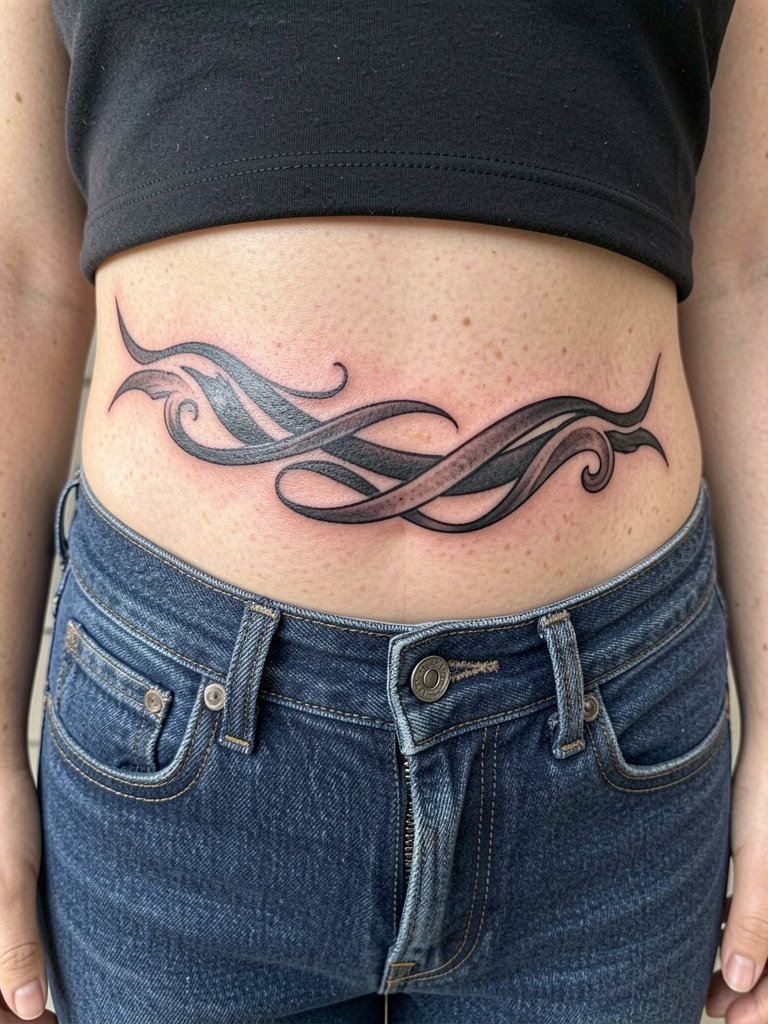
The lateral hip supports long flowing shapes that elongate silhouette. Because the area moves with clothing and sitting, specify tapered line direction and space around high-friction zones to avoid early softening. For the session wear low-rise jeans or loose shorts so the artist can roll the waist comfortably. This placement is medium on the pain scale and usually sits across one to three sessions depending on saturation.
13. Modular Back Blocks for a Growable Piece
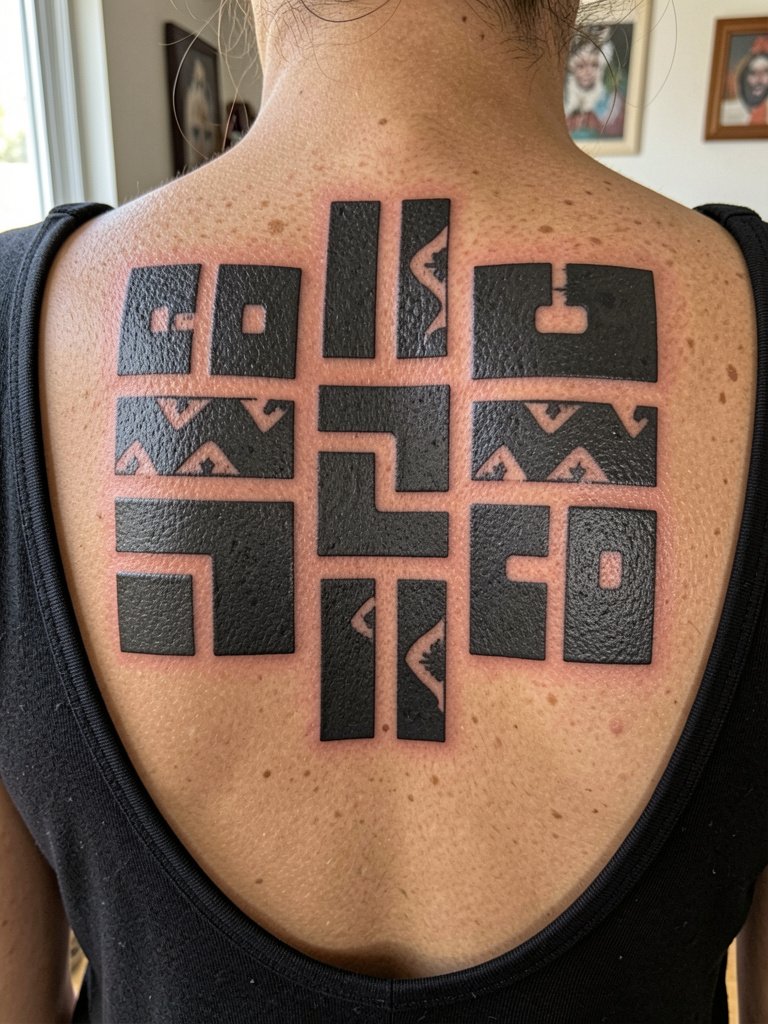
Designing in modules makes expansion predictable. Ask your artist to plan anchor blocks with consistent spacing so each future add-on aligns without reworking existing fills. A mistake is random patchwork that reads mismatched when you finally join pieces. For revealing the upper back, racerback dresses or open-back garments work well. Multi-session projects demand planning for session spacing and skin rest between large saturation days.
14. Knee-Adjacent Ring Geometry
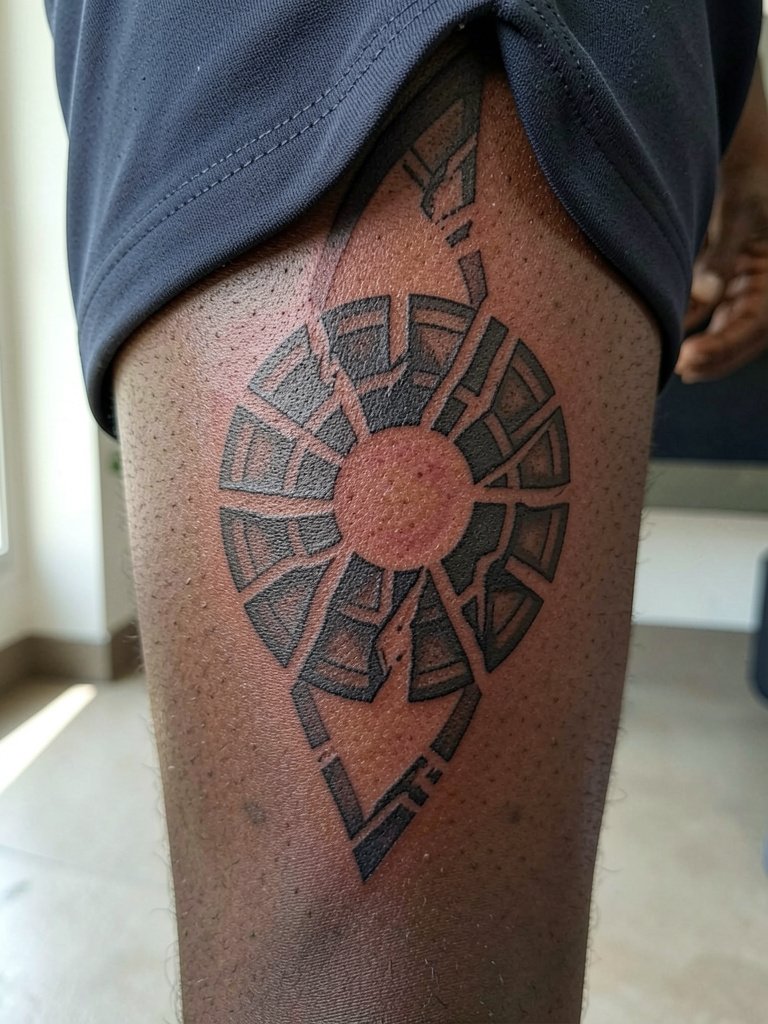
Knee-adjacent work must accommodate joint flex. Strong geometry with interrupted bands avoids warping when you bend. A common mistake is continuing straight lines over the kneecap which can break when you sit. Wear shorts or flexible leggings that can be pushed above the knee during the session. Expect a short to medium pain profile and an easy visual payoff for cropped pants or skirts.
15. Custom Symbol Mashup with Elemental Motifs
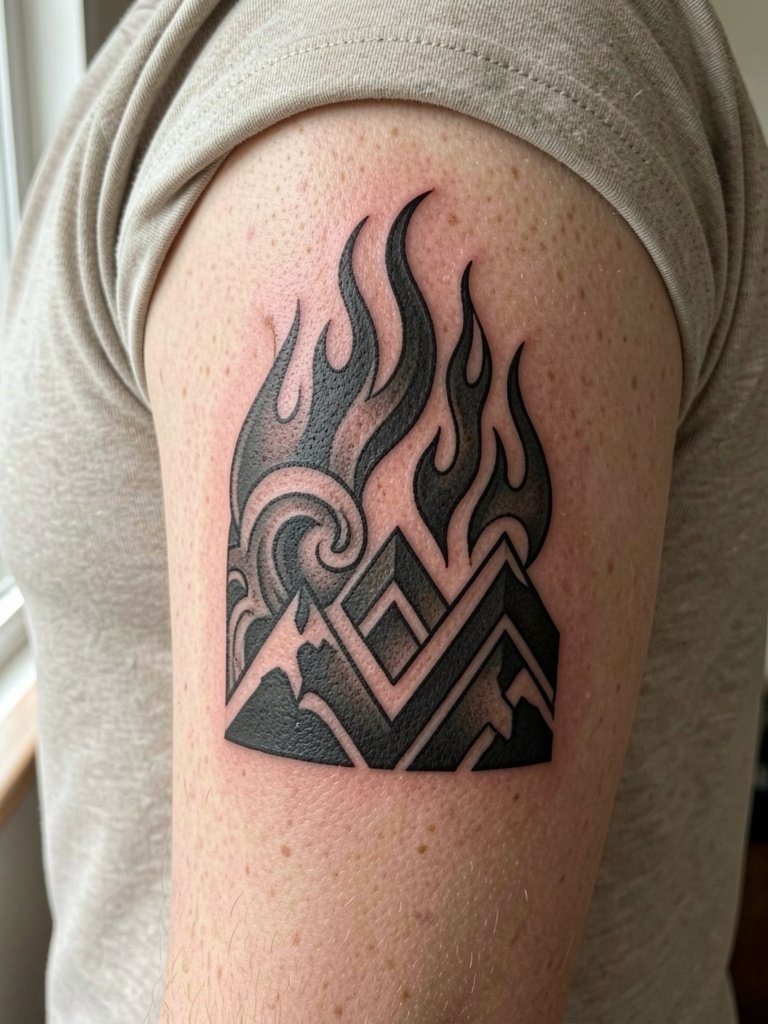
A custom mashup mixes symbols without becoming literal. Be explicit about which visual elements mean what so the artist composes with visual hierarchy instead of stacking motifs. One mistake is labeling everything as "meaningful" without showing how those shapes should interact at scale. Session length depends on complexity, and you should ask the artist for a single blackwork mockup at actual size to test legibility.
16. Collarbone Accent with Mirrored Lines
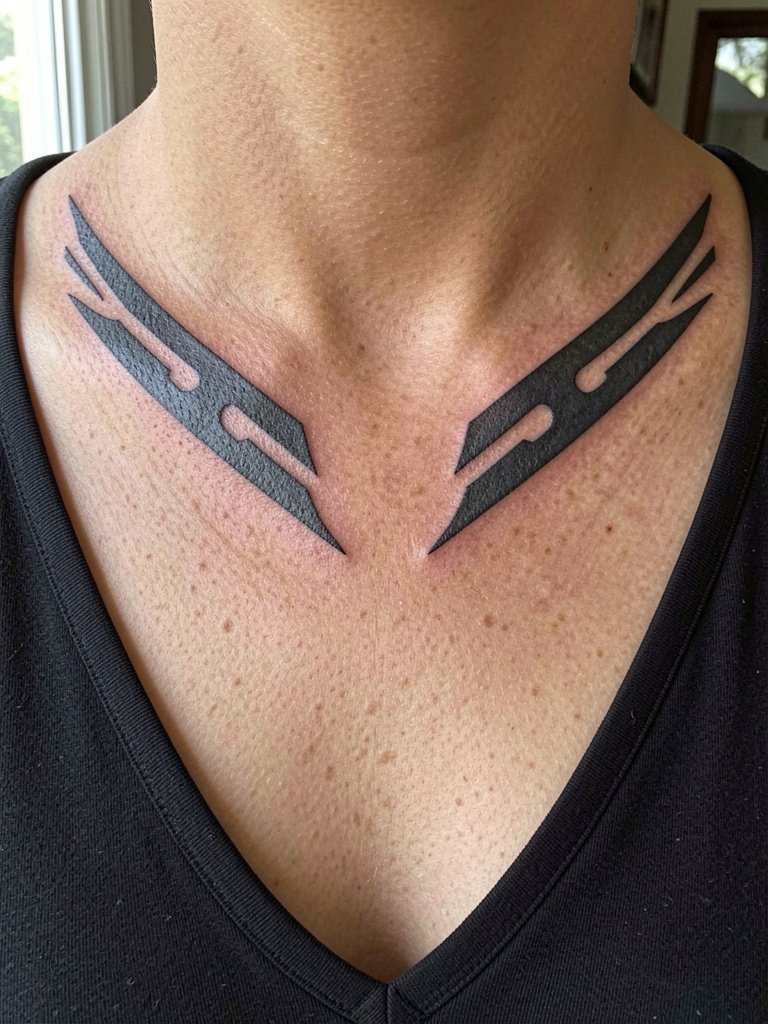
Collarbone tattoos read well at moderate scale, but tiny detail gets lost on textured skin. Artists disagree about scale here. One camp prefers bold mirrored bars that preserve edge contrast as the area moves. The other camp favors delicate patterning to keep the design elegant, even if it risks softening with time. For session comfort wear a button-down shirt that opens easily and choose jewelry that sits above the work so it does not rub the fresh ink.
17. Minimal Inner-Thigh Band
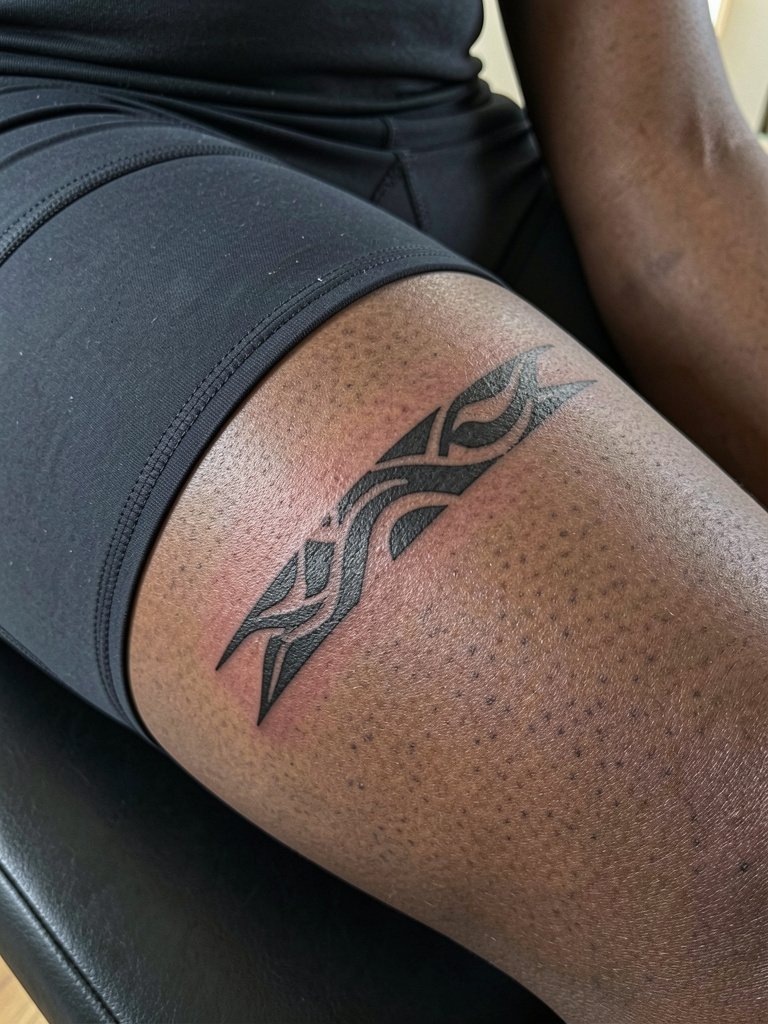
Inner-thigh pieces should avoid overly intricate filigree because friction and moisture can soften micro-details. Keep primary shapes saturated and ask for spacing that compensates for the skin’s yield. For the appointment wear fitted bike shorts so you can sit comfortably and the artist can access the area without fabric tugging. Pain is typically moderate and healing benefits from loose bottoms in the first week.
18. Hip Bone Curved Chevrons
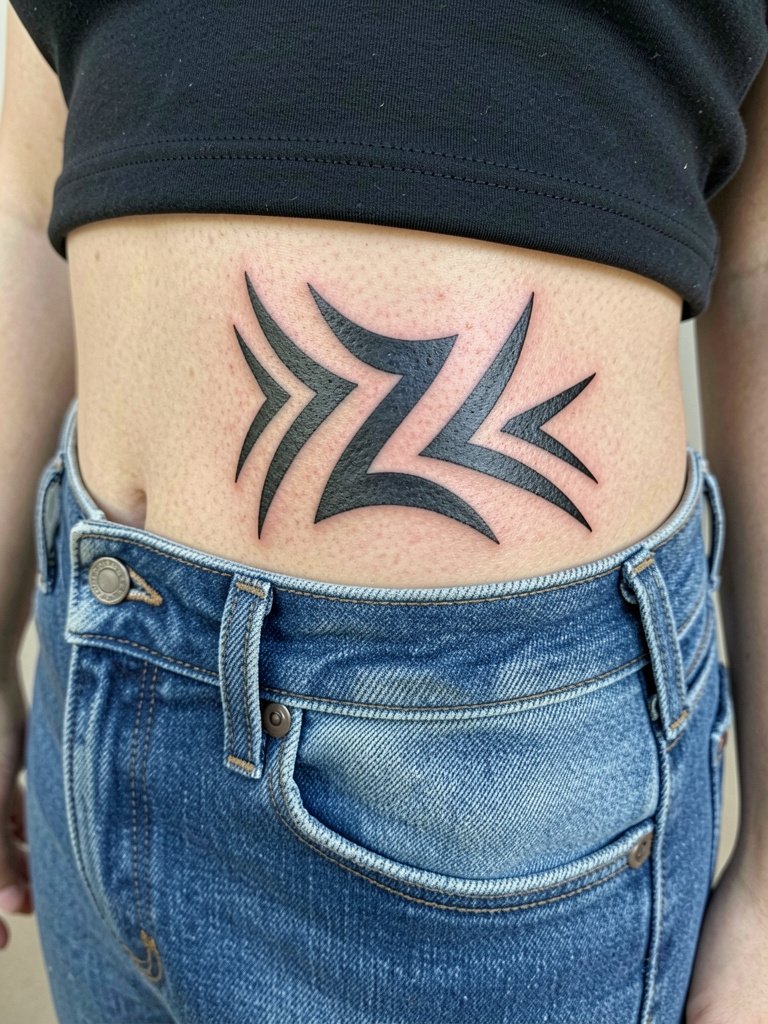
Hip bone pieces look best when the rhythm follows the waist curve. A mistake is centering a rigid geometric block where the hip already curves, which forces awkward stretching. For session wear low-rise bottoms that stay fastened and a cropped tee for comfort during stencil placement. Expect one session for medium panels and check the healed mockup before adding adjacent work.
19. Outer Upper-Arm Chevron Cluster
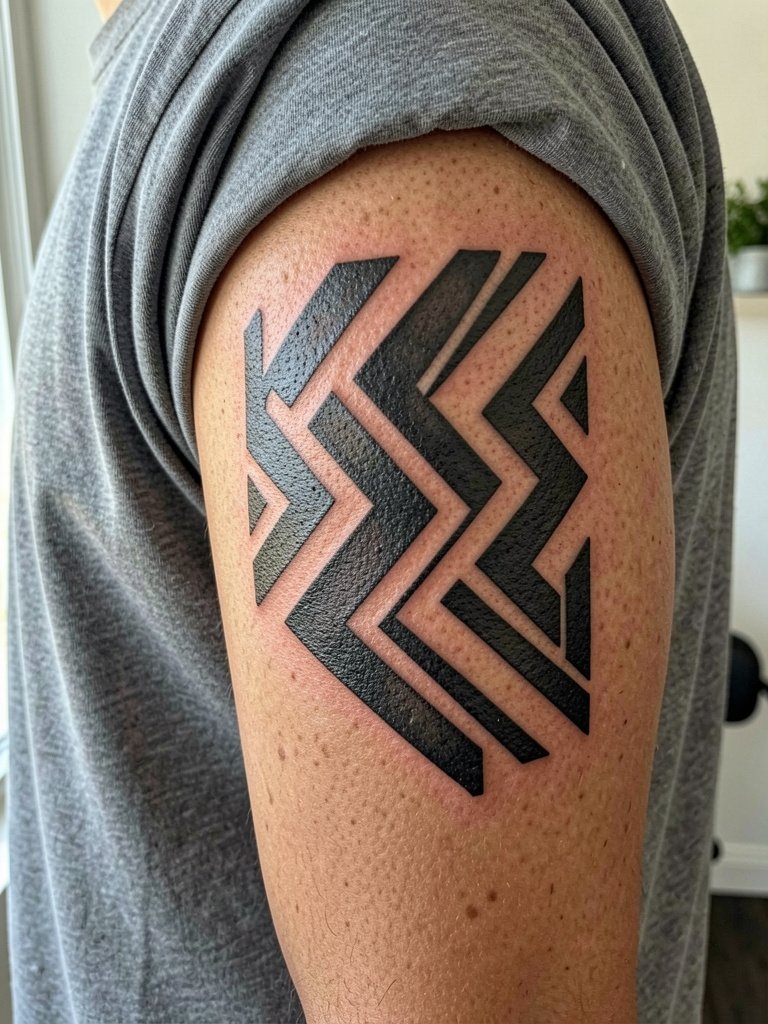
The outer bicep is forgiving and photographs well. Avoid stacking too many thin chevrons which can create a banding effect that looks busy at distance. For showing the motif, a loose muscle tee works well. Pain here is generally low and healing is straightforward, but expect a follow-up if edges feather after full settling.
20. Forearm Panel with Mixed Dot and Whip Shading
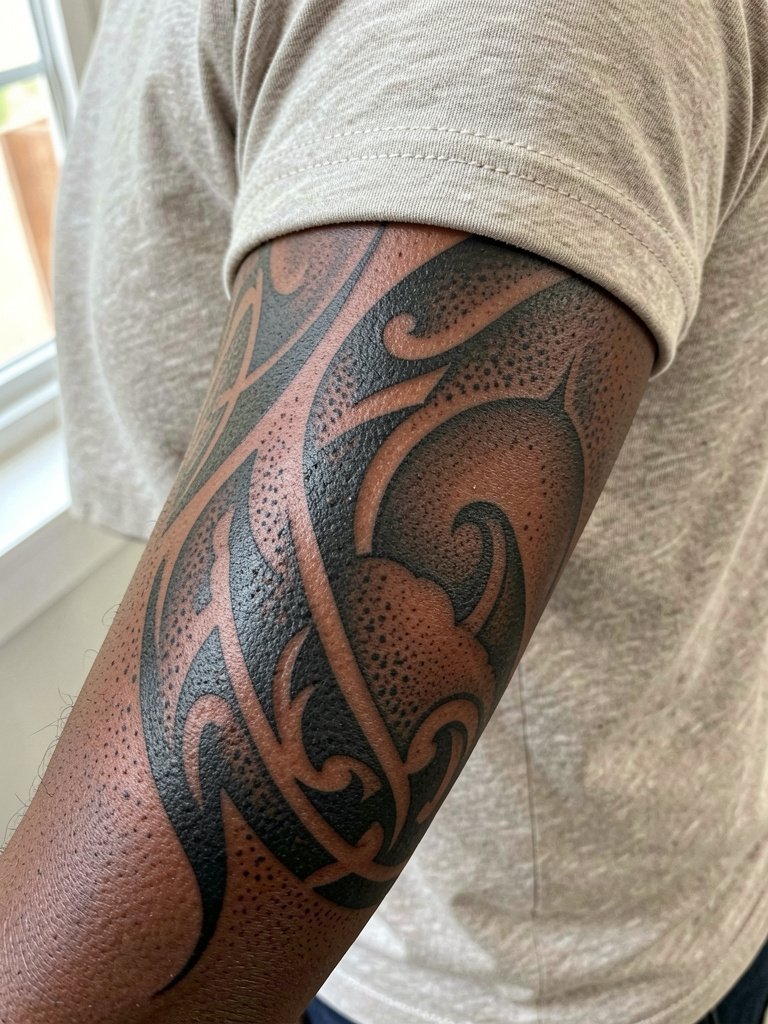
Combining stipple and whip shading can make neo-tribal feel layered while preserving silhouette. The key is to keep stipple areas isolated from primary contours to avoid smudging at scale. Bring healed examples so the artist can match dot density for your skin tone. For the appointment wear a linen button down that you can roll up easily and avoid bracelets on the work wrist for two weeks.
21. Ankle Ring and Top-of-Foot Geometry
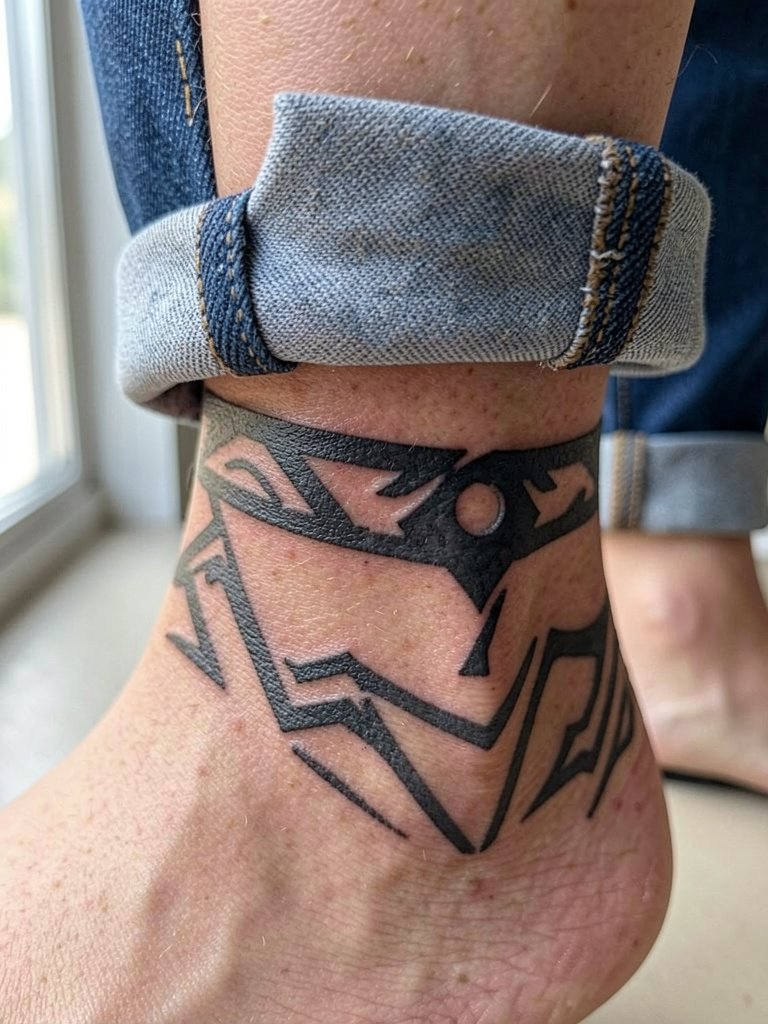
Foot and ankle tattoos face constant movement and shoe friction. Keep primary bands bold and avoid tiny interior script or filigree that will blur. During the session wear shoes you can easily remove and bring sandals that avoid rubbing the fresh ink. Expect short sessions but plan for slower healing due to daily friction and moisture exposure.
22. Custom Vertical Chest Accent for Open Shirts
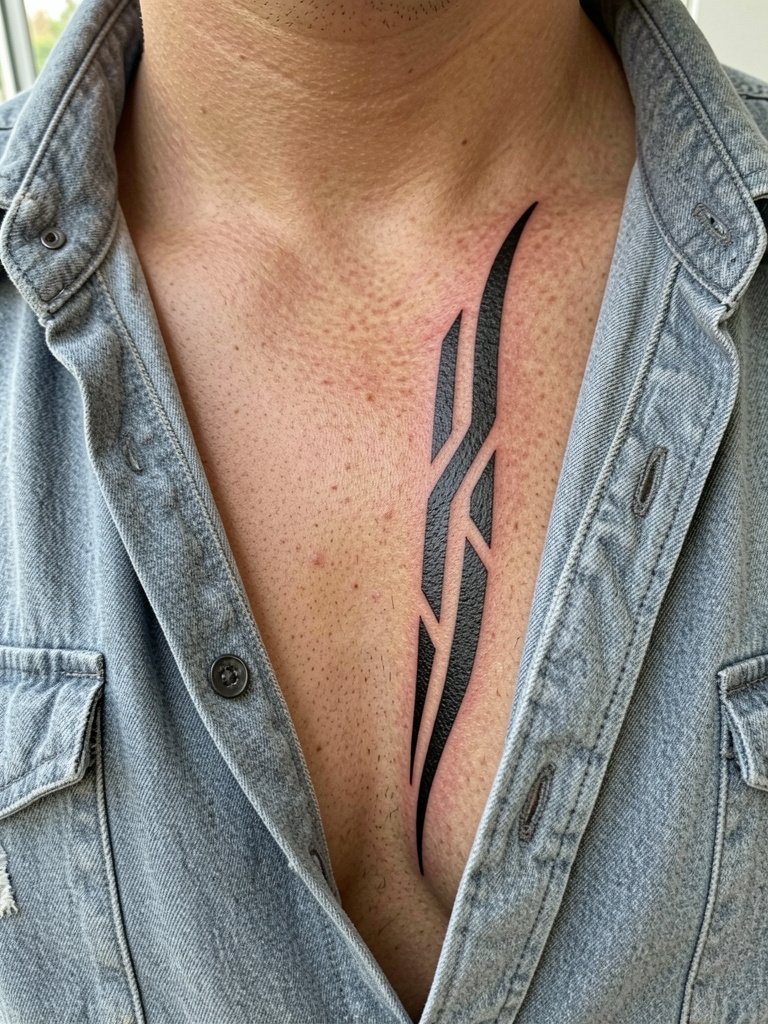
This narrow accent is subtle in daily wear but reads strong when you open a collar. Avoid cramming micro-patterns into the narrow strip and instruct the artist to keep the primary silhouette clear. For showing it, open collar shirts frame the work well. Pain is moderate and touch-ups are less common because the piece uses heavier linework.
23. Small Starter Panel That Scales Later
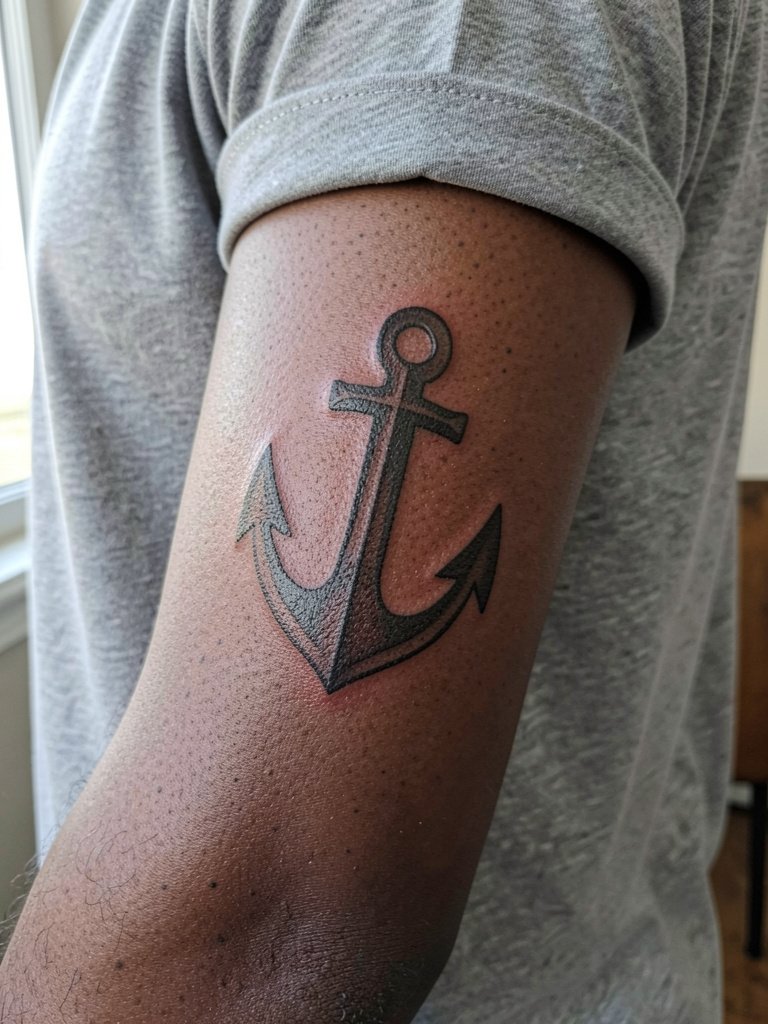
If you are tentative about a full sleeve, start with a scale anchor that your artist can expand. The critical consultation item is the anchor’s exact size and edge treatments so future blocks match. A common error is picking an anchor that is too small to harmonize later. Wear a short sleeve or rolled cuff for the appointment and get a photographed mockup at life size so you know how additions will proportionally align.
Frequently Asked Questions
Q: How does neo-tribal differ from early-2000s tribal work and what keeps it modern?
A: Modern neo-tribal emphasizes body flow, negative space, and modular builds rather than repeating thick flame motifs from the 2000s. It uses saturated blackwork and strategic spacing so shapes read clearly as skin and body move, which preserves contrast better over time.
Q: Will neo-tribal show up on darker skin tones or disappear?
A: On darker skin tones bold saturated black fills and larger negative-space shapes keep the silhouette visible, while very fine micro-detail can get lost. Ask the artist for healed photos on similar tones and request slightly heavier primary contours to keep contrast as the piece ages.
Q: How should I find an artist who does healed blackwork and body-flow neo-tribal?
A: Search style hashtags like #neotribaltattoo and #blackworktattoo on Instagram and TikTok, then filter by location and focus on portfolios that include healed photos. Browse booking platforms and Reddit threads for local healed examples and compare multiple portfolios before booking.
Q: Do fine-detail neo-tribal pieces need different aftercare than bold blackwork?
A: Fine-detail work benefits from more conservative initial handling because micro-patterns can spread if rubbed or soaked during the first week. Keep the area clean, avoid tight clothing over the site, and follow your artist’s bandaging instructions. For minimal friction during healing wear loose, breathable clothing like drawstring lounge pants when you have a thigh or hip session.
Q: What should I include in a consultation to make sure my neo-tribal design will age well?
A: Bring life-size mockups and two healed-photo references that match your skin tone. Specify desired edge thickness and ask for the planned spacing measured in inches so the artist can show you how the piece reads at three sizes. If you want modular growth, request anchor blocks and consistent negative-space gutters in the layout.
