
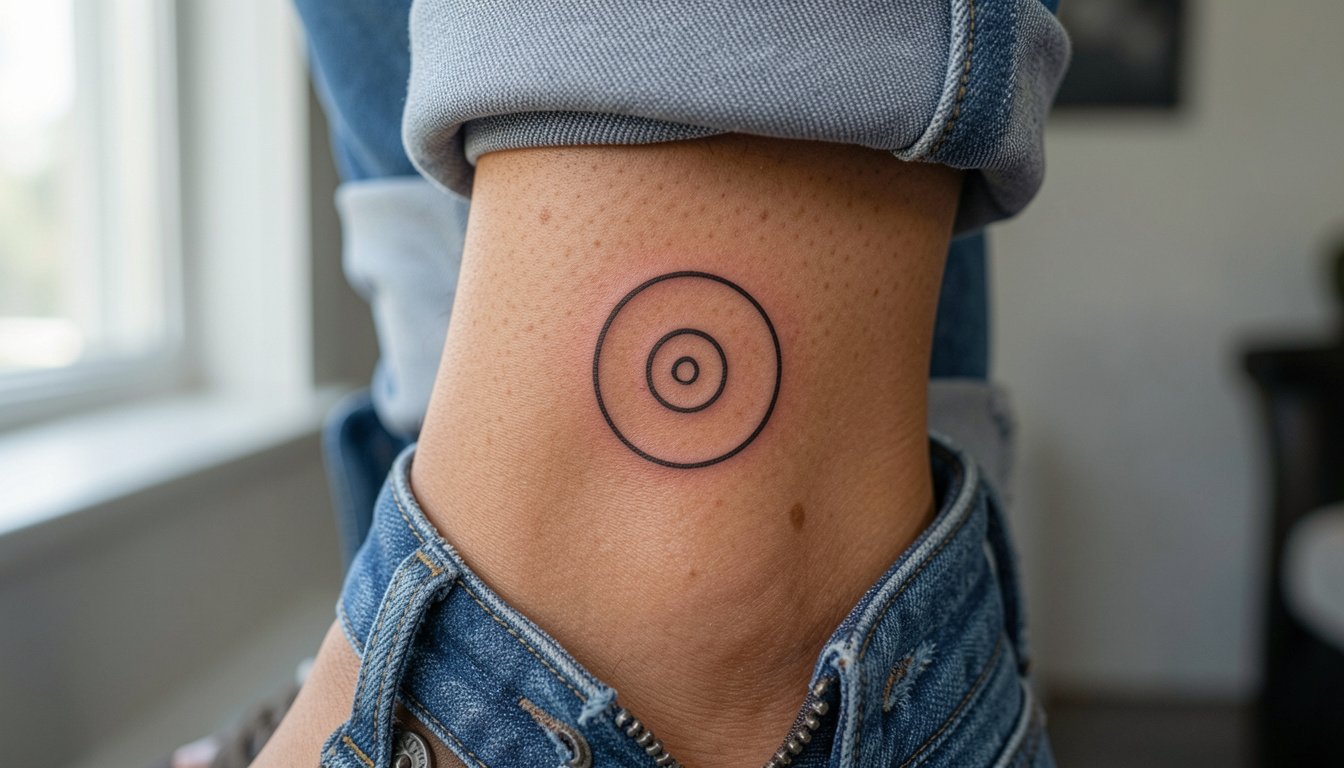
Thin single-needle spirals look magical on day one, but in high-wear spots they can blur into a gray ring by year three. Movement, placement, and line spacing are the real culprits, and pain expectations vary wildly between wrist, rib, and ankle. Read on for minimalist spiral approaches that prioritize clarity across time, sensible session prep, and wardrobe pairings that actually show the work.
1. Inner Forearm Micro Spiral

A tight spiral on the inner forearm reads clean because the surface is relatively flat and low-friction. Expect a one-hour session for a three-ring micro spiral, and fair warning the inner forearm can show initial scabbing more than thicker work. For longevity, widen the spacing slightly compared with reference photos so the rings do not merge by year three. Common mistake is insisting on ultra-fine single-needle rings without accounting for daily contact with sleeves. Linework should be a hair heavier than the pencil sketch, not heavier than a typical bold line, so the piece ages gracefully. This placement looks excellent with rolled sleeves and cropped blouses, try pairing with rolled linen shirts for a casual reveal.
2. Tiny Wrist Orbit
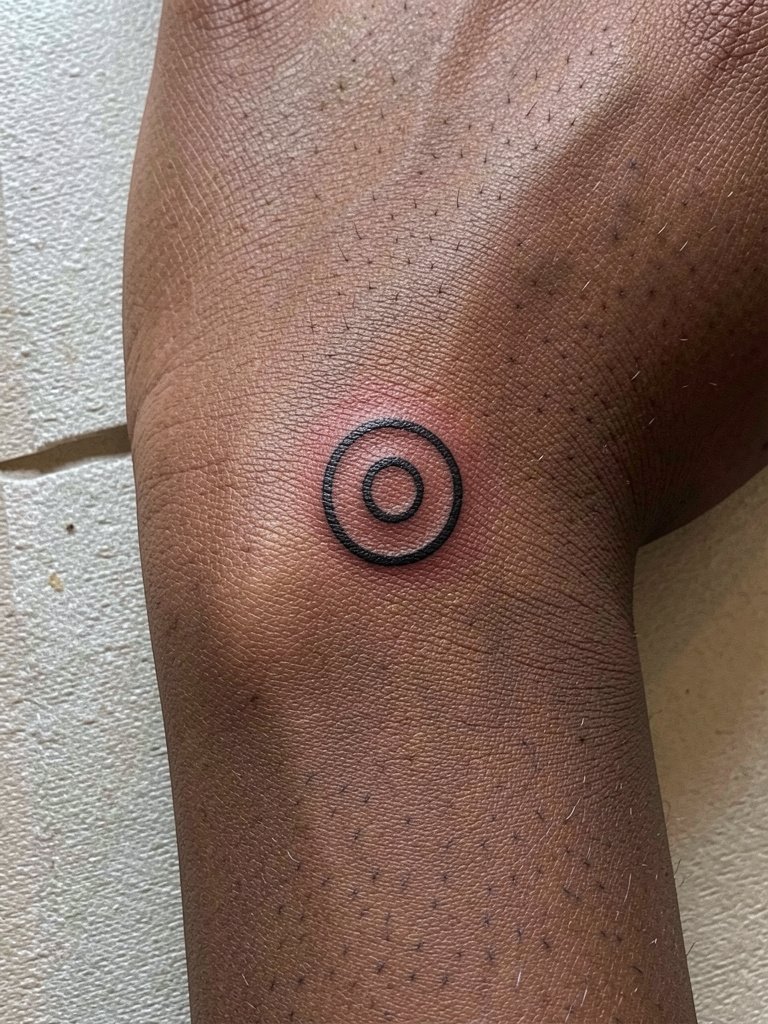
Wrist spirals are charming and very visible, but they take more abuse from washing and bracelets. Session time is short, often under 45 minutes, and pain is moderate. The most common error is scaling the spiral too small. At the wrist, plan for a slightly larger radius than social media references so the negative space remains defined after healing. Expect touch-up at 12 to 18 months if you prefer the original crispness. The wear pattern differs if the spiral sits on the inner wrist versus the outer wrist, so position for how you naturally show your arm. If you need the artist to preview scale, bring a printed sticker mockup at full size.
3. Ankle Spiral Band
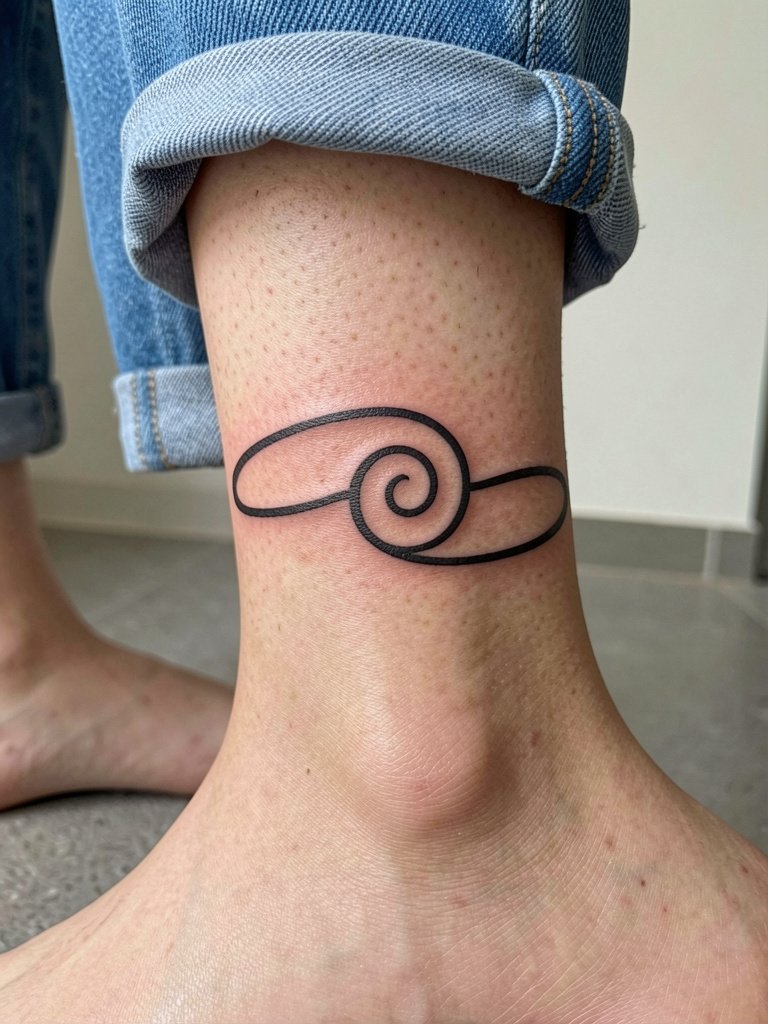
Ankle rings wear differently because of shoe friction and socks. I recommend a slightly bolder lineweight than inner-forearm spirals, and expect a 60 to 90 minute session depending on exact wrap. The ankle often needs a touch-up at one year when repeated rubbing has dulled the edge. For showing the spiral, pair it with ankle-wrap sandals or low-cut sneakers. During the appointment, wear slip-on shoes so you can remove them without tugging the healing area. If you work in environments with closed-toe shoes all day, anticipate a longer healing phase.
4. Ribcage Crescent Spiral
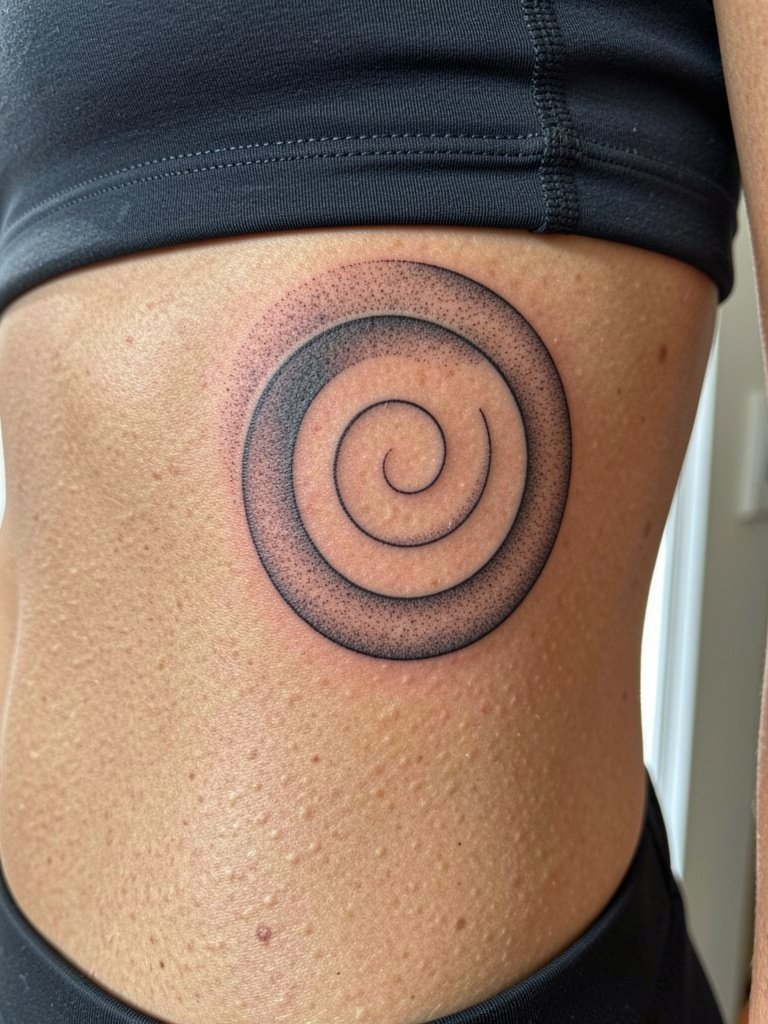
Fine line spirals on the ribs stir a clear debate among artists. One camp argues that ribs stretch and blur thin lines within two years, especially near breast and waist movement. The other camp says with slightly wider spacing and precise needle depth, fine lines settle fine and will show good contrast years later. If you lean into the first caution, ask for a design with more breath between rings and modest stipple backing for longevity. Rib sessions are painful and often split across two shorter sittings. Wear a fitted sports bra for access and plan recovery around gentle movement for the first week.
5. Collarbone Mini Spiral
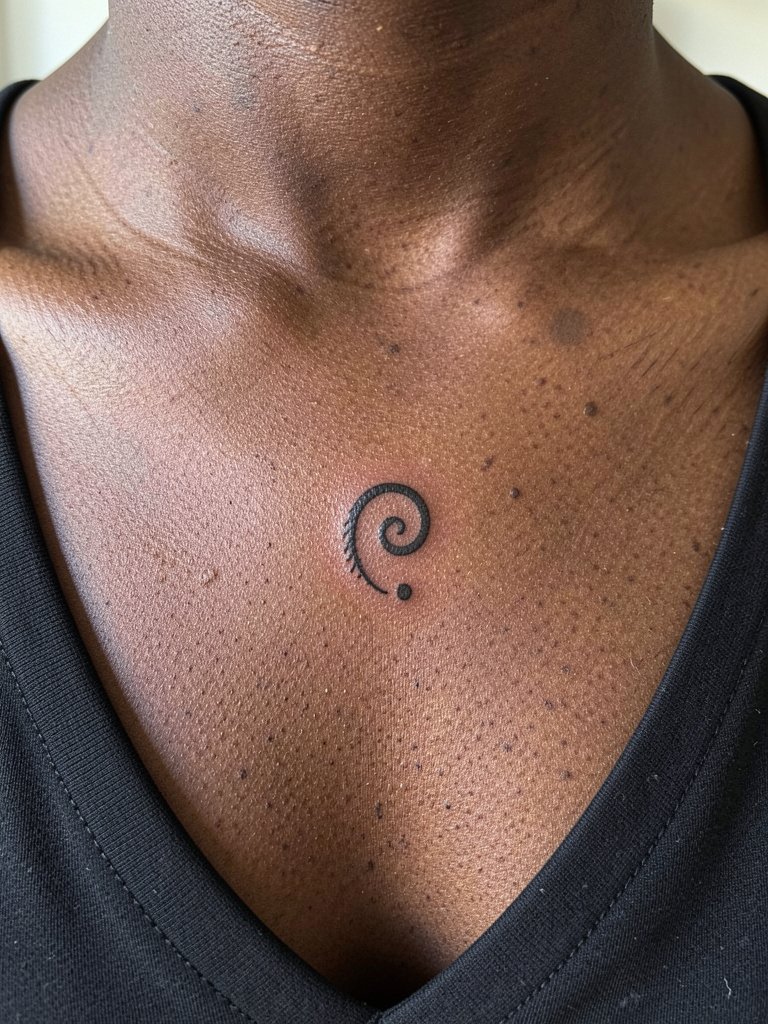
A collarbone spiral reads like jewelry and ages depending on sun exposure and clothing friction. This is a quick session, typically under an hour, and the pain is moderate to high near the bone. A common mistake is insisting on an impossibly fine single ring sitting directly on the sharp collarbone edge. For better longevity place the center just off the most protruding spot and ask for slightly increased line thickness. The design pairs well with open-neck tops, try a wide V-neck blouse for easy display. If sun exposure is common where you live, plan for an earlier touch-up to keep contrast strong.
6. Behind-the-Ear Petite Spiral
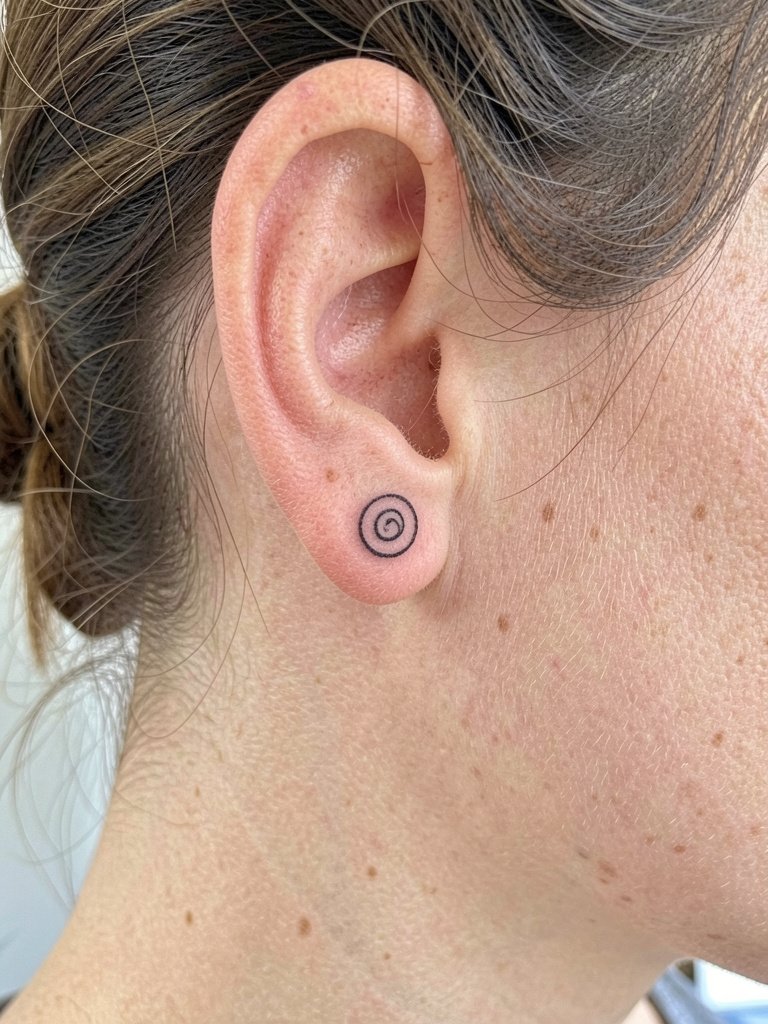
Behind-the-ear spirals are discreet and live in a tricky micro-environment for ink retention. Expect a short 30 to 45 minute session and mild localized discomfort. The biggest mistake is too much detail for such a tiny canvas. Ask for a clean silhouette and a small safety margin from the hairline so lines do not blur into follicles. Note that behind-the-ear work requires a steady hand and specific experience, so look for healed photos of the mastoid area. Because the spot is subtle, the spiral pairs well with short hair or clipped-up styles, and for show-off looks try simple hoop earrings.
Session Day Picks
The ankle and wrist pieces above heal under different pressures than chest or rib work, so a few small items smooth the chair day and first week.
-
Stencil transfer paper kit. Lets you preview how ring spacing sits on curved anatomy, especially useful for wrist and ankle orbits.
-
Topical numbing cream. Apply per product instructions about 30 to 45 minutes before a sensitive rib or sternum session to stay comfortable without compromising linework.
-
Thin protective film roll. Keeps ankle and wrist spirals cleaner during the first days when friction from socks and bracelets is highest.
-
Fragrance-free gentle body wash. A neutral cleanser for showering without irritating fresh linework on the forearm and collarbone.
-
Aquaphor healing ointment. A thin layer on day one helps with scab control for fine-line spirals, then switch to a fragrance-free lotion after the initial seal.
7. Finger Tip Micro Spiral
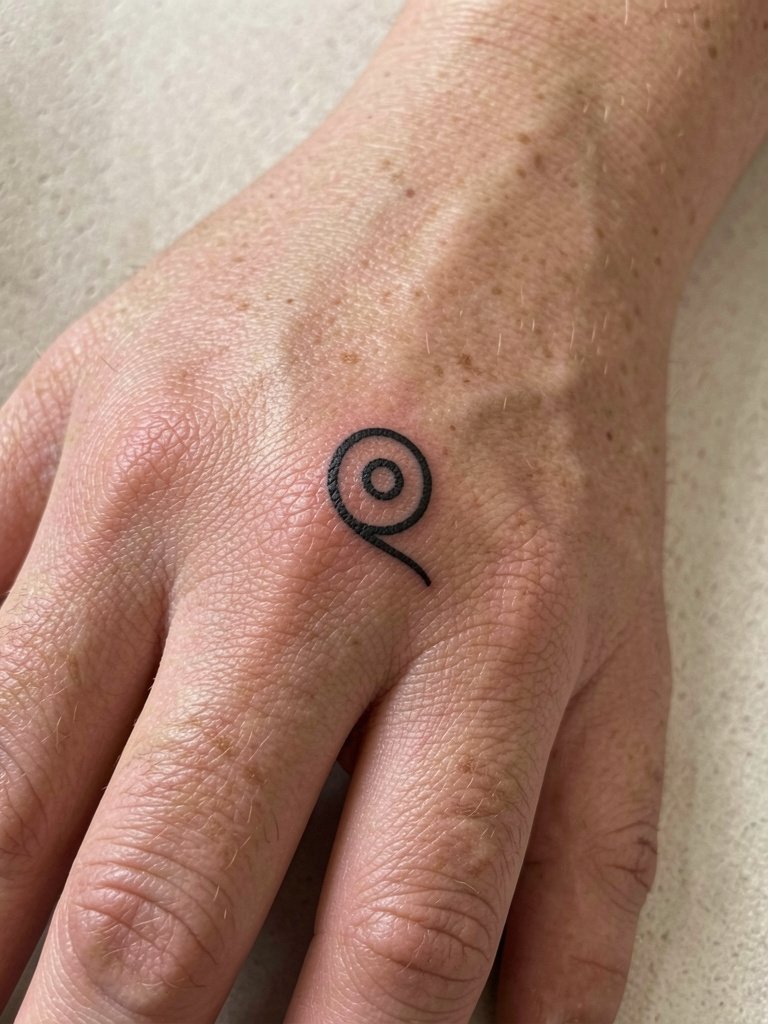
Finger spirals are high-maintenance because skin there regenerates faster and sees constant friction. Recommend a compact, slightly thicker spiral and expect multiple touch-ups over the first two years. Sessions are short but can sting because of proximity to bone. A typical mistake is demanding single-needle fineness on the finger. If longevity matters, accept a stronger line. Professionals often advise keeping the spiral small and centered on the phalanx to avoid smudging into creases. Hand tattoos demand a different artist skill set, so verify the shop has healed hand portfolio examples. For everyday wear choose rings and thin band jewelry that do not rub directly over the ink.
8. Upper Arm Negative-Space Spiral
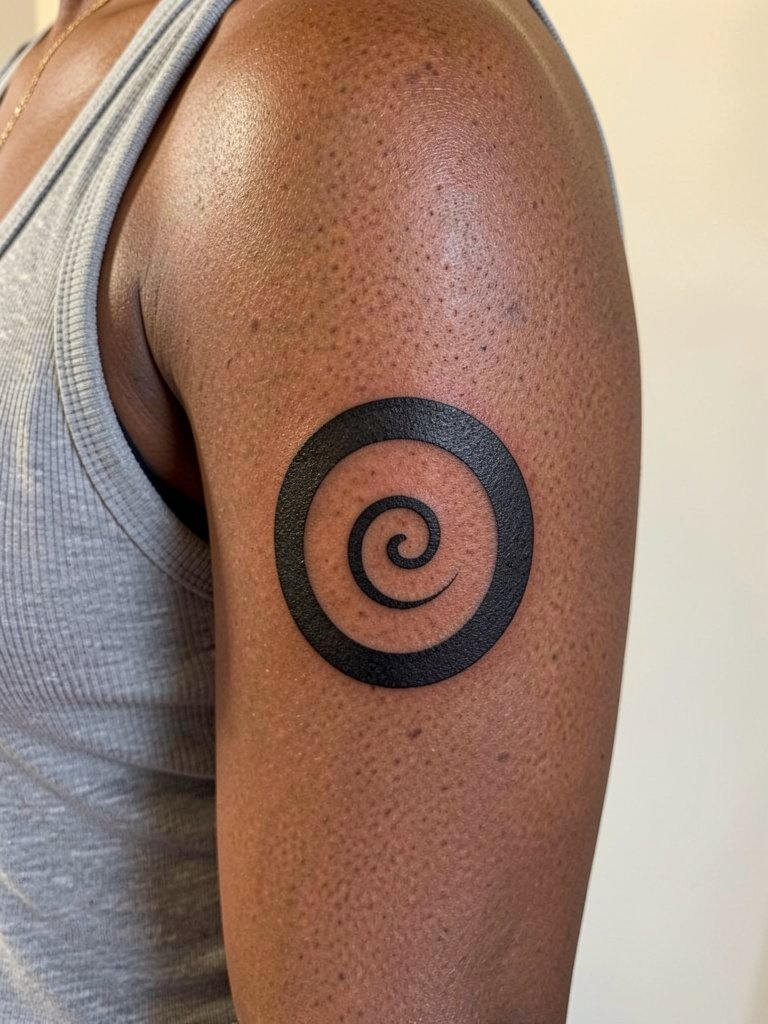
A negative-space spiral on the upper arm gives strong contrast while keeping the design minimalist. Sessions run one to two hours depending on band width, and pain is low on fleshy outer arm. The main aging issue is sun exposure, so plan placement with wardrobe in mind. For show-off pairing try short-sleeved linen tops or sleeveless knits, like a sleeveless linen tank. When consulting, bring an image showing the exact band thickness so spacing between the spiral and outer ring is calculated for the long-term.
9. Calf Spiral Emblem

Calf spirals make a strong visual statement and age well because the area sees less friction than wrists or hands. Plan for a 60 to 90 minute session for a mid-sized emblem with dot-work. The most common mistake is placing too low toward the Achilles, where movement and camisole friction accelerate softening. If you want the spiral to read from a distance, increase the outer ring thickness and keep the center clean. This placement pairs well with cropped trousers and mid-calf boots for seasonal reveal.
10. Nape Spiral Drop
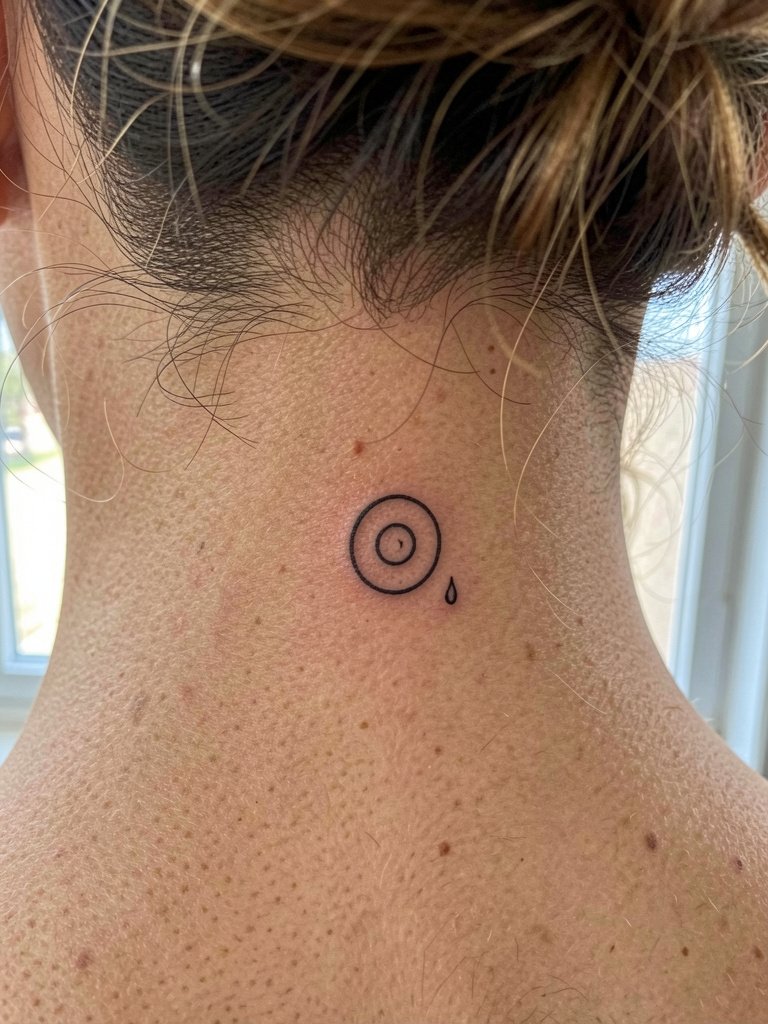
Nape spirals sit where hair and collars meet, so design placement requires precision. Expect a short session and mild tenderness. Mistakes happen when artists place the spiral too low under the hairline where daily brushing causes micro-abrasion. Ask for the center to sit flush with the hairline edge rather than below it. For a styling angle choose updo-friendly accessories, like minimal hair clips so the spiral remains visible when you want to show it. If you wear hoods often, plan for slower healing because fabric can rub at night.
11. Hand Back Spiral
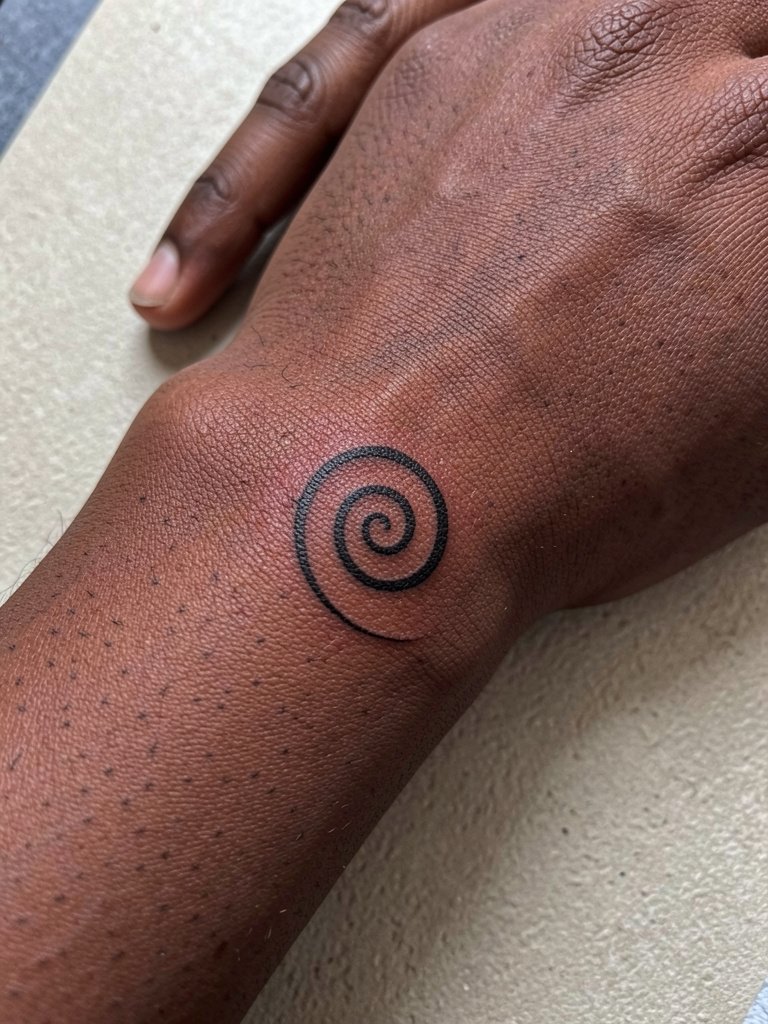
Hand spirals ignite another clear divide among practitioners. One group says hand skin is too mobile and exposed to water and products, so fine details will blur fast. The opposing group counters that with thicker lines and conservative scale, hand work can last with predictable touch-ups. If you favor longevity, choose a simplified spiral with bolder rings and accept a scheduled touch-up at nine to twelve months. Be aware that hand work often requires a specific license or shop policy, so verify before booking. For daily wear select thin rings or bracelets that avoid direct contact with the design to reduce abrasion.
12. Sternum Central Spiral
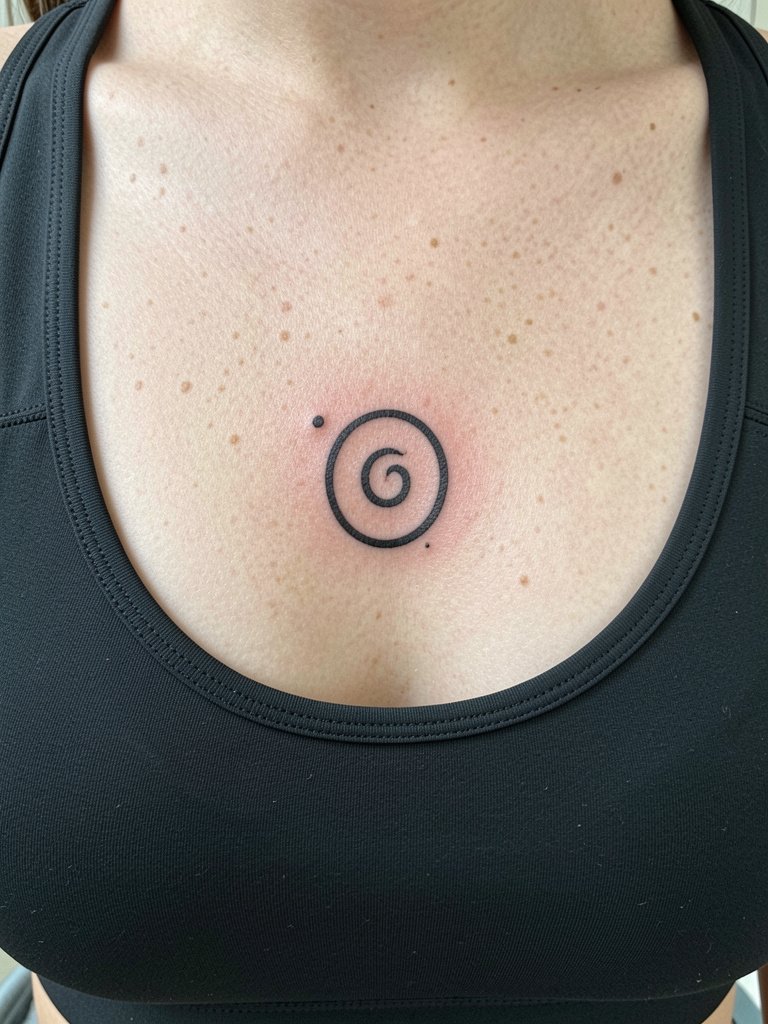
Sternum spirals can look intimate and elegant, but the area moves a lot with breathing and posture. Sessions are often split to manage pain and swelling. Avoid the trap of tiny, ultra-fine rings placed directly on the most mobile ridge. For better longevity place the spiral slightly lower or broader and prepare for a second pass touch-up at six to twelve months. During the appointment wear a fitted sports bra for quick access and modest coverage. If cultural or personal sensitivities apply because of the central placement, mention them specifically when you book so the shop can provide appropriate privacy and timing.
13. Upper Back Spiral Cluster
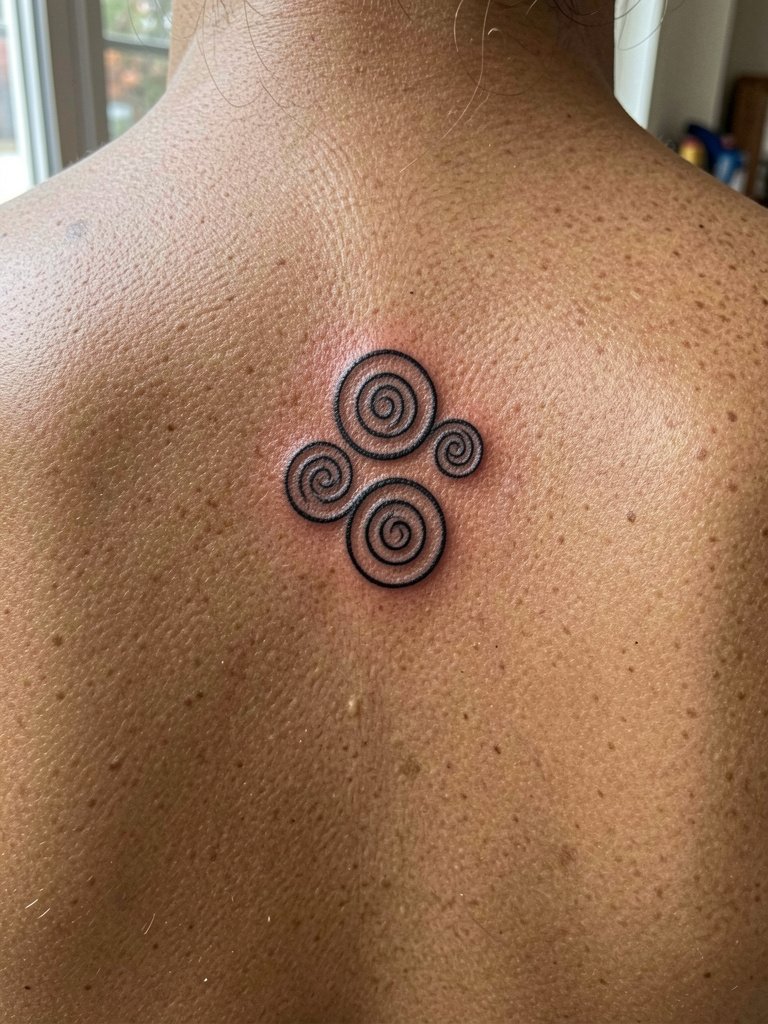
Upper back spirals make for a balanced series that reads well with clothing like open-back tops. Sessions are moderate in length and generally low on pain because of muscle padding. A common oversight is clustering spirals too close to the shoulder blades where stretching can alter proportions over time. Space each spiral so shoulders and movement do not squash their centers. If you plan to show the cluster, try pairing with open-back dresses that highlight the upper back without rubbing the ink.
14. Hip Side Spiral
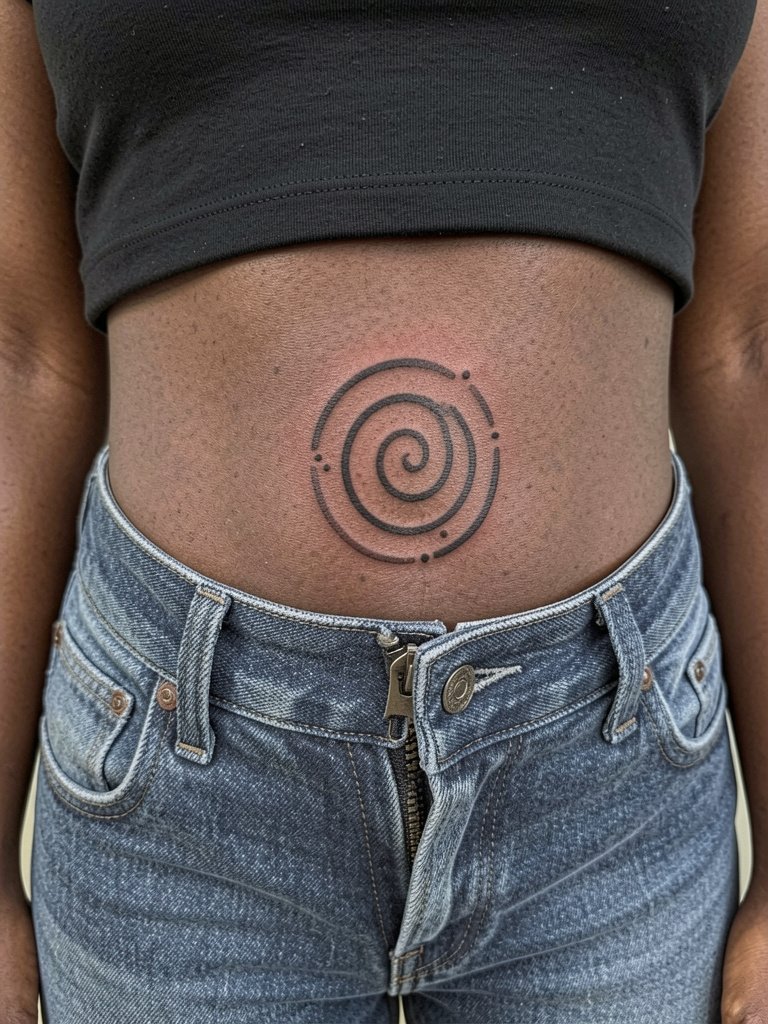
Hip spirals sit in a spot that benefits from body contour, so design flow matters. Sessions can be comfortable if you wear loose bottoms, and healing is often fast because friction is moderate. A big mistake is placing the spiral too low under tight waistbands, where constant rubbing will soften the lines. Position the center just above the waistband and leave two to three millimeters of clearance from the fabric edge. For evening looks pair this with low-rise jeans or a cropped top, such as low-rise denim shorts. During booking, note any waistline garments you usually wear so the artist can test placement visually.
15. Thigh Inner Spiral
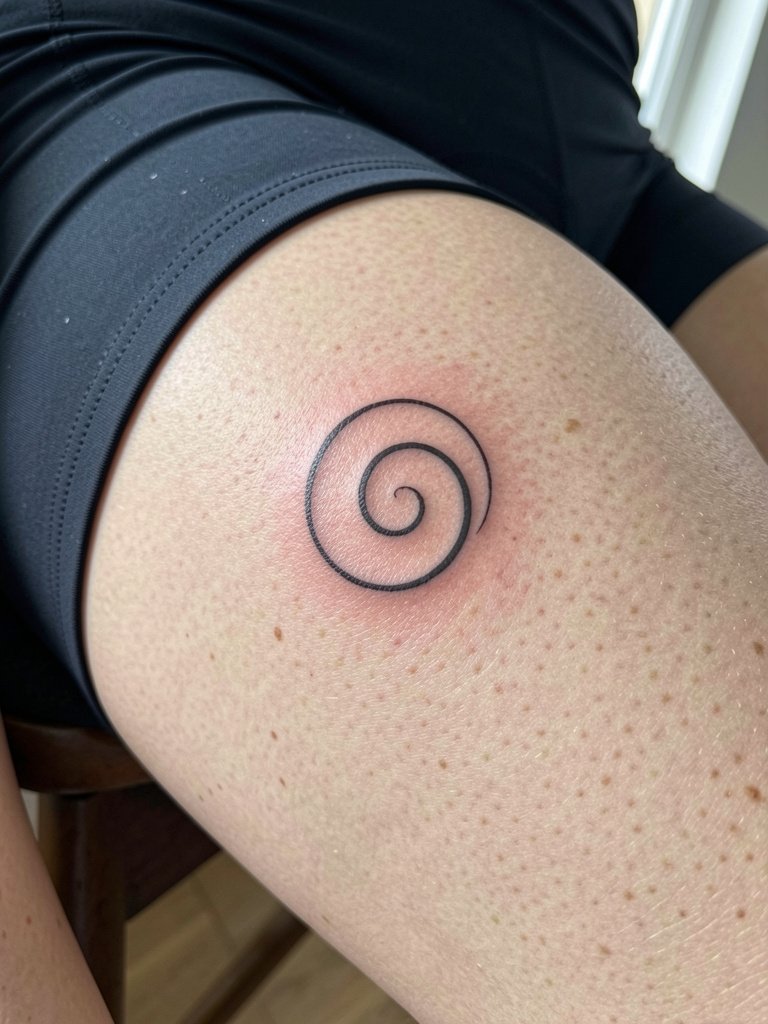
Inner-thigh spirals are private by default and respond well to slightly looser linework. Expect a 60 to 90 minute session and higher sensitivity during the procedure. The worst mistake is over-detailing in a small area that will not hold through skin movement. If you want the piece to endure, choose modest scale and a single or double-ring spiral rather than many tight turns. For the session, wear comfortable bike shorts or loose garments so the artist can access the site without disrobing. Because the area is intimate, confirm studio privacy options when booking so you are comfortable during the sitting.
Frequently Asked Questions
Q: How much will a minimalist spiral cost and how long will it take?
A: Cost varies by shop and location, but minimalist spirals are typically shorter sessions than full pieces. Most wrist, ankle, and small forearm spirals take under an hour. Larger placements like ribs or thigh can take one to two hours or be split into two visits. Ask the studio for a time estimate when you book so you can plan around recovery.
Q: Where can I find collection images and healed shots without naming specific artists?
A: Search platform tags and portfolio keywords to locate healed examples. Try hashtags across social platforms and apply location filters in the app you use to find recent work near you. Reddit threads and community portfolio sites are useful for seeing healed progress across different skin tones.
Q: How do spirals age at 6 months, 2 years, and 5 years on common placements like wrist, ribs, and hand?
A: At six months most spirals look close to their final healed state with retained contrast. At two years wrist and hand spirals may show softening, especially with high wash frequency and bracelet wear. At five years ribs and upper arm spirals usually retain shape if spacing and lineweight were planned for aging. Expect periodic touch-ups if you want them to look like new.
Q: Should I be worried about blowout on thin spiral lines?
A: Blowout risk depends on placement. Thin single-needle work near soft, mobile tissue has higher risk. Choosing slightly heavier lineweight and giving the rings room to breathe reduces the chance of pigment spreading under the skin. If you have a history of sensitive skin or excessive bruising, communicate that so the artist can plan spacing and needle approach.
Q: What should I wear to my appointment for different spiral placements?
A: Choose clothing that gives easy access without forced disrobing. For collarbone and upper chest wear a wide V-neck top. For ribs and sternum bring a fitted sports bra. For hip and thigh, wear low-rise jeans or bike shorts. For ankle and foot select slip-on shoes. These choices make the session smoother and protect modesty during healing.
