
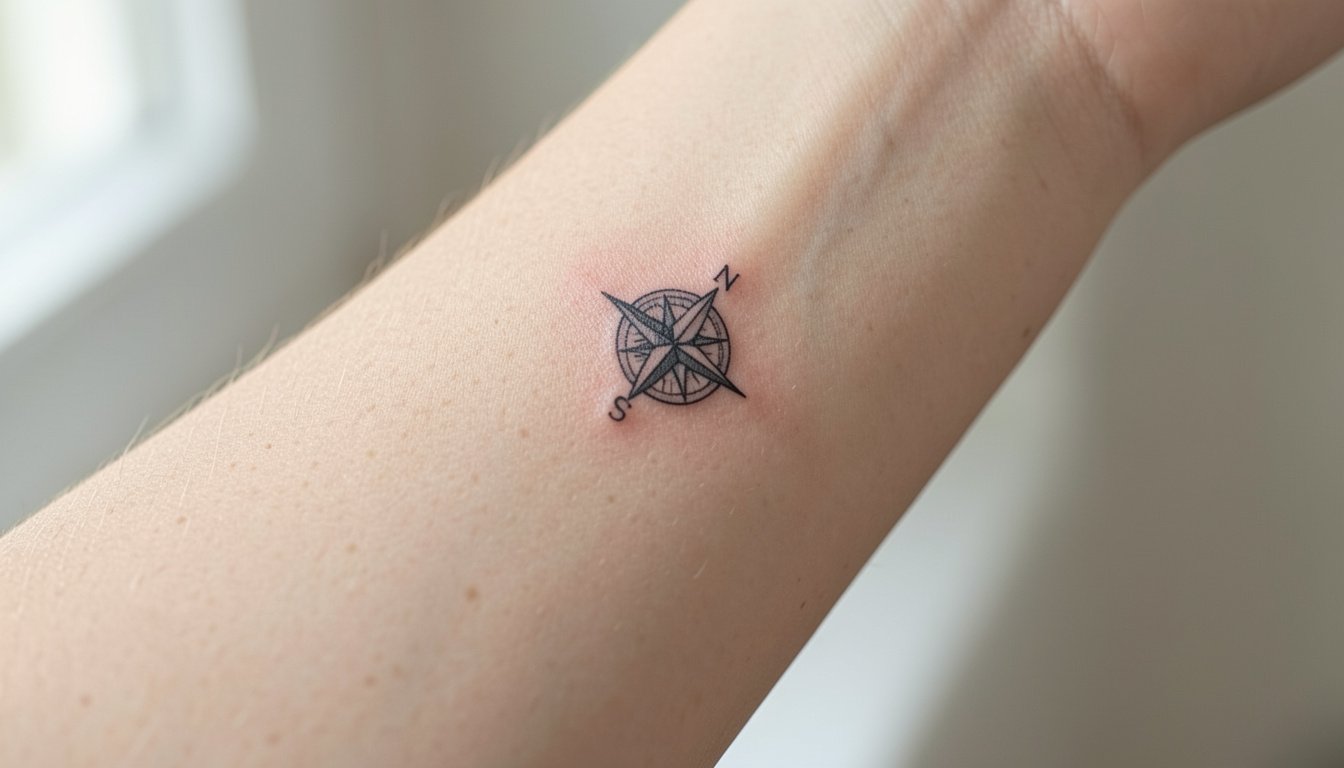
Minimalist men's small tattoos look effortless online, but the reality is more nuanced. A tiny compass or a single-word script can read crisp the day it heals and then soften if line weight, spacing, or placement were rushed. Shop minimums still apply even for micro pieces, and healed photos tell a different story than fresh ink. Read on for practical designs that are sized and placed to keep their edge over time.
1. Fine Line Mountain Silhouette on Inner Forearm
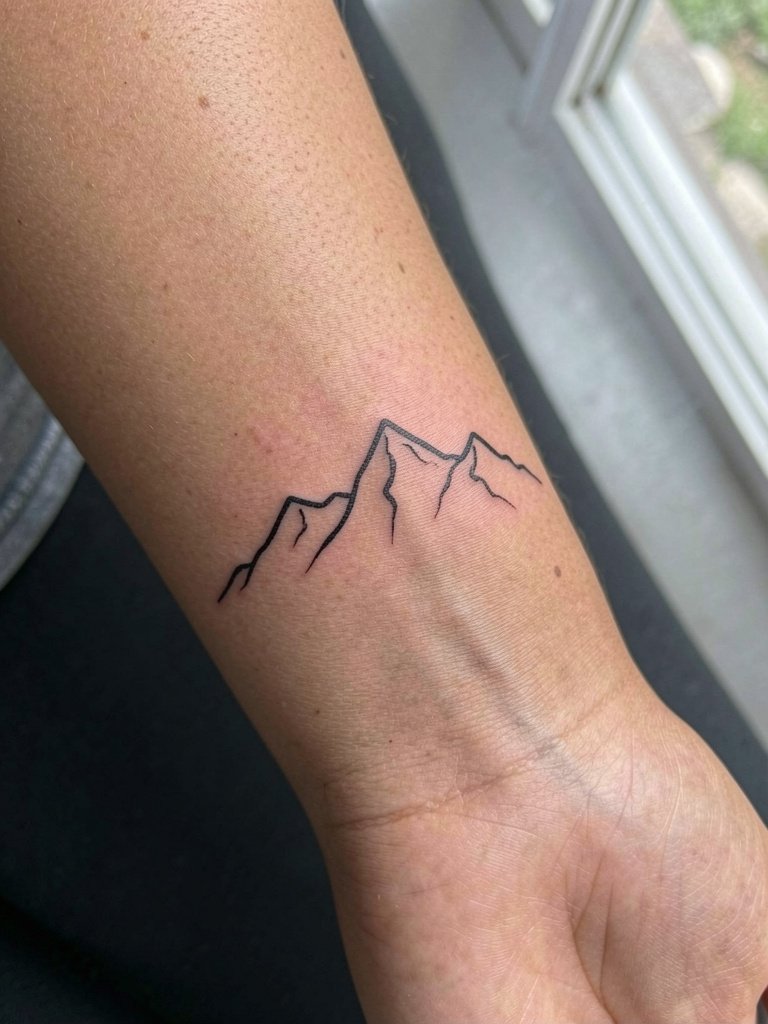
A tiny mountain band reads masculine without shouting. Choose a horizontal silhouette with spaced peaks so the lines have room to settle, and plan on one short session that runs 20 to 40 minutes. One camp argues ultra-thin single-needle ridgelines blur within a few years because there is little structural ink to resist migration. The opposing camp says fine line holds if the artist scales the peaks slightly larger and leaves breathing room between lines, and healed examples back that up. Tell the artist you want slightly heavier linework than the Pinterest reference so the peaks keep shape at year two and beyond. Wear a rolled-sleeve linen button-down to show it off easily during warm months, and bring a loose short-sleeve on session day for access.
2. Tiny Compass on the Wrist
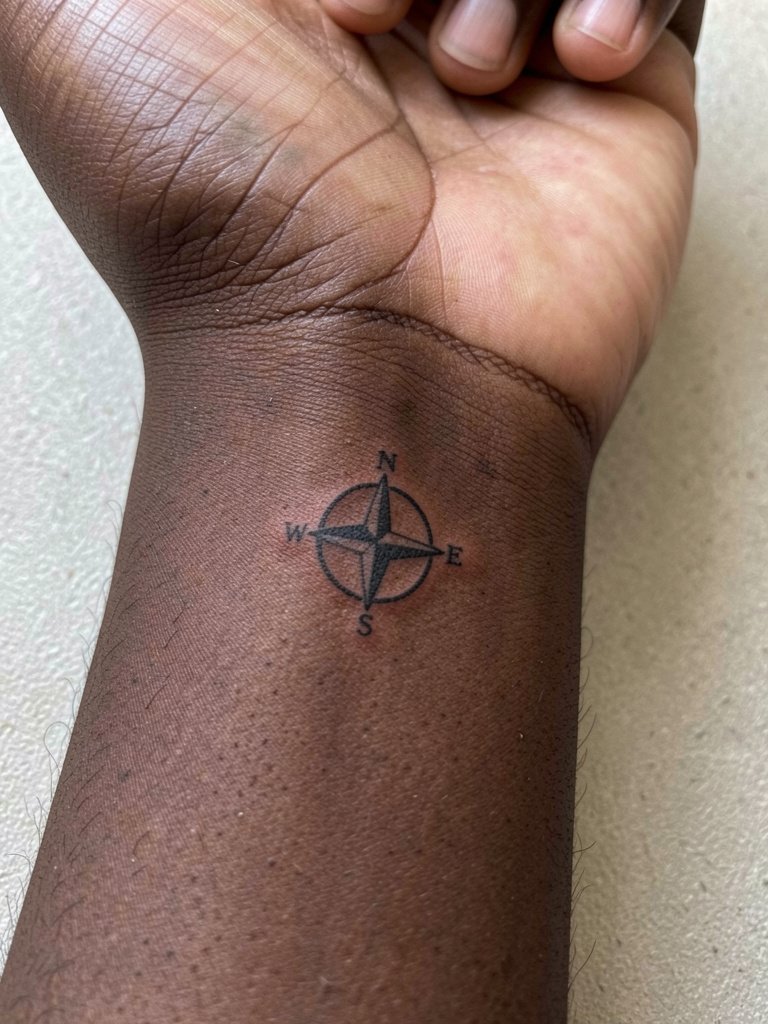
A wrist compass is a classic first-tattoo option because it scales down cleanly and hides under long sleeves. Expect 15 to 30 minutes in the chair and a 3 to 6 week initial healing window. The main mistake is placing detailed internal markings too close together, which leads to merging after a year. Specify to the artist that the compass center must have clear negative space and that cardinal points be bold enough to avoid softening. Wrist work rubs against watches and cuffs, so skip wrist jewelry the week before the session and plan to wear a short-sleeve tee for easy access. For showing off, a minimalist watch on the opposite wrist balances the look, and you can pair the tattoo with a thin chain bracelet on the non-tattoo wrist.
3. Micro Script or Initials on Inner Upper Arm
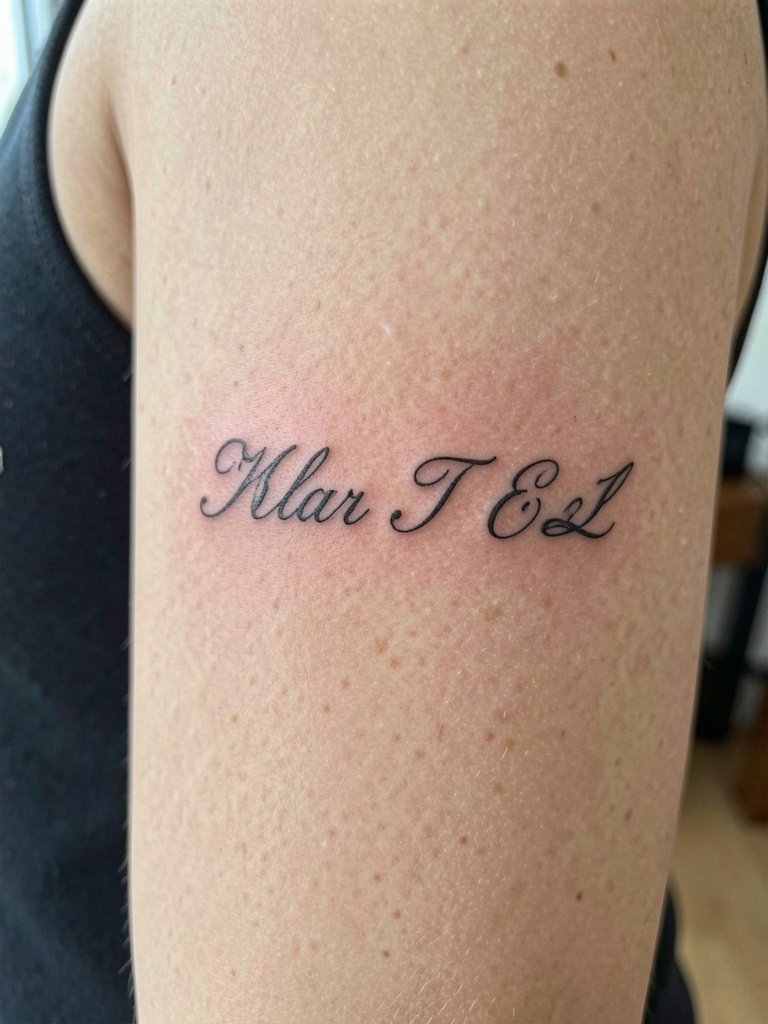
Inner upper arm script stays private and expands easily into larger work later. This placement is a little less painful than ribs, so it is suitable for first-timers who want a discreet piece. A common error is asking for ultra-tiny cursive that loses letterform clarity by year two. Ask for letters spaced slightly wider than your chosen font and request healed portfolio shots of similar scripts on comparable skin. Session time is often 15 to 25 minutes. Wear a button-down you can open or a muscle tank on the day so the artist can access the medial bicep without tugging. When you want to show it off, a relaxed boxy tee with a larger arm opening frames the inner arm nicely and keeps the tattoo visible without shouting.
4. Geometric Triangle or Circle on the Forearm
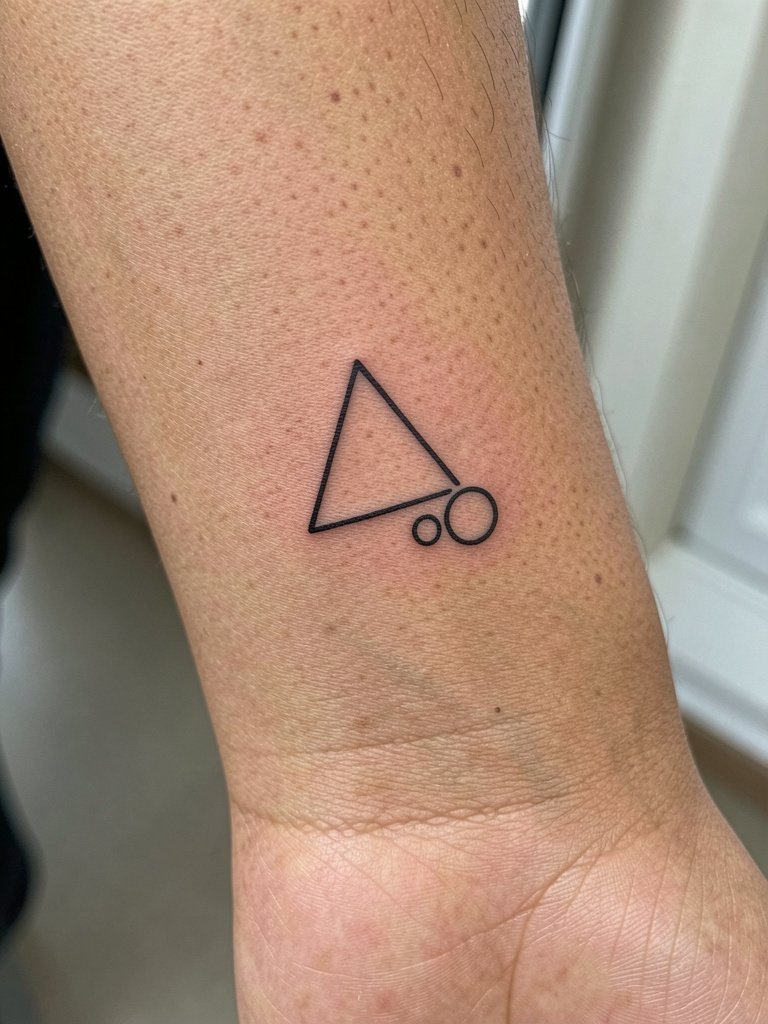
Geometric shapes read modern and hold up if the lines are not squeezed too close. Recommend a slightly heavier single-needle line or a two-pass thin liner for the artist to maintain crisp edges. The common mistake is asking for shapes smaller than an inch, which increases blowout risk and reduces long-term readability. Plan on a 20 to 35 minute session and ask the artist to stencil the shapes on in multiple sizes so you can see what reads at arm distance. For wardrobe pairing, clean monochrome outfits and an overshirt on the opposite wrist make the shapes pop. Bring a loose short-sleeve or roll sleeves up for the appointment.
5. Micro Cross on Ankle
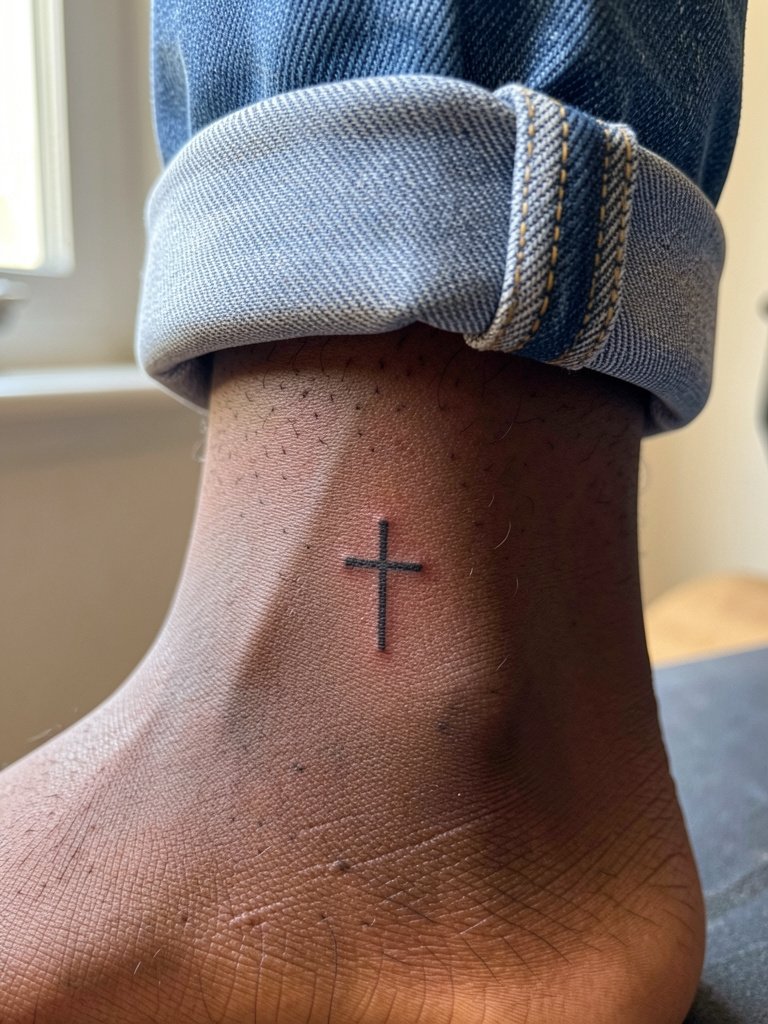
Ankle micro crosses are easy to conceal and easy to personalize. They are prone to more touch-ups because the area gets abrasion from socks and shoes. Tell the artist you prefer a slightly bolder stem so the central vertical line remains clear after a year. The session is normally under 20 minutes but plan for a possible touch-up down the line. For session wear, pull on low-rise pants or shorts to let the artist access the area without tugging at a waistband. In summer, pair the tattoo with low-profile sneakers and no-show socks to let it be visible.
6. Small Blackwork Arrow on Inner Forearm
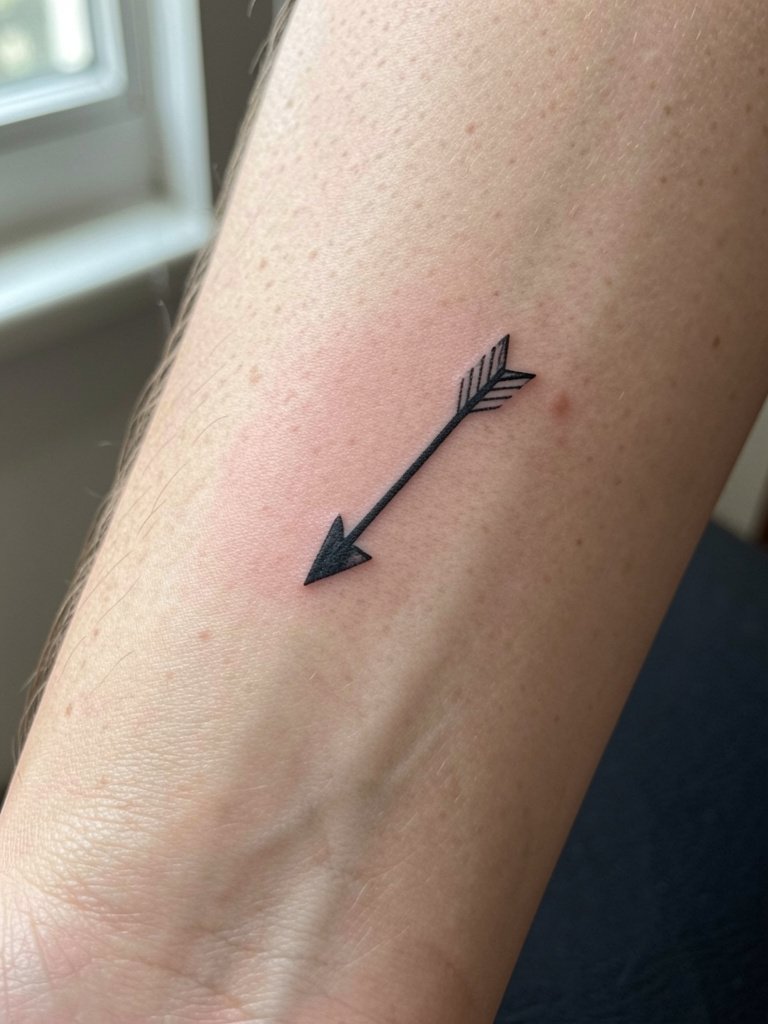
Arrows give a clean masculine edge and age well when the blackwork is saturated consistently. A common mistake is mixing a super-thin arrow shaft with a heavy head, which creates imbalance and uneven aging. Discuss saturation and black fill with the artist so the head stays solid without the shaft packing too much ink. Inner forearm pain is low to moderate and sessions are quick. For showing off, a rolled sleeve henley or fitted henley in neutral colors frames the linework. Wear a short-sleeve top to the appointment so the artist can work without tight cuffs getting in the way.
7. Tiny Wave, Sun, or Moon on the Ankle
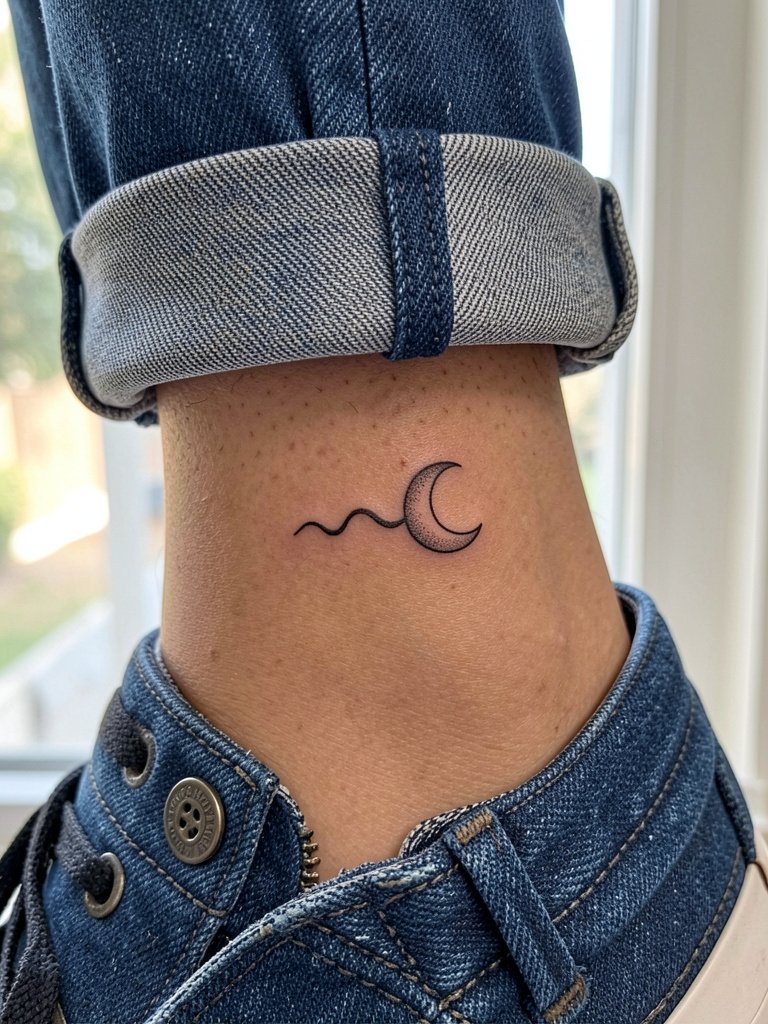
Small celestial symbols at the ankle are personal and easy to tailor. The main longevity factor is friction from shoes, so keep the design simple and avoid tiny interior details. Ask for the moon or sun to have a bit of negative space and stipple shading instead of tiny lines that will soften. The session is short and pain moderate. Style-wise, ankle pieces pair well with cropped pants or tapered joggers, and you can style them with low-profile sneakers. On session day wear loose pants or shorts so the artist can roll the leg up without pressure on the area.
8. Line-Drawn Animal Outline on Outer Upper Arm

An outer upper arm animal outline gives recognizability without heavy saturation. The usual mistake is cramming facial detail into a micro outline, which reads as a blotch once healed. Bring a reference showing the exact silhouette you want and tell the artist to prioritize clean linework over micro detail. Sessions are 25 to 40 minutes depending on complexity. For showing off, wear a sleeveless tank or relaxed boxy tee that frames the shoulder. For the session, choose a top that can be removed or opened easily so the artist has full lateral arm access.
9. Minimal Mountain Range Across the Calf
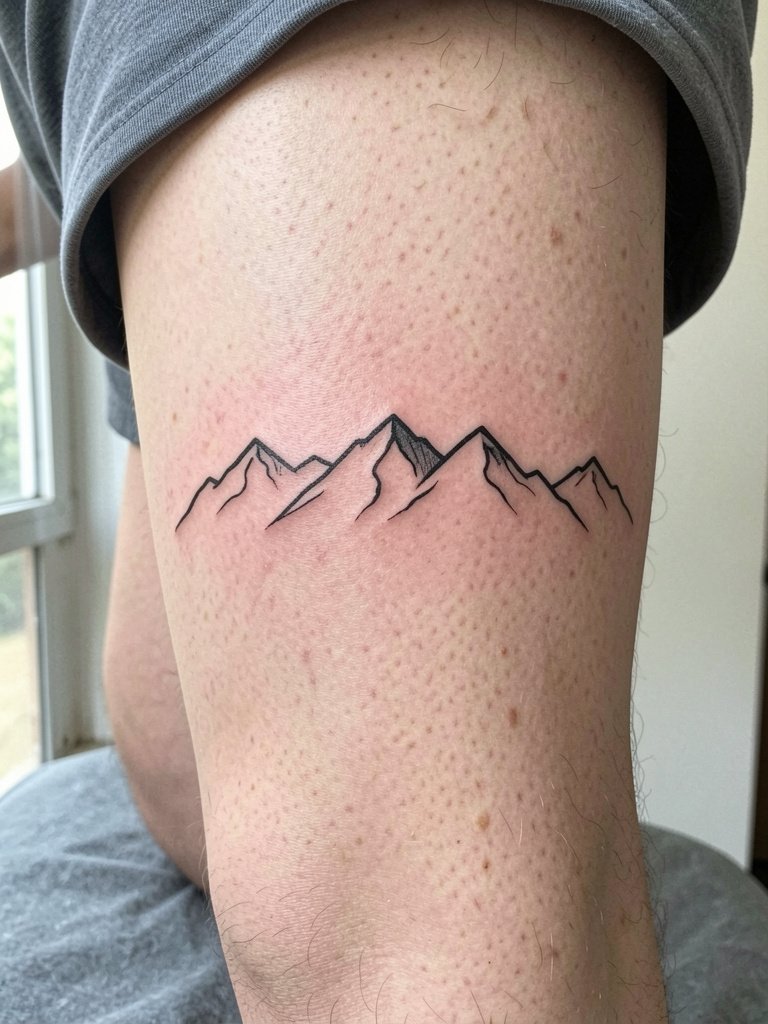
A calf placement gives visibility in warm weather and easy concealment for work. Horizontal compositions need enough span so the peaks do not merge with leg texture over time. The common error is compressing the range into a tiny block, which loses definition in two to three years. Ask to see healed calf shots of similar line spacing and discuss touch-up likelihood. Sessions take 30 to 45 minutes depending on width. Pair this design with above-the-knee shorts or slim athletic shorts to show it off, and wear loose joggers for the appointment to allow rolling without pressure on the skin.
10. Single-Line Portrait or Micro-Realism Symbol on Inner Forearm
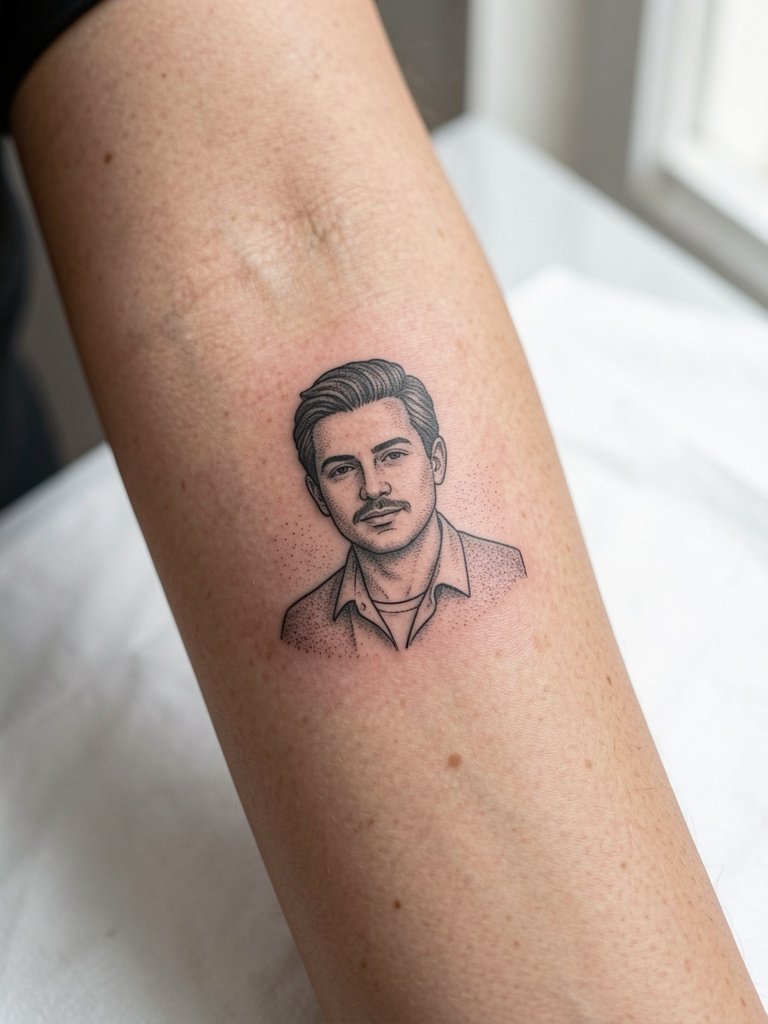
Micro-realism can look elevated in a small footprint but it needs careful planning. Because tiny tonal detail can wash out, discuss exact scale with the artist and request a slightly larger version of your initial reference so stipple shading reads after healing. Expect a longer session than other micro pieces, sometimes up to an hour, and a realistic touch-up may be needed at six months. A common mistake is assuming a picture-size portrait will shrink well to pocket size. For display, rolled sleeves and neutral-toned henleys make detailed forearm work feel intentional. Bring two versions of your reference at different scales so you can see how the portrait reads from arm distance.
11. Roman Numeral Date on the Wrist
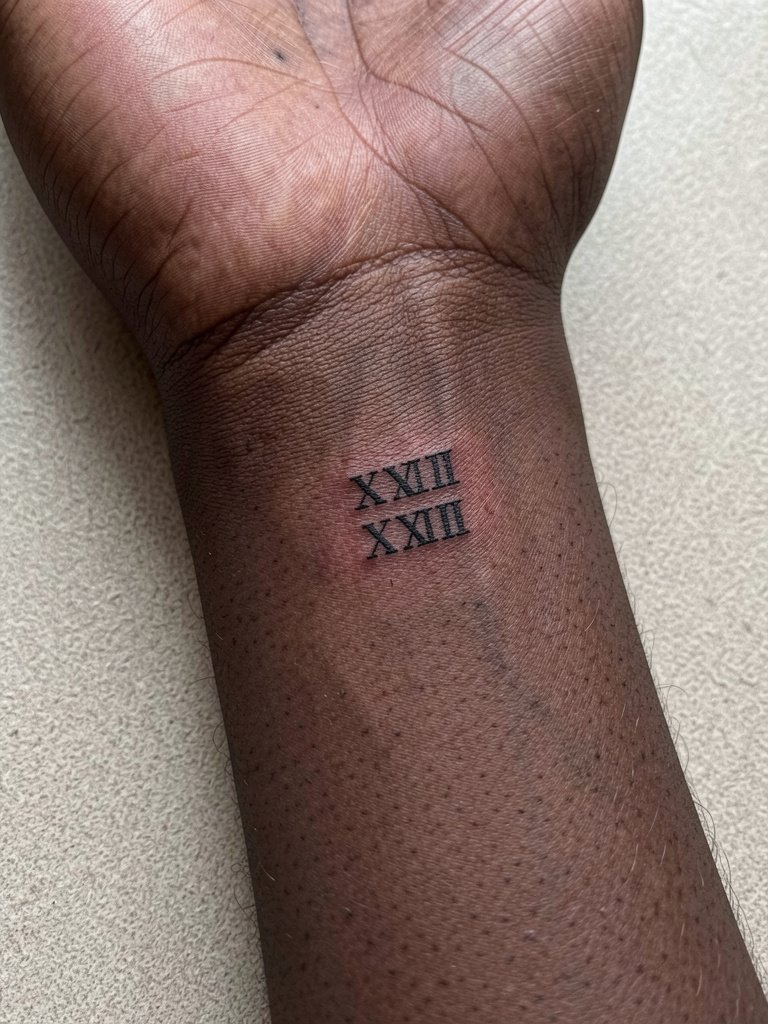
Roman numerals provide a neat memorial or anniversary option that stays discreet. The trick is spacing and font choice because cramped numerals smear into a line over time. Ask the artist to preview the numerals at two different widths to confirm legibility at small scale. Sessions run 10 to 20 minutes. Avoid heavy bracelets on that wrist during healing and plan to wear a cuffed shirt on session day that you can push up easily. For showing off, a minimal watch on the opposite wrist keeps the look balanced.
12. Small Botanical Sprig on the Ribcage
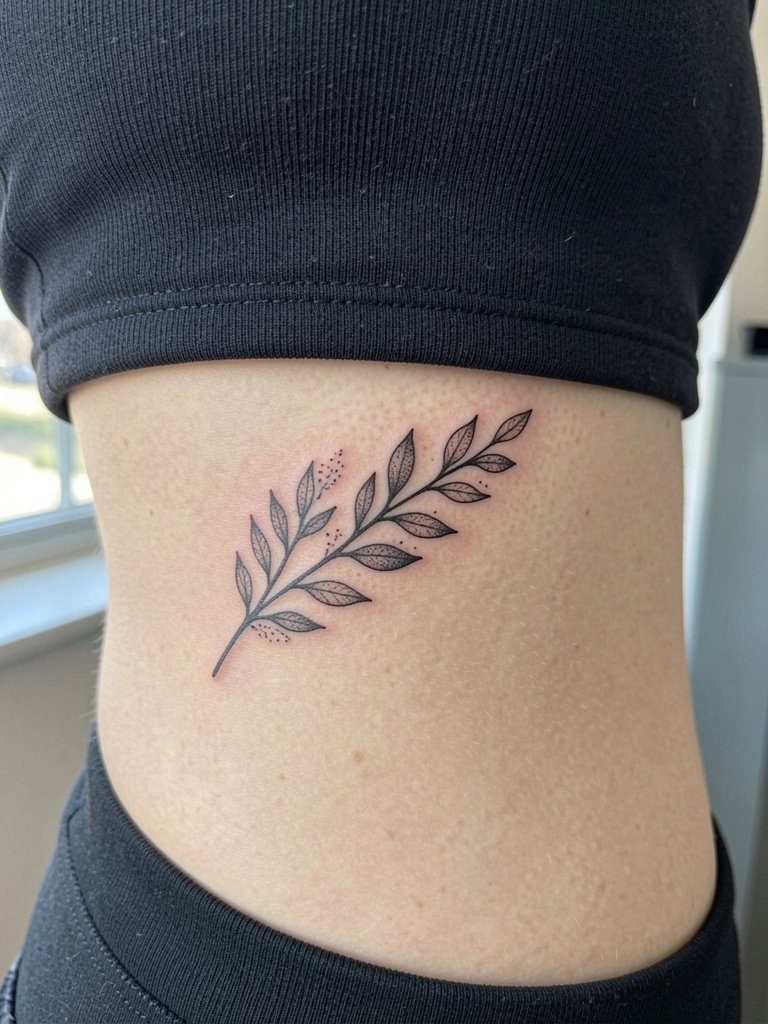
Ribcage minimal botanicals look refined but trigger debate about pain and longevity. One camp warns that the ribs stretch and the thin lines blur or kink within two years, especially where skin moves with breathing. The other camp says careful needle depth and slightly wider line spacing let fine botanical work settle well, and they will show healed images to support that view. If you choose the rib, request a stencil showing the exact curvature on your torso and plan for a touch-up timeline at year one. Pain is higher here than forearm work, so consider a numbing cream protocol 45 minutes before if you are sensitive. For session wear, bring a loose top that can be lifted without a tight waistband.
13. Tiny Crown, Diamond, or Star on Hand or Finger
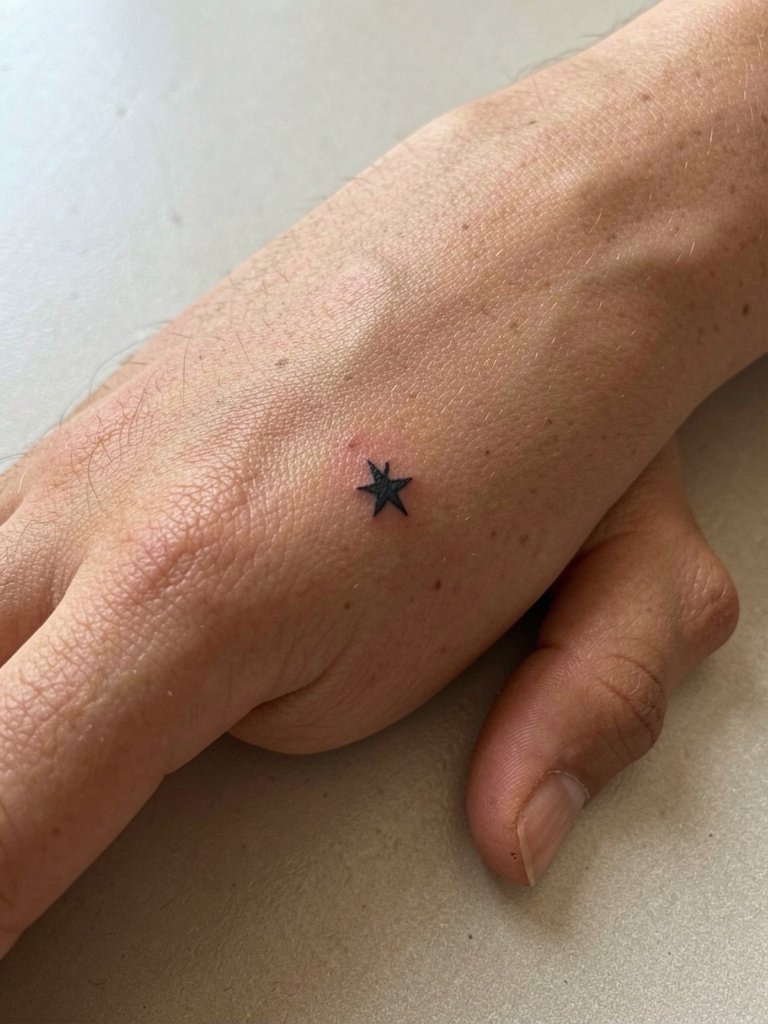
Hand and finger tattoos read immediately, but they demand frequent touch-ups because of wash and abrasion. The common mistake is choosing delicate dotwork or micro shading in this area. For a finger symbol, insist on bold simple shapes and a plan for a touch-up at 6 to 12 months. Sessions are fast but can sting more than forearm work. Avoid rings on the tattooed finger during healing. To frame the tattoo, keep accessories minimal and try a simple ring set on other fingers. On session day wear a top with loose sleeves and remove rings ahead of time.
14. Minimal Vertical Dash on the Nape
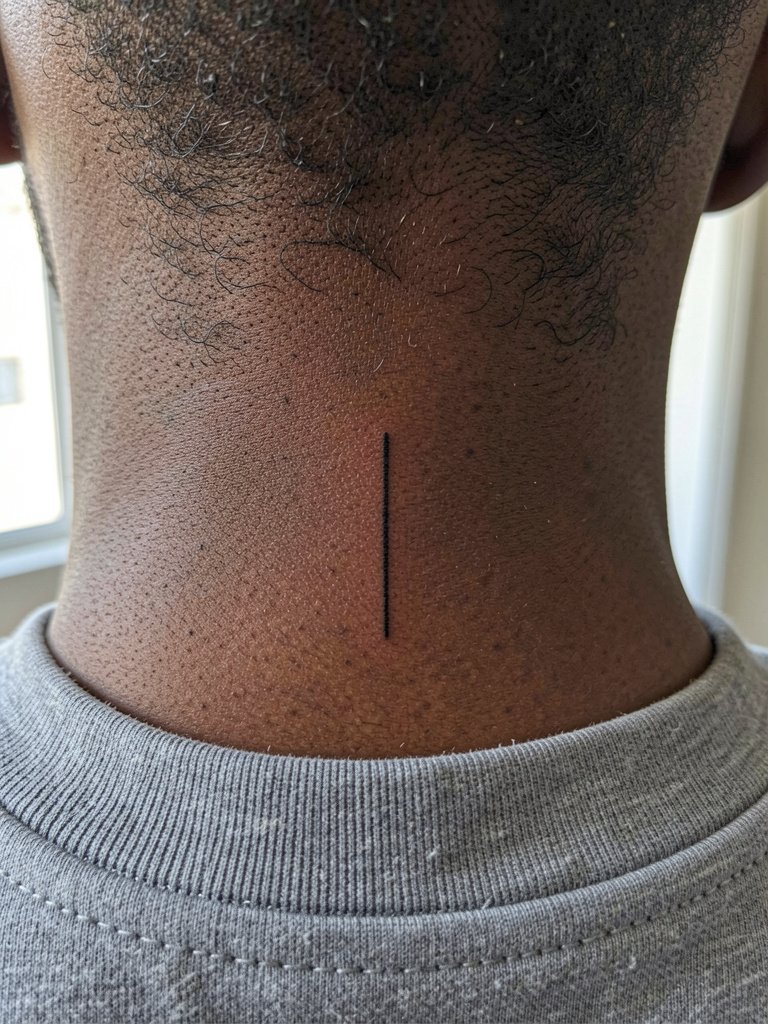
The nape is subtle and symmetrical, and it pairs well with short hair or tied-back styles. Pain is usually low to moderate and the session takes 10 to 20 minutes. A mistake is placing a long vertical line too close to the hairline where hair growth can obscure crisp edges. Ask for placement proof with your natural hairline and choose a short dash rather than a long spine. For showing off, crew neck tees and bomber jackets frame this area without competing for attention. Mention to the artist if you often wear collars that might rub during healing.
15. Minimalist Linework Spine Accent
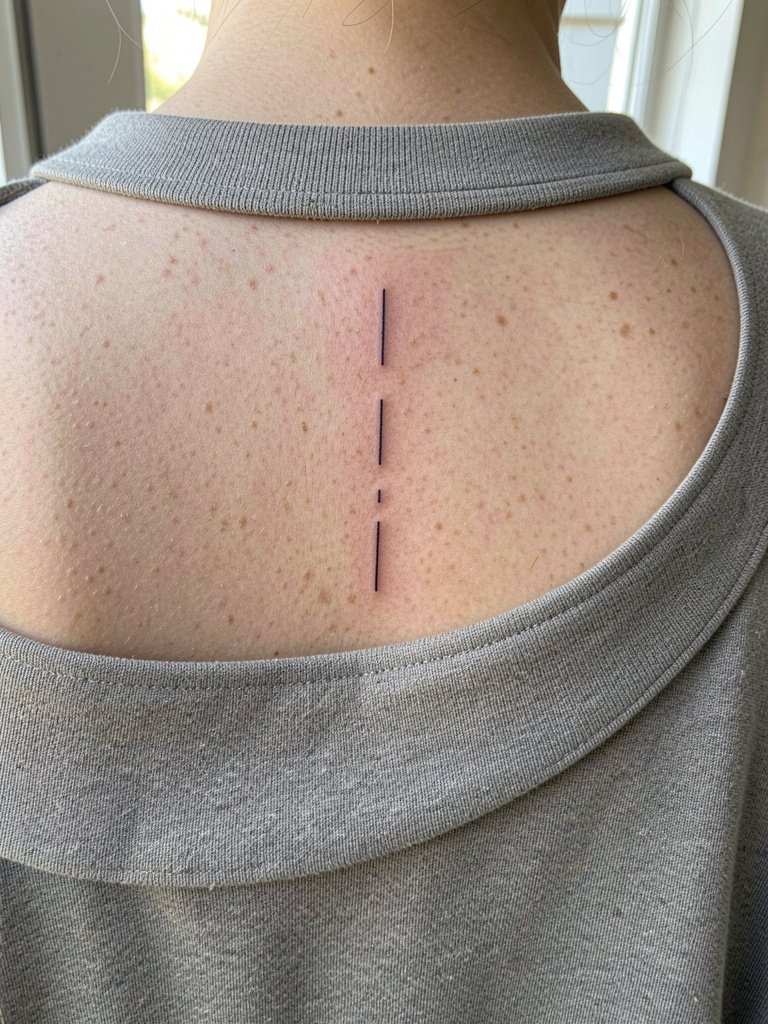
Centered back dashes use body symmetry to subtle effect. The main longevity issue is movement and the occasional rubbing from backpacks. Ask for short, spaced dashes rather than one continuous thin line to reduce the chance of long-term merging. Sessions are short and discomfort is moderate. For the appointment choose a top that you can remove without twisting, such as a loose shirt that comes off over the head. For evenings out, a scoop-neck top or open-collar shirt shows the placement when you want it seen.
16. Minimal Geometric Animal Mark on Forearm
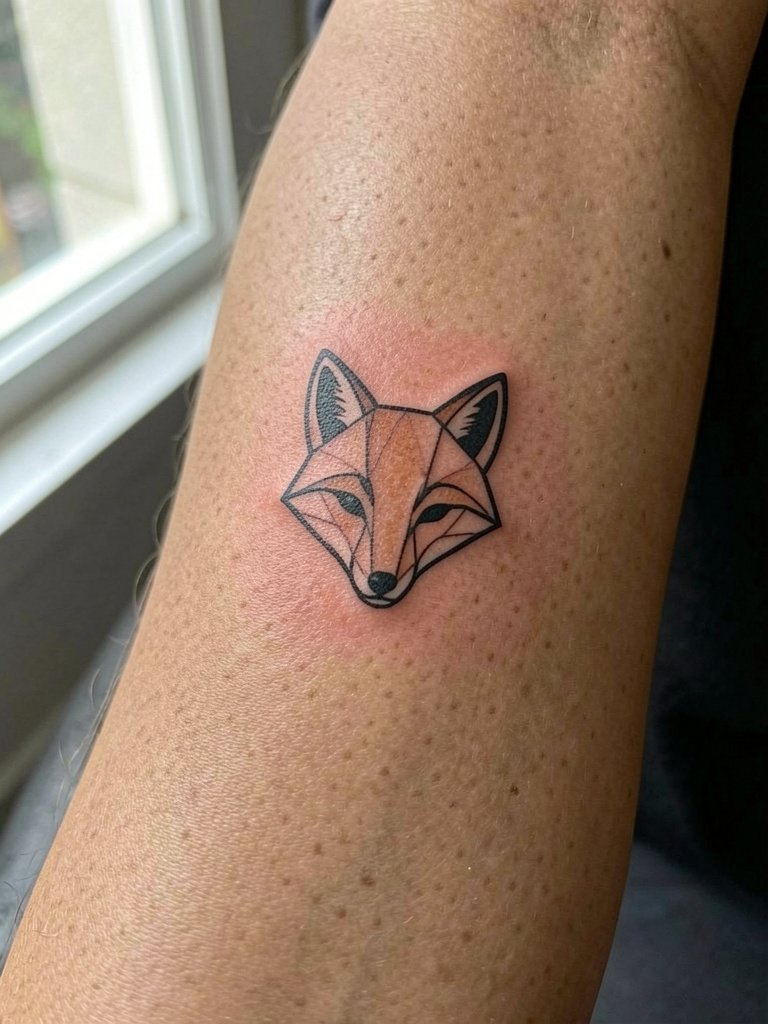
Geometric animal marks bridge clean minimalism and visual recognition. The frequent error is over-detailing inside the shapes which defeats geometry at small scale. Ask the artist to show different internal spacing options so you can pick the one that reads three feet away. Sessions usually 20 to 35 minutes and touch-ups may be requested at one year. For an everyday look, pair with cropped sleeve tees and an overshirt on the opposite wrist. Wear comfortable short sleeves to the session for quick access.
17. Tiny Wave Line on the Top of the Foot
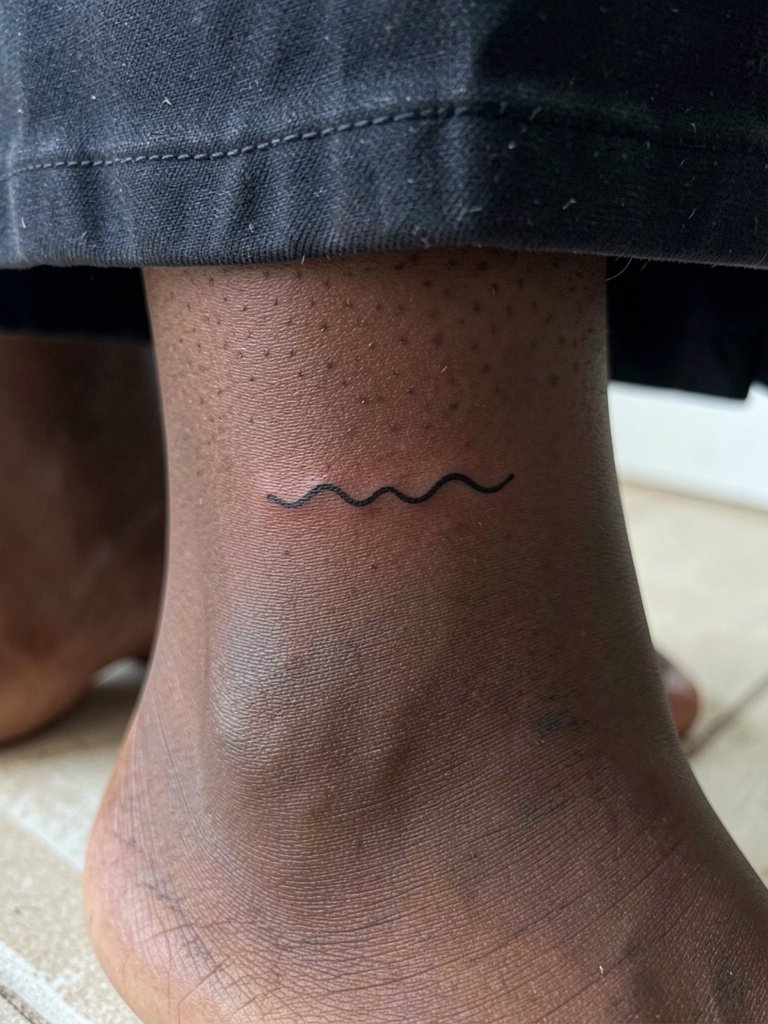
Foot tattoos are low-visibility but high-maintenance. Daily friction from shoes and washing increases fade and touch-up needs. Opt for a simple single-line wave with no internal detail to maximize longevity. Sessions are quick but painful because the bone is close. For session day wear sandals or shoes that are easy to slip on and off. Showing off the top-foot piece works best with cropped pants and low-cut sneakers or sandals.
18. Small Minimalist Pocket Portrait on the Bicep
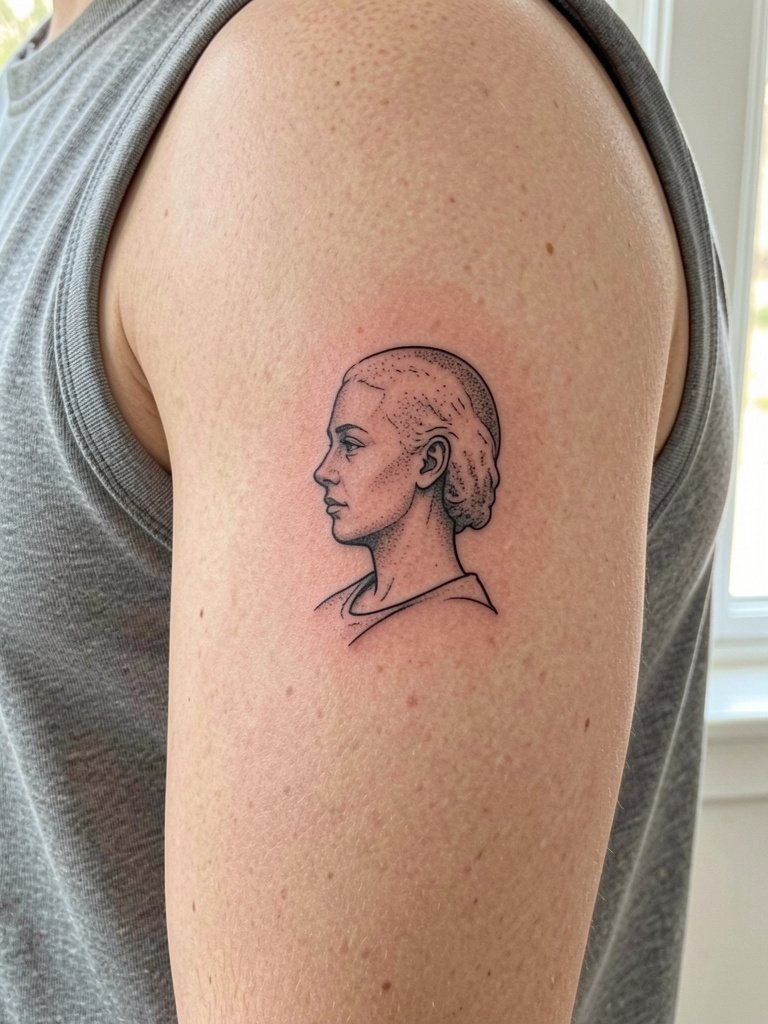
A small bicep portrait reads elevated when done in silhouette or single-line style. The key is scale and contrast; overly tiny portraits lose facial definition. Discuss exact scale with the artist and ask for healed examples of similar single-line portraits on biceps. Sessions often last 30 to 45 minutes. For a casual reveal, a muscle tank or fitted tank frames the area and keeps the look balanced. Bring a sleeveless option for the appointment to ensure the artist has a clear field.
19. Tiny Abstract Line Cluster on the Calf
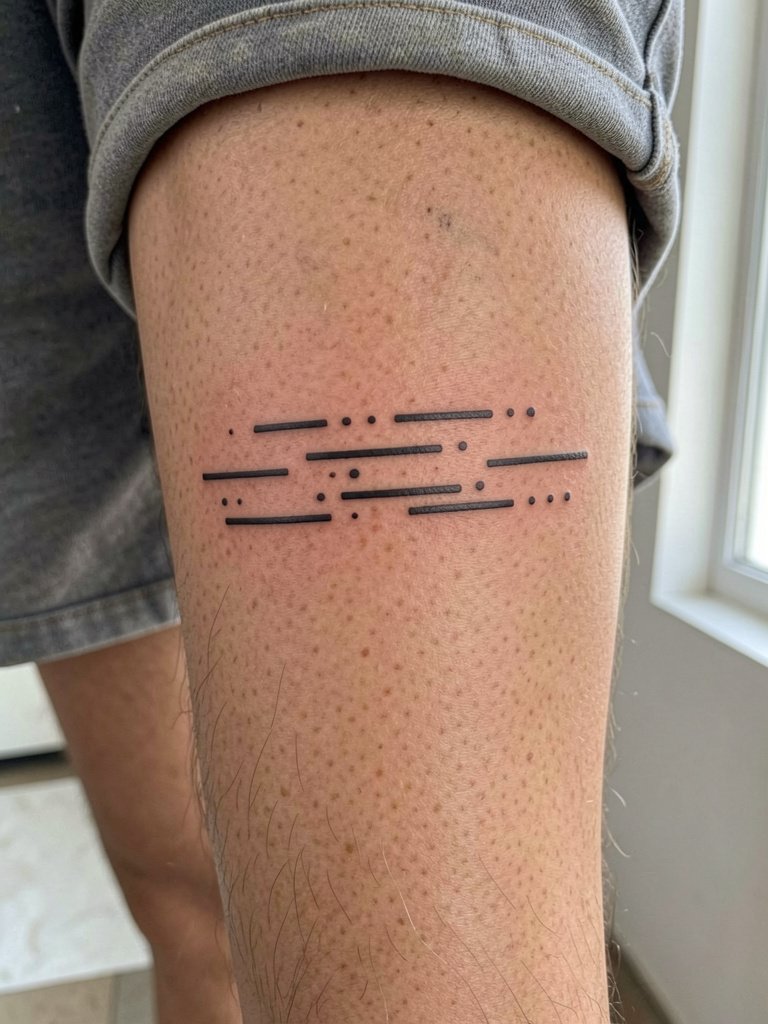
Abstract line clusters are low-commitment but visually interesting. The usual design error is placing too many thin strokes with no breathing room, causing a muddled healed look. Have the artist lay out positive and negative space options and choose the one that reads clean at walking distance. Sessions are 20 to 35 minutes and touch-ups are uncommon if spacing is generous. Pair this placement with athletic shorts or cropped trousers for warm-weather visibility. Wear loose joggers to the appointment so the leg can be rolled up comfortably.
20. Minimalist Dot-Work Sunburst on the Sternum
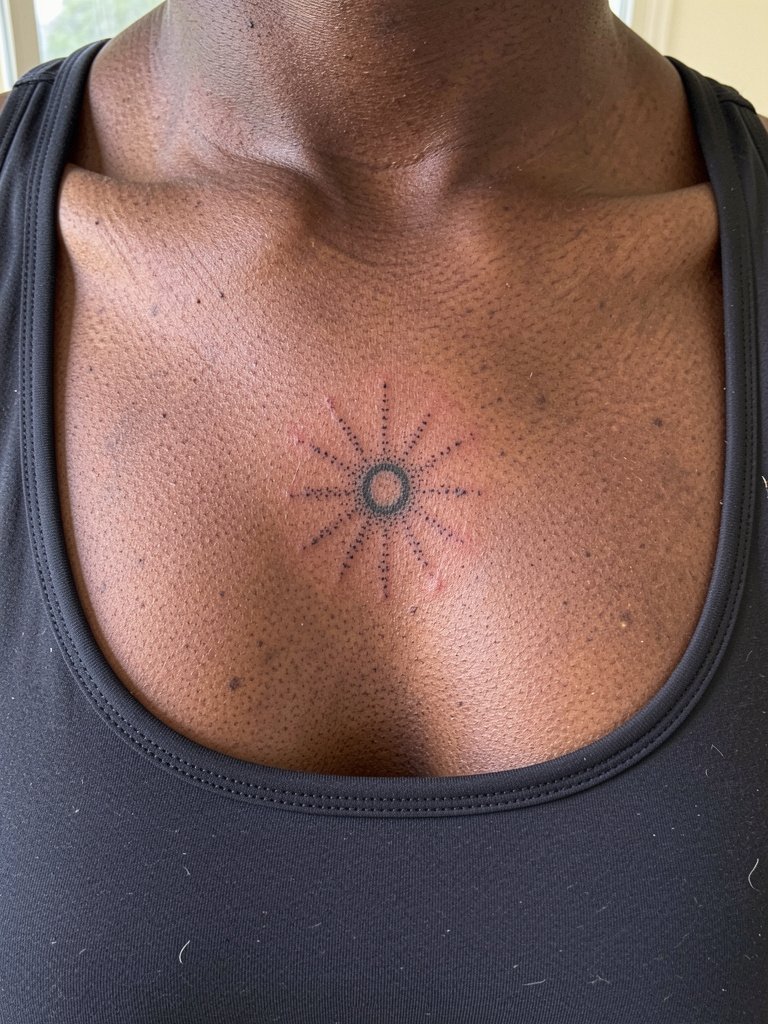
Sternum micro work is intimate and looks delicate when done with controlled stippling. This area can be painful and the skin moves, so request that the artist space dot work slightly wider than the reference to avoid clumping over time. Expect moderate to high pain and plan for longer breaks if needed. For the session wear a fitted top that can be adjusted without pinching. Because this placement is often private, the styling payoff is mostly in swim or gym scenarios rather than daily outfits.
21. Tiny Coordinate Tattoo on the Wrist or Forearm
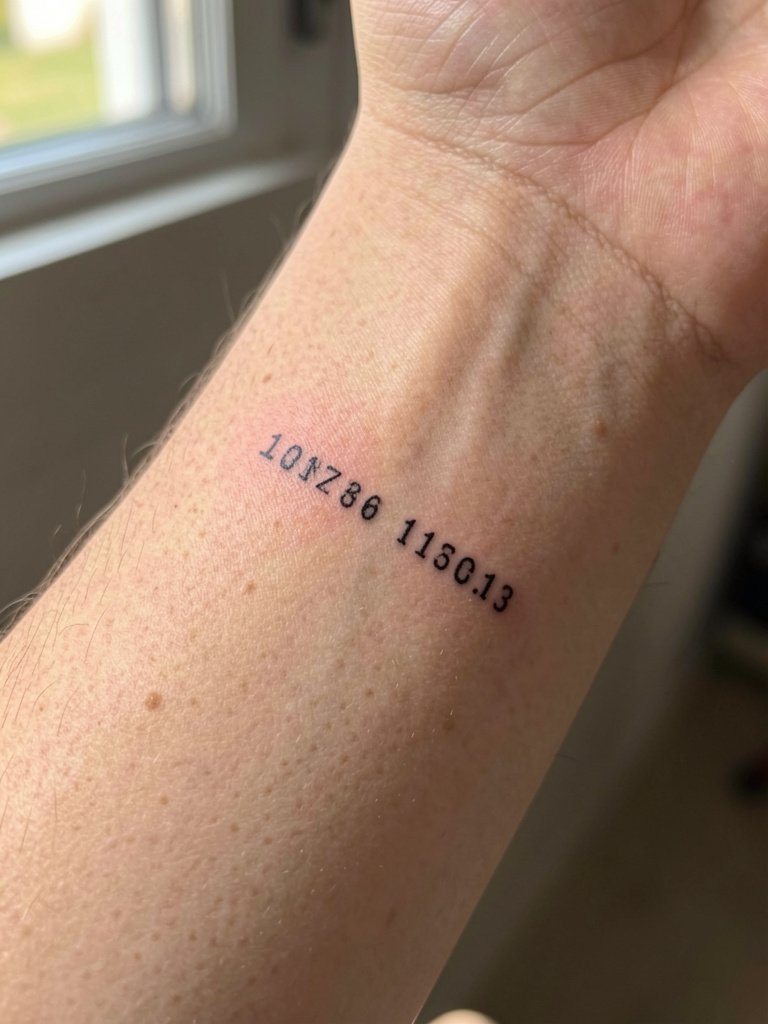
Coordinates are crisp and discreet when spacing and font choice are correct. The primary mistake is choosing a tiny serif or script that loses clarity at small scale. Request a monospace or thin sans-serif font and preview the numerals sized to your arm. Sessions are short and pain mild to moderate. Pair this piece with a minimal watch on the opposite wrist for balance and wear a short-sleeve tee to the appointment.
22. Minimalist Arrow Cluster Behind the Ear
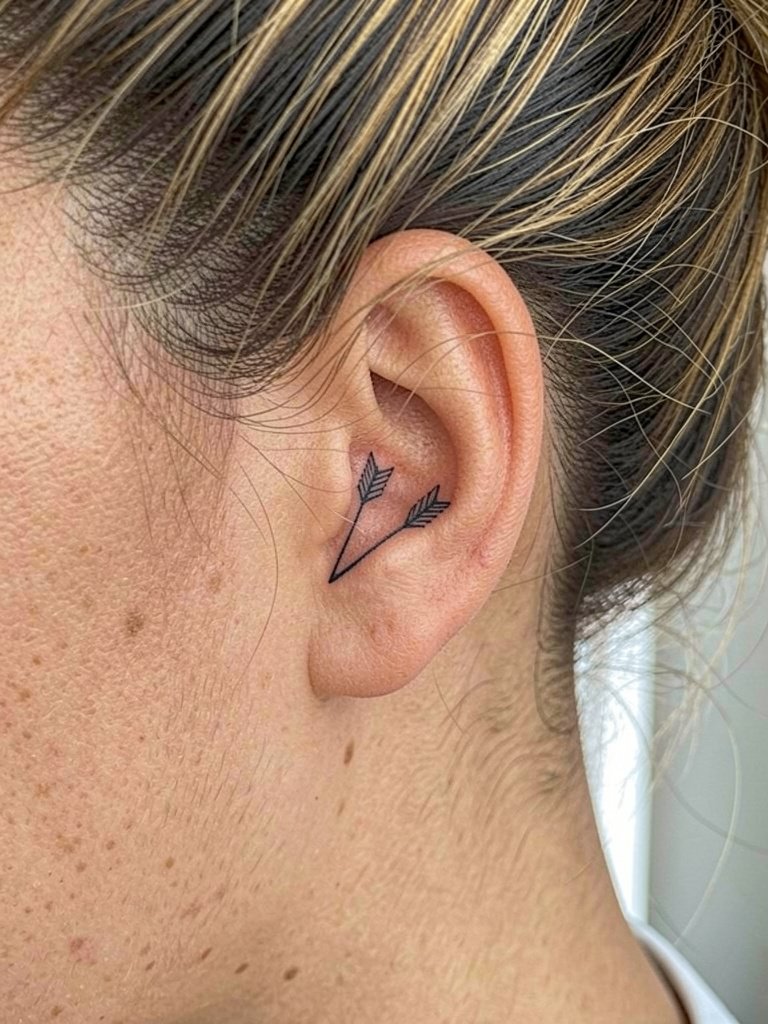
Behind-the-ear marks work well for tiny motifs but require a delicate touch. The area heals quickly but is prone to tidal oil and hairline friction. Ask for a shallow spacing plan and discuss whether you want the design closer to the hairline or lower on the mastoid. Sessions are brief but can ring due to noise sensitivity in that zone. For the appointment keep hair tied back or wear a top that leaves the area clear. Short hair or a natural updo makes this placement visible when you want it seen.
23. Minimal Linework Constellation on the Upper Chest
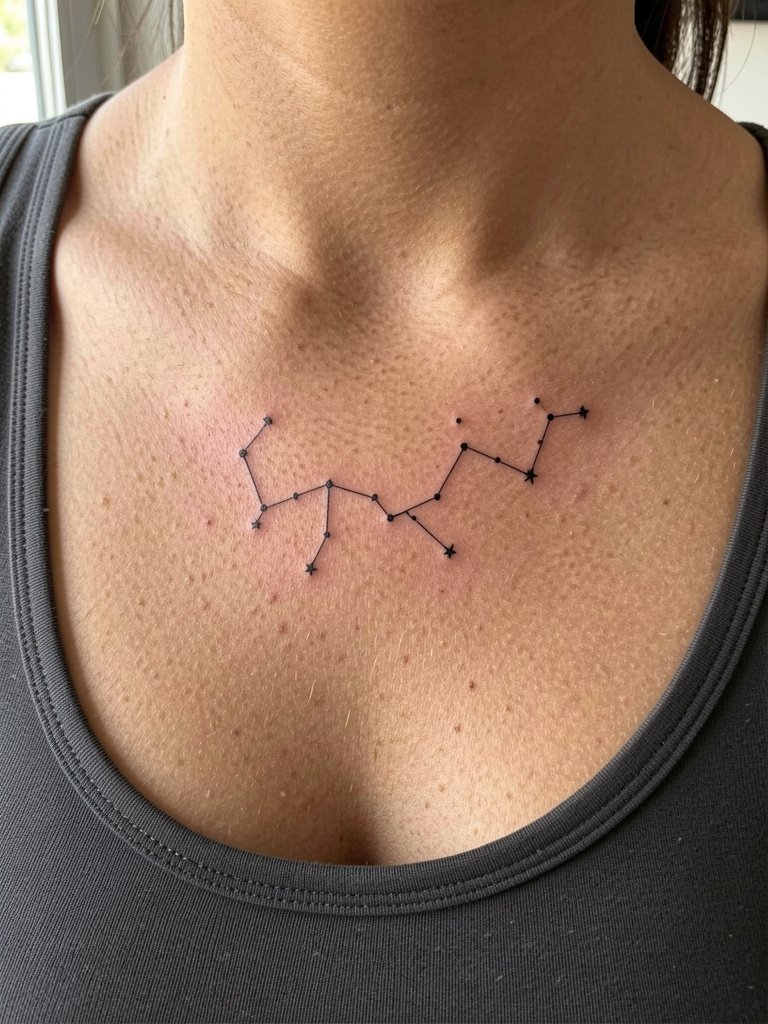
Upper chest constellations are visible when you want them seen and easy to conceal with crew necks. The common issue is overcomplicating the cluster, which makes it unreadable small. Ask the artist to map the dots with negative space and opt for a simple three- to five-point pattern. Sessions are 20 to 40 minutes and pain is moderate. For styling, open-collar shirts or scoop-neck tanks frame the collarbone and make the piece part of a deliberate look. Wear a fitted top that can be removed without tugging for the session.
Session Day Picks
The first six designs above include visible wrist, forearm, and ankle spots, so a few session-day items smooth the start and the first week.
- Stencil transfer paper kit. Lets you preview line placement on skin before the needle hits, useful for the mountain, compass, and geometric pieces above.
- Topical numbing cream. Applied per instructions about 45 minutes before can ease wrist and ribcage sensitivity for people who want a gentler session.
- Thin protective film roll. A breathable temporary barrier that reduces friction on finger and hand pieces during the first week.
- Fragrance-free body wash. A gentle cleanser for daily showers while the linework is settling, especially useful for ankle and calf tattoos.
- Aquaphor healing ointment. A familiar option for the earliest days of healing, applied thinly as advised, though some people prefer lighter balms after day two.
Frequently Asked Questions
Q: How much does a small minimalist tattoo usually cost and why do shop minimums matter?
A: Small tattoos often still hit a shop minimum because the artist needs prep time, stencil setup, and sterile supplies even for brief sessions. Expect the sticker to reflect a minimum service fee rather than raw minutes of work. Tipping is separate and typically follows local norms.
Q: I heard fine line tattoos fade quickly. Which camp is right?
A: Artists split into two camps. One camp says very thin single-needle lines lack the structural ink to resist migration and can blur in a few years. The other camp says that if you scale designs slightly larger, increase spacing, and check healed examples, fine line can age well. Evaluate healed photos from an artist on your skin tone to decide which approach fits your priorities.
Q: Where can I find artists who actually show healed photos and specialize in small work?
A: Search style tags with location filters on social platforms and prioritize portfolios labeled as healed shots. Look for hashtags like #finelinetattoo and #microtattoo, then add your city name to narrow results. Reddit threads can point to consistent portfolios and shop minimum expectations, which helps you vet artists beyond shiny fresh photos.
Q: Saniderm or dry healing, which is better for tiny linework?
A: There are two camps on this. One camp prefers second-skin products because they protect fresh ink from friction and accidental touching and can simplify early aftercare. The other camp favors simpler dry healing or thin ointments to avoid adhesive irritation and trapped moisture. Consider skin sensitivity and placement, and follow the specific aftercare plan your artist shows you based on healed examples.
Q: What should I wear to my appointment for a wrist, ankle, or rib tattoo?
A: For wrist and forearm pieces wear short sleeves or shirts that roll easily above the elbow, like a fitted henley or short-sleeve tee. For ankle work choose shorts or loose pants that pull down comfortably, and for ribcage pieces pick a loose top or a fitted crop top that lifts without twisting. If you want a quick option, a tank top covers most upper-arm and shoulder access needs.
