
Someone I know spent months scrolling portfolios before they realized the real problem was not picking something pretty. It was choosing a style that will still read clearly five years from now, knowing which spots hurt more than others, and working with an artist who can render detail at micro scale. I spent time in five shops across Brooklyn and talked with an artist who specializes in fine line, and what follows are 25 dark micro tattoo ideas that account for longevity, placement, and pain without wasting your time.
1. Tiny "Ohana" Script Above Elbow
Someone I know picked this one because it moves with the arm and hides easily when needed. Tell your artist you want the word "Ohana" in cursive, an even single-weight line, and a slightly larger x-height so the loops do not collapse over time. The upper arm has moderate pain and usually takes 15 to 30 minutes. Common mistakes are asking for ultra-fine hairlines that fade into a gray blur and skipping a touch-up plan. At six months the ink will look crisp if it had confident linework. Expect a touch-up around year two to three for most fine script.

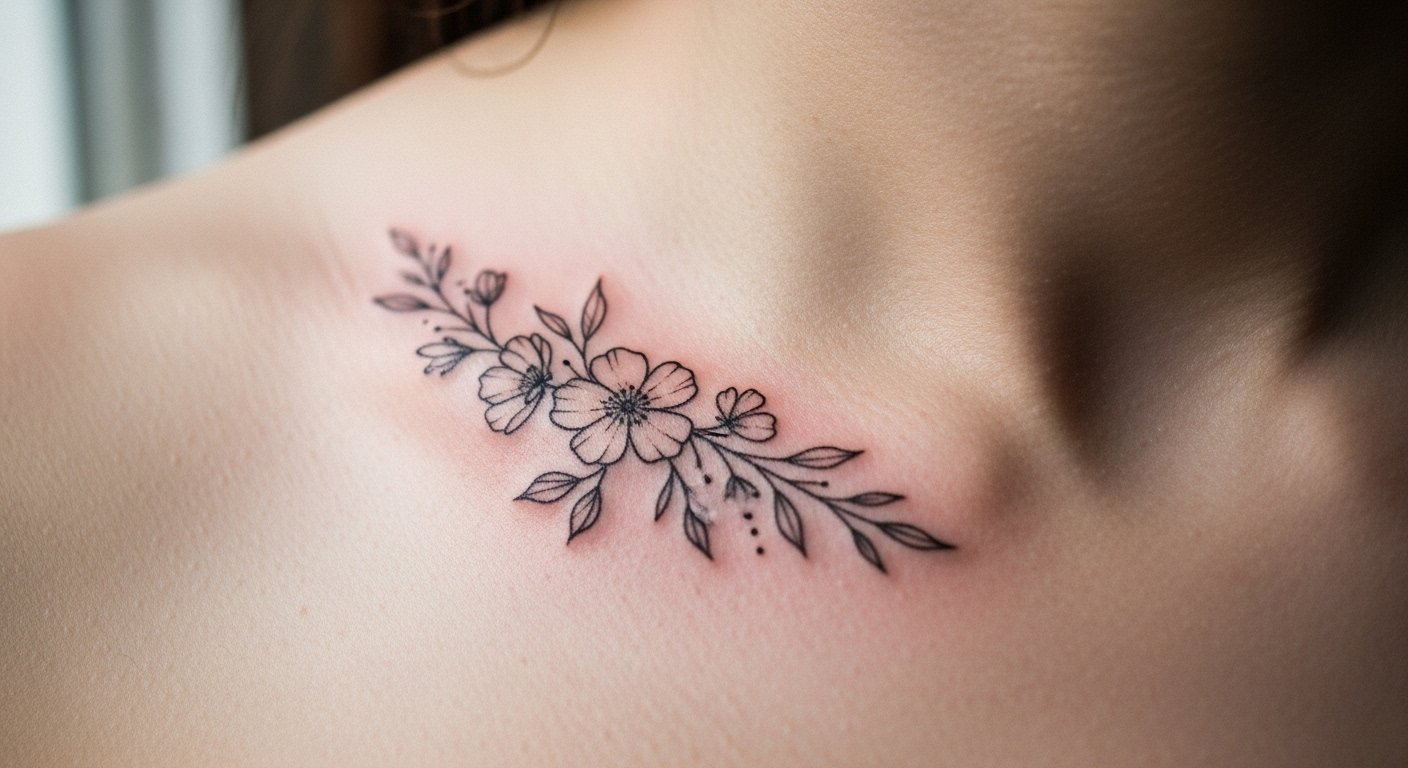
2. Fine-Line Single-Line Flower on Shoulder
Fair warning: shoulder placements move with clothing so you will notice faint scabbing while healing. The single-line approach relies on continuous linework rather than fill, so tell your artist you want one uninterrupted contour and gentle stipple shading to suggest depth. Session time is 20 to 40 minutes and pain is low to moderate. A common error is shrinking the sketch down too much. If you keep the piece around one inch it will hold its shape longer. After two years, stipple holds better than hairline shading on most skin types, but plan for a touch-up if lines soften.

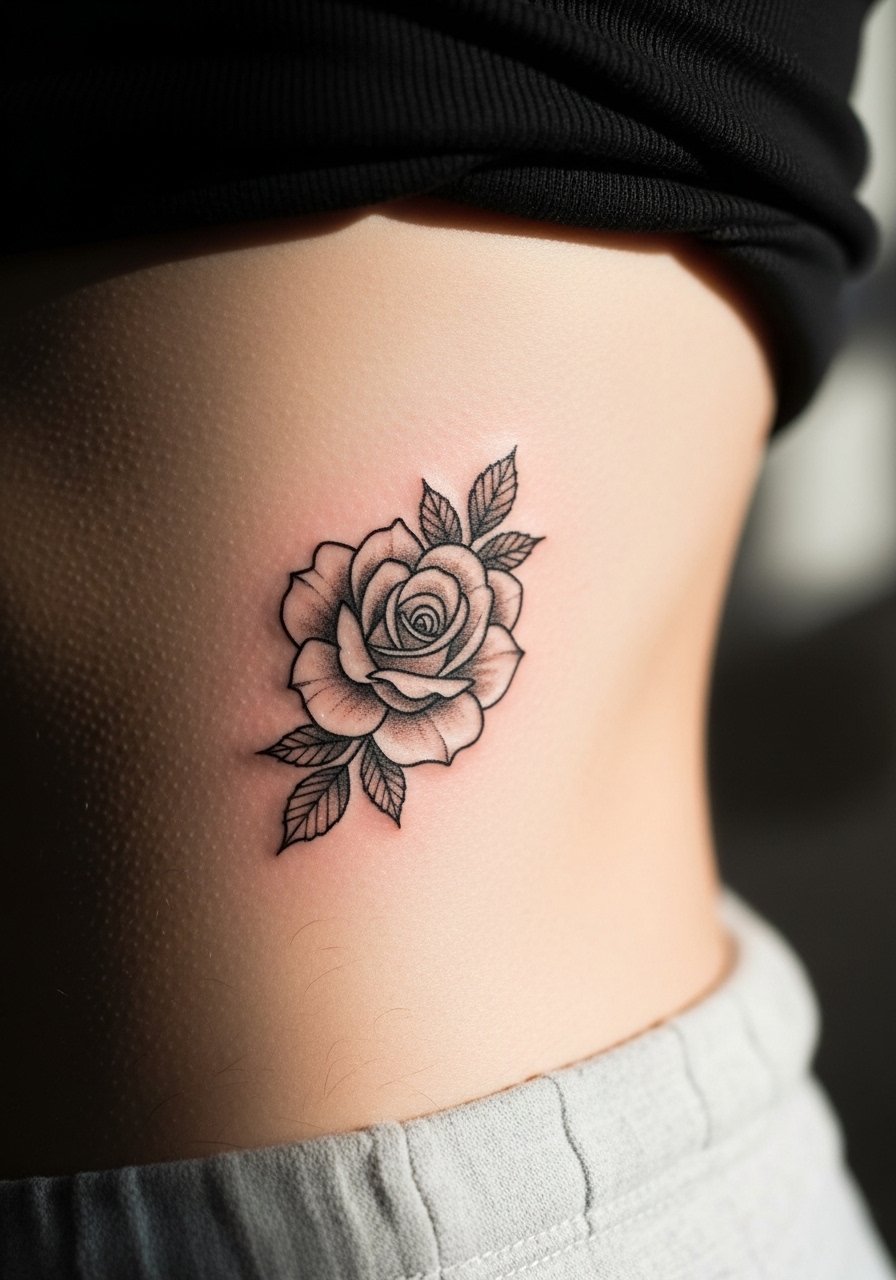
3. Micro Black and White Rose on Lower Side
Most people choose this placement for privacy and the way clothing can cover or reveal it. When you consult, ask for crisp contour, soft gray wash for petals, and slightly heavier outer lines so the form reads at a glance. Rib and side placements are more painful, often a 6 to 8 on casual scales, and a small rose usually finishes in 30 to 45 minutes. The mistake to avoid is asking for hairline petals without any anchor lines. At two years the gray wash may feather slightly, but a confident outline maintains the rose silhouette and makes touch-ups straightforward.
4. Tiny Heart Outline on Finger
Hands and fingers behave differently from the rest of the body. Expect faster fading because of frequent washing and skin turnover. Ask for a simple heart outline with a slightly bolder stroke than you might want so the shape does not vanish within a year. The session is brief, often under 20 minutes, but the pain is higher because fingers have thin soft tissue. A common mistake is requesting ultra-fine detail on the pad of the finger. Plan for touch-ups at the one-year mark and be prepared for more frequent maintenance than forearm work.

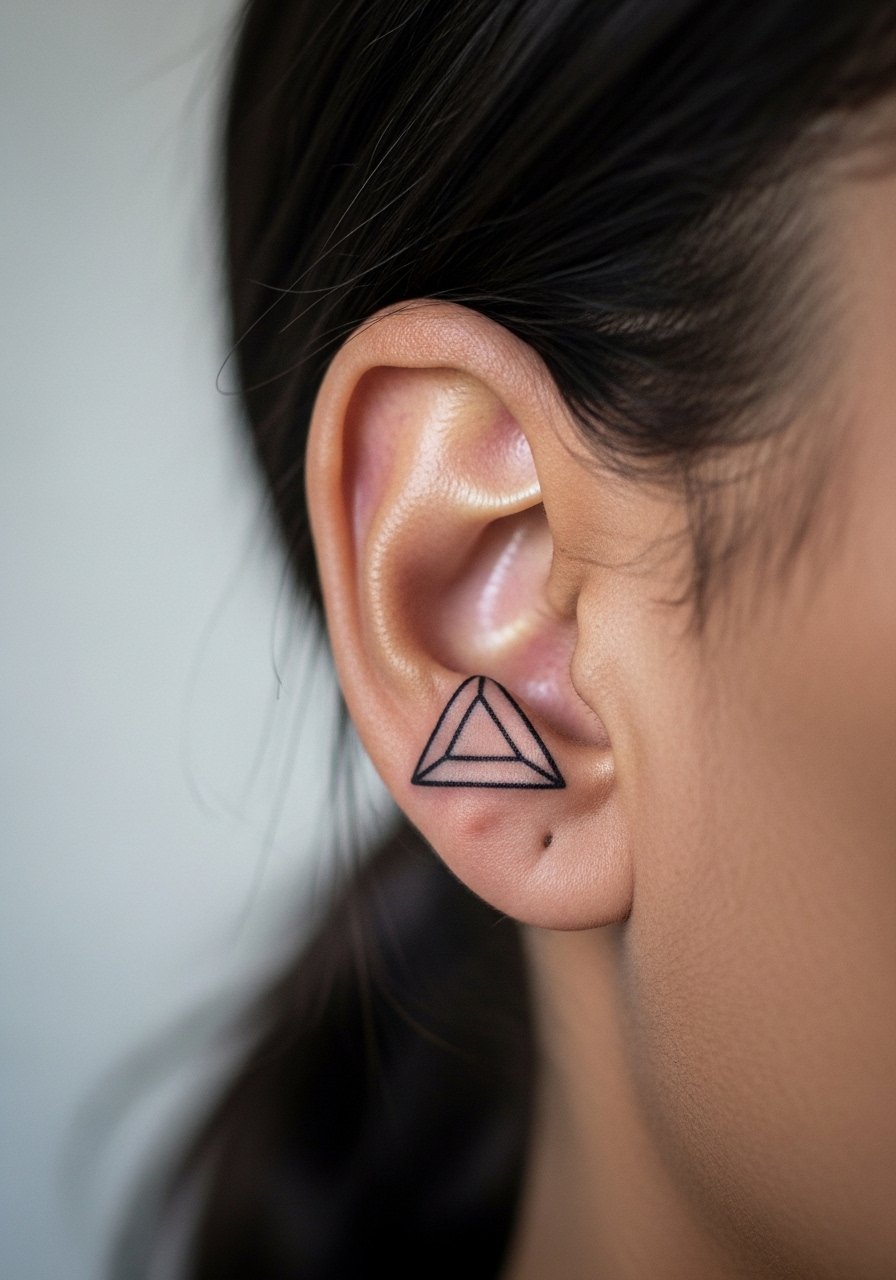
5. Behind-the-Ear Geometric Shape
Fair warning: behind-the-ear placements are notorious for pain. Some people describe it as sharp and concentrated because the area is thin and close to bone. The draw is that the ink disappears under hair and looks deliberate when exposed. Ask your artist for compact geometry and clear spacing between lines so blowout risk is reduced. Sessions are short, often 15 to 25 minutes. Artists split on this spot. One camp says the thin skin and motion make fine lines blur quickly. The other camp says careful needle depth and bigger line spacing will hold. Ask an artist where they stand before booking.
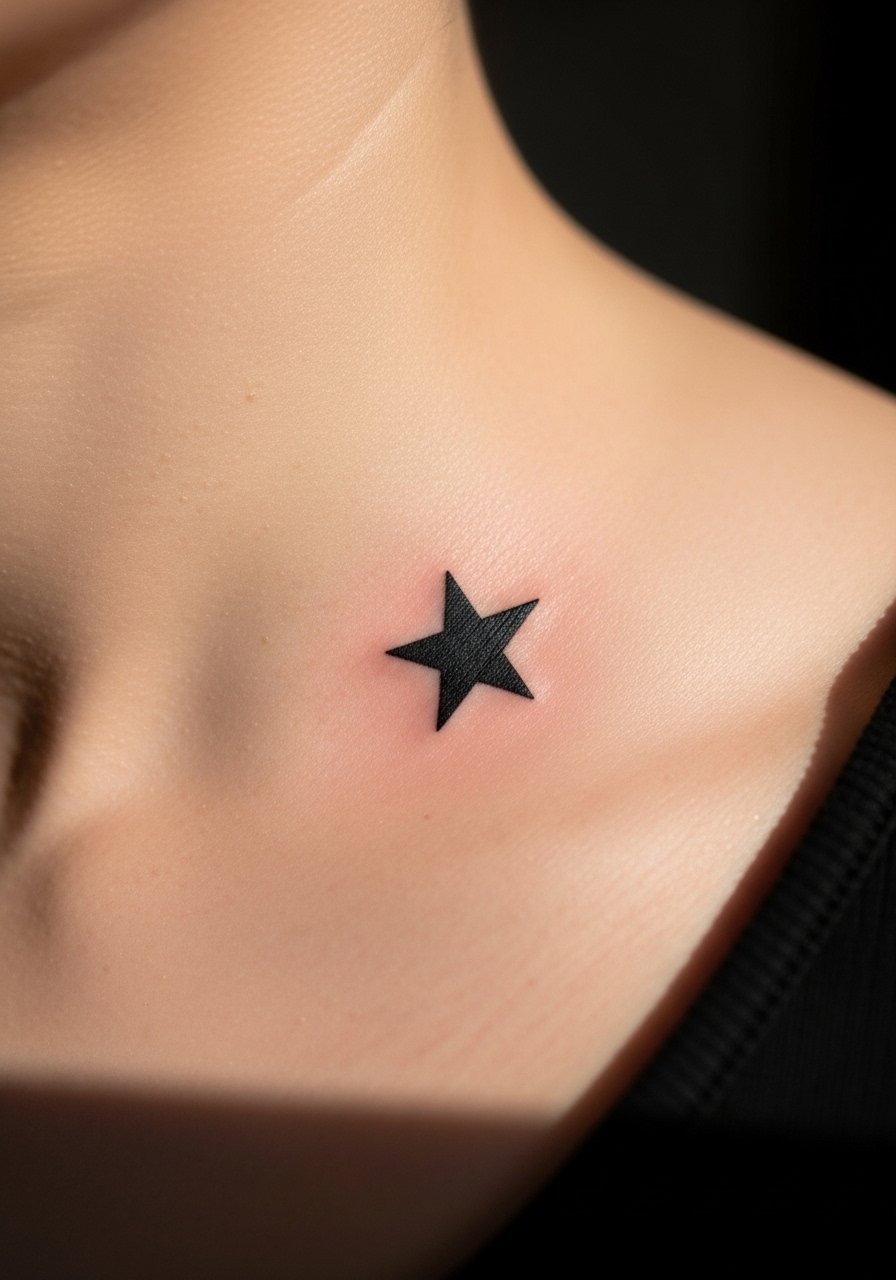
6. Collarbone Micro Star
There is a reason collarbone stars end up on wish lists. They live at a visible edge when you want them to and they tuck away under tops when you do not. Ask for a tiny five-point star with a bold outer line and no interior micro shading. Pain at the collarbone is higher than the upper arm but lower than ribs. Most of these take 10 to 20 minutes. The mistake is squeezing too many interior details into a 0.3-inch star. At two years, clear outer lines retain the shape and make any future touch-up fast.
7. Paired Wrist Script Words
When you match scripts on both wrists it reads as intentional symmetry rather than an afterthought. Bring two reference words and show how you want spacing to sit when your hands meet. The inner wrist is sensitive but tolerable, and each side can take 15 to 30 minutes. People often request ultra-fine cursive that blurs together across the wrist crease. To avoid that, pick a slightly heavier line and keep letters spaced. I have seen paired scripts hold best when both wrists are planned as a single composition rather than two separate mini tattoos. Trust your artist with spacing details once they show you mockups.

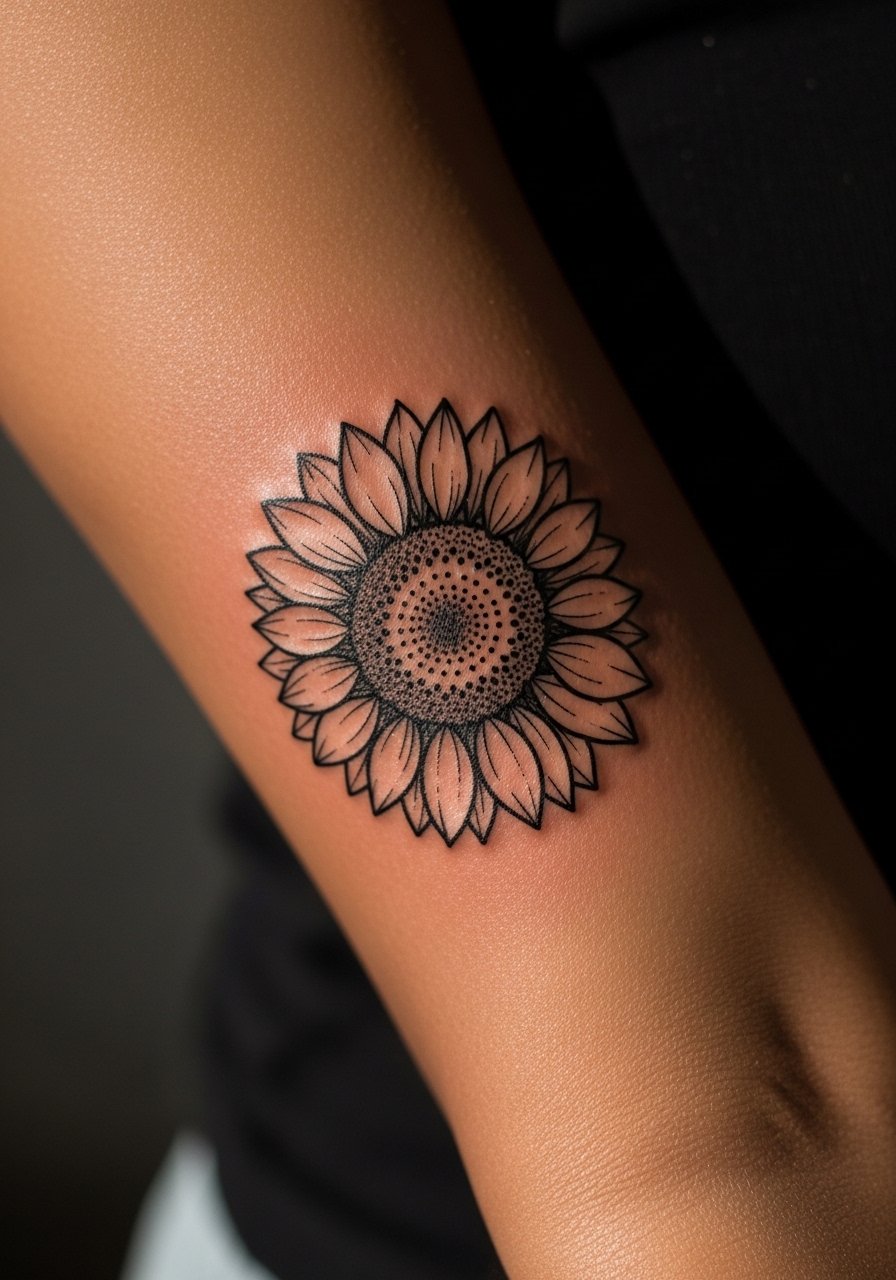
8. Matching Micro Sunflowers with Inner Detail
If you want detail in a compact space, collaborate on nested shapes rather than asking for microscopic petals. Tell your artist you want a sunflower with a textured center and simplified petal edges so the contrast reads as detail without relying on hairlines. Forearm or ankle placements change how the flower flattens with movement. The session is usually 30 to 45 minutes. A common mistake is demanding photographic realism at 0.6 inches. At six months the inner texture reads well, and with confident contrast the image can still be recognizable at three years with a single touch-up.
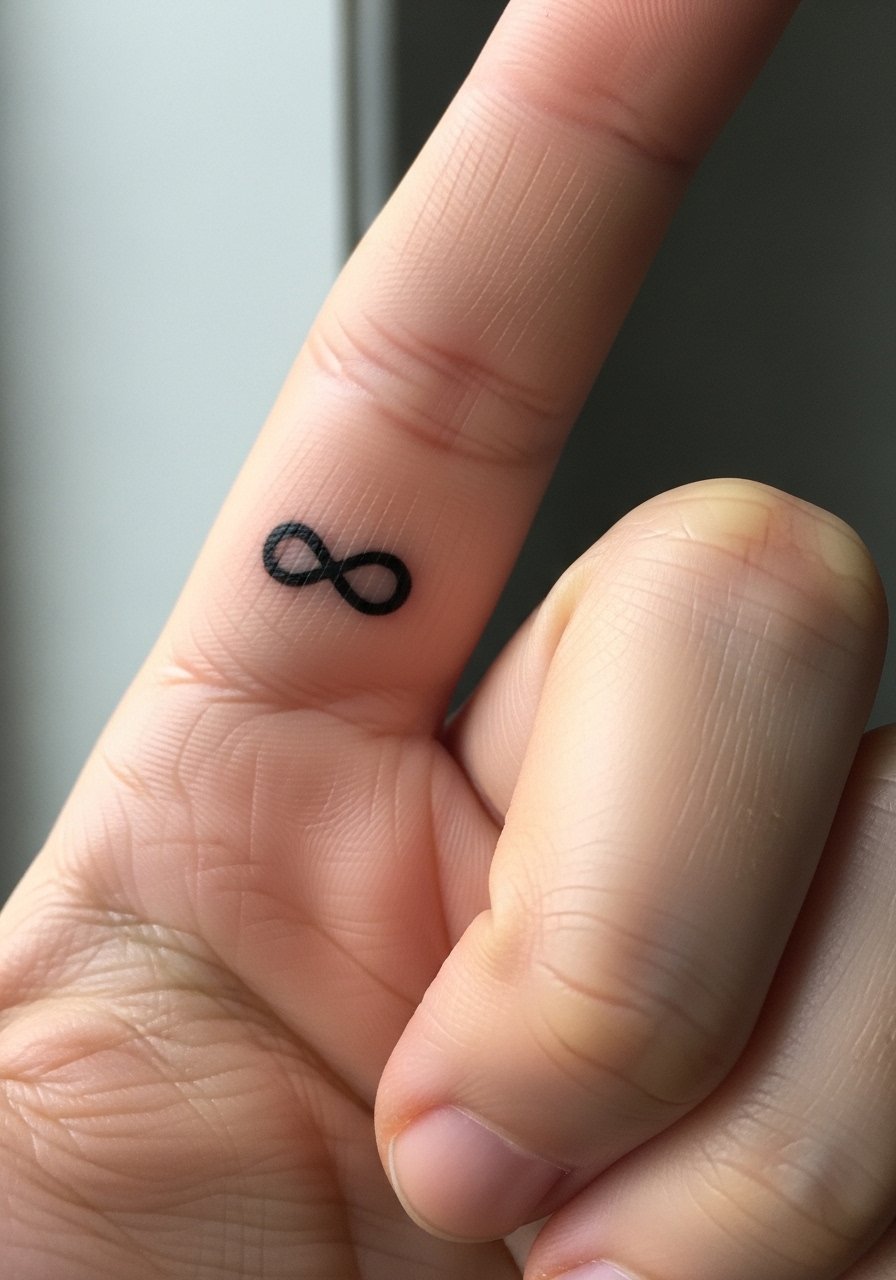
9. Finger Infinity Symbol
People love the infinity for what it implies and how discreet it can be. Side-of-finger placements take about 10 minutes and the pain is sharp for a moment. Ask for a single continuous line with slightly increased weight so the loop stays readable as the skin moves. The most frequent error is requesting an ultra-thin knot that disappears in months. Expect fading faster than on the forearm and plan for touch-ups every one to three years. For a longer-lasting result consider placing it on the side of the index finger rather than the pad.
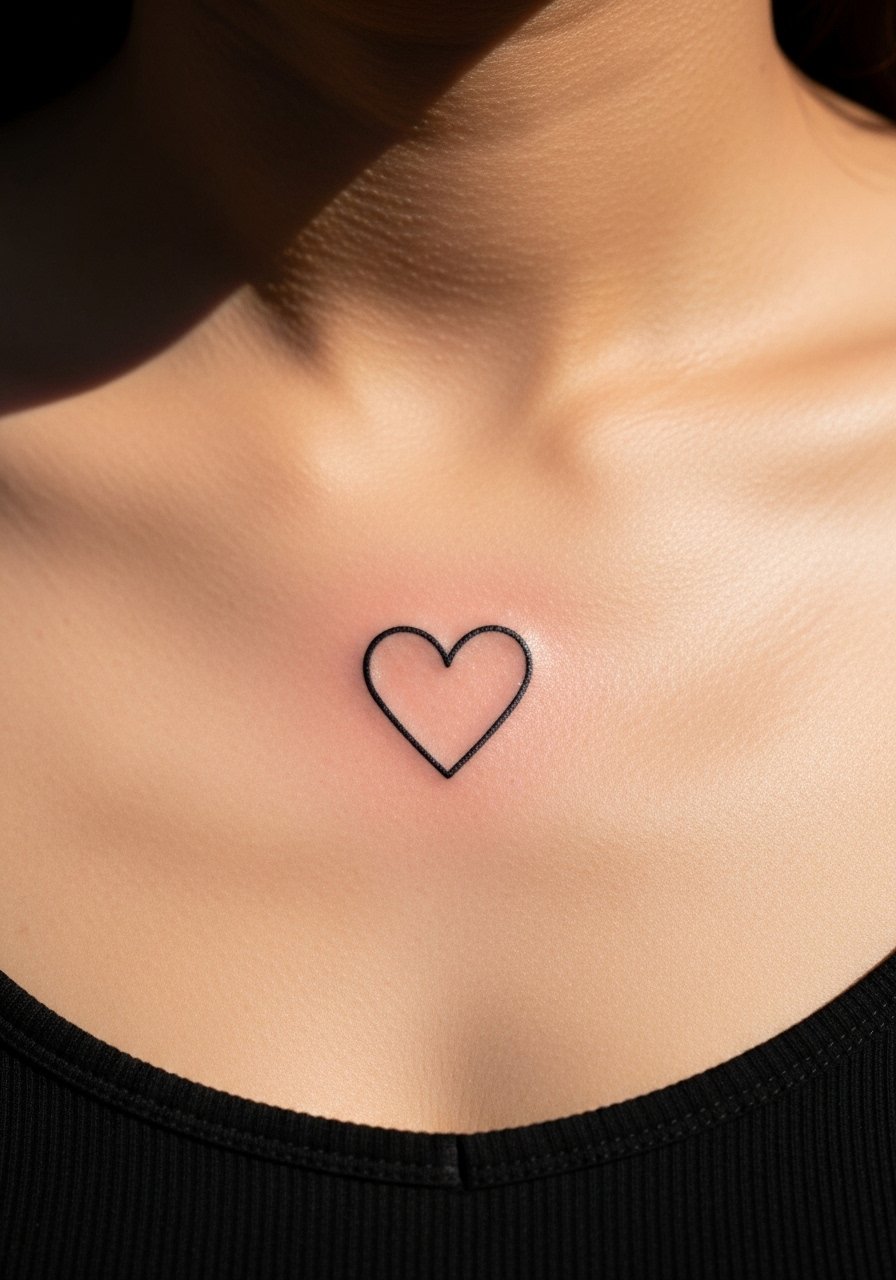
10. Teeny Heart at Chest Center
This placement is visible with certain necklines and easy to cover with shirts. The chest center can be a sensitive spot for some people because of thinner tissue. Ask for the word "heart" if you want script or a 0.5-inch outline heart if you want an icon. Expect 15 to 25 minutes and moderate pain. People often request micro shading inside the heart that becomes muddy over time. If you want longevity, stick to clear contour and minimal interior work. After a year a strong outline preserves the silhouette and makes refreshes quick.
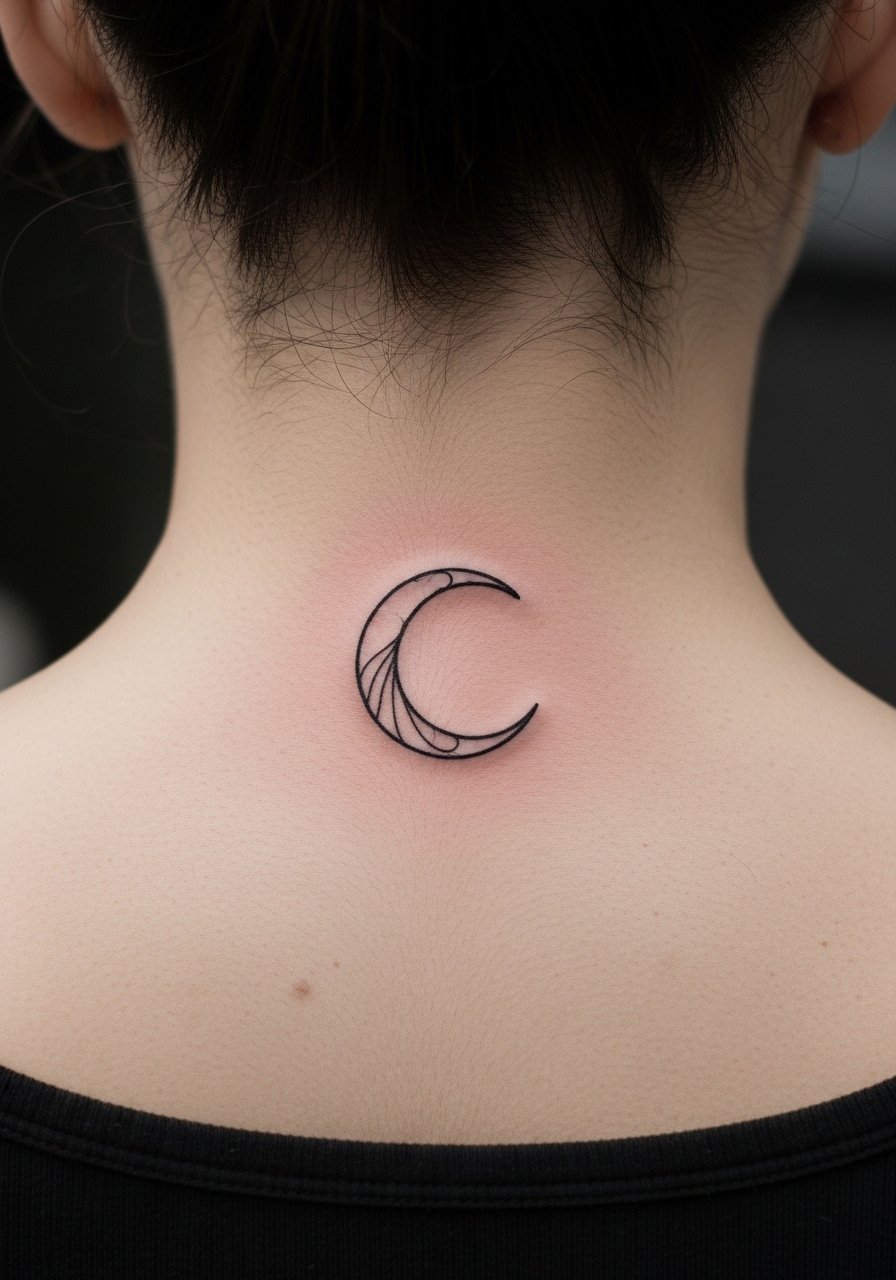
11. Micro Line-Art Moon on the Nape
The nape is a great hide-and-show spot for hair-up days. Line-art moons work well there because curved linework follows the neck contour. Session time is 20 to 30 minutes and pain is moderate. There is controversy about very fine crescents on the nape. One group thinks the area heals cleanly and holds fine line. The other group warns that constant friction from collars and hair causes early fading. Ask your artist how they recommend spacing and line weight to balance clarity and longevity.
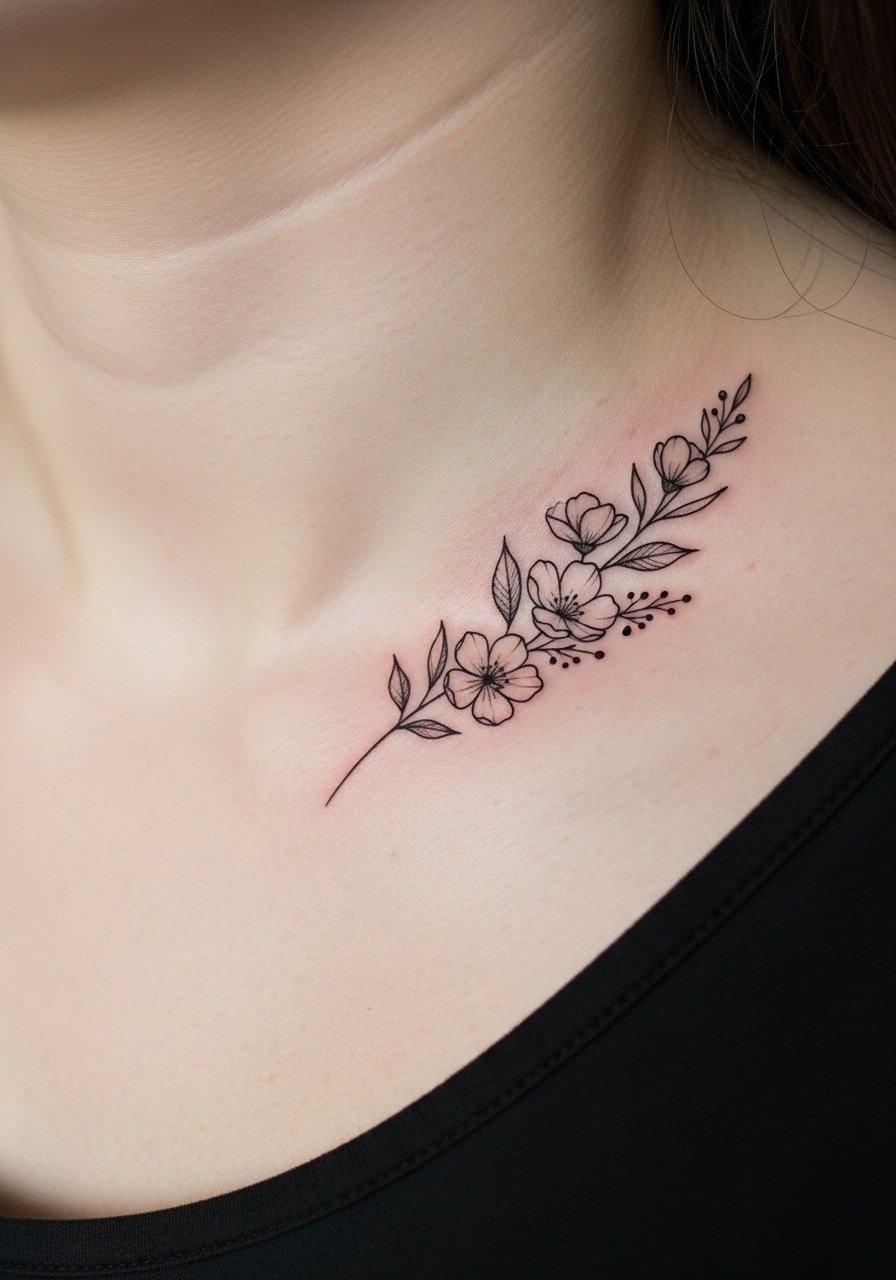
12. Delicate Floral on Collarbone or Ankle
Pick collarbone if you want the piece to read as a part of your bone structure. Choose ankle if you want more privacy and lower friction during daily routines. When you speak to an artist, ask for petal suggestions that rely on negative space rather than micro shading. Session time ranges from 20 to 40 minutes depending on detail and pain is moderate at the collarbone and lower at the ankle. A common error is requesting too many tiny leaves. Fifty percent of long-term retention comes from leaving space between marks so lines do not merge.
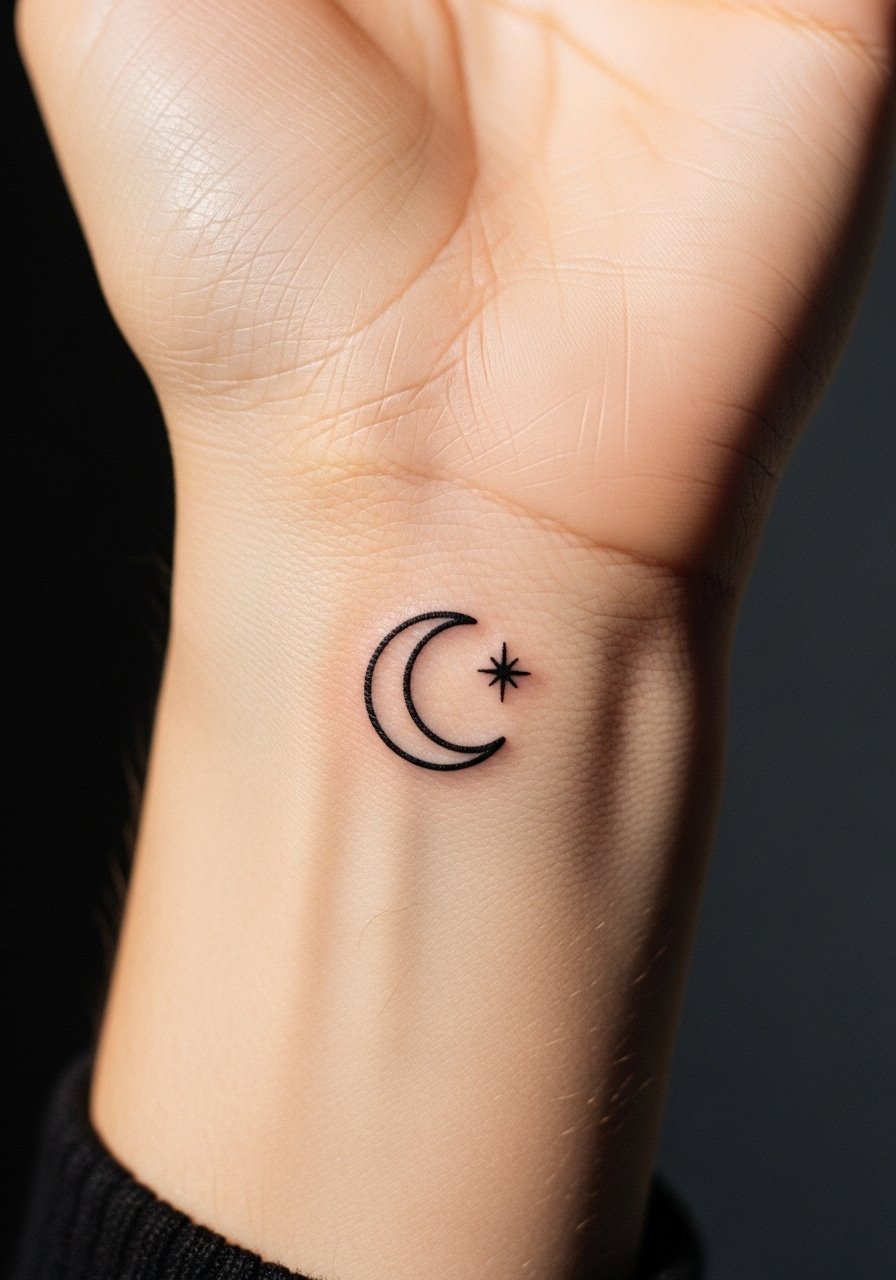
13. Micro Crescent and Star Behind the Wrist
The area behind the wrist reads easily when you gesture and tucks away with watches or bracelets. Ask for a crescent paired with a dot-star and request slightly thicker contour lines to prevent early feathering. The session takes 15 to 30 minutes and pain is moderate. People often pile on extra dots to fill space and end up with an indistinct cluster. At two years a clean crescent with a bold outline will still be identifiable and border touch-ups are straightforward.
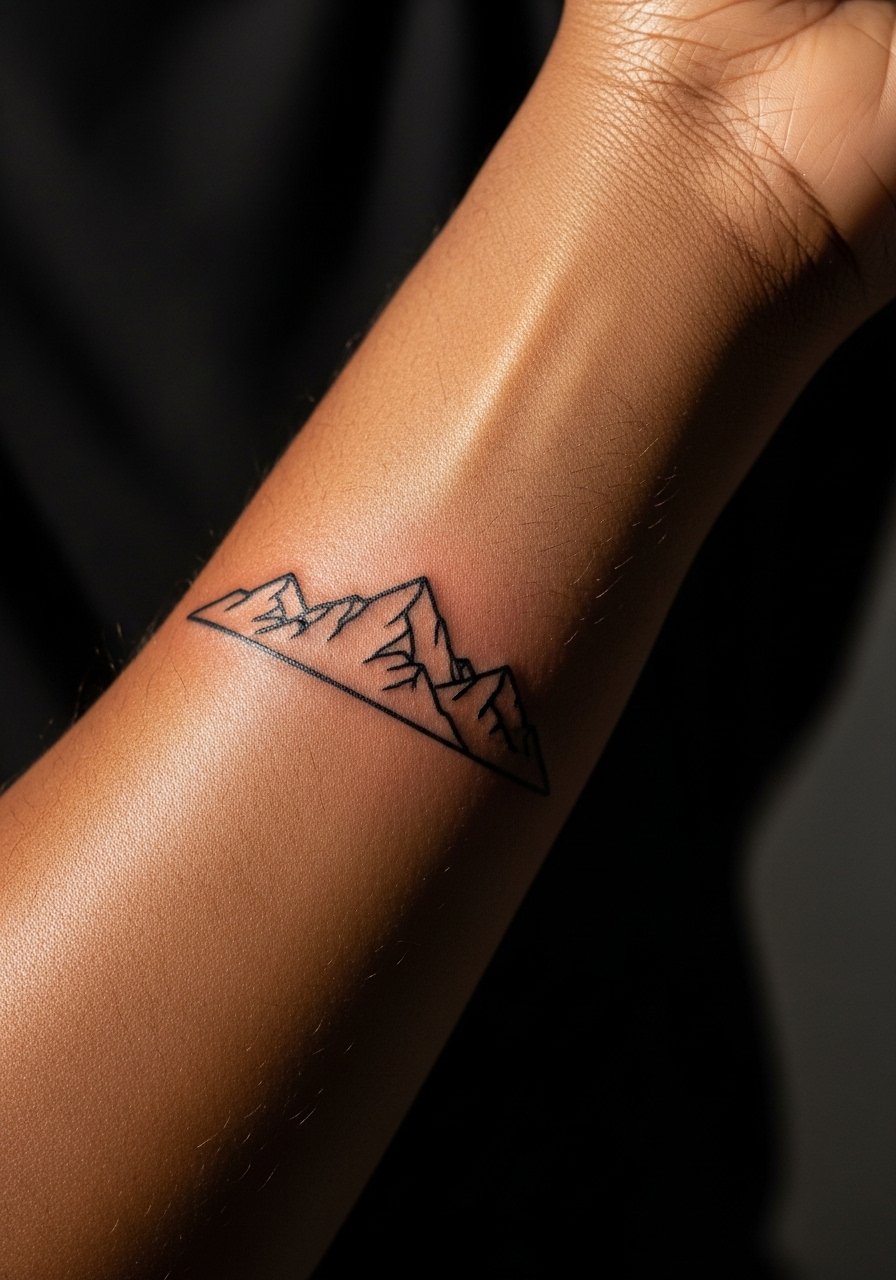
14. Minimalist Mountain Range on Inner Forearm
There is real visual impact in simplified silhouettes that follow forearm movement. Tell your artist you want a single continuous zigzag with one thicker peak and minimal internal shading. Forearm work typically takes 20 to 35 minutes and pain is low to moderate. A common mistake is asking for too many peaks which compress the negative space. After several years the silhouette approach keeps a readable form even as linework slightly softens. A small touch-up can restore crispness without redoing the whole piece.
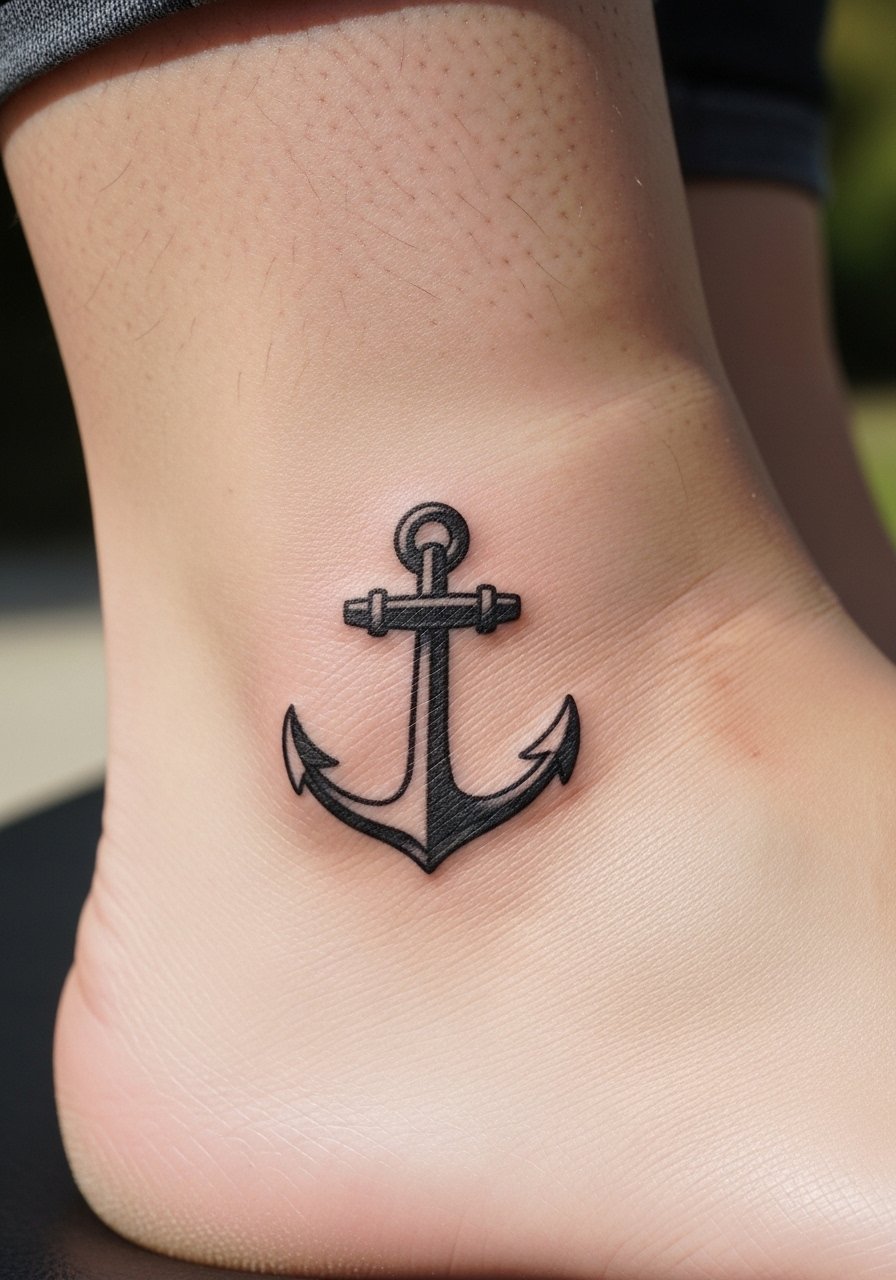
15. Tiny Anchor Near the Ankle
An ankle anchor works well if you want something nautical without committing to large sleeve work. When consulting, ask for a defined shank and a compact fluke so the symbol reads from a short distance. The ankle can be tender and takes about 15 to 30 minutes. People sometimes ask for micro cross-hatching that turns into grainy blotches as the skin stretches. Keep the anchor's outer lines confident and avoid dense interior texture. With proper spacing the anchor will remain distinct for years and any future touch-up is localized.
16. Single-Needle Linework Arrow on Inner Forearm
When you want directional imagery, an arrow follows the forearm naturally. Single-needle linework reads clean when the artist spaces the shaft and fletching slightly wider than you might think. The session is usually 20 minutes and pain is low to moderate. The mistake most people make is compressing feather details into a narrow strip. If done with proper spacing and a little heavier main line the arrow keeps shape and requires minimal maintenance. Expect a touch-up in two to four years depending on sun exposure.

17. Micro Script Name Along the Rib Edge
Rib-edge script reads as private and can be very personal. The ribs are one of the higher pain areas, often described as a 7 out of 10, and a short name takes 20 to 40 minutes. Ask for the exact name in the style you want and agree on letter spacing that avoids tight curls. One camp advises against fine script on ribs because skin movement causes blurring. The other camp says a slightly heavier line and wider letter spacing solves that. Decide which approach your artist uses before sitting down.

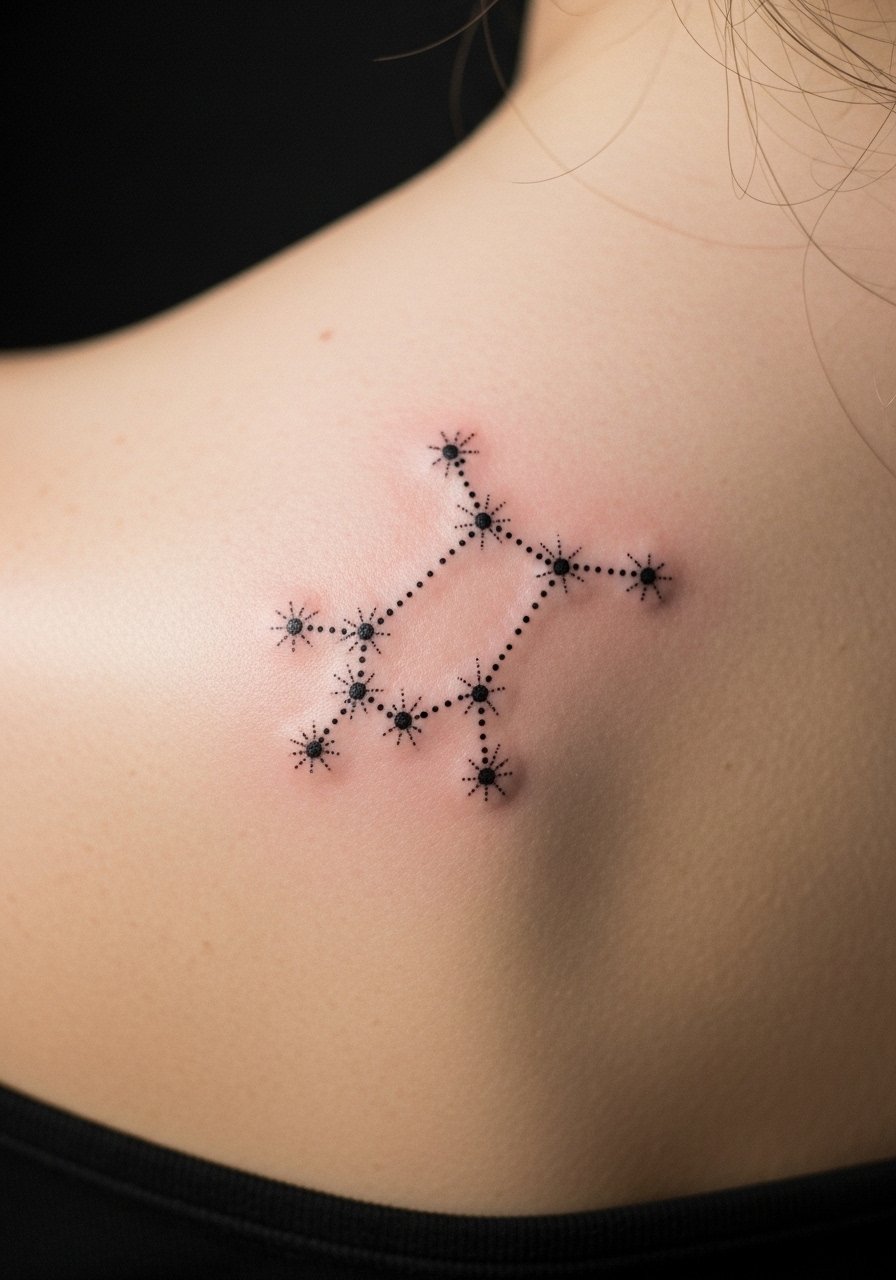
18. Dot Work Constellation on the Shoulder Blade
Dot work reads beautifully on flatter expanses like the shoulder blade because the texture sits in open skin without excessive stretching. Ask for constellation points with varying dot sizes and slightly larger connective dots to preserve the pattern. Session time ranges from 30 to 45 minutes and pain is moderate. A frequent error is insisting on micro-dots so tiny they vanish in months. Well-spaced dot work ages gracefully because it relies on contrast instead of hairlines. Touch-ups focus on a few anchor dots rather than the entire cluster.
19. Tiny Botanical Sprig on the Side of the Neck
Neck placements need consideration for career and comfort because visibility is higher. If you choose the side of the neck, ask for a sprig that follows the curve with an open stem and minimal leaf stipple. The area is sensitive and sessions are brief, typically 20 minutes. People often cram leafy detail into a small height and then regret the early blurring. A slightly bolder stem with airy leaves keeps the sprig legible at two years and simplifies future refreshes. Professional considerations apply so pick the exact spot after a candid conversation with your artist.

20. Micro Geometric Band on the Finger Base
A narrow geometric band at the base of the finger reads like jewelry but it changes with every wedding band you try. Base placements take about 15 minutes and the pain is noticeable because of thin tissue. Ask for thicker lines and slightly larger pattern repeats so the geometry does not collapse into a single smudge. The common mistake is matching jewelry sized patterns into a 0.2-inch band. With confident linework the band may need a touch-up every one to three years. Consider how daily hand use will affect long-term retention.

21. Micro-Realism Eye on the Ankle
Micro-realism is possible if you accept simplified detail at small scale. For an ankle eye, ask for clear pupil contrast and light lash suggestion rather than photoreal lashes. The ankle has low to moderate pain and sessions run 30 to 45 minutes depending on shading. A common error is requesting extreme realism in a 0.5-inch area which often reads as noise after healing. When the focal contrasts are preserved, the motif stays recognizable at two years, and targeted touch-ups can restore darks without reworking the whole piece.

22. Tiny Zodiac Glyph on the Back of the Neck
Zodiac glyphs are compact and symbolic without needing ornate detail. Request the exact glyph, for example "Scorpio glyph", in a clean minimalist style so the symbol reads at a glance. The back of the neck heals faster than ribs and the session is brief, around 15 to 20 minutes. People often ask for extra curl that ends up blurring. Keep the glyph simple and slightly thicker than you think. It will age predictably and a single-line touch-up restores clarity if lines soften.

23. Micro Mandala Petal on the Inner Wrist
Mandala fragments work better than full discs when you want micro scale detail. Ask for one petal section with stipple shading and open negative space. Inner wrist work can be sensitive and takes 20 to 35 minutes. The mistake is packing a full mandala into a tiny circle. A petal fragment preserves the mandala aesthetic and reduces blowout risk by spacing lines. At three years the pattern reads as part of the wrist rather than a muddled dot cluster. Consider how it pairs with other wrist markings.

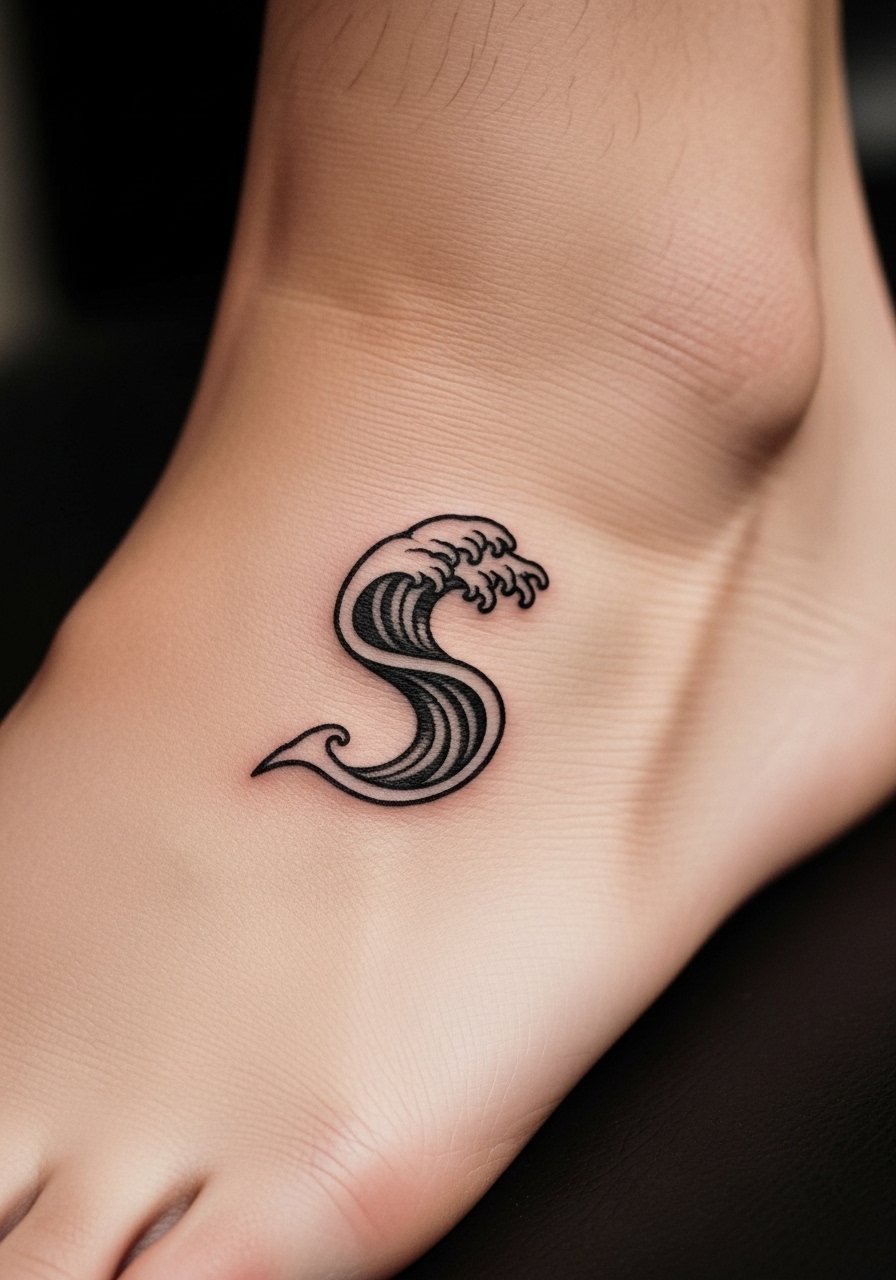
24. Tiny Wave on the Side of the Foot
Foot placements are tricky because of friction and shoes, but a single wave can last if placed on the side rather than the sole. Ask for a clean S-shape with slightly thicker crest lines to maintain contrast. The session time is typically 15 to 25 minutes and pain ranges from moderate to high due to thin tissue. People often choose the top of the foot which wears faster. A side-of-foot wave preserves linework longer and, when needed, a focused touch-up restores any areas that faded from shoe rub.
25. Micro Anchor Between the Thumb and Index
The webbed area between thumb and index is an intimate spot that reads well and disappears when you curl your hand. Ask for a compact anchor silhouette with clear negative space inside the shank. Sessions are quick, usually under 20 minutes, and pain is sharp because the skin is thin. A frequent mistake is asking for intricate interior shading in that tiny area which becomes indistinct. Keep the anchor bold enough to resist early feathering and expect a touch-up if you use your hands heavily for work.

Tattoo Prep and Aftercare Essentials
Below are practical items to keep in your bag before and after a micro tattoo. I used similar items after sittings at three different shops, and they handled common issues like dryness, light scabbing, and accidental friction. Each link searches for product types on Amazon so you can compare options and read labels.
Fragrance-free moisturizing balm for tattoos. Use this after the initial bandage is removed to keep ink supple and to reduce tight scabs.
Gentle, fragrance-free foaming cleanser. Clean with a mild foam twice daily during the first week to avoid residue.
Medical-grade second skin bandage, 6-inch roll. Useful for the first 24 hours if your artist does not supply a protective film.
Lightweight fragrance-free balm in travel size. Good for top-ups when you are out and about.
Silicone scar sheet or thin silicone patch. Helpful long term if you notice raised or thickened areas after healing.
Soft breathable covering for sleep, 2-pack. Protects tattoos from sheets during early healing.
Sunscreen stick with high SPF for healed tattoos. Once healed, daily sun protection preserves saturation and slows fading.
Every tattoo is different. Always follow your artist's specific aftercare instructions. Consult a dermatologist if you have skin concerns or unusual healing issues.
Frequently Asked Questions
Q: Will fine line script on the rib blur faster than on the forearm?
A: It depends on skin movement and how thick the lines are. Ribs move more with breathing and clothing, which increases the chance of early blurring if the line is hair-thin. Ask your artist to space letters slightly wider and use a touch-up plan if you choose ribs.
Q: How painful is behind-the-ear ink compared with finger tattoos?
A: Both can be sharp, but they feel different. Behind the ear is thin and close to bone so the sensation is brief and concentrated. Fingers are bony with constant use so the pain can be intense and healing is slower because of frequent washing. Plan around activity and local sensitivity.
Q: Can a micro sunflower hold inner petal detail at 0.6 inches?
A: You can get inner texture, but avoid photographic expectations. Ask for a stipple center and simplified petal edges. That approach preserves the idea of detail without relying on hairlines that fade into a blurred mass.
Q: What aftercare product should I keep on hand for accidental dryness?
A: A fragrance-free moisturizing balm is the most practical go-to. Use a small amount after washing and dry-scabbing has resolved. You can compare options in the balm search link in the aftercare list to find formulations that suit your skin.
Q: Do micro tattoos on fingers affect job prospects more than collarbone pieces?
A: Visibility matters. Finger tattoos are visible in most interactions and some workplaces still have policies that notice them first. Collarbone work can be shown or covered with clothing depending on the situation. Think through how often you want to reveal the ink before choosing the placement.
