
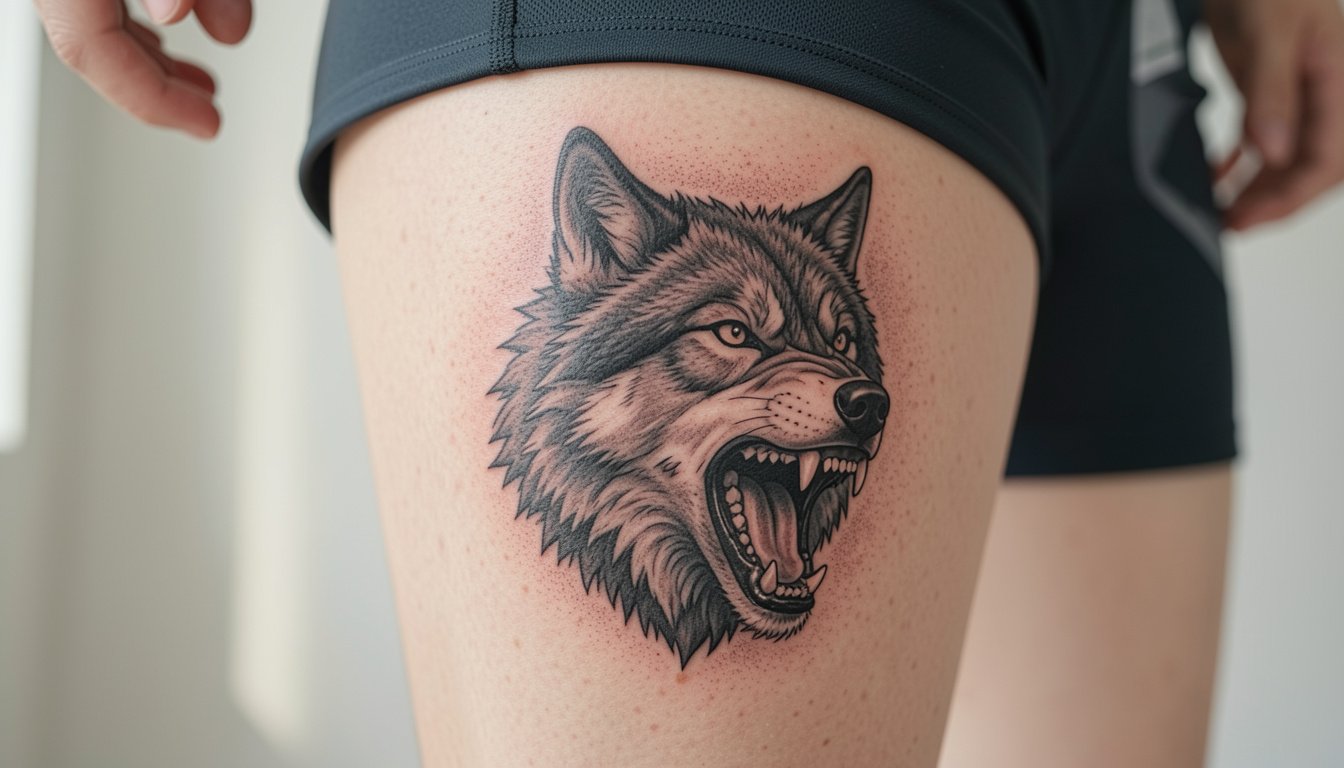
Leg sleeves on the leg read differently than arm sleeves. Thick black shapes and strong negative space keep a design legible as muscles shift and the skin stretches. Tiny filigree that looks delicate in the chair often loses presence after a year. Below are bold, leg-focused ideas that plan for movement, longevity, and how to actually wear them so they get noticed the right way.
1. Geometric Calf Wrap With Negative Space
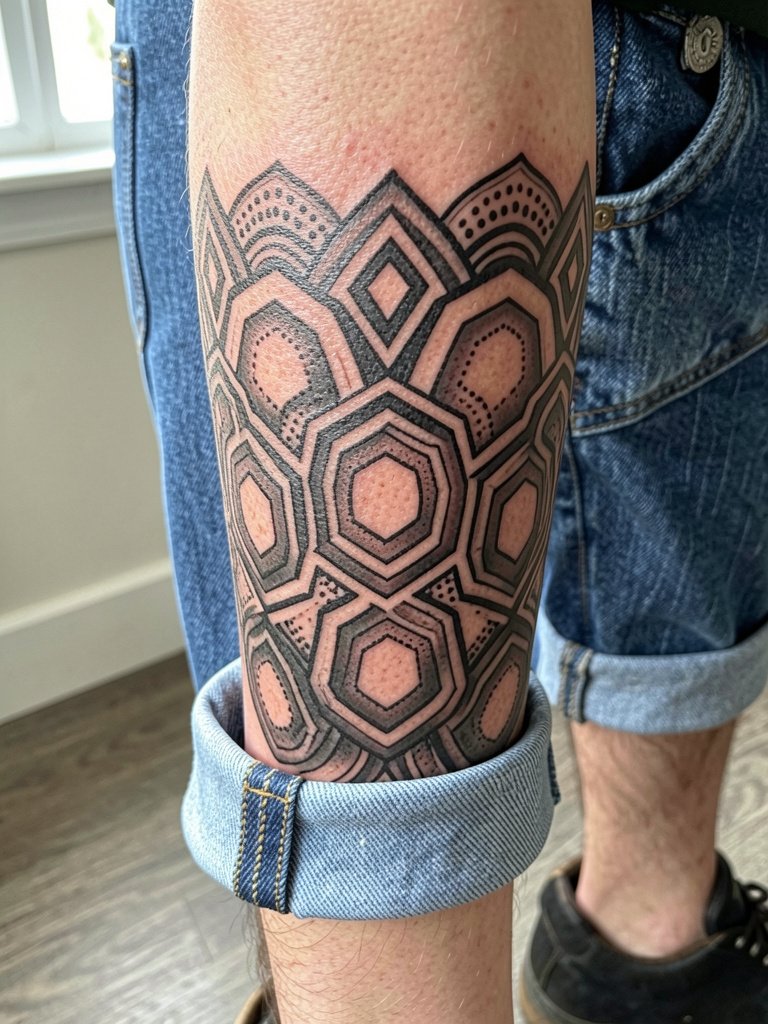
A geometric wrap gives clean rhythm on the calf where muscles expand. I recommend wider linework than a forearm geometric piece so the shapes keep separation as the calf moves. Bring scale references in your consultation showing the pattern at three and five inches so the artist can mock up spacing. Small dot work ages into texture, not blur, when dots sit slightly apart. For the session, wear loose drawstring linen shorts so the artist can expose the calf without tugging at fabric.
2. Blackwork Tribal Sleeve Around the Lower Leg
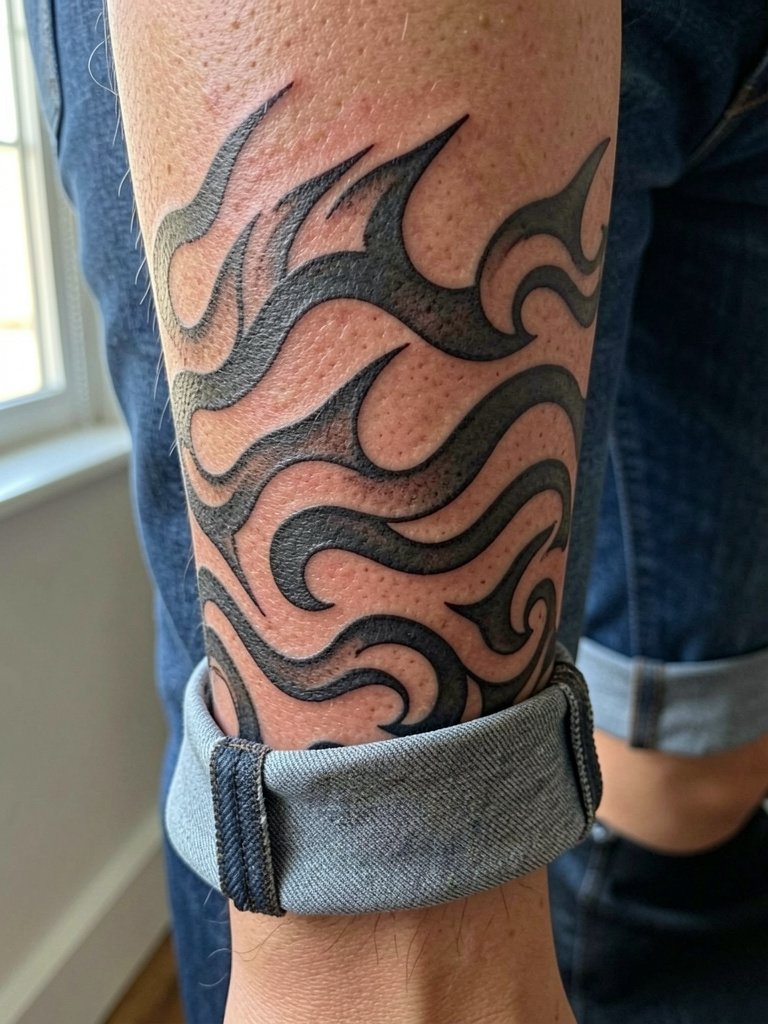
Blackwork reads brilliantly on lower legs because saturation masks early fading. Expect longer single sessions for large solid fills and a heavier thud than linework as the artist packs ink. The main mistake is trying to force extremely thin negative-space channels into a full black panel. If you want contrast, ask for staged gaps intentionally spaced so the skin shows through after five years. For show-off outfits, pair this with rolled cuff denim shorts so the shapes present clean edges when you walk.
3. Neo-Traditional Stag on Outer Thigh
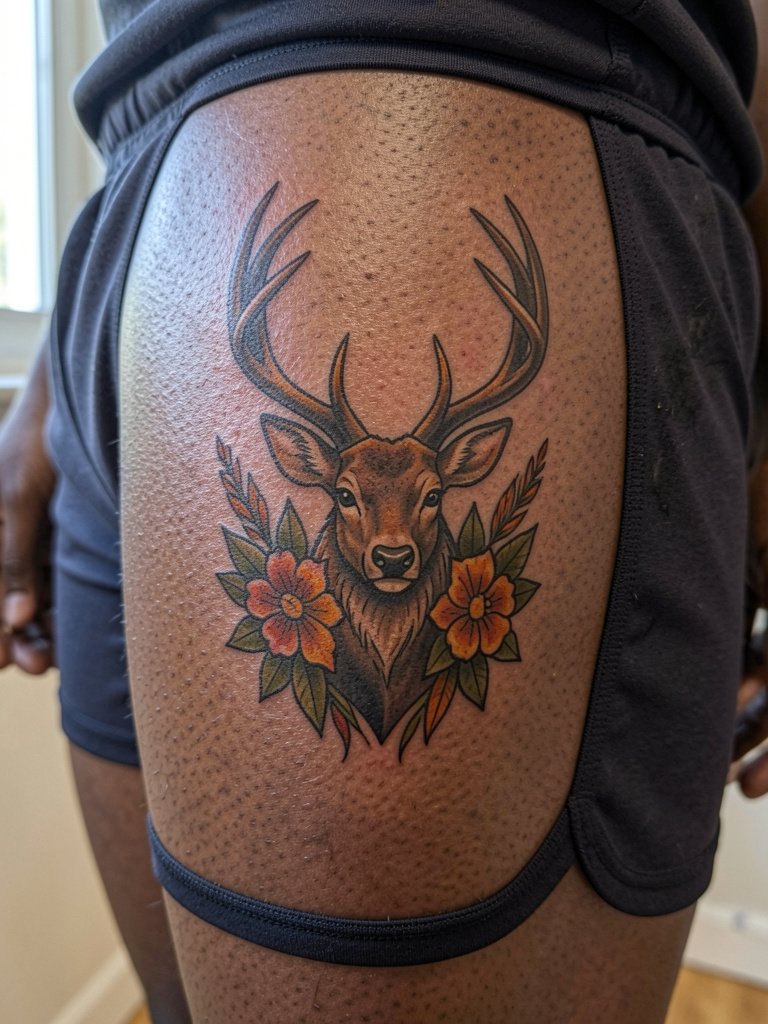
The thigh gives room for neo-traditional motifs and color without losing clarity. A common error is cramming tiny colored details into the antlers. Ask for color blocks with room to breathe so saturation holds up. Expect a multi-hour first session with breaks for color layering. Over two years color may soften but the bold outlines keep the composition readable. When you want to show off, a mid-length swim short that hits above the tattoo makes the piece visible without contorting the skin.
4. Black and Grey Mountain Landscape Along the Shin
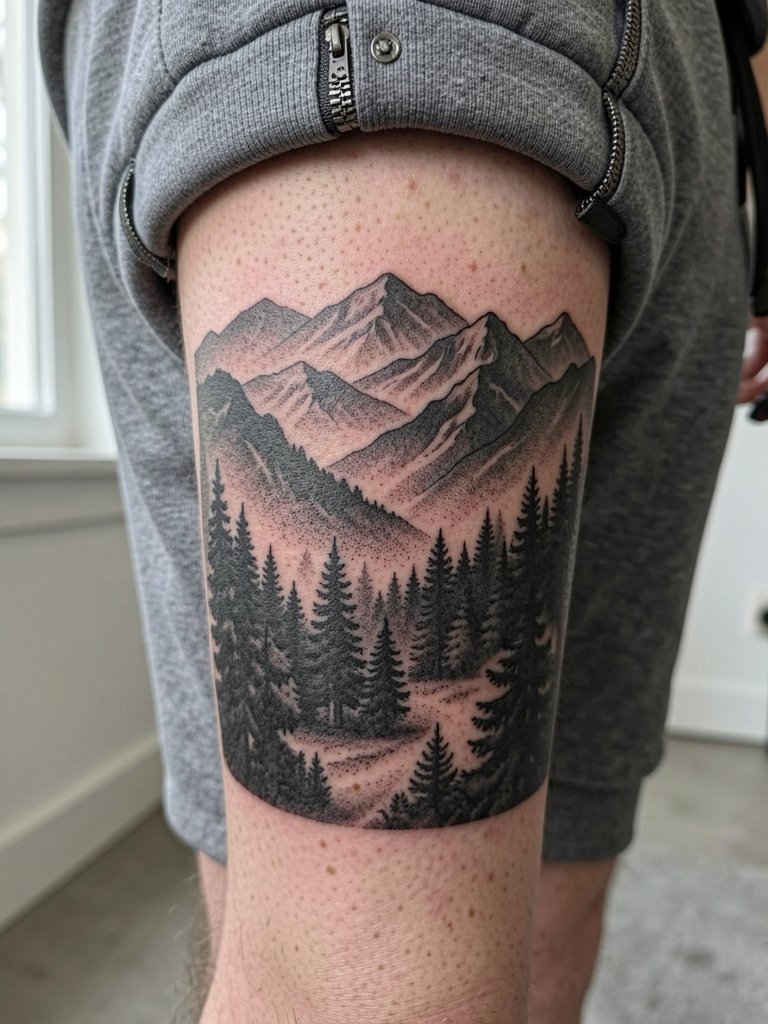
Shin landscapes can be dramatic when executed with layered contrast and clean midtones. Artists split on fine detail in this zone. One camp argues that the shin's thin skin and motion blur fine-line clouds within two years. The other camp insists that with solid midtone planes and slightly bolder linework, the scenery holds and still reads at year five. Avoid asking for micro hairline trees unless you accept touch-ups in a couple of years. Session pain on the shin is higher, expect short bursts and more breaks.
5. Biomechanical Calf Panel With Metallic Highlights
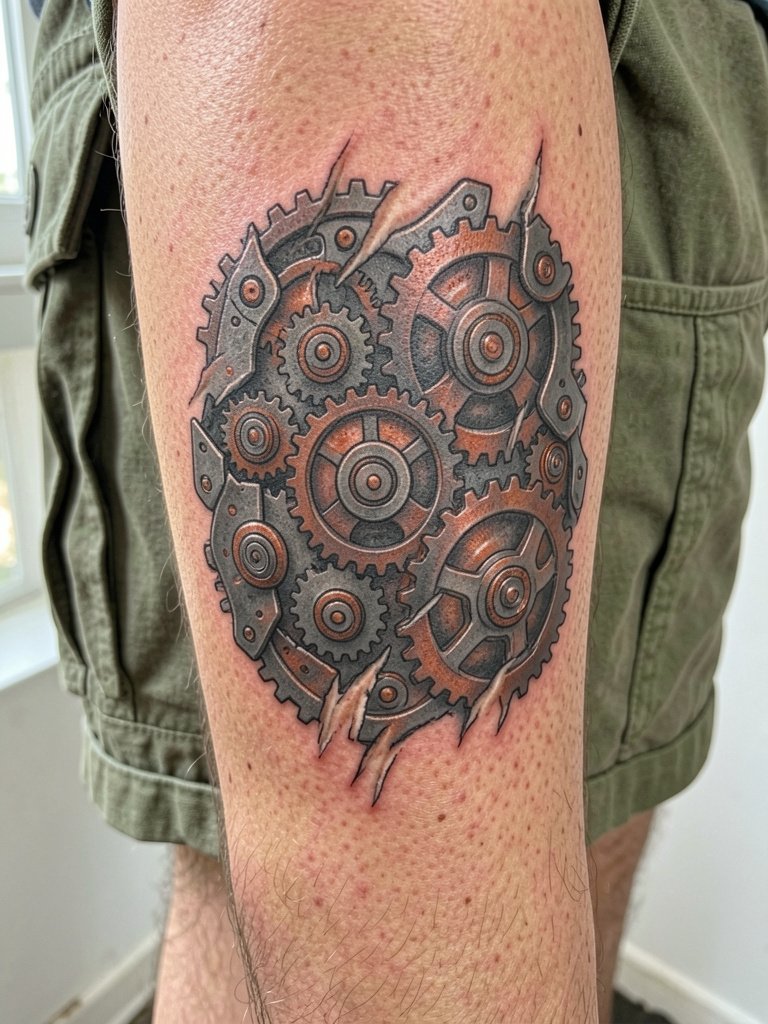
Biomech works well on the calf where roundness helps convey depth. The mistake I see is asking for tiny gears with micro shadowing that blur into a blot with movement. Request broad plate separations and high-contrast shadows so the image keeps its machine-like reading as the muscle flexes. The session feels like multiple deep shading passes rather than delicate linework. For appointments wear zip-off cargo shorts so you can remove or replace them without tugging on the area.
6. Japanese-Inspired Thigh Piece With Waves and Koi
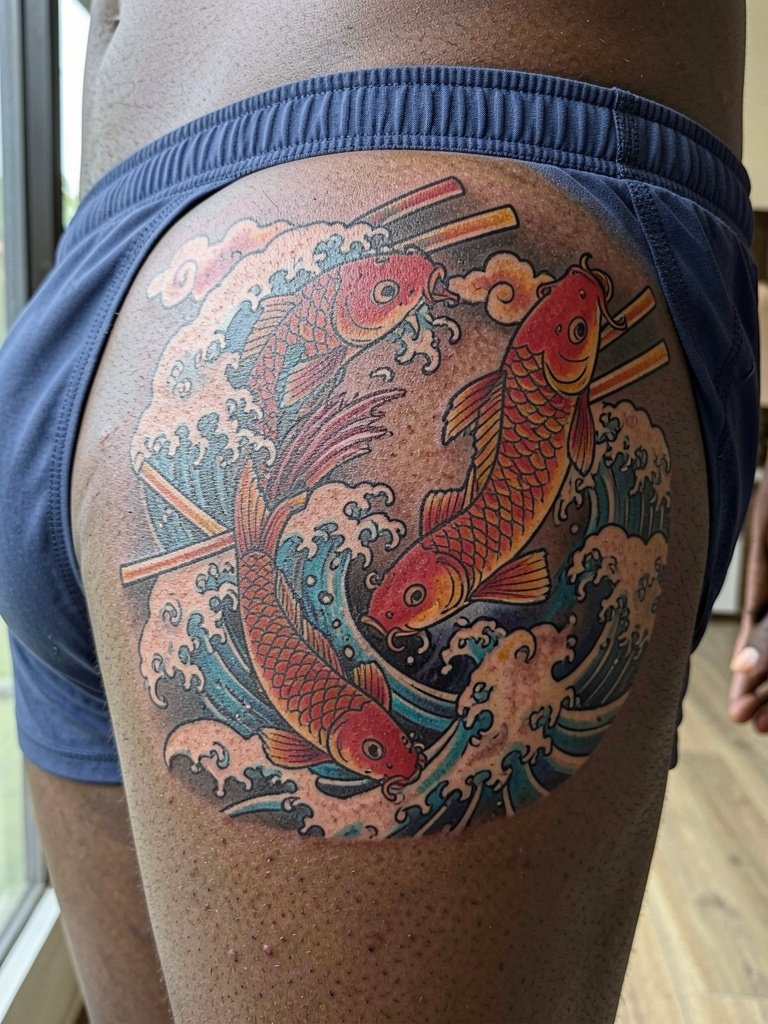
Large traditional Japanese forms hold up because of their scale and use of flat color. Cultural origin matters here. If you choose this route, show respect for motif placement and meaning during the consultation. The common mistake is copying a small flash and expecting the same impact scaled to a thigh. Talk about session pacing so colors layer properly and saturation stays even. For showing the work, pick swim trunks with a higher cut that leave the outer thigh visible without stretching the skin.
Session Day Picks
The first six ideas above cover calves and thighs with different session needs. These items make the chair day smoother and the first week less fussy.
-
Stencil transfer paper kit. Lets you test how a wrap or thigh panel will flow around muscle before actual needle time, which is vital for the geometric and Japanese pieces above.
-
Topical numbing cream. Applied per label before a long thigh or shin session reduces sharp discomfort during deep shading passes.
-
Thin protective film roll. Useful to cover ankle or calf work that rubs against socks and shoes in the first 48 hours.
-
Fragrance-free body wash. Gentle cleansing supports early healing for larger pieces that span the thigh and calf.
-
Aquaphor healing ointment. Thin layers for the initial days keep heavy blackwork saturated without clogging delicate needle channels.
7. Half-Leg Patchwork Sleeve, Curated Over Years
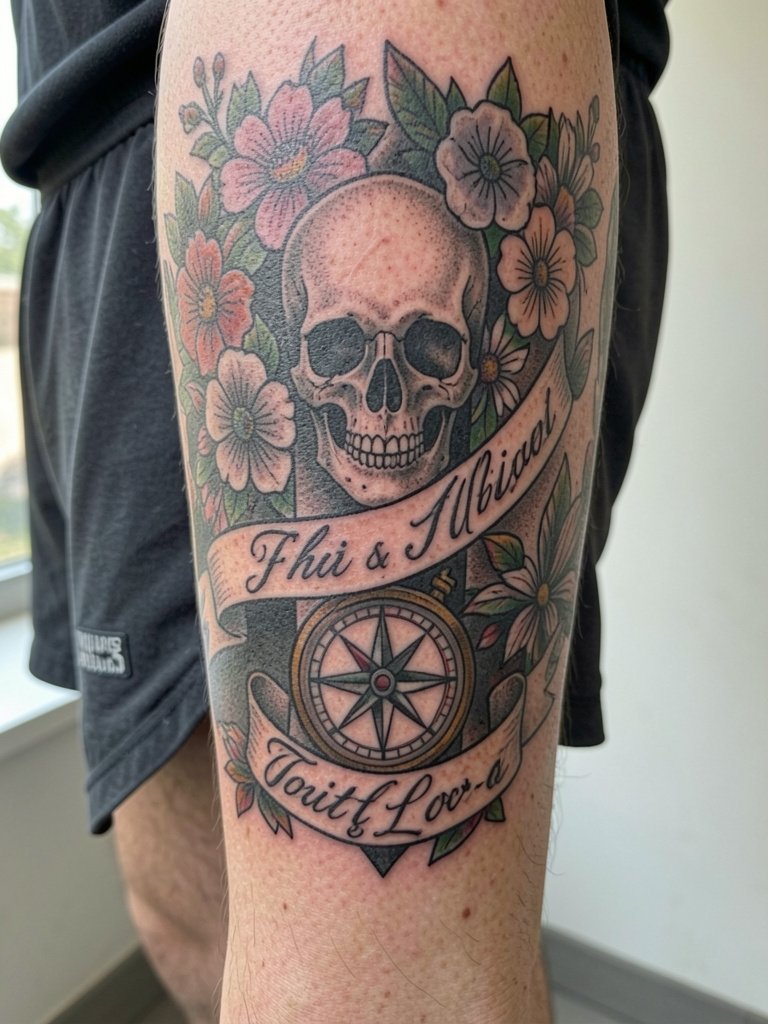
Patchwork sleeves let you build over time and are forgiving when tastes change. The practical mistake is skipping connective filler and ending up with floating pieces. Plan connector motifs and a palette so the calf skull and thigh compass read as one limb composition. For sessions bring layered references and ask the artist to show how a filler band will knit the pieces together. When you want to style it, a mid-rise chino short presents the patchwork without squeezing the areas.
8. Single-Needle Script Along the Side of the Calf
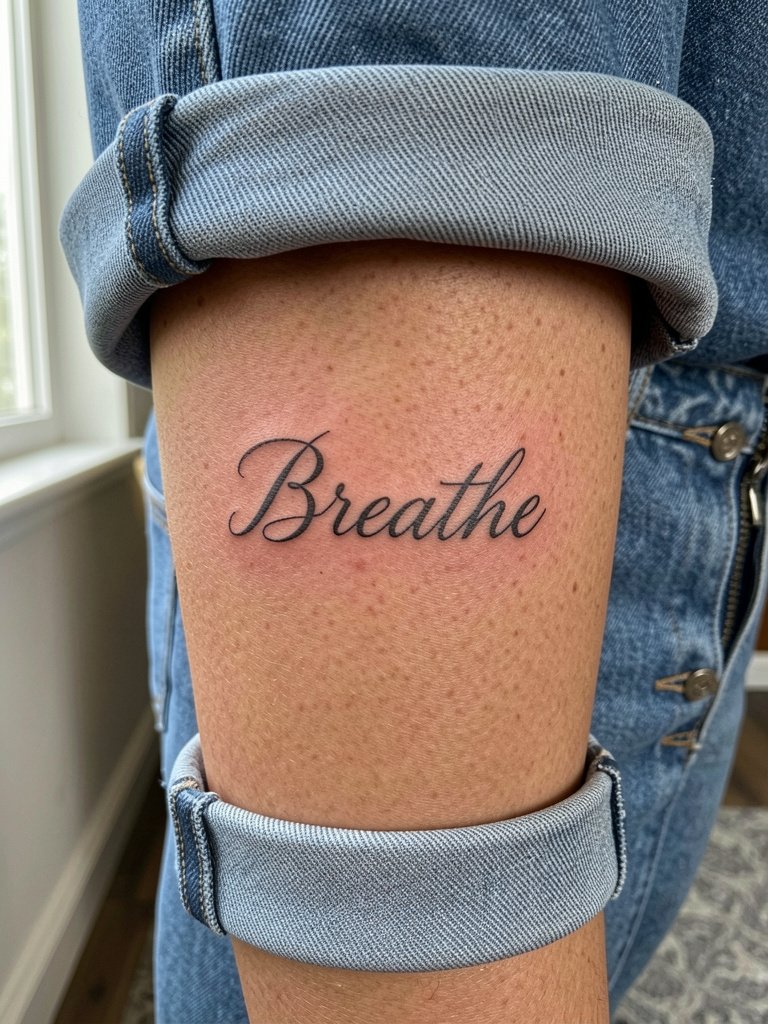
Single-needle script has fragile longevity on the calf if done too small. A common mistake is demanding the thinnest possible stroke and then expecting crispness at year three. If you want this look, ask for a hairline weight that is intentionally a little bolder than the reference so the letters do not collapse into one another. The touch-up timeline for script like this is usually at two to three years. For session comfort wear shorts with an elastic waist so nothing presses on the calf when you sit.
9. Compass and Map Band for the Outer Thigh
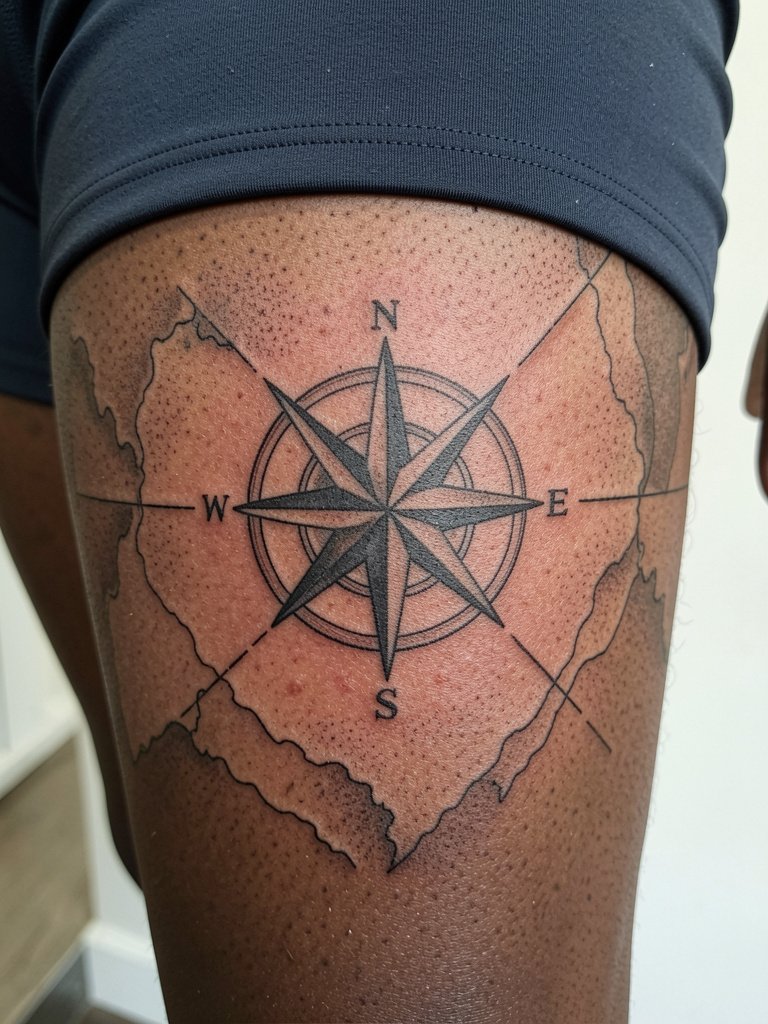
Thigh bands with a compass read like a belt that does not move with clothing. The biggest mistake is placing the band where waistband friction will speed fading. Sit with your artist and mark the band on your thigh in standing and seated positions so the line stays on skin that moves predictably. The session will involve precise stencil placement and a steady hand. Pair this with athletic shorts with a 7-inch inseam to show the compass on casual days.
10. Skulls and Stonework Flowing Over the Knee Area
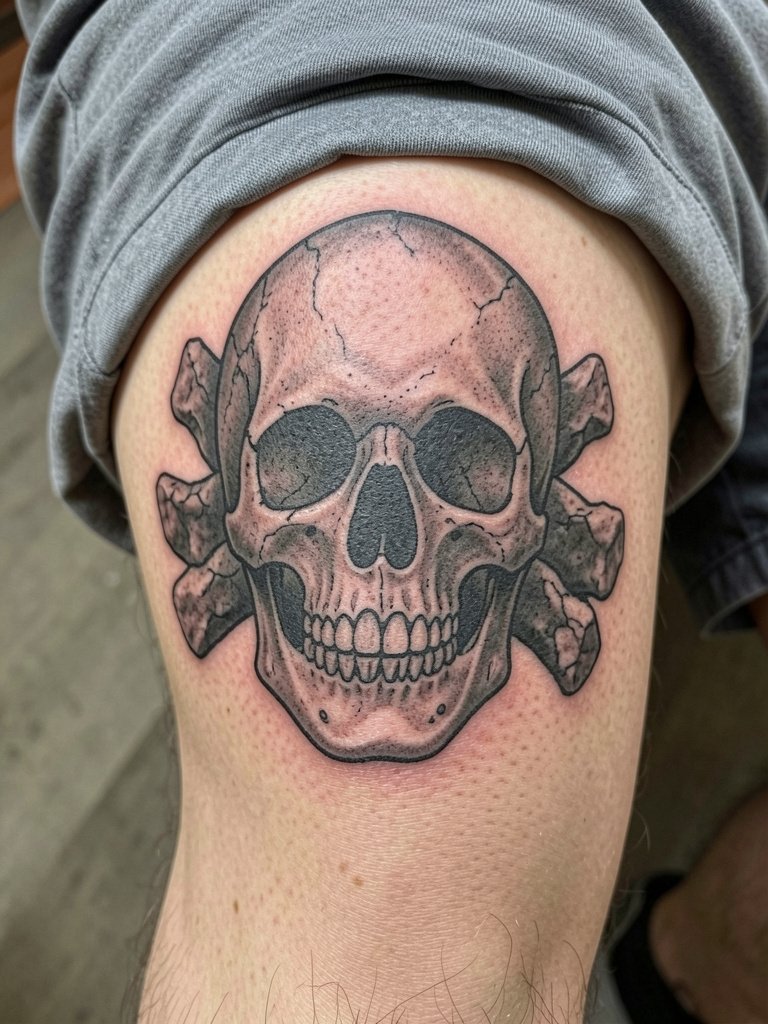
Knee tattoos are controversial among artists. One camp says heavy shading directly over the joint leads to faster fading and distortion because of constant flexion and creasing. The other camp maintains that when you plan panels around the knee with dedicated negative-space pivots, the piece can read well for many years. If you choose this route, avoid concentrated black patches on the kneecap itself. Expect shorter sitting intervals and a few extra touch-ups later.
11. Realistic Animal Portrait Running Up the Calf
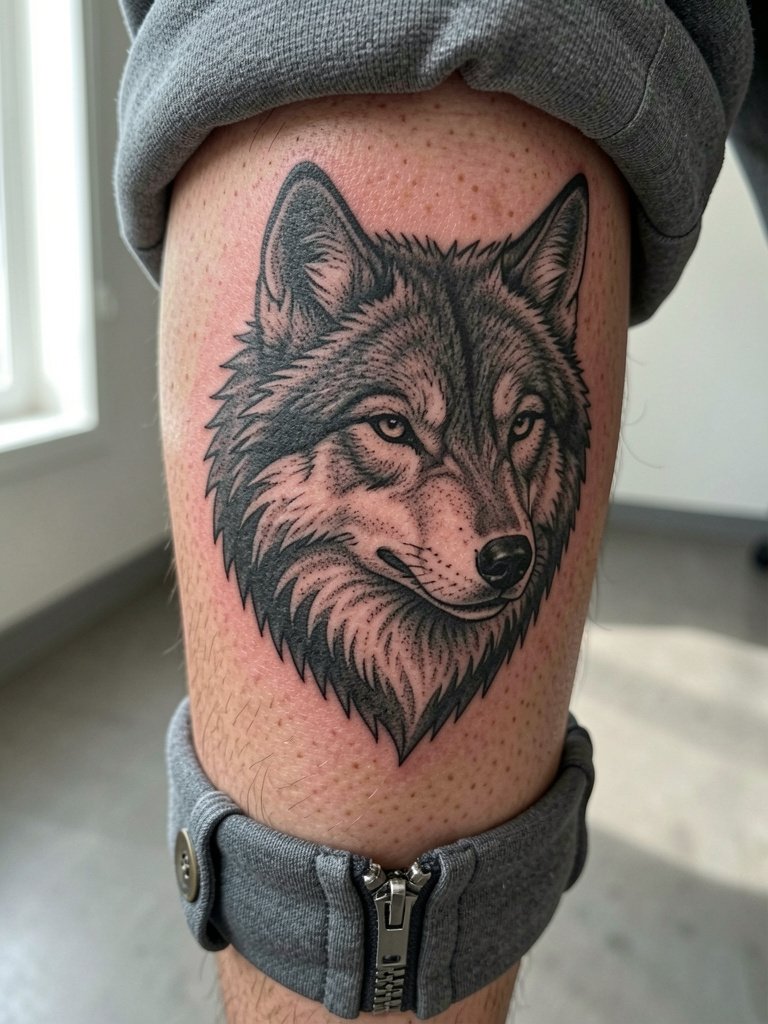
Realistic animal work on the calf benefits from the rounded canvas. A poor choice is tiny detailed whiskers and microtexture that will soften into a smudge as the calf shifts. Ask for defined focal points such as the eyes and muzzle with supportive midtone planes so the portrait keeps a strong read. Sessions involve long shading passes and may need a dedicated second day for saturation. For photos wear a kneelength chino short that shows the calf curve.
12. Floral Blackwork That Frames the Back of the Leg
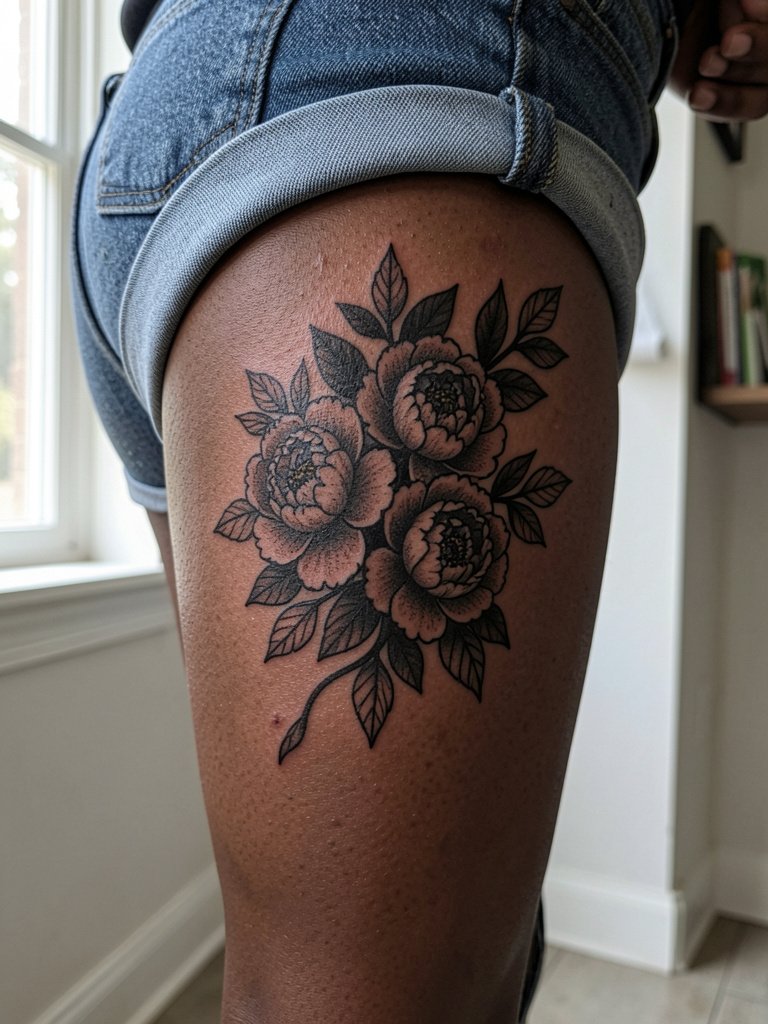
Posterior calf floral bands photograph well and hide patchy fading because of the volume of black. A frequent error is using too many tiny veins of linework that get lost near the ankle. Discuss clear petal silhouettes during the consult so each bloom remains separate over time. Expect a usual touch-up window at two to three years for large black blocks. When dressing, a low-rise cuffed jean that exposes the back calf keeps the floral framing visible.
13. Minimalist Arrow and Chevron Stack Along the Shin
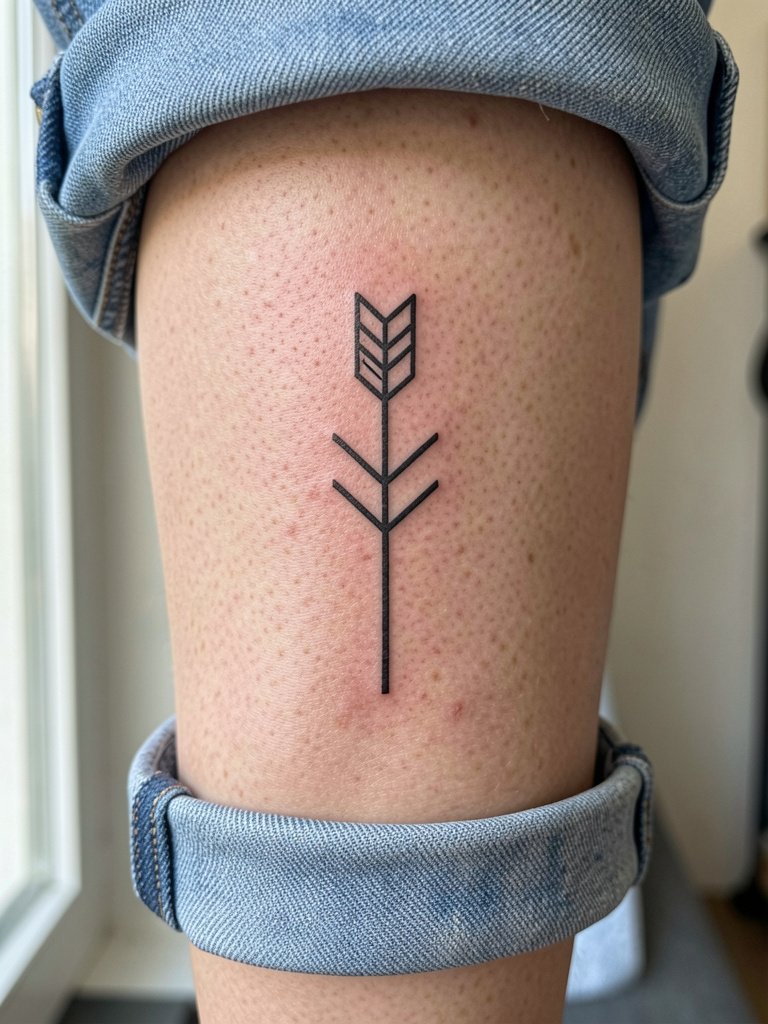
Minimal stacks can look crisp but need breathing room. The mistake is placing too many chevrons in a narrow column. Ask the artist to space elements for at least five years of leg movement. The shin will show detail well at six months but finer points may need redefinition at three years. For sessions wear shorts with a drawstring waist that do not cinch the leg when you shift positions.
14. Ornamental Knee Guard That Blends Into Thigh and Calf Panels
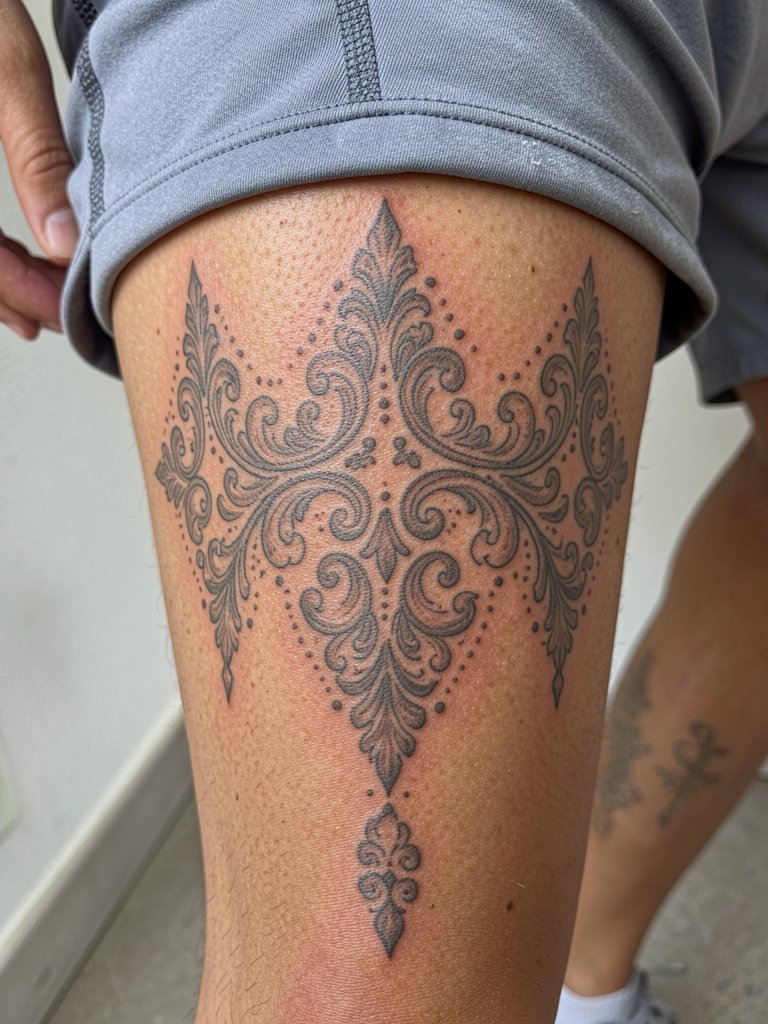
A decorative knee guard works when you plan pivots that avoid compressing the joint. I have seen guards fail when artists place dense dot fields right on creases. Ask for filigree that uses negative space to maintain flow and prevent heavy saturation at flex points. Sessions tend to be two-stage so the artist can map how the ornament sits when you are standing and seated. Wear comfortable shorts with an elastic waistband on the day so the artist can access both thigh and calf without readjusting clothing.
15. Color Pop Rose Cluster on the Outer Calf
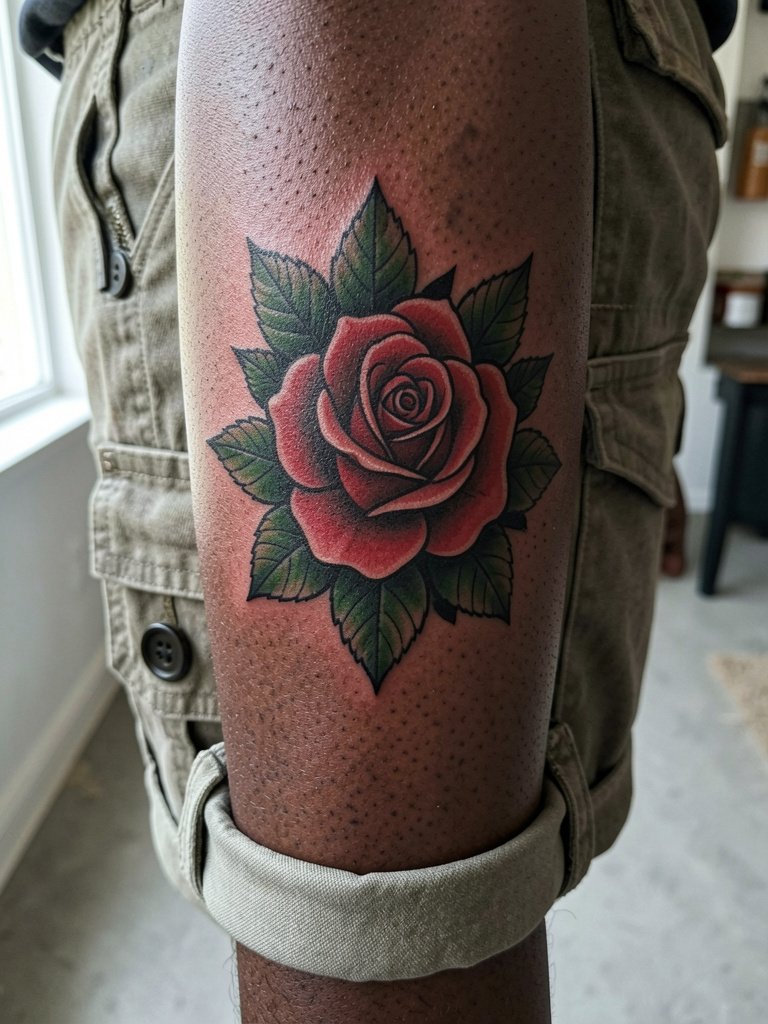
Color on calves can pop when artists layer saturation correctly. A common error is expecting neon-level brightness from one pass. Ask for staged color layering and a planned touch-up to lock in deep reds and greens. Expect color shift between six months and two years with warmth changes, but heavy outlines keep contrast. For show-off looks pick shorts with structured hems that frame the cluster without compressing the skin.
16. Sacred Geometry Thigh Panel For a Unified Look
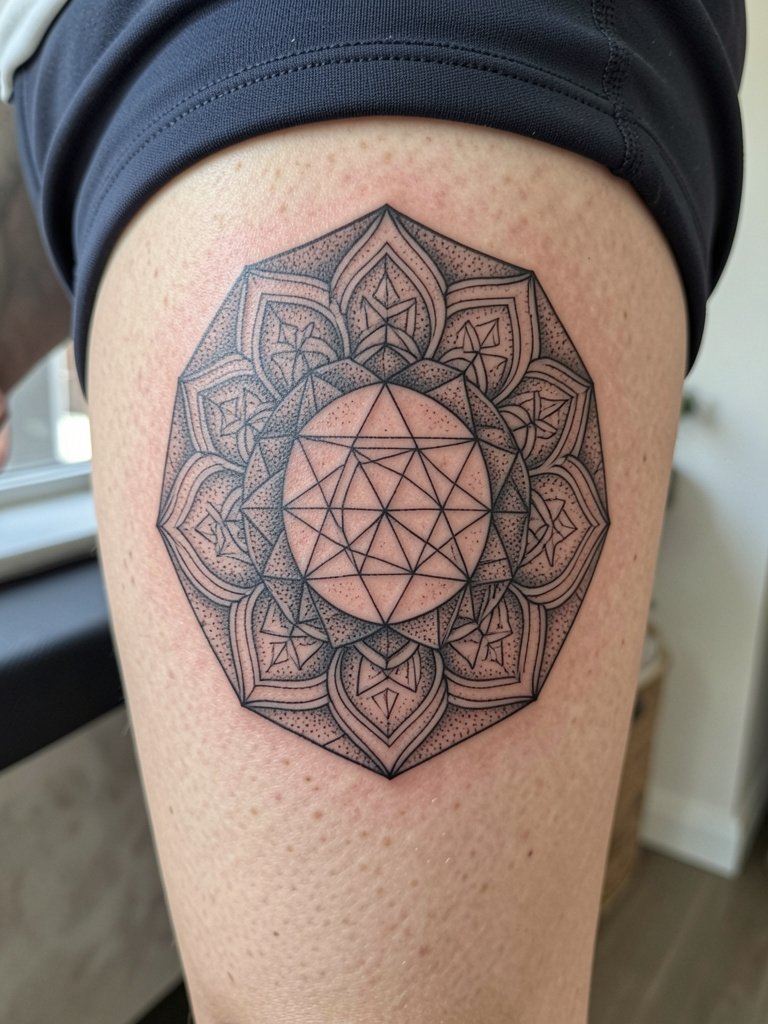
Thigh geometry reads best when the mandala centers sit on the broad flesh of the thigh. The mistake is centering a mandala too low near the groin where movement and clothing wear hurt detail. Specify placement with the artist while standing and seated. Stipple transitions age into texture rather than blur when dots are not packed too tightly. For the session wear flexible shorts so the artist can reposition the leg without changing your posture.
17. Map Coordinates Band Around Upper Thigh
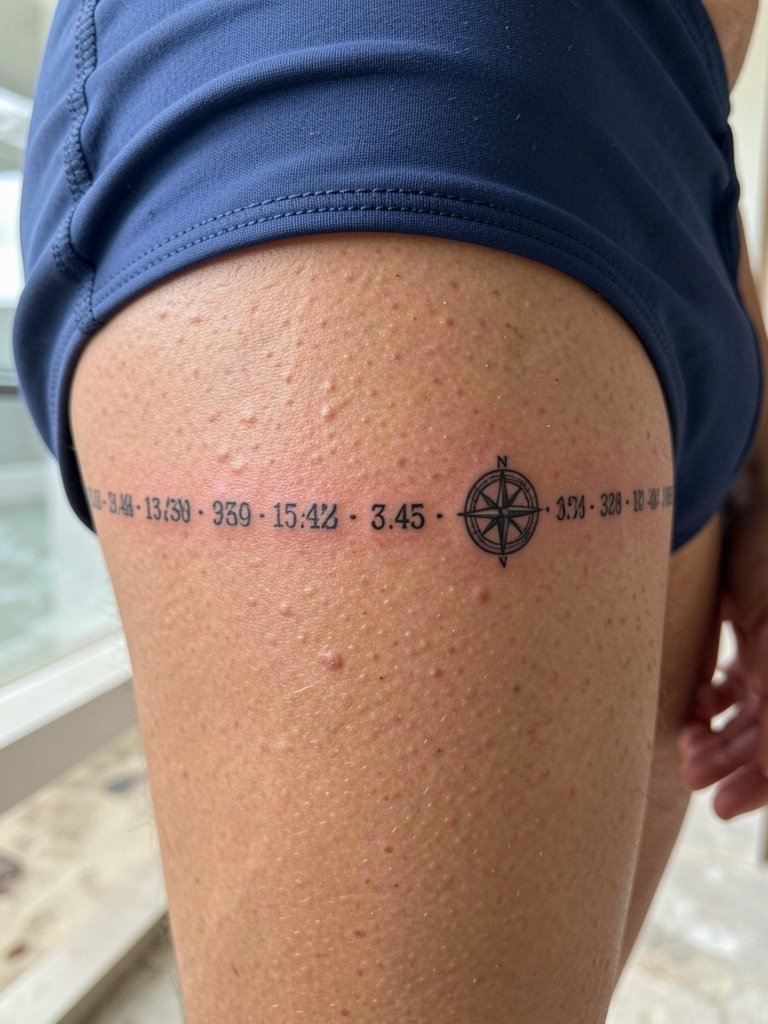
Upper thigh bands are discreet and easy to conceal. The main risk is choosing type so small the numbers knit together after a few years. Request a slightly larger point size and a serif that holds up in tight curves. The session time is usually short for a band but allow for careful stencil checking in both standing and seated positions. For showing the band in casual settings try mid-thigh swim trunks that expose the upper thigh cleanly.
18. Negative Space Silhouette of a Forest Climbing the Calf
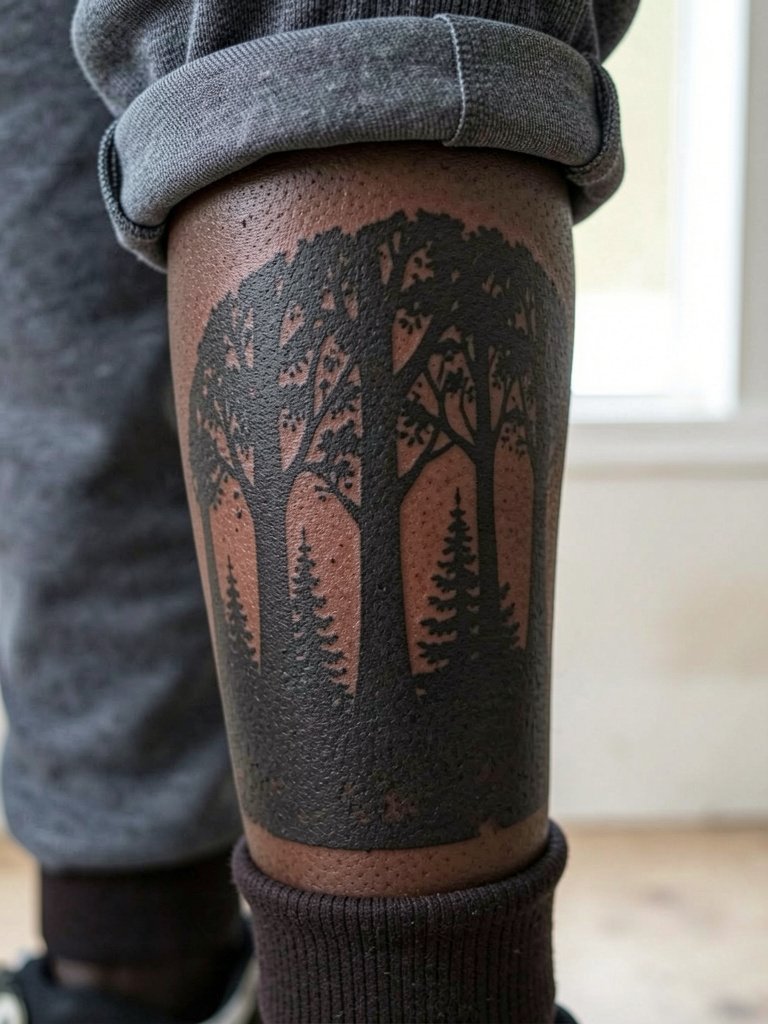
Negative-space forest pieces depend on strong black blocks to define trees. The error is using thin black ribbons that fail to support the silhouette. Ask for intentional block sizes and a mock stencil to check leg movement against the negative zones. The piece tends to look dramatic even after several years because the silhouette resists blur better than tiny branches. For the session pick shorts with a wide elastic band so nothing rubs the ink afterwards.
19. Portrait Band Around the Lower Thigh
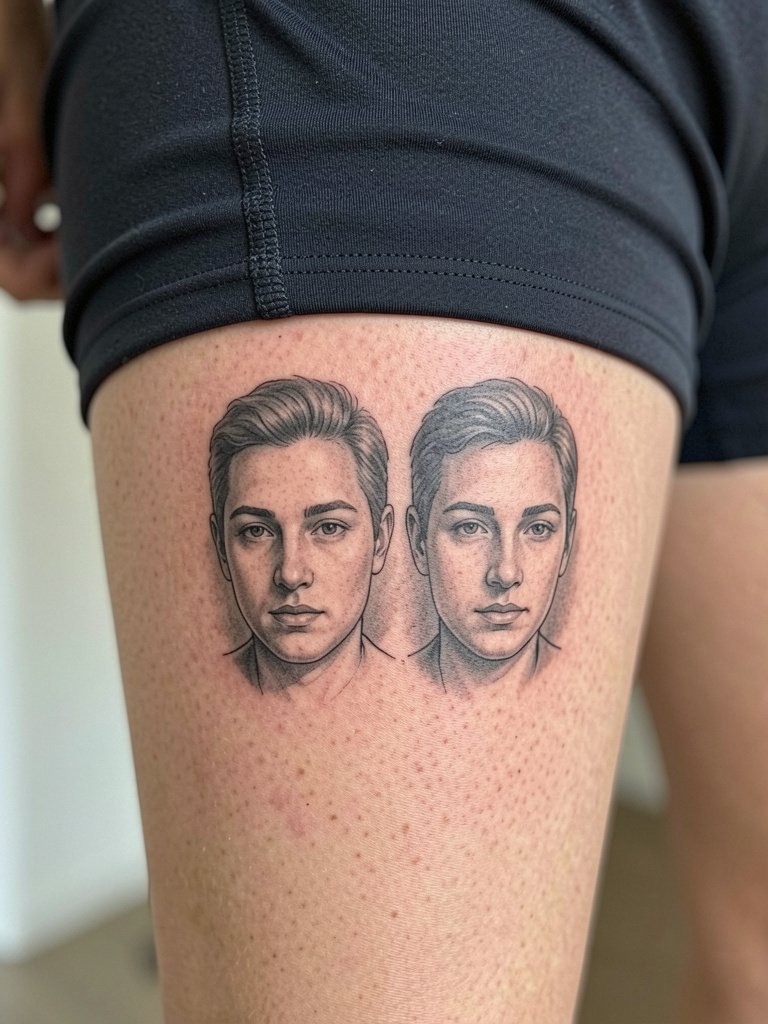
Portraits on the thigh can be forgiving because of surface area. Fine detail portraits placed too near the knee or groin often blur. Ask the artist for a mock-up that shows the portrait at life-size on your thigh so you can confirm detail legibility. Realistic faces need staged sessions to lock in midtones. For show-off outfits a casual short with a straight hem keeps the band visible without constricting the skin.
20. Dot-Work Mandala Spreading Over the Calf
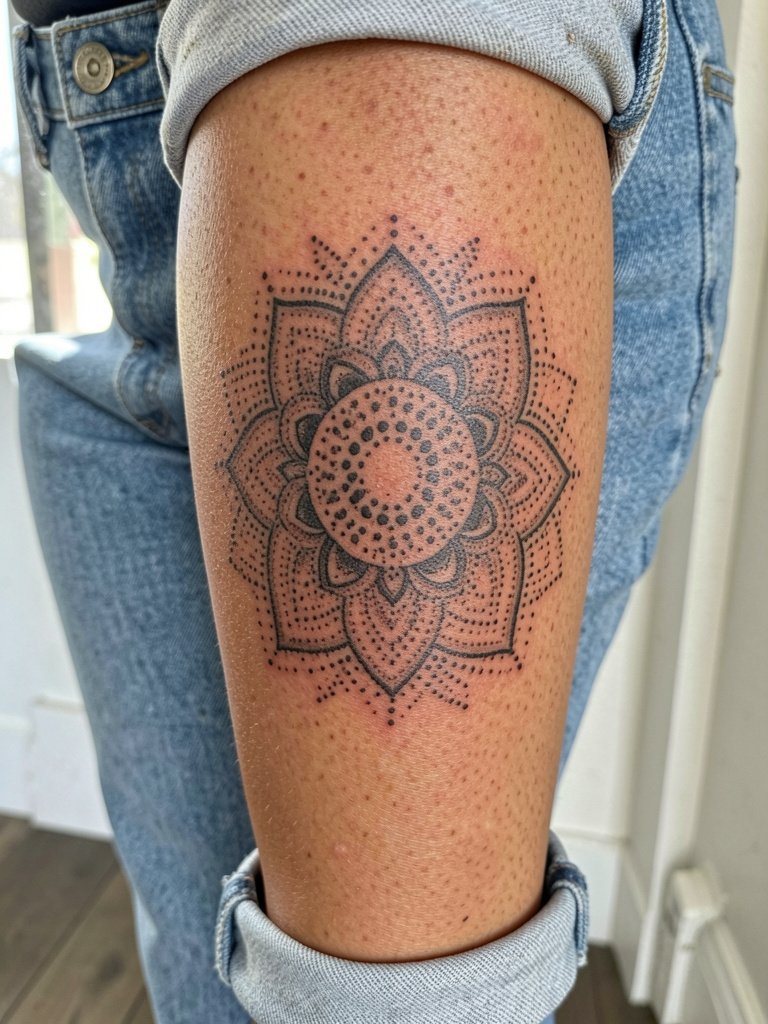
Dot-work is striking when dots are spaced for long-term contrast. The mistake is packing dots too tightly so they fill in over time. Discuss dot density and a staged touch-up plan so the center maintains depth. Sessions are often tedious for the artist and require patience. For styling, a rolled cuff denim short shows the mandala without stretching.
21. Armor Plate Blackwork Wrap For the Entire Lower Leg
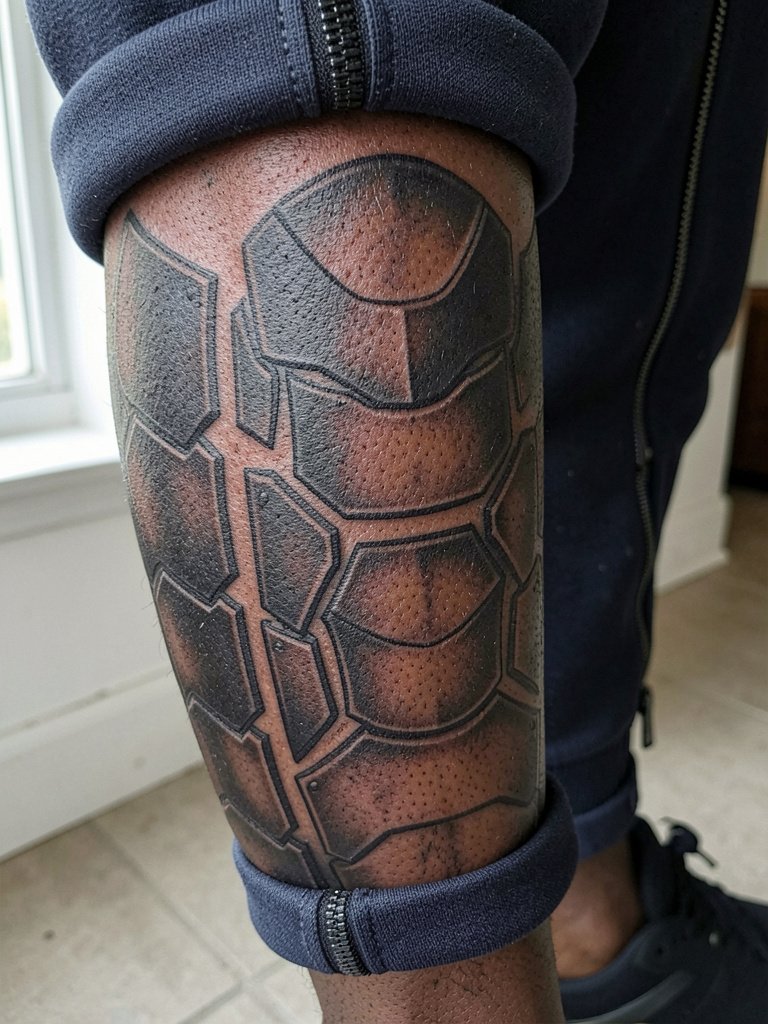
A full lower-leg wrap needs planning for gait and shoe friction. The common error is a continuous black sleeve that rubs against socks and boots and fades unevenly. Request segmented panels and deliberate negative seams that avoid the high-friction ankle band. Sessions are long and often split into multiple dates. To display the work, use no-show socks and cuffed pants so the plates remain visible when you sit.
22. Scripted Band With Roman Numerals on the Inner Thigh
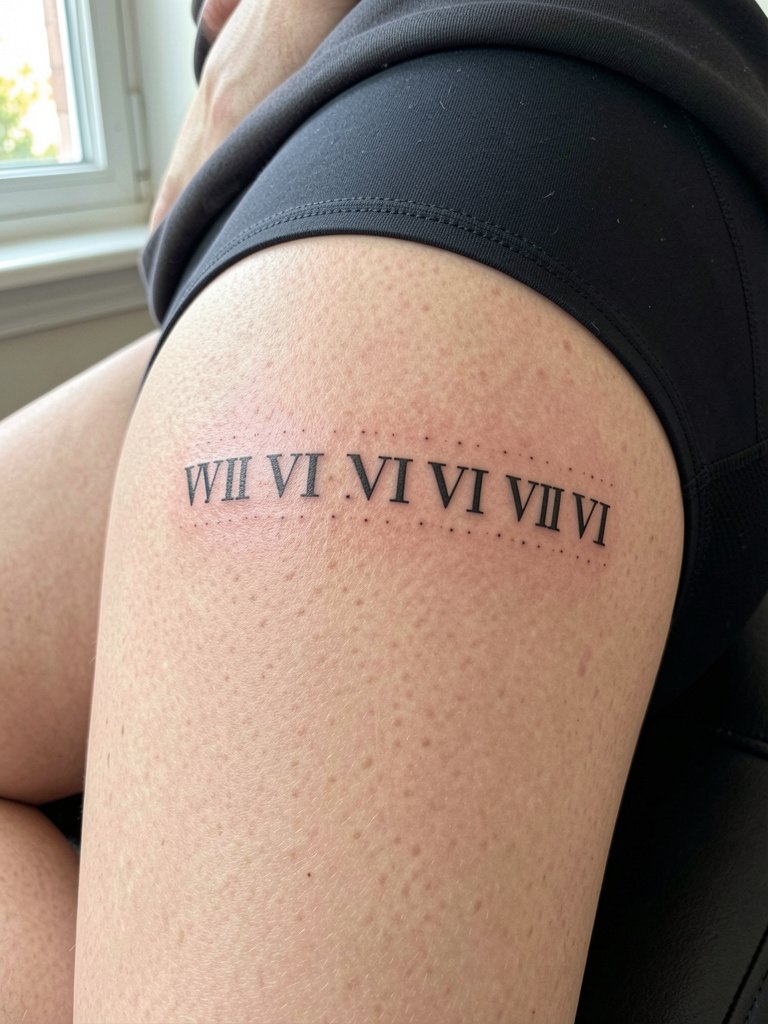
Inner-thigh script is discreet but needs careful type choice. The pitfall is tiny letterforms that close up with natural thigh flesh contact. Ask for slightly wider letter spacing and a tested stencil while seated to confirm how the band sits. The session will be private and may be more sensitive than calf work. For session wear choose modest athletic shorts so the artist can expose only the necessary strip of skin.
23. Full Leg Sleeve That Combines Blackwork and Color Anchors
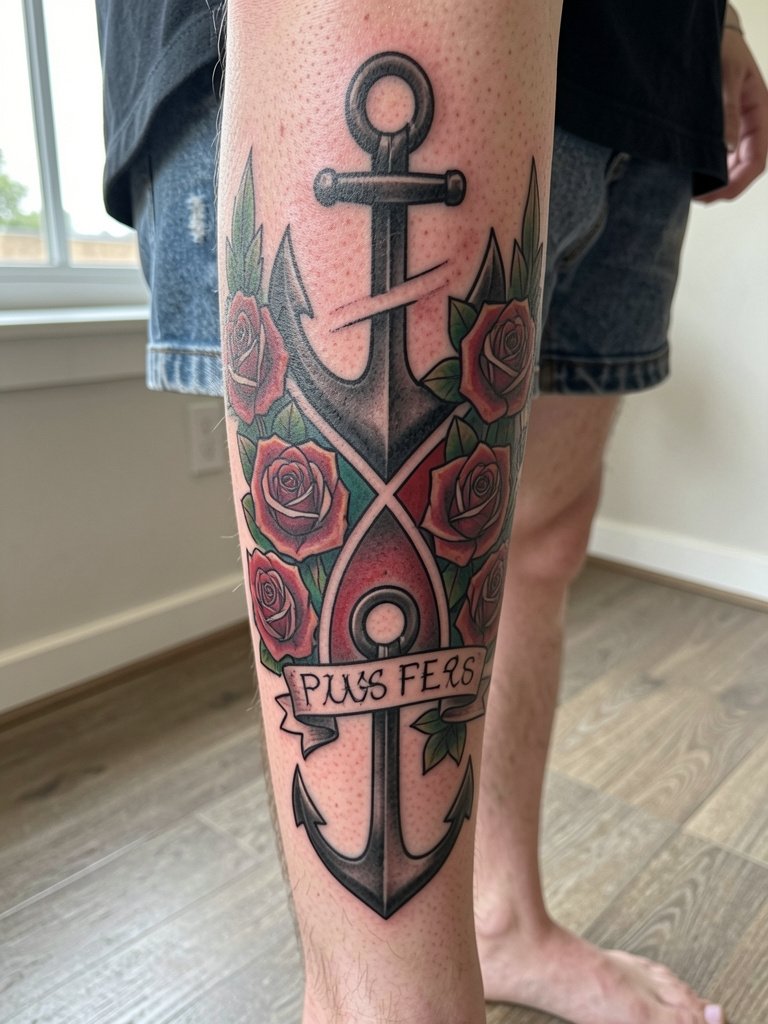
A full leg sleeve is a multi-year project and benefits from a clear roadmap. One mistake is trying to force every favorite motif into a single session with no palette rules. Start with anchors that read from a distance and plan colored accents strategically so they do not compete. Discuss session pacing, placement of heavy black areas to minimize friction from footwear, and a realistic touch-up schedule. For wearing it with ease go for mid-length casual shorts with a straight hem that let the entire sleeve be seen without distortion.
Frequently Asked Questions
Q: How do I decide between a patchwork half-sleeve and a fully unified full leg sleeve?
A: A patchwork half-sleeve lets you build over years and is better if you want to experiment while still connecting pieces later. A unified full sleeve requires an initial plan for flow, palette, and anchors so shapes read as one composition when you move.
Q: Will fine-line work on the shin or calf hold up compared with bold blackwork?
A: Artists are split on this. One camp says fine-line details on the shin and calf blur faster because of movement and thin skin at the shin. The other camp says if you use slightly heavier single-needle weights and give the lines breathing room they can settle and still read after several years.
Q: Where can I find healed leg sleeve portfolios and discovery pathways without naming artists directly?
A: Search location filters on photo and video platforms and use specific hashtags for the style you want, for example #BlackworkLegSleeve, #ThighTattooInspo, and #CalfTattooPortfolio. Browse portfolio aggregators and community forums for healed shots and ask shops for healed albums rather than relying only on fresh work.
Q: What should I wear to a long leg-sleeve session to stay comfortable and give the artist access?
A: Loose shorts or drawstring athletic wear work best so you can roll hems and sit without fabric tugging the area. Bring layered clothes in case the room is cold, and avoid tight waistbands that press against the thigh during long sits. A lightweight towel can help support the leg if the artist requests it.
Q: How often will I need touch-ups for different leg placements?
A: Expect blackwork and heavy saturation to hold longer, with touch-ups often at three to five years. Fine-line or small script may need attention around two to three years. Placement matters more than style alone, so plan touch-ups into your long-term care.
Q: What range should I budget for a multi-session leg sleeve and how much should I tip?
A: Prices vary widely, but think in session ranges and plan for multiple sessions over months. Tipping guidelines typically fall between 15 and 25 percent for quality studio work depending on your satisfaction with the outcome and the complexity of sessions.
