
Someone I know booked three guest spots before landing a manga panel that still reads crisp after two years. The trick was less about the character and more about line weight, placement, and real aftercare. Below are twelve dark manga panel tattoo ideas that focus on hatching, saturated blacks, and placements that age better. Each entry explains what to ask your artist, what commonly goes wrong, and how the piece will look healed at six months, two years, and beyond.
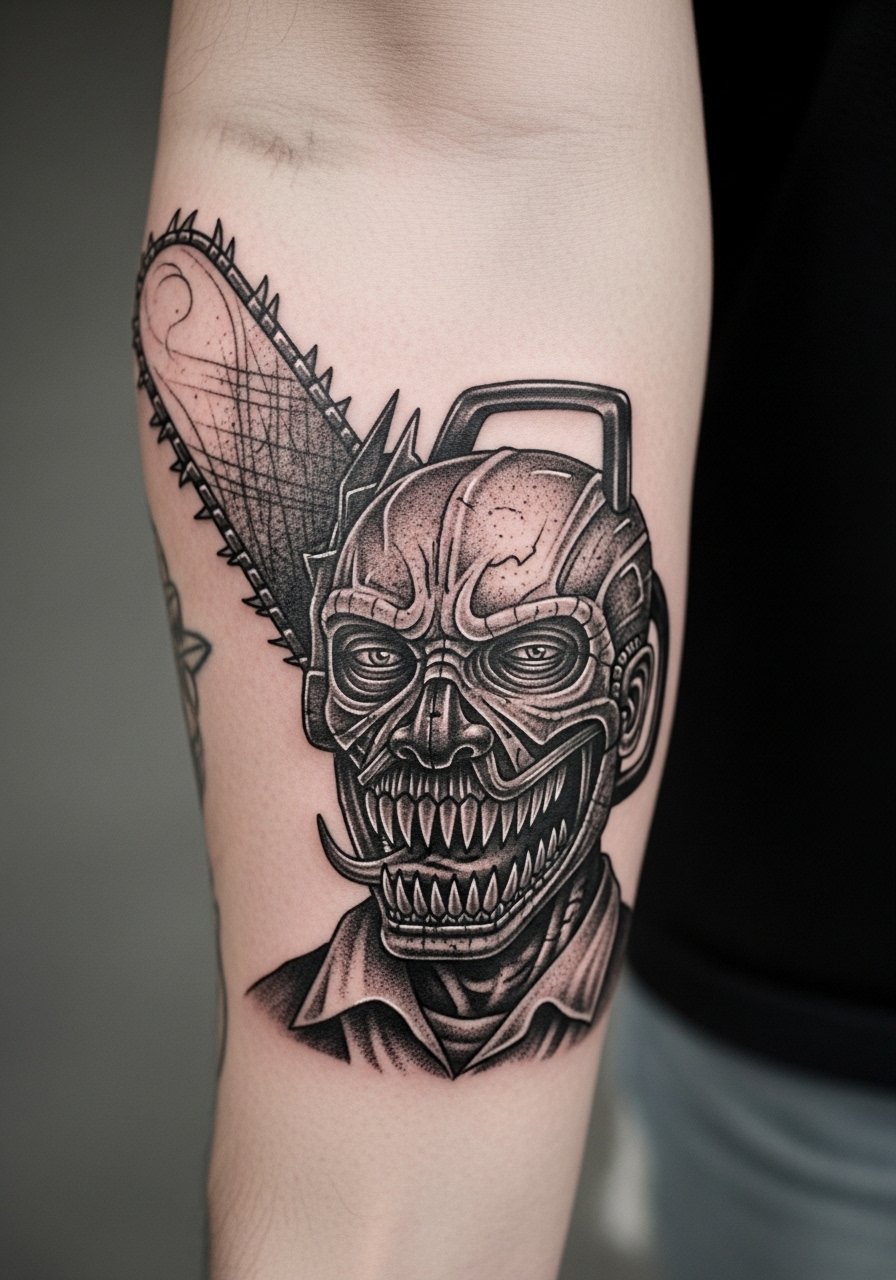
1. Chainsaw Man Portrait, Outer Forearm
When someone gets a Chainsaw Man portrait on the forearm they expect raw contrast. Bring references that show the exact hatching you like and say you want heavy saturation in shadows, not extra tiny hairlines. Fair warning, the outer forearm sees friction from sleeves and can soften thin hatching over time. Expect a single long session with medium pain. At six months the speed lines read crisp, at two years the silhouette keeps shape if you schedule a touch-up around year two to re-saturate cross-hatching. Common mistake is asking for ultra-fine hairlines in place of core black masses, which blur faster. For finding an artist search #MangaPanelTattoo and narrow by portfolios that show healed forearm work.
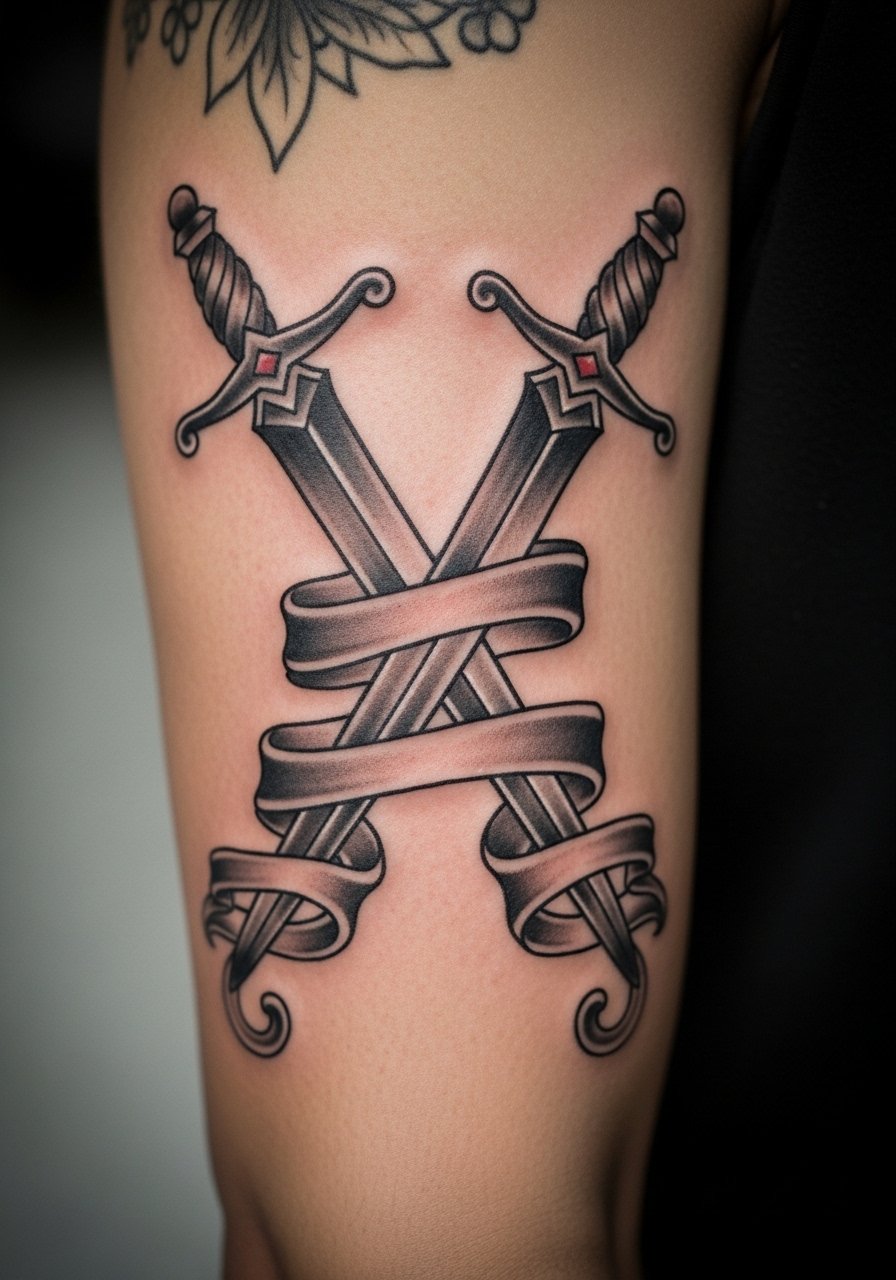
2. Zoro Three Swords Frame on Upper Bicep
I've seen this panel read different ways depending on line weight. Ask for neo-traditional linework treatment with bold contours around the swords and subtle gray wash for depth. Upper bicep is forgiving for movement so the design keeps its proportions through weight fluctuation better than the forearm. Expect one to two sessions and a moderate pain level. Artists split on whether to keep tiny internal hatching. One camp says fine hatching preserves manga texture. The other camp says those tiny lines fade and look patchy. Name the camp you prefer in consultation so your artist knows whether to push saturation or keep the subtle strokes. Common mistake is shrinking the panel too small, which loses sword detail.
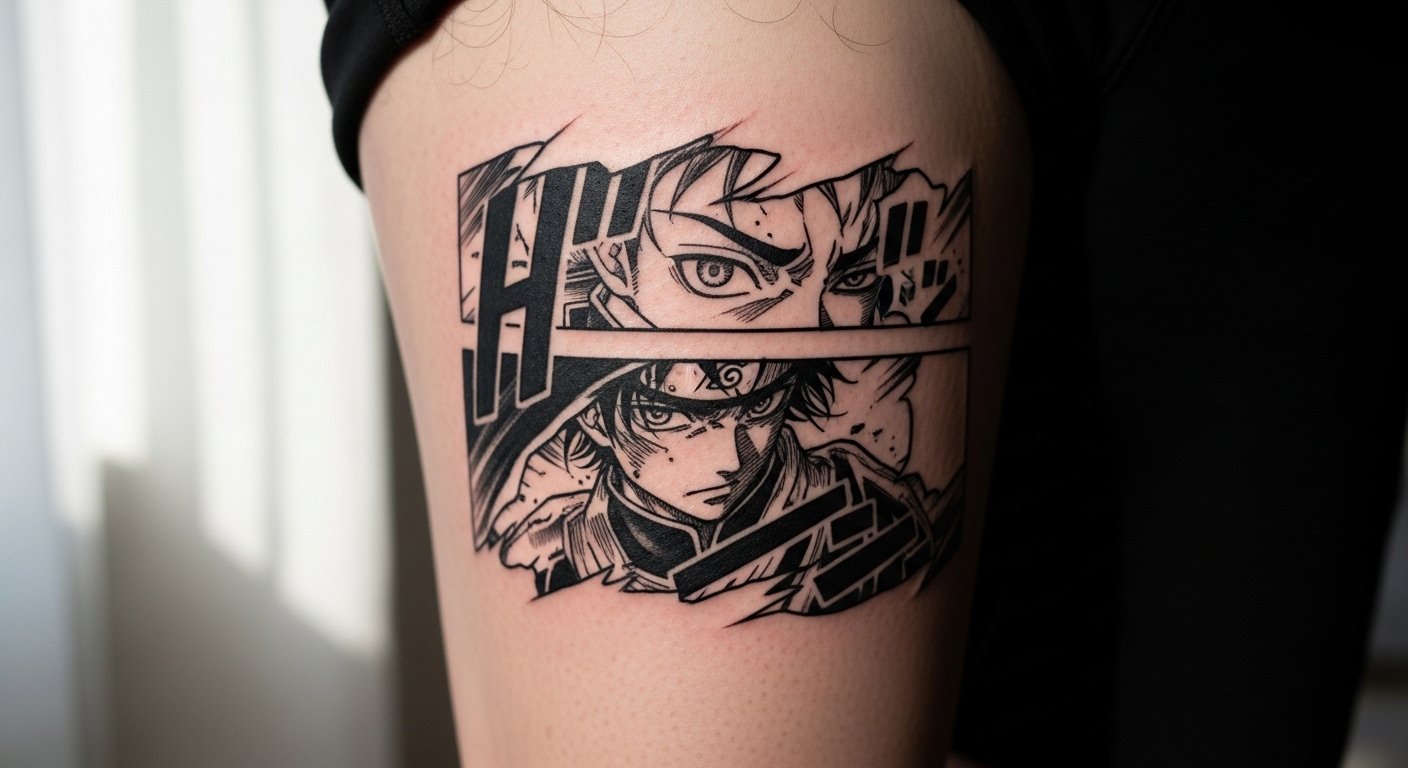
3. Black and Gray Manga Page Cutout, Thigh
Most people pick a ripped page cutout for nostalgia and photo composition. Tell your artist you want the torn-paper edge to read from a distance, and ask for denser hatching near focal points so the image does not wash out as it heals. Thigh placement lets you go bigger and keep linework spaced, which helps aging. Session time is usually two sessions depending on size and shading density. At six months the page border should still look crisp. At five years expect some softening of fine cross-hatch and plan for touch-ups tied to your annual skin check. A real mistake is packing too many tiny speech bubbles into a small cutout.

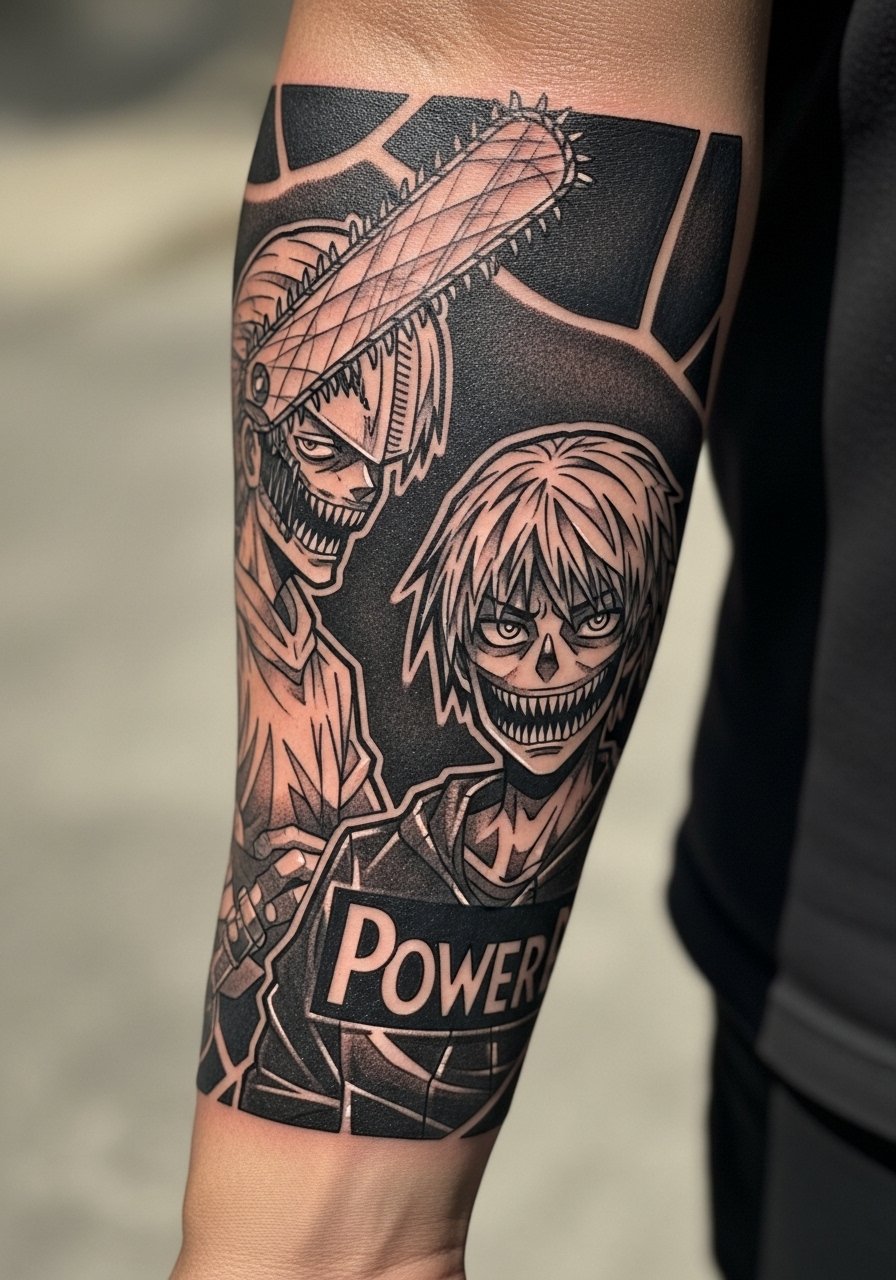
4. Denji and Power Duo Panel, Outer Forearm
Visual impact lead works here because this duo is expression-heavy. When you consult, point to the panel and say you want the shocked expression captured by heavy outlines and thick cross-hatching, not tiny stipple for faces. Outer forearm reads well at arm distance so saturation matters. Expect a single session with medium pain. The main aging issue is facial detail in small areas. Most healed examples keep the contrast, but micro facial strokes can blur by year two without a touch-up. A go-to mistake is asking for soft gray washes over character outlines which muddies the figures. Use discovery pathways like Tattoodo or local convention previews to find portfolios that show duo panels.
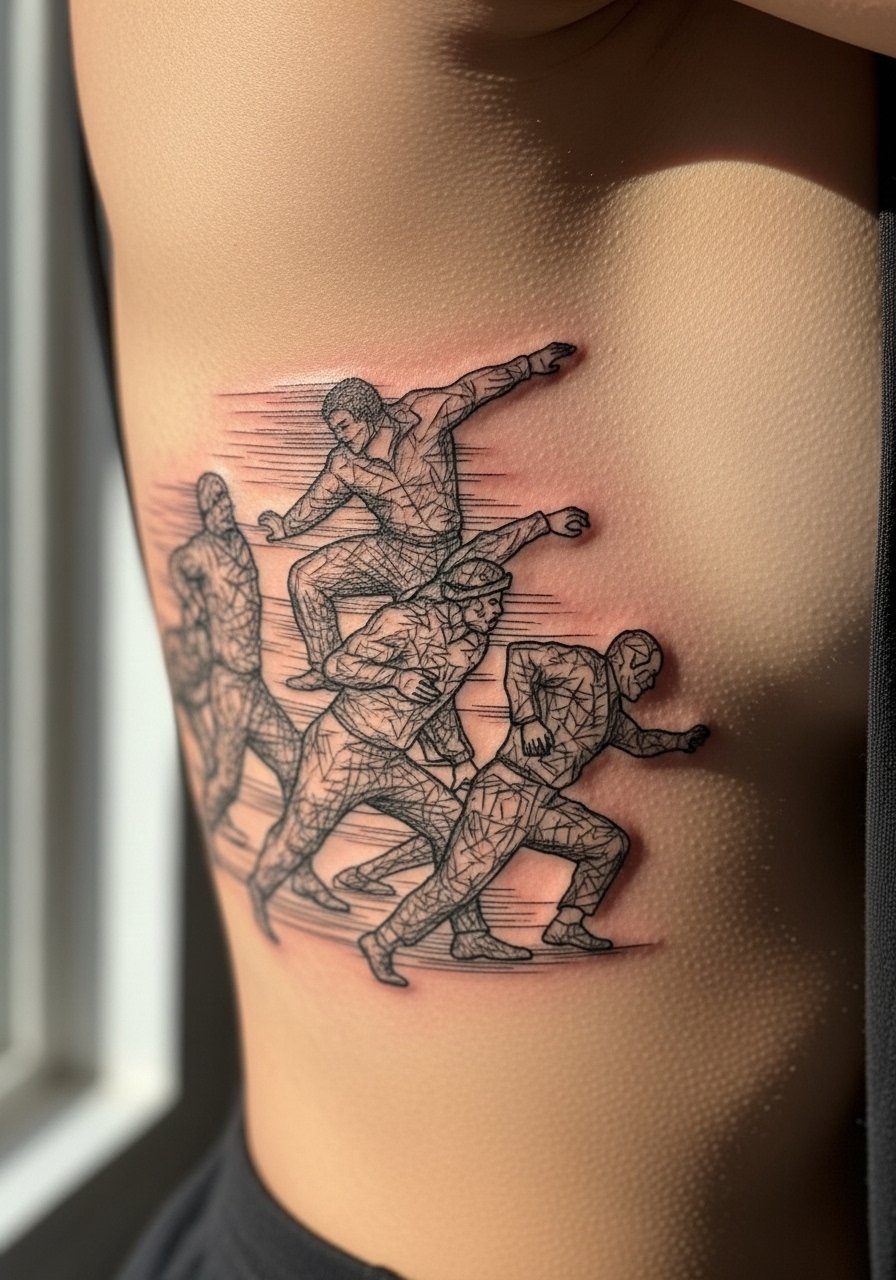
5. Hatching Line Action Sequence, Ribcage
Fair warning: ribcage pain is high, but a multi-figure action panel there can be stunning if treated right. Tell the artist you want whip shading and robust hatching with clear negative space between figures. One to two sessions are common and expect long breaks for comfort. Controversy is real about fine line on ribs. One group says the skin stretch blurs fine strokes within two years. The other group argues deeper needle placement and spacing can make fine lines hold. Ask where your artist stands and request healed photos of their rib work. Mistakes include compressing a multi-figure scene into too small an area.
6. Luffy Gear Form Frame, Calf
Aging and placement pair well here. Calf panels follow the leg curve and keep linework stable through weight changes better than forearms. When you sit for this one ask for bold black outlines around the main silhouette and lighter hatching for motion effects. Single session, moderate pain. At six months the outline should remain dominant and the motion hatching will soften slightly. By year three expect the finer speed lines to need a touch-up if you want them to read as sharply as day one. A rookie move is shrinking a transformation panel to wrist scale. For placement mockups use temporary transfers to test flow.
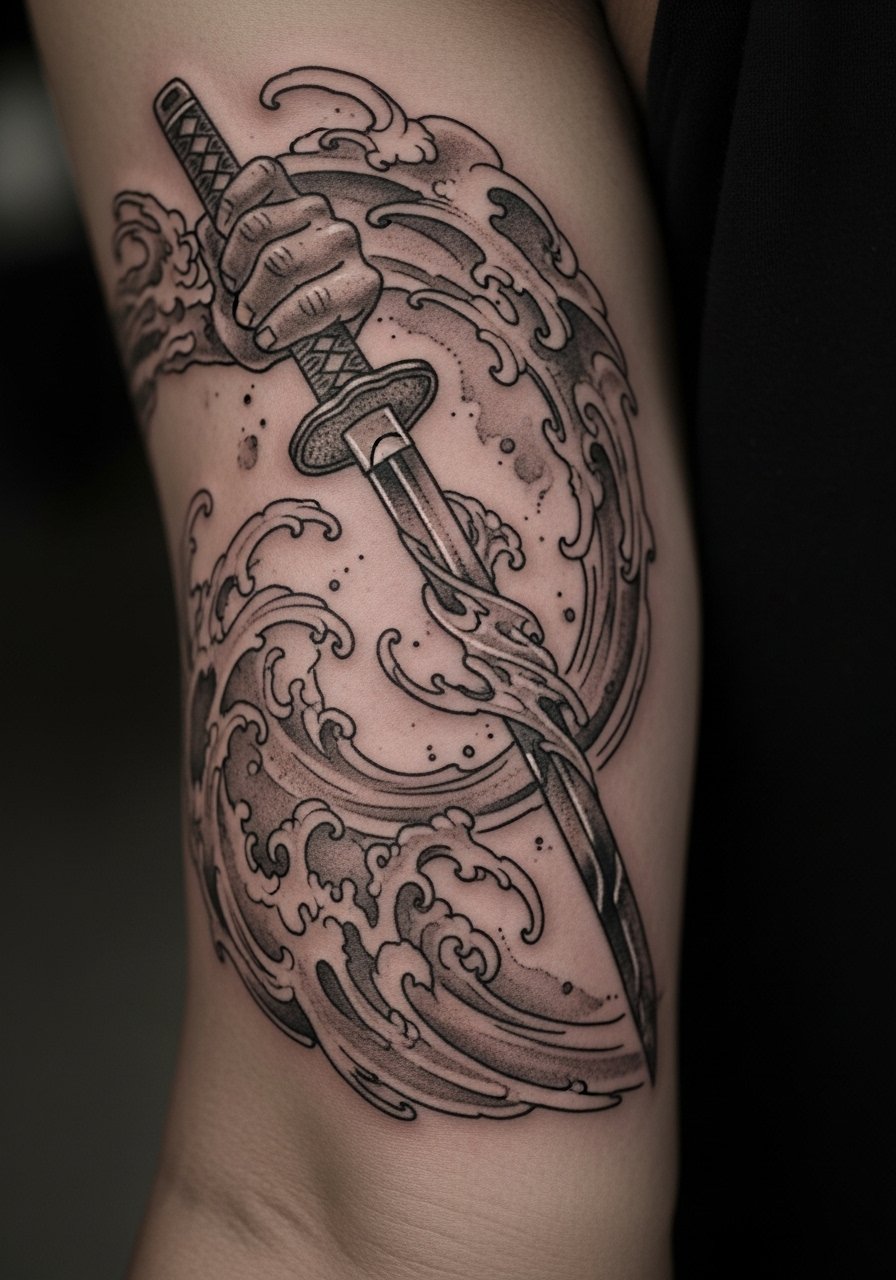
7. Water Breathing Sword Flow, Inner Bicep
When you want fluid motion choose a vertical inner bicep placement that lets the water pattern flow with muscle. Inner bicep hurts but rewards with a smooth canvas that keeps gradients. Ask for a black and gray watercolor hybrid with stipple shading and concentrated blacks at anchor points. Expect two sessions for gradient work. Healed at six months the flow reads well. At two years subtle watercolor gradients may fade and need touch-ups to maintain the soft edge contrast. One mistake is overusing diluted gray in small areas which heals into a muddy patch. For artists search TikTok tags like #AnimeTattooHealing to see real healed gradients.
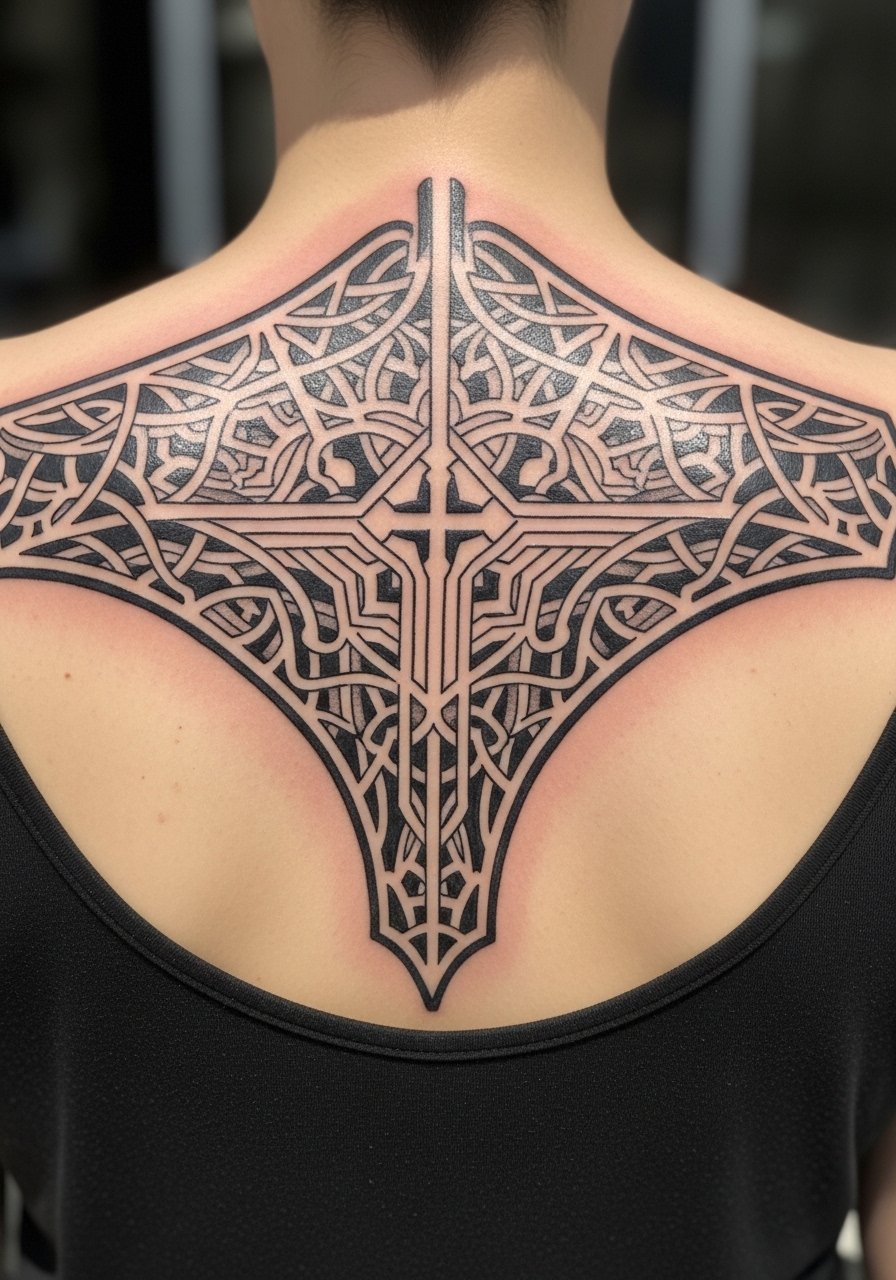
8. Jujutsu Kaisen Domain Cutout, Upper Back
When you pick a geometric cursed-energy panel go large and let the geometry breathe. Upper back offers room for heavy ink density and complex ornamental blackwork without compressing lines. This is a three-session build for many artists and varies in pain. The intricate look draws two camps on technique. One camp prefers super-fine geometry for visual complexity. The other camp warns that too-fine geometry collapses into a blur at scale. Ask your artist whether they plan to stack lines or use larger negative space. Common mistake is cramming a back piece into a shoulder blade zone that cannot hold the full field.
9. Micro-Realism Hero Pose, Wrist or Ankle
This is a small panel for a big feel. Micro-realism works on wrist or ankle when artists use tight linework and dense black contrast. Plan for a short single session and low to moderate pain. The challenge is scale. At six months a wrist micro-panel still reads as a vignette, but at two years tiny shading can soften. A common mistake is requesting photorealistic facial features at two-inch size. Instead ask for simplified tonal blocks and clear contour lines so touch-ups can preserve expression. Small panels on wrists face more abrasion so expect a touch-up sooner than an ankle.

10. Titan Reveal, Chest Panel
Visual impact is everything with a reveal panel on the chest. Chest skin moves with breathing and this affects how hatching settles. Tell your artist you want heavy cross-hatching for texture and strong negative space to keep the reveal readable when you are clothed. Two sessions are common and pain is high near the sternum. Expect the main shapes to remain clear at six months. Fine hatching will thin by year two and may require a refresh. A frequent error is placing too much tiny texture over the sternum. For placement mockups use a temporary stencil while standing and while lying down to check deformation.
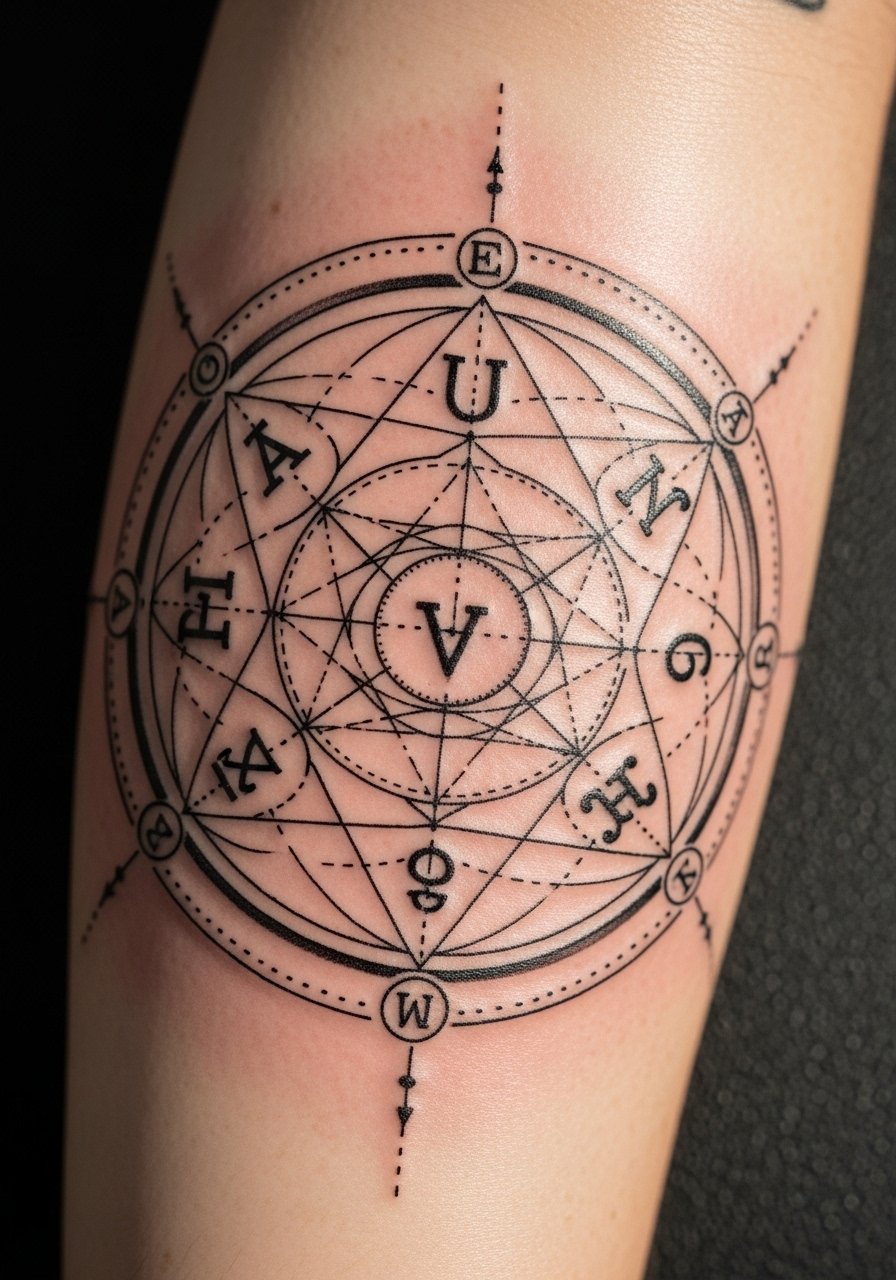
11. Transmutation Circle Frame, Forearm Sleeve Start
When a geometric alchemical array starts a sleeve you need exact spacing and clear glyphs. For forearm work ask for fine line geometry with thicker outer lines so the symbol keeps form over time. Expect one to two sessions depending on array size and a medium pain level. At six months circles still read crisp if the artist used deliberate negative space. At five years thinner inner lines may thin but overall geometry holds because of the thicker anchors. One common mistake is asking for tiny runic text inside a small circle. If you want readable script, increase scale or simplify letterforms.
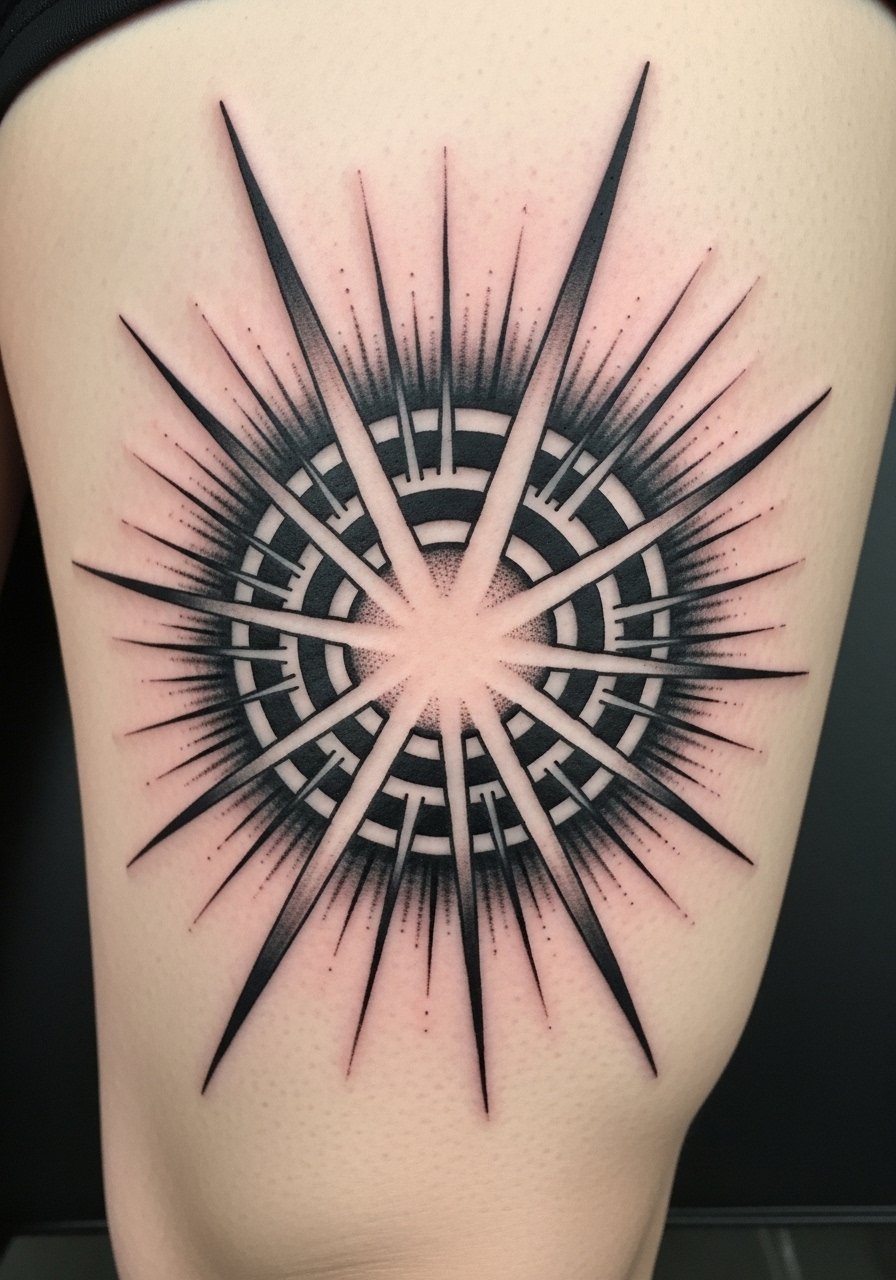
12. Kamehameha Energy Blast, Thigh
The thigh is ideal for a dynamic blast that needs space for shading flow and dots for energy. Consultation tip is to show the exact panel and ask for radial hatching that fades into the surrounding negative space, not a flat shaded blob. Single session usually works for medium-sized panels and pain is low. At six months the blast still has motion. At two years dotted stipple and radial lines may soften, so expect a touch-up every two to three years for energy effects if you want them bright. A common mistake is compressing the radial sweep onto the hip where curvature breaks the motion.
Tattoo Prep and Aftercare Essentials
I always tell people who are booking a high-contrast manga panel to plan for aftercare that protects hatching density. From what I have gathered, heavy ink needs surface protection early and careful moisturization after the initial scab phase. There are two main camps on occlusive healing. One camp favors barrier dressings that speed healing for detailed work. The other camp prefers dry healing to avoid trapped fluids. Say where you stand and ask your artist how they handle detailed blackwork. Below is a compact shopping list to cover pre-appointment prep, immediate healing, and long-term maintenance. All links include search queries so you can find similar options quickly.
Ink-Oil tattoo aftercare balm. Lightweight non-greasy balm many people choose for arm panels. Use sparingly in the first week to avoid clogged pores on dense hatching.
Tattoo Goo Original Aftercare. Australian-formula salve noted for faster absorption in humid climates. Good for short sessions and when you need a matte finish.
UK Black Lotus Tattoo Balm. A matte-finish balm some users prefer for grayscale photos and gray shading. Apply after initial peeling to reduce shine.
Japanese-style natural aftercare salve. Generic descriptor for a steroid-free natural salve praised in forums. Use when you want fewer synthetic ingredients in the healing window.
Fragrance-free gentle foaming cleanser. Use daily rinse for the first two weeks to remove sweat and debris without stripping ink.
Medical-grade second skin bandage, 6-inch roll. For artists who recommend an occlusive wrap the first 24 to 72 hours, this keeps detailed panels clean and protected.
Lightweight fragrance-free balm for long-term maintenance. Use after full healing to preserve saturation. Apply weekly if skin is dry.
SPF 50 mineral sunscreen. Sun is the fastest ink killer. Use on healed panels to slow fading and protect hatching.
Hustle Butter Deluxe. One mainstream option if you want a buttery balm that absorbs quicker than thicker gels. Mention it absorbs faster than Aquaphor and that it is the single mainstream pick here.
Every tattoo is different. Always follow your artist's specific aftercare instructions. Consult a dermatologist if you have skin concerns or unusual healing issues.
Frequently Asked Questions
Q: My manga panel blurred within a year. Should I have asked for bolder lines or scheduled touch-ups earlier?
A: From what I've seen, both matter. If the piece had lots of fine hatching and was small, bolder anchor lines would have helped. Touch-ups at year two are common for high-density cross-hatching. Ask your artist during consultation whether they plan thicker anchors or micro hatching and set a touch-up window before you leave the studio.
Q: Does dark skin make black and gray panels wash out in photos and how do I avoid that?
A: Darker tones can hide subtle gray gradients in photos. I advise asking for higher saturation and stronger contrast between the core black areas and the surrounding grays. Request healed photos from your artist of clients with similar skin tone. Choosing slightly larger line spacing helps detail show up in everyday lighting.
Q: Which placements age best for multi-figure action panels and why?
A: Calf and thigh tend to age better because they stretch less and see less friction than forearms and wrists. Ribcage can hold detail but the skin moves when you breathe and the pain may limit session time. If you plan a multi-figure panel, favor a canvas where the design can breathe and the artist can space hatching for longevity.
Q: Saniderm versus dry healing for detailed manga hatching, which camp should I pick?
A: Both camps make valid points. Saniderm supporters say occlusive dressings protect thin hatching during early healing. Dry healing supporters worry about trapped moisture causing blowouts. Pick based on your artist's experience with detailed blackwork and your personal tendency to sweat. If you sweat a lot, mention that and consider a short occlusive window followed by careful dry care.
Q: Can fine line manga panels hold up on the ribs or should I go for heavier ink?
A: Artists are split on this. One camp says ribs stretch and blur very thin lines. The other camp says with proper needle depth and spacing fine lines can settle well. It depends on the artist technique and your anatomy. If you want to err on the side of longevity request slightly bolder anchors and more negative space between lines.
Q: How do cancellations and deposits affect booking a guest spot for a Chainsaw Man or Jujutsu Kaisen panel?
A: From what I have observed, guest spots fill fast and some shops enforce strict cancellation policies. Use booking platforms that show cancellation terms and confirm your appointment twice. A refundable booking or a clear policy reduces the risk of losing a deposit if plans change.
