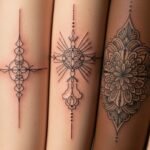


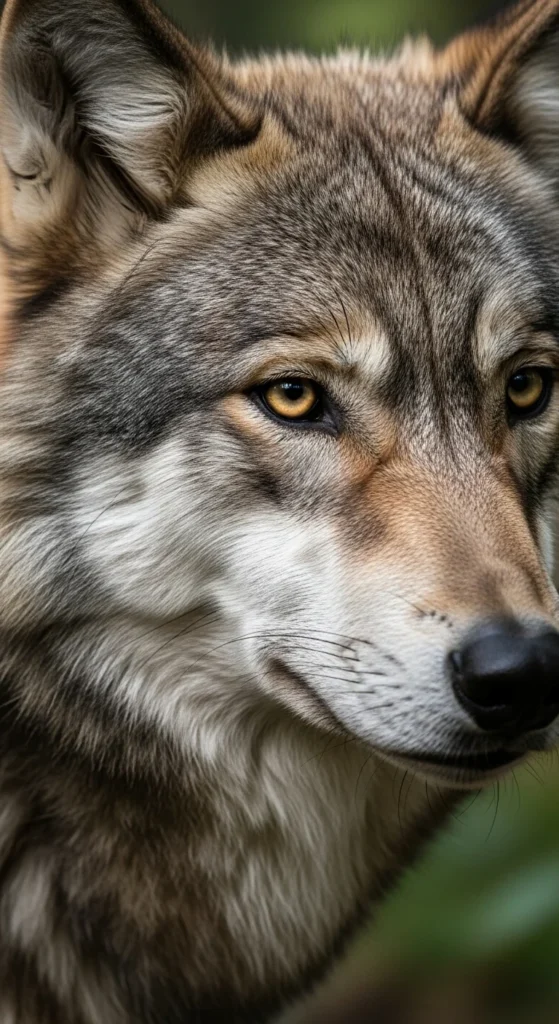
Japanese tattoos carry strong storytelling, long history, and visual identity. Many people explore them for their symbols, flow, and emotional meaning. This list collects recognizable motifs that continue to stay popular. Each section explains what the symbol represents and gives simple, low-cost ways to plan or test a concept before getting tattooed. Everything is written to help beginners and experienced collectors shape ideas with confidence.
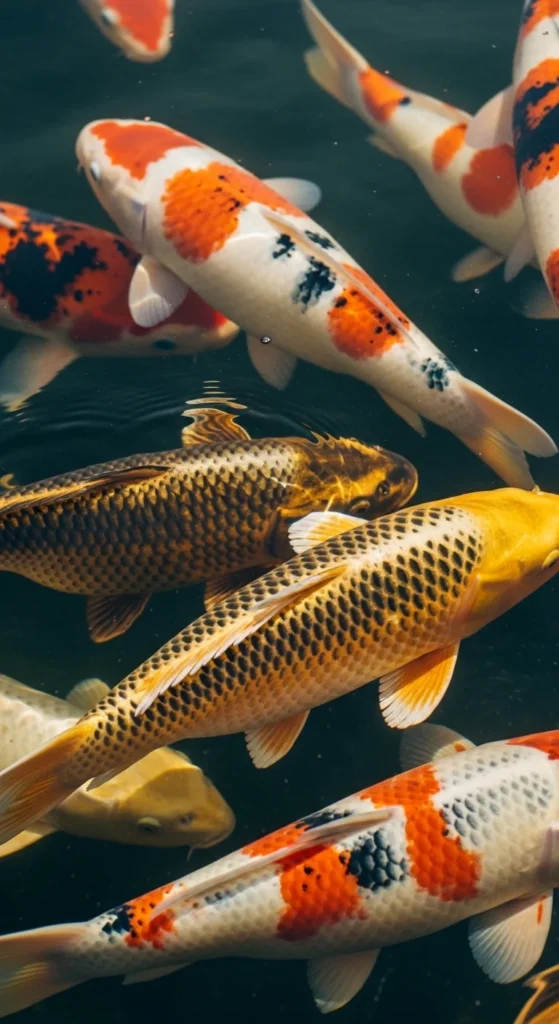
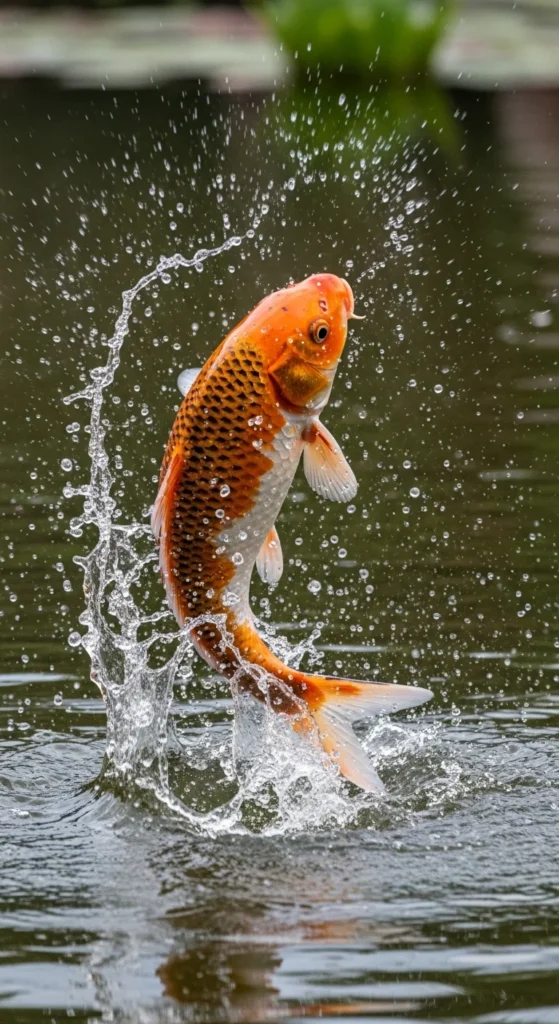
1. Koi Swimming Upstream
Koi represent effort and steady progress. Many people choose them when they want a reminder to keep going. The classic upward motion signals pushing through obstacles.
You can sketch a small koi on paper to explore shapes. Keep the body curved so it feels alive. A simple pencil and paper is enough.
If you’re thinking about a tattoo but want something smaller first, draw a tiny koi on your wrist using a skin-safe marker. Live with it for a day to test placement.
Colorful koi can be pricey, so ask the artist how to simplify the background. Sometimes leaving more empty space reduces hours without hurting the story.
If you’re on a budget, start with a one-point koi outline. Add color later in future sessions.
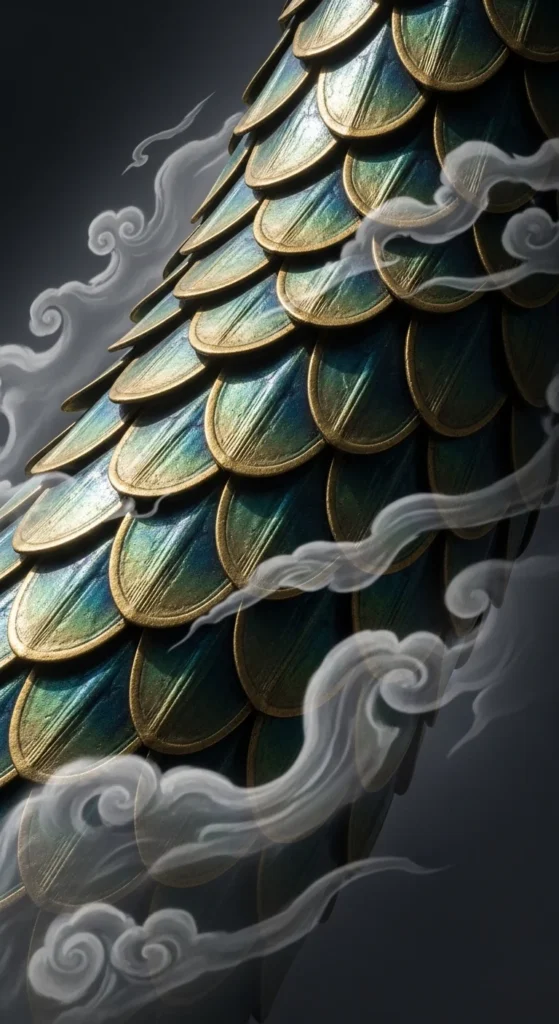
2. Dragon for Strength and Protection
Dragons stand for strength and protection. They often appear on back pieces because the shape fits large areas. But small versions also work on forearms or calves.
To explore the idea at home, draw a long S-curve on paper. That curve becomes your dragon’s backbone. Add a head at the top and let the body wrap. This helps you learn the flow without fancy tools.
If cost matters, start with a line-work dragon. Add shading later. Ask for stages so you can spread sessions across months.
If you’re unsure about size, print two paper versions—one large and one medium. Tape them on your back or arm and look in a mirror to find what feels natural.
Dragons often pair with clouds or wind bars. Those can be added in later sessions, giving you flexibility.
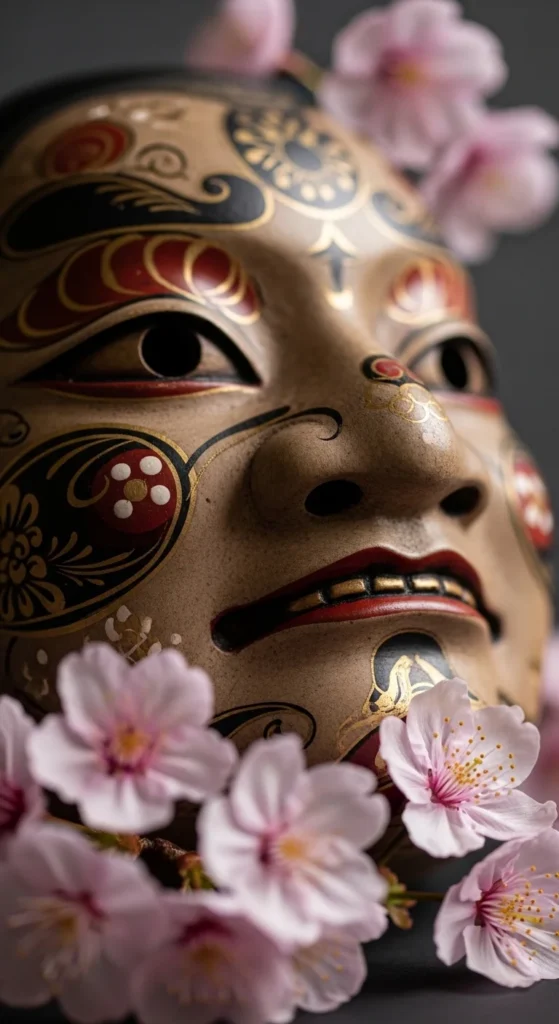
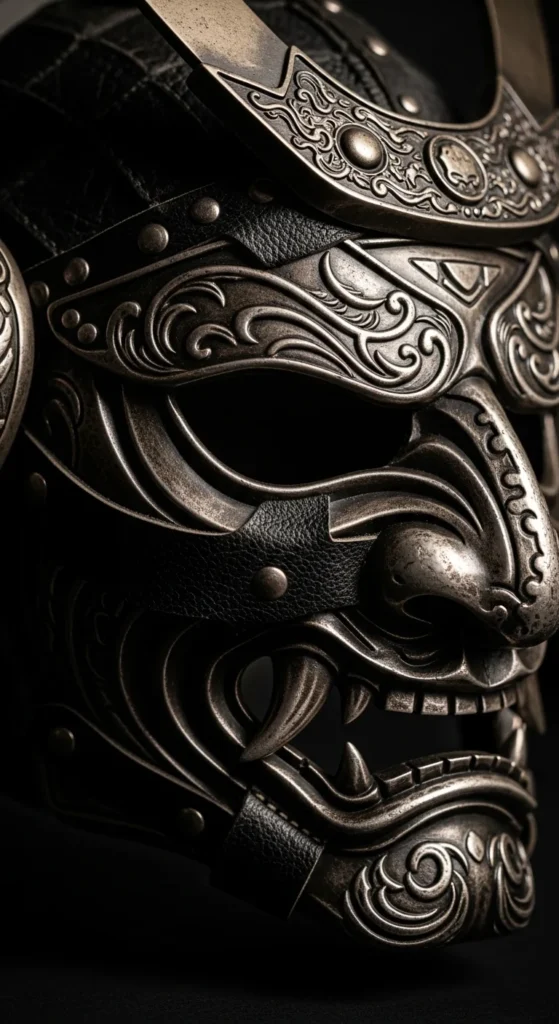
3. Hannya Mask for Complex Emotion
The Hannya mask represents jealousy, inner conflict, and transformation. Many people choose it because it feels raw and honest.
You can explore your version by sketching different eyebrow angles. Small changes shift the entire mood. Try sharp shapes for intensity or softer curves for a calmer look.
If you want to test placement, draw a tiny Hannya outline on your shoulder using a cheap eyeliner pencil. It wipes off easily and helps you see if the area suits curved designs.
To reduce cost, ask the artist to keep the background simple. Many Hannya tattoos look great with only bold outlines and minimal shading.
If you want to personalize it, add a flower behind the mask. Cherry blossoms mean life moments passing. Peonies signal confidence.
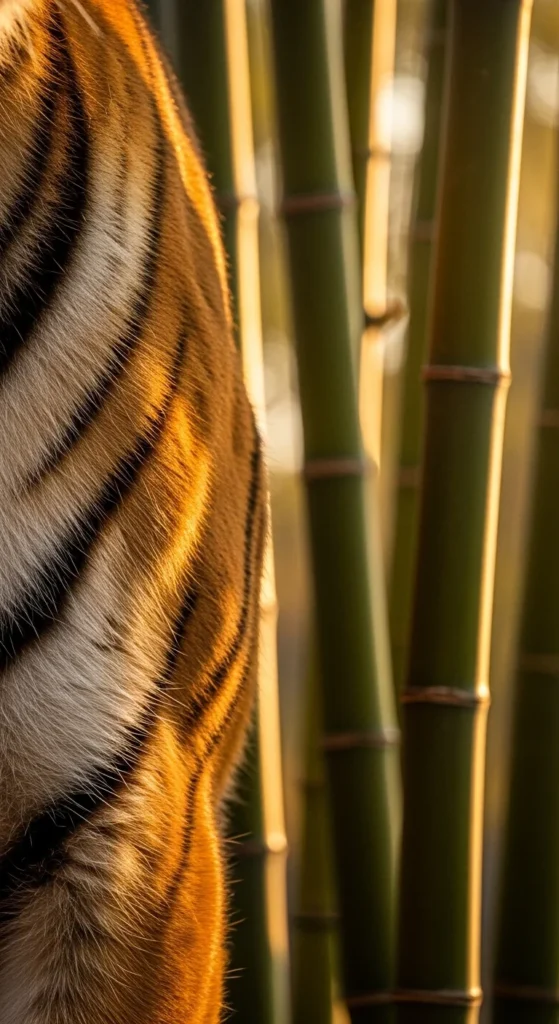
4. Tiger for Courage
Tigers show courage and forward motion. They look strong on arms, legs, or ribs.
At home, print a side-view tiger silhouette. Practice tracing it onto cheap tracing paper to feel the flow. This helps you get used to long shapes.
If you’re saving money, choose only one direction—left or right. Mirrored versions cost more because they require custom work.
For a personal twist, add bamboo or wind bars behind the tiger. These background elements can be added later so you can split sessions across weeks.
Test body flow by taping the tiger print to your arm while flexing. If the shape bends naturally with your muscles, it’s a good match.
5. Phoenix Rising
Phoenix designs represent renewal. The flowing feathers fit large placements like backs and thighs.
Start by sketching feather clusters. Keep them in groups of three for a tidy look. You don’t need fancy pens—any pencil works.
If you’re unsure about color, begin with a simple outline. You can fill color across multiple sessions without pressure.
To personalize it, add clouds or flames sparingly. Ask the artist which parts you can leave simple to keep the cost lower.
Try a temporary tattoo version first. Print a phoenix outline, cut it out, and trace it onto your skin with a skin-safe marker.
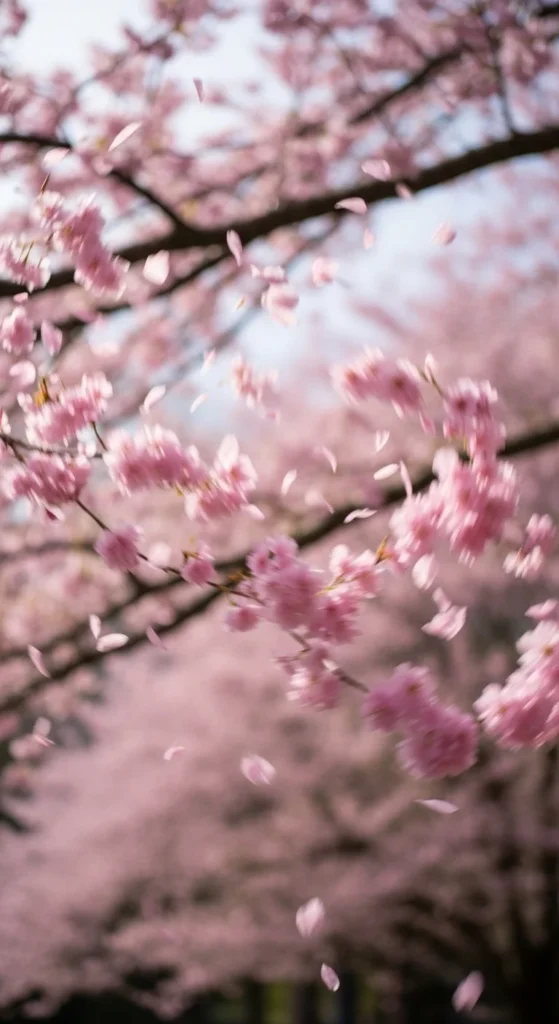
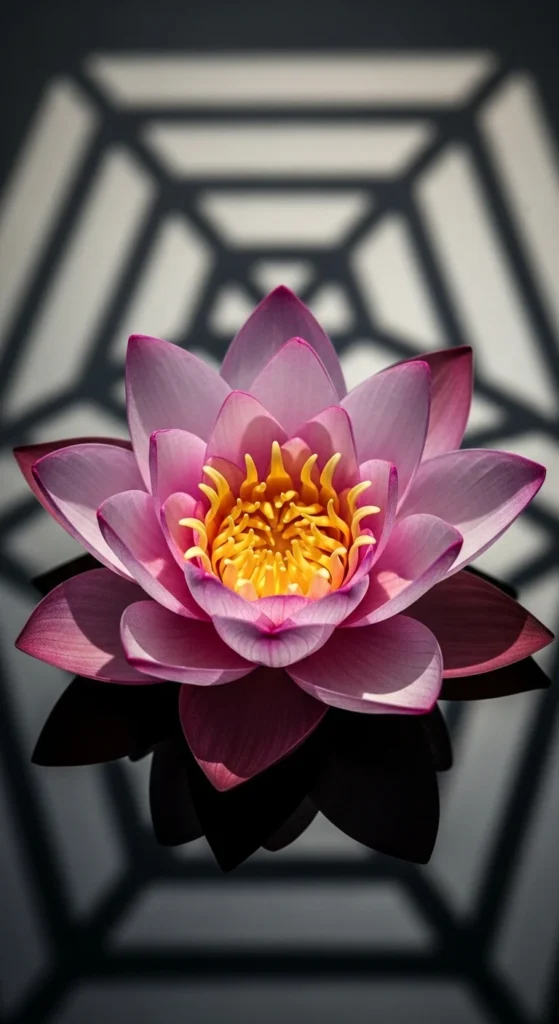
6. Cherry Blossoms for Life’s Impermanence

Cherry blossoms show beauty and the passing of time. They work alone or with koi, dragons, or tigers.
Draw five-petal flowers using a simple pencil. Keep the petals round and uneven for a natural feel. Clip them to your wall to study shapes.
For a low-cost tattoo idea, choose a cluster of two blossoms instead of a full branch.
If you want color later, begin with line work only. Ask the artist to leave space for future shading.
Use a small blush brush to dust pink makeup on your shoulder to test how soft color might look on your skin.
7. Peony for Confidence

Peonies stand for confidence and calm strength. They’re often used to support bolder motifs like tigers or dragons.
To explore shapes, draw a circle and fill it with layered petals. Start from the center and work outward. You only need a pencil.
If you’re on a budget, get one big peony instead of multiple clusters. One can anchor an entire sleeve plan.
Tape a paper peony on your forearm or thigh to check how it sits. Rotate it slightly to find the best angle.
Peonies look great in both black and grey or color, giving you room to scale the project over time.
8. Waves for Movement
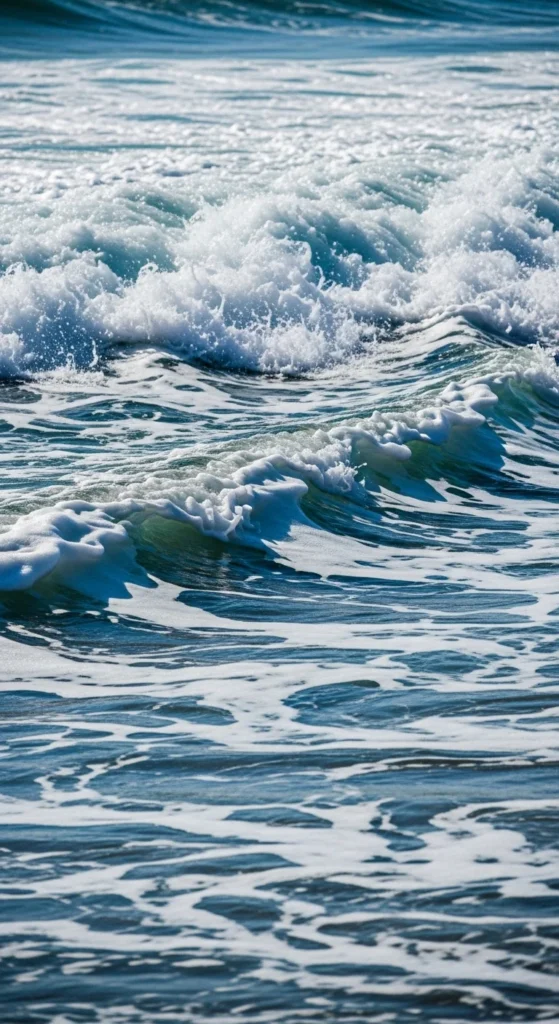
Waves help designs feel alive. They add motion, fill empty space, and link motifs together.
Practice drawing wave shapes using three curves: a long base, a small curl, and a splash. These simple shapes build full patterns.
For a smaller tattoo, choose one wave crest instead of multiple rows. It reduces hours and still looks bold.
Test the flow by drawing a wave curl on your arm with a washable marker. Bend your arm to see if the shape moves naturally.
If your artist suggests wind bars, you can add those later to spread costs.
9. Wind Bars for Flow
Wind bars add rhythm. They help connect creatures or flowers and stop the design from feeling still.
Draw three curved lines on paper. Space them evenly. These form the base of wind bars.
Wind bars are cheap to tattoo because they use simple lines. This makes them a smart choice if you’re planning a sleeve over time.
Place printed lines on your forearm to test orientation. Rotate them until they match your muscle shape.
You can add more bars later, so you don’t need everything in one session.
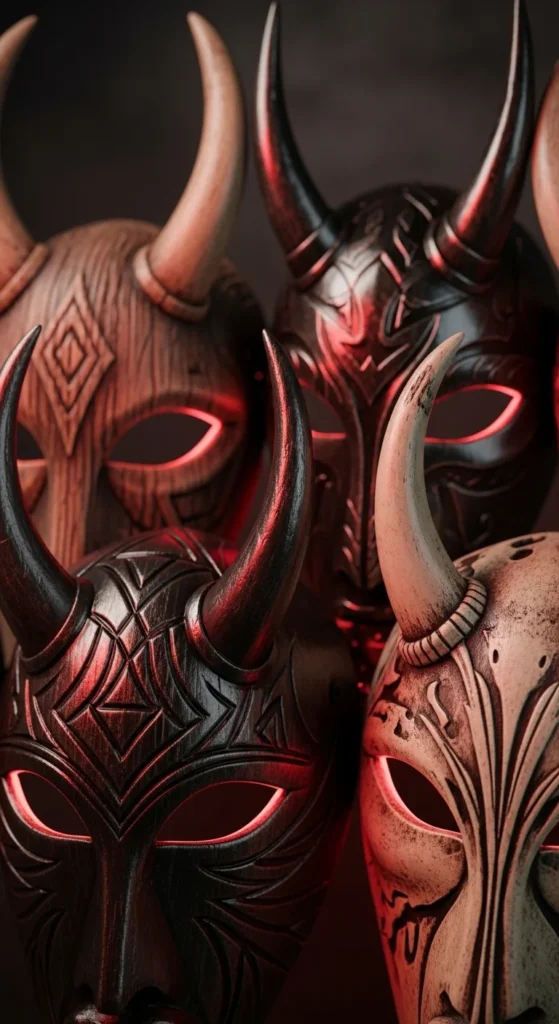
10. Oni Mask for Inner Battle
Oni designs represent facing your darker thoughts. They often pair with flames or waves.
You can explore your version by sketching different horn sizes. Larger horns feel intense, smaller ones feel more grounded.
If you want to save money, choose a simple background. Oni faces already carry strong detail.
Test size by printing a small mask and taping it to your bicep. Flex and move to see if the shape fits comfortably.
Ask your artist to keep shading minimal at first. You can build depth later when you book another session.
11. Snake for Wisdom
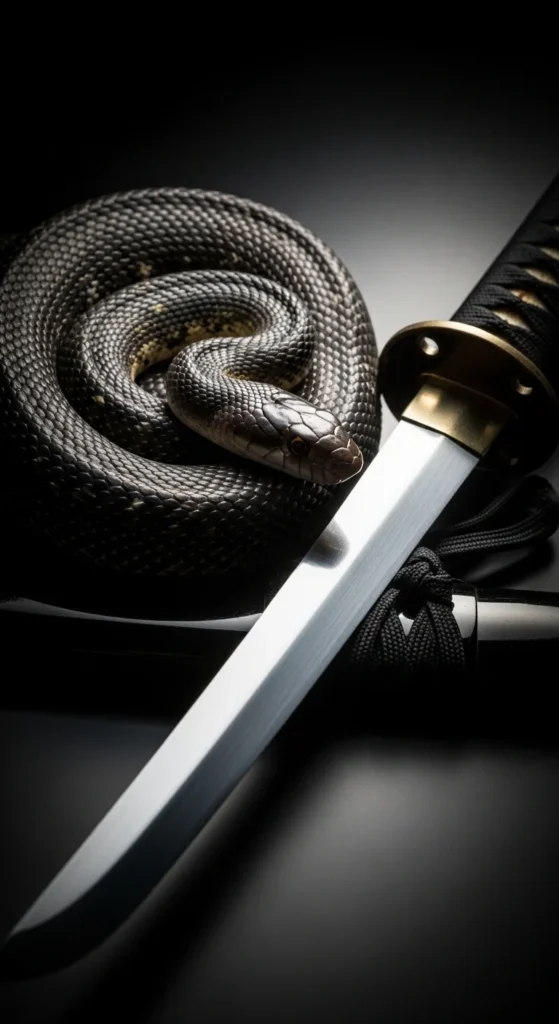
Snakes stand for wisdom and awareness. They wrap well around arms or legs because the shape bends easily.
To test the flow, draw a long curved line on paper. Add a tapered head and tail. This gives you a simple foundation.
If you’re watching your budget, get the outline first. Shading can be added later.
Tape a printed snake silhouette along your arm. Twist your wrist to see how the shape behaves when you move.
Snakes look great with only black ink, so you don’t need color to make them stand out.
12. Lotus-Mandala Fusion
Lotus designs pair well with mandala shapes. The result feels calm and structured.
Start by drawing a circle. Add lotus petals around the edges. Then fill the center with simple repeating lines.
Choose a small one-point lotus if you want something affordable. You can expand it later.
Hold the drawing against your wrist or ankle to test size.
If you want a more detailed version someday, leave a little empty space around the design so your artist can build outward later.
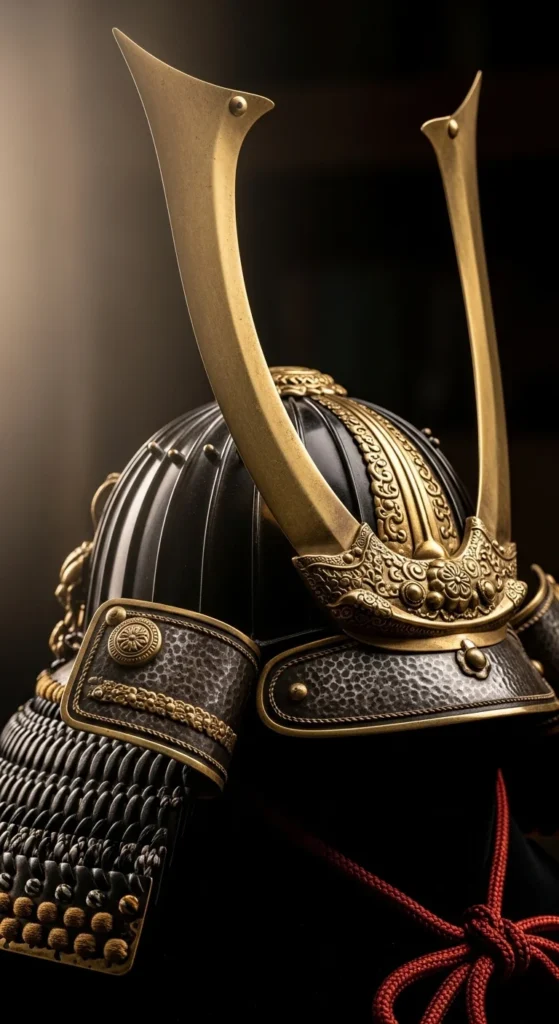
13. Samurai Helmet
Samurai helmets symbolize discipline and clarity.
You can sketch a simple helmet outline by drawing a half-circle for the top and adding two curved flaps on the sides.
If cost matters, skip the full armor details. Clean lines can be just as striking.
Test placement by printing a small version and taping it to your shoulder. Move your arm to see how the design shifts.
For a deeper meaning, add a single flower behind the helmet. Peonies or cherry blossoms pair well.
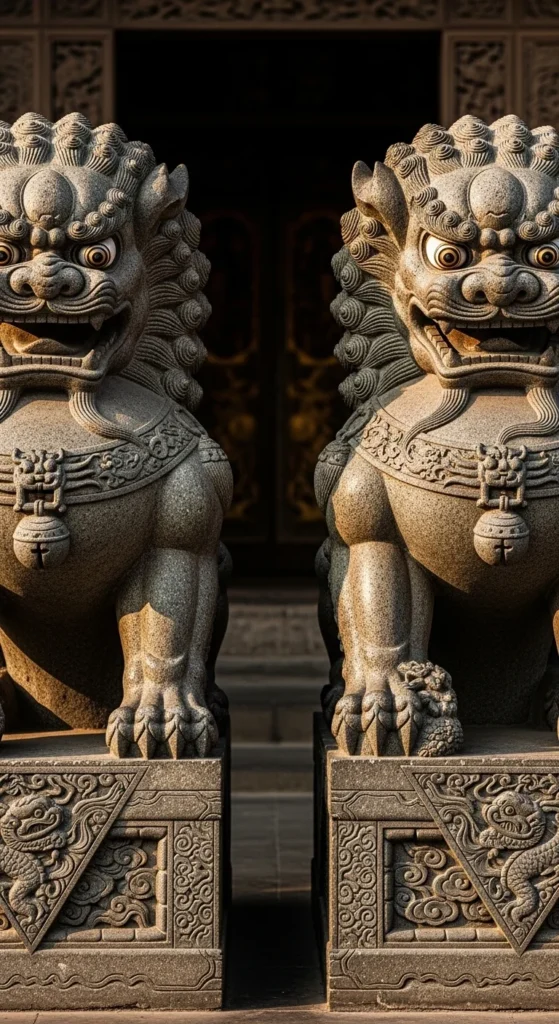
14. Foo Dog (Shishi)

Foo Dogs protect against harm. They look bold on shoulders or upper arms.
Draw a simple lion-like silhouette to explore shapes. You don’t need details early.
For a lower-cost session, keep the body outline light and add shading later.
Print a silhouette and place it on your upper arm. Check if the curve matches your shoulder line.
Foo Dogs pair well with clouds, which you can save for another session to space out expenses.
15. Maple Leaves for Seasons
Maple leaves often show change or maturity.
Draw five-point leaves using simple straight lines. Add curves later when you feel comfortable.
If you’re planning a sleeve, use leaves to fill small gaps. They’re quick to tattoo and budget-friendly.
Test placement by cutting out paper leaves and taping them along your arm. Spread them unevenly for a natural look.
You can combine them with wind bars or waves to create an autumn theme.
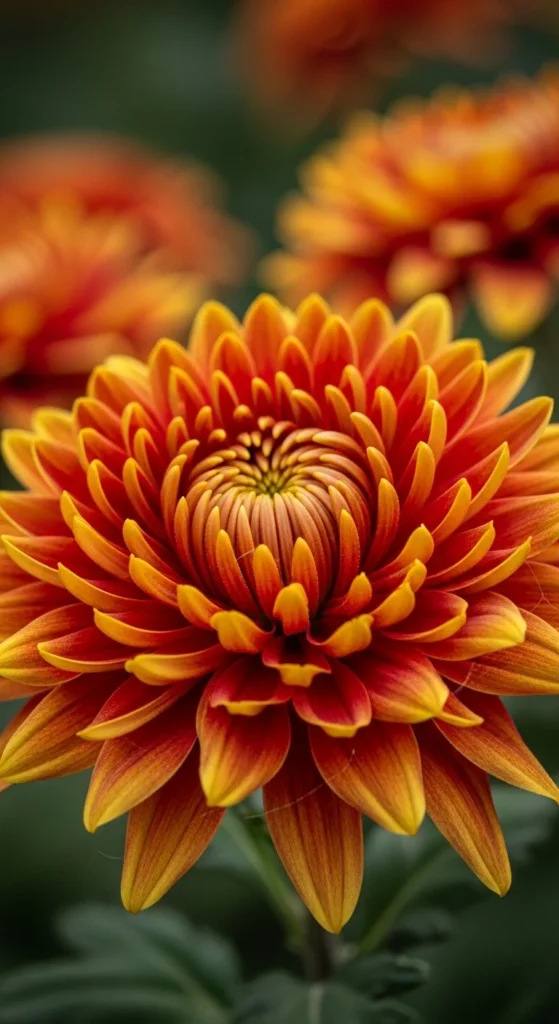
16. Chrysanthemum
Chrysanthemums show calm resolve. Their layered petals create rich patterns.
Sketch stacked petal layers inside a circle. Focus on large shapes rather than tiny details.
If your budget is tight, choose a medium size instead of a giant one. Smaller petals require more time.
Try taping a paper version to your thigh or calf to see how the round shape sits.
You can add a creature later, like a koi or snake, without changing the main flower.
17. Buddhist Deity Silhouette

Some people choose deity silhouettes to show calm focus. These designs stay simple yet meaningful.
Start with a profile outline. You don’t need tiny details. Let the shape speak for itself.
Minimal silhouettes cost less and still carry strong meaning.
Test placement by using a marker to draw a soft outline on your upper back. Wipe it off easily if you want to try a different size.
You can add floral elements later to build a full composition.
18. Snake and Peony Pairing

This pairing blends wisdom with confidence. The snake’s curve fits nicely around petals.
Sketch a snake around a single circle. That circle becomes your flower. This simple method helps you see flow quickly.
If you’re on a budget, start with the snake outline and add the flower later.
Tape a printed version on your forearm and twist your arm to watch how the snake bends with muscle lines.
Choose minimal shading if you want to keep sessions short.
19. Kitsune Mask
Kitsune masks symbolize clever thinking. They work well on forearms or calves.
Sketch simple fox features: slim eyes, pointed ears, and a narrow muzzle. Clean shapes help the design stay readable.
If cost matters, skip background patterns. The mask alone carries strong visual impact.
Test placement by drawing a small fox face on your calf with eyeliner. Walk around and see if the placement feels right.
Later, you can add wind bars to fill empty space.
20. Carp Transforming Into Dragon
This design represents growth and transformation.
Start by drawing a koi body at the bottom and a dragon head at the top. Then link them with a flowing line.
Ask your artist how to break the project into stages if you want to spread cost over time.
Print a paper version and tape it to your rib or thigh to test large placement.
You can keep shading light at first and expand later.
21. Tidal Wave Sleeve Base
Waves often form the base of full sleeves. They fill space and connect motifs.
Practice drawing repeating curls with simple pencils. Stick to big curves first.
If you’re working with a limited budget, get the wave outline first. Fill details across later sessions.
Tape wave prints along your arm to test how the pattern wraps. Adjust angles until the flow feels natural.
Add creatures or flowers once the foundation is ready.
22. Fudo Myo-o Silhouette

This deity represents inner steadiness. Full versions can be intense, but silhouettes keep the design simple.
Draw a blocky outline with one shoulder slightly raised. Add a flame shape behind.
If cost matters, skip detailed interior lines. The shape alone communicates the idea.
Test placement by drawing a flame outline near your shoulder blade. Small movements help you see how it fits your body.
You can add color later if you want heat effects.
23. Wisteria Branch
Wisteria represents grace and quiet strength. The drooping shape fits ribs and arms.
Draw long downward lines and attach small petal clusters. Simple shapes work fine.
Set a budget by choosing either one long branch or two short ones. More clusters take more time.
Tape a paper wisteria piece to your ribs and breathe deeply to see how it moves.
You can add wind bars above or below to complete the flow.
24. Crashing Wave and Sun

This combination creates a balanced scene.
Sketch a circle for the sun. Add one wave curl touching its edge. Keep the shapes large.
If you want a cheaper version, choose black and grey only. Color can be added later.
Test placement by cutting out a circle and wave shape and taping them onto your shoulder. Rotate for the best angle.
Ask the artist if you can keep the sun simple without texture.
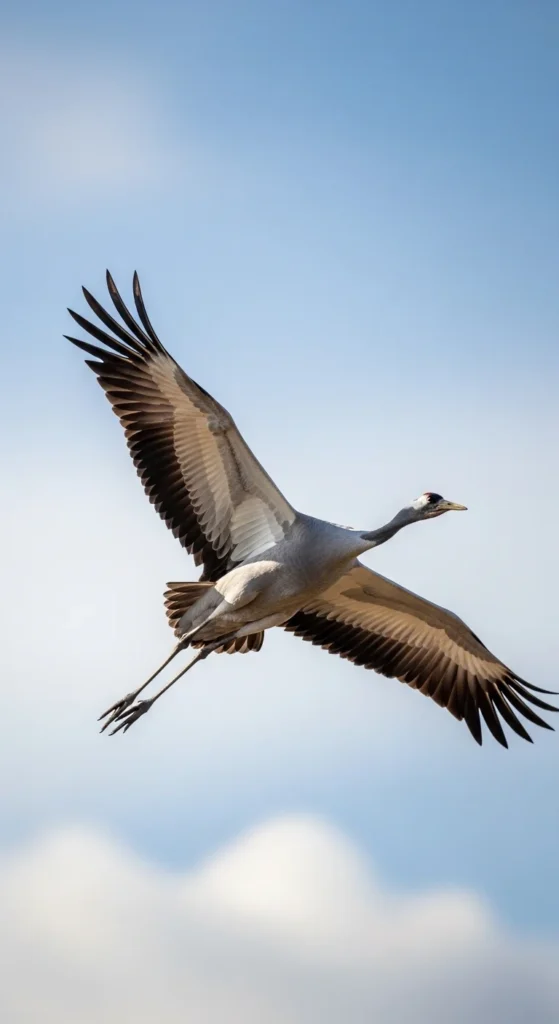
25. Rising Crane
Cranes stand for long life. Their long wings make them great for upper backs.
Draw the wings as two long curves. Add a slim body in the center. You don’t need details early on.
For a lower-cost plan, start with line work only.
Tape a crane silhouette across your upper back and move your shoulders to see how the wings sit.
Add clouds or blossoms later if you want a larger composition.
26. Daruma Outline
Daruma shapes are simple and motivating. They often represent persistence.
Draw a round body with two oval eyes. Keep the outline thick. This makes a great starter tattoo.
If you’re saving money, ask for only the outline and leave the eyes blank. Filling them later can mark personal milestones.
Tape a small cut-out Daruma to your wrist or ankle to test how it looks.
Later, you can add flowers or waves without changing the meaning.
27. Tengu Mask
Tengu designs stand for sharp awareness. They feature long noses and strong brows.
Sketch a basic face with exaggerated shapes. Keep details low-cost by choosing simple lines.
Test placement by drawing a tiny Tengu on your outer forearm with a washable marker.
Ask the artist if keeping the mask alone is enough. Backgrounds can be added later to save time.
If you want to personalize it, pick a single flower behind the mask.
28. Rope and Bell Motif
Temple bells appear in protective themes. The rope adds texture.
Draw the bell as a simple oval with a small top knob. Add a zigzag rope pattern.
If your budget is tight, choose only the bell and skip rope shading.
Tape a printed version to your calf or arm to see if the oval shape fits the space.
This motif pairs well with wind bars.
29. Wave and Cherry Blossom Mix

This mix blends motion with soft emotion.
Sketch a wave curl on paper. Add two blossoms near the crest. Keep everything simple.
If you want an affordable tattoo, start with only one blossom. Add more later.
Test placement by taping your sketch near your elbow crease and bending your arm.
Ask your artist how to keep the lines clean for easier future add-ons.
30. Back Panel Dragon and Clouds

This layout fits people planning long-term projects.
Draw a dragon head at the top of a large page. Add a flowing S-shape for the body. Surround it with cloud curves.
Break the concept into stages: head first, body later, background last. This helps with cost control.
Print a full-page design and tape it to your back. Move your shoulders to feel how the shape fits.
Add color only when you’re ready for longer sessions.
Conclusion
Japanese tattoos offer strong symbols and flexible ways to tell your story. You can start small, build over time, and shape each piece to match your budget and comfort. Simple sketches, paper tests, and staged sessions make the process easier. Use any of the motifs above to plan your next idea carefully and confidently.