
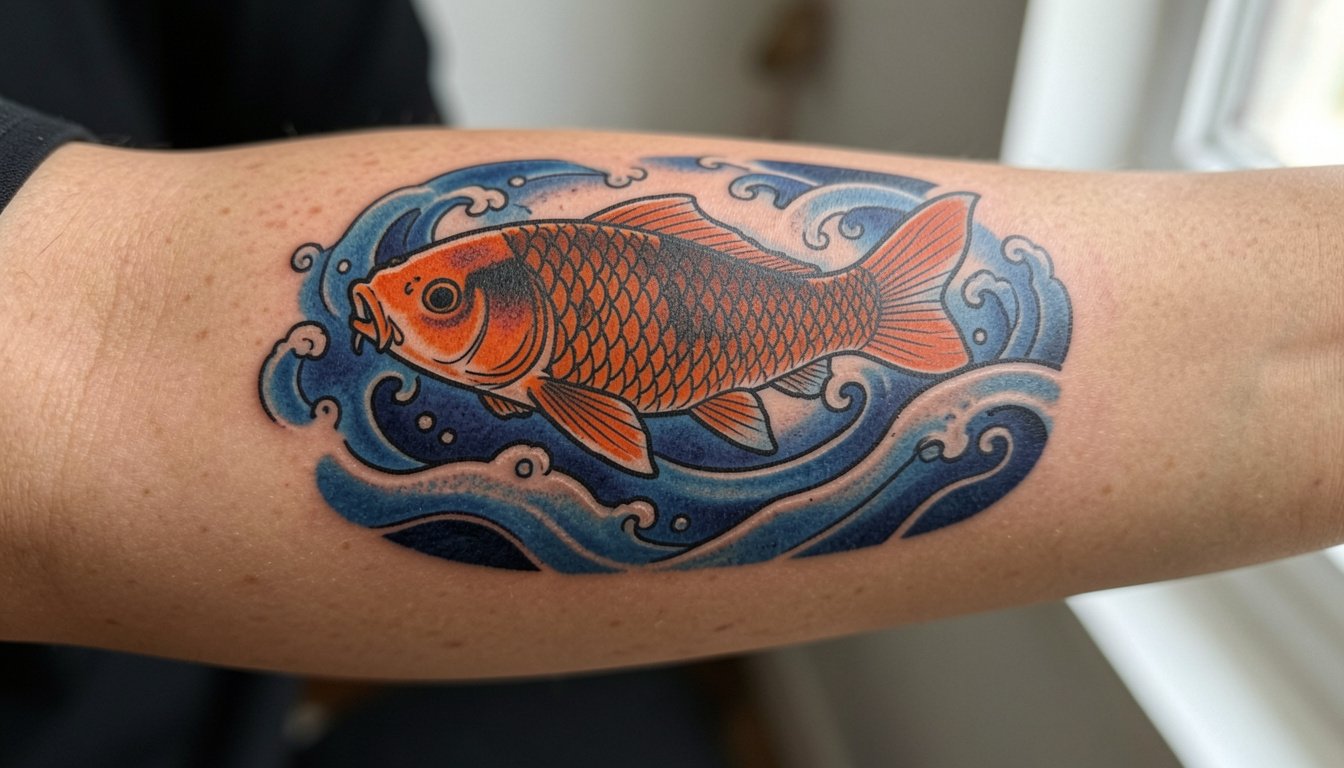
The way most people start an Irezumi project is backwards. They pick a single motif from a saved board and expect it to read like a sleeve when the piece is still a fragment. Bigger Japanese compositions win when the background and body flow are planned first, not last. Read these 23 proven direction ideas so you can show a coherent brief to your artist and get a piece that still reads clean and composed after years of healing.
1. Full-back dragon with wind bars and cloud flow
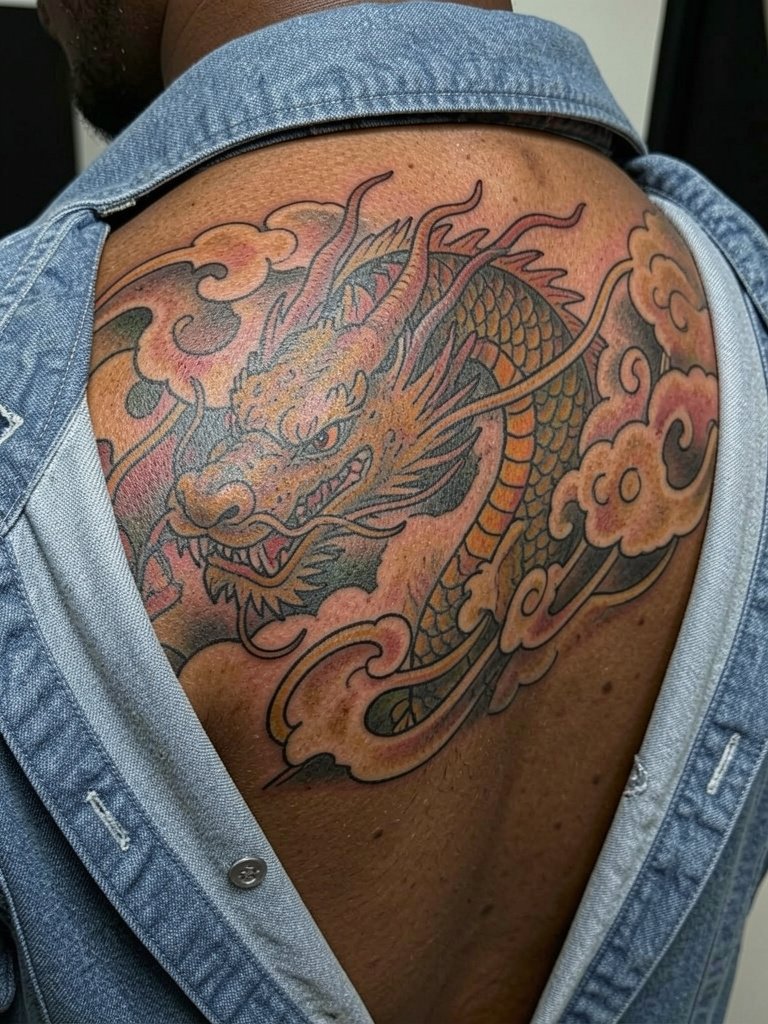
This is the composition most people imagine when they say Irezumi. Plan for multiple sessions and heavy background work, because the wind bars are what make a dragon read across the shoulder blades and down the spine. Expect long sessions that require a loose button-up on chair day. The common mistake is a dragon placed without breathing room for clouds, which creates visual crowding once the piece is touched up. For longevity, ask the artist how they will handle linework thickness across the spine so scales do not blur into a single dark mass at five years healed.
2. Koi swimming upstream with water flow on the forearm
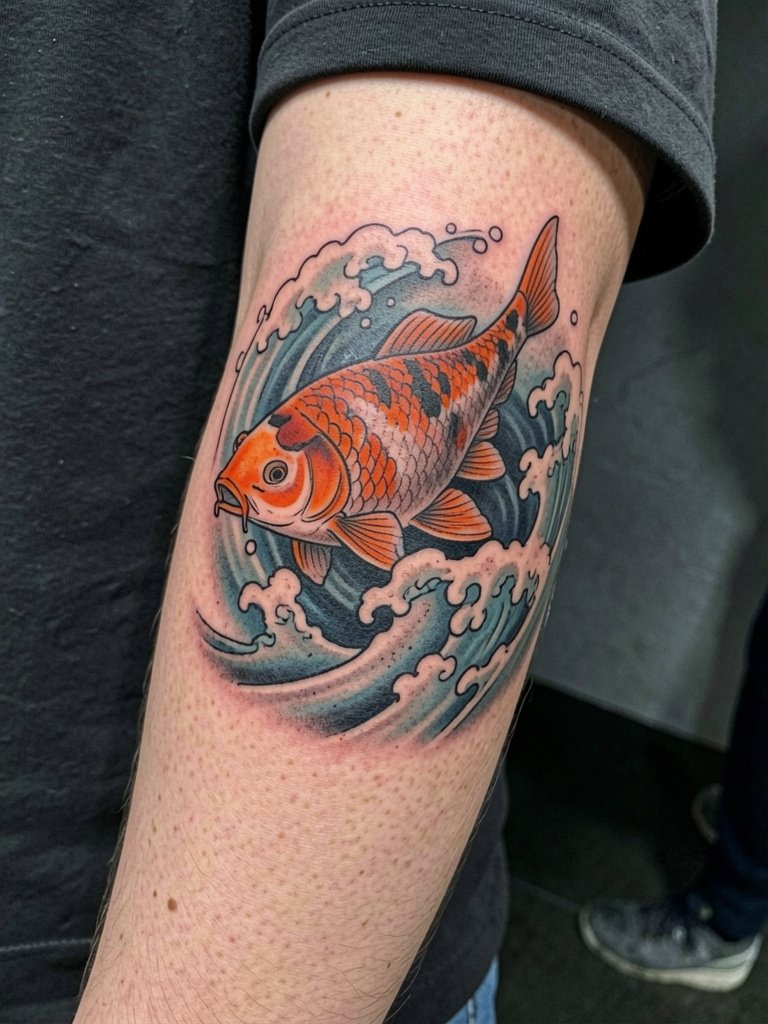
Koi on the forearm reads as motion if the water wraps slightly around the limb. This placement is forgiving for first-timers because it can expand into a half sleeve later. One camp favors full color here because orange and blue give clear hierarchy. Another camp prefers black-and-grey for easier upkeep and less risk of muddy patches over time. If you want color, plan for bold fills and strong black anchors so saturation stays readable at year three. For the session wear, roll up a rolled-sleeve tee so the artist can work the palm-up surface without fabric rubbing the fresh ink.
3. Cherry blossom and wave filler composition for the shoulder
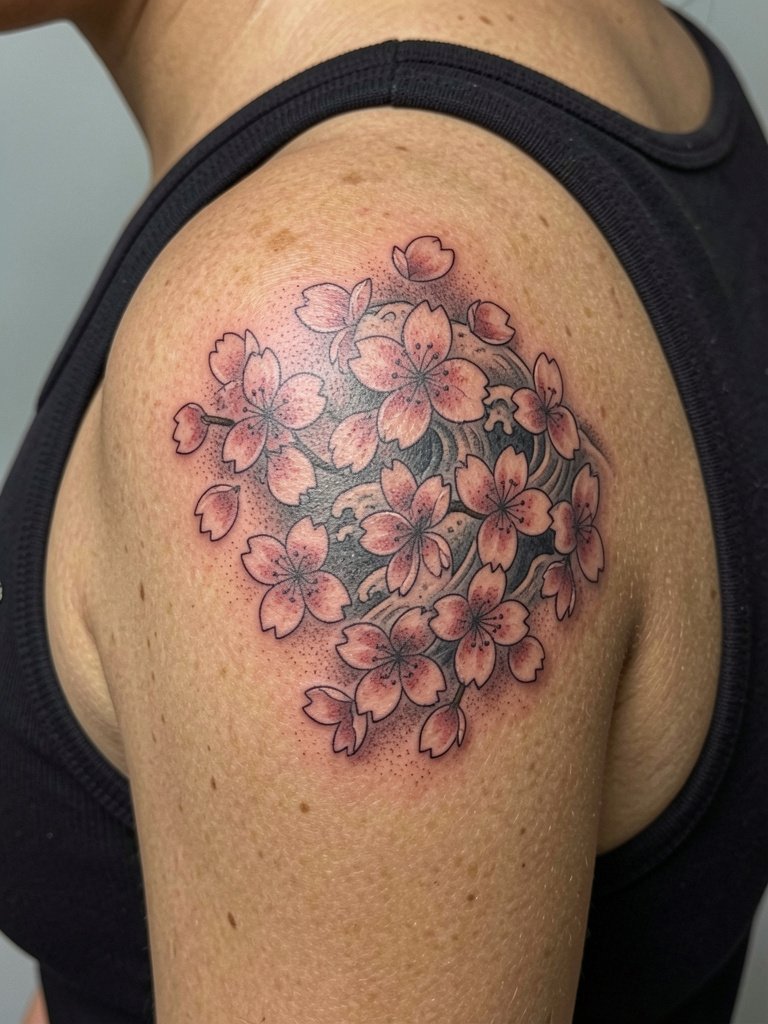
Sakura works best as filler between stronger motifs because the light pink or muted tones create contrast without fighting the main subject. A common aging error is using single-needle petals too small for shoulder texture, which can blur into a blotch after a few years. When you want the piece to pair with summer outfits, consider an open-shoulder look and bring images of the exact petal scale you like. For showing it off, this placement pops with a racerback tank top that leaves the shoulder line clear.
4. Peony chest panel with cloud background under the clavicle
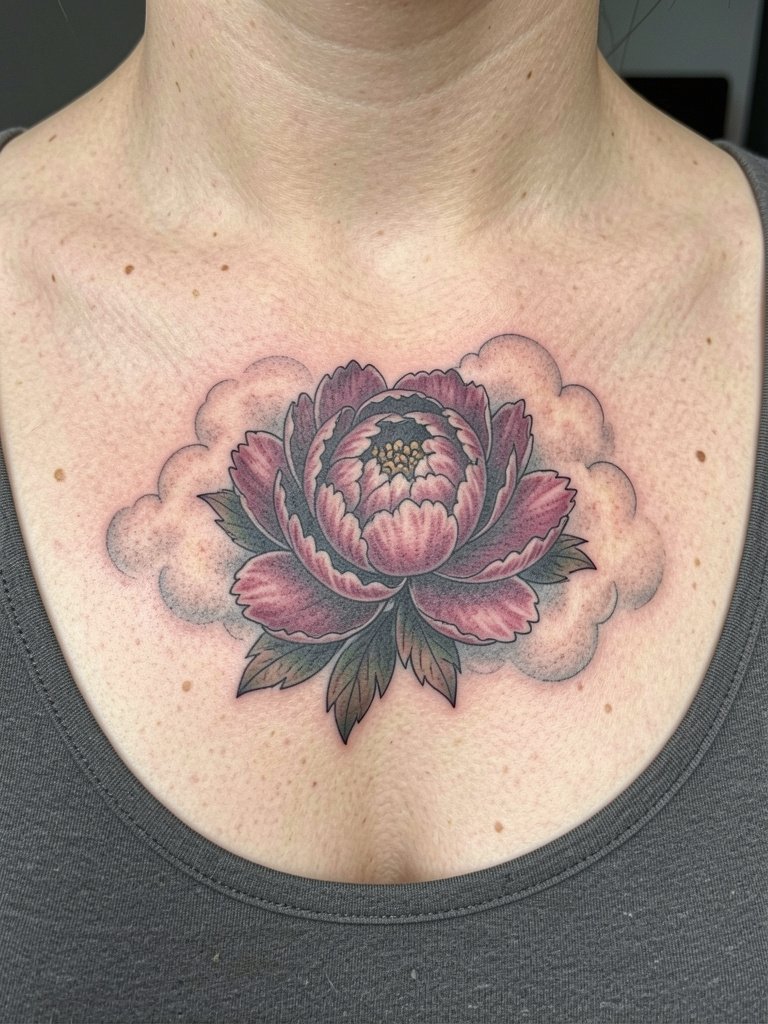
A peony on the chest reads like armor when paired with cloud flow. The chest skin can take heavier saturation than the wrist, but it also stretches with body movement. Avoid tiny interior detail in the petals because the motion of breathing can soften single-needle texture. For session comfort, wear an open-collar shirt or a scoop-neck top so the artist has clear access. If the piece will later connect to a sleeve, plan edge shapes with negative space to simplify future blending.
5. Tiger side-torso panel that follows rib curves
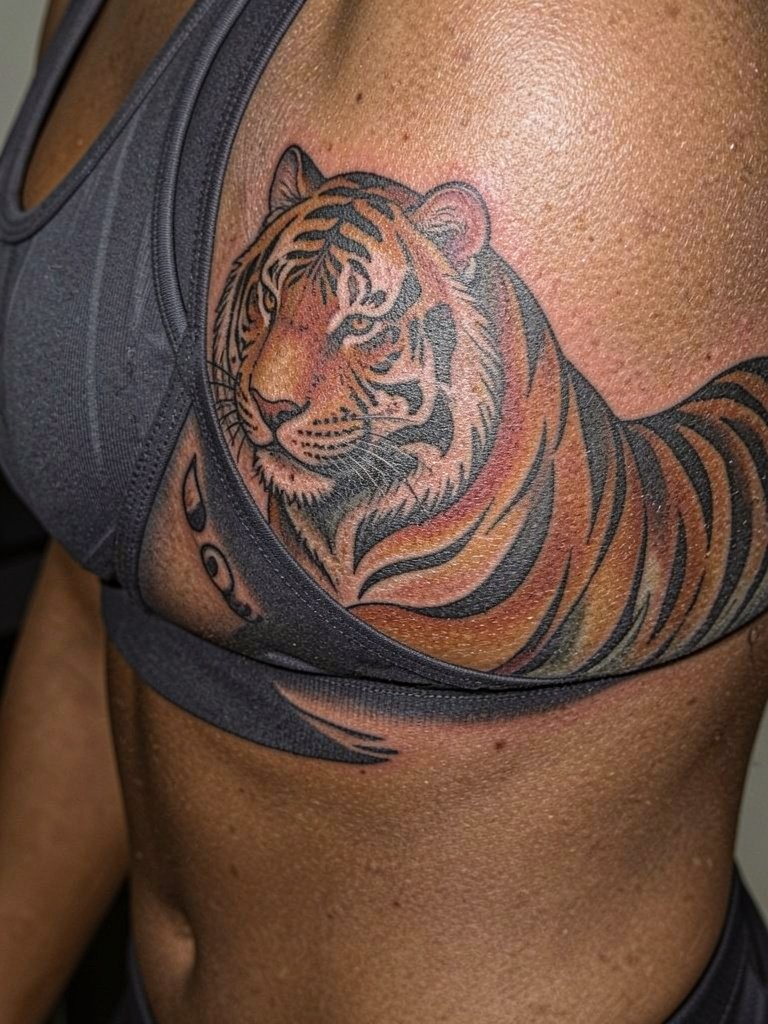
Rib pieces are high on the pain chart but dramatic in motion. One camp argues starting with a small motif is safer to test pain and placement. Another camp insists that piecemeal additions make the final body flow feel patched and incohesive. If you want a tiger that reads as one form across ribs, budget sessions that map the flow first and use wider black anchors for contrast. For the session, a fitted sports bra makes access simple while keeping you comfortable during longer passes.
6. Phoenix on the upper thigh with feathered tails
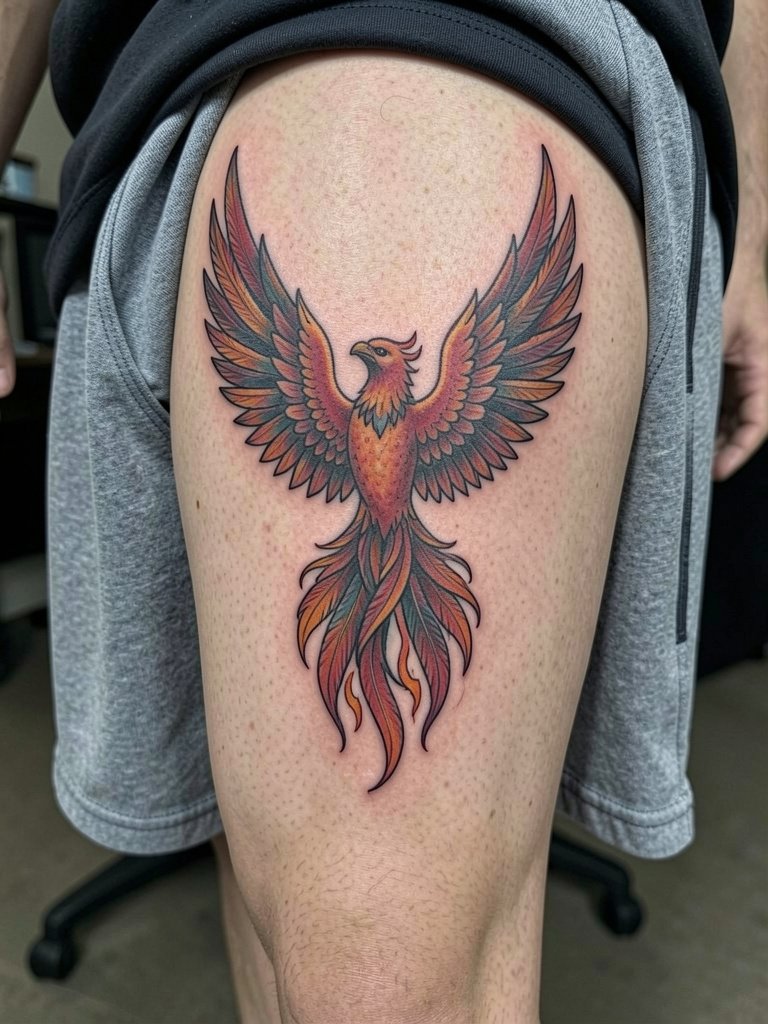
Thigh placements let artists use larger compositions with softer edges because the skin is broad and rarely exposed to heavy sun if you want it that way. Pick saturated colors if you want the phoenix to read from a distance, but know that thigh skin heals differently than forearms and may need a touch-up at year two. For the session wear, pull on loose shorts that can be rolled slightly so the artist can shift access without pressure on the healed area. This area often serves as a starter zone that later expands into a hip or torso panel if you choose to continue.
Session Day Picks
The first six ideas above include placements that demand different session-day gear and light protection, so these picks target those exact needs.
- Fragrance-free gentle cleansing foam. Gentle foam is easier to spread over a back or thigh panel and keeps large areas clean without greasy residue during the first week.
- Fragrance-free healing lotion from indie brands. A thin, non-shiny lotion soothes bigger pieces without clogging or leaving a heavy film.
- Second-skin roll protective film. Useful for long multi-session projects like backs and sleeves where extra film can prevent friction on fresh ink.
- Mineral sunscreen stick for tattoos. Easy reapplication on shoulders and forearms once healed to protect saturation and contrast.
- High-SPF mineral sunscreen. Broad coverage sunscreen for exposed tattoos after healing helps delay color fade and preserves black contrast.
7. Samurai figure with storm background for a narrative back piece
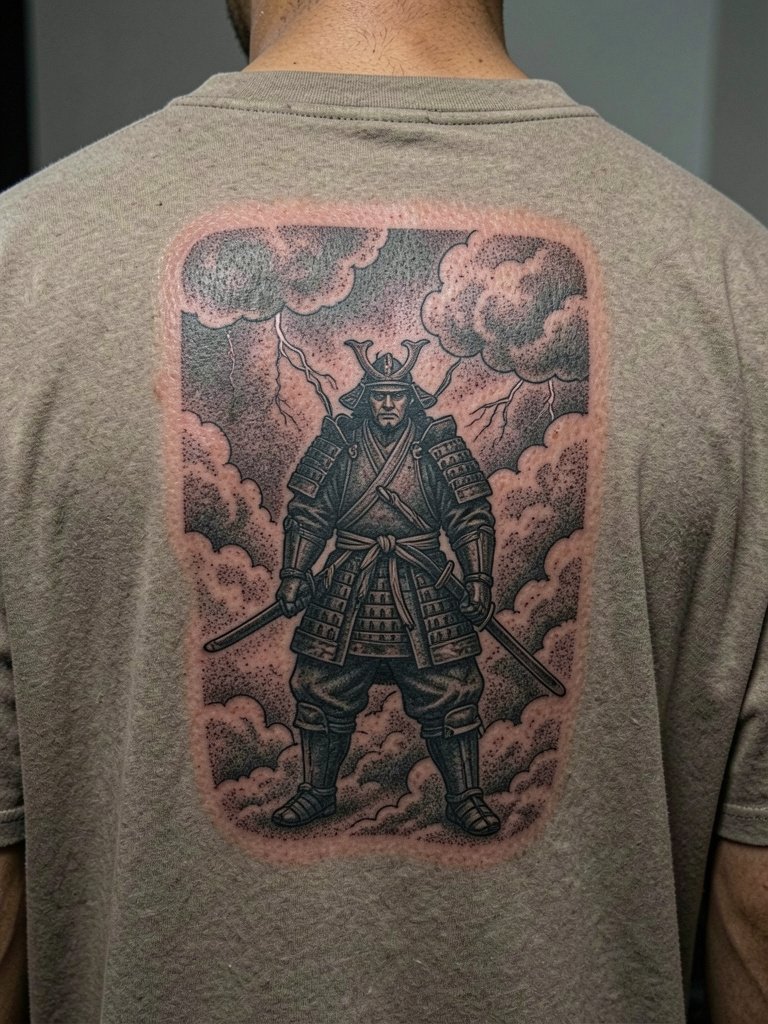
A samurai scene becomes readable when the negative space of the storm is treated as an intentional frame, not an afterthought. Many pieces fail because the background clouds are tacked on after the figure, which creates visual competition. A smart session plan separates the main figure passes from background passes so saturation and contrast are consistent across sessions. If you plan a narrative back, photograph references of posture and chest expansion for the artist so they can map the composition to your body shape.
8. Karajishi guardian lion on the calf
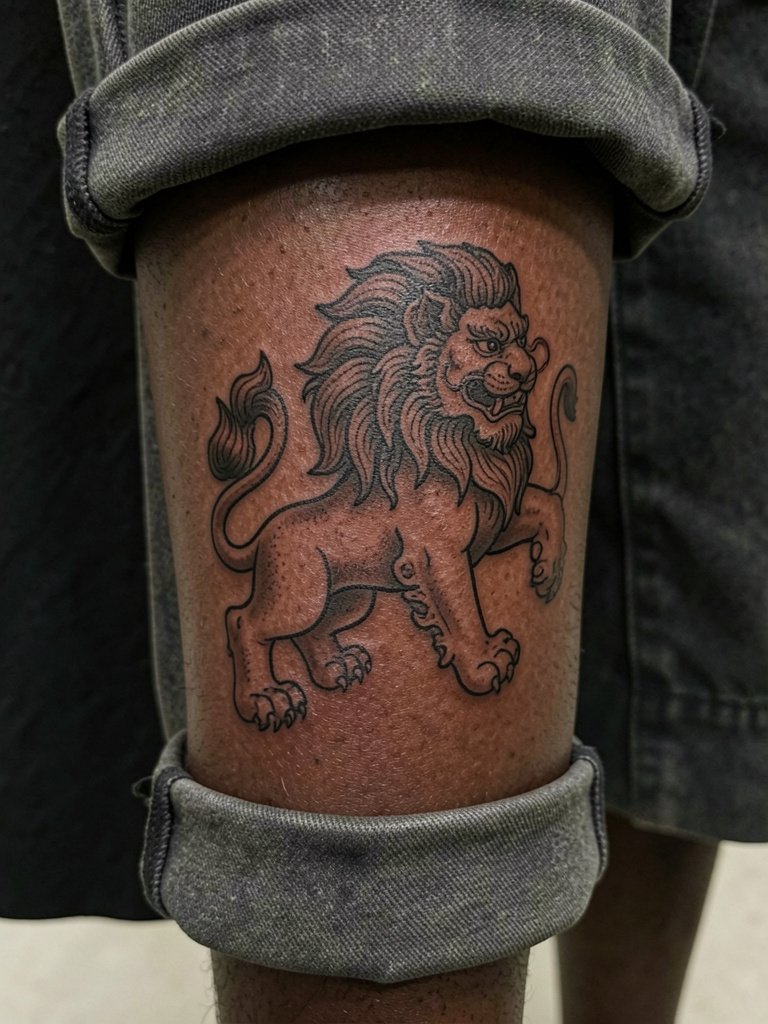
The calf is forgiving for compact but detailed mythological creatures because the vertical surface lets the mane read without distortion. Watch for blowout risk with very fine hair lines; heavier mane strokes with stipple shading hold better on this area. For showing off the lion, lean into cropped pants or shorts and accessorize with stacked socks in cooler months. Consider wearing straight-leg cropped pants on reveal days so the silhouette stays clean.
9. Heikegani samurai crab as a forearm conversation piece
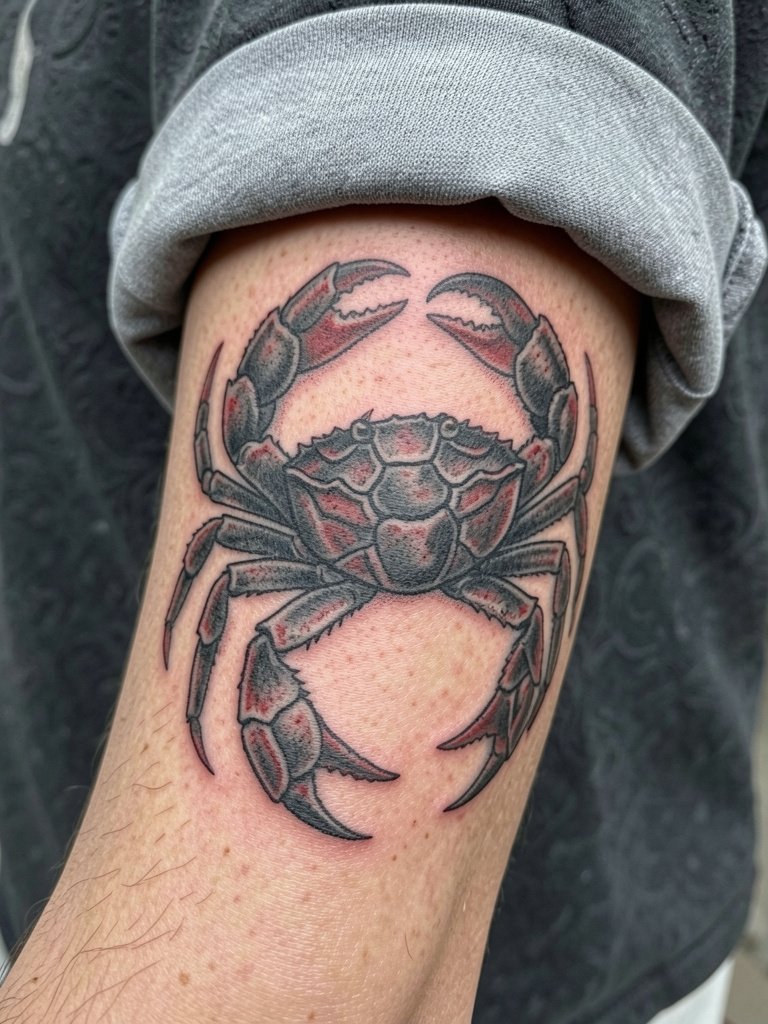
Unusual motifs like the samurai crab make great starter pieces because they can expand into sleeve narratives. The forearm surface is high visibility, so keep the shell pattern bold and avoid tiny filigree that ages into fuzz. If you plan to highlight this at work or social outings, pair it with a cropped denim jacket or a linen overshirt. For session day, wear a rolled-sleeve tee so the artist can work the outer forearm without fabric interference.
10. Ryu dragon sleeve start with clouds and wind bars on the shoulder
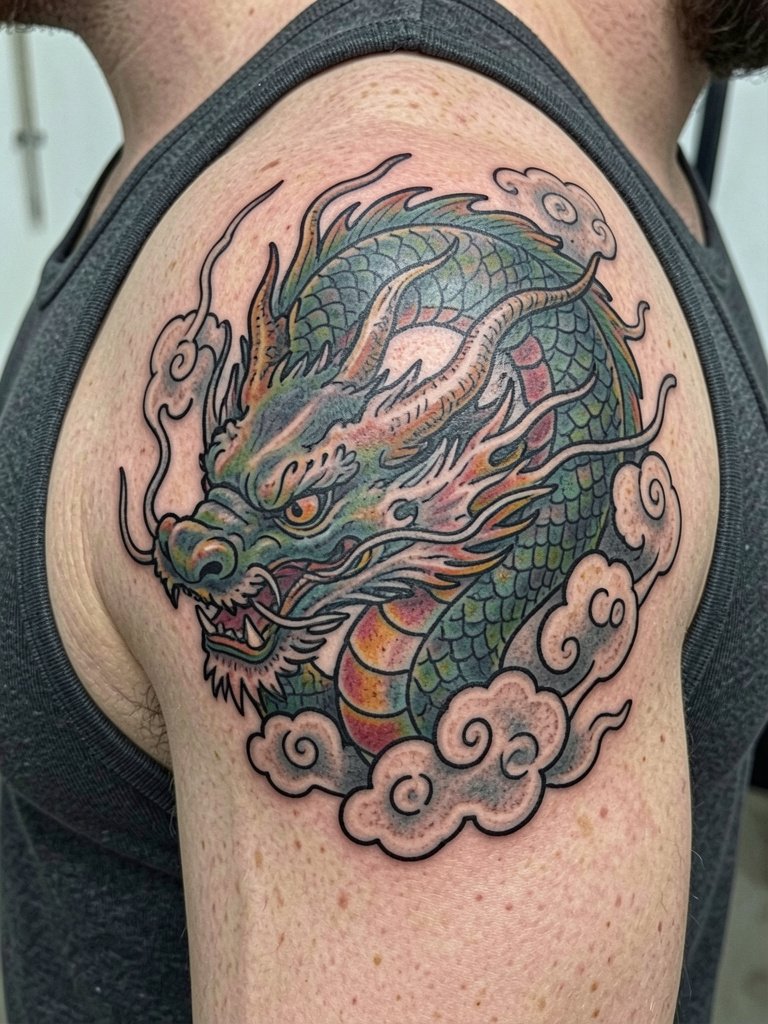
The sleeve start is the planning phase that decides how the dragon will spiral down the arm. Resist the urge to treat the shoulder cap as a standalone patch. A smart artist will sketch how the wind bars move around the deltoid so the dragon looks continuous when you lift your arm. For casual shows, a muscle tank frames the shoulder without cutting off flow, which helps you visualize the piece between sessions.
11. Chrysanthemum and wind background half sleeve for balanced filler
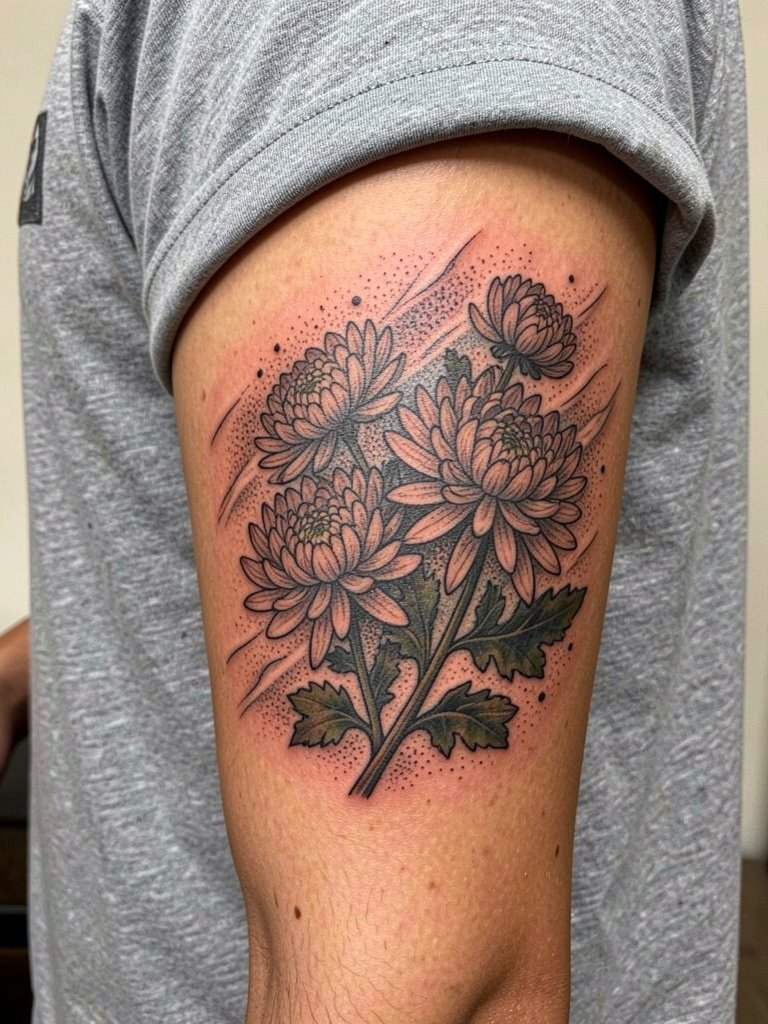
Chrysanthemums are flexible as both focal flowers and background blocks, which makes them useful when you want a half sleeve that still leaves space for a hero motif later. Avoid compacting too many small petals into the same block because the texture can flatten over time. If you like a vintage workwear vibe with sleeves, roll up an oversized box tee to showcase the arm without overpowering the piece.
12. Oni mask thigh piece with heavy shading
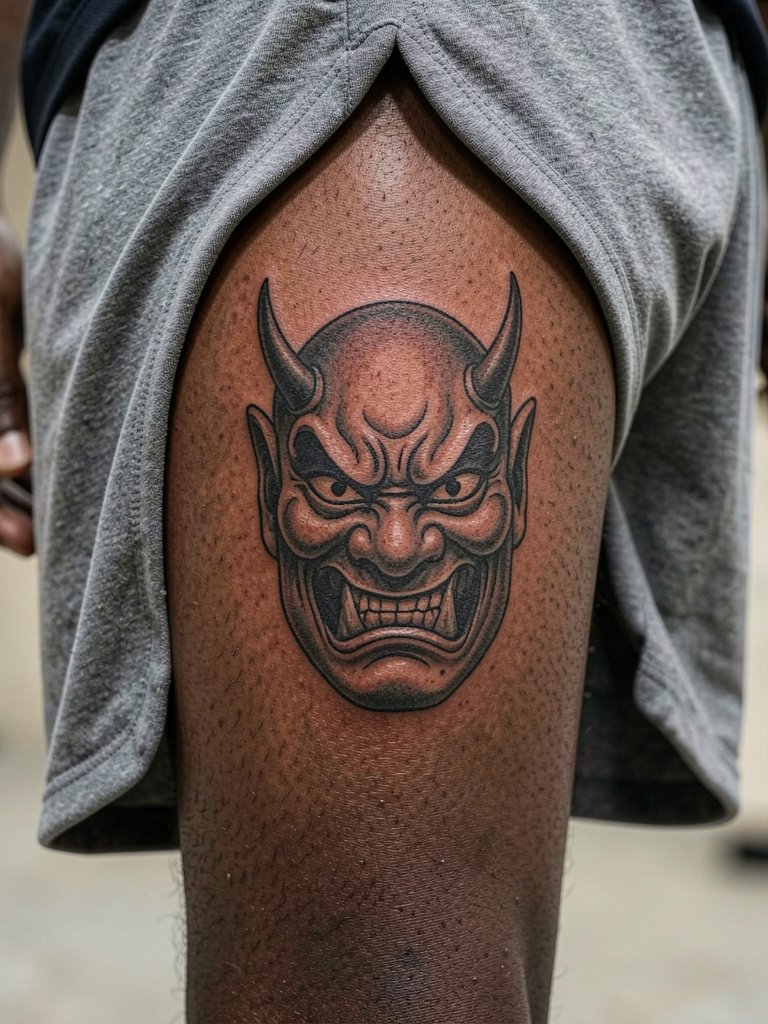
Oni masks read as bold centerpieces because their faces carry strong contrast. When done correctly, the mask will age into a readable icon rather than a dark smear. The thigh allows for bigger shadow passages, but heavy saturation on tender areas may require an extra touch-up. If you plan to wear mini skirts or bike shorts to show it off, choose hems that naturally frame the mask so the composition reads in motion.
13. Traditional mixed-motif sleeve that emphasizes full background
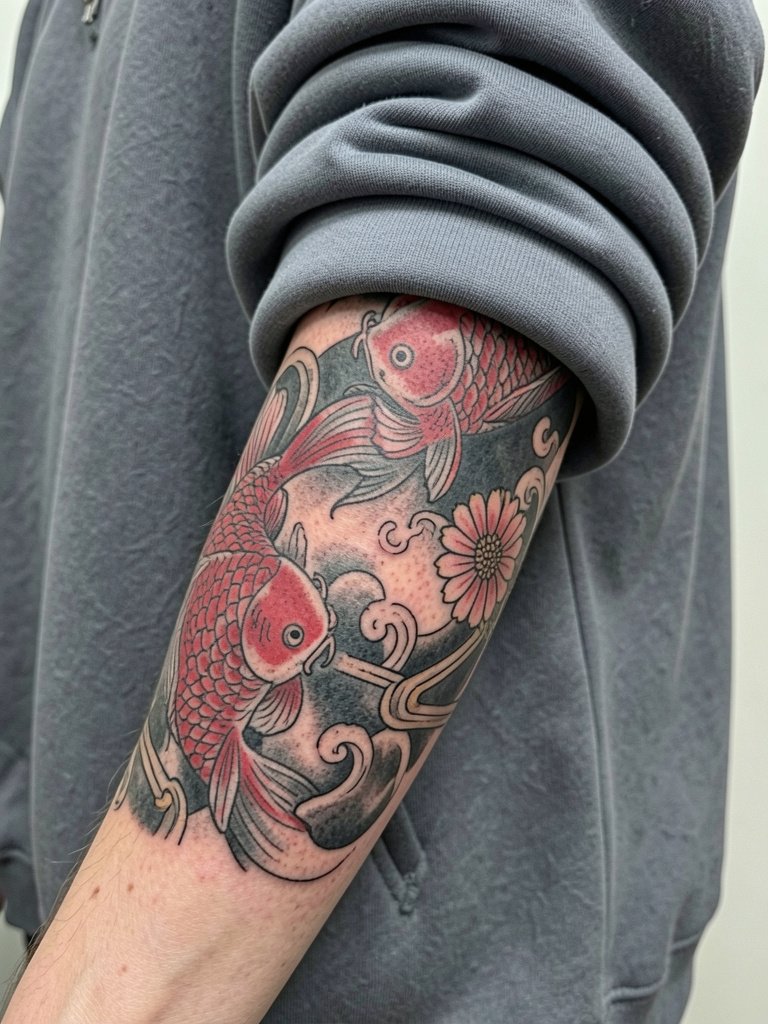
This is the classic route collectors take when they plan a sleeve that reads as one image. The key is background balance so the motifs do not compete. Avoid collecting isolated flash pieces and gluing them together later. For session days and reveals, throw on an oversized sweatshirt you can roll up to access the arm while keeping your torso covered.
14. Large-scale back panel with water, clouds, and multiple creatures
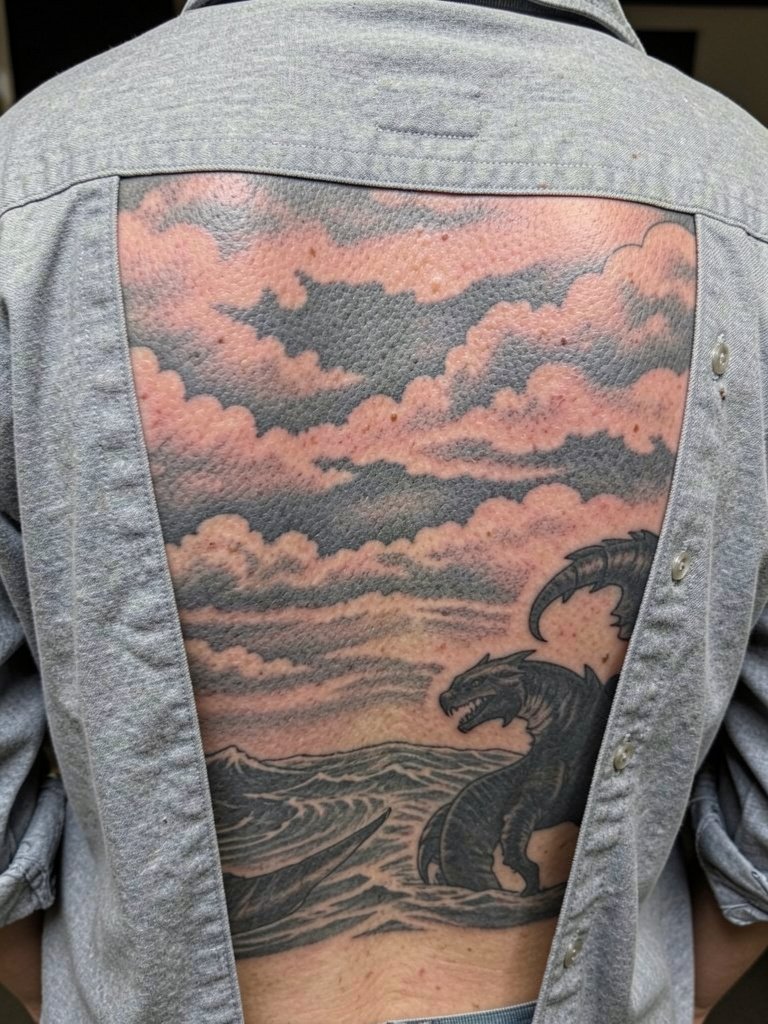
Large back panels demand planning for negative space. One common client error is asking for maximum coverage without considering how clothing and posture will interact with the composition. Background density that is too heavy turns the panel into a single dark plane at touch-up. Have the artist show a staged map of where clouds will breathe and where water will create movement, so the design keeps hierarchy through multiple sessions.
15. Small symbolic cherry blossom wrist starter
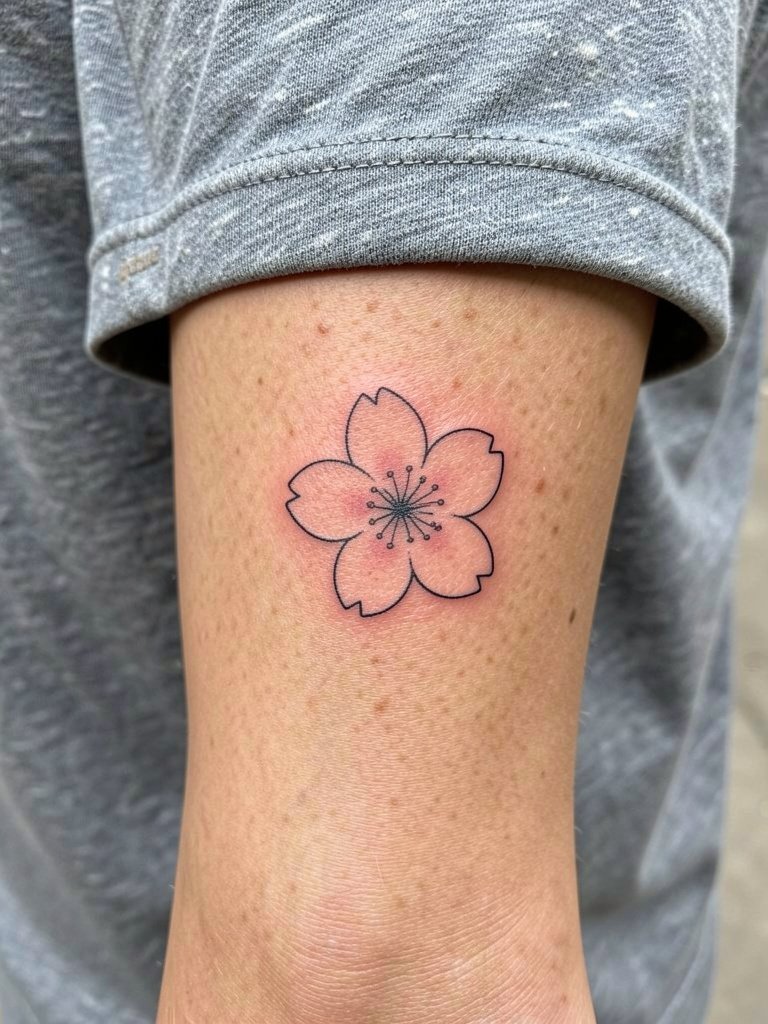
Wrist pieces are lower-commitment entry points for Irezumi motifs, but they require scale that accounts for hand motion and frequent sun exposure. Fine single-needle petals can blur from daily washing and friction, so slightly bolder contours keep the blossom readable. If you want something that expands into a sleeve later, maintain a clear edge on the piece. For showing it off, a slim bracelet or thin bracelet set on the opposite wrist complements the small design without competing.
16. Hannya mask as an arm or upper-arm focal
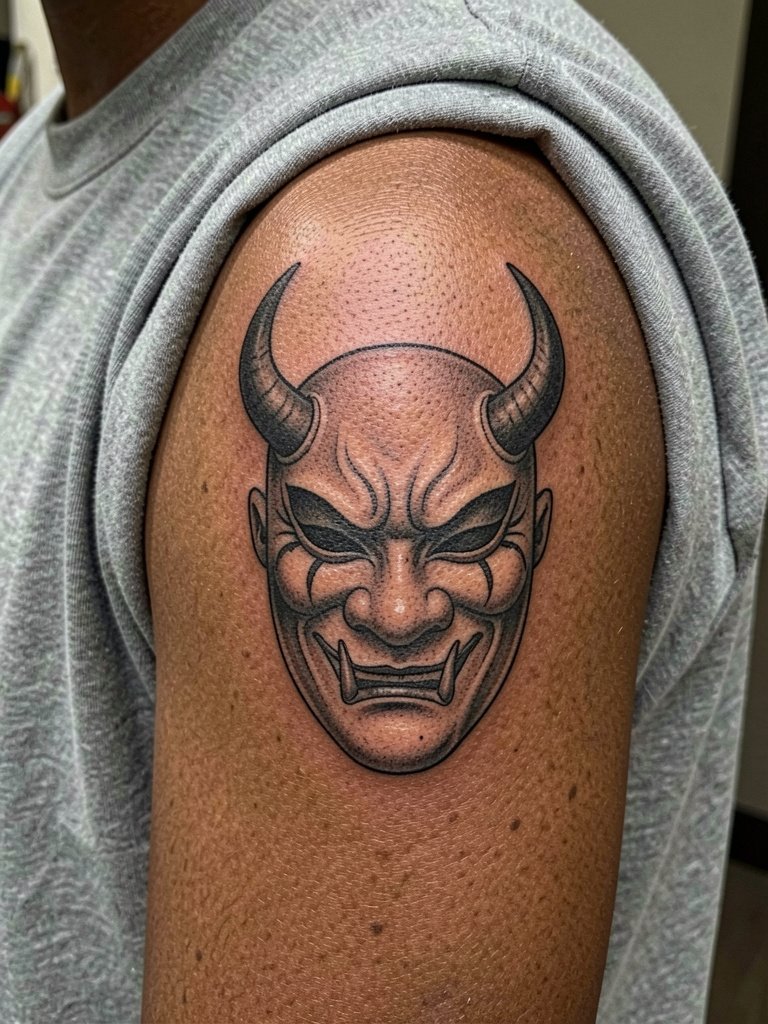
Hannya masks carry specific folklore connotations, so include a short sentence of cultural respect in your brief and avoid casual mashups that strip meaning. The mask benefits from strong black anchors and layered shading because facial lines soften with time. If you choose this as a focal arm piece, plan how it will point into adjacent flowers or water so the eye can travel rather than stop abruptly.
17. Crane and pine chest-shoulder panel for elegant flow
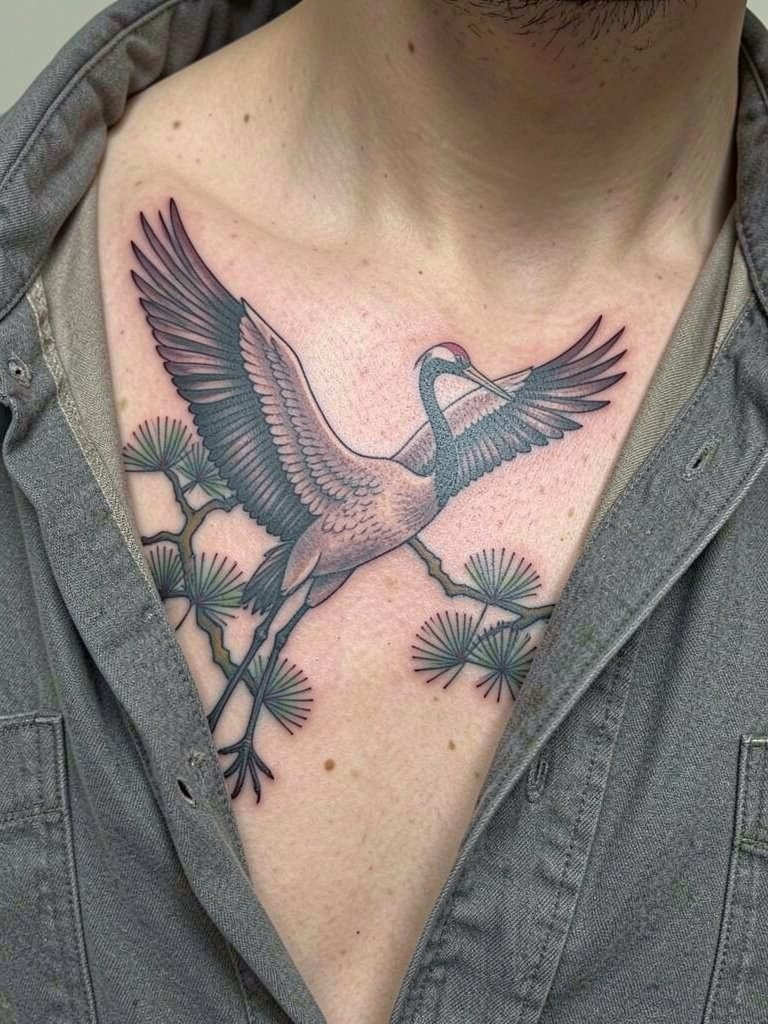
Cranes pair well with chest panels because their wings follow the collarbone line. For longevity, keep wing feathers slightly broader than you might sketch at first. If you prefer a wardrobe that highlights collarbone pieces, an open collar shirt and a layered chain will frame the area without crowding it. Bring posture photos to help the artist set wing angles that remain flattering whether you are standing or seated.
18. Lotus and wave ankle band for a subtle traditional touch
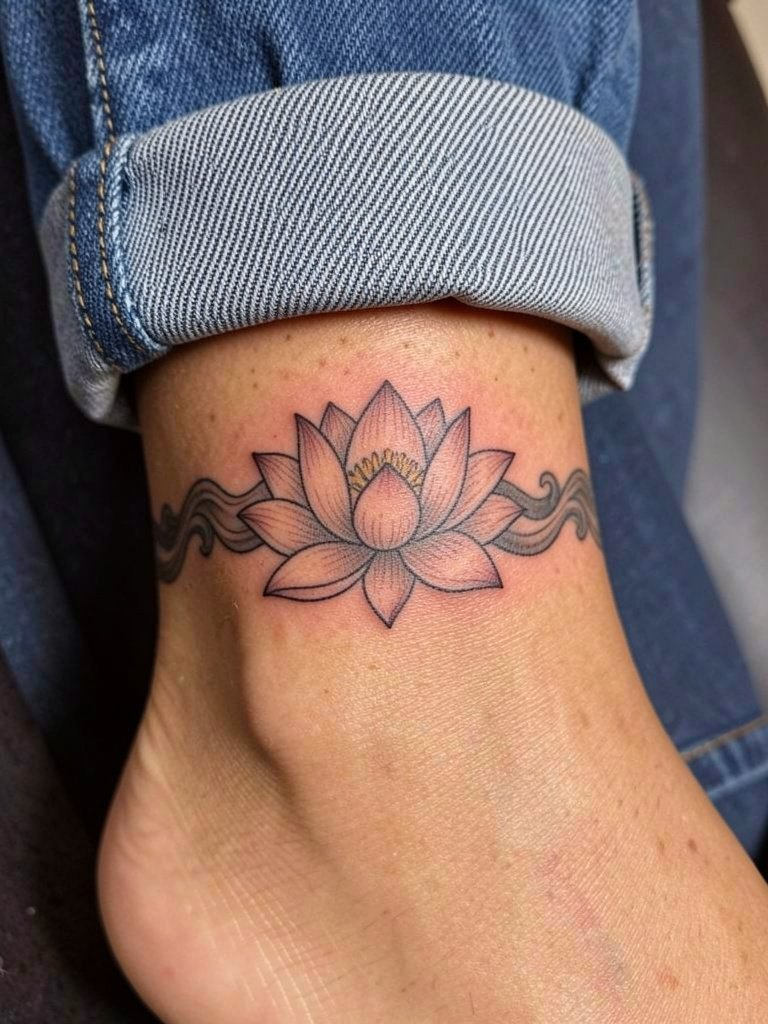
An ankle band is a discreet way to introduce Irezumi motifs into everyday wear. Keep linework clean and avoid tiny stipple inside the lotus when you expect frequent shoe friction. When you want to show the piece off, cuff jeans or wear cropped pants that sit naturally above the ankle. A planned reveal with cropped pants keeps the ankle silhouette neat and ensures the band reads as intentional rather than accidental.
19. Komainu or temple guardian chest panel
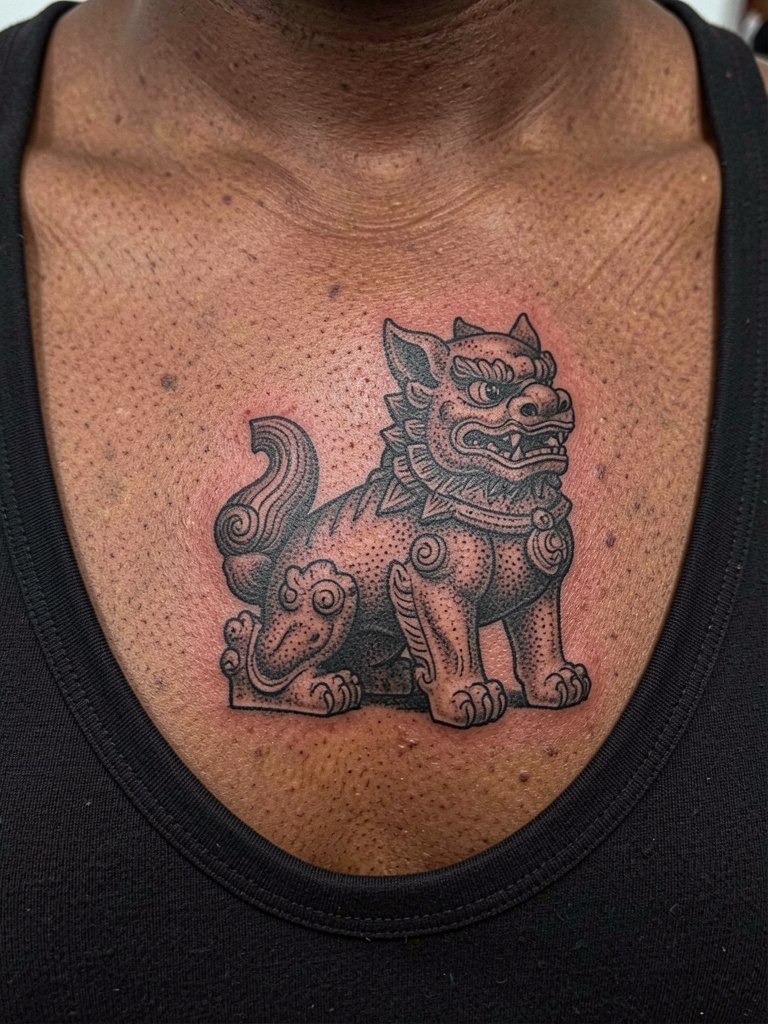
Guardian creatures are powerful focal themes and they demand a respect note in the brief because of their cultural origins. If the chest is your chosen canvas, emphasize symmetry or intentional offset in the consultation so breathing and torso movement do not warp key features. Expect the piece to require multiple shading passes to achieve consistent saturation without overworking the tissue.
20. Dragon head chest panel that ties into a sleeve
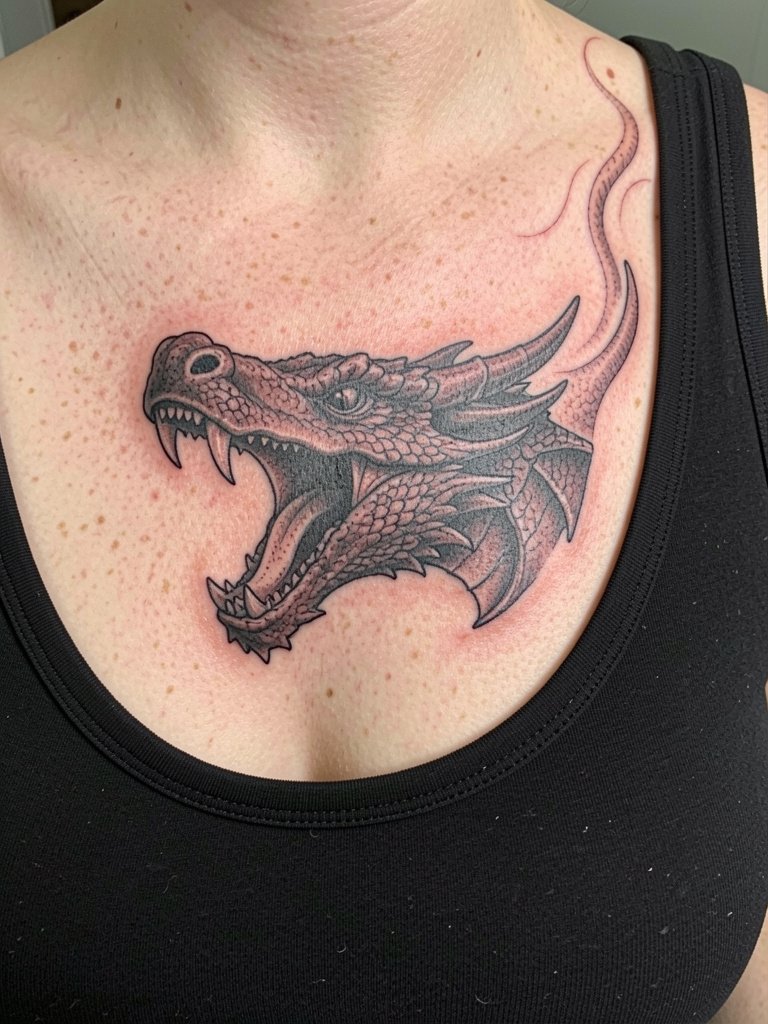
A chest dragon head reads as a hero motif when its directional gaze points to the sleeve or back. Session planning should prioritize long, even passes for scale texture so saturation does not vary across sessions. If you want the piece visible with layering choices, consider fitted tops that leave the collarbone area open. For styling, a scoop-neck top frames the chest without interrupting the dragon line.
21. Wave band forearm wrap that connects multiples
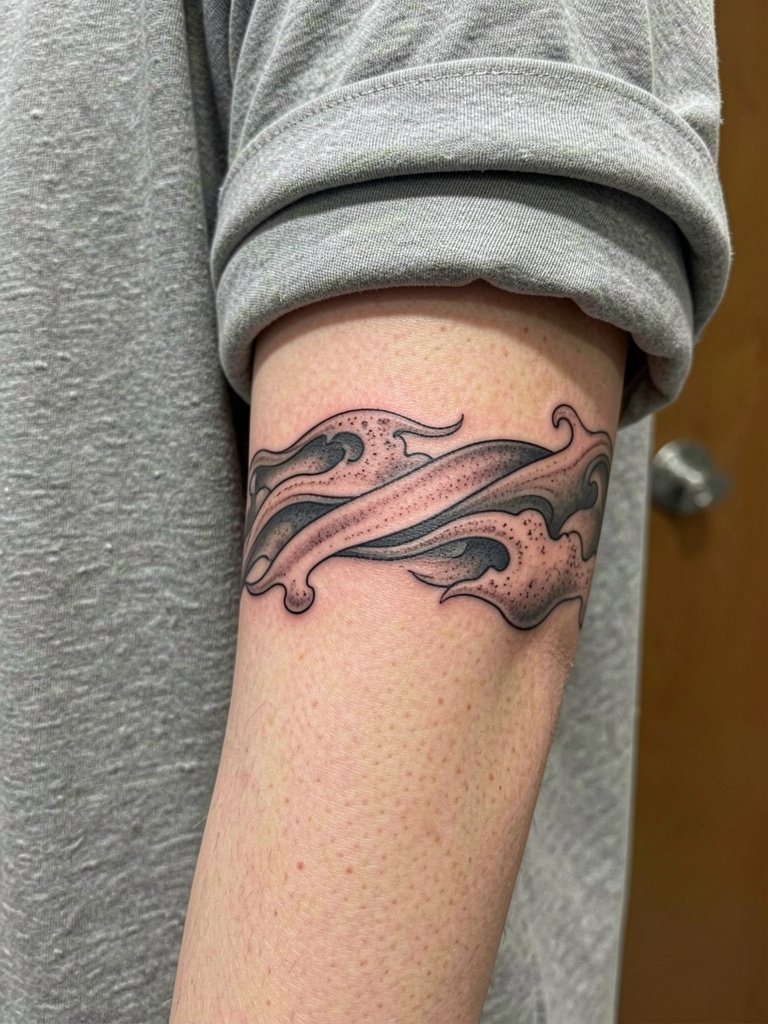
Connector bands like waves and wind bars are the unsung glue of Irezumi. They let you add a new koi or mask later without the feeling of a patched-on element. Keep the wave rhythm consistent and avoid abrupt thickness changes that show as healing inconsistencies. When revealing the forearm between sessions, a short sleeve tee rolled up neatly shows the band while keeping the rest casual.
22. Minimalist sakura inner bicep fragment for phased builds
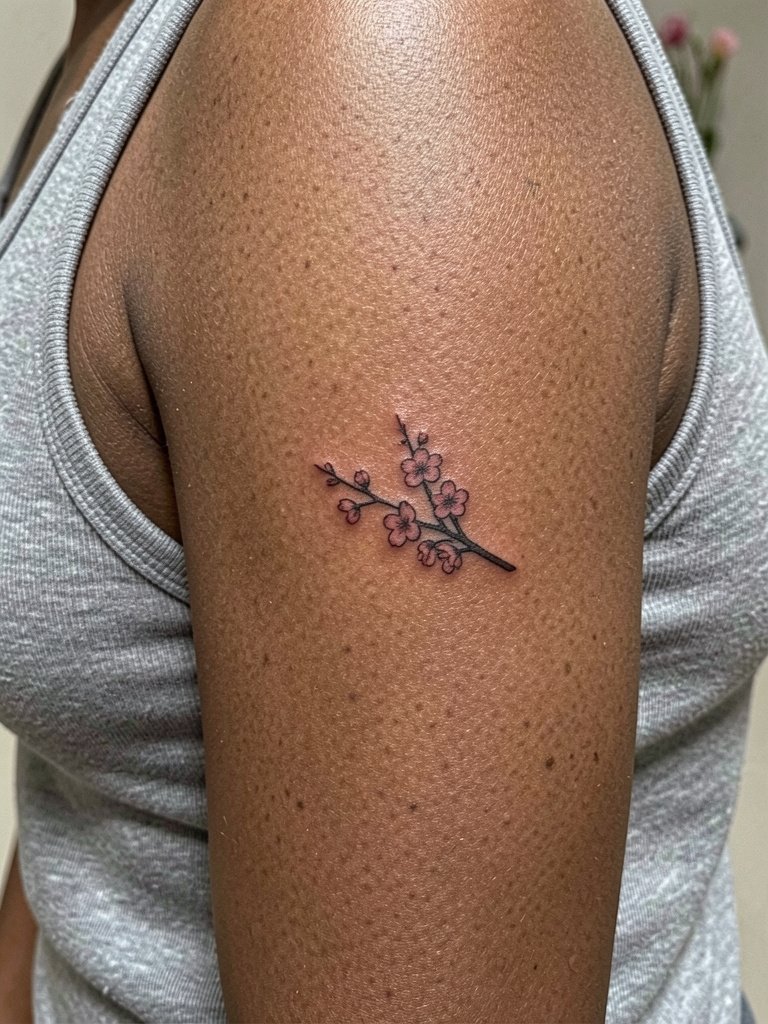
Inner bicep pieces are good tests for how your skin holds fine detail. Be aware the inner upper arm is softer and sometimes moves with muscle tone changes, so very thin single-needle scripts may soften faster than petals or small silhouette forms. If you select this placement for a staged sleeve plan, map how the fragment will expand. Note: inner bicep work sometimes requires an artist with experience on soft tissue, so choose a portfolio that shows healed inner-arm examples.
23. Wind bars, clouds, and filler blocks as sleeve connectors
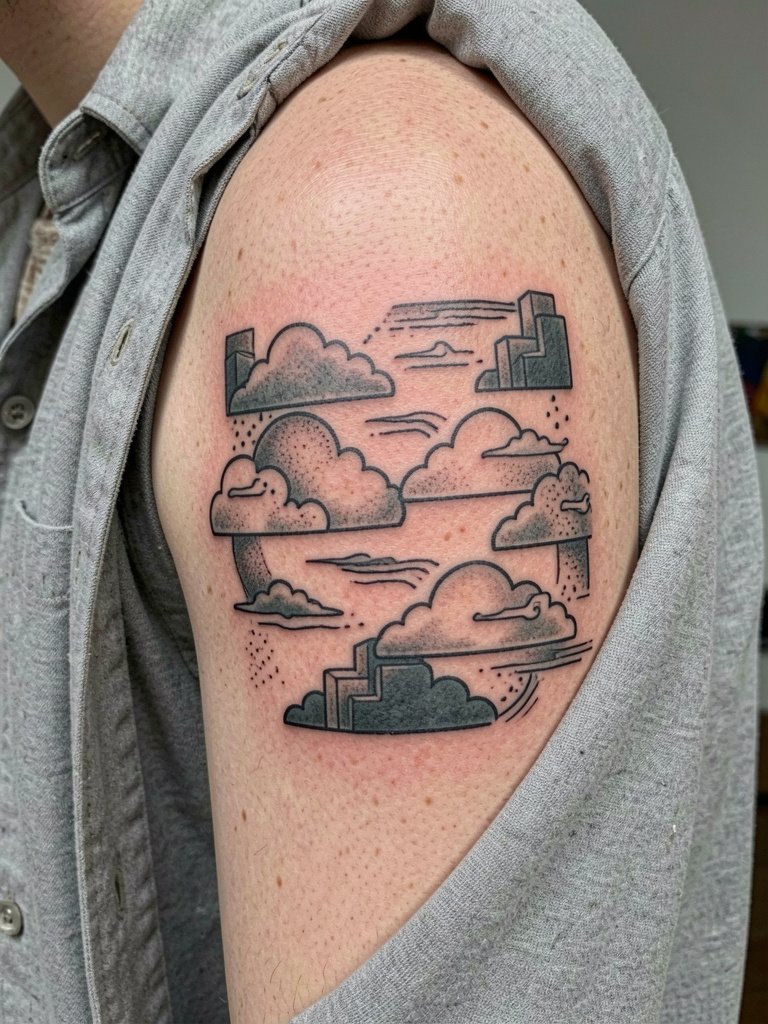
Connector elements are not filler in the sloppy sense. They are deliberate shapes that let koi, dragons, and peonies breathe together across curves. The mistake is treating them as an afterthought and relying on a single session to force cohesion. Spend time with your artist on the drawing board to get wind bar thicknesss and cloud spacing right so the sleeve feels like a single composition at year two and year five. For reveal styling, a simple open-collar shirt works well so the connector lines are readable without competing accessories.
Frequently Asked Questions
Q: How do I decide between color and black-and-grey for an Irezumi piece?
A: It depends on your maintenance goals and the piece size. One camp prefers color because traditional motifs like koi and peony use saturation to set visual hierarchy. The other camp favors black-and-grey for easier longevity and less chance of muddying. If you want color, prioritize bold fills and strong black anchors so the work reads clearly at three to five years healed.
Q: Can I start small and expand into a sleeve later without ruining body flow?
A: Yes, if you choose the right starter placement and design language. Some people prefer the small-first route to test comfort and artist fit. Others say starting with a cohesive plan avoids patched-on looks later. To make small work expandable, insist on edge shapes and negative-space intended for future connectors rather than a hard framed patch.
Q: Where should I look to find artists who show healed Irezumi portfolios near me?
A: Search hashtags like #irezumi, #japanesetattoo, #koifishtattoo, and #japanesetattoo sleeve on Instagram and TikTok and use location filters to narrow to your city. Tattoodo and portfolio directories help filter for healed Japanese work by keyword. Browse Reddit communities like r/irezumi and r/tattooadvice for real client photos and advice on cohesion and healed outcomes.
Q: What should I wear to a back or ribcage session to stay comfortable?
A: For back work, a loose front-button shirt or zip hoodie that opens fully makes getting on and off the chair easier. For ribs, a fitted sports bra or loose bralette can give the artist access while keeping you supported. If you want a clothing suggestion for reveal days, try an open-back tank top that shows the back panel cleanly without adding seams.
Q: How often will I need touch-ups on bold traditional Irezumi pieces?
A: Expect touch-ups as part of the plan rather than a surprise. Large saturated panels often need a touch-up between 12 and 36 months to restore contrast, especially if they see steady sun exposure. Plan touch-ups into your budget and ask for healed photos from the artist that show similar scale and skin tones so you can set realistic expectations.
Q: Are traditional tebori hand-tapping methods better than machine work for Irezumi?
A: Artists disagree in two clear ways. One group argues tebori gives a softer saturation and connects you to the tradition in a way machines cannot replicate. The other group points out that machine work is more accessible and still produces high-quality saturation and composition when the artist knows the style. If the technique matters to you, request healed photos from that technique so you can compare how it ages on real skin.
Q: How should I think about Irezumi on darker skin tones so contrast stays readable?
A: Contrast matters more than color choice. On darker skin tones, strong black anchors and high-contrast negative space maintain motif clarity. Look for healed examples on similar skin tones and ask how the artist adjusts saturation and line weight to preserve readability over time.
