
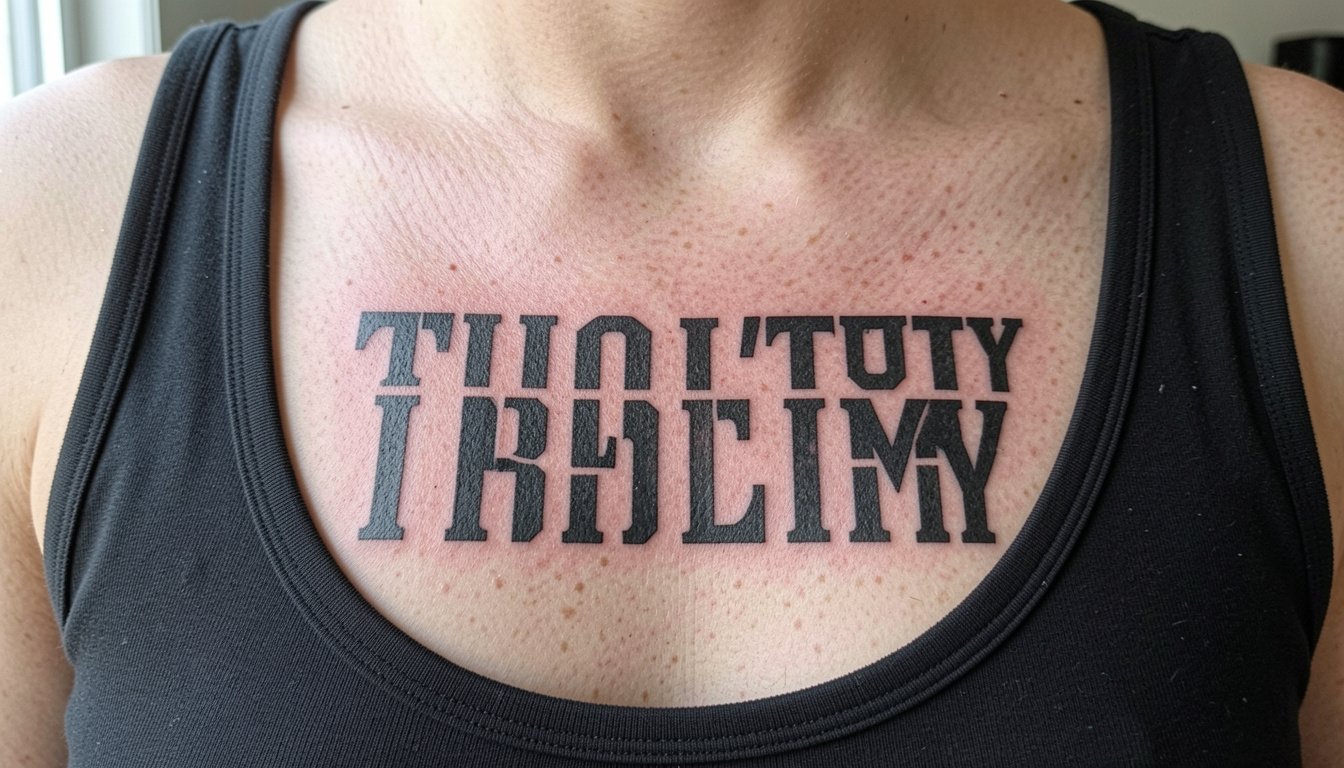
Bold letterforms read longer on skin than whisper-thin scripts, true or not. Heavy serif and blackwork lettering keeps shape as pores and time nudge lines, while single-needle type often softens into a gray smudge. Choose bold face options when you want a word or name that still reads at year five, and size it so the counters and joins have breathing room from the start.
1. Bold Serif Script on Inner Forearm
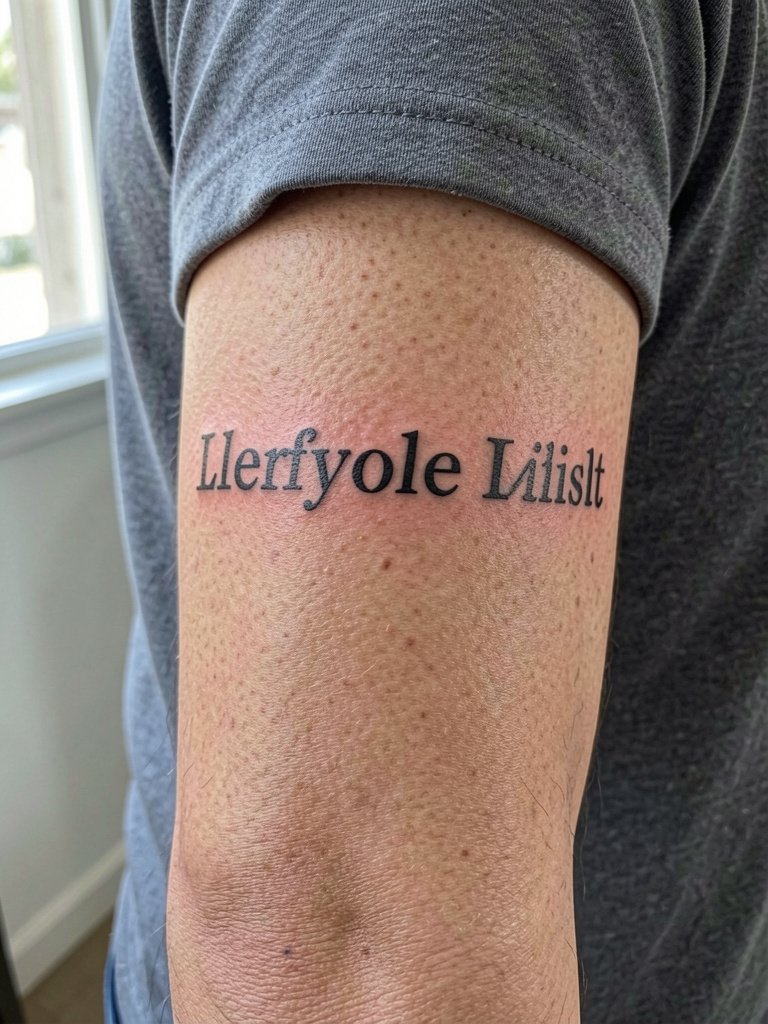
A bold serif word on the inner forearm is one of the most legible text placements. It works when you want a name or motto to read from across a room, and the placement keeps the type safe from constant rubbing. Plan for a session of one to two hours for a single word, and expect a touch-up around year two if you push the line weight too fine. Common mistake is shrinking the text to fit 1.5 inches. Ask for slightly wider counters and a thicker main stroke so the serif terminals do not fill in. For showing it off, roll a sleeve and pair with a crisp white oxford shirt that frames the forearm without distracting.
2. Geometric Block Letter Chest Patch
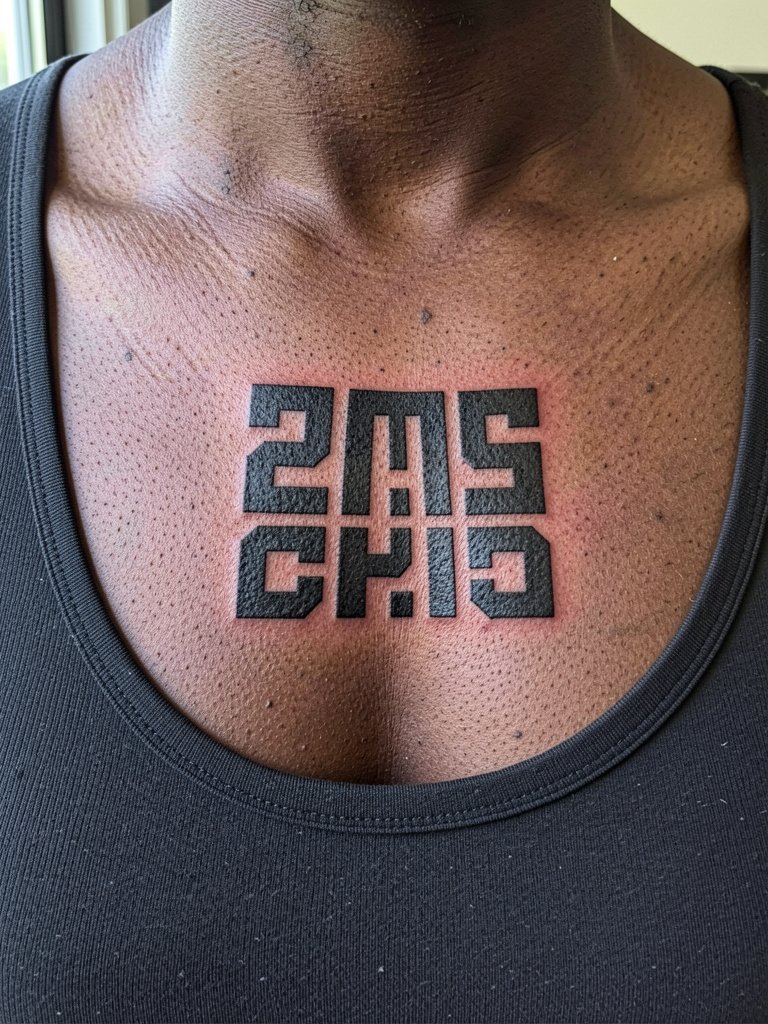
Block lettering on the chest reads as a badge and pairs with broad black fills to resist fading. The sternum and upper chest have firmer skin, so saturation holds well here. A typical session runs two to three hours for a solid patch and may require one short touch-up after the first year for even saturation. Mistakes occur when artists try to micro-detail the counters. Instead, ask for clear negative space in each letter and consistent saturation across the panel. For evening wear, a crew-neck sweater that sits just below the collarbone keeps the piece visible without exposing the whole chest.
3. Heavy Sans Number Stack on Upper Arm
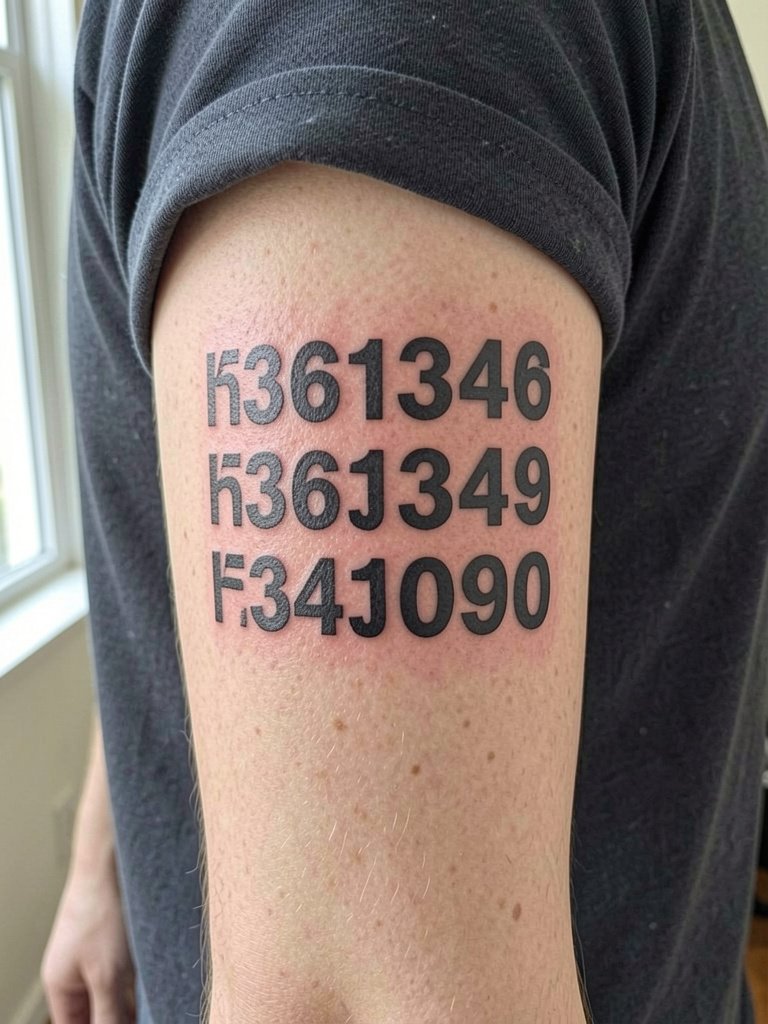
Stacked numbers in heavy sans give a technical, modern look that ages predictably. Outer upper arm skin handles saturation well, and the larger fills keep blowout risk low when the artist spaces each numeral. Sessions are typically ninety to one hundred and eighty minutes depending on size. A mistake is tightening the spacing to match a digital mockup, which reduces clarity as skin stretches. Bring a print of the stack scaled to the intended width so the artist can confirm how it reads at five inches. Show-off pairing: cuff a sleeve with a henley shirt to display the band without overexposing the whole arm.
4. Neo-Traditional Monogram on Ribcage
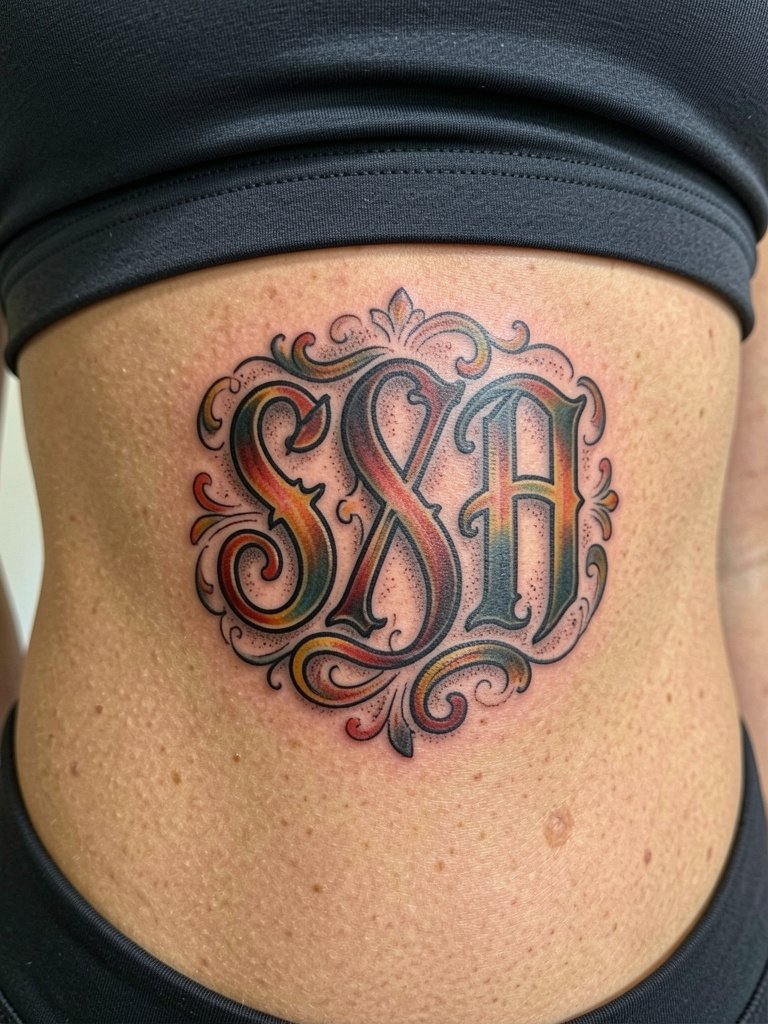
Rib placements spark debate in the community about fine line versus bold pieces. One camp says fine line on ribs blurs quickly because the skin stretches and moves with breathing. The other camp argues that with slightly heavier linework and room around the elements, the design settles clean. If you favor a monogram that lasts, choose bold outlines and saturated fills rather than thin flourishes. The session can be a four-hour ride with steady breathing breaks. For the appointment, wear a fitted sports bra so the artist has unobstructed access and the hem sits naturally below the work.
5. Stipple-Shaded Portrait with Bold Frame on Shoulder
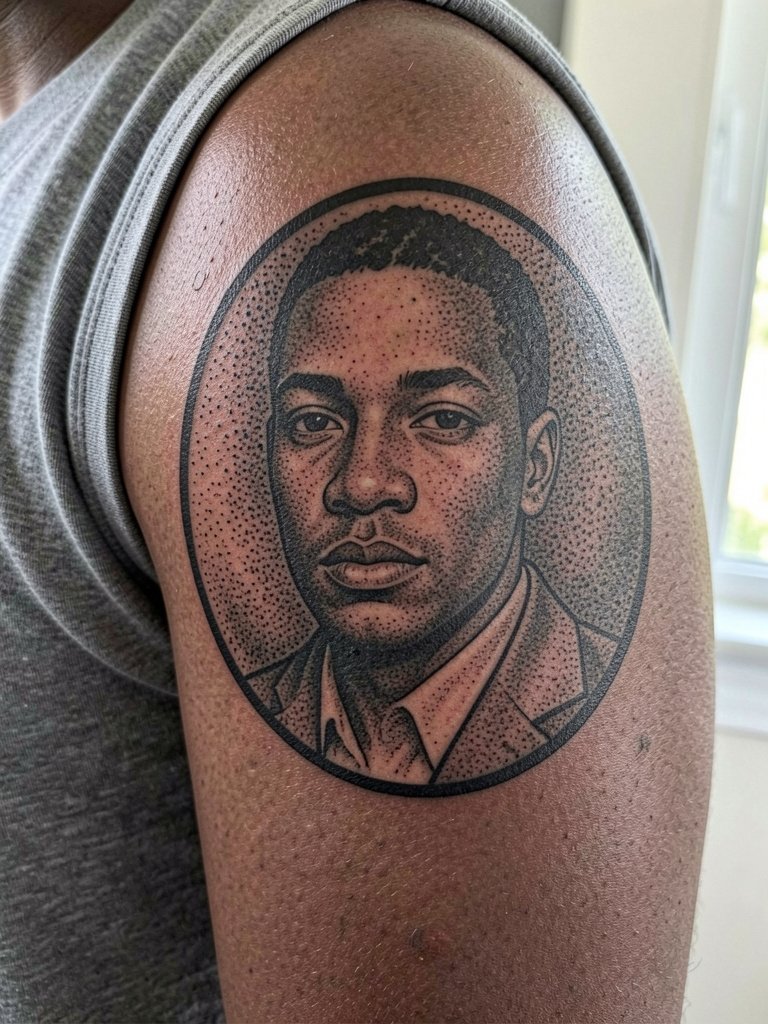
A stipple-shaded portrait with a heavy frame gives the realism a safeguard. Shoulders take ink well and the rounded surface helps preserve tonal transitions. Avoid ultra-fine facial detail inside a tiny frame or the features will smear into texture within a few years. Plan for a three-hour session and expect a small touch-up at nine to twelve months for spot saturation. Mistakes include overworking the portrait during the first pass. For daytime looks, a sleeveless denim vest puts the frame on display without hiding the shading.
6. Heavy Blackwork Mandala on Back of Neck
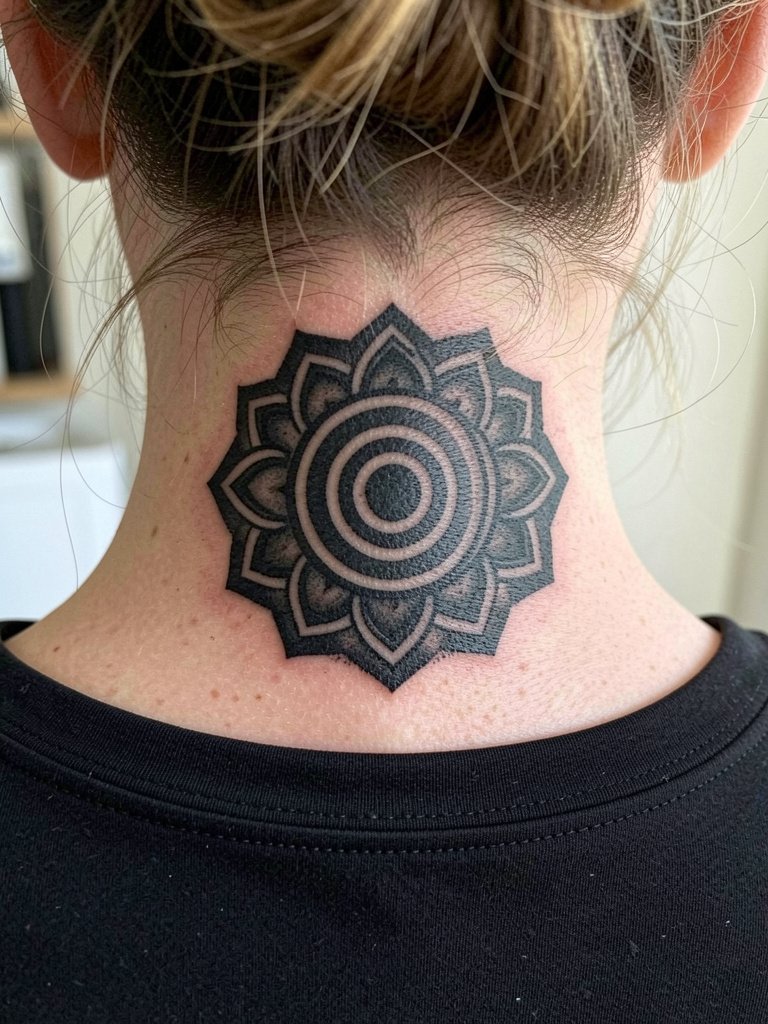
The back of the neck favors bold geometry because the area endures sun and collars. A solid blackwork mandala maintains its readable silhouette as the years go by. The biggest mistake is using delicate lacework with tiny negative spaces that close up. Sessions here are short but uncomfortable for some; expect ninety minutes. Note that neck work requires an artist experienced with nape skin because kinked placement and hairlines change how a design sits. Show it off with a classic button-down worn open at the collar so the piece peeks above the neckline.
Pre-Session Essentials
Those first six ideas include wrist through neck pieces that react differently to friction and clothing. A few targeted items smooth the session and the first week of healing.
-
Stencil transfer paper kit. Lets you preview exact letter spacing and negative space on skin before the needle starts, especially helpful for the scripts and number stacks above.
-
Topical numbing cream. Applied as directed before a longer chest, rib, or shoulder session takes the edge off without obscuring the artist's feedback.
-
Thin protective film roll. Keeps finger and wrist pieces from excess rubbing during the first week of frequent handwashing.
-
Fragrance-free body wash. Gentle cleanser for daily showers that avoids stripping freshly healed blackwork.
-
Aquaphor healing ointment. Thin application in the first days helps maintain moisture in tight linework without clogging needle channels.
7. Heavy Sword Motif on Outer Calf
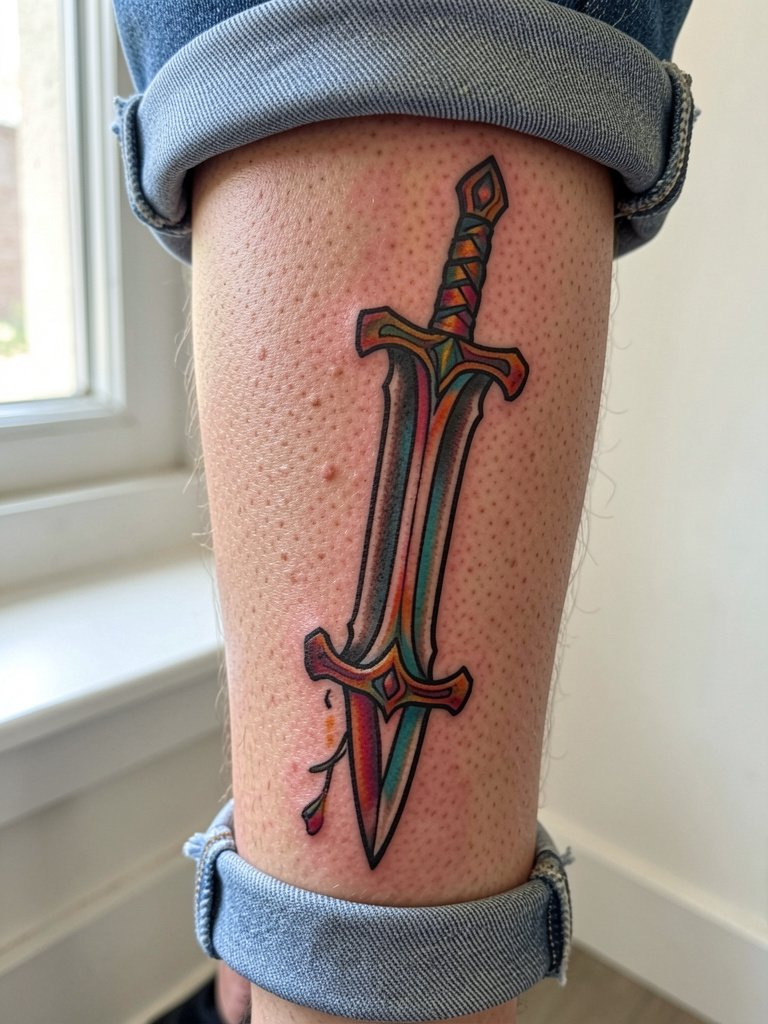
A bold sword motif on the calf shows well and resists wear from socks when sized correctly. The outer calf gives room for vertical composition and bold fills. Plan a two-hour appointment and expect minimal blowout risk because the skin is relatively thick. A frequent error is enclosing too many tiny decorative elements along the blade. Instead, prioritize strong silhouette and saturated color blocks. For summer wear, pick rolled jeans or mid-calf boots that let the piece breathe.
8. Blocky Tribal Band Around Bicep
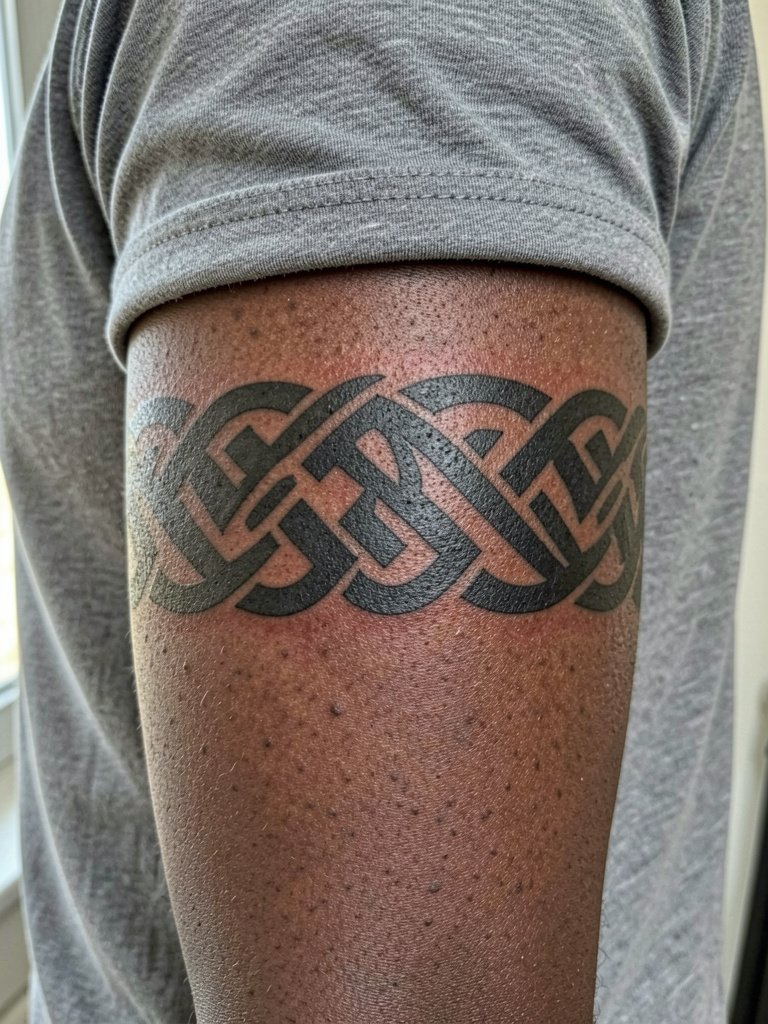
A heavy tribal band thrives on bold fills that age into a clear silhouette. Biceps flex and relax, so the pattern should keep its spacing and avoid tiny bridges that could blur. Session time is usually under two hours for a single band. The common mistake is testing micro-bridges to look intricate, which then fill in. During consultation bring a wrap-around mockup so the artist can judge how the pattern meets itself on the muscle. For casual looks, pair with a sleeveless hoodie that frames the band.
9. Block Serif Wrist Cuff
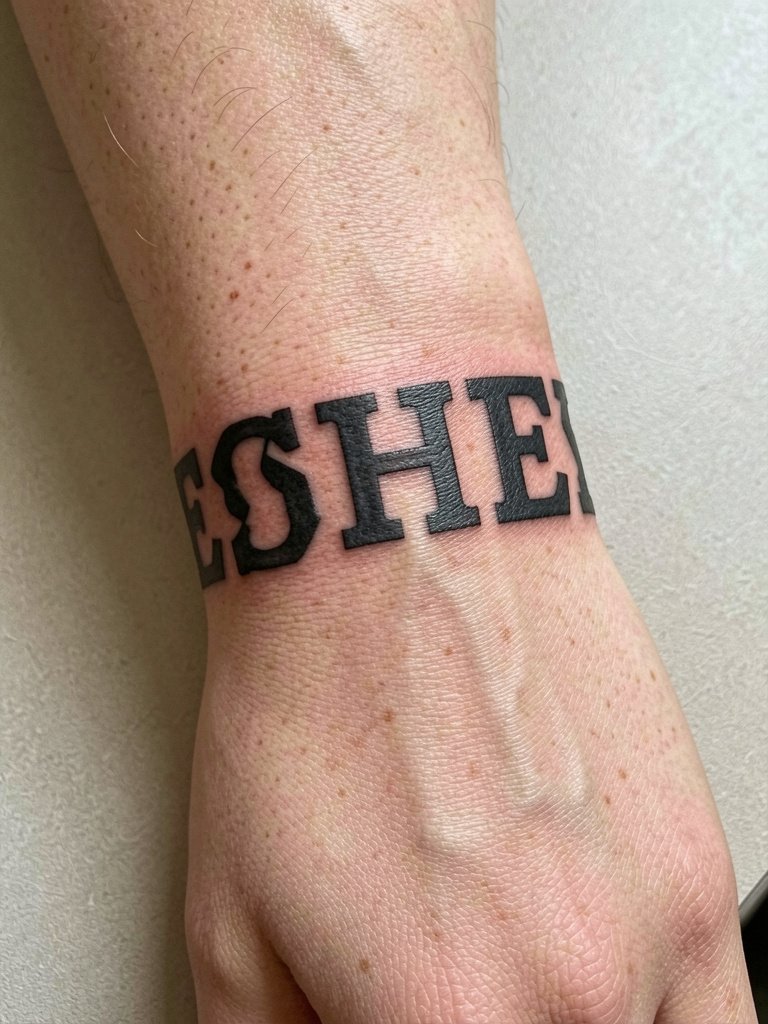
Wrist cuffs need to survive constant washing and motion. Bold serifs with open counters are legible long term because the negative spaces prevent solid fills from merging. Sessions are relatively brief but the area heals against jewelry and sleeves. A frequent misstep is putting too many tiny internal ornaments into each letter. Ask for clean, open counters and a slightly thicker main stroke to offset skin texture. Wear a soft cotton cuff bracelet after healing to frame the cuff without rubbing against fresh ink.
10. Heavy Blackwork Script Across Collarbone
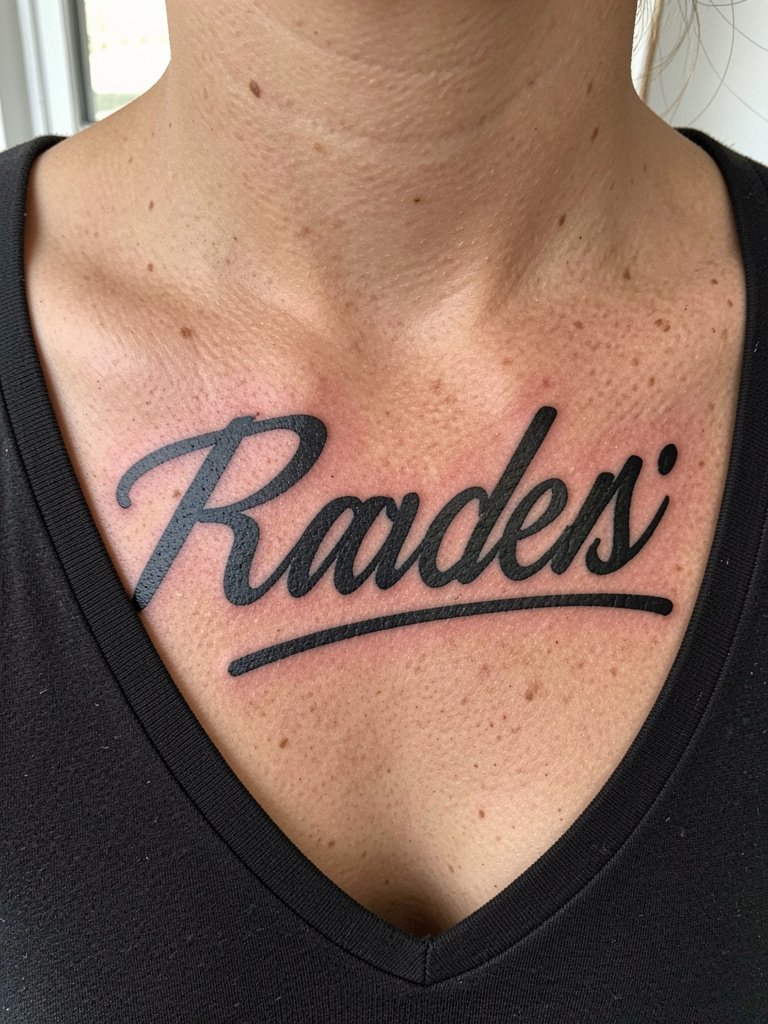
Collarbone scripts are visually powerful but come with a debate among artists about line placement near thin skin. One camp warns that delicate single-needle scripts on the collarbone can blur because the skin is thin and moves with shoulder motion. The other camp believes a slightly bolder script with deliberate spacing and confident downstrokes will remain crisp for years. If you want this placement to last, size the letters so the downstrokes are robust and the loops have room. The session can be short but sharp. For shows, a deep-V tee puts the script on display.
11. Heavy Block Number on Finger Side
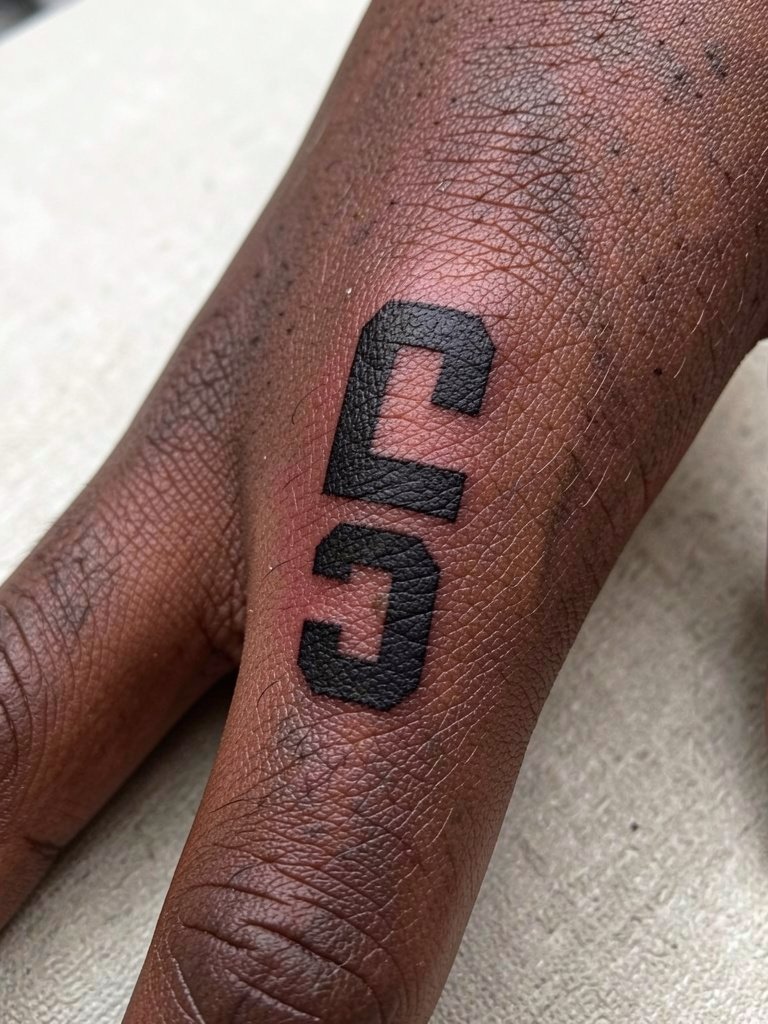
Finger-side block numbers are bold choices that need generous line weight to survive constant washing and knocks. Fingers shed outer skin quickly so tiny hairlines dissolve. The likely session is short but may require a touch-up at six to nine months. Avoid micro-detail near joints. Instead, use heavy fills and crisp edges and expect a repeat pass. For durability during daily tasks, wear a silicone ring if the tattoo is near a ring area so the metal does not scratch the skin.
12. Bold Anchor on Lower Forearm
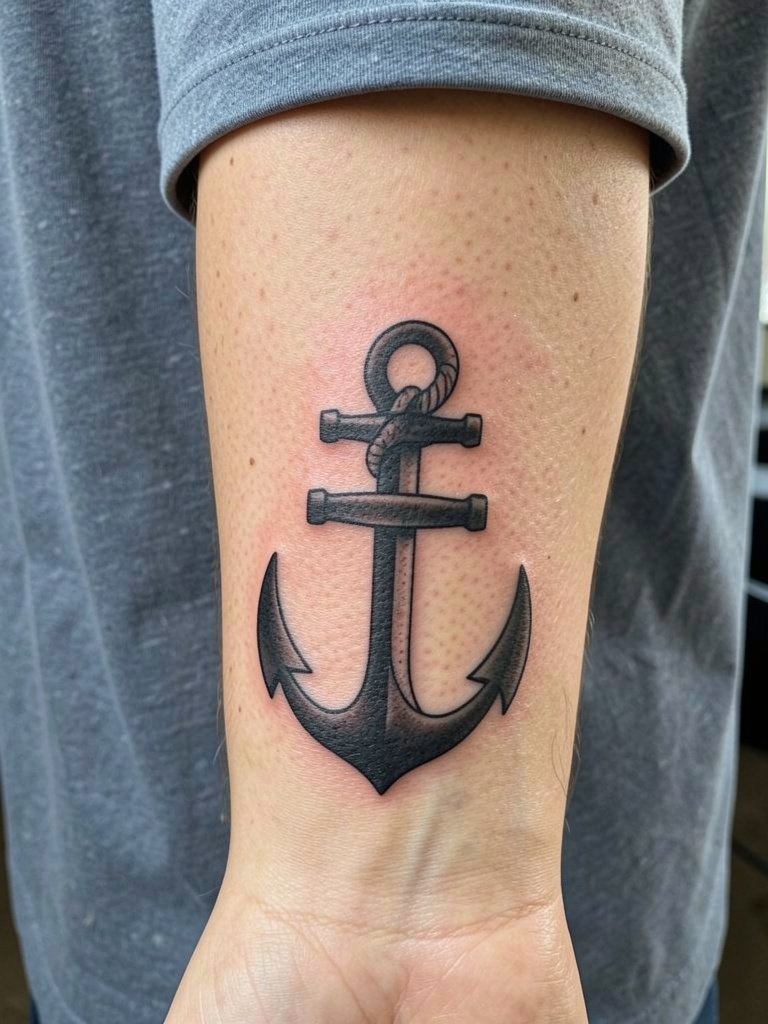
Anchors are classic bold motifs that carry weight well when executed with thick anchors and clear negative space inside the flukes. Lower forearm land is forgiving for saturation and reads well with short sleeves. Common error is shrinking the anchor into a pendant-sized mark that loses shape. A one-to-two hour session is typical. For showing off, a rolled-sleeve linen shirt lets the anchor peek out during warm months.
13. Bold Chevron Collar Patch
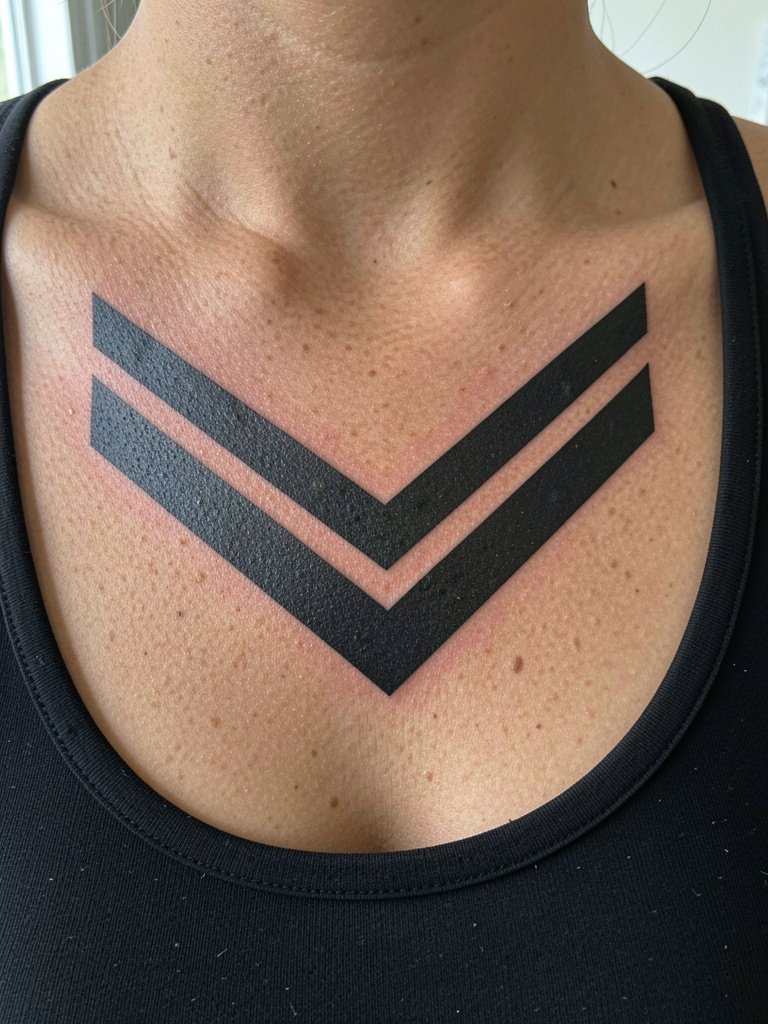
Chevron blocks act like armor plates visually and survive well under collars. The design benefits from thick black fills and and balanced negative stripes that prevent over-saturation. Avoid tight internal details that will wash out with motion of the clavicle. The session is often under two hours. For date nights, pair with a low-slung jacket or open collar so the patch is framed but not exposed fully.
14. Bold Stacked Words on Sternum
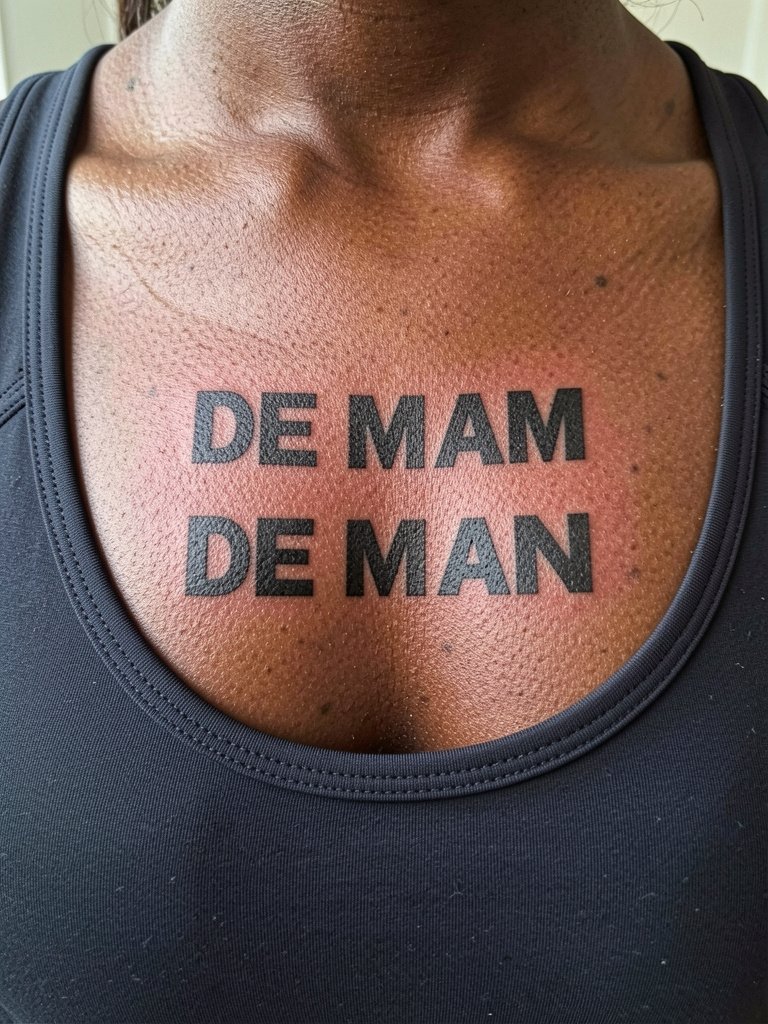
Sternum stacks need breathing room between lines because the area flexes with breathing and changes with body movement. Bold block words hold better than thin scripts in this zone. Typical session time is two to three hours and healing can feel tender because the chest moves constantly. Avoid tiny interline spacing that causes the words to merge. Instead, increase line gap and mark where the piece will sit in relation to clothing. For sessions, wear a fitted sports bra so the artist has clean access and the band sits naturally under the piece.
15. Heavy Dot-Work Compass on Calf
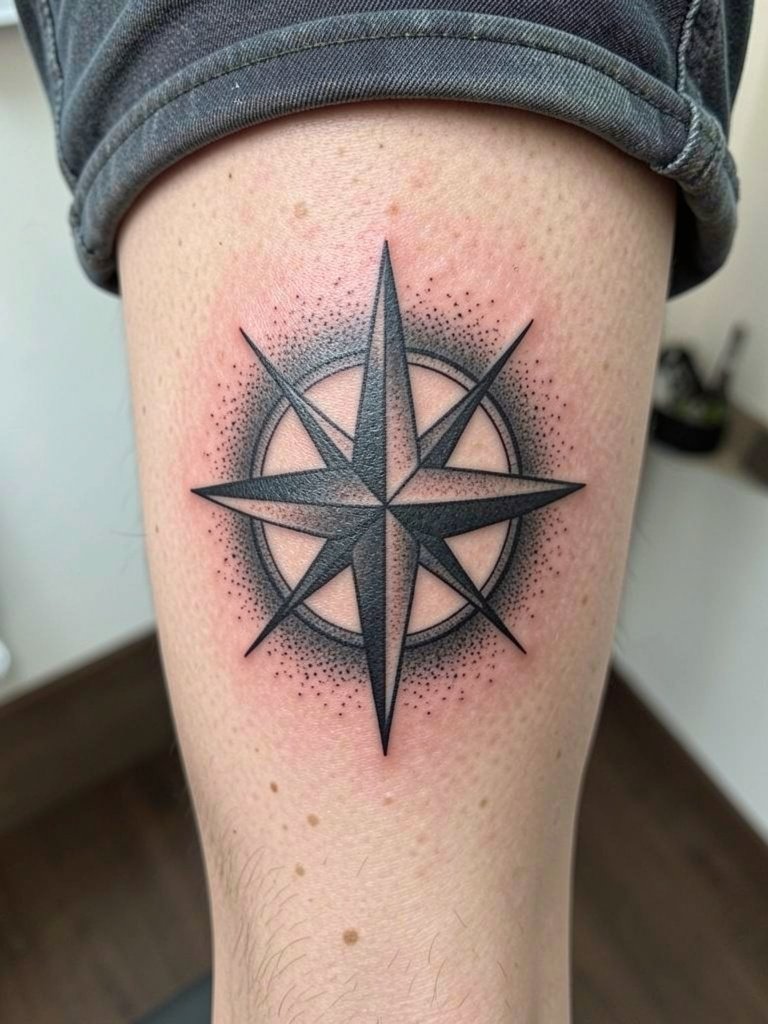
A heavy compass keeps the cardinal points bold while the halo uses stipple shading to soften edges. Calf skin carries large dot-work well because the surface gives room for gradation without blowout. Sessions usually take two to three hours depending on halo size. Mistakes include over-texturing near sharp points. For casual summer looks, pair it with chino shorts that show the canvas without distracting.
16. Heavy Blackwork Skull on Upper Thigh
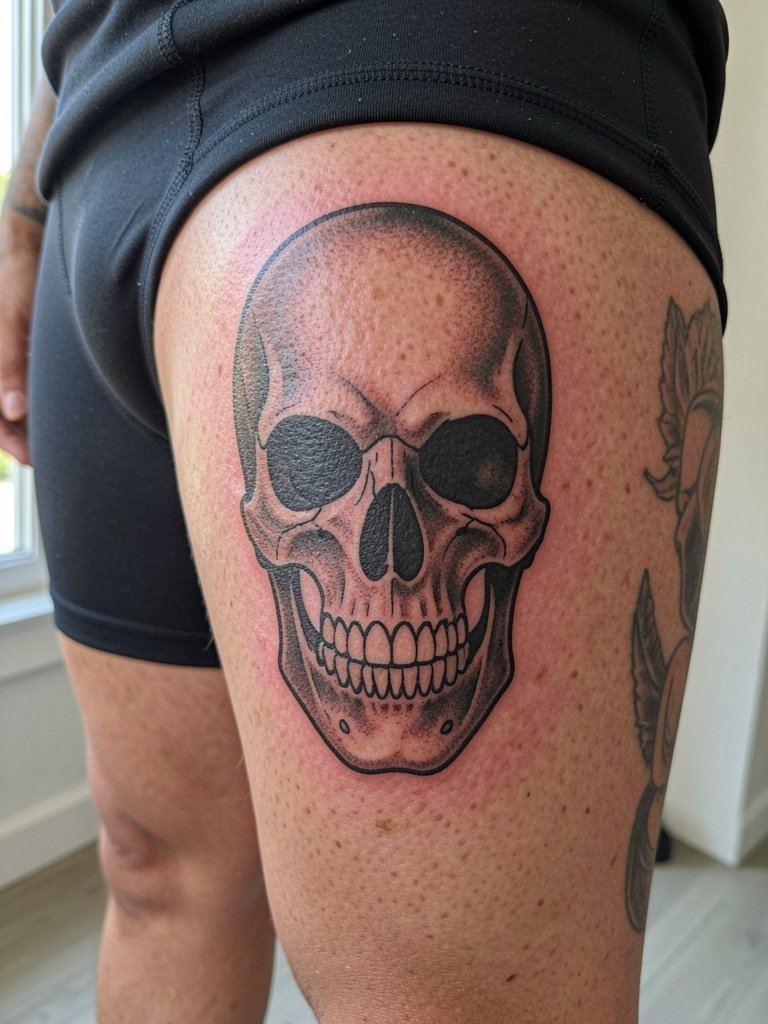
Upper-thigh blackwork skulls survive well because the skin is thick and less exposed to sun and abrasion. That makes heavy fills a strong choice for longevity. Plan for a two to four hour session and expect a minor touch-up at the six- to twelve-month mark. Avoid super-fine filigree inside the skull that will blur with body movement. For discreet displays, wear board shorts or athletic shorts with a mid-thigh hem.
17. Bold Roman Numeral Panel on Outer Forearm
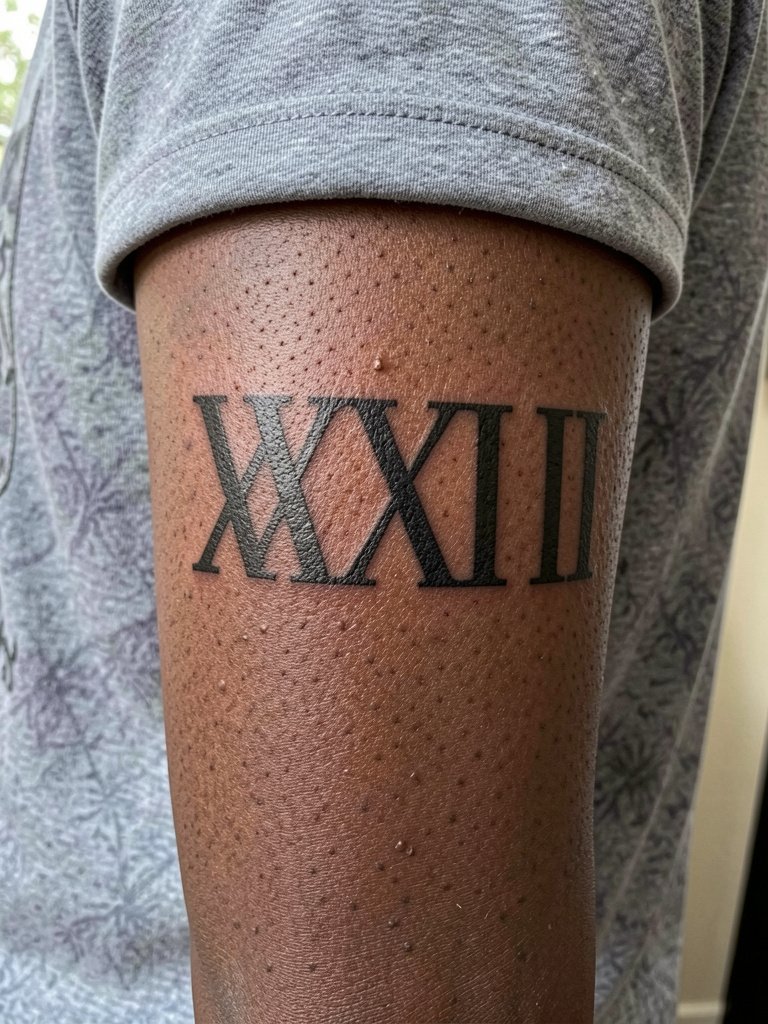
Roman numerals rendered in heavy strokes keep their character and resist mix into gray bars. Outer forearm placement is forgiving and displays cleanly. Common mistake is using a serifed miniature font that loses its counters. Instead, choose block numerals scaled to the forearm width and ask the artist to test the negative space. Expect a one- to two-hour session and a small touch-up if any line skips during healing. For daily wear, a rolled-sleeve cotton shirt frames the numbers without obstruction.
18. Bold Geometric Chest Panel
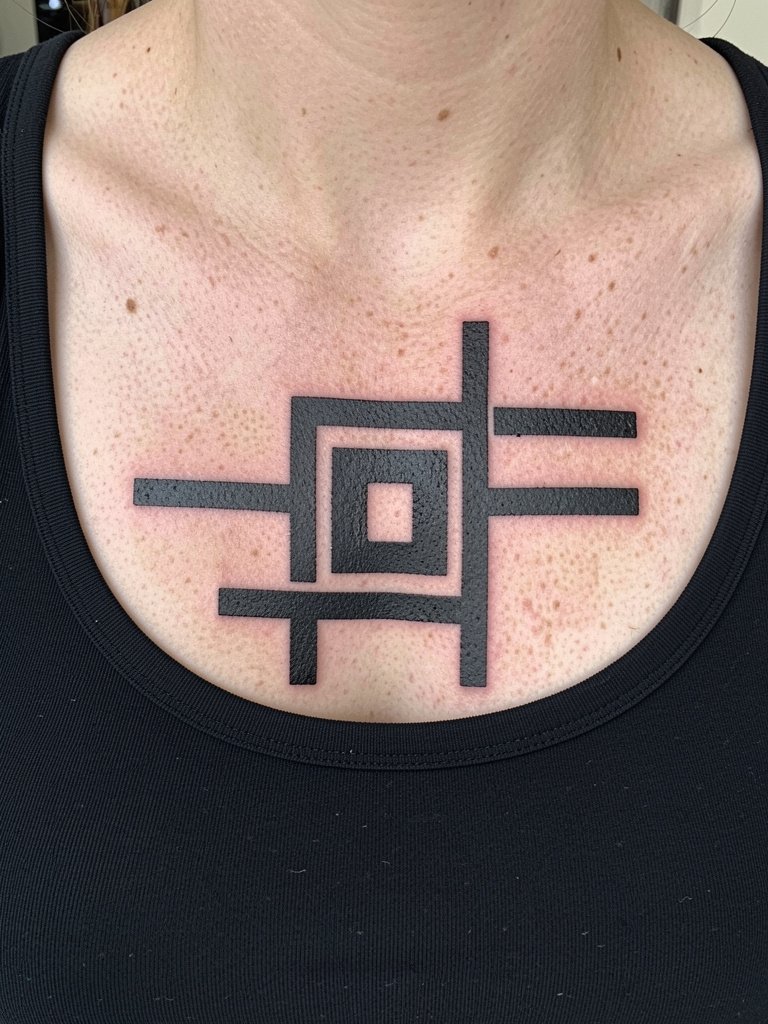
Geometric chest panels make a bold visual statement because the strong lines form a graphic silhouette. The sternum area supports heavy geometry well when spacing is deliberate. Avoid overly intricate lace between bars because that tends to blur. Sessions can be longer depending on how much fill is required. For formal settings, wear a well-cut blazer with the lapel low enough so the panel peeks out.
19. Heavy Blackwork Anchor on Wrist Side
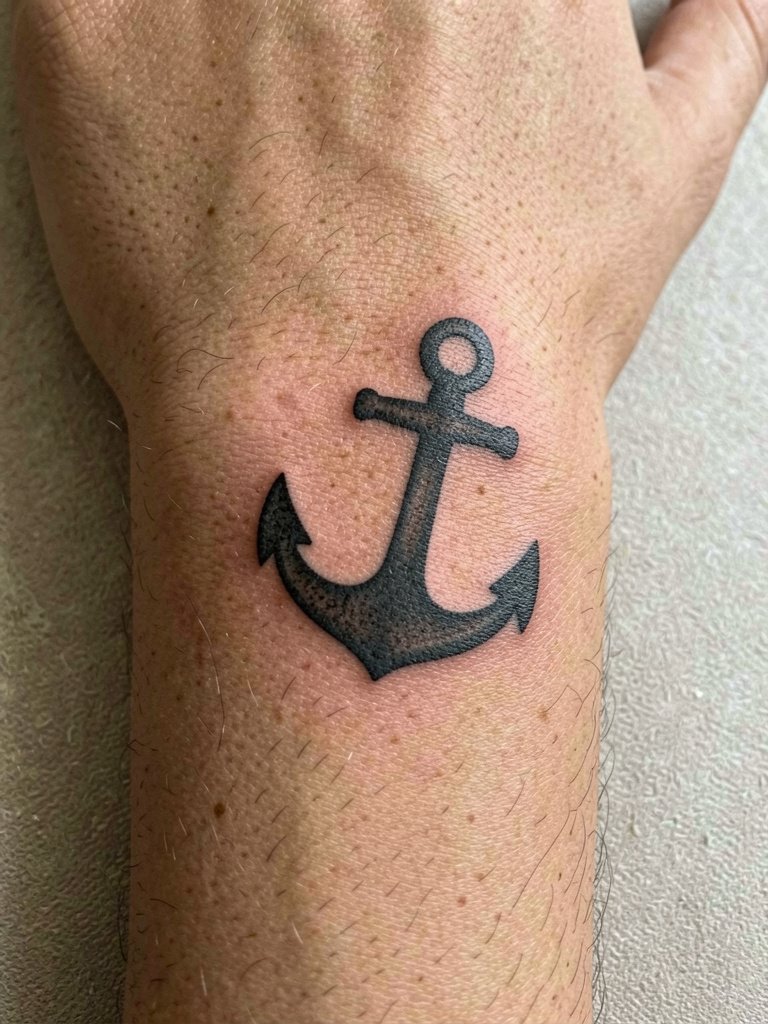
Wrist-side anchors benefit from bold silhouettes because constant movement and washing can thin delicate details. The lateral wrist also faces less direct friction from cuffs than the top wrist. Sessions are quick but expect potential touch-ups at six months. Avoid tiny ropes or micro-ornaments that disappear first. For accessorizing, a simple leather cuff worn above the anchor frames it without rubbing the healed work.
20. Heavy Blackwork Rose on Hand Back
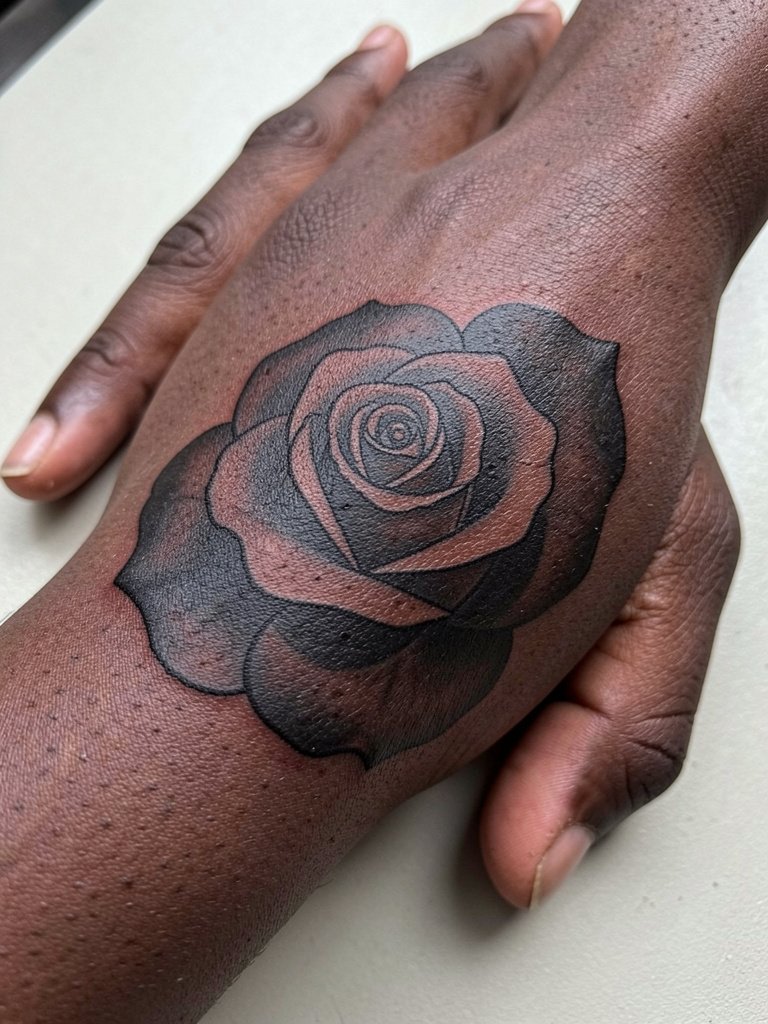
Hands are high-risk but high-visibility canvases. Bold blackwork roses hold up better than delicate petals because the dense fills resist early fading from hand washing and friction. One camp accepts frequent touch-ups as part of hand work. The other camp avoids hand pieces unless the client expects annual refreshes. Name both outcomes clearly before booking. Sessions are short but painful and healing requires careful aftercare. For presentations or gigs, a tailored blazer sleeve rolled just above the wrist highlights the back-of-hand art when appropriate.
21. Bold Block Portrait Silhouette on Shoulder Blade
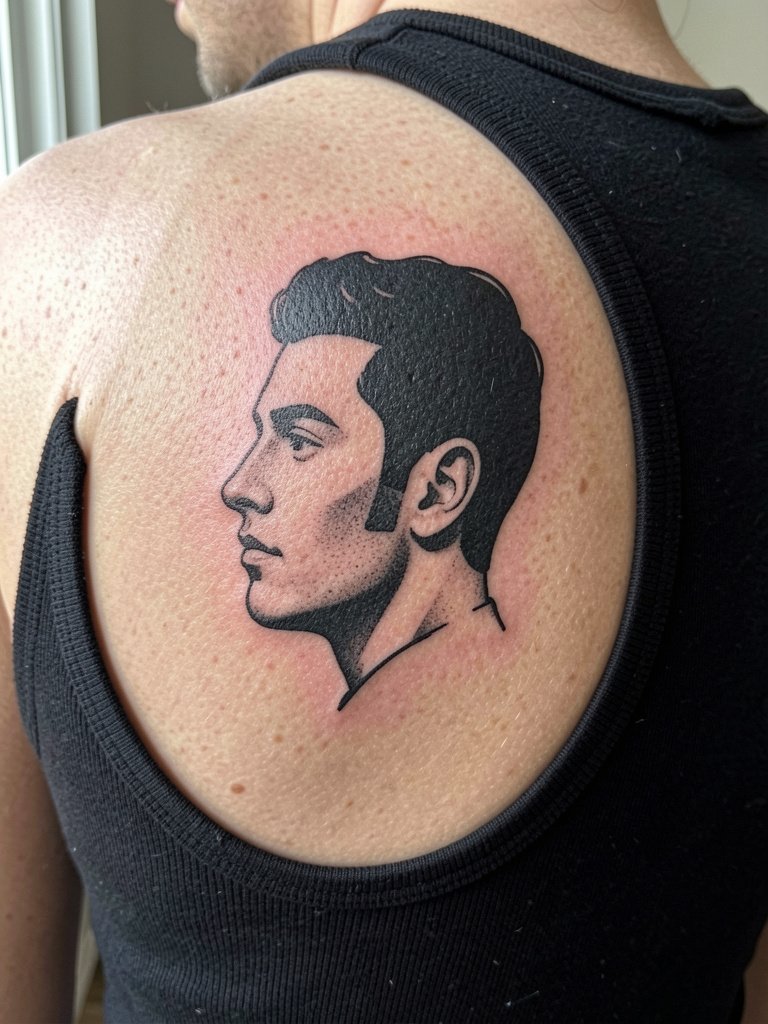
A silhouette portrait on the shoulder blade reads clean from a distance and avoids small facial detail that blurs. The area is great for larger, bold treatments and tends to heal with even saturation. Common mistake is compressing too many facial lines into a small area. Plan for a two- to three-hour session depending on size. For summer wear, a strappy tank top or loose back shirt makes the silhouette visible without overexposure.
22. Heavy Block Logo-Inspired Panel on Rib Side
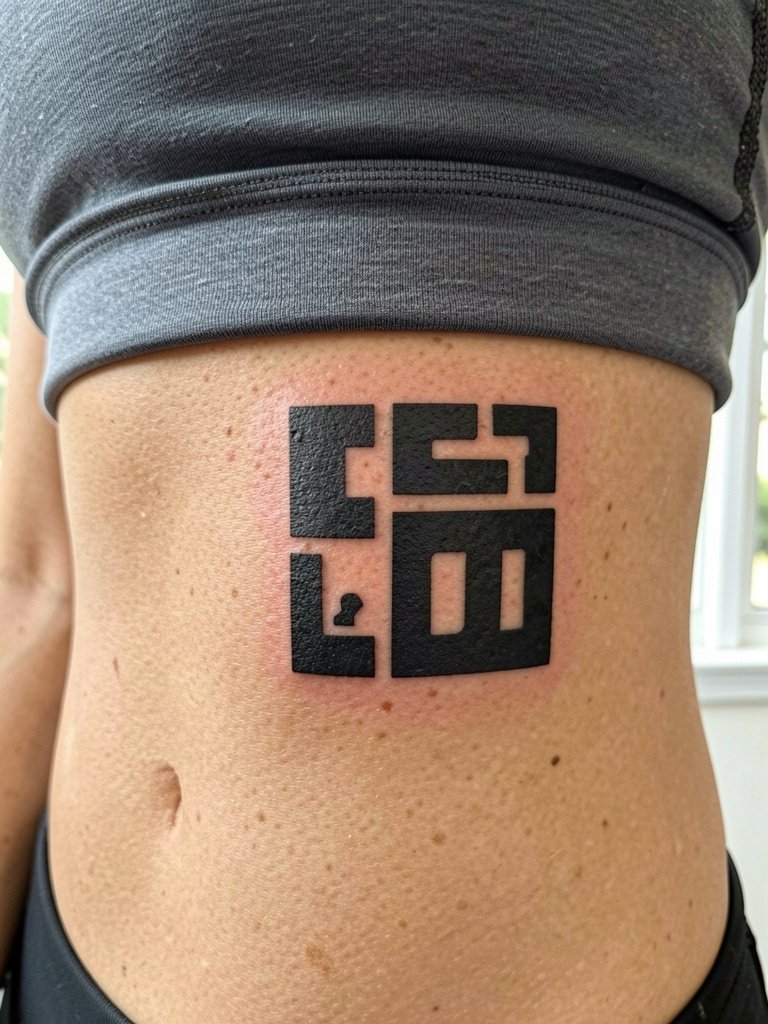
Logo-inspired blocks on the ribs can sit like a stamp when scaled properly. Ribs are more sensitive and the skin moves with breath, so keeping the elements bold reduces blur. Plan for breaks during a longer session and expect the possibility of a touch-up after healing. Avoid tiny internal text or micro-logos that disappear. For appointment comfort, wear a fitted top that keeps the artist's access clear and the hem resting naturally below the area.
23. Bold Block Initials Above Ankle
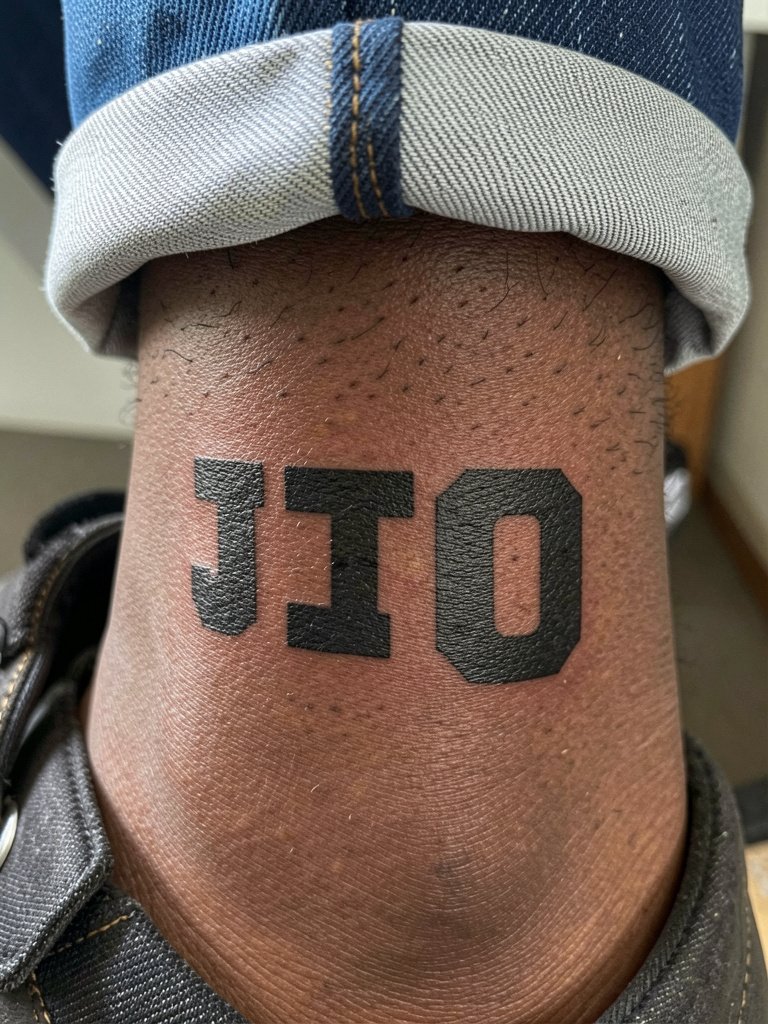
Ankle initials read best when bold because the skin there endures friction from shoes and socks. Thick strokes and clear counters keep the letters distinct as the piece ages. Sessions are quick but clients often need a six- to nine-month touch-up. A common error is trying to cram ornate serifs into a tight footprint. Instead, choose block shapes and confirm the final width in a printed stencil. For everyday wear, pair with cuffed jeans or low-cut sneakers that expose the ankle without digging into the skin.
Frequently Asked Questions
Q: How big should a bold face word be so it stays legible over time?
A: Aim for letters that are at least half an inch in height with clear counters and at least a millimeter of stroke thickness across thin parts. Skin texture softens the edges, so avoiding micro-sized letters is the single most effective longevity step.
Q: Do bold face designs need fewer touch-ups than fine-line scripts?
A: In my experience bold fills and thicker strokes require fewer early touch-ups because saturation compensates for minor fading. That does not mean they never need refreshes. High-wear spots like hands and fingers often require more frequent attention regardless of style.
Q: Where can I find healed examples and discovery paths without naming individual artists?
A: Search platform tags and keywords on social platforms using niche phrases like #BoldFaceInk, #HeavyBlackworkHealed, and #BlockLetterTattoo, filter by location if you want nearby studios, and use community threads on Reddit to see multi-year healed photos in different skin tones. Those channels will surface portfolios and shop posts that show real healed outcomes.
Q: Will bold blackwork look heavy on darker skin tones?
A: Bold blackwork often reads strongly on darker skin because saturation provides contrast. Choose solid black fills and simplified shapes so the design reads at a glance. Talk through contrast and negative space with an experienced artist who works across skin tones.
Q: What should I wear to a session for a chest, rib, or inner thigh piece?
A: For chest and rib work wear a fitted sports bra or cropped top so the artist has clear access and the fabric rests naturally below the area. For inner thigh pieces pick modest athletic shorts that expose the mid-thigh without shifting. Those clothing choices speed setup and keep the workspace stable.
