
A lot of people assume a blackout sleeve is the fastest way to unify old ink and look cohesive. The reality is more complicated. Blackwork choices change how a sleeve reads after a year, three years, and a decade, and the design decisions you make before the first session matter far more than the shading the artist does that day. Read through practical sleeve options and what to plan with your artist so the arm you get still reads clearly after healing.
1. Full Blackout Sleeve with Negative-Space Breaks
A full blackout sleeve reads like armor when the saturation is even and edges are crisp. One camp sees blackout as a powerful aesthetic and a practical way to reset older arm work. Another camp warns that blackout can feel too permanent and visually dominant for everyday life. If you are leaning blackout, plan negative-space breaks from the start and ask for healed progress photos that show how the black sits after three months. Expect multiple long sessions and a heavier touch on the ribs of the machine, which can feel more intense than patchwork work. Common mistake is going too small, which leaves the black patchy rather than seamless.
2. Blast-Over Blackwork Built Over Old Ink
Blast-over is the cover-up strategy when removal is not an option and you want cohesion fast. Supporters argue blast-over is a clever reuse of existing ink that saves time and money. Critics say it can be a lazy disguise that hides problems instead of reworking composition. If your arm has multiple mismatched pieces, bring clear photos of the worst patches and ask for a patch plan showing where heavy black will sit and where skin breaks will remain. Expect touch-ups at six to twelve months once healed, because layered work can reveal old outlines as the new black settles.
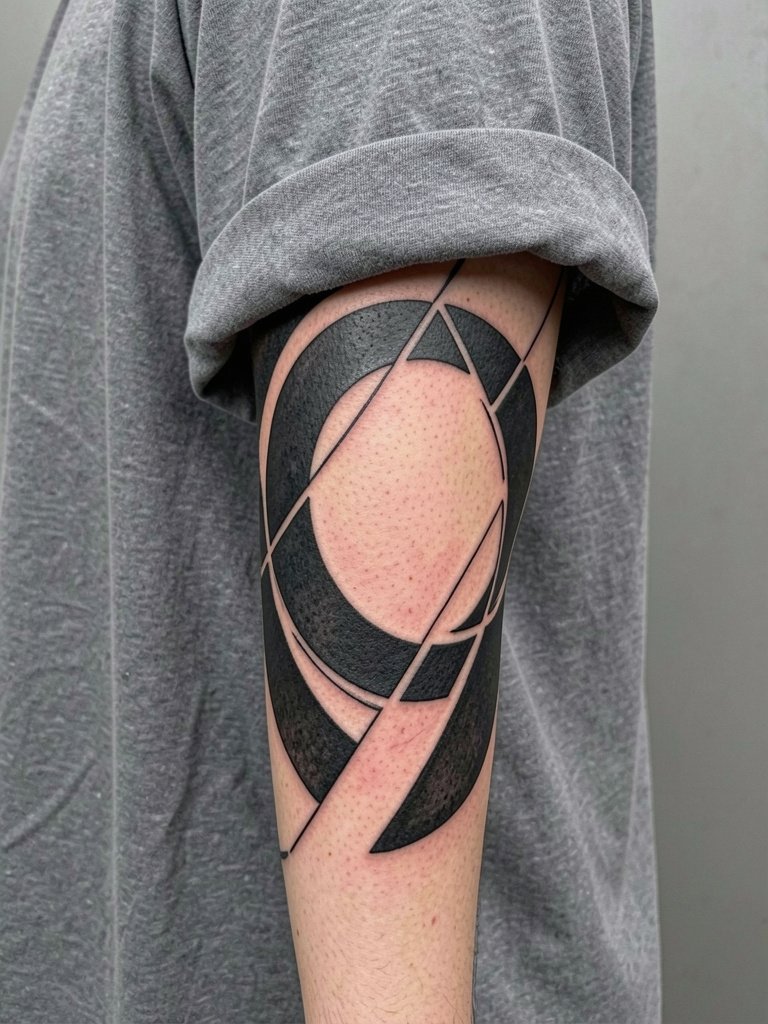
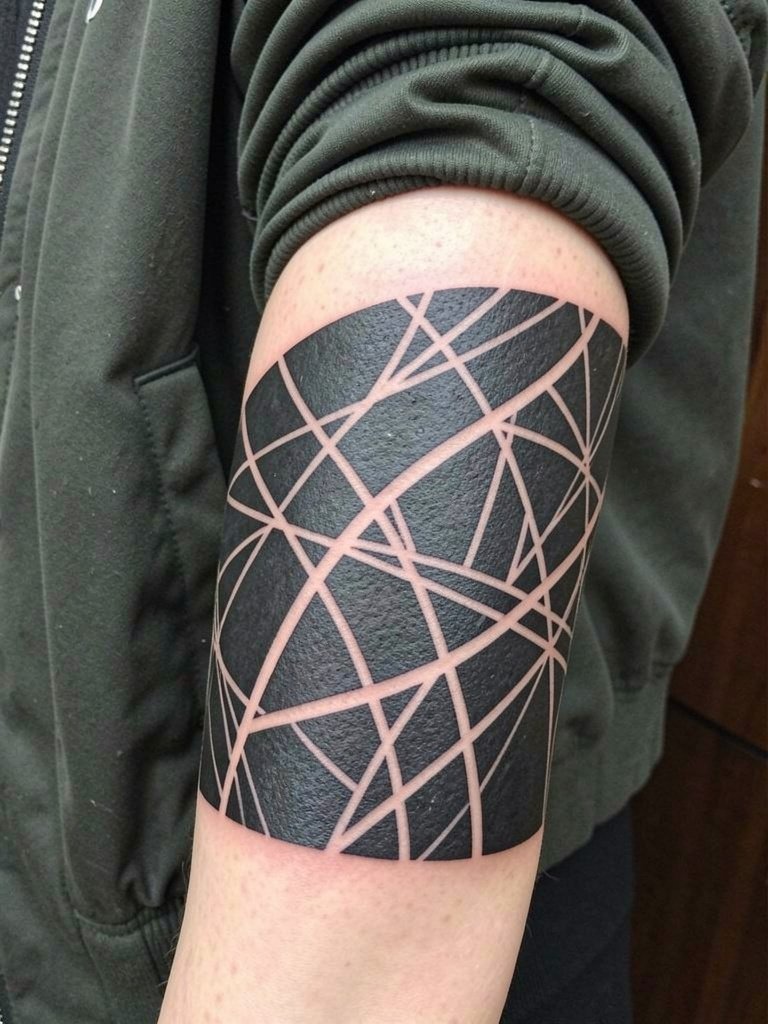
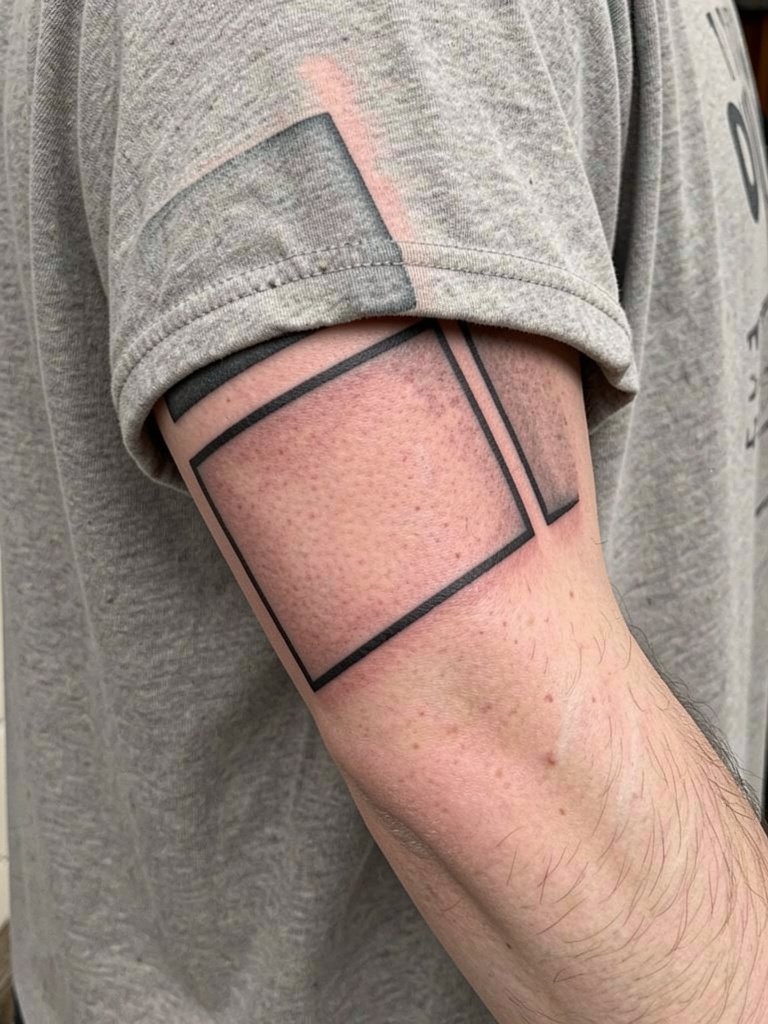
3. Geometric Blackwork Sleeve with Repeating Motifs
Geometric blackwork reads clean from a distance when the grid matches the arm shape. I recommend this for people who want structure and rhythm rather than illustrative scenes. In consultation bring photos that show the exact line weight and scale you want because the wrong scale blurs into a patch at year two. For session wear, throw on a rolled sleeve tee so the artist can see shoulder and forearm transitions. Common mistake is forcing symmetry without respecting muscle curves, which makes the pattern fight the body. Touch-ups are often needed along panel edges.
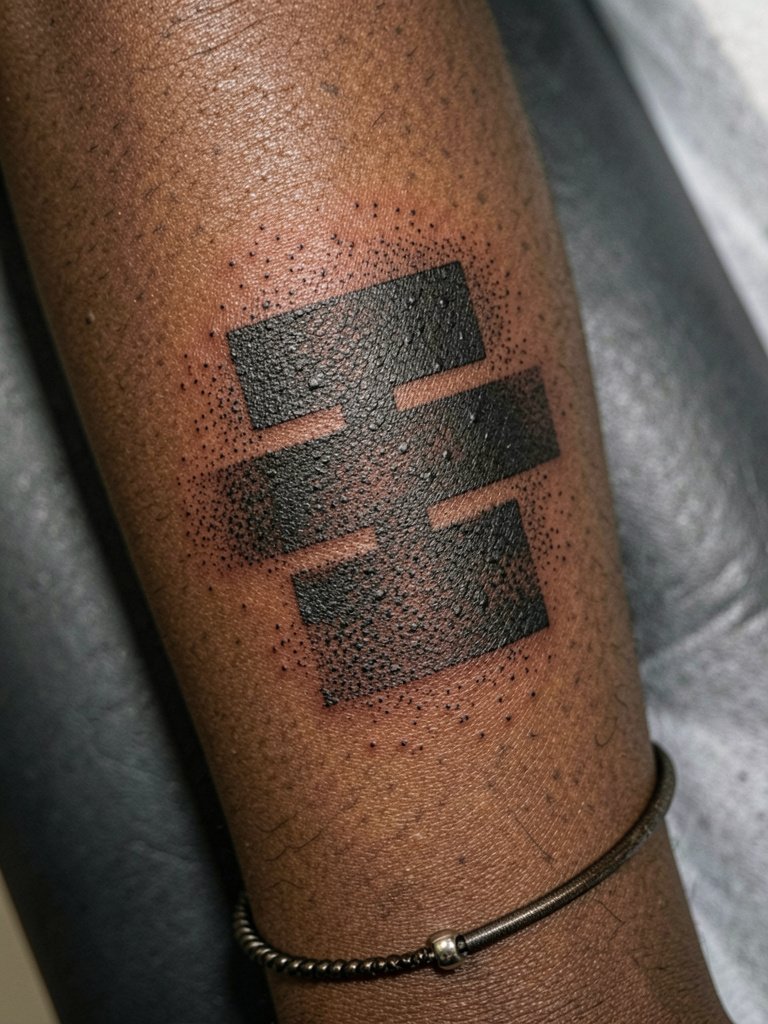
4. Dotwork Blackwork Sleeve with Stipple Gradients
Dotwork gives breath to blackwork through texture rather than flat fill. Pick this if you want density without the heavy visual weight of blackout. Discuss stipple scale with your artist and request healed photos at three different distances so you can see how the dots merge. Pain levels are moderate on the forearm and higher on the outer upper arm. A common error is requesting single-needle stipple too small, which loses nuance after healing. This style typically needs a light touch touch-up at the two-year mark where dot contrast fades.
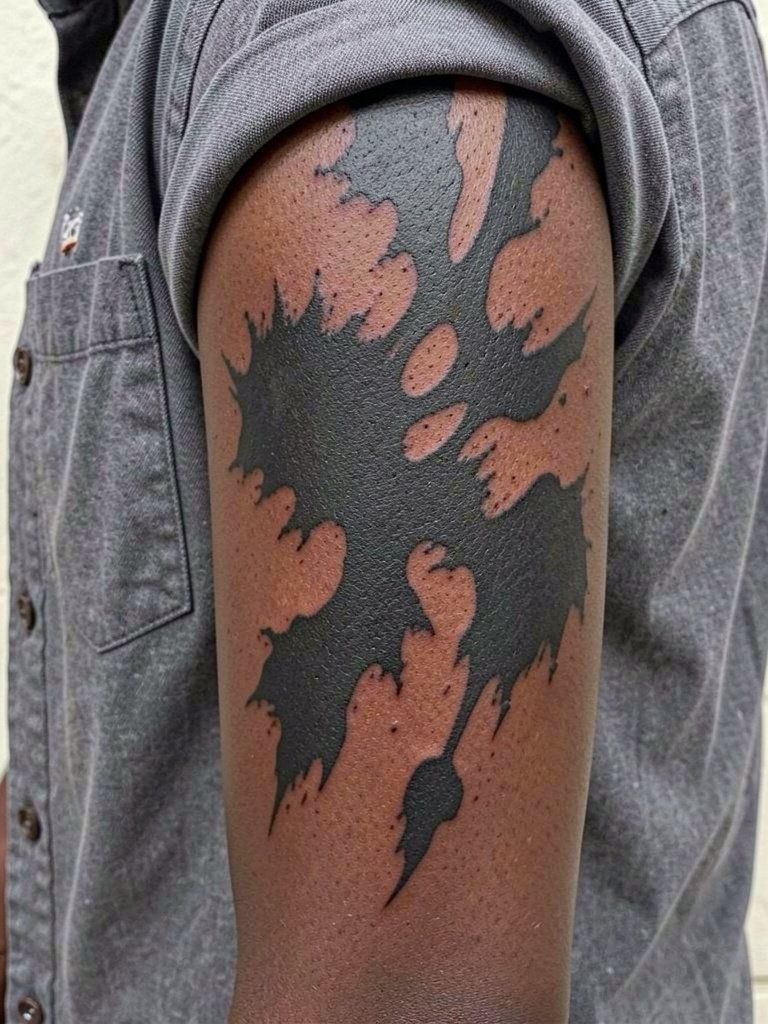
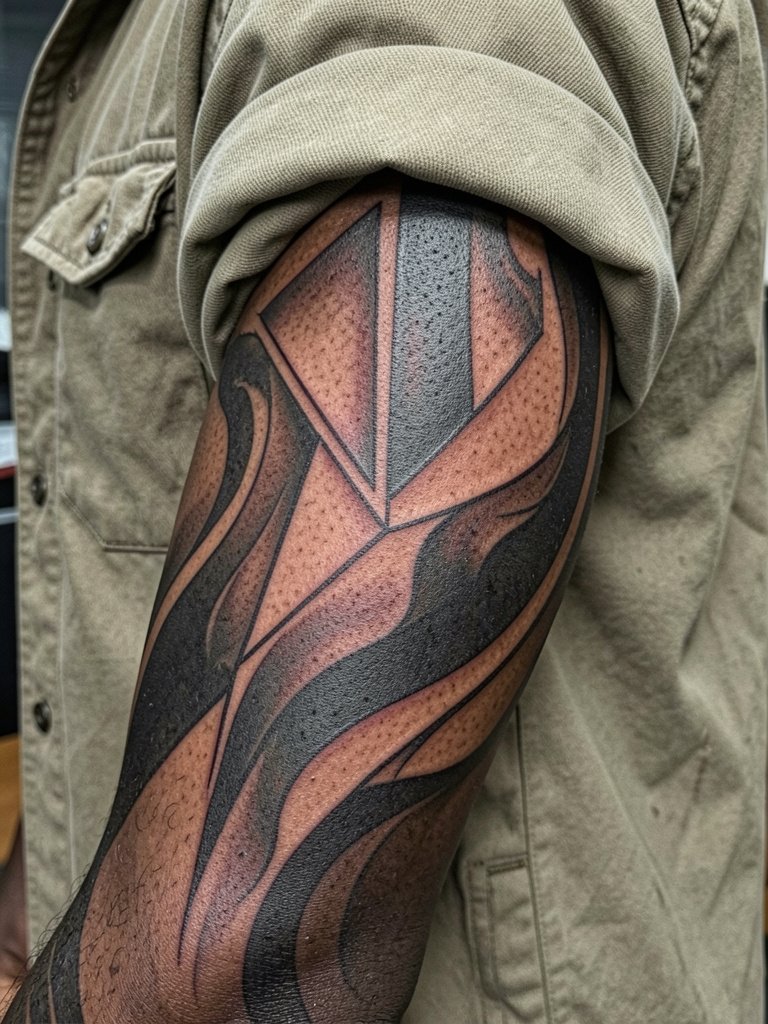
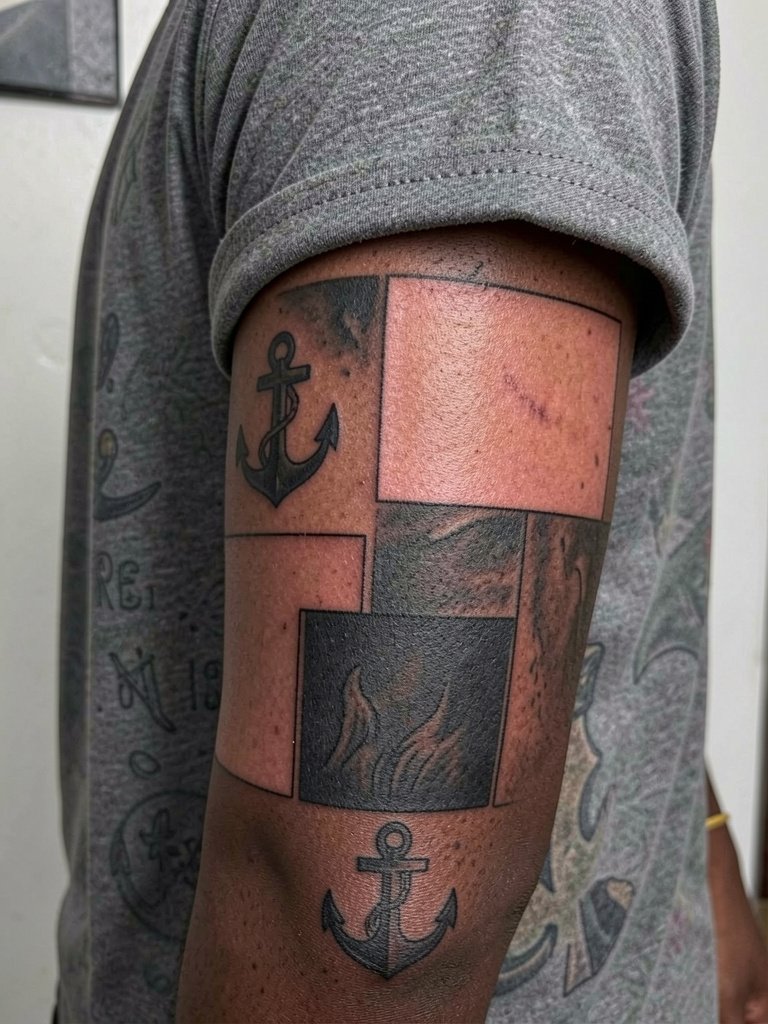
5. Abstract Patchwork Sleeve with Brush-Like Texture
Abstract patchwork suits arms with existing tattoos because it flows over contours rather than forcing a scene. I tell clients this works when you want an arm that reads unified without literal imagery. In the consultation bring three reference images that show the desired texture and one shot of the worst existing piece. Session time varies widely depending on how much old ink is being obscured. Mistake to avoid is asking for perfectly symmetrical patches when the anatomy calls for asymmetry. Expect strategic touch-ups where the black meets old ink lines.
6. Blackwork Sleeve with Subtle White-Ink Accents

White-ink highlights can lift a heavy black composition when applied sparingly. Not every artist uses white the same way, so bring specific reference photos of healed white accents and ask to see three-month healed shots of similar skin tones. White can fade faster than black and sometimes yellow on sun-exposed areas, so expect a contrast shift after a year. For show-off pairing, dark short sleeves such as a black oversized t shirt make the white pops read newer. Common problem is overusing white, which flattens rather than accents.
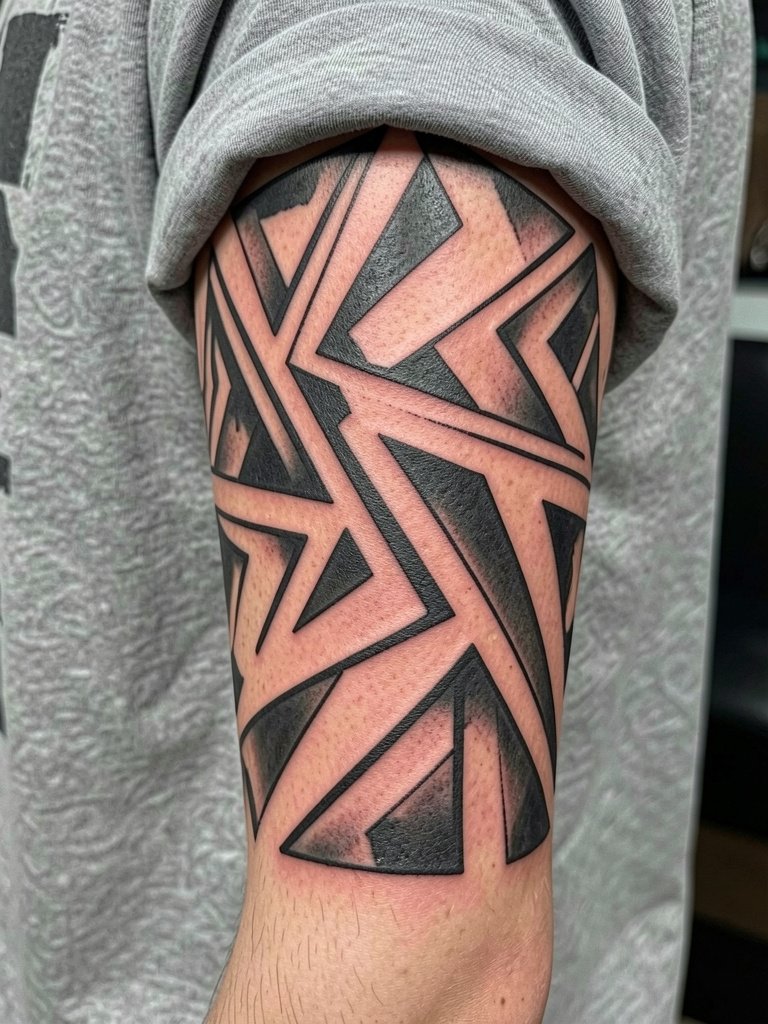
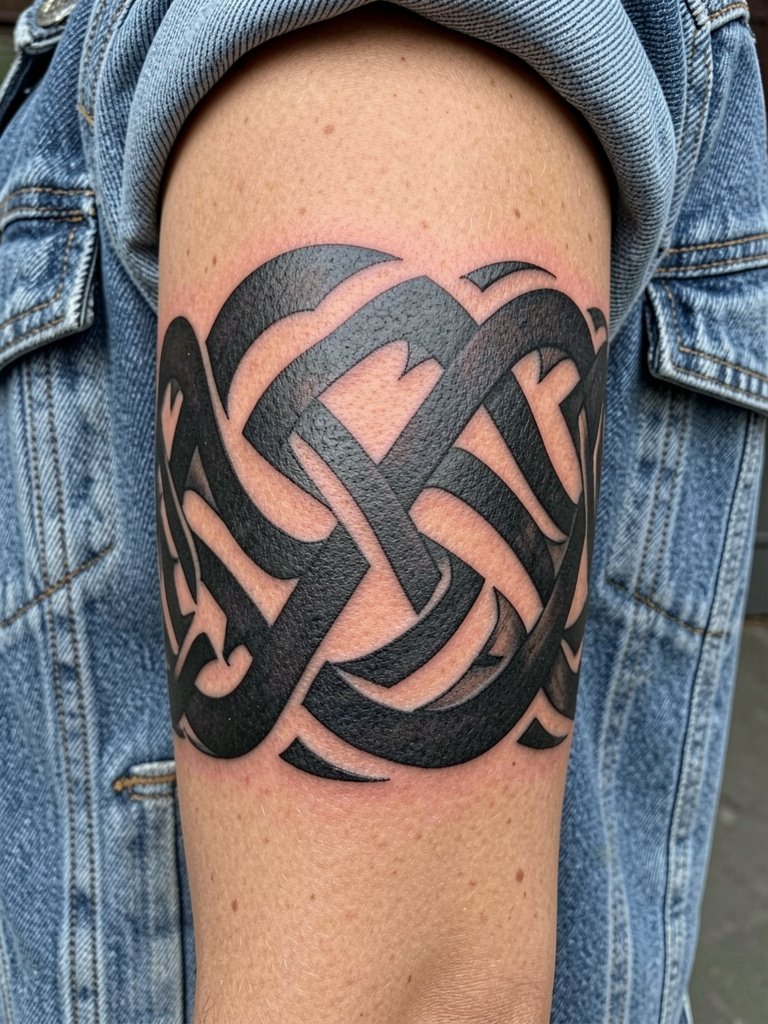
7. Tribal-Influenced Bold Blackwork Sleeve

Thick banding and repeating motifs read clearly and age well when spacing is generous. This approach is great if you want a graphic arm with cultural references in abstracted form. Be explicit about origin respect if a motif has a cultural history and ask how the pattern will be adapted respectfully for your anatomy. For session day wear a cropped bomber jacket you can remove without tugging at the shoulder. Mistakes happen when clients request tiny bandwork that ends up too crowded.
8. Ornamental Blackwork with Decorative Linework

Ornamental structure keeps a bold sleeve from feeling chaotic by introducing repeatable motifs. I recommend this for clients who want visual order without color. Discuss linework thickness and spacing during consultation and ask for healed close-ups so you can judge how the filigree holds up on your skin type. Session time is moderate to long depending on how many repeating elements there are. A common misstep is requesting ultra-fine decoration on thicker skin areas, which can soften into a blur.
9. Gothic Blackwork Sleeve with Dramatic Shadows
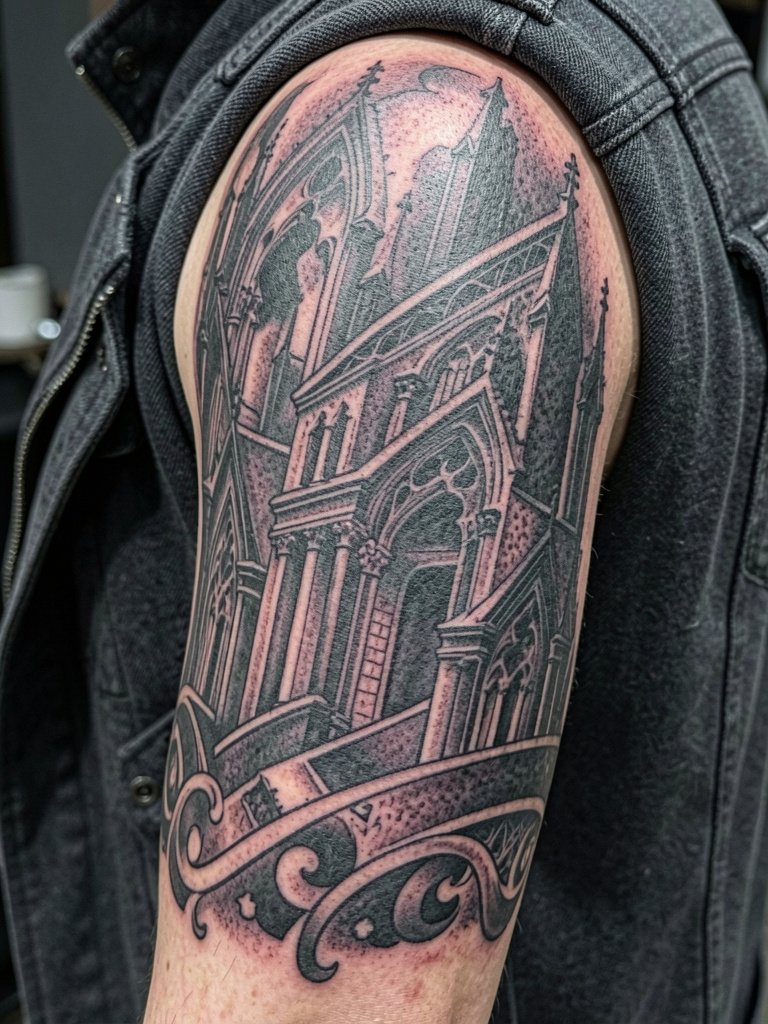
Gothic lanes in blackwork lean into dramatic shading and negative space to create depth. Choose this if you want mood without color. Ask the artist to map where the deepest blacks will sit and to show long-term healed shots that demonstrate how shadow transitions soften. Expect heavier sessions on shaded planes which can be more sensitive. A typical mistake is over-detailing in tiny areas where heavy black will dominate later. For evening looks, structured monochrome outfits complement gothic sleeves well.
10. Collection-Style Patch Sleeve Built Over Time

Building a sleeve as a collection lets you test motifs and adapt over time. This is the right path when you want room to evolve without committing to one scene. During your consultation bring a list of priorities and ask the artist to suggest spacing plans so later pieces will nestle cleanly. Pain is typically distributed across sessions since you work one piece at a time. The mistake is losing rhythm by adding unrelated styles. Keep a consistent motif or line weight to tie the sleeve together.
11. High-Contrast Blackwork Emphasizing Skin Breaks
Strong contrast makes a sleeve readable and prevents the arm from becoming a flat black mass. I favor this when you want boldness but also long runway for healing. Ask the artist to sketch where each skin break will sit relative to muscle and elbow creases. Typical session time is medium. A common error is placing skin breaks over high-friction areas like the inner elbow, which dulls clarity as the skin moves. For showing off, keep accessories minimal so the black and skin interplay reads uninterrupted.
12. Statement Blackout with Full-Limb Dominance
When the goal is full visual dominance, a statement blackout gives the arm maximum presence. Plan this only after you test whether you are comfortable with a permanent visual pivot. In the studio ask for a mock-up photograph showing the arm at different distances so you can see how the blackout reads with everyday clothing. Sessions are long and often intense. The usual mistake is underestimating aftercare needs on such a large saturated area, which increases scabbing and uneven healing if not managed.
13. Blackwork Sleeve with Negative-Space Portrait Elements
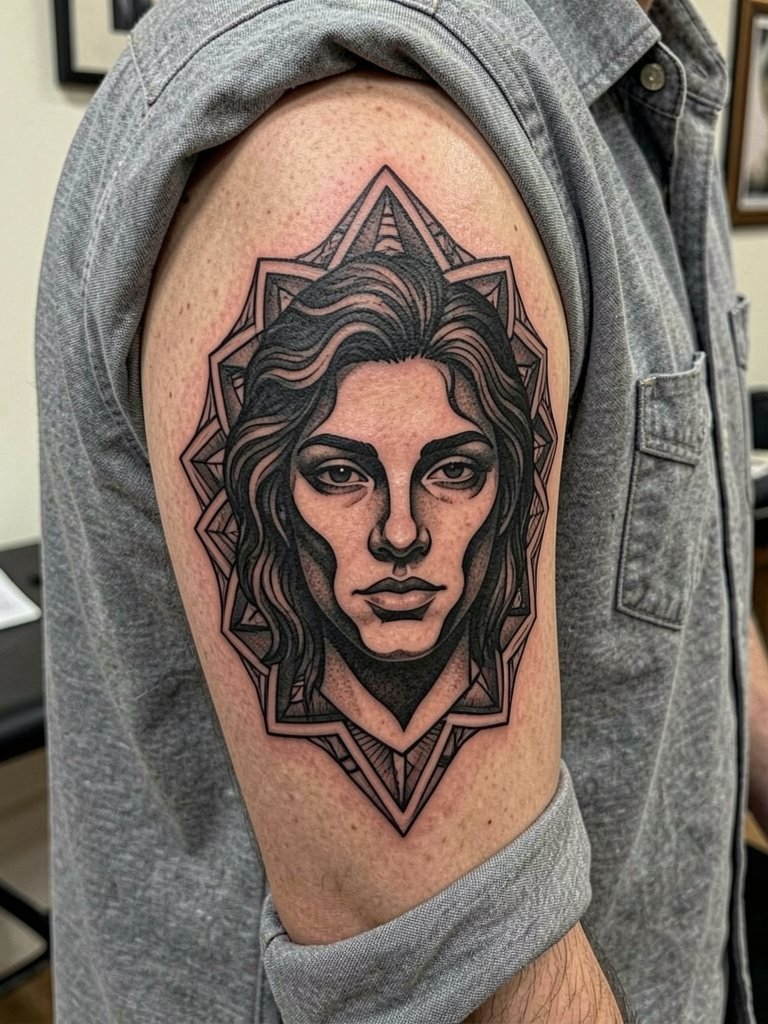
Combining figurative portraits with heavy black requires careful planning so faces do not lose definition. Request healed close-ups of portraits done in blackwork so you can judge how negative space holds up on your skin tone. The mistake is squeezing too much facial detail into a narrow space. Expect touch-ups where black meets the portrait edges after six to twelve months. For session wear pick a shirt you can open fully to let the artist work shoulder-to-chest transitions without pulling fabric.
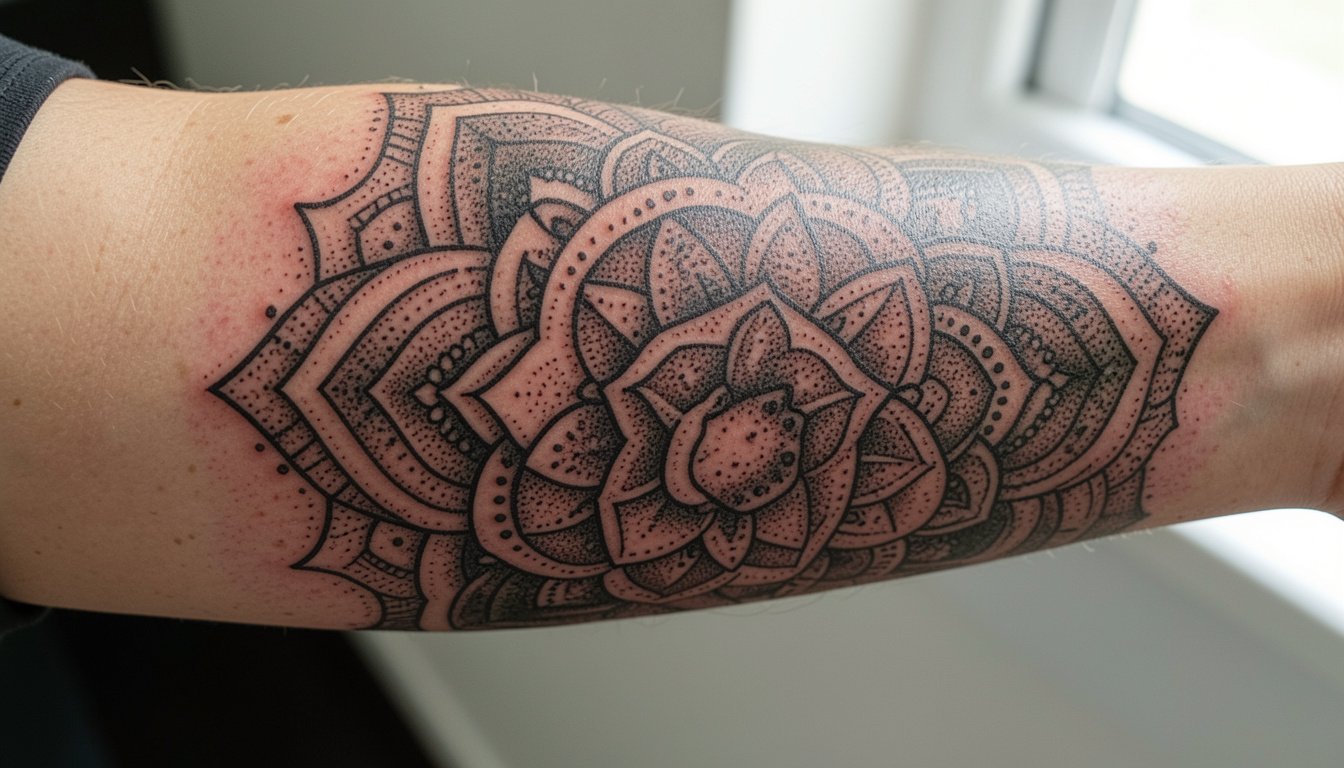
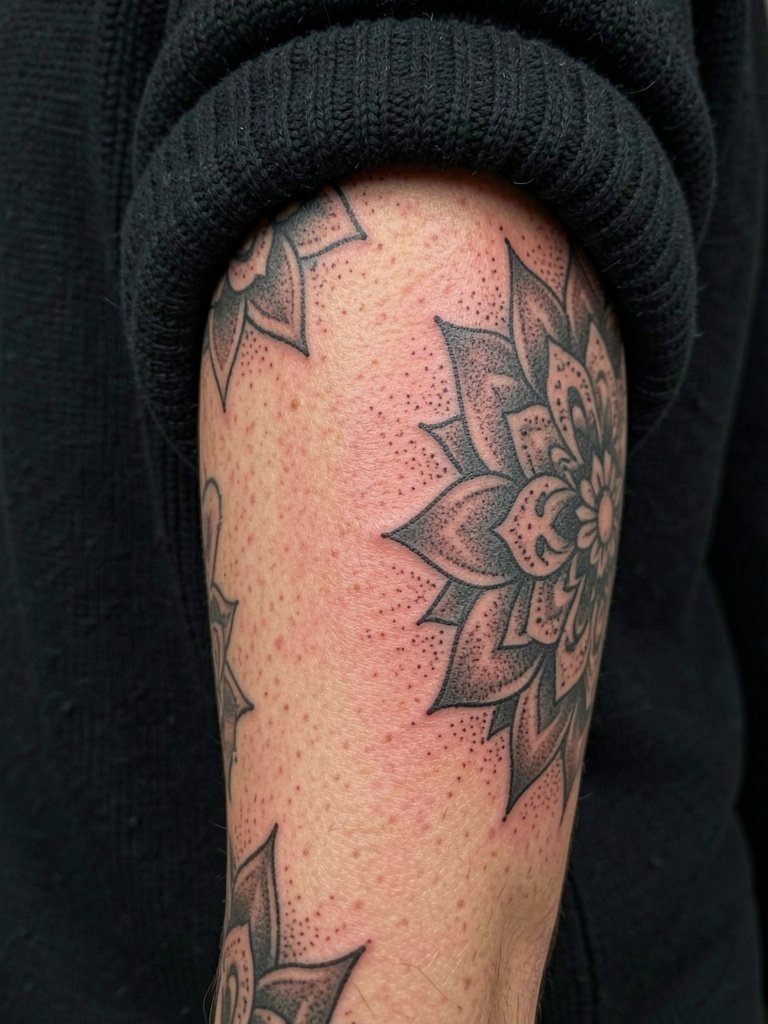
14. Mandala-Inspired Blackwork Sleeve
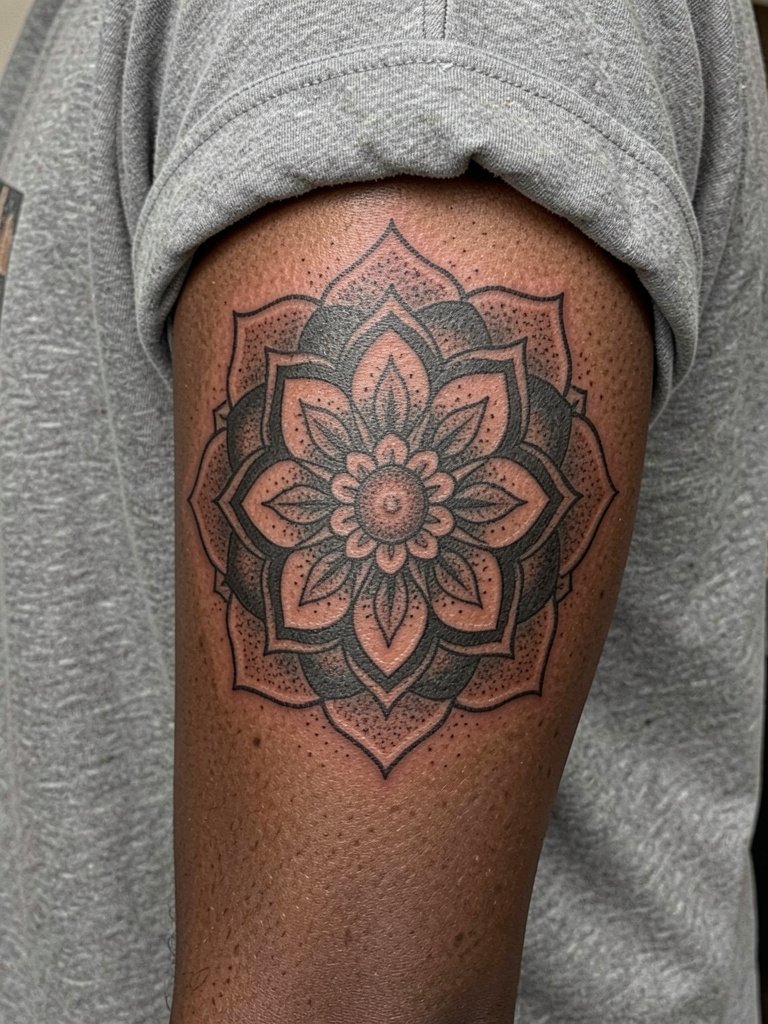
Mandala structures work well when scaled to allow breathing room between radial elements. I suggest bringing a picture of the exact radius size you like because scale controls whether the design remains crisp after healing. For show-off pairing, a relaxed fit tee with sleeves rolled looks balanced. Mistakes include forcing tiny mandala details into elbow creases where movement distorts the geometry.
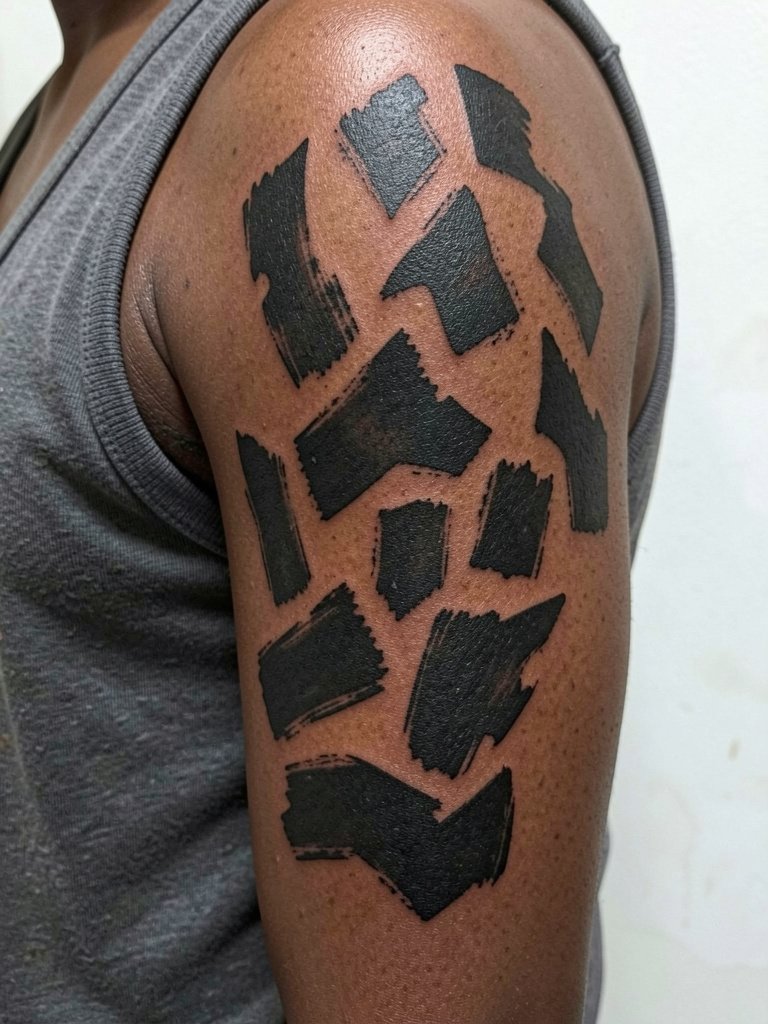
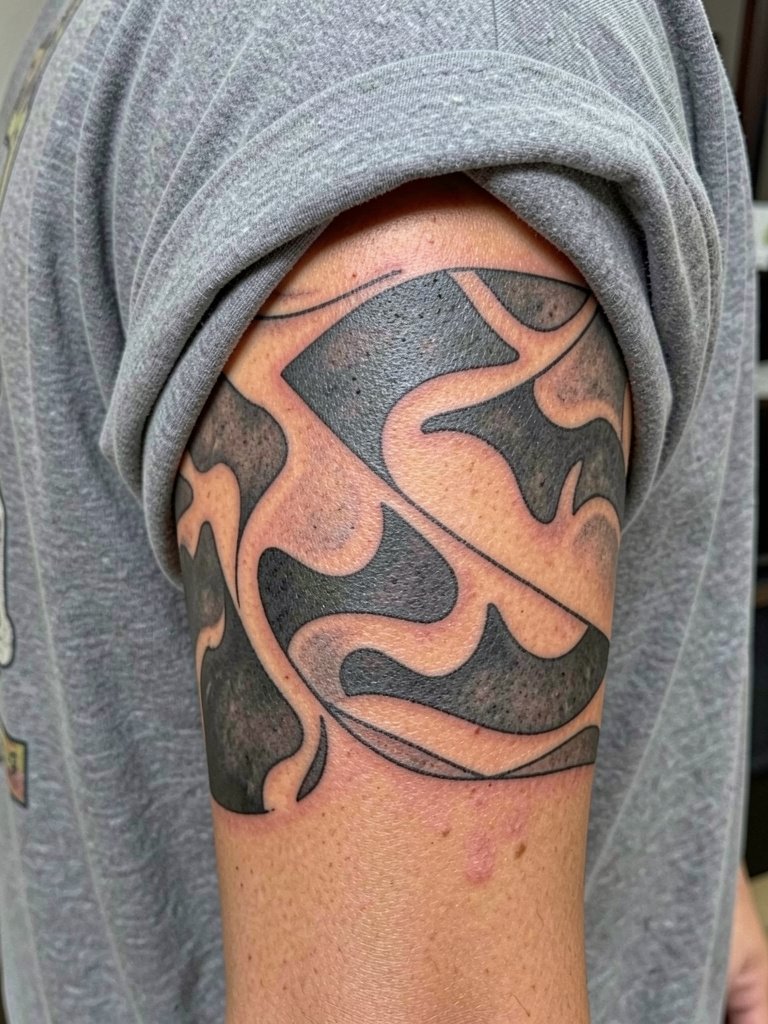
15. Brushstroke Blackwork with Painterly Marks
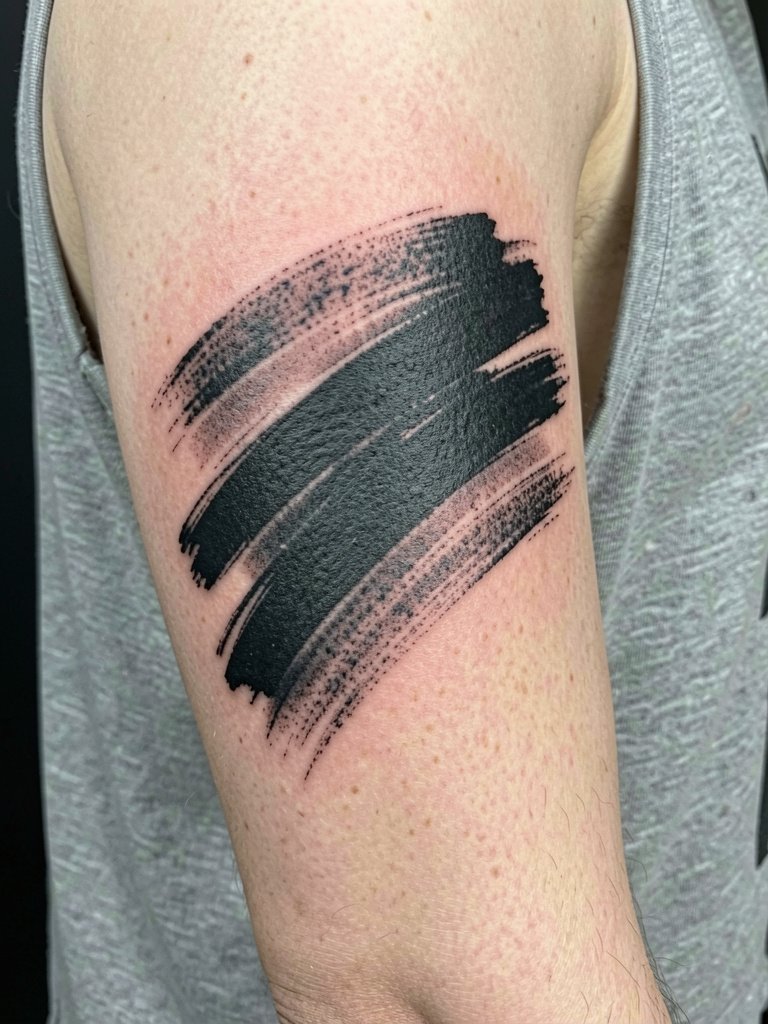
Painterly brushstrokes give blackwork an expressive edge while preserving skin channels for contrast. Ask to see healed examples that demonstrate how brush textures break down over time. Session feels uneven depending on how large the strokes are, which can be a good thing if you want breathing spots to rest between passes. A common error is requesting strokes that are too close together, which merges into a heavy block after healing.
16. Negative-Space Script and Black Fill Pairing

Leaving script as negative space inside black panels keeps words legible longer than single-needle scripts. Be specific about exact lettering size and ask the artist to show a size mock-up at three inches and five inches. Inner forearm sensitivity is moderate and touch-ups for the script edges are common after a year. Mistakes include requesting thin cursive inside dense black. For the session wear a mens short sleeve button up you can roll without tugging.
17. Sleeve That Combines Geometric and Organic Fields
Mixing geometry and organic shapes is a practical solution when you want both structure and movement. I recommend mapping geometric anchors first, then letting organic fills bridge between them. Discuss how the joints will affect pattern flow so nothing lands on an awkward crease. Session time will be split between precise linework and larger fill passes. A classic mistake is letting the geometric become too rigid, which makes the organic fields feel tacked on.
18. Forearm-Focused Blackwork with High Readability
The forearm is one of the most forgiving places for blackwork. Designs read well at a distance and you can show them off easily. Ask the artist for mock-ups at both three inches and five inches wide so you know how bold elements scale. Inner forearm sensitivity is lower than ribs but higher than outer forearm. Common mistake is cramming too much detail into a narrow strip, which can make the work look muddy from arm lengths.
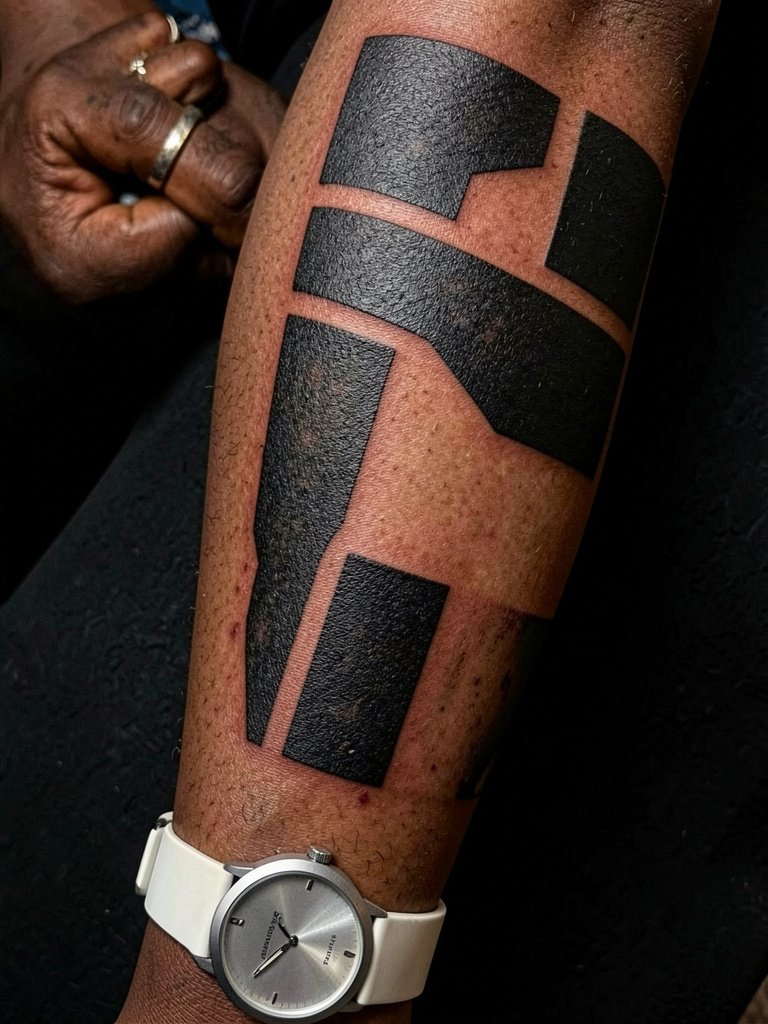
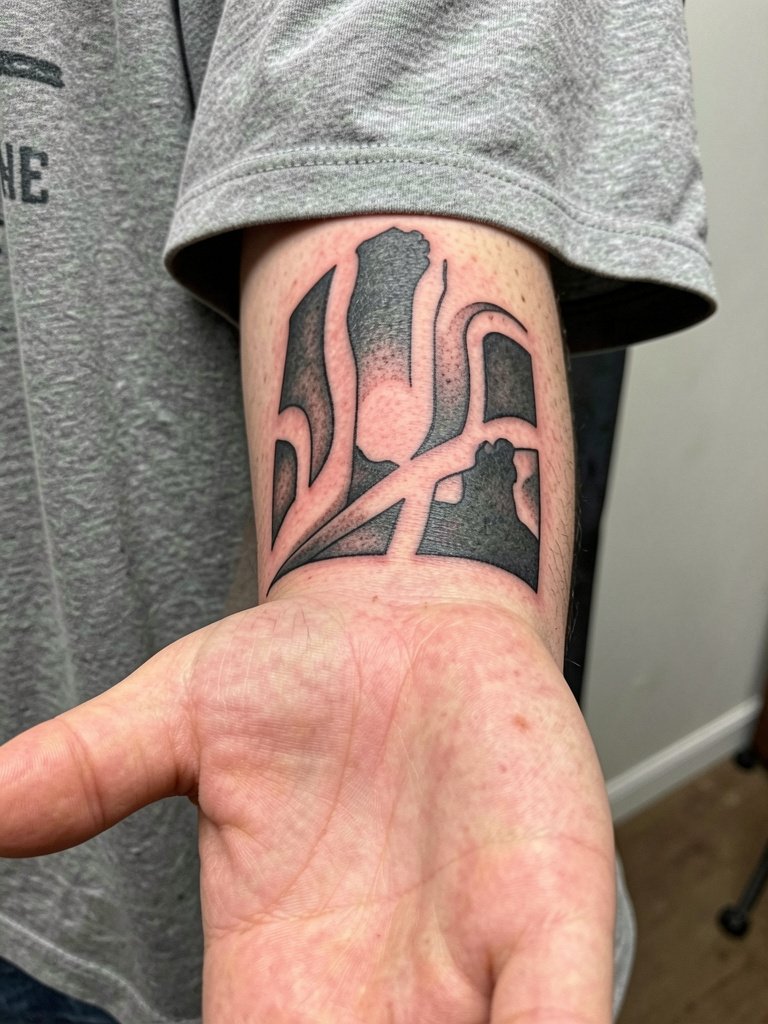
19. Heavy Black Bands with Interlocking Negative Shapes
Banding offers bold silhouette control and can be adjusted to conceal old ink. When requesting bands, ask the artist to show the band widths at scale because bands that are too narrow blur into one line. Chunky bands are lower maintenance in touch-ups than thin parallel lines. Session time is usually shorter per band but cumulative for a full sleeve. Avoid placing bands across the inner elbow crease where movement distorts edges.
20. Negative-Space Botanical Blackwork

Botanical shapes carved out of black fields keep organic subjects readable while preserving boldness. Bring plant reference photos and ask the artist to show how negative-space leaves will age on your skin tone. This skin-first approach helps the motif survive contrast shifts. Sessions vary depending on how many botanical panels you want. Avoid narrow stem details inside heavy black which often lose crispness over time.
21. Blackwork Sleeve with Repeating Mandrel Motifs
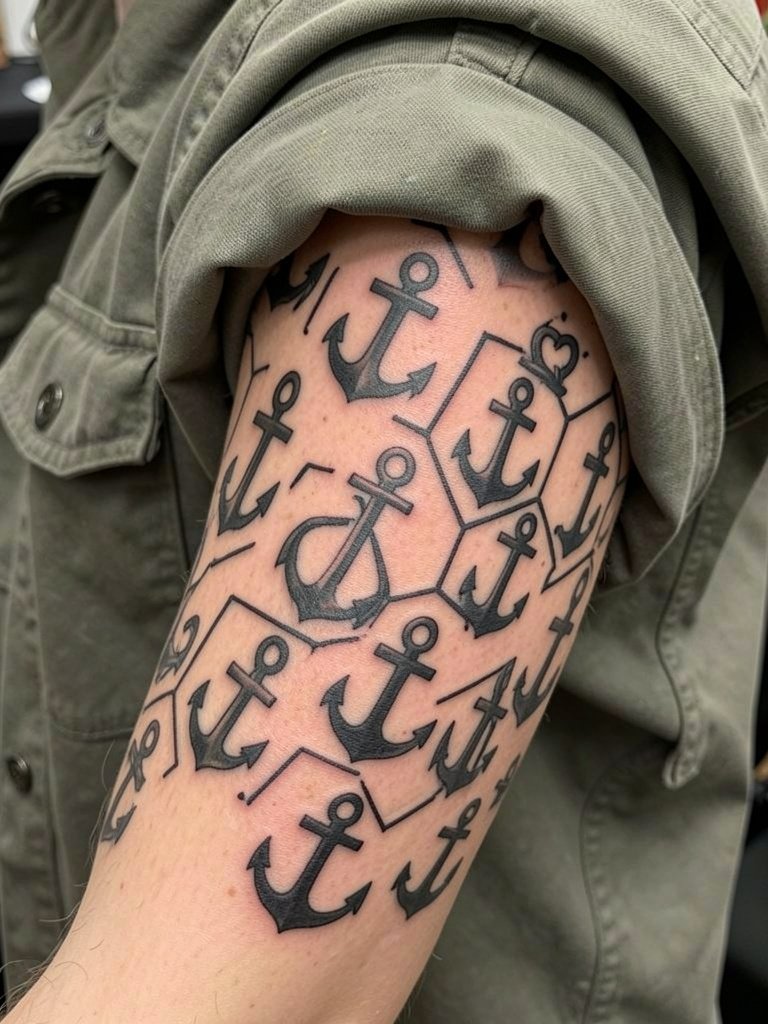
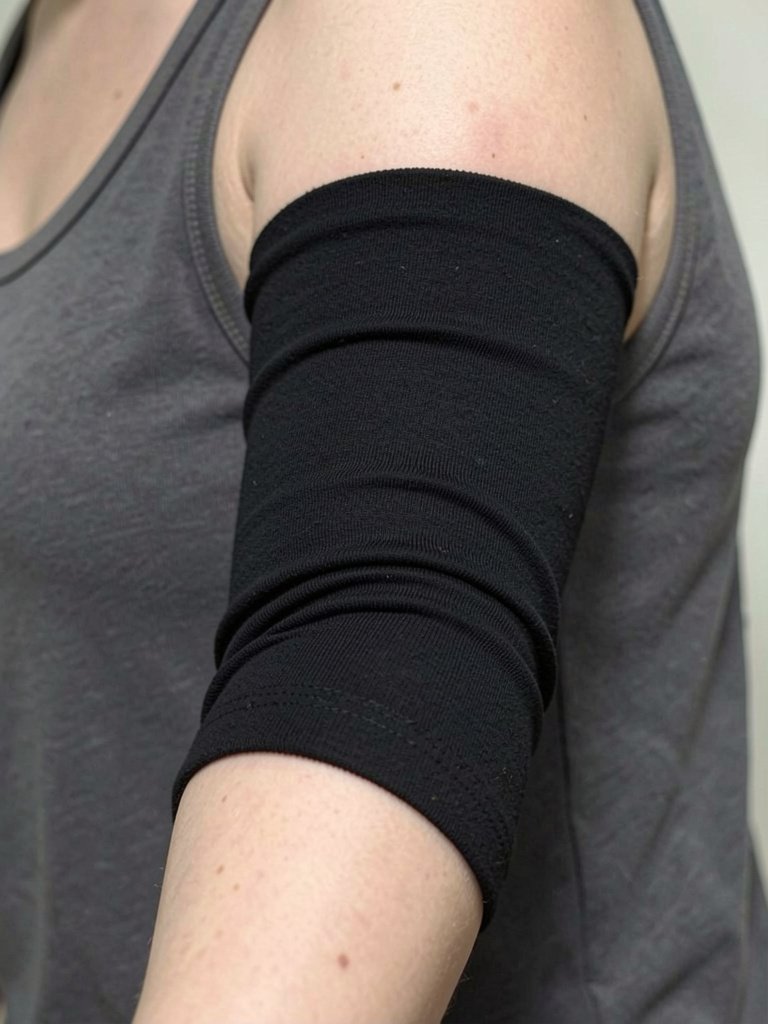
Repeating mandrel motifs work when you want a patterned sleeve rather than a narrative. I advise clients to commit to motif size early because shrinking later makes the pattern busy. For session comfort wear a loose tank so the artist can reach the shoulder cap. The usual mistake is mixing too many motif sizes which breaks the rhythm and confuses the eye.
22. Bold Blackwork with Strong Silhouette Motifs
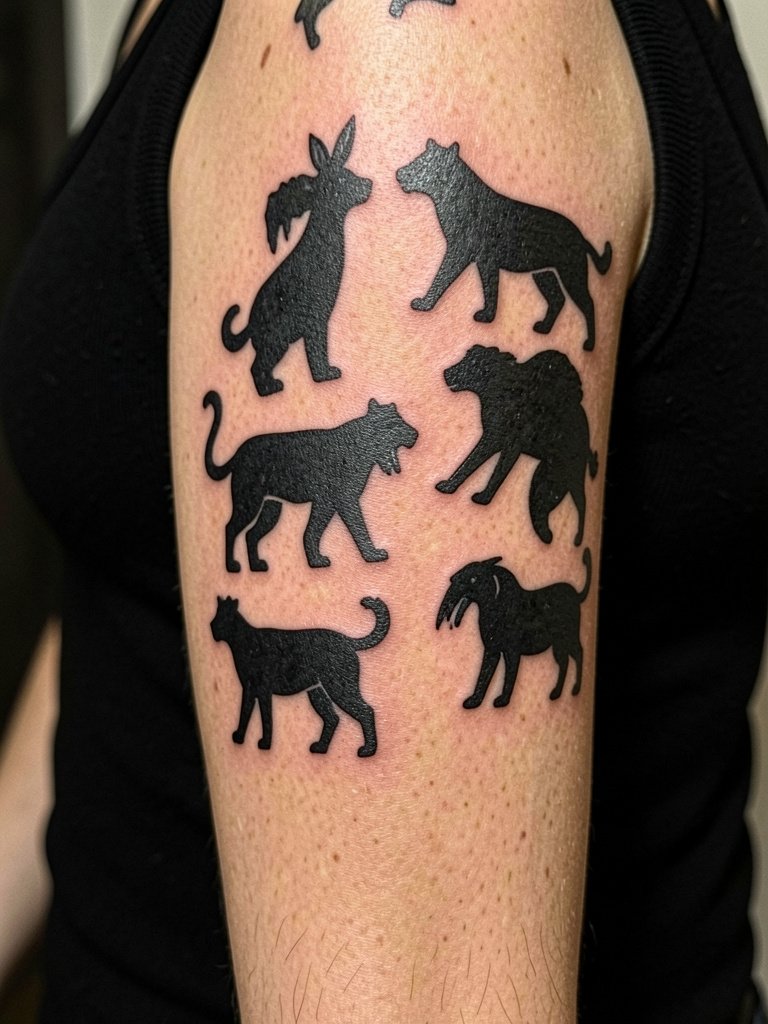
Silhouette motifs read at distance and age with low maintenance. Choose larger, simpler shapes to avoid early loss of detail. Ask the artist to show how silhouette edges will be preserved against the chosen background black. Session sensation depends on area size, and touch-ups are typically edge-focused. Avoid tiny silhouette elements that become indistinct as skin shifts.
23. Blackwork Sleeve with Subtle Stipple Highlights
Stipple highlights add dimensionality without breaking the black aesthetic. When you want texture that reads close up and at a distance, stippling is a useful compromise. Request healed images to judge how the stipple density softens. Sessions alternate between dot passes and fill passes, which spreads discomfort out. A mistake is placing stipple where friction will smooth the texture quickly.
24. Sleeve Using Large Black Fields with Thin White Linework
Inverting linework by adding thin white lines on black creates intricate detail that still reads bold. White lines will need occasional refresh depending on sun exposure. During consultation ask the artist for examples of healed white lines on similar skin tones. Avoid dense white detail that competes with the black mass. For show-off pairing, black outerwear keeps the sleeve visually coherent.
25. Sleeve That Emphasizes Negative Space Around Joints
Respecting joint anatomy keeps large blackwork readable when you move. I always map joint gaps in the stencil stage and recommend testing stencils while your arm is both flexed and relaxed. Expected session time is longer because the artist will refine edges to avoid warping when the elbow bends. Common mistake is placing heavy detail directly on joints where motion causes blur.
26. Blackwork Sleeve with Staged Growth Plan
If you want to build over years, start with anchor pieces and reserve negative zones for later. I advise clients to agree on scale and line weight at the beginning so new pieces integrate. For session wear choose something easy to remove like a zip hoodie for upper arm access. The usual error is no long-term plan, which leaves later additions mismatched in scale or tone.
27. Forearm Panel Sleeve Designed for Mid-Range Readability
Design panels sized for arm-length readability are great when you want detail that still reads in everyday interactions. During consult have the artist place a paper mock-up on your forearm so you can judge spacing and movement. Inner forearm touch-ups are common at the one-year mark where friction and sunlight impact contrast. Wear a loose tank to the session for easy access and minimal fabric movement.
Session Day Picks
These items help smooth the session and the first week of healing for the sleeve types above.
-
Stencil transfer paper kit. Lets you preview line weight and placement on skin which is essential for sleeves that rely on negative-space planning.
-
Topical numbing cream. Applied before the appointment can reduce discomfort on long fill sessions without altering linework when used correctly.
-
Thin protective film roll. Useful to cover small high-friction areas during the first 24 to 48 hours while the first scabs form.
-
Fragrance-free gentle body wash. Cleans the area without irritating fresh ink and helps avoid unnecessary rubbing.
-
Aquaphor Healing Ointment. A mainstream healing option for the first days that locks in moisture for saturated blackwork while minimizing heavy scab crusting.
Frequently Asked Questions
Q: How do I find an artist who actually packs black ink consistently for sleeves?
A: Search local studio listings on booking platforms and filter for portfolios showing healed sleeves or multi-session blackout work. Use hashtags like #blackworktattoo and #blackoutsleeve on short video platforms then apply your city filter to find active artists who document healed stages.
Q: Will a blackout sleeve limit my wardrobe or professional options?
A: That depends on your workplace and lifestyle. Blackwork reads strongly beneath short sleeves so plan clothing accordingly if you need to conceal or reveal the arm. For session day wear pick removable layers such as a zip hoodie so you can get in and out without tugging at fresh wrap.
Q: How often do blackwork sleeves need touch-ups?
A: It depends on coverage and sun exposure. Dense black tends to need edge touch-ups at three to five years while stipple and white highlights often need attention sooner. I recommend checking healed photos at the one-year mark and scheduling a minor touch-up if contrast has softened.
Q: Are blackout and blast-over considered irresponsible by the tattoo community?
A: The community is split. One side praises blackout and blast-over as practical and transformative solutions for messy arms. The other side raises caution and points to regret threads where people felt the saturation was too dominant after living with it. Both views matter and you should weigh them against your lifestyle and long-term preferences.
Q: What should I wear to a full arm sleeve session?
A: For full-arm work choose loose, easy-to-remove clothing that does not have tight seams over the shoulder or elbow. Button-front shirts, loose tanks, and zip hoodies are practical because they avoid pulling fabric across fresh ink.
Q: How do I plan a sleeve if I want to build it over years?
A: Start with anchor pieces that define scale and line weight, then reserve negative spaces for future motifs. Ask the artist for a staged plan showing where later pieces will sit so sizes remain consistent across sessions.
